battery replacement FIAT 124 SPIDER 2017 2.G Owners Manual
[x] Cancel search | Manufacturer: FIAT, Model Year: 2017, Model line: 124 SPIDER, Model: FIAT 124 SPIDER 2017 2.GPages: 300, PDF Size: 121.24 MB
Page 17 of 300
Keyless Entry System
The Keyless Entry System is an
enhancement that allows you to
lock/unlock the doors, trunk lid, fuel
filler door, and opens the trunk lid with
the slow and careful push of a button .
The Keyless Entry System allows the
driver to START/STOP the ignition with
the push of a button as long as the key
fob is in the passenger compartment.
If equipped, the Vehicle Security Alarm
System may be armed/disarmed with
the push of the lock/unlock button
located on the key fob.
System Malfunctions/Warnings
System malfunctions or warnings are
indicated by the following warning lights
or beeps (refer to “Knowing Your
Instrument Panel” for further
information) :
Warning Light (Red)
Ignition Not Turned OFF Warning
Beep
Key Fob Removed From Vehicle
Warning Beep
If you have a problem with the key fob,
or the key fob is lost or stolen, contact
an Authorized Dealership as soon as
possible for a replacement and to make
the lost or stolen key fob inoperative. Note:
Changes or modifications not
expressly approved by the party
responsible for compliance could void
the user's authority to operate the
equipment.
Note:
The Keyless Entry System
operational range may vary due to
local weather conditions.
The Keyless Entry System is fully
operational (door/trunk lid/fuel filler
door lock/unlock) when the ignition is
placed in the OFF position. The
Keyless Entry System does not
operate if the ignition is placed to any
position other than the OFF position.
If the key fob does not operate
when pushing a button, the operational
range becomes too small, or warning
light may not illuminate or flash the
battery may be weak or discharged. To
install a new battery, refer to “Key Fob
Battery Replacement.”
Battery life is about one year.
Replace the battery with a new one if
the
Warning light (green) flashes in
the instrument cluster. Replacing the
battery about once a year is
recommended because the
Warning light may not illuminate or
flash if the battery is low or discharged.
Additional key fobs may be
obtained at an Authorized Dealership.
Up to six key fobs may be used with
the Keyless Entry System per vehicle.
Bring all key fobs to an Authorized
Dealership when additional keys are
required.
Key Fob Functions
With A Vehicle Security Alarm
System
The hazard warning lights flash when
the Vehicle Security Alarm System is
armed or disarmed.
With Advanced Keyless Function
A beep can be heard for confirmation
when the doors, trunk lid, and the fuel
filler door are locked/unlocked using the
key fob. The beep indication volume
can be adjusted or turned off.
Use the following procedure to change
the beep setting:
1. Verify or place the ignition in the OFF
position and close both of the doors
and the trunk lid.
2. Open the driver's door.
3. Within 30 seconds of opening the
driver's door, push and hold the lock
button on the key fob for 5 seconds
or longer.
15
Page 21 of 300
Key Suspend Function
If a key fob is left in the vehicle, the
functions of the key fob left in the
vehicle are temporarily suspended to
prevent unlawful use of the vehicle.
To restore the functions, push the
unlock button on the functions-
suspended key fob left in the vehicle.
Key Fob Battery
Replacement
If the buttons on the key fob are
inoperable and the indicator light does
not flash, the battery power level may
be low or discharged.
Replace with a new battery
(CR2025 type) before the key fob
becomes unusable.
The following conditions indicate that
the battery power is low:
Indicator light (green) flashes in
the instrument cluster for about
30 seconds after the engine is placed in
the OFF position.
The system does not operate and
the operation indicator light on the key
fob does not flash when the buttons are
pushed.
The system's operational range is
reduced. Note:
Replacing the battery at an
Authorized Dealership is recommended
to prevent damage to the key fob. If
replacing the battery by yourself, follow
the instruction below.
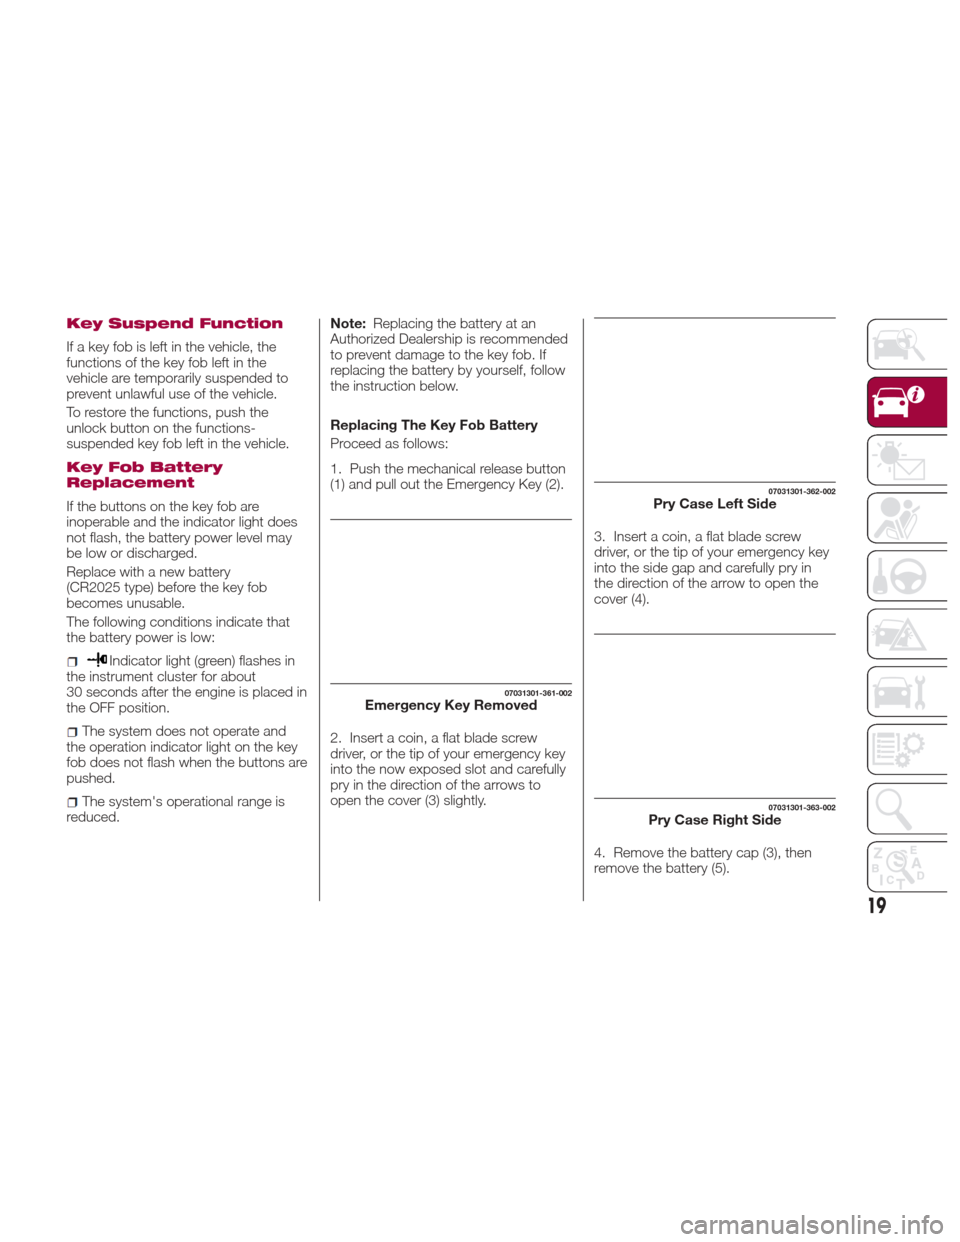
Replacing The Key Fob Battery
Proceed as follows:
1. Push the mechanical release button
(1) and pull out the Emergency Key (2).
2. Insert a coin, a flat blade screw
driver, or the tip of your emergency key
into the now exposed slot and carefully
pry in the direction of the arrows to
open the cover (3) slightly. 3. Insert a coin, a flat blade screw
driver, or the tip of your emergency key
into the side gap and carefully pry in
the direction of the arrow to open the
cover (4).
4. Remove the battery cap (3), then
remove the battery (5).
07031301-361-002Emergency Key Removed
07031301-362-002Pry Case Left Side
07031301-363-002Pry Case Right Side
19
Page 22 of 300
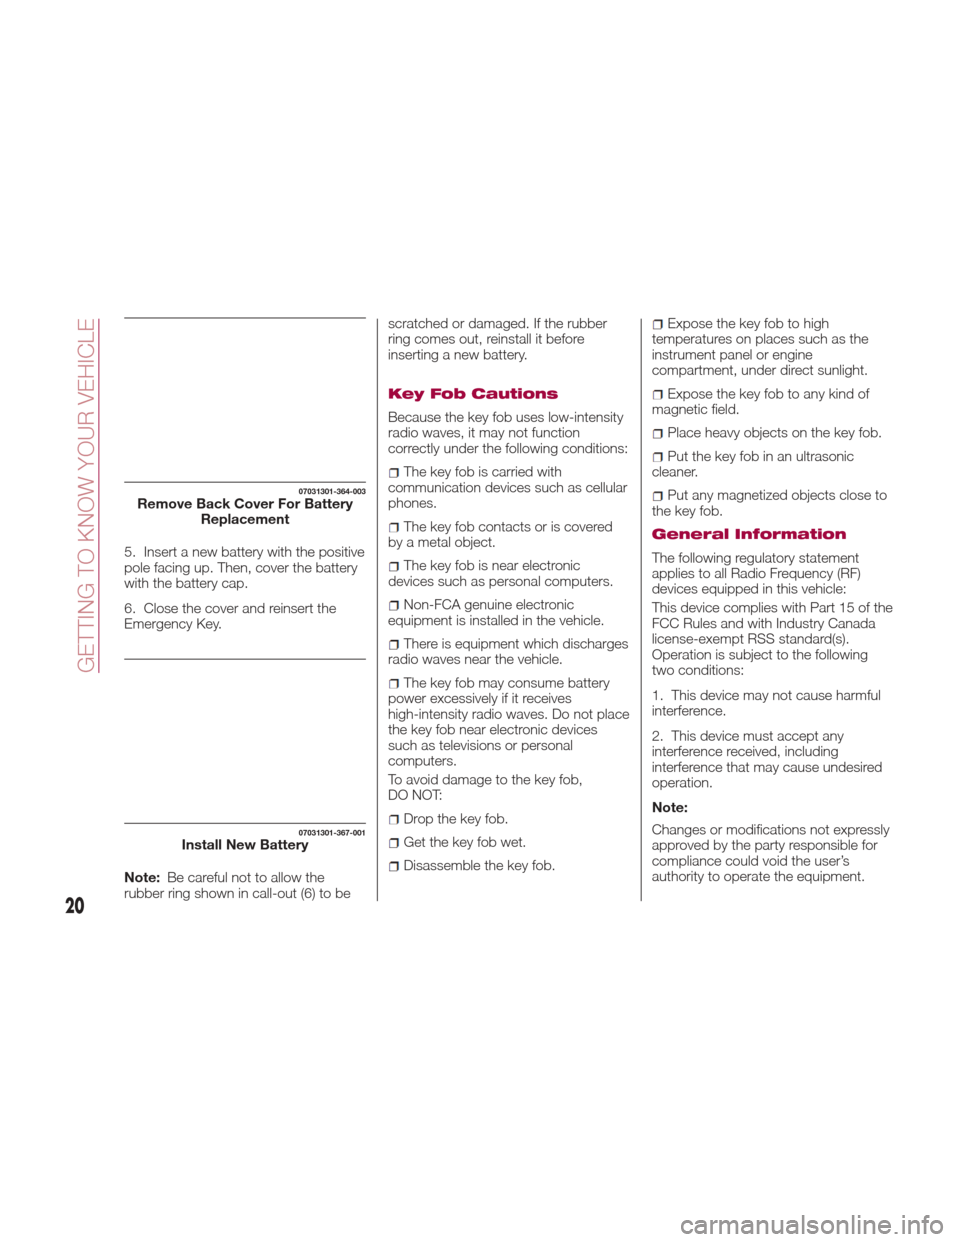
5. Insert a new battery with the positive
pole facing up. Then, cover the battery
with the battery cap.
6. Close the cover and reinsert the
Emergency Key.
Note:Be careful not to allow the
rubber ring shown in call-out (6) to be scratched or damaged. If the rubber
ring comes out, reinstall it before
inserting a new battery.
Key Fob Cautions
Because the key fob uses low-intensity
radio waves, it may not function
correctly under the following conditions:
The key fob is carried with
communication devices such as cellular
phones.
The key fob contacts or is covered
by a metal object.
The key fob is near electronic
devices such as personal computers.
Non-FCA genuine electronic
equipment is installed in the vehicle.
There is equipment which discharges
radio waves near the vehicle.
The key fob may consume battery
power excessively if it receives
high-intensity radio waves. Do not place
the key fob near electronic devices
such as televisions or personal
computers.
To avoid damage to the key fob,
DO NOT:
Drop the key fob.
Get the key fob wet.
Disassemble the key fob.
Expose the key fob to high
temperatures on places such as the
instrument panel or engine
compartment, under direct sunlight.
Expose the key fob to any kind of
magnetic field.
Place heavy objects on the key fob.
Put the key fob in an ultrasonic
cleaner.
Put any magnetized objects close to
the key fob.
General Information
The following regulatory statement
applies to all Radio Frequency (RF)
devices equipped in this vehicle:
This device complies with Part 15 of the
FCC Rules and with Industry Canada
license-exempt RSS standard(s).
Operation is subject to the following
two conditions:
1. This device may not cause harmful
interference.
2. This device must accept any
interference received, including
interference that may cause undesired
operation.
Note:
Changes or modifications not expressly
approved by the party responsible for
compliance could void the user’s
authority to operate the equipment.
07031301-364-003Remove Back Cover For Battery Replacement
07031301-367-001Install New Battery
20
GETTING TO KNOW YOUR VEHICLE
Page 27 of 300
Cycle the ignition off, and then restart
the engine. If the engine does not start
after three or more tries, contact an
Authorized Dealership.
Note:
If thewarning light flashes
continuously while you are driving, do
not turn the engine OFF. Contact an
Authorized Dealership and have it
checked. If the engine is shut off while
the
warning light is flashing, you
will not be able to restart it.
Because the electronic codes are
reset when the immobilizer system is
repaired, the keys are needed. Make
sure to bring all the key fobs to an
Authorized Dealership so that they can
be programmed.
Vehicle Security Alarm
System — If Equipped
If the Vehicle Security Alarm System
detects an inappropriate entry into the
vehicle or the intrusion sensor detects
movement in the vehicle which could
result in the vehicle or its contents
being stolen, the alarm alerts the
surrounding area of an abnormality by
sounding the siren/horn and flashing
the hazard warning lights.
The system will not function unless it's
properly armed. So when you leave the
vehicle, follow the arming procedure
correctly. Siren/Horn Triggering Conditions
The siren/horn sounds intermittently
and the hazard warning lights flash for
about 30 seconds when the system is
triggered by any one of the following:
Unlocking a door with an inside
door-lock knob.
Forcing open a door, the engine
compartment or the trunk lid.
Opening the hood by operating the
hood release handle.
Placing the ignition in the ON position
without starting the engine.
With the intrusion sensor: the
intrusion sensor detects a movement in
the vehicle.
The system will be triggered again (up
to 10 times) if one of the above
conditions remains.
The trunk lid will not open when the
Vehicle Security Alarm is activated.
If the battery becomes drained while
the Vehicle Security Alarm is armed, the
siren will activate and the hazard
warning lights will flash during the
battery charging or replacement
process. How To Arm The System
Close the windows and the
convertible top securely.
Place the ignition in the OFF position.
Make sure the engine compartment,
convertible top, the doors, and the
trunk lid are closed.
Push the lock button on the key fob
or lock the driver's door from the
outside with the emergency key. The
hazard warning lights will flash once.
With the Advanced Keyless Entry
function: push a request switch. The
warning light in the instrument
panel flashes twice per second for
20 seconds. After 20 seconds the
system is fully armed.
The Vehicle Security Alarm System can
also be armed by activating the auto
re-lock function with all the doors, the
trunk lid and the engine compartment
closed.
The system will disarm if one of the
following operations takes place within
20 seconds after pushing the lock
button: To rearm the system, preform
the arming procedure again.
1. Unlocking any door
2. Opening any door
3. Opening the engine compartment
4. Placing the ignition in the ON
position
25
Page 220 of 300
Note:If the tire has been over
inflated, loosen the screw cap on the air
compressor and bleed some of the air
out.
20. When the tire inflates to the
specified tire inflation pressure, turn the
air compressor switch off, turn the
sleeve of the air compressor hose to
the left, and pull it out of the tire valve.
21. Install the tire valve cap.
22. Place the tire service kit back into
its storage location.
23. Start driving immediately to spread
the sealant in the tire.
Note:
Carefully drive the vehicle at a
speed of 50 mph (80 km/h) or less. If
the vehicle is driven at a speed of
50 mph (80 km/h) or more, the vehicle
may vibrate.
With TPMS system: if the tire is not
properly inflated, thewarning light
will illuminate.
After driving the vehicle for about
10 minutes or three miles (5 km),
connect the air compressor to the tire
using Step 9 of the procedure, and
check the tire inflation pressure using
the tire pressure gauge on the air
compressor. If the tire inflation pressure
is lower than the specified tire inflation
pressure, turn the air compressor on and wait until it reaches the specified
tire inflation pressure;
The emergency flat tire repair is
completed successfully if the tire
inflation pressure does not decrease.
Carefully drive the vehicle to the
nearest Authorized Dealer and have
the flat tire replaced. Replacement with
a new tire is recommended. If the tire is
to be repaired or reused, contact a
Authorized Dealer.
If an emergency flat tire repair has
been performed using the tire service
kit, FCA recommends that the tire be
replaced with a new one as soon as
possible. If the tire is to be repaired or
reused, contact an Authorized Dealer.
The tire can be reused if the sealant
adhering to it is removed. However,
replace the valve with a new one.
Replacing The Bottle
Note: The tire sealant has a period of
effective use. Check the period of
effective use indicated on the bottle
label and do not use it if it has expired.
Have the tire sealant replaced at an
Authorized Dealer before the period of
effective use has expired.
Inspect the tire service kit at regular
intervals as well as the operation of the
tire compressor.
JUMP STARTING
Preparations For Jump
Starting
If the battery is discharged, a jump
starting can be performed using the
battery and the cables of another
vehicle, or using a booster battery.
Jump-starting is dangerous if done
incorrectly, so follow the procedure in
this section carefully. If you feel unsure
about jump-starting, it is strongly
recommend that you have a competent
service technician do the work.
Note: When a booster battery is being
used, comply with the utilization and
precaution instructions specified by the
manufacturer.
218
IN CASE OF EMERGENCY
Page 237 of 300
Overfilling the brake fluid reservoir can
result in spilling brake fluid on hot engine
parts, causing the brake fluid to catch fire.
Brake fluid can also damage painted and
vinyl surfaces, care should be taken to
avoid its contact with these surfaces.
Do not allow petroleum based fluid to
contaminate the brake fluid. Brake seal
components could be damaged, causing
partial or complete brake failure. This could
result in a collision.
Windshield And
Headlight Washer Fluid
Inspecting Washer Fluid Level
Inspect fluid level in the washer fluid
reservoir, open the cap and add fluid if
necessary.
Use plain water if washer fluid is
unavailable. But use only washer fluid in
cold weather to prevent it from freezing.
Automatic Transmission
Control Unit
The transmission oil level should only be
checked at your Authorized Dealer.
Battery Maintenance
To get the best service from a battery:
Keep it securely mounted.
Keep the top clean and dry.
Keep terminals and connections
clean, tight, and coated with petroleum
jelly or terminal grease.
Rinse off spilled electrolyte
immediately with a solution of water
and baking soda.
If the vehicle will not be used for an
extended time, disconnect the battery
leads and charge the battery every six
weeks.
Battery Replacement
Contact your Authorized Dealer to
purchase a replacement battery.
Warning!
Battery fluid is a corrosive acid solution
and can burn or even blind you. Do not
allow battery fluid to contact your eyes,
skin, or clothing. Do not lean over a battery
when attaching clamps. If acid splashes in
eyes or on skin, flush the area immediately
with large amounts of water. Refer to
“Jump-Starting” in “In Case Of Emergency”
for further information.
Battery gas is flammable and explosive.
Keep flame or sparks away from the
battery. Do not use a booster battery or
any other booster source with an output
greater than 12 Volts. Do not allow cable
clamps to touch each other.
Battery posts, terminals, and related
accessories contain lead and lead
compounds. Wash hands after handling.
07030901-121-001Windshield Washer Fluid Reservoir
235
Page 238 of 300
BATTERY
RECHARGING
BATTERY CHARGING
PROCEDURE
Warning!
Battery fluid is a corrosive acid solution
and can burn or even blind you. Do not
allow battery fluid to contact your eyes,
skin, or clothing. Do not lean over a battery
when attaching clamps. If acid splashes in
eyes or on skin, flush the area immediately
with large amounts of water. Refer to
“Jump-Starting” in “In Case Of Emergency”
for further information.
Battery gas is flammable and explosive.
Keep flame or sparks away from the
battery. Do not use a booster battery or
any other booster source with an output
greater than 12 Volts. Do not allow cable
clamps to touch each other.
Battery posts, terminals, and related
accessories contain lead and lead
compounds. Wash hands after handling.
Caution!
It is essential when replacing the cables
on the battery that the positive cable is
attached to the positive post and the
negative cable is attached to the negative
post. Battery posts are marked positive (+)
and negative (-) and are identified on the
battery case. Cable clamps should be tight
on the terminal posts and free of corrosion.
If a “fast charger” is used while the
battery is in the vehicle, disconnect both
vehicle battery cables before connecting
the charger to the battery. Do not use a
“fast charger” to provide starting voltage.
Charge battery as follows:
Before recharging the battery, turn off
all accessories and turn the engine off
by placing the ignition in the OFF mode.
Disconnect the negative battery cable.
Connect the charger cables to
the battery terminals, observing the
polarity (+,–).
Turn on the charger.
When finished, turn the charger off
before disconnecting the battery.
Reconnect the negative battery
terminal.
MAINTENANCE
PROCEDURES
The following pages contain
instructions on the required
maintenance from the technical
personnel who designed the vehicle.
In addition to these specific
maintenance instructions specified for
routine scheduled servicing, there are
other components which may require
periodic maintenance or replacement
over the vehicle’s life cycle.
Body Lubrication
Ensure that the locks and bodywork
junction points, including components
such as the seat guides, door hinges
(and rollers), trunk and hood are
periodically lubricated with lithium
based grease to ensure correct, silent
operation and to protect them from rust
and wear.
Thoroughly clean the components,
eliminating every trace of dirt and dust.
After lubricating, eliminate excess oil
and grease. Also pay particular
attention to the hood closing devices,
to ensure correct operation.
During operations on the hood, be sure
to perform with the engine cold, also
remember to check, clean and lubricate
the locking, release and safety devices.
Make sure the hood's secondary latch
keeps the hood from opening when the
primary latch is released.
236
SERVICING AND MAINTENANCE