navigation system Acura ILX 2014 Navigation Manual
[x] Cancel search | Manufacturer: ACURA, Model Year: 2014, Model line: ILX, Model: Acura ILX 2014Pages: 234, PDF Size: 8.8 MB
Page 56 of 234
55
System Setup
Clock Adjustment
HINFO button Set up Other Clock Adjustment
Set the automatic adjustment of the sy stem clock for daylight saving and
international time zones.
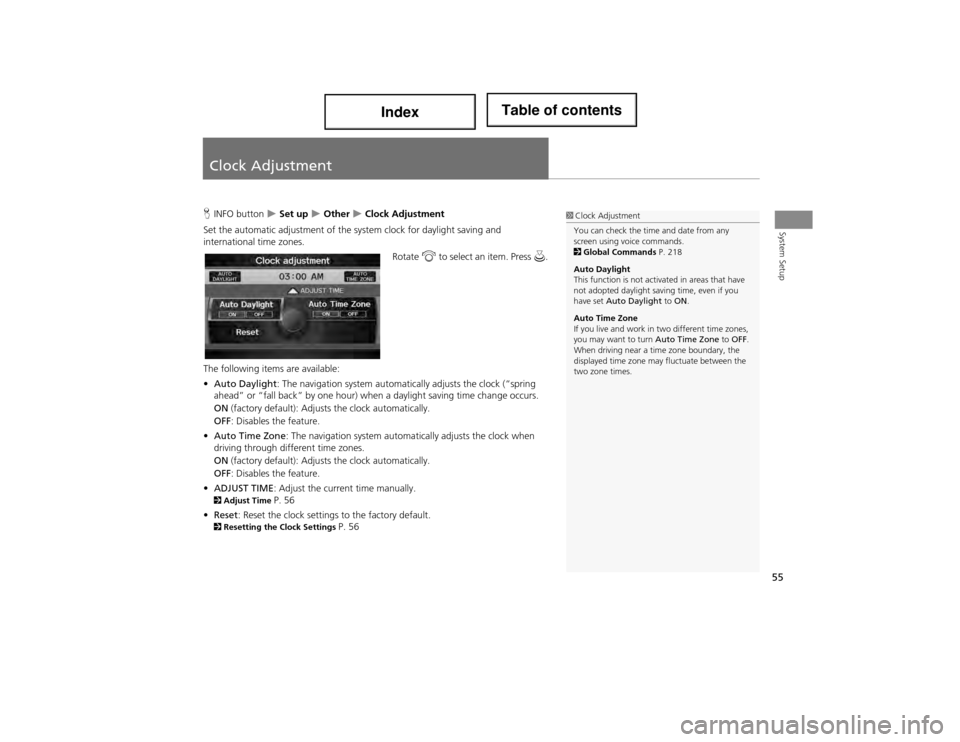
Rotate i to select an item. Press u.
The following items are available:
• Auto Daylight: The navigation system automati cally adjusts the clock (“spring
ahead” or “fall back” by one hour) when a daylight saving time change occurs.
ON (factory default): Adjusts the clock automatically.
OFF : Disables the feature.
• Auto Time Zone : The navigation system automa tically adjusts the clock when
driving through different time zones.
ON (factory default): Adjusts the clock automatically.
OFF : Disables the feature.
• ADJUST TIME : Adjust the current time manually.
2Adjust Time P. 56
• Reset : Reset the clock settings to the factory default.
2Resetting the Clock Settings P. 56
1Clock Adjustment
You can check the time and date from any
screen using voice commands.
2 Global Commands P. 218
Auto Daylight
This function is not activated in areas that have
not adopted daylight saving time, even if you
have set Auto Daylight to ON .
Auto Time Zone
If you live and work in two different time zones,
you may want to turn Auto Time Zone to OFF .
When driving near a time zone boundary, the
displayed time zone may fluctuate between the
two zone times.
Page 59 of 234
58
VehicleOff-road Tracking
System Setup
Off-road Tracking
HINFO button Set up Other Vehicle Off-road Tracking
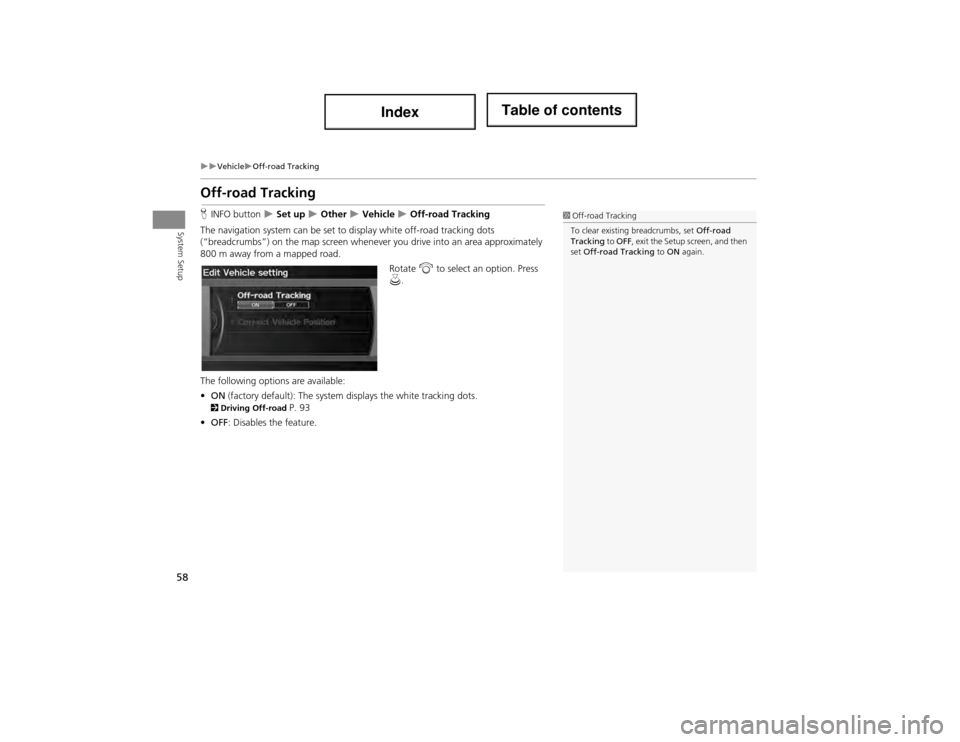
The navigation system can be set to display white off-road tracking dots
(“breadcrumbs”) on the map screen whenever you drive into an area approximately
800 m away from a mapped road.
Rotate i to select an option. Press
u .
The following options are available:
• ON (factory default): The system displays the white tracking dots.
2Driving Off-road P. 93
• OFF : Disables the feature.
1Off-road Tracking
To clear existing breadcrumbs, set Off-road
Tracking to OFF , exit the Setup screen, and then
set Off-road Tracking to ON again.
Page 82 of 234
81
Entering a DestinationZAGAT
Navigation
The following items are available:
•Place Name : Searches for a place in the subcategory by name. Enter a city name
when prompted.
• City Vicinity : Searches for a place in the subcate gory within a 20-mile radius of a
specific city. Enter a city name and then a place name when prompted. Only the
first 1000 matching places /landmarks are displayed.
• Sort by Distance to Travel : Displays all the places in the subcategory sorted by
distance from your curren t location. The closest plac e is displayed at the top.
• Search by Keyword : Searches for a place by keyword when y ou do not know the
exact category. Select Sort by Distance to Travel for locations near your current
location, or select City Vicinity for locations in a specif ic city. Enter a keyword
when prompted. Move r to select LIST to view a list of possible locations if one is
not found automatically.
• Sort by ZAGAT Rating : Searches for a restaurant by ZAGAT® SURVEY Rating
information.
2 Finding Restaurants by ZAGAT Rating P. 82
2.Rotate i to select a restaurant.
Press u.
The ZAGAT® ratings are shown
across the top of the screen.
Move y to select z to view
the rating information.
3. Set the route to your destination.
2 Calculating the Route P. 87
1ZAGAT®
Selecting this sorting method will show you
ZAGAT's highest-rated restaurants by the
options, and not necessarily by distance from
your current location.
You can move y to select z (or say d
“ZAGAT List Number X,” where X is the list item
number) to view the complete ZAGAT® review.
•Press u (or say d “Read List”) to have the
system read the ZAGAT® review.
•Move y to select ? (or say d “Key to ZAGAT
Rating” ) for details on the ratings and symbols.
2 Key to ZAGAT Ratings P. 190
•Scrolling through the review is disabled while
the vehicle is moving.
•Move r to select SET AS DEST. to set the
route to your destination.
2 Calculating the Route P. 87
Restaurant information for Mexico cannot be
searched with ZAGAT 2012.
Continued
Page 88 of 234
87
Navigation
Calculating the Route
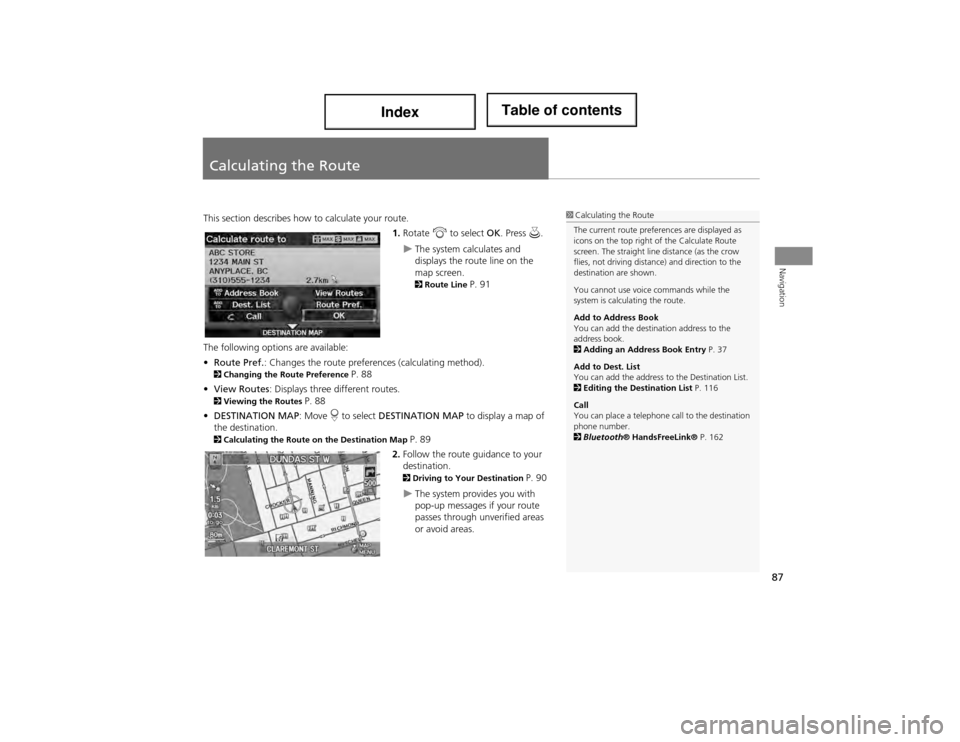
This section describes how to calculate your route.1.Rotate i to select OK. Press u.
The system calculates and
displays the route line on the
map screen.
2Route Line P. 91
The following options are available:
• Route Pref. : Changes the route prefer ences (calculating method).
2Changing the R oute Preference P. 88
• View Routes : Displays three different routes.
2Viewing the Routes P. 88
• DESTINATION MAP : Move r to select DESTINATION MAP to display a map of
the destination.
2 Calculating the Route on the Destination Map P. 89
2. Follow the route guidance to your
destination.
2 Driving to Your Destination P. 90
The system provides you with
pop-up messages if your route
passes through unverified areas
or avoid areas.
1Calculating the Route
The current route preferences are displayed as
icons on the top right of the Calculate Route
screen. The straight line distance (as the crow
flies, not driving distance) and direction to the
destination are shown.
You cannot use voice commands while the
system is calculating the route.
Add to Address Book
You can add the destination address to the
address book.
2 Adding an Address Book Entry P. 37
Add to Dest. List
You can add the address to the Destination List.
2 Editing the Destination List P. 116
Call
You can place a telephone call to the destination
phone number.
2 Bluetooth ® HandsFreeLink® P. 162
Page 89 of 234
88
Calculating the RouteChanging the Route Preference
Navigation
Changing the Route Preference
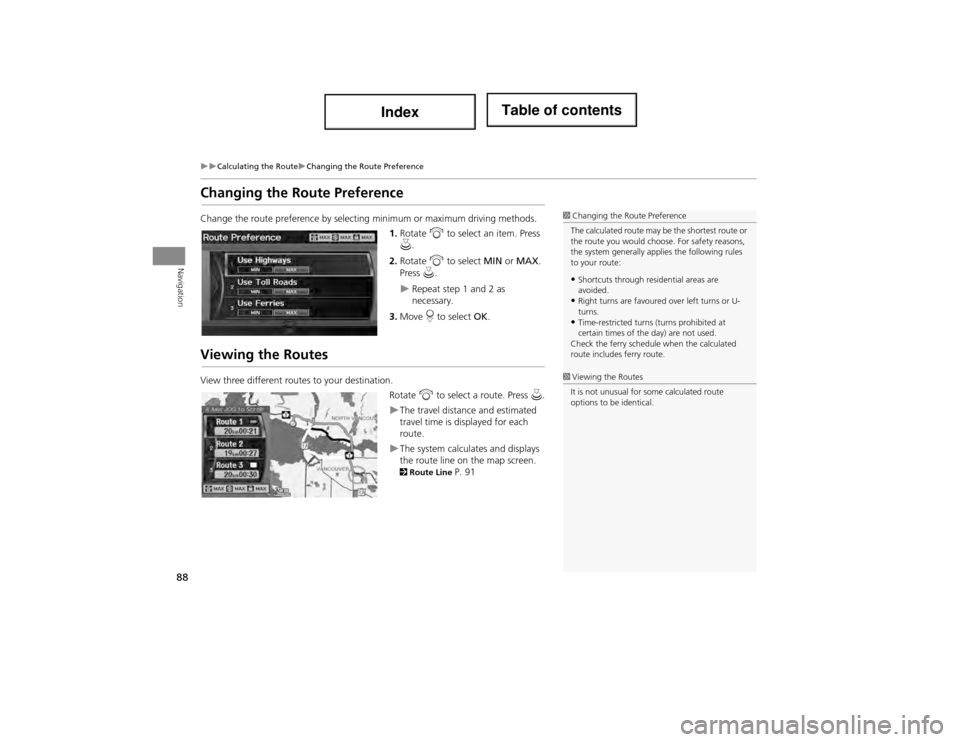
Change the route preference by selecting minimum or maximum driving methods.1.Rotate i to select an item. Press
u .
2. Rotate i to select MIN or MAX .
Press u.
Repeat step 1 and 2 as
necessary.
3. Move r to select OK.
Viewing the Routes
View three different routes to your destination.
Rotate i to select a route. Press u.
The travel distance and estimated
travel time is displayed for each
route.
The system calculates and displays
the route line on the map screen.
2Route Line P. 91
1Changing the Route Preference
The calculated route may be the shortest route or
the route you would choose. For safety reasons,
the system generally ap plies the following rules
to your route:
•Shortcuts through residential areas are
avoided.
•Right turns are favoured over left turns or U-
turns.
•Time-restricted turns (turns prohibited at
certain times of the day) are not used.
Check the ferry schedule when the calculated
route includes ferry route.
1 Viewing the Routes
It is not unusual for some calculated route
options to be identical.
Page 90 of 234
89
Calculating the RouteCalculating the Route on the Destination Map
Navigation
Calculating the Route on the Destination Map
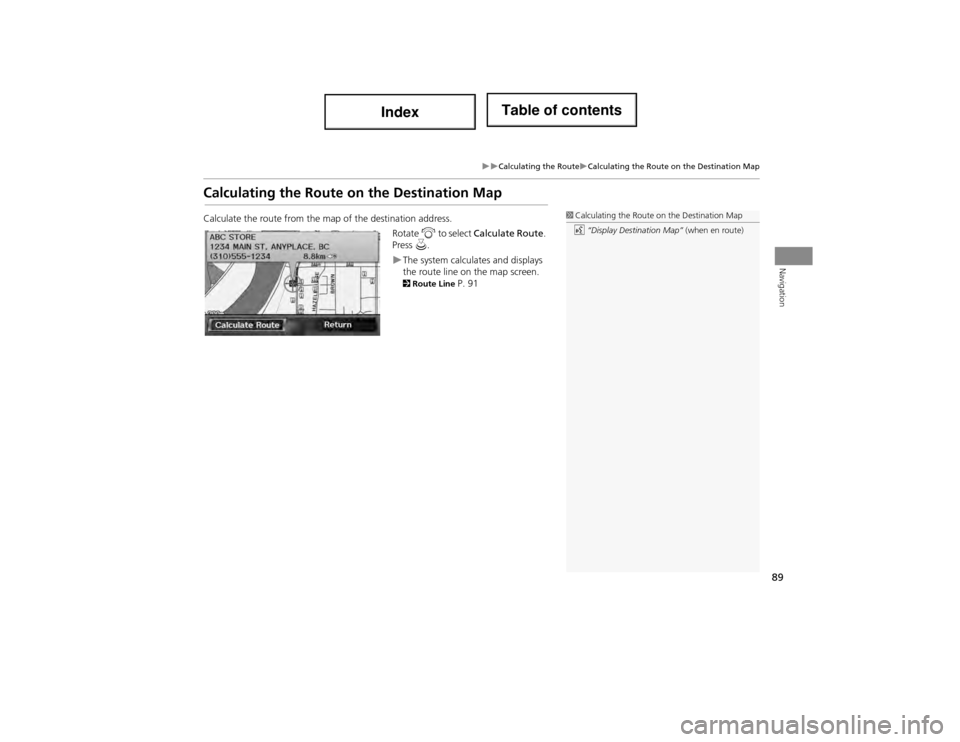
Calculate the route from the map of the destination address.
Rotate i to select Calculate Route .
Press u.
The system calculates and displays
the route line on the map screen.
2Route Line P. 91
1Calculating the Route on the Destination Map
d “Display Destination Map” (when en route)
Page 91 of 234
90
Navigation
Driving to Your Destination
This section describes how to follow the route guidance to your destination and
choose the icons displayed on the map screen.
Viewing the Route
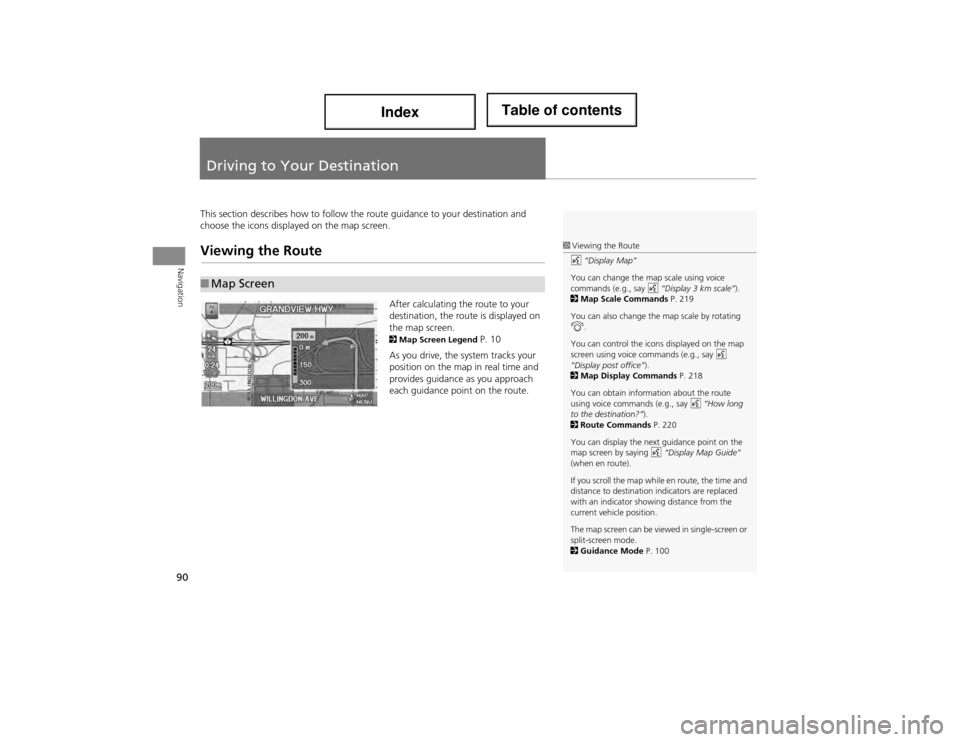
After calculating the route to your
destination, the route is displayed on
the map screen.
2Map Screen Legend P. 10
As you drive, the system tracks your
position on the map in real time and
provides guidance as you approach
each guidance point on the route.
■ Map Screen
1 Viewing the Route
d “Display Map”
You can change the map scale using voice
commands (e.g., say d “Display 3 km scale” ).
2 Map Scale Commands P. 219
You can also change the map scale by rotating
i .
You can control the icons displayed on the map
screen using voice commands (e.g., say d
“Display post office” ).
2 Map Display Commands P. 218
You can obtain information about the route
using voice comma nds (e.g., say d “How long
to the destination?” ).
2 Route Commands P. 220
You can display the next guidance point on the
map screen by saying d “Display Map Guide”
(when en route).
If you scroll the map while en route, the time and
distance to destination indicators are replaced
with an indicator showing distance from the
current vehicle position.
The map screen can be viewed in single-screen or
split-screen mode.
2 Guidance Mode P. 100
Page 93 of 234
92
Driving to Your DestinationViewing the Route
Navigation
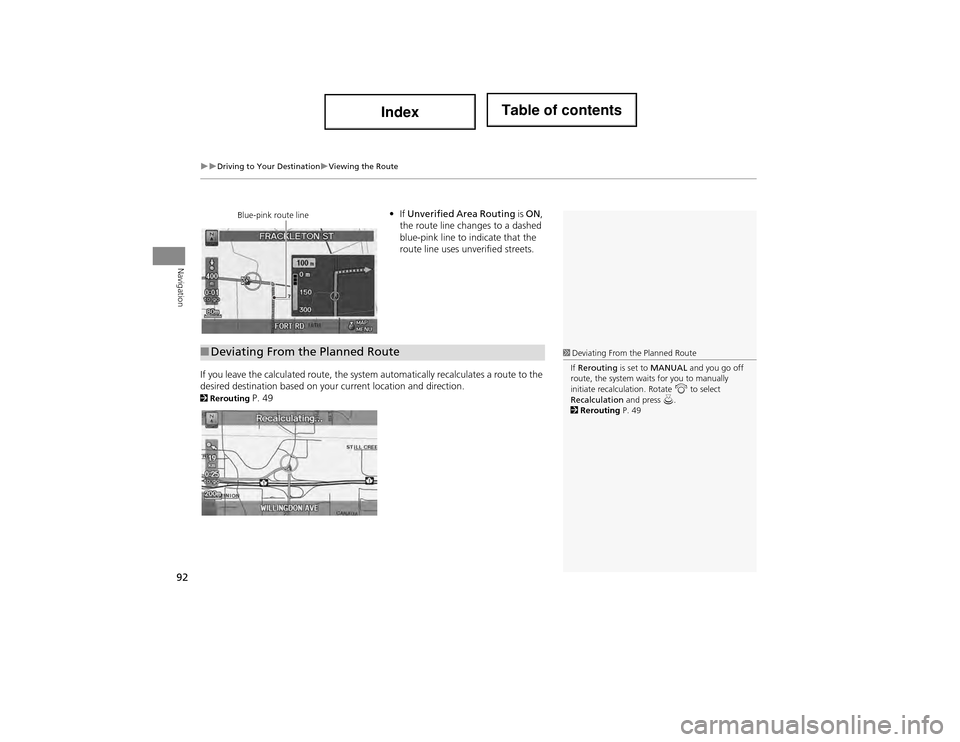
•If Unverified Area Routing is ON ,
the route line changes to a dashed
blue-pink line to indicate that the
route line uses unverified streets.
If you leave the calculated r oute, the system automatically recalculates a route to the
desired destination based on your current location and direction.
2 Rerouting P. 49
Blue-pink route line
■Deviating From the Planned Route1 Deviating From the Planned Route
If Rerouting is set to MANUAL and you go off
route, the system wait s for you to manually
initiate recalculation. Rotate i to select
Recalculation and press u.
2 Rerouting P. 49
Page 94 of 234
93
Driving to Your DestinationViewing the Route
Navigation
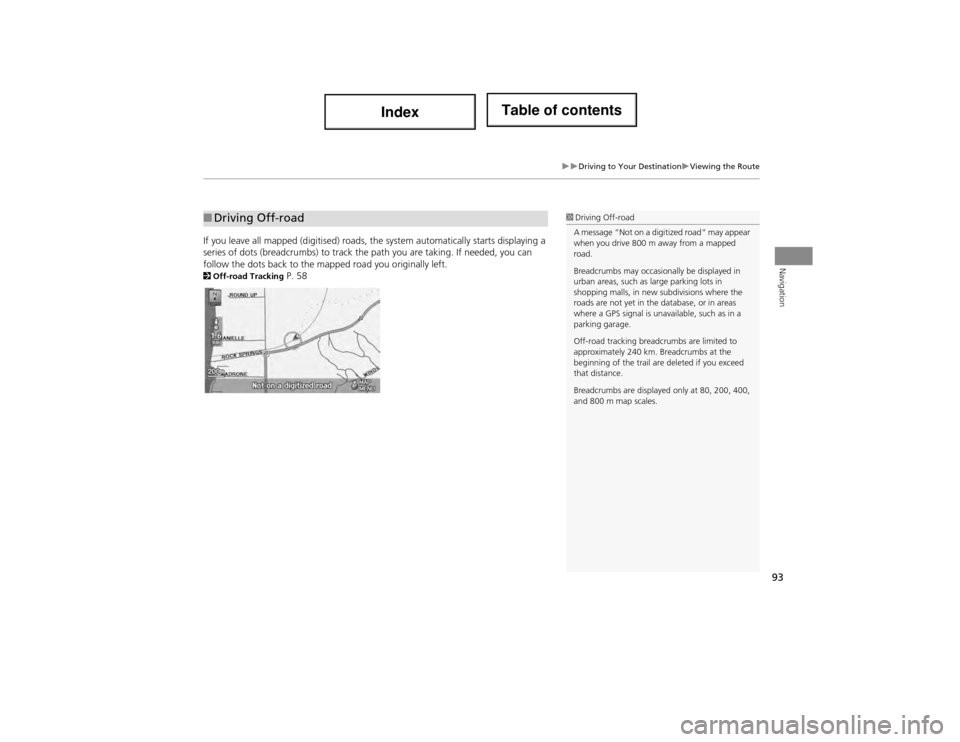
If you leave all mapped (digitised) roads, the system automatically starts displaying a
series of dots (breadcrumbs) to track th e path you are taking. If needed, you can
follow the dots back to the ma pped road you originally left.
2Off-road Tracking P. 58
■Driving Off-road1 Driving Off-road
A message “Not on a digi tized road” may appear
when you drive 800 m away from a mapped
road.
Breadcrumbs may occasionally be displayed in
urban areas, such as large parking lots in
shopping malls, in new subdivisions where the
roads are not yet in the database, or in areas
where a GPS signal is unav ailable, such as in a
parking garage.
Off-road tracking breadcrumbs are limited to
approximately 240 km. Breadcrumbs at the
beginning of the trail are deleted if you exceed
that distance.
Breadcrumbs are displayed only at 80, 200, 400,
and 800 m map scales.
Page 99 of 234
98
Map MenuGuidance Menu
Navigation
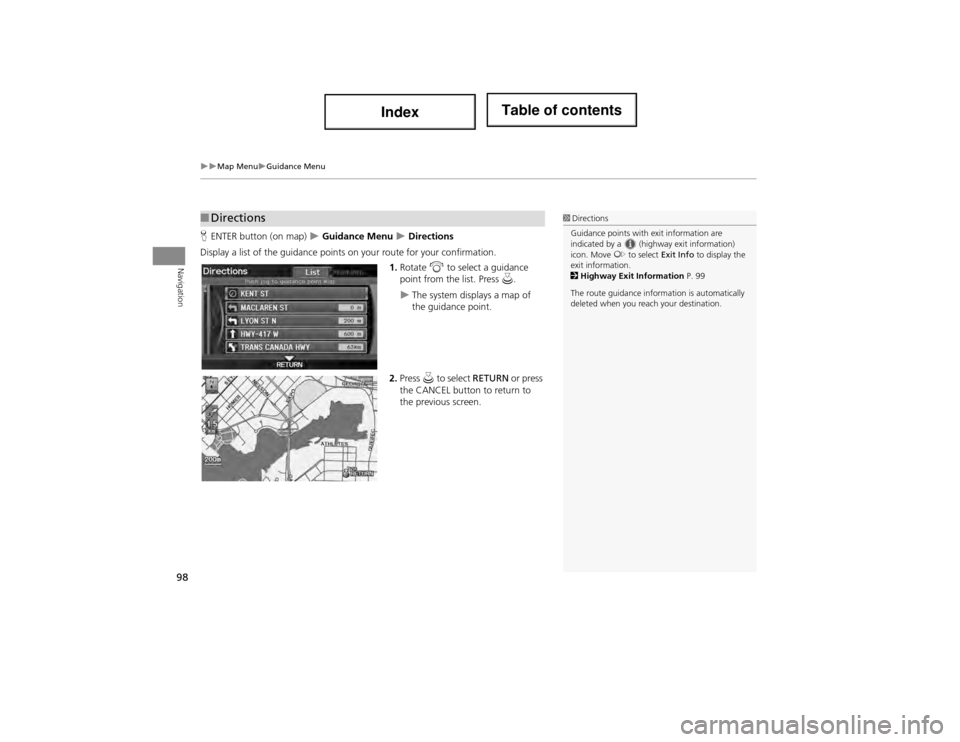
HENTER button (on map) Guidance Menu Directions
Display a list of the guidance points on your route for your confirmation. 1.Rotate i to select a guidance
point from the list. Press u.
The system displays a map of
the guidance point.
2. Press u to select RETURN or press
the CANCEL button to return to
the previous screen.
■ Directions1 Directions
Guidance points with exit information are
indicated by a (highway exit information)
icon. Move y to select Exit Info to display the
exit information.
2 Highway Exit Information P. 99
The route guidance inform ation is automatically
deleted when you reach your destination.