display Acura MDX 2015 Navigation Manual
[x] Cancel search | Manufacturer: ACURA, Model Year: 2015, Model line: MDX, Model: Acura MDX 2015Pages: 341, PDF Size: 9.42 MB
Page 56 of 341

55
RoutingRoute Preference
System Setup
HSETTINGS button Navi Settings Routing Route Preference
You can select desired routes by sorting th e route list. The three top routes can be
displayed on the Select a route screen.
2Viewing the Routes P. 113
1.Move r and rotate i to select
Optimal Routes . Press u.
2. Rotate i to select a list item to
move. Press u.
3. Rotate i to select a desired
location. Press u.
4. Move r and rotate i to select
OK . Press u.
■Optimal Routes
Page 57 of 341

56
RoutingUnverified Routing
System Setup
Unverified Routing
HSETTINGS button Navi Settings Routing Unverified Routing
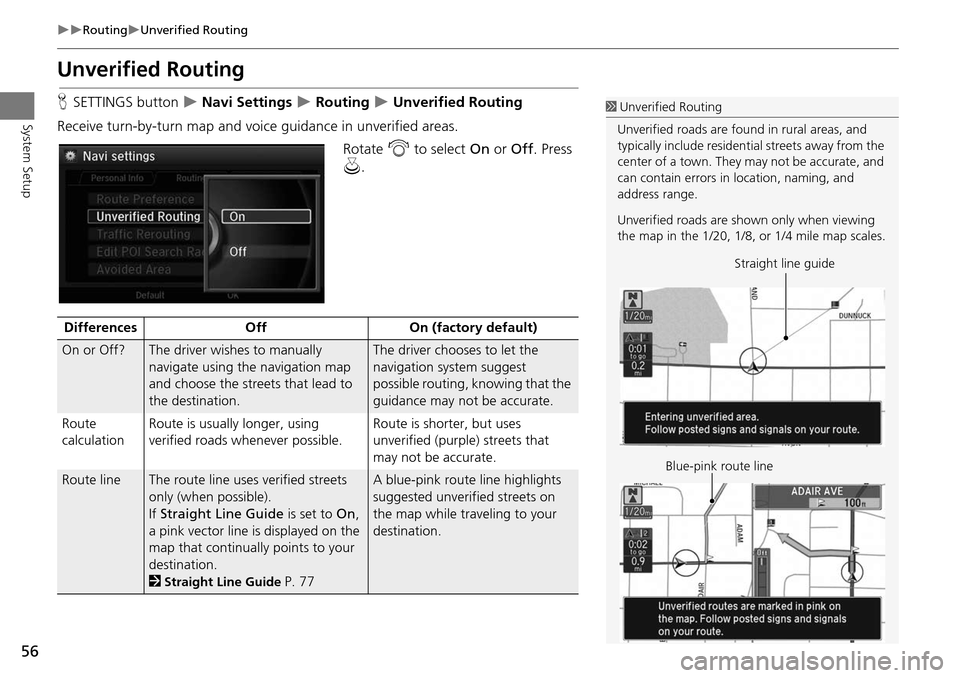
Receive turn-by-turn map and voice guidance in unverified areas. Rotate i to select On or Off . Press
u .1Unverified Routing
Unverified roads are found in rural areas, and
typically include residential streets away from the
center of a town. They may not be accurate, and
can contain errors in location, naming, and
address range.
Unverified roads are s hown only when viewing
the map in the 1/20, 1/8, or 1/4 mile map scales.
Straight line guide
Blue-pink route line
Differences OffOn (factory default)
On or Off?The driver wishes to manually
navigate using the navigation map
and choose the streets that lead to
the destination.The driver chooses to let the
navigation system suggest
possible routing, knowing that the
guidance may not be accurate.
Route
calculation Route is usually longer, using
verified roads whenever possible. Route is shorter, but uses
unverified (purple) streets that
may not be accurate.
Route lineThe route line uses
verified streets
only (when possible).
If Straight Line Guide is set to On,
a pink vector line is displayed on the
map that continually points to your
destination.
2
Straight Line Guide P. 77
A blue-pink route line highlights
suggested unverified streets on
the map while traveling to your
destination.
Page 61 of 341

60
RoutingAvoided Area
System Setup
Avoided Area
HSETTINGS button Navi Settings Routing Avoided Area
Specify up to five areas to avoid (e.g., road construction, closures), if possible, when
the system calculates rout es to your destination.
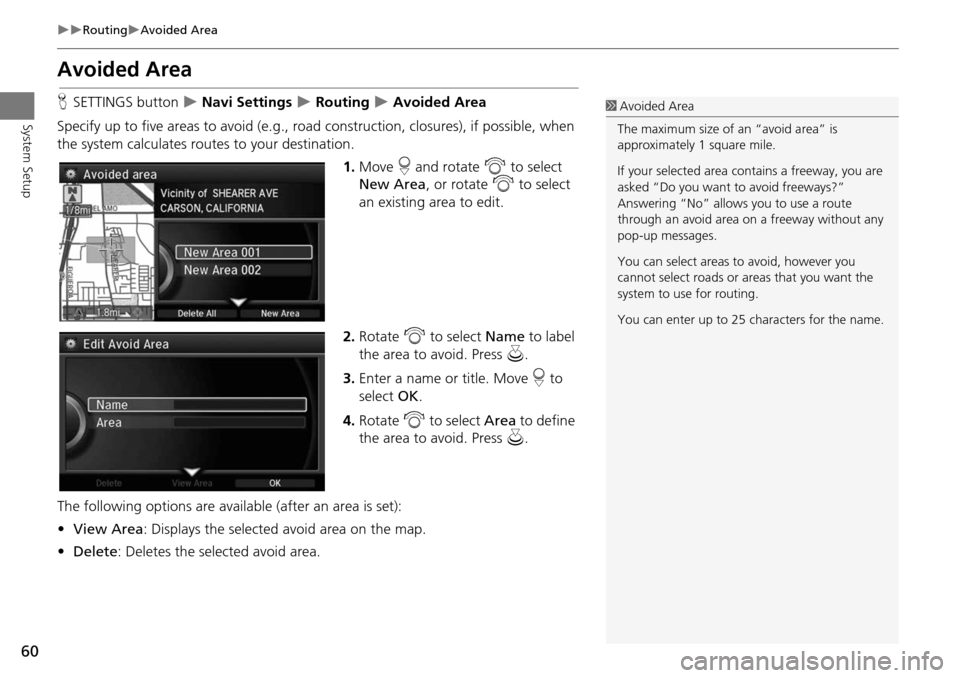
1.Move r and rotate i to select
New Area , or rotate i to select
an existing area to edit.
2. Rotate i to select Name to label
the area to avoid. Press u.
3. Enter a name or title. Move r to
select OK.
4. Rotate i to select Area to define
the area to avoid. Press u.
The following options are availa ble (after an area is set):
• View Area : Displays the selected avoid area on the map.
• Delete : Deletes the selected avoid area.1Avoided Area
The maximum size of an “avoid area” is
approximately 1 square mile.
If your selected area contains a freeway, you are
asked “Do you want to avoid freeways?”
Answering “No” allows you to use a route
through an avoid area on a freeway without any
pop-up messages.
You can select areas to avoid, however you
cannot select roads or areas that you want the
system to use for routing.
You can enter up to 25 ch aracters for the name.
Page 62 of 341

61
RoutingAvoided Area
System Setup5.Rotate i to select a method for
specifying the area. Press u.
The following options are available:
• Address : Specify the general area by entering an address.
2
Address P. 90
• Map Input : Specify the general area by map input.
2
Map Input P. 109
6.If you select Map Input , scroll the
map to position the cursor over
your desired start point, adjusting
the map scale as necessary. Press
u to mark the start point.
To redo the area selection, press
the BACK button.
7. Scroll the map to “draw” the area.
Press u to mark the end point.
8. Press u to select OK.
The area you specify is displayed
in the list of areas to avoid.
1Avoided Area
Avoid area can be set in the 1/20, 1/8, or
1/4 mile map scales.
Cursor
Avoid area
Page 63 of 341

62
System Setup
Guidance
HSETTINGS button Navi Settings Guidance
Choose various settings that determine th e navigation system functionality during
route guidance.
Rotate i to select an item. Press u .
The following item s are available:
• Guidance Mode : Sets whether to display only the map screen or a split map-
guidance screen.
2
Guidance Mode P. 63
• Street Name Guidance : Sets whether to read out the street names during voice
guidance.
2
Street Name Guidance P. 65
• Non-map screens : Sets whether the guidance sc reen interrupts the screen
display.
2
Non-map screens P. 66
• Guidance Point : Sets whether to display the guidance information to the
destination or the next waypoint.
2
Guidance Point P. 67
• Estimated Time : Sets whether to display the remaining time or arrival time to the
guidance point.
2
Estimated Time P. 68
Page 64 of 341

63
GuidanceGuidance Mode
System Setup
Guidance Mode
HSETTINGS button Navi Settings Guidance Guidance mode
Select the display mode for the map and guidance screens. Rotate i to select an option. Press
u .
The following options are available:
• Map (factory default): Displays only the map screen. When you approach a
guidance point, the next guidance point appears.1Guidance Mode
The guidance mode can al so be selected from
the map menu.
2 Map Menu P. 120
Press the NAV button to switch between the
map, next guidance dire ction, and a list of
guidance directions.
Turn-by-Turn Directions
The next guidance point appears on the multi-
information display.
2 Turn-by-Turn Directions P. 10
You can turn this feat ure on or off using the
multi-information display. See the Owner’s
Manual for instructions.
Near the next
guidance point
Map screen Next Maneuver screen
Next guidance point
Continued
Page 65 of 341

64
GuidanceGuidance Mode
System Setup
•Direction List: Displays the map and direction list simultaneously on the map
screen. When you approach a guidance point, the next guidance point appears.
• Next Maneuver : Displays the map and next guidance point simultaneously on
the map screen.
Guidance direction list Near the next
guidance point
Next guidance point
Direction List screen
Next Maneuver screen
Next guidance pointNear the next
guidance point
Next Maneuver screen
Next Maneuver screen
Page 67 of 341

66
GuidanceNon-map screens
System Setup
Non-map screens
HSETTINGS button Navi Settings Guidance Non-map screens
The navigation system temporarily interrupts the screen display to view the guidance
screen as you approach a guidance point.
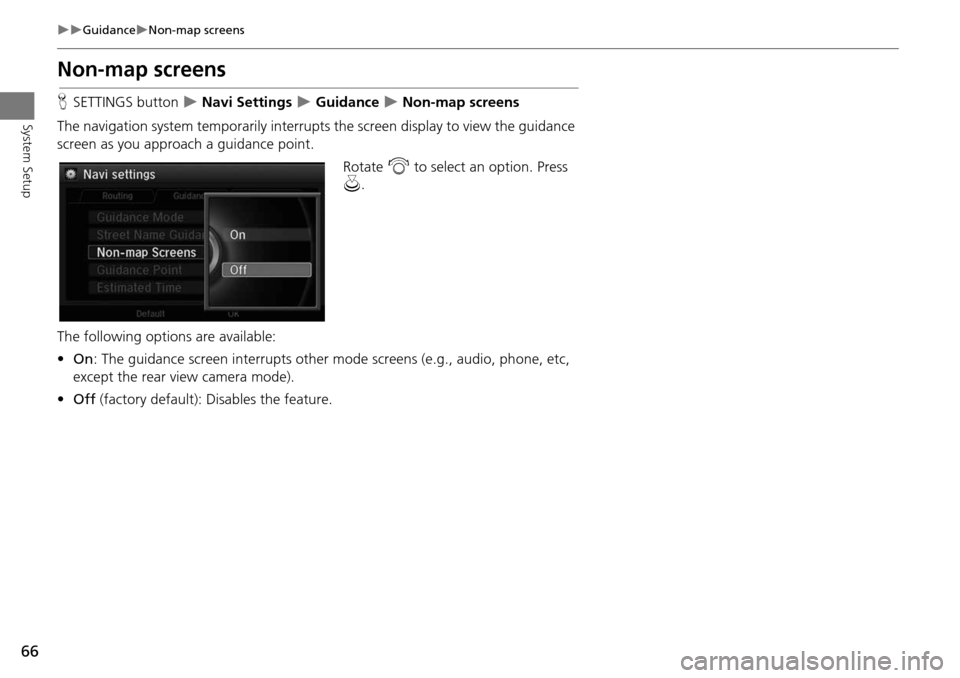
Rotate i to select an option. Press
u .
The following options are available:
• On : The guidance screen interrupts other mode screens (e.g., audio, phone, etc,
except the rear view camera mode).
• Off (factory default): Disables the feature.
Page 68 of 341

67
GuidanceGuidance Point
System Setup
Guidance Point
HSETTINGS button Navi Settings Guidance Guidance Point
Set the guidance point to display on the map screen. Rotate i to select an option. Press
u .
The following options are available:
• Destination (factory default): Displays the remaining/arrival time and distance to
the destination.
• Next Point : Displays the remaining/arrival time and distance to the next
waypoint.
Page 69 of 341

68
GuidanceEstimated Time
System Setup
Estimated Time
HSETTINGS button Navi Settings Guidance Estimated Time
Select the estimated time to display on the screen.
Rotate i to select an option. Press
u .
The following options are available:
• Arrival : Displays the arrival time to the destination or the next waypoint.
• Remaining (factory default): Displays the rema ining time to the destination or the
next waypoint.