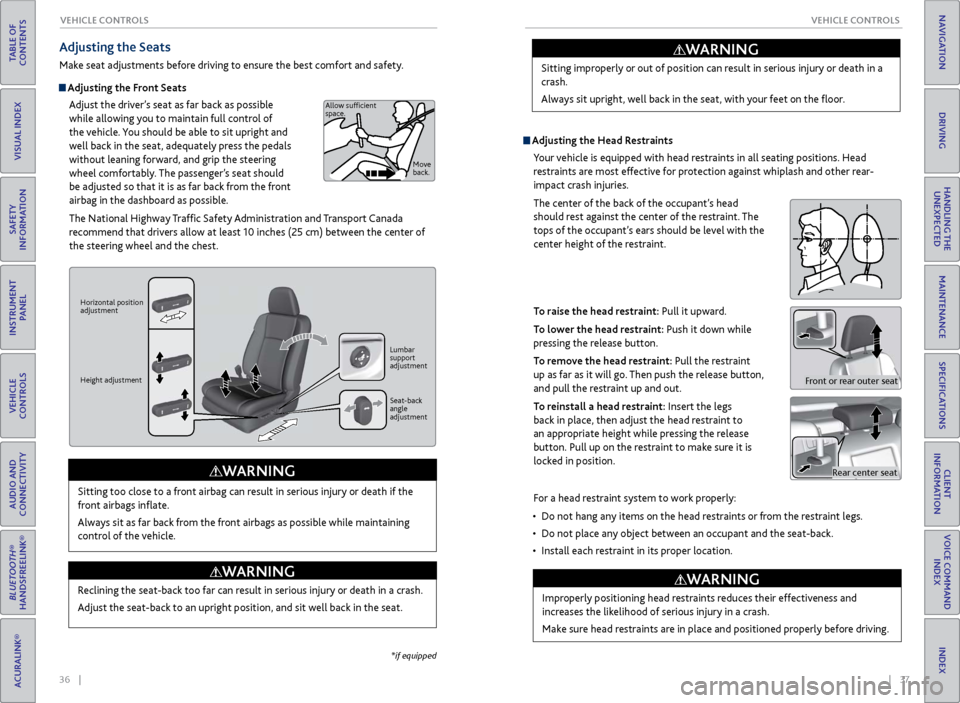
lumbar support Acura RLX 2017 Quick Guide
[x] Cancel search | Manufacturer: ACURA, Model Year: 2017, Model line: RLX, Model: Acura RLX 2017Pages: 73, PDF Size: 7.37 MB
Page 22 of 73

36 || 37
V EHICLE C ONTROLS
V
EHICLE C ONTROLS
TABLE OF
CONTENTS
INDEX
VISUAL INDEX
VOICE COMMAND INDEX
SAFETY
INFORMATION
CLIENT
INFORMATION
INSTRUMENT PANEL
SPECIFICATIONS
VEHICLE
CONTROLS
MAINTENANCE
AUDIO AND
CONNECTIVITY
HANDLING THE UNEXPECTED
BLUETOOTH®
HANDSFREELINK®
DRIVING
ACURALINK®
NAVIGATION
Adjusting the Seats
Make seat adjustments before driving to ensure the best comfort and safety.
Adjusting the Front Seats
Adjust the driver’s seat as far back as possible
while allowing you to maintain full control of
the vehicle. You should be able to sit upright and
well back in the seat, adequately press the pedals
without leaning forward, and grip the steering
wheel comfortably. The passenger’s seat should
be adjusted so that it is as far back from the front
airbag in the dashboard as possible.
The National Highway Traffic Safety Administration and Transport Canada
recommend that drivers allow at least 10 inches (25 cm) between the center of
the steering wheel and the chest.
Sitting too close to a front airbag can result in serious injury or death if the
front airbags inflate.
Always sit as far back from the front airbags as possible while maintaining
control of the vehicle.
WARNING
Allow sufficient
space. Move
back.
Horizontal position
adjustment
Height adjustment Lumbar
support
adjustment
Seat-back
angle
adjustment
Reclining the seat-back too far can result in serious injury or death in a crash.
Adjust the seat-back to an upright position, and sit well back in the seat.
WARNING
*if equipped
Adjusting the
Head Restraints
Your vehicle is equipped with head restraints in all seating positions. Head
restraints are most effective for protection against whiplash and other rear-
impact crash injuries.
The center of the back of the occupant’s head
should rest against the center of the restraint. The
tops of the occupant’s ears should be level with the
center height of the restraint.
To raise the head restraint: Pull it upward.
To lower the head restraint: Push it down while
pressing the release button.
To remove the head restraint: Pull the restraint
up as far as it will go. Then push the release button,
and pull the restraint up and out.
To reinstall a head restraint: Insert the legs
back in place, then adjust the head restraint to
an appropriate height while pressing the release
button. Pull up on the restraint to make sure it is
locked in position. Sitting improperly or out of position can result in serious injury or death in a
crash.
Always sit upright, well back in the seat, with your feet on the floor.
WARNING
Rear center seat
Front or rear outer seat
For a head restraint system to work properly:
•
Do not hang an
y items on the head restraints or from the restraint legs.
•
Do not place an
y object between an occupant and the seat-back.
•
Install each r
estraint in its proper location.
Improperly positioning head restraints reduces their effectiveness and
increases the likelihood of serious injury in a crash.
Make sure head restraints are in place and positioned properly before driving.
WARNING
Page 59 of 73

110 || 111
HANDLING THE UNEXPECTED
HANDLING THE UNEXPECTED
TABLE OF
CONTENTS
INDEX
VISUAL INDEX
VOICE COMMAND INDEX
SAFETY
INFORMATION
CLIENT
INFORMATION
INSTRUMENT PANEL
SPECIFICATIONS
VEHICLE
CONTROLS
MAINTENANCE
AUDIO AND
CONNECTIVITY
HANDLING THE UNEXPECTED
BLUETOOTH®
HANDSFREELINK®
DRIVING
ACURALINK®
NAVIGATION
*if equipped
Passenger’s Side Interior Fuse Box
Located on the lower side panel. Remove the cover to open.
Fuse label Cover
Circuit ProtectedAmps1��2Front Seat Heaters/AVS20
A
3Rear Passenger’s Side
Power Window20 A
4Front Passenger’s Lumbar
Support7.5A
5��6��
7Passenger’s Power Seat Sliding20A
8Passenger’s Power Seat
Reclining20A
9Rear Seat Heater s*(20 A)10��11Fly Start15A
12 Accessory Power Socket
(Console Compartment) 20
A
13 Accessory Power Socket
(Center Pocket) 20
A
14 AS ECU 7.5 A
15 Glove Box 7.5 A
16 � �
17 � �
18 Front Passenger’s Power
Window 20
A
19 SRS1 10A
*1: Models without surround view camera
system
*2: Models with surround view camera
system
20
ABS/VSA 7.5 A
21 � �
22 e-pretensioner
*(7.5 A)
23 � �
24 SRS2 7.5 A
25 Illumination 7.5 A
26 Right e-pretensione r
*(20A )
27 Heated Steering Wheel*10A
28 Audio AMP 30
A*1
40 A*2
Circuit Protecte d Amps
Circuit Protected Amps
1 � �
2 Front Seat Heaters/AVS 20A
3 Rear Passenger’s Side
Power Window 20
A
4 Front Passenger’s Lumbar
Support 7.5A
5 � �
6 � �
7 Passenger’s Power Seat
Sliding 20
A
8 Passenger’s Power Seat
Reclining 20
A
9 Rear Seat Heater s
*(20 A)
10 � �
11 Fly Start 15A
12Accessory Power Socket
(Console Compartment)20 A
13Accessory Power Socket
(Center Pocket)20A
14AS ECU7.5 A15Glove Box7.5 A16��17��
18Front Passenger’s Power
Window20A
19SRS110A
*1: Models without surround view camera
system
*2: Models with surround view camera
system
20ABS/VSA7.5 A21��22e-pretensioner*(7.5 A)23��24SRS27.5 A25Illumination7.5 A26Right e-pretensione r*(20A )27Heated Steering Wheel*10A
28Audio AMP30 A*1
40 A*2
Circuit Protecte dAmps
Inspecting and Changing Fuses
1.
Turn off the
vehicle, including the headlights and
all accessories.
2.
R
emove the fuse box cover.
3.
Check all
fuses inside the combined fuse case in
the engine compartment. If any fuse is blown,
use a Phillips-head screwdriver to remove the
screw and replace the fuse with a new one.
4.
Inspect
the small fuses in the engine
compartment and the vehicle interior. If there is
a burned out fuse, remove it with the fuse puller
and replace it with a new one.
Replacing a fuse with one that has a higher rating greatly increases the chances
of damaging the electrical system.
NOTICE
Blown fuse
Combined fuse Blown
fuse
Fuse puller