ignition Acura TSX 2011 Navigation Manual
[x] Cancel search | Manufacturer: ACURA, Model Year: 2011, Model line: TSX, Model: Acura TSX 2011Pages: 253, PDF Size: 22.88 MB
Page 22 of 253

20
System Setup
Start-up
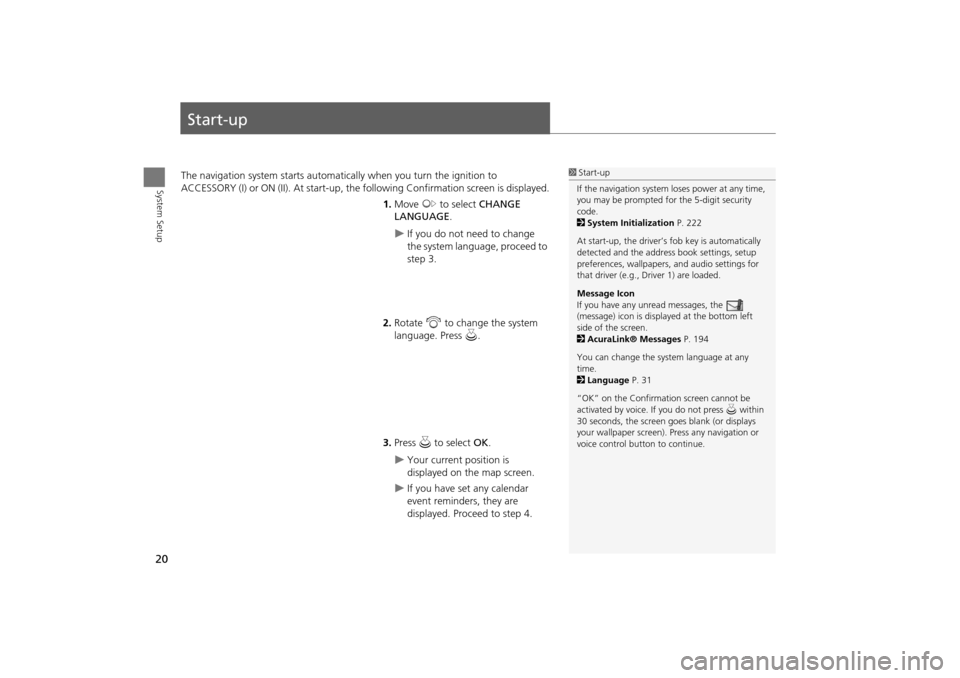
The navigation system starts automatically when you turn the ignition to
ACCESSORY (I) or ON (II). At start-up, the fo llowing Confirmation screen is displayed.
1. Move y to select CHANGE
LANGUAGE .
If you do not need to change
the system language, proceed to
step 3.
2. Rotate i to change the system
language. Press u.
3. Press u to select OK.
Your current position is
displayed on the map screen.
If you have set any calendar
event reminders, they are
displayed. Proceed to step 4.
1Start-up
If the navigation system loses power at any time,
you may be prompted for the 5-digit security
code.
2 System Initialization P. 222
At start-up, the driver’s fob key is automatically
detected and the addres s book settings, setup
preferences, wallpapers, and audio settings for
that driver (e.g., Driver 1) are loaded.
Message Icon
If you have any unread messages, the
(message) icon is displayed at the bottom left
side of the screen.
2 AcuraLink® Messages P. 194
You can change the system language at any
time.
2 Language P. 31
“OK” on the Confirmati on screen cannot be
activated by voice. If you do not press u within
30 seconds, the screen goes blank (or displays
your wallpaper screen). Pr ess any navigation or
voice control button to continue.
TSX_KA-31TL1820.book Page 20 Wednesday, September 22, 2010 3:17 PM
Page 32 of 253

30
Interface SettingsColor
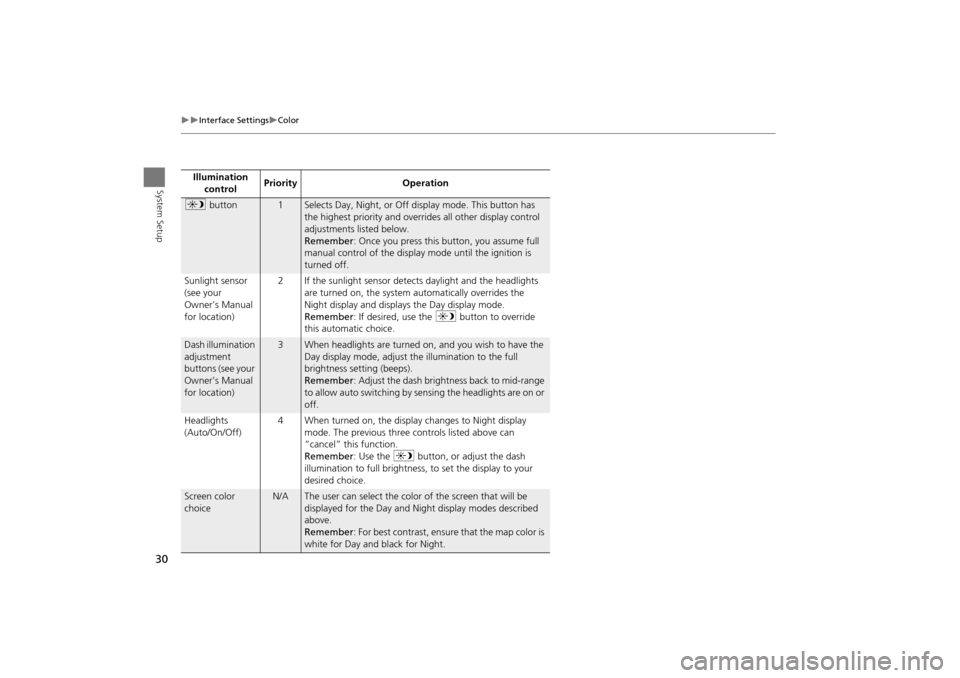
System SetupIllumination control Priority Operation
a
button1Selects Day, Night, or Off display mode. This button has
the highest priority and overrides all other display control
adjustments listed below.
Remember : Once you press this button, you assume full
manual control of the display mode until the ignition is
turned off.
Sunlight sensor
(see your
Owner’s Manual
for location) 2 If the sunlight sensor detects daylight and the headlights
are turned on, the system automatically overrides the
Night display and displays the Day display mode.
Remember : If desired, use the a button to override
this automatic choice.
Dash illumination
adjustment
buttons (see your
Owner’s Manual
for location)3When headlights are turned on, and you wish to have the
Day display mode, adjust the illumination to the full
brightness setting (beeps).
Remember : Adjust the dash brightness back to mid-range
to allow auto switching by sensing the headlights are on or
off.
Headlights
(Auto/On/Off) 4 When turned on, the display changes to Night display
mode. The previous three controls listed above can
“cancel” this function.
Remember : Use the a button, or adjust the dash
illumination to full brightness, to set the display to your
desired choice.
Screen color
choiceN/AThe user can select the color of the screen that will be
displayed for the Day and Night display modes described
above.
Remember : For best contrast, ensure that the map color is
white for Day and black for Night.
TSX_KA-31TL1820.book Page 30 Wednesday, September 22, 2010 3:17 PM
Page 187 of 253

185
Bluetooth® HandsFreeLink®Making a Call
Bluetooth® HandsFreeLink®
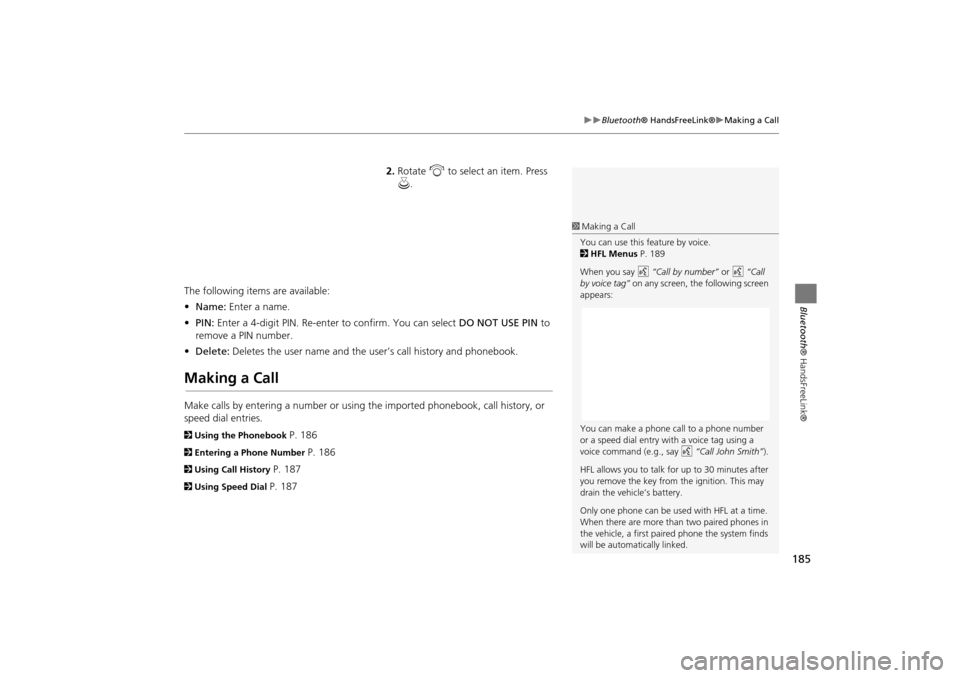
2.Rotate i to select an item. Press
u .
The following items are available:
• Name: Enter a name.
• PIN: Enter a 4-digit PIN. Re-enter to confirm. You can select DO NOT USE PIN to
remove a PIN number.
• Delete: Deletes the user name and the user’s call history and phonebook.
Making a Call
Make calls by entering a number or using the imported phonebook, call history, or
speed dial entries.
2Using the Phonebook P. 186
2Entering a Phone Number P. 186
2Using Call History P. 187
2Using Speed Dial P. 187
1Making a Call
You can use this feature by voice.
2 HFL Menus P. 189
When you say d “Call by number” or d “Call
by voice tag” on any screen, the following screen
appears:
You can make a phone call to a phone number
or a speed dial entry with a voice tag using a
voice command (e.g., say d “Call John Smith” ).
HFL allows you to talk for up to 30 minutes after
you remove the key from the ignition. This may
drain the vehicle’s battery.
Only one phone can be used with HFL at a time.
When there are more than two paired phones in
the vehicle, a first paired phone the system finds
will be automatically linked.
TSX_KA-31TL1820.book Page 185 Wednesday, September 22, 2010 3:17 PM
Page 191 of 253

189
Bluetooth® HandsFreeLink®HFL Menus
Bluetooth ® HandsFreeLink®
HFL Menus
Use HFL when the vehicle’s ignition is in the ACCESSORY (I) or ON (II) position.
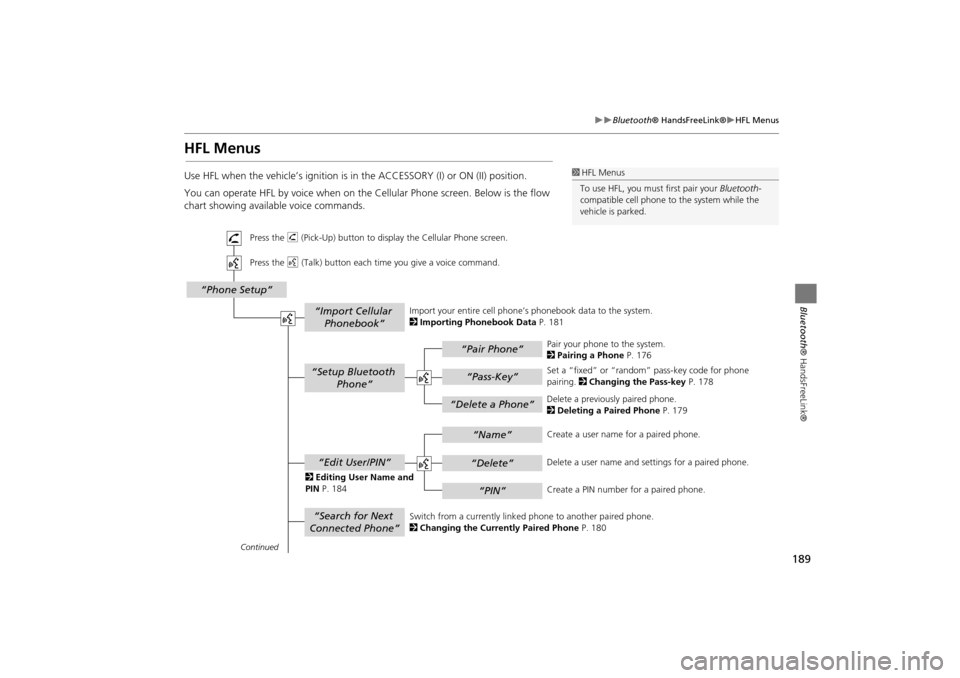
You can operate HFL by voice when on the Cellular Phone screen. Below is the flow
chart showing available voice commands.1HFL Menus
To use HFL, you must first pair your Bluetooth-
compatible cell phone to the system while the
vehicle is parked.
“Pair Phone”
“Delete a Phone”
“Name”
“Delete”
“PIN”
“Edit User/PIN”
“Setup Bluetooth Phone”
“Search for Next
Connected Phone”
“Phone Setup”
“Import Cellular Phonebook”
“Pass-Key”
Continued
Press the h (Pick-Up) button to display the Cellular Phone screen.
Press the d (Talk) button each time you give a voice command.
Pair your phone to the system.
2Pairing a Phone P. 176
Set a “fixed” or “random” pass-key code for phone
pairing. 2Changing the Pass-key P. 178
Delete a previously paired phone.
2 Deleting a Paired Phone P. 179
Switch from a currently linked phone to another paired phone.
2 Changing the Currently Paired Phone P. 180
Create a user name
for a paired phone.
Delete a user name and settings for a paired phone.
Create a PIN number for a paired phone.
Import your entire
cell phone’s phonebook data to the system.
2 Importing Phonebook Data P. 181
2 Editing User Name and
PIN P. 184
TSX_KA-31TL1820.book Page 189 Wednesday, September 22, 2010 3:17 PM