engine BMW ACTIVE HYBRID 7 2015 F01H Owner's Guide
[x] Cancel search | Manufacturer: BMW, Model Year: 2015, Model line: ACTIVE HYBRID 7, Model: BMW ACTIVE HYBRID 7 2015 F01HPages: 262, PDF Size: 5.34 MB
Page 121 of 262
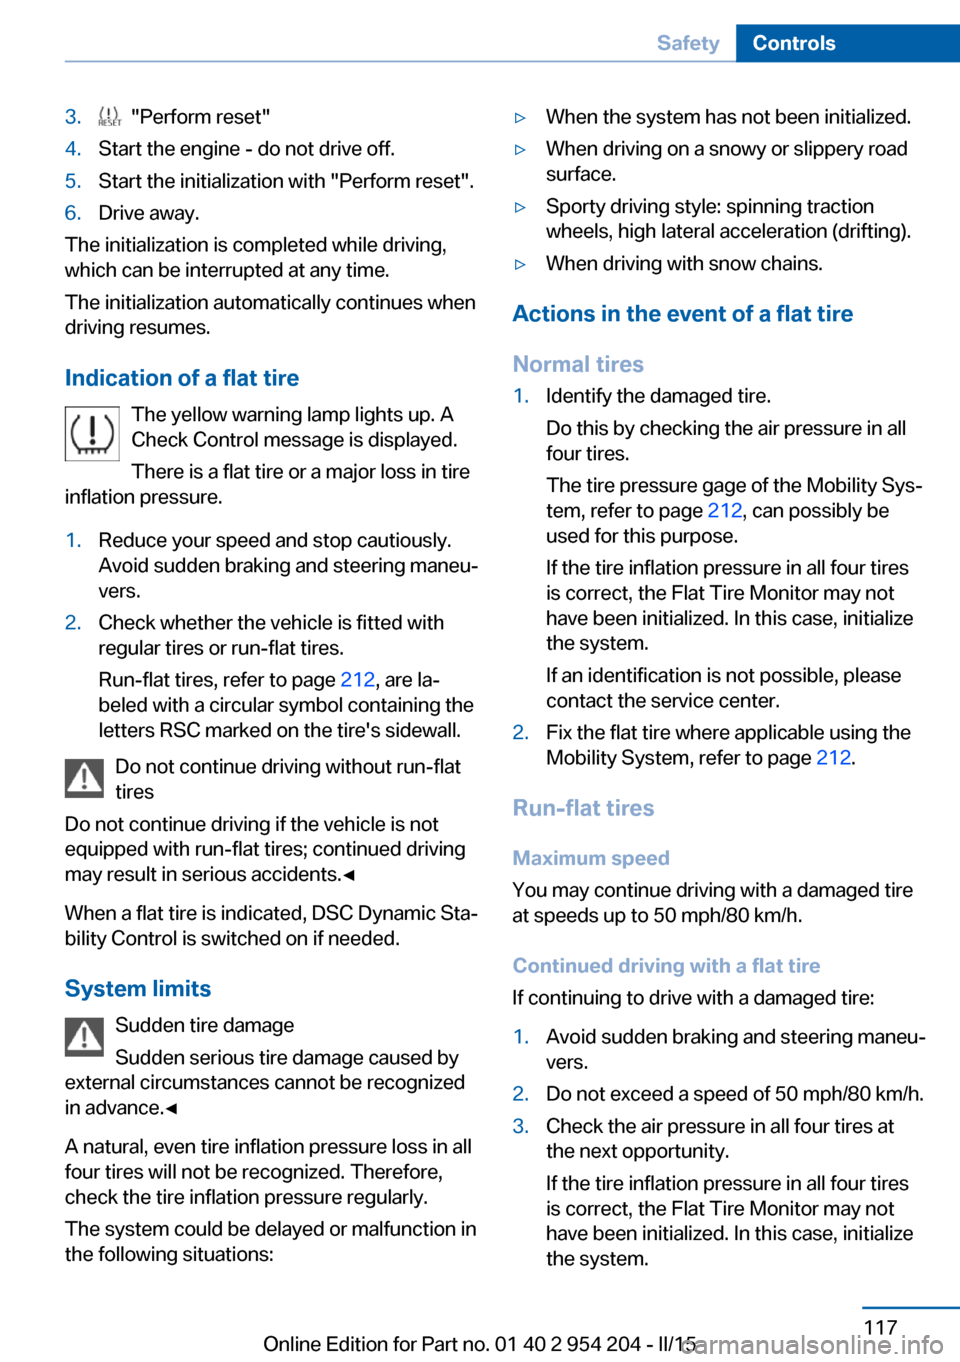
3. "Perform reset"4.Start the engine - do not drive off.5.Start the initialization with "Perform reset".6.Drive away.
The initialization is completed while driving,
which can be interrupted at any time.
The initialization automatically continues when
driving resumes.
Indication of a flat tire The yellow warning lamp lights up. A
Check Control message is displayed.
There is a flat tire or a major loss in tire
inflation pressure.
1.Reduce your speed and stop cautiously.
Avoid sudden braking and steering maneu‐
vers.2.Check whether the vehicle is fitted with
regular tires or run-flat tires.
Run-flat tires, refer to page 212, are la‐
beled with a circular symbol containing the
letters RSC marked on the tire's sidewall.
Do not continue driving without run-flat
tires
Do not continue driving if the vehicle is not
equipped with run-flat tires; continued driving
may result in serious accidents.◀
When a flat tire is indicated, DSC Dynamic Sta‐
bility Control is switched on if needed.
System limits Sudden tire damage
Sudden serious tire damage caused by
external circumstances cannot be recognized
in advance.◀
A natural, even tire inflation pressure loss in all
four tires will not be recognized. Therefore,
check the tire inflation pressure regularly.
The system could be delayed or malfunction in
the following situations:
▷When the system has not been initialized.▷When driving on a snowy or slippery road
surface.▷Sporty driving style: spinning traction
wheels, high lateral acceleration (drifting).▷When driving with snow chains.
Actions in the event of a flat tire
Normal tires
1.Identify the damaged tire.
Do this by checking the air pressure in all
four tires.
The tire pressure gage of the Mobility Sys‐
tem, refer to page 212, can possibly be
used for this purpose.
If the tire inflation pressure in all four tires
is correct, the Flat Tire Monitor may not
have been initialized. In this case, initialize
the system.
If an identification is not possible, please
contact the service center.2.Fix the flat tire where applicable using the
Mobility System, refer to page 212.
Run-flat tires
Maximum speed
You may continue driving with a damaged tire
at speeds up to 50 mph/80 km/h.
Continued driving with a flat tire
If continuing to drive with a damaged tire:
1.Avoid sudden braking and steering maneu‐
vers.2.Do not exceed a speed of 50 mph/80 km/h.3.Check the air pressure in all four tires at
the next opportunity.
If the tire inflation pressure in all four tires
is correct, the Flat Tire Monitor may not
have been initialized. In this case, initialize
the system.Seite 117SafetyControls117
Online Edition for Part no. 01 40 2 954 204 - II/15
Page 123 of 262
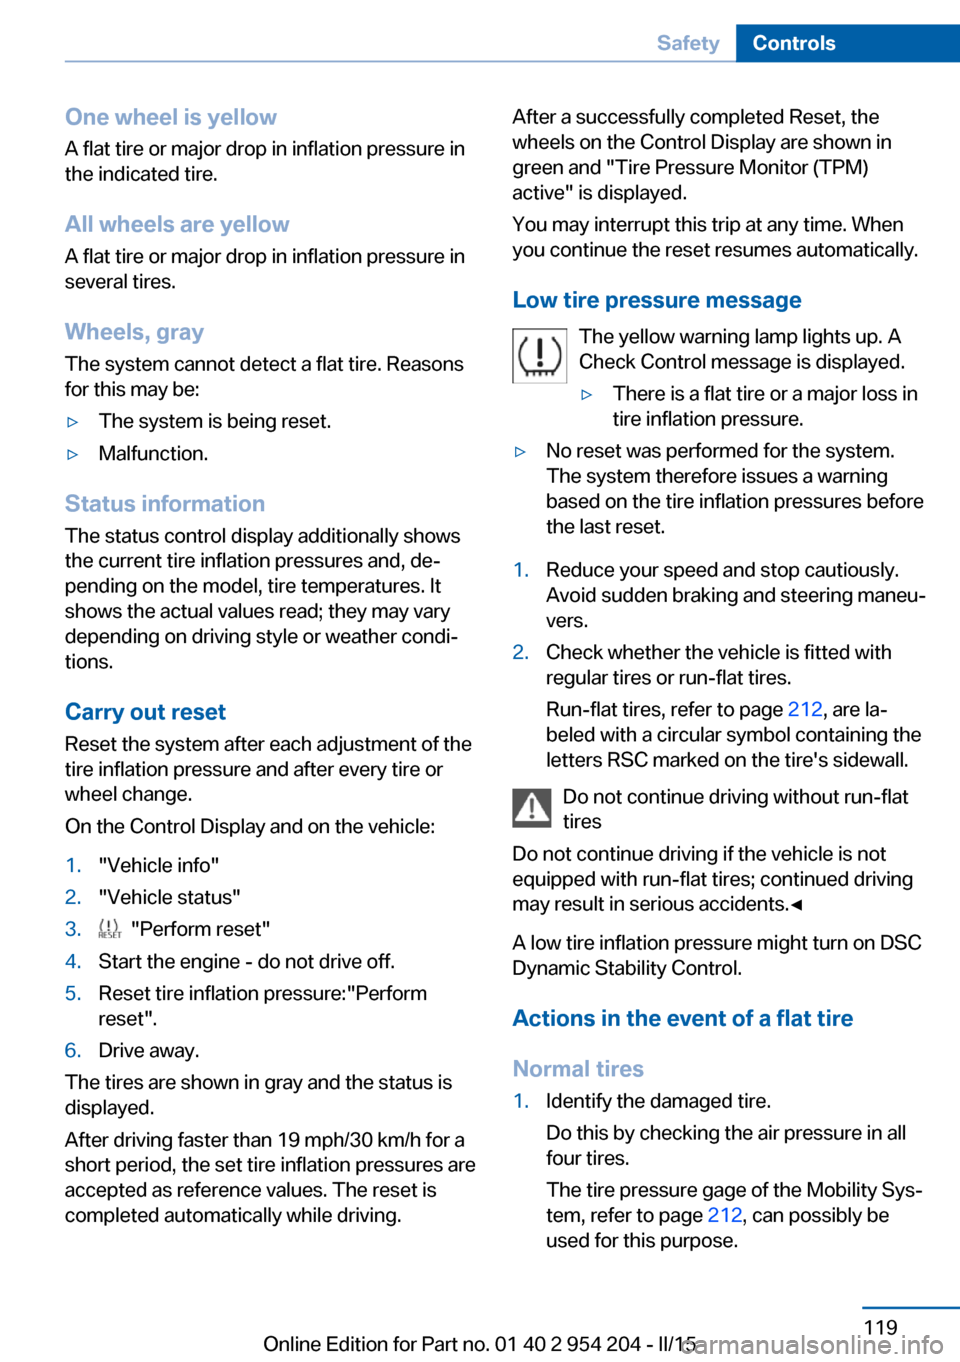
One wheel is yellowA flat tire or major drop in inflation pressure in
the indicated tire.
All wheels are yellow
A flat tire or major drop in inflation pressure in
several tires.
Wheels, gray
The system cannot detect a flat tire. Reasons
for this may be:▷The system is being reset.▷Malfunction.
Status information
The status control display additionally shows
the current tire inflation pressures and, de‐
pending on the model, tire temperatures. It
shows the actual values read; they may vary depending on driving style or weather condi‐
tions.
Carry out reset Reset the system after each adjustment of the
tire inflation pressure and after every tire or
wheel change.
On the Control Display and on the vehicle:
1."Vehicle info"2."Vehicle status"3. "Perform reset"4.Start the engine - do not drive off.5.Reset tire inflation pressure:"Perform
reset".6.Drive away.
The tires are shown in gray and the status is
displayed.
After driving faster than 19 mph/30 km/h for a
short period, the set tire inflation pressures are
accepted as reference values. The reset is
completed automatically while driving.
After a successfully completed Reset, the
wheels on the Control Display are shown in
green and "Tire Pressure Monitor (TPM)
active" is displayed.
You may interrupt this trip at any time. When
you continue the reset resumes automatically.
Low tire pressure message The yellow warning lamp lights up. A
Check Control message is displayed.▷There is a flat tire or a major loss in
tire inflation pressure.▷No reset was performed for the system.
The system therefore issues a warning
based on the tire inflation pressures before
the last reset.1.Reduce your speed and stop cautiously.
Avoid sudden braking and steering maneu‐
vers.2.Check whether the vehicle is fitted with
regular tires or run-flat tires.
Run-flat tires, refer to page 212, are la‐
beled with a circular symbol containing the
letters RSC marked on the tire's sidewall.
Do not continue driving without run-flat
tires
Do not continue driving if the vehicle is not
equipped with run-flat tires; continued driving
may result in serious accidents.◀
A low tire inflation pressure might turn on DSC
Dynamic Stability Control.
Actions in the event of a flat tireNormal tires
1.Identify the damaged tire.
Do this by checking the air pressure in all
four tires.
The tire pressure gage of the Mobility Sys‐
tem, refer to page 212, can possibly be
used for this purpose.Seite 119SafetyControls119
Online Edition for Part no. 01 40 2 954 204 - II/15
Page 126 of 262
tems that can help prevent a imminent colli‐
sion. These systems are active automatically
every time the engine is started using the
Start/Stop button:▷Front-end collision warning, refer to
page 123.▷Pedestrian warning, refer to page 128.
Hints
Personal responsibility
The system does not serve as a substi‐
tute for the driver's personal judgment of the
traffic situation.
Be aware of the traffic situation and the vehi‐
cle's surroundings at all times, otherwise acci‐
dents are still possible despite all warnings.◀
Adapting your speed and driving style
The displays and warnings of the system
do not relieve the driver of the responsibility to
adapt his or her driving speed and style to the
traffic conditions.◀
Be alert
Due to system limitations, warnings may
be not issued at all, or may be issued late or
improperly. Therefore, always be alert and ready to intervene; otherwise, there is the risk
of an accident.◀
Tow-starting and towing
For tow-starting or towing, switch off the
Intelligent Safety systems; otherwise malfunc‐
tions of the individual braking systems might
lead to accidents.◀
At a glance
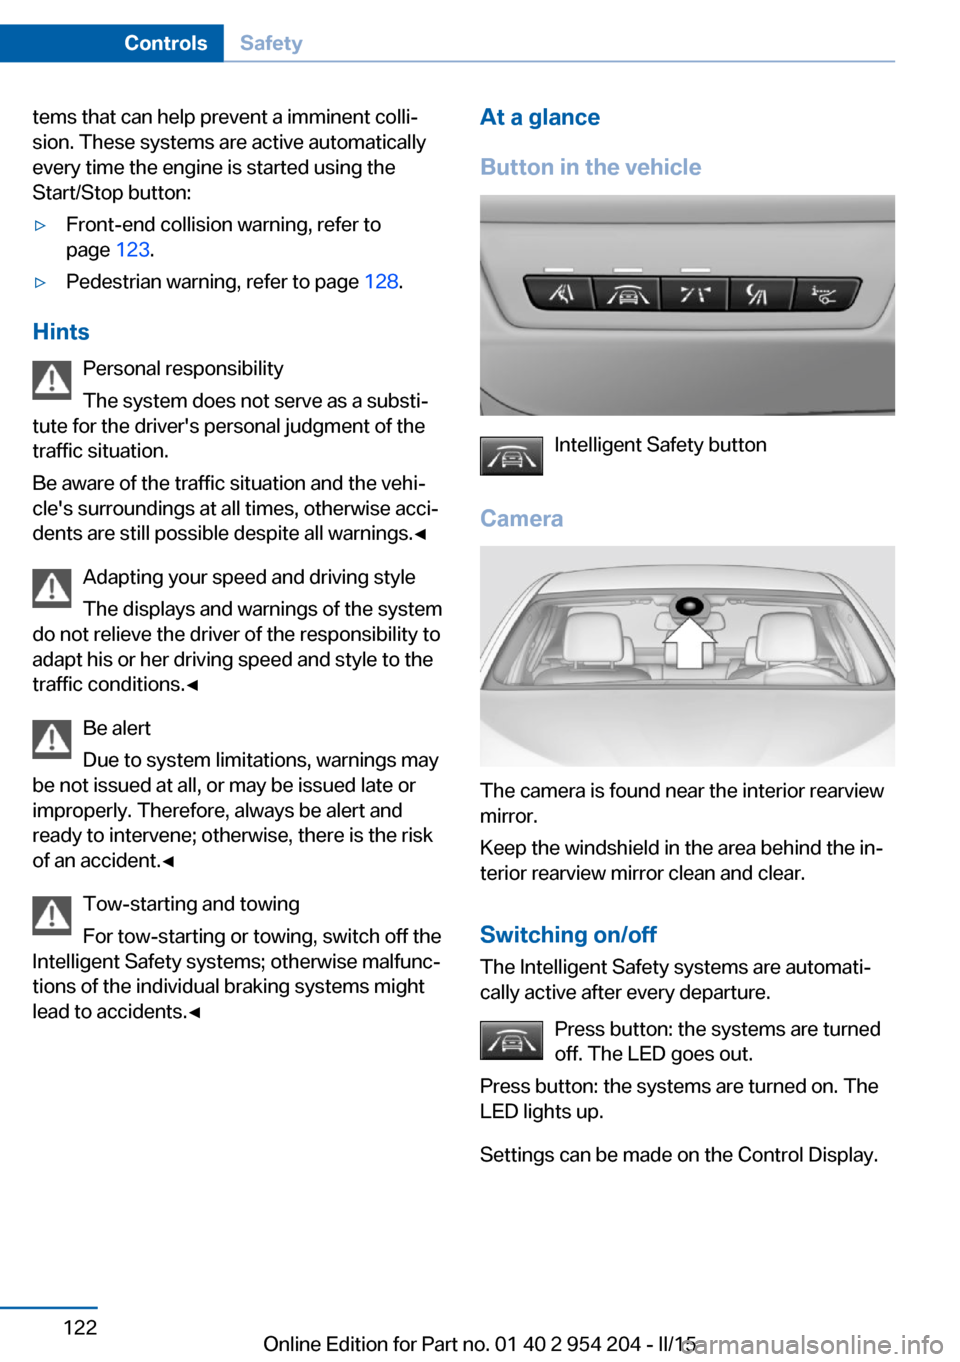
Button in the vehicle
Intelligent Safety button
Camera
The camera is found near the interior rearview
mirror.
Keep the windshield in the area behind the in‐
terior rearview mirror clean and clear.
Switching on/offThe Intelligent Safety systems are automati‐
cally active after every departure.
Press button: the systems are turned
off. The LED goes out.
Press button: the systems are turned on. The
LED lights up.
Settings can be made on the Control Display.
Seite 122ControlsSafety122
Online Edition for Part no. 01 40 2 954 204 - II/15
Page 136 of 262
Environmental influences can limit the availa‐
bility of object detection.
If the vehicle systems detect that the vehicle is
located in a residential area, the animal detec‐
tion is temporarily switched off.
Hints Personal responsibility
Night Vision cannot replace the driver's
personal judgment of the visibility conditions
and the traffic situation. The view ahead and
the actual visibility conditions must always be
the basis on which the vehicle speed is ad‐
justed; otherwise, there is a risk to road
safety.◀
Overview
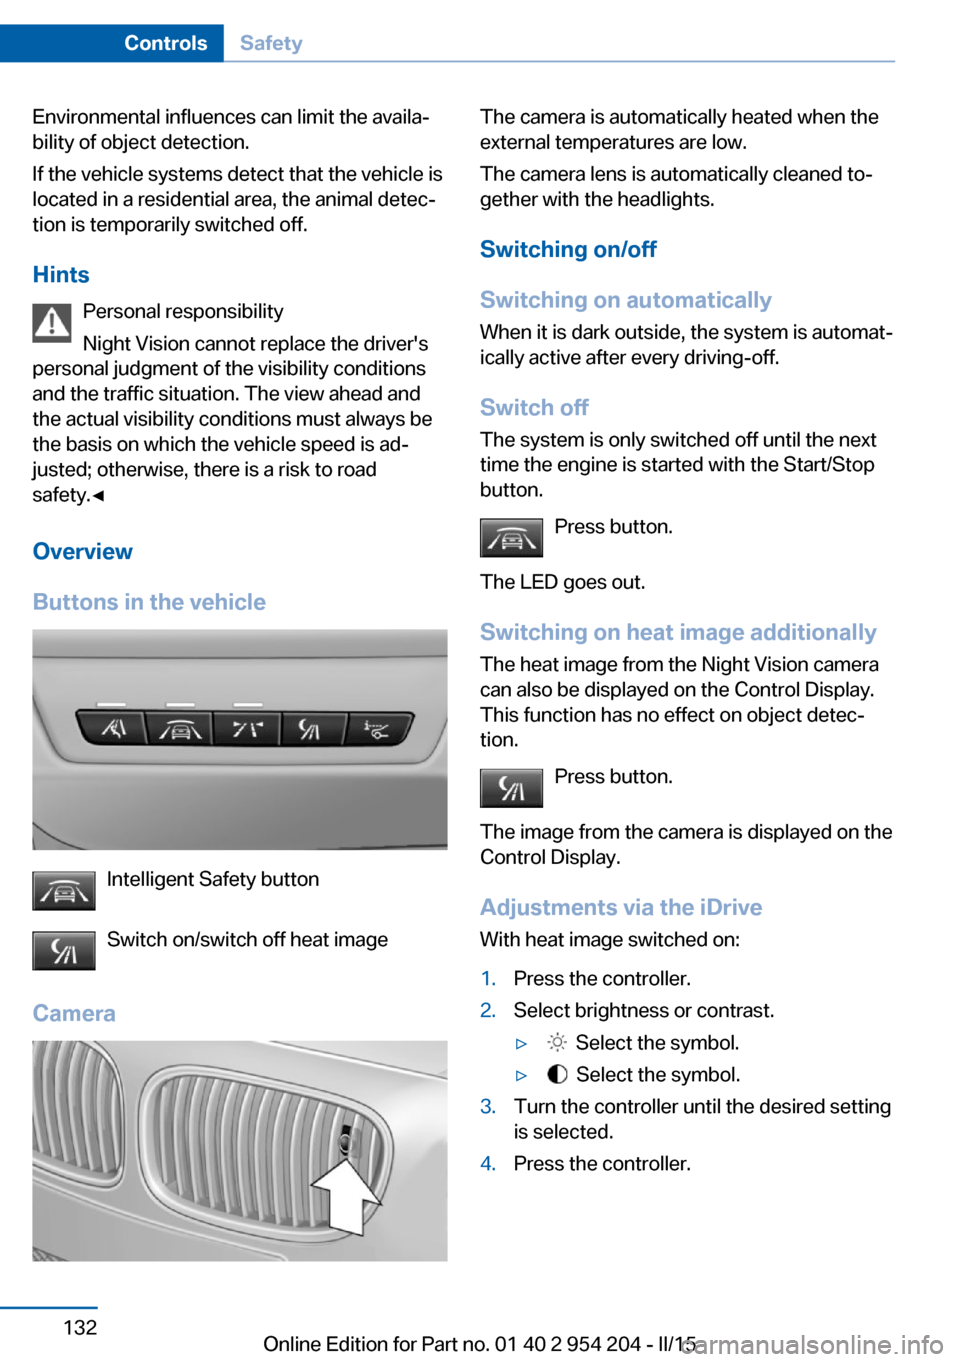
Buttons in the vehicle
Intelligent Safety button
Switch on/switch off heat image
Camera
The camera is automatically heated when the
external temperatures are low.
The camera lens is automatically cleaned to‐
gether with the headlights.
Switching on/off
Switching on automatically When it is dark outside, the system is automat‐
ically active after every driving-off.
Switch off
The system is only switched off until the next
time the engine is started with the Start/Stop
button.
Press button.
The LED goes out. Switching on heat image additionally
The heat image from the Night Vision camera
can also be displayed on the Control Display.
This function has no effect on object detec‐
tion.
Press button.
The image from the camera is displayed on the
Control Display.
Adjustments via the iDrive
With heat image switched on:1.Press the controller.2.Select brightness or contrast.▷ Select the symbol.▷ Select the symbol.3.Turn the controller until the desired setting
is selected.4.Press the controller.Seite 132ControlsSafety132
Online Edition for Part no. 01 40 2 954 204 - II/15
Page 141 of 262
Commission regulations. Operation is gov‐
erned by the following:
FCC ID:▷NBG009014A.
Compliance statement:
This device complies with part 15 of the FCC
Rules. Operation is subject to the following
two conditions:
▷This device may not cause harmful inter‐
ference, and▷this device must accept any interference
received, including interference that may
cause undesired operation.
Any unauthorized modifications or changes to
these devices could void the user's authority to
operate this equipment.
Brake force display
The concept
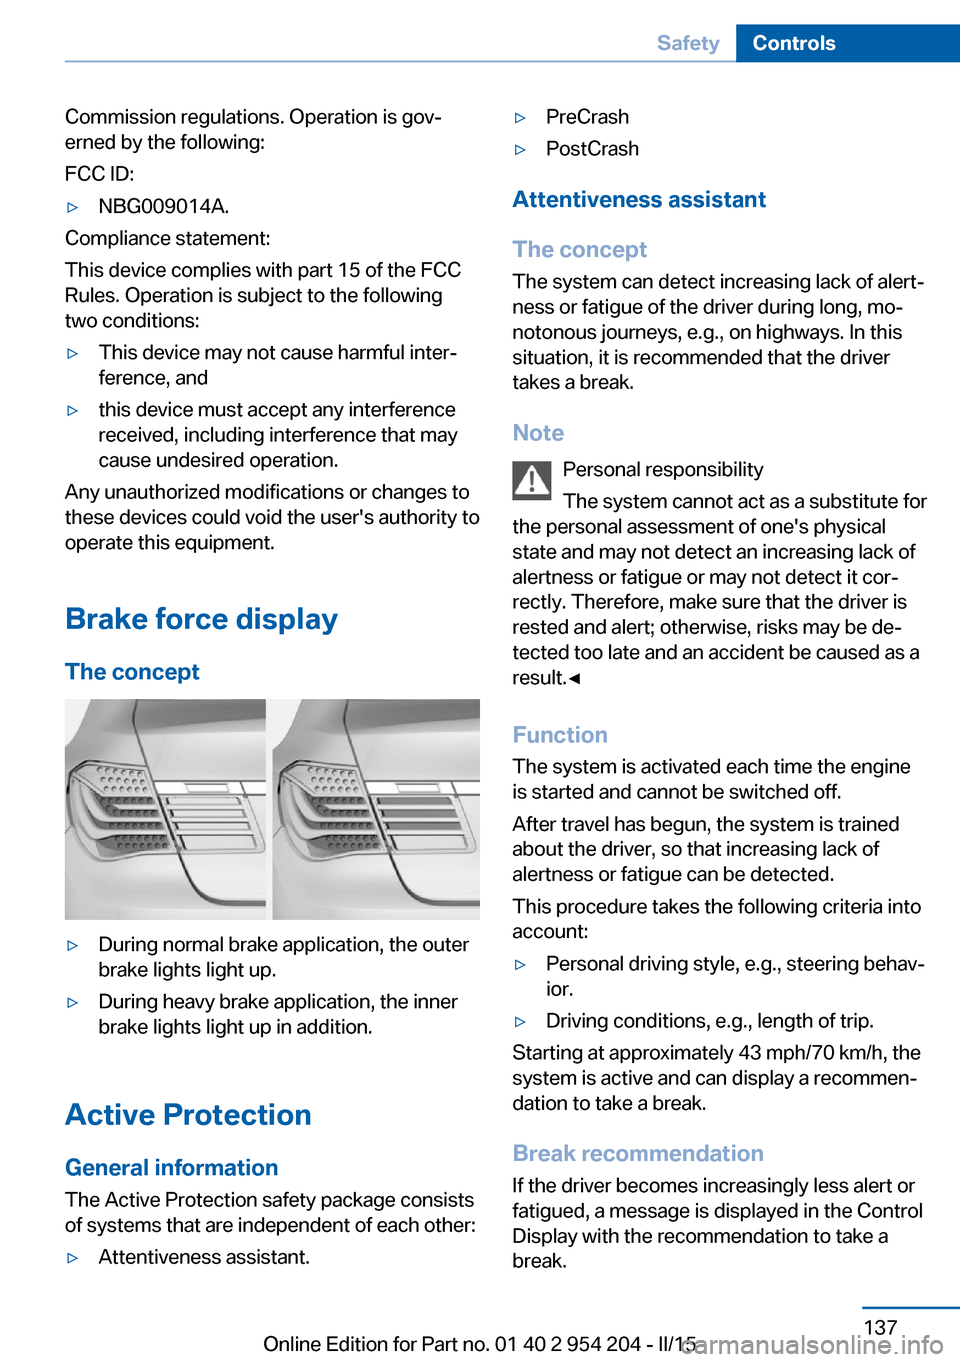
▷During normal brake application, the outer
brake lights light up.▷During heavy brake application, the inner
brake lights light up in addition.
Active Protection
General information
The Active Protection safety package consists
of systems that are independent of each other:
▷Attentiveness assistant.▷PreCrash▷PostCrash
Attentiveness assistant
The concept The system can detect increasing lack of alert‐
ness or fatigue of the driver during long, mo‐
notonous journeys, e.g., on highways. In this situation, it is recommended that the driver
takes a break.
Note Personal responsibility
The system cannot act as a substitute for
the personal assessment of one's physical
state and may not detect an increasing lack of
alertness or fatigue or may not detect it cor‐
rectly. Therefore, make sure that the driver is
rested and alert; otherwise, risks may be de‐
tected too late and an accident be caused as a
result.◀
Function
The system is activated each time the engine
is started and cannot be switched off.
After travel has begun, the system is trained
about the driver, so that increasing lack of
alertness or fatigue can be detected.
This procedure takes the following criteria into
account:
▷Personal driving style, e.g., steering behav‐
ior.▷Driving conditions, e.g., length of trip.
Starting at approximately 43 mph/70 km/h, the
system is active and can display a recommen‐
dation to take a break.
Break recommendation
If the driver becomes increasingly less alert or
fatigued, a message is displayed in the Control
Display with the recommendation to take a
break.
Seite 137SafetyControls137
Online Edition for Part no. 01 40 2 954 204 - II/15
Page 144 of 262
Driving stability control systemsVehicle features and optionsThis chapter describes all standard, country-
specific and optional features offered with the
series. It also describes features that are not
necessarily available in your car, e. g., due to
the selected options or country versions. This
also applies to safety-related functions and
systems. The respectively applicable country
provisions must be observed when using the
respective features and systems.
Antilock Brake System ABS ABS prevents locking of the wheels during
braking.
The vehicle contains its steering power even
during full brake applications, thus increasing
active safety.
ABS is operational every time you start the en‐
gine.
Brake assistant When you apply the brakes rapidly, this system
automatically produces the greatest possible
braking force boost. It reduces the braking dis‐
tance to a minimum during emergency stop.
This system utilizes all of the benefits provided
by ABS.
Do not reduce the pressure on the brake pedal
for the duration of the emergency stop.
Adaptive brake assistant In combination with the Active Cruise Control,
this system ensures that the brakes respond
even more rapidly when braking in critical sit‐
uations.Drive-off assistant
This system supports driving off on inclines.
The parking brake is not required.1.Hold the vehicle in place with the foot
brake.2.Release the foot brake and drive off with‐
out delay.
After the foot brake is released, the vehicle is
held in place for approx. 2 seconds.
Depending on the vehicle load, the vehicle may
roll back slightly.
Driving off without delay
After releasing the foot brake, start driv‐
ing without delay, since the drive-off assistant
will not hold the vehicle in place for more than
approx. 2 seconds and the vehicle will begin to
roll back.◀
DSC Dynamic Stability
Control
The concept DSC prevents traction loss in the power
wheels when driving off and accelerating.
DSC also recognizes unstable vehicle condi‐
tions such as fishtailing or nose-diving. Within
the physical limits DSC helps to keep the vehi‐
cle on a steady course by reducing engine
speed and by applying brakes to the individual
wheels.
Note Adjust your driving style to the situation
An appropriate driving style is always the
responsibility of the driver.
The laws of physics cannot be repealed, not
even with DSC.
Seite 140ControlsDriving stability control systems140
Online Edition for Part no. 01 40 2 954 204 - II/15
Page 148 of 262
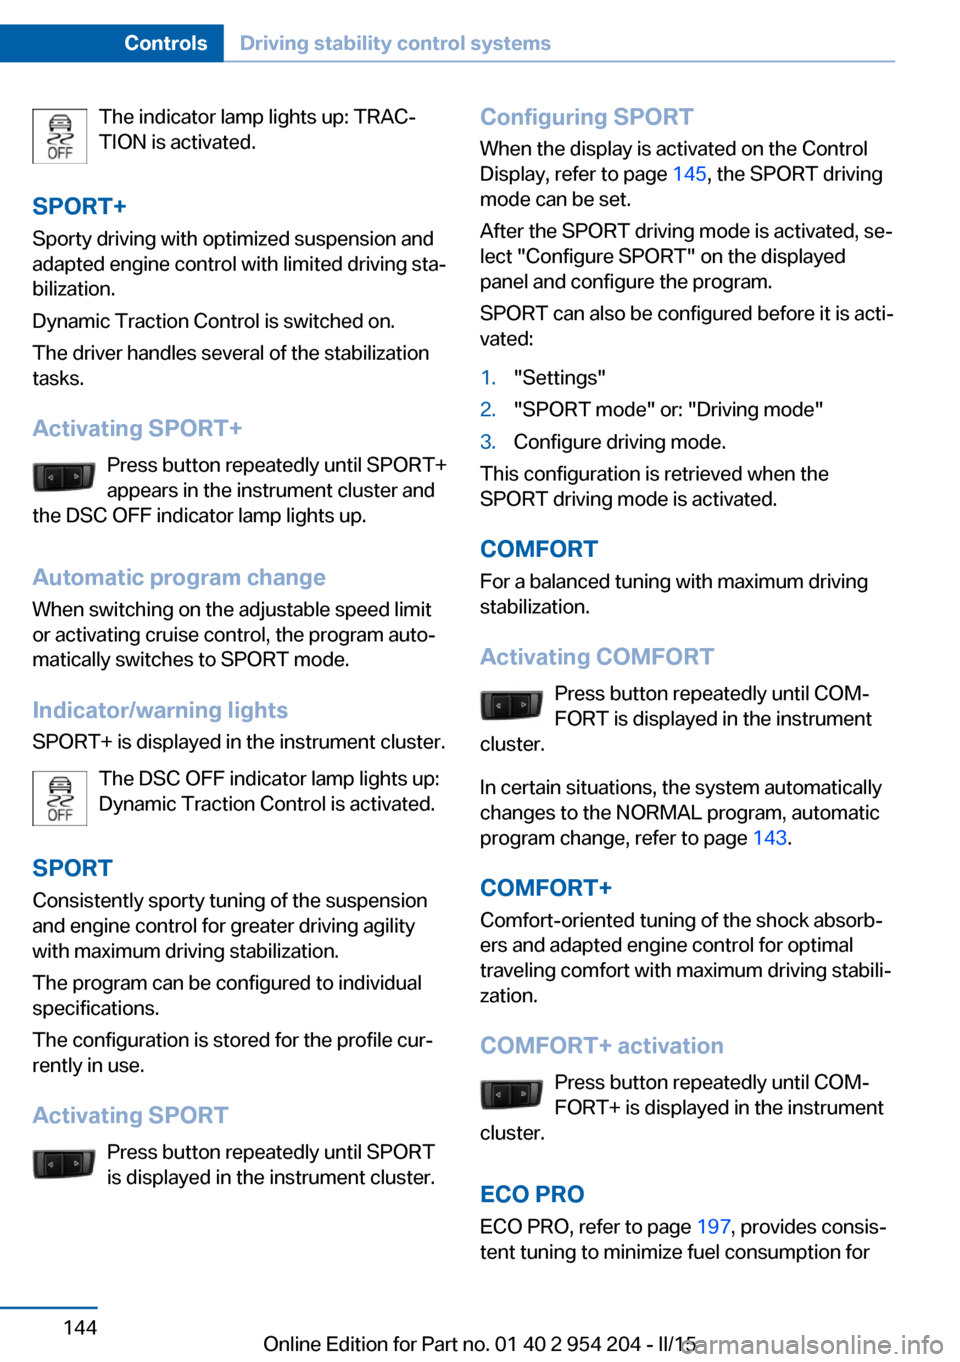
The indicator lamp lights up: TRAC‐
TION is activated.
SPORT+ Sporty driving with optimized suspension and
adapted engine control with limited driving sta‐
bilization.
Dynamic Traction Control is switched on.
The driver handles several of the stabilization
tasks.
Activating SPORT+ Press button repeatedly until SPORT+
appears in the instrument cluster and
the DSC OFF indicator lamp lights up.
Automatic program change When switching on the adjustable speed limit
or activating cruise control, the program auto‐
matically switches to SPORT mode.
Indicator/warning lights
SPORT+ is displayed in the instrument cluster.
The DSC OFF indicator lamp lights up:
Dynamic Traction Control is activated.
SPORT
Consistently sporty tuning of the suspension
and engine control for greater driving agility
with maximum driving stabilization.
The program can be configured to individual
specifications.
The configuration is stored for the profile cur‐
rently in use.
Activating SPORT Press button repeatedly until SPORT
is displayed in the instrument cluster.Configuring SPORT
When the display is activated on the Control
Display, refer to page 145, the SPORT driving
mode can be set.
After the SPORT driving mode is activated, se‐
lect "Configure SPORT" on the displayed
panel and configure the program.
SPORT can also be configured before it is acti‐
vated:1."Settings"2."SPORT mode" or: "Driving mode"3.Configure driving mode.
This configuration is retrieved when the
SPORT driving mode is activated.
COMFORT For a balanced tuning with maximum driving
stabilization.
Activating COMFORT Press button repeatedly until COM‐
FORT is displayed in the instrument
cluster.
In certain situations, the system automatically
changes to the NORMAL program, automatic
program change, refer to page 143.
COMFORT+
Comfort-oriented tuning of the shock absorb‐ ers and adapted engine control for optimal
traveling comfort with maximum driving stabili‐
zation.
COMFORT+ activation Press button repeatedly until COM‐
FORT+ is displayed in the instrument
cluster.
ECO PROECO PRO, refer to page 197, provides consis‐
tent tuning to minimize fuel consumption for
Seite 144ControlsDriving stability control systems144
Online Edition for Part no. 01 40 2 954 204 - II/15
Page 149 of 262
maximum range with maximum driving stabili‐
zation.
Comfort functions and the engine controller
are adjusted.
Hybrid operation makes it possible to drive
with more electrical power.
The program can be configured to individual
specifications.
Activating ECO PRO Press button repeatedly until ECO
PRO is displayed in the instrument
cluster.
Configuring ECO PRO1.Activate ECO PRO.2."Configure ECO PRO"
Make the desired settings.
Displays in the instrument cluster
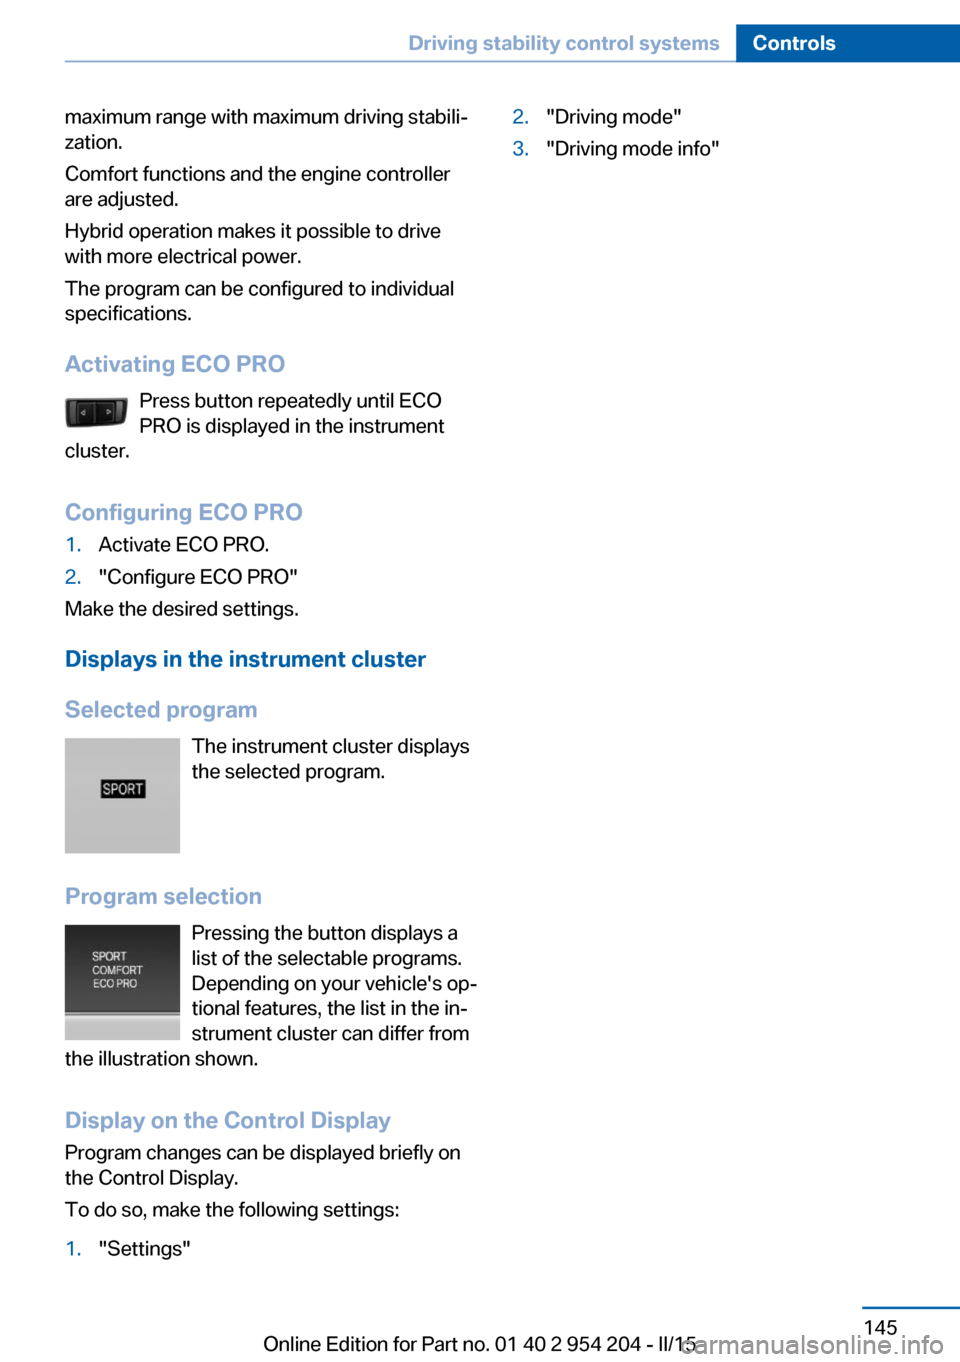
Selected program The instrument cluster displays
the selected program.
Program selection Pressing the button displays a
list of the selectable programs.
Depending on your vehicle's op‐
tional features, the list in the in‐
strument cluster can differ from
the illustration shown.
Display on the Control DisplayProgram changes can be displayed briefly on
the Control Display.
To do so, make the following settings:
1."Settings"2."Driving mode"3."Driving mode info"Seite 145Driving stability control systemsControls145
Online Edition for Part no. 01 40 2 954 204 - II/15
Page 150 of 262
Driving comfortVehicle features and options
This chapter describes all standard, country-
specific and optional features offered with the
series. It also describes features that are not
necessarily available in your car, e. g., due to
the selected options or country versions. This
also applies to safety-related functions and
systems. The respectively applicable country
provisions must be observed when using the
respective features and systems.
Active Cruise Control with Stop & Go function, ACC
The concept
Use this system to select a desired speed that
the vehicle will maintain automatically on clear
roads.
To the extent possible, the system automati‐
cally adjusts the speed to a slower vehicle
ahead of you.
The distance that the vehicle maintains to the
vehicle ahead of you can be varied.
For safety reasons, it depends on the speed.
To maintain a certain distance, the system au‐
tomatically reduces the speed, applies the
brakes lightly, or accelerates again if the vehi‐
cle ahead begins moving faster.
If the vehicle ahead of you brakes to a halt, and
then proceeds to drive again within a brief pe‐
riod, the system is able to detect this within the
given system limits. Your own vehicle will
brake automatically and then accelerate again.
If the vehicle ahead of you drives away again
after a prolonged period, briefly press the ac‐
celerator pedal or press the appropriate button
to reactivate the system. The vehicle will auto‐
matically accelerate.As soon as the road is clear, the vehicle accel‐
erates to the desired speed.
The speed is also maintained downhill, but
may not be maintained uphill if engine power is
insufficient.
General information
Depending on the driving settings, the features
of the cruise control can change in certain
areas.
Hints Personal responsibility
Even an active system holds the driver
responsible for his or her driving, particularly
for staying in your lane, adjusting your speed,
keeping your distance and for your driving
style all in relation to traffic.
Technically the system has its limits, it cannot
independently react to all traffic situations.
Monitor your driving, be on the alert, observe
the vehicle surroundings and other traffic and
react when needed, e.g. through braking,
steering or make evasive maneuvers - risk of
accident.◀
Unfavorable weather conditions
In the event of unfavorable weather and
light conditions, e. g. if there is rain, snowfall,
slush, fog or glare, this may result in poorer
recognition of vehicles as well as short-term
interruptions for vehicles that are already de‐
tected. Drive attentively, and react to the cur‐
rent traffic situation. Intervene actively when
necessary, e.g., by braking, steering or making
an evasive maneuver, otherwise, there is the
risk of an accident.◀Seite 146ControlsDriving comfort146
Online Edition for Part no. 01 40 2 954 204 - II/15
Page 151 of 262
Before leaving the vehicle, secure it
against moving on its own.
Before leaving the vehicle with the engine run‐
ning: set the parking brake and ensure that the
Steptronic transmission is in position P. Other‐
wise, the vehicle may begin to move.◀
At a glance
Buttons on the steering wheelPress but‐
tonFunctionCruise control on/off, interrupt‐
ing, refer to page 147.Store/maintain speed, refer to
page 148.Resume speed, refer to
page 149.Reduce distance, refer to
page 149.Increase distance, refer to
page 149.rocker switch:
Maintain, store, change speed,
refer to page 148.
Buttons are arranged according to vehicle's
series, optional features and country specifica‐
tions.
Radar sensor
A radar sensor is located in the front bumper for detecting vehicles on the road ahead of the
vehicle.
A dirty or covered sensor may prevent the de‐
tection of vehicles.
▷If necessary, clean the radar sensor. Re‐
move layers of snow and ice carefully.▷Do not cover the view field of the radar
sensor.
Camera
The camera is found near the interior rearview
mirror.
Keep the windshield in the area behind the in‐
terior rearview mirror clean and clear.
A dirty or covered area in front of the interior
mirror may hinder the detection of vehicles.
If necessary, clean the area in front of the inte‐
rior mirror, e.g., carefully remove salt residue in
the winter.
Switching on/off and interrupting
cruise control
Switching on Press button on the steering wheel.
Seite 147Driving comfortControls147
Online Edition for Part no. 01 40 2 954 204 - II/15