ECO mode BMW M6 CONVERTIBLE 2013 F12 Owner's Guide
[x] Cancel search | Manufacturer: BMW, Model Year: 2013, Model line: M6 CONVERTIBLE, Model: BMW M6 CONVERTIBLE 2013 F12Pages: 222, PDF Size: 7.3 MB
Page 179 of 222
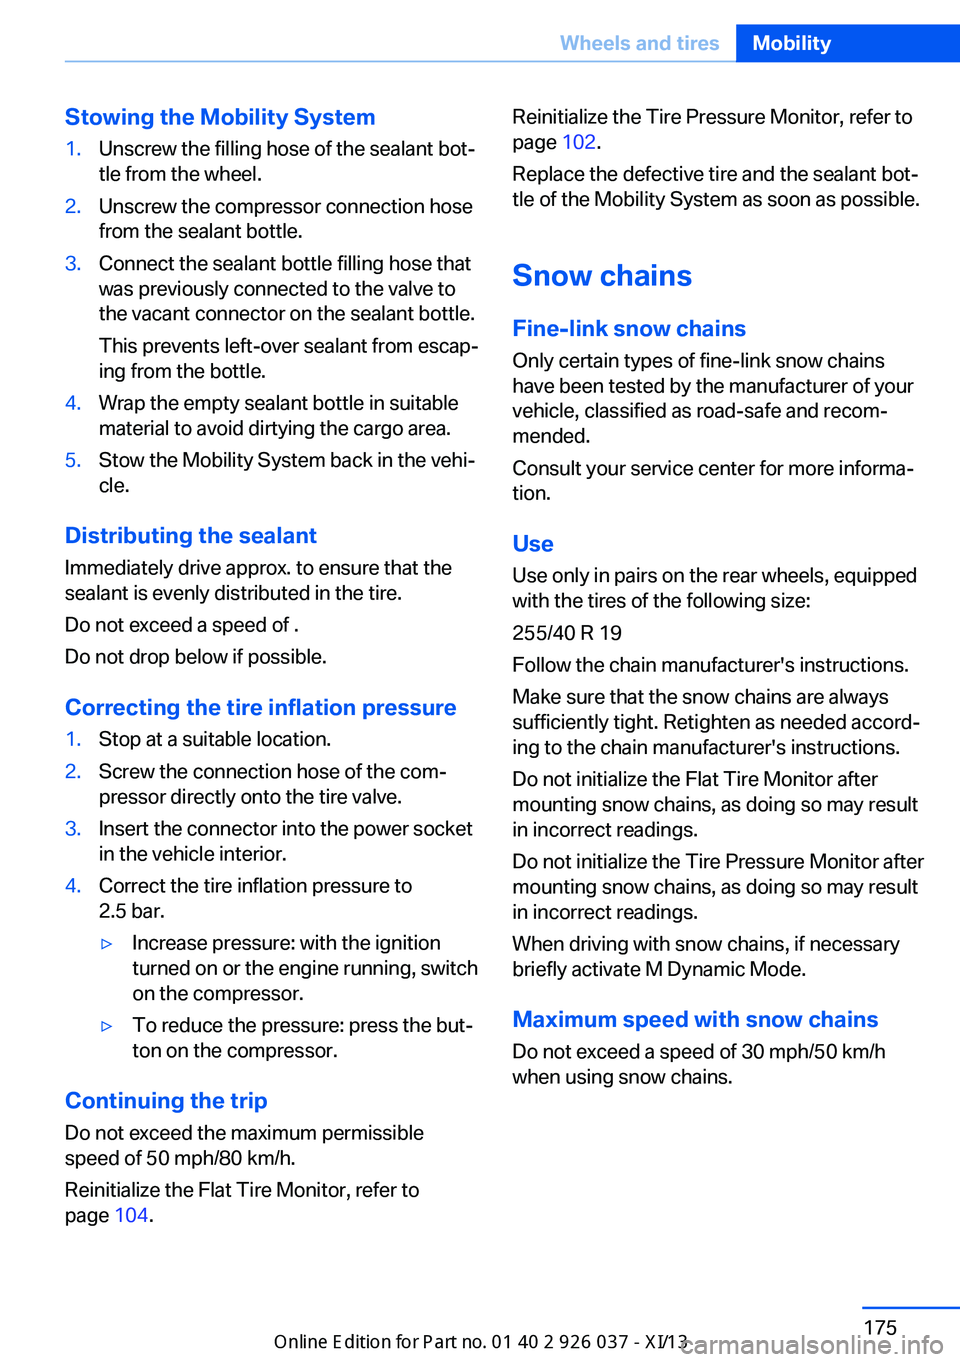
Stowing the Mobility System1.Unscrew the filling hose of the sealant bot‐
tle from the wheel.2.Unscrew the compressor connection hose
from the sealant bottle.3.Connect the sealant bottle filling hose that
was previously connected to the valve to
the vacant connector on the sealant bottle.
This prevents left-over sealant from escap‐
ing from the bottle.4.Wrap the empty sealant bottle in suitable
material to avoid dirtying the cargo area.5.Stow the Mobility System back in the vehi‐
cle.
Distributing the sealant
Immediately drive approx. to ensure that the
sealant is evenly distributed in the tire.
Do not exceed a speed of .
Do not drop below if possible.
Correcting the tire inflation pressure
1.Stop at a suitable location.2.Screw the connection hose of the com‐
pressor directly onto the tire valve.3.Insert the connector into the power socket
in the vehicle interior.4.Correct the tire inflation pressure to
2.5 bar.▷Increase pressure: with the ignition
turned on or the engine running, switch
on the compressor.▷To reduce the pressure: press the but‐
ton on the compressor.
Continuing the trip
Do not exceed the maximum permissible
speed of 50 mph/80 km/h.
Reinitialize the Flat Tire Monitor, refer to
page 104.
Reinitialize the Tire Pressure Monitor, refer to
page 102.
Replace the defective tire and the sealant bot‐
tle of the Mobility System as soon as possible.
Snow chains
Fine-link snow chains
Only certain types of fine-link snow chains
have been tested by the manufacturer of your
vehicle, classified as road-safe and recom‐
mended.
Consult your service center for more informa‐
tion.
Use Use only in pairs on the rear wheels, equipped
with the tires of the following size:
255/40 R 19
Follow the chain manufacturer's instructions.
Make sure that the snow chains are always
sufficiently tight. Retighten as needed accord‐
ing to the chain manufacturer's instructions.
Do not initialize the Flat Tire Monitor after
mounting snow chains, as doing so may result
in incorrect readings.
Do not initialize the Tire Pressure Monitor after
mounting snow chains, as doing so may result
in incorrect readings.
When driving with snow chains, if necessary
briefly activate M Dynamic Mode.
Maximum speed with snow chains Do not exceed a speed of 30 mph/50 km/h
when using snow chains.Seite 175Wheels and tiresMobility175
Online Edition for Part no. 01 40 2 910 746 - VI/13
Page 186 of 222
MaintenanceVehicle equipment
All standard, country-specific and optional
equipment that is offered in the model series is
described in this chapter. Therefore, equip‐
ment is also described that is not available in a
vehicle, e. g., because of the selected optional
equipment or country variant. This also applies
for safety-related functions and systems.
BMW Maintenance System The maintenance system directs you to re‐
quired maintenance measures and thereby
supports you in maintaining road safety and
the operational reliability of the vehicle.
Condition Based Service
CBS
Sensors and special algorithms take into ac‐
count the driving conditions of your vehicle.
Based on this, Condition Based Service deter‐
mines the maintenance requirements.
The system makes it possible to adapt the
amount of maintenance you need to your user
profile.
Details on the service requirements, refer to
page 85, can be displayed on the Control Dis‐
play.
Service data in the remote control
Information on the required maintenance is
continuously stored in the remote control.
Your service center will read out this data and
suggest the right array of service procedures
for your vehicle.
Therefore, hand your service specialist the re‐
mote control with which the vehicle was driven
most recently.Storage periods
Storage periods during which the vehicle bat‐
tery was disconnected are not taken into ac‐
count.
If this occurs, have a service center update the
time-dependent maintenance procedures,
such as checking brake fluid and, if necessary,
changing the engine oil and the microfilter/
activated-charcoal filter.
Service booklet Perform maintenance work at the service cen‐
ter, and record the work in the service booklet.
The entries are proof of regular maintenance.
Service and Warranty
Information Booklet for US
models and Warranty and
Service Guide Booklet for
Canadian models
Please consult your Service and Warranty In‐
formation Booklet for US models and Warranty
and Service Guide Booklet for Canadian mod‐
els for additional information on service re‐
quirements.
Maintenance and repair should be performed
by your service center. Make sure to have reg‐
ular maintenance procedures recorded in the
vehicle's Service and Warranty Information
Booklet for US models, and in the Warranty
and Service Guide Booklet for Canadian mod‐
els. These entries are proof of regular mainte‐
nance.Seite 182MobilityMaintenance182
Online Edition for Part no. 01 40 2 910 746 - VI/13
Page 188 of 222
Replacing componentsVehicle equipmentAll standard, country-specific and optional
equipment that is offered in the model series is
described in this chapter. Therefore, equip‐
ment is also described that is not available in a
vehicle, e. g., because of the selected optional
equipment or country variant. This also applies
for safety-related functions and systems.
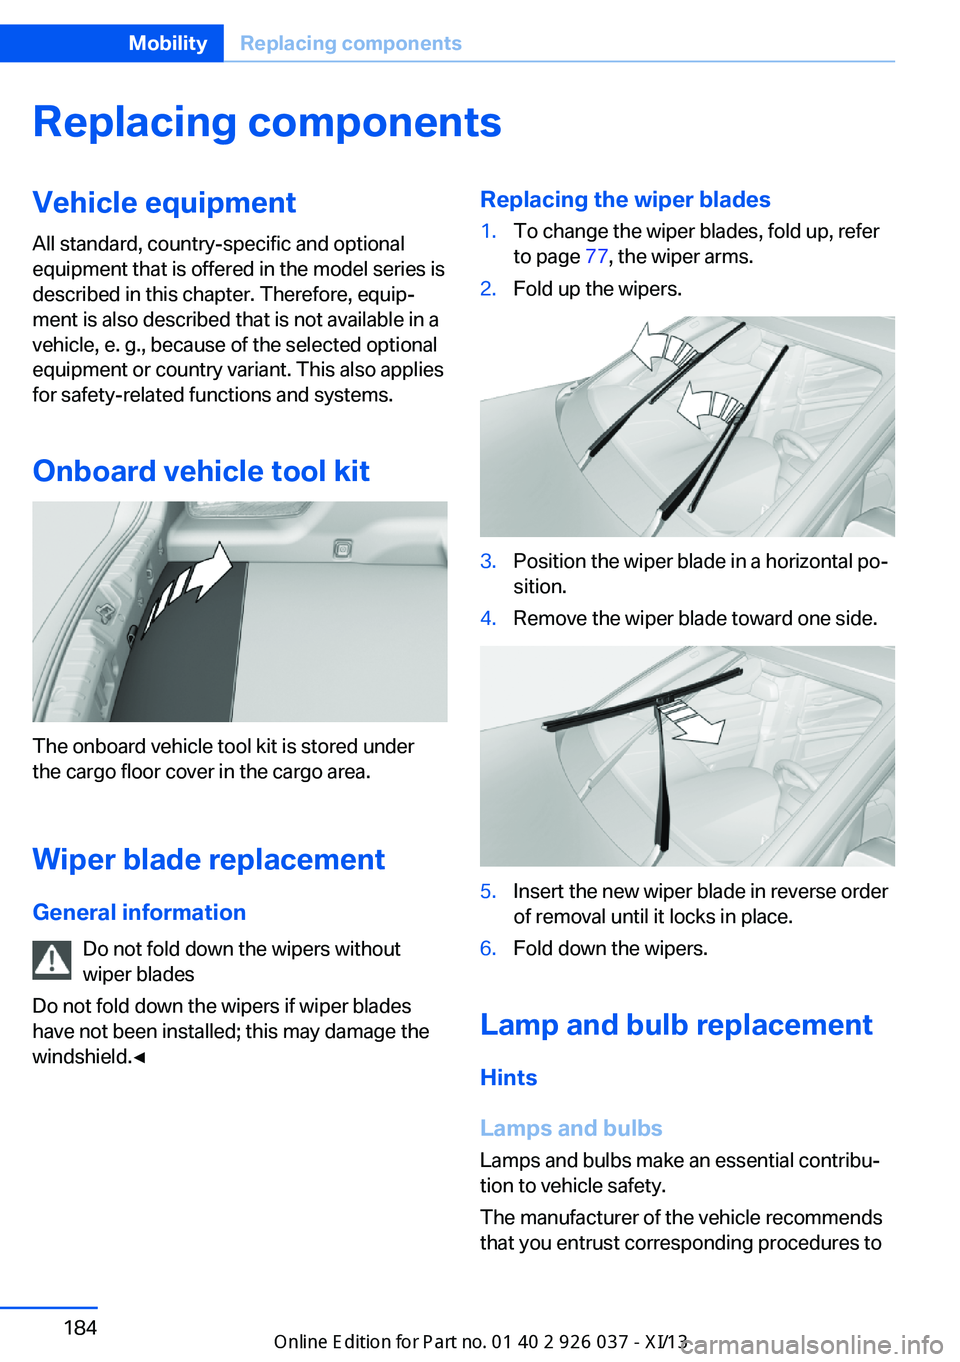
Onboard vehicle tool kit
The onboard vehicle tool kit is stored under
the cargo floor cover in the cargo area.
Wiper blade replacement
General information Do not fold down the wipers without
wiper blades
Do not fold down the wipers if wiper blades
have not been installed; this may damage the
windshield.◀
Replacing the wiper blades1.To change the wiper blades, fold up, refer
to page 77, the wiper arms.2.Fold up the wipers.3.Position the wiper blade in a horizontal po‐
sition.4.Remove the wiper blade toward one side.5.Insert the new wiper blade in reverse order
of removal until it locks in place.6.Fold down the wipers.
Lamp and bulb replacement
Hints
Lamps and bulbs
Lamps and bulbs make an essential contribu‐
tion to vehicle safety.
The manufacturer of the vehicle recommends
that you entrust corresponding procedures to
Seite 184MobilityReplacing components184
Online Edition for Part no. 01 40 2 910 746 - VI/13
Page 214 of 222
Coolant 181
Coolant temperature 83
Cooling function 138
Cooling, maximum 138
Cooling system 181
Corrosion on brake discs 156
Cruise control 123
Cruising range 84
Cupholder 148
Current fuel consumption 84
D
Damage, tires 170
Damper control 121
Damper Control, Elec‐ tronic 121
Data, technical 204
Date 83
Daytime running lights 94
Defrosting, refer to Windows, defrosting 138
Departure time, parked-car ventilation 140
Destination distance 89
Differential lock 121
Digital clock 83
Digital speed 83
Digital tachometer 83
Dimensions 204
Dimmable exterior mirrors 58
Dimmable interior rearview mirror 58
Direction indicator, refer to Turn signals 75
Display in windshield 133
Display lighting, refer to In‐ strument lighting 96
Displays 79
Displays, cleaning 200
Disposal, coolant 181
Disposal, vehicle battery 188
Distance control, refer to PDC 125
Distance to destination 89 Divided screen view, split
screen 20
Door lock, refer to Remote control 30
Doors, Automatic Soft Clos‐ ing 37
Double-clutch transmis‐ sion 70
Drivelogic 72
Drive mode 71
Drive-off assistant 119
Drive-off assistant, refer to DSC 119
Driver assistance, see Intelli‐ gent Safety 105
Driving Assistant, see Intelli‐ gent Safety 105
Driving Dynamics Control 74
Driving Dynamics System 85
Driving dynamics, system states 85
Driving instructions, breaking in 154
Driving notes, general 155
Driving on racetracks 153
Driving program, refer to Drivelogic 72
Driving stability control sys‐ tems 119
Driving tips 155
DSC Dynamic Stability Con‐ trol 119
Dynamic Stability Control DSC 119
E EDC, Electronic Damper Con‐ trol 121
EfficientDynamics 85
EfficientDynamics display 85
EfficientDynamics menu 85
Electronic Damper Control EDC 121
Electronic displays, instru‐ ment cluster 80 Electronic Stability Program
ESP, refer to DSC 119
Emergency detection, remote control 31
Emergency operation, convertible top 46
Emergency release, door lock 36
Emergency release, fuel filler flap 164
Emergency Request 190
Emergency service, refer to Roadside Assistance 191
Emergency start function, en‐ gine start 31
Emergency unlocking, trunk lid 38
Energy Control 84
Energy recovery 84
Engine, automatic Start/Stop function 66
Engine, automatic switch- off 66
Engine compartment 176
Engine compartment, work‐ ing in 176
Engine coolant 181
Engine oil 178
Engine oil, adding 179
Engine oil additives 179
Engine oil change 180
Engine oil filler neck 179
Engine oil temperature 82
Engine oil types, alterna‐ tive 179
Engine oil types, ap‐ proved 179
Engine start during malfunc‐ tion 31
Engine start, jump-start‐ ing 192
Engine start, refer to Starting the engine 65
Engine stop 66
Engine temperature 82 Seite 210ReferenceEverything from A to Z210
Online Edition for Part no. 01 40 2 910 746 - VI/13
Page 218 of 222
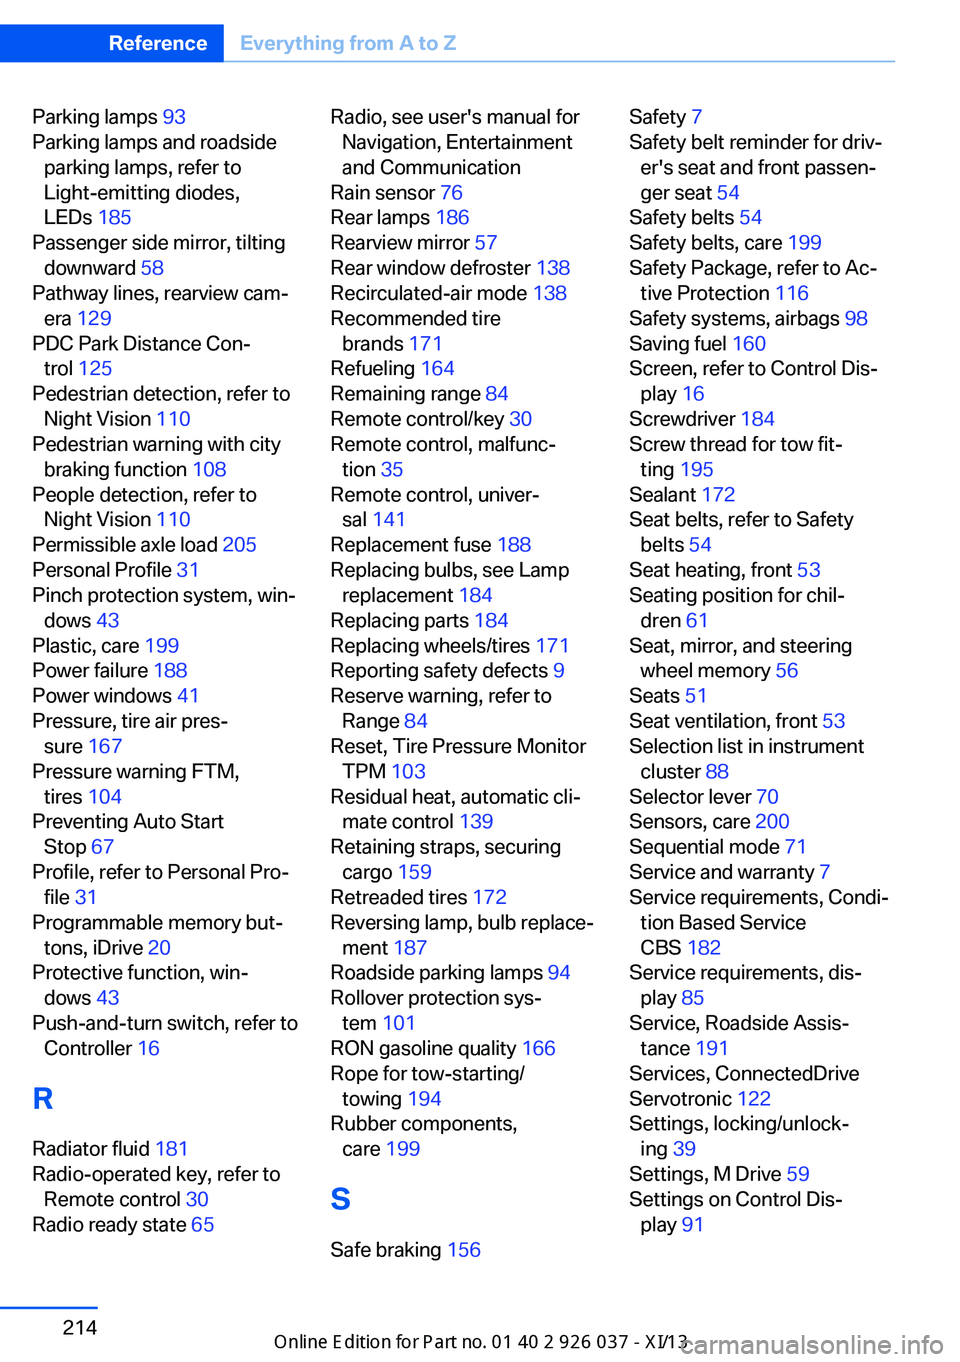
Parking lamps 93
Parking lamps and roadside parking lamps, refer to
Light-emitting diodes,
LEDs 185
Passenger side mirror, tilting downward 58
Pathway lines, rearview cam‐ era 129
PDC Park Distance Con‐ trol 125
Pedestrian detection, refer to Night Vision 110
Pedestrian warning with city braking function 108
People detection, refer to Night Vision 110
Permissible axle load 205
Personal Profile 31
Pinch protection system, win‐ dows 43
Plastic, care 199
Power failure 188
Power windows 41
Pressure, tire air pres‐ sure 167
Pressure warning FTM, tires 104
Preventing Auto Start Stop 67
Profile, refer to Personal Pro‐ file 31
Programmable memory but‐ tons, iDrive 20
Protective function, win‐ dows 43
Push-and-turn switch, refer to Controller 16
R Radiator fluid 181
Radio-operated key, refer to Remote control 30
Radio ready state 65 Radio, see user's manual for
Navigation, Entertainment
and Communication
Rain sensor 76
Rear lamps 186
Rearview mirror 57
Rear window defroster 138
Recirculated-air mode 138
Recommended tire brands 171
Refueling 164
Remaining range 84
Remote control/key 30
Remote control, malfunc‐ tion 35
Remote control, univer‐ sal 141
Replacement fuse 188
Replacing bulbs, see Lamp replacement 184
Replacing parts 184
Replacing wheels/tires 171
Reporting safety defects 9
Reserve warning, refer to Range 84
Reset, Tire Pressure Monitor TPM 103
Residual heat, automatic cli‐ mate control 139
Retaining straps, securing cargo 159
Retreaded tires 172
Reversing lamp, bulb replace‐ ment 187
Roadside parking lamps 94
Rollover protection sys‐ tem 101
RON gasoline quality 166
Rope for tow-starting/ towing 194
Rubber components, care 199
S
Safe braking 156 Safety 7
Safety belt reminder for driv‐ er's seat and front passen‐
ger seat 54
Safety belts 54
Safety belts, care 199
Safety Package, refer to Ac‐ tive Protection 116
Safety systems, airbags 98
Saving fuel 160
Screen, refer to Control Dis‐ play 16
Screwdriver 184
Screw thread for tow fit‐ ting 195
Sealant 172
Seat belts, refer to Safety belts 54
Seat heating, front 53
Seating position for chil‐ dren 61
Seat, mirror, and steering wheel memory 56
Seats 51
Seat ventilation, front 53
Selection list in instrument cluster 88
Selector lever 70
Sensors, care 200
Sequential mode 71
Service and warranty 7
Service requirements, Condi‐ tion Based Service
CBS 182
Service requirements, dis‐ play 85
Service, Roadside Assis‐ tance 191
Services, ConnectedDrive
Servotronic 122
Settings, locking/unlock‐ ing 39
Settings, M Drive 59
Settings on Control Dis‐ play 91 Seite 214ReferenceEverything from A to Z214
Online Edition for Part no. 01 40 2 910 746 - VI/13