BMW M6 COUPE 2010 E63 Workshop Manual
Manufacturer: BMW, Model Year: 2010, Model line: M6 COUPE, Model: BMW M6 COUPE 2010 E63Pages: 250, PDF Size: 8.4 MB
Page 51 of 250
Controls
49Reference
At a glance
Driving tips
Communications
Navigation
Entertainment
Mobility
To switch off:
Press the button longer.
Mirrors
Exterior mirrors
The mirror on the passenger's side is
more curved than the driver's mirror.
Objects reflected in the mirror are closer than
they appear. Do not estimate the distance of
following traffic based on what you see in the
mirrors, otherwise there is an increased acci-
dent risk.<
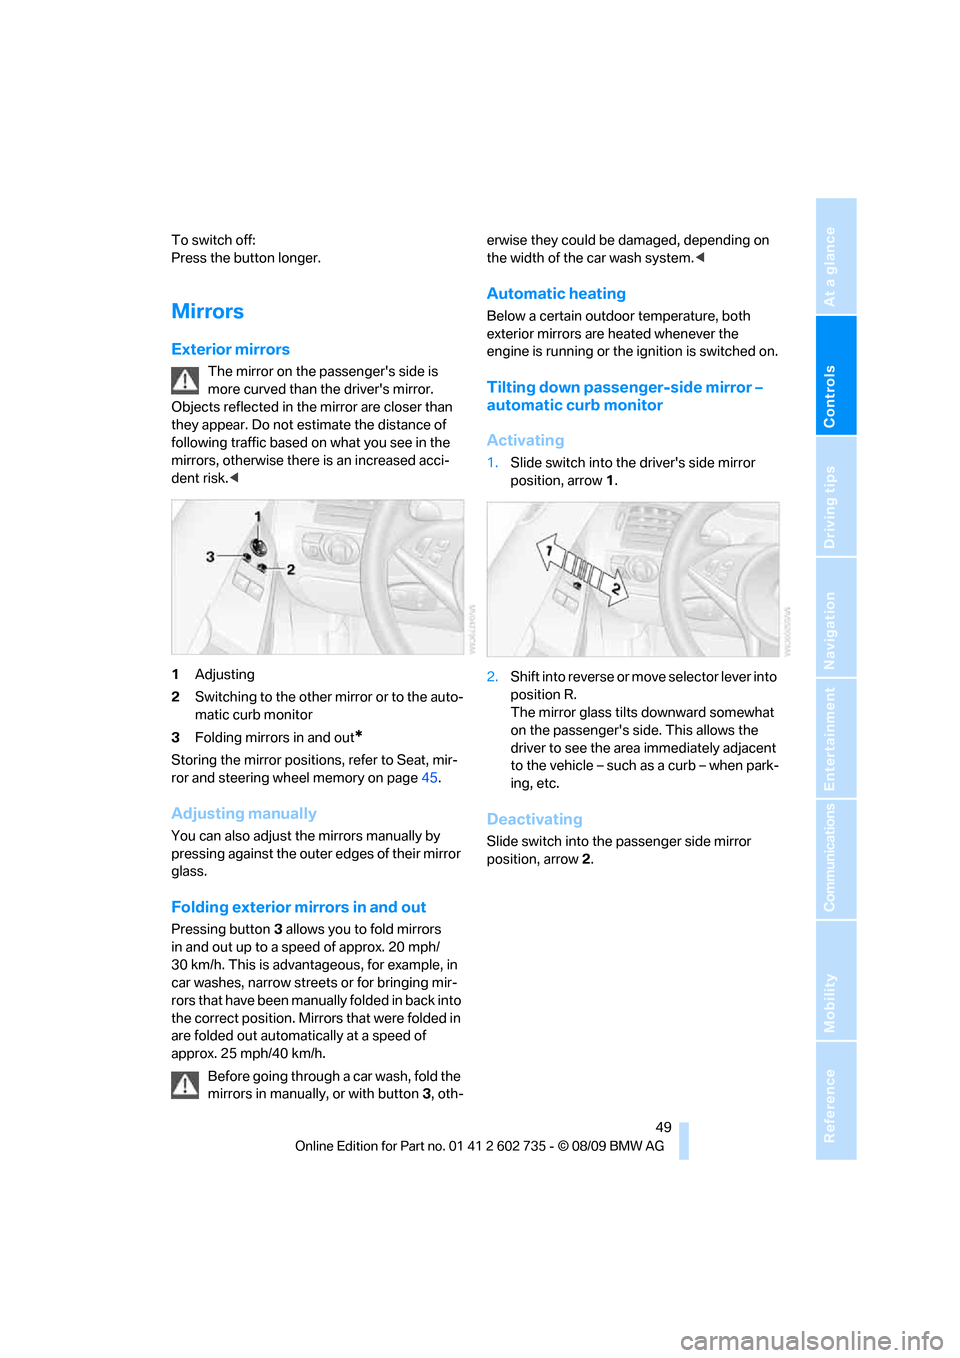
1Adjusting
2Switching to the other mirror or to the auto-
matic curb monitor
3Folding mirrors in and out
*
Storing the mirror positions, refer to Seat, mir-
ror and steering wheel memory on page45.
Adjusting manually
You can also adjust the mirrors manually by
pressing against the outer edges of their mirror
glass.
Folding exterior mirrors in and out
Pressing button3 allows you to fold mirrors
in and out up to a speed of approx. 20 mph/
30 km/h. This is advantageous, for example, in
car washes, narrow streets or for bringing mir-
r o rs t h a t h a v e b e e n m a n u a l ly f o l d e d in b a c k i n t o
the correct position. Mirrors that were folded in
are folded out automatically at a speed of
approx. 25 mph/40 km/h.
Before going through a car wash, fold the
mirrors in manually, or with button 3, oth-erwise they could be damaged, depending on
the width of the car wash system.<
Automatic heating
Below a certain outdoor temperature, both
exterior mirrors are heated whenever the
engine is running or the ignition is switched on.
Tilting down passenger-side mirror –
automatic curb monitor
Activating
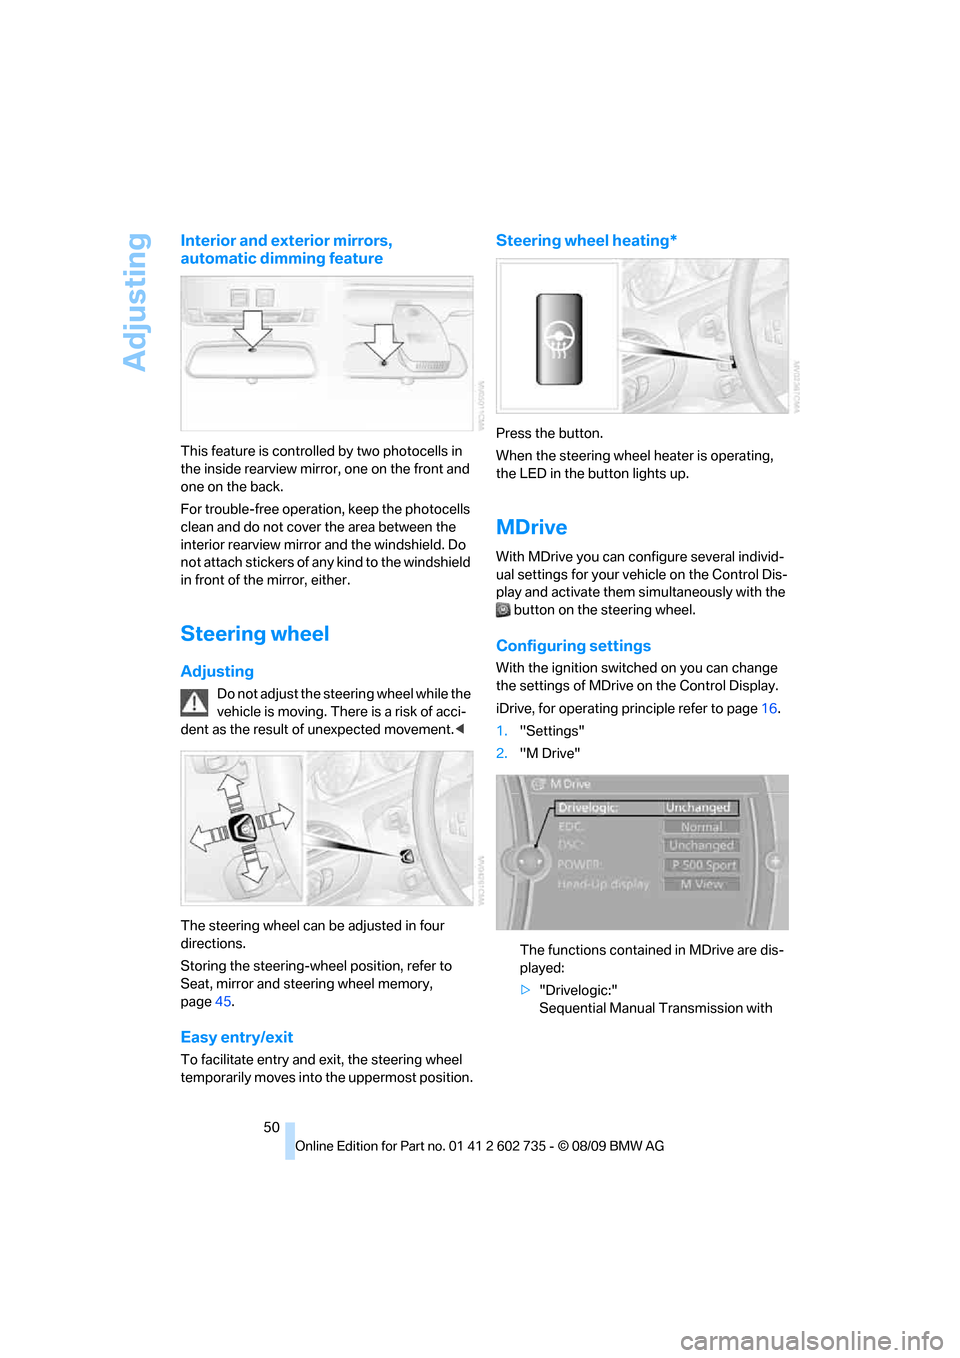
1.Slide switch into the driver's side mirror
position, arrow 1.
2.Shift into reverse or move selector lever into
position R.
The mirror glass tilts downward somewhat
on the passenger's side. This allows the
driver to see the area immediately adjacent
to the vehicle – such as a curb – when park-
ing, etc.
Deactivating
Slide switch into the passenger side mirror
position, arrow 2.
Page 52 of 250
Adjusting
50
Interior and exterior mirrors,
automatic dimming feature
This feature is controlled by two photocells in
the inside rearview mirror, one on the front and
one on the back.
For trouble-free operation, keep the photocells
clean and do not cover the area between the
interior rearview mirror and the windshield. Do
not attach stickers of any kind to the windshield
in front of the mirror, either.
Steering wheel
Adjusting
Do not adjust the steering wheel while the
vehicle is moving. There is a risk of acci-
dent as the result of unexpected movement.<
The steering wheel can be adjusted in four
directions.
Storing the steering-wheel position, refer to
Seat, mirror and steering wheel memory,
page45.
Easy entry/exit
To facilitate entry and exit, the steering wheel
temporarily moves into the uppermost position.
Steering wheel heating*
Press the button.
When the steering wheel heater is operating,
the LED in the button lights up.
MDrive
With MDrive you can configure several individ-
ual settings for your vehicle on the Control Dis-
play and activate them simultaneously with the
button on the steering wheel.
Configuring settings
With the ignition switched on you can change
the settings of MDrive on the Control Display.
iDrive, for operating principle refer to page16.
1."Settings"
2."M Drive"
The functions contained in MDrive are dis-
played:
>"Drivelogic:"
Sequential Manual Transmission with
Page 53 of 250
Controls
51Reference
At a glance
Driving tips
Communications
Navigation
Entertainment
Mobility
Drivelogic: shifting modes and Drivel-
ogic driving programs, refer to page59
>"EDC:"
Programs of the Electronic Damping
Control, refer to page79
>"DSC:"
Dynamic Stability Control and
M Dynamic Mode, refer to page76
>"POWER:"
Programs of the M Engine Dynamics
Control, refer to page60
>"Head-Up display"
*
Views of the Head-up Display, refer to
page86
You can reset all settings for MDrive to the
default values:
3.Select the desired function.
4.Press the controller.
5.Turn the controller to select the desired set-
ting.
6.Press the controller.
The setting is stored for the remote control cur-
rently in use.
Activating settings
Press the button on the steering wheel.
The indicator lamp in the instrument
cluster lights up. The settings made on
the Control Display for the functions
contained in MDrive are active.
Pressing the button again deactivates MDrive.
If the indicator lamp flashes after the but-
ton was pressed, MDrive was unable to
respond because the ABS Antilock Brake Sys-
tem or DSC Dynamic Stability Control are cur-
rently regulating driving stability. Press the
button again when the indicator lamp no
longer flashes.<
Even with MDrive activated, you can change
individual settings outside MDrive, e.g. with the
buttons in the center console. To reactivate all
settings made for MDrive on the Control Dis-
play: press the button twice.
Page 54 of 250
Transporting children safely
52
Transporting children safely
The right place for children
Do not leave children unattended in the
vehicle, otherwise they could endanger
themselves and other persons, e.g. by opening
the doors.<
Children always in the rear
Accident research shows that the safest place
for children is on the rear seat.
Children younger than 13 years of age or
with a height under 5 ft/150 cm may only
be transported in the rear in child restraint sys-
tems which correspond to the age, weight and
height of the child. Otherwise there is an
increased danger of injury in an accident.<
Children 13 years of age or older must wear a
safety belt as soon as a suitable child restraint
system can no longer be used due to their age,
size and weight.
Exception for front passenger seat
Should it be necessary to use a child
restraint system on the front passenger
seat, the front and side airbags for the front pas-
senger must be deactivated. Otherwise, a child
traveling on that seat will face a significant risk
of injury if the airbags are deployed, even with a
child restraint system. Before installing a child
restraint system, move the front passenger seat
a s f a r b a c k a n d up a s p o s s i b le t o o b t a i n t h e b e s t
possible position for the belt. Do not change the
seat position after this.<
For more information on automatic deactivation
of the front passenger airbags, refer to page84.
Installing child restraint
systems
Follow child restraint system manufac-
turer's instructions for the selection,
installation and use of child restraint systems. Otherwise, the degree of protection they offer
may be reduced.<
On front passenger seat
After mounting a child restraint system on
the front passenger seat, make sure that
the front and side airbags on the front passen-
ger side are deactivated, as otherwise there is
an increased risk of injury if the airbags are trig-
gered.<
Seat position
Before installing a child restraint system, move
the front passenger seat as far back and up as
possible to obtain the best possible position for
the belt. Do not change the seat position after
this.
Backrest width
Before mounting a child restraint system
on the front passenger seat, the backrest
width adjustment must be completely open.<
1.Adjust the backrest width to the fully open
position, refer to page44.
2.Install child seat.
Child seat security
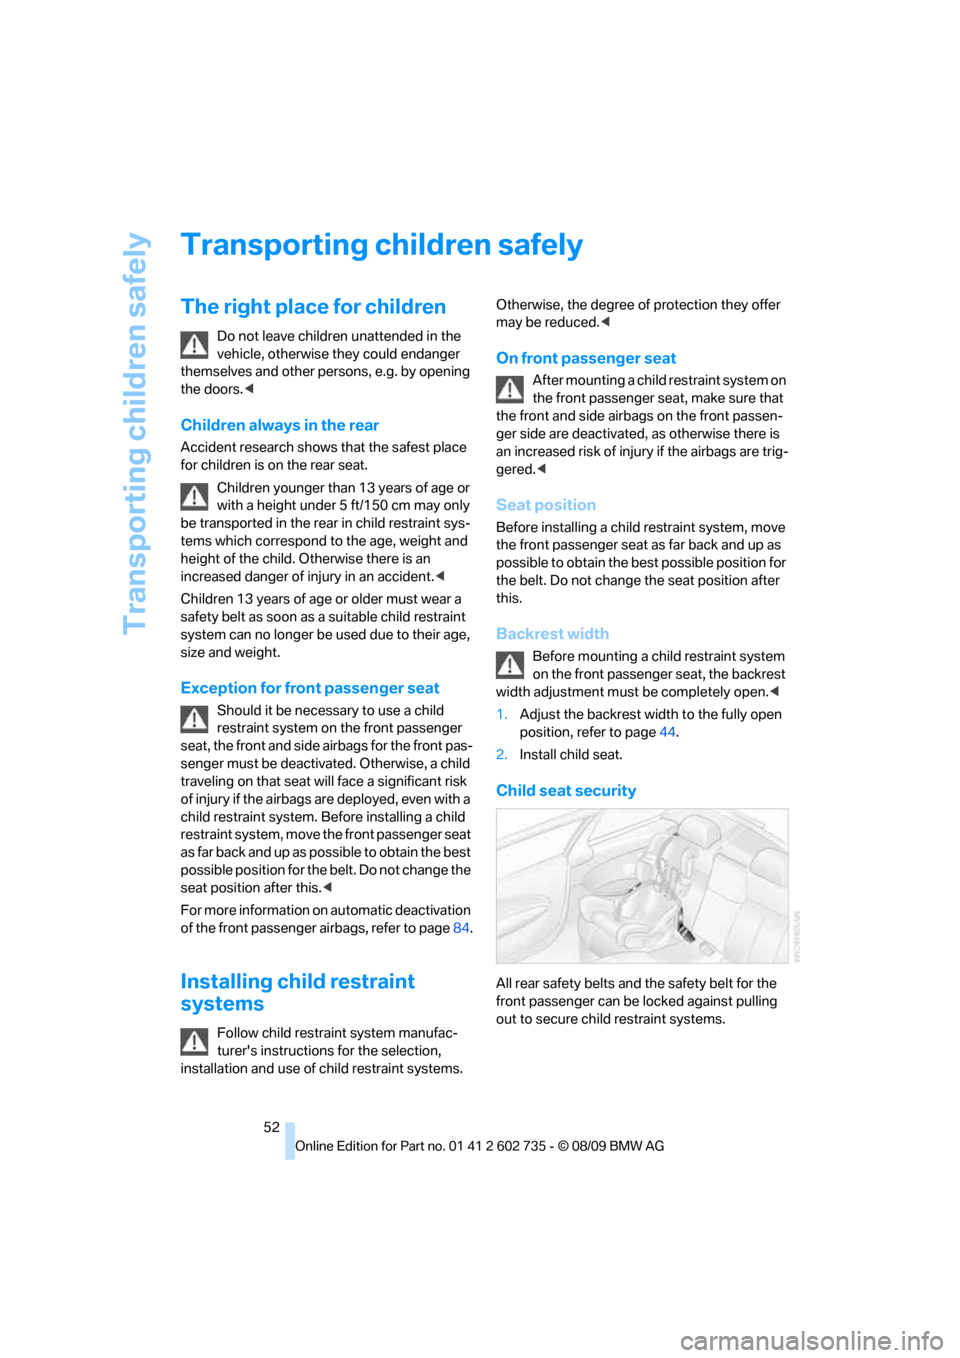
All rear safety belts and the safety belt for the
front passenger can be locked against pulling
out to secure child restraint systems.
Page 55 of 250
Controls
53Reference
At a glance
Driving tips
Communications
Navigation
Entertainment
Mobility
Locking safety belt
1.Secure the child restraint system with the
belt.
2.Pull out the belt webbing completely.
3.Allow the belt webbing to retract and pull
taut against the child restraint system. The
safety belt is locked.
Unlocking safety belt
1.Open the belt buckle.
2.Remove the child restraint system.
3.Allow the belt webbing to retract com-
pletely.
LATCH child restraint fixing
system
LATCH: Lower Anchor and Tethers for Chil-
dren.
Follow the system manufacturer's
instructions on installation and use of
LATCH child restraint systems in order not to
impair their protective function.<
Anchor points for LATCH mounts
Before attaching the LATCH child seat, pull the
belt away from the region of the child restraint
fixing system.
Make sure that both of the lower LATCH
mounts have properly clicked into place
and that the child restraint system is resting snugly against the backrest. Otherwise, the
protective action may be impeded.
<
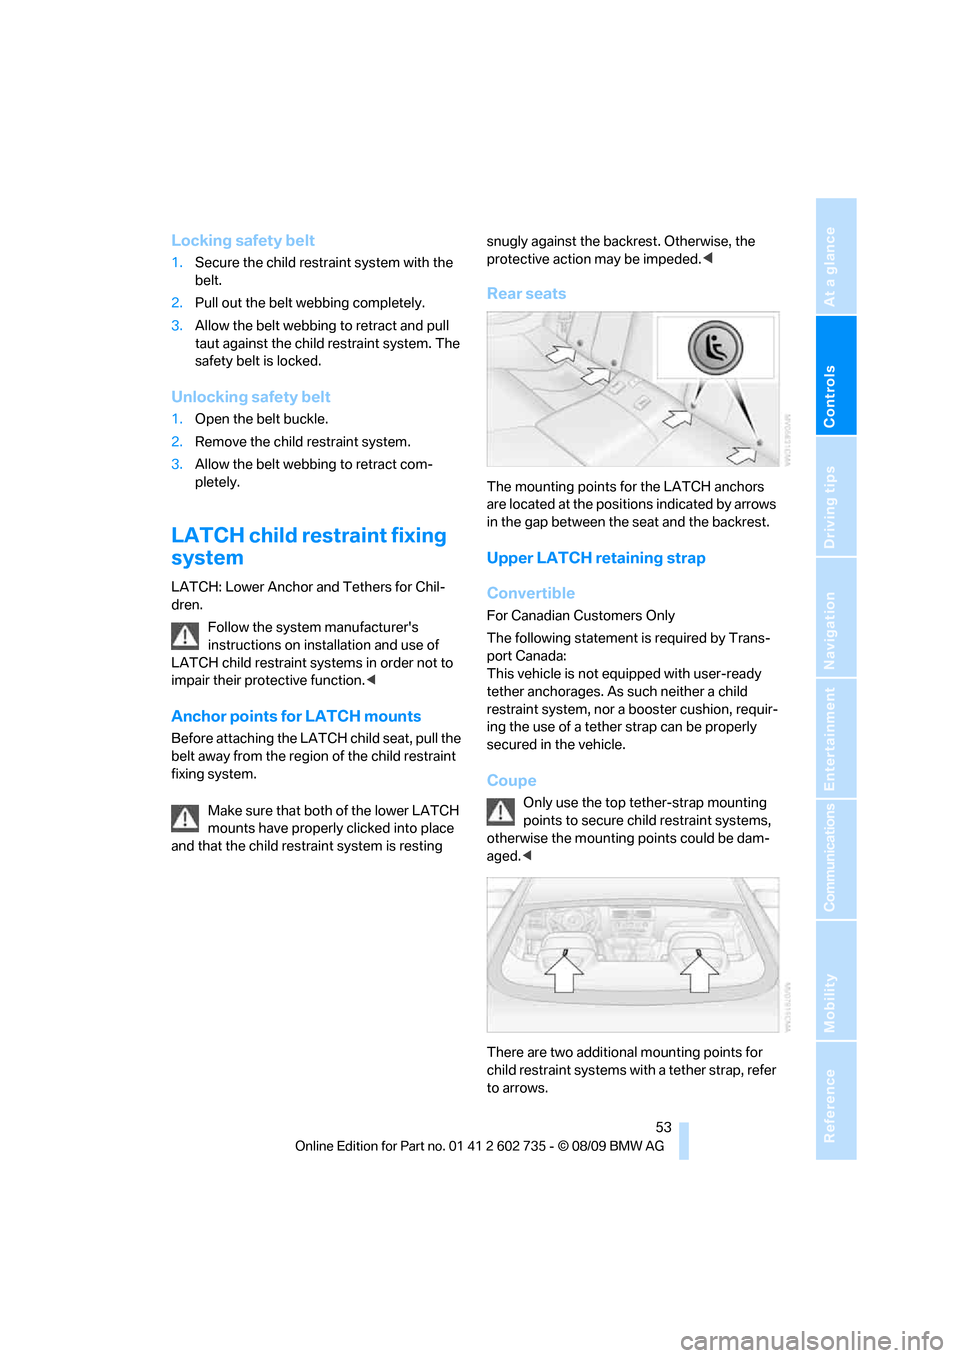
Rear seats
The mounting points for the LATCH anchors
are located at the positions indicated by arrows
in the gap between the seat and the backrest.
Upper LATCH retaining strap
Convertible
For Canadian Customers Only
The following statement is required by Trans-
port Canada:
This vehicle is not equipped with user-ready
tether anchorages. As such neither a child
restraint system, nor a booster cushion, requir-
ing the use of a tether strap can be properly
secured in the vehicle.
Coupe
Only use the top tether-strap mounting
points to secure child restraint systems,
otherwise the mounting points could be dam-
aged.<
There are two additional mounting points for
child restraint systems with a tether strap, refer
to arrows.
Page 56 of 250
Transporting children safely
54
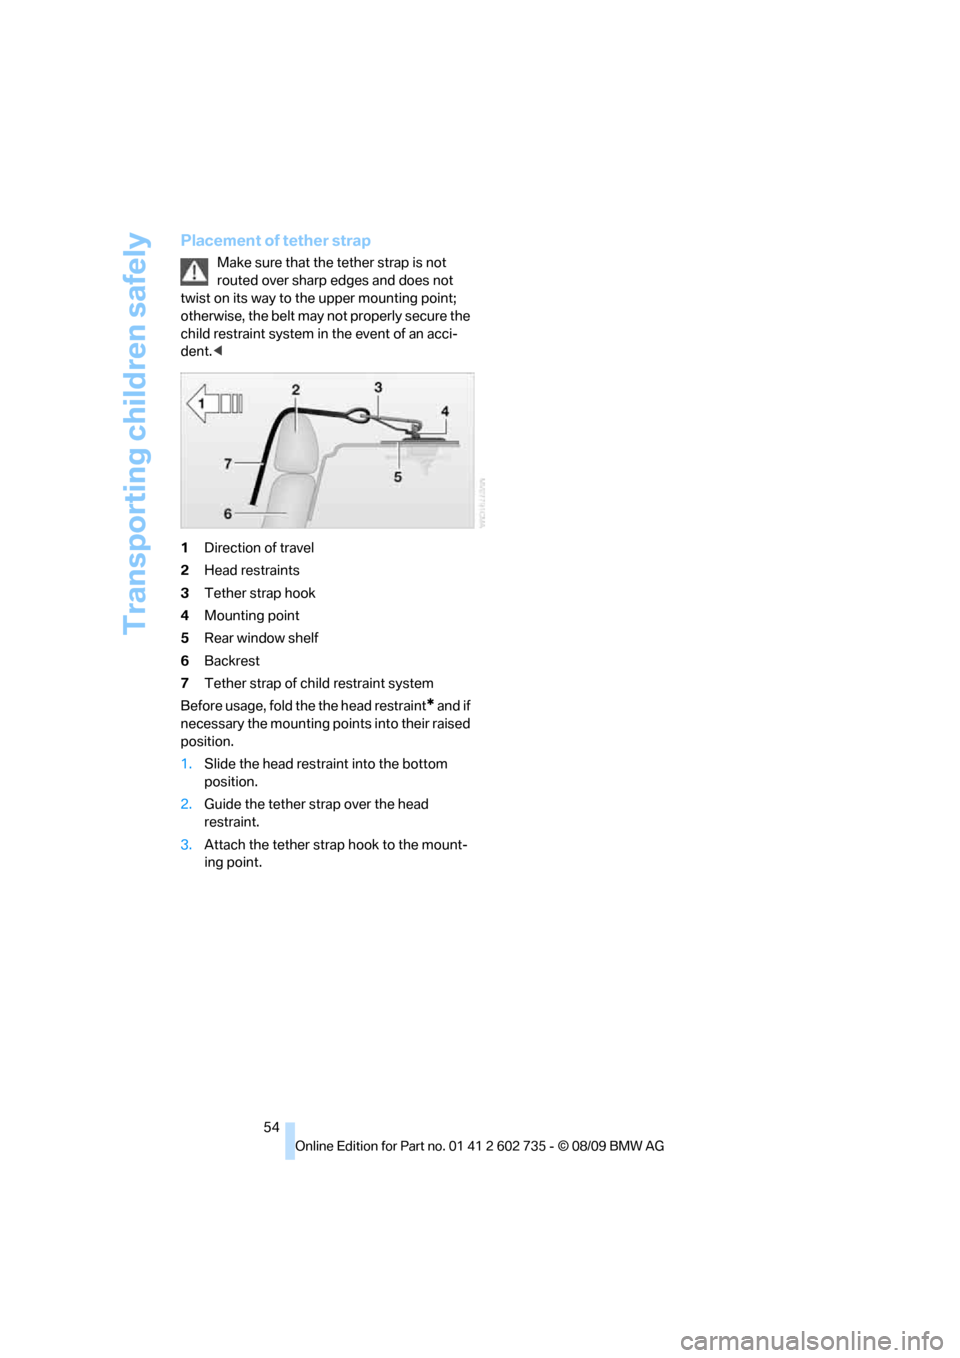
Placement of tether strap
Make sure that the tether strap is not
routed over sharp edges and does not
twist on its way to the upper mounting point;
otherwise, the belt may not properly secure the
child restraint system in the event of an acci-
dent.<
1Direction of travel
2Head restraints
3Tether strap hook
4Mounting point
5Rear window shelf
6Backrest
7Tether strap of child restraint system
Before usage, fold the the head restraint
* and if
necessary the mounting points into their raised
position.
1.Slide the head restraint into the bottom
position.
2.Guide the tether strap over the head
restraint.
3.Attach the tether strap hook to the mount-
ing point.
Page 57 of 250
Controls
55Reference
At a glance
Driving tips
Communications
Navigation
Entertainment
Mobility
Driving
Ignition lock
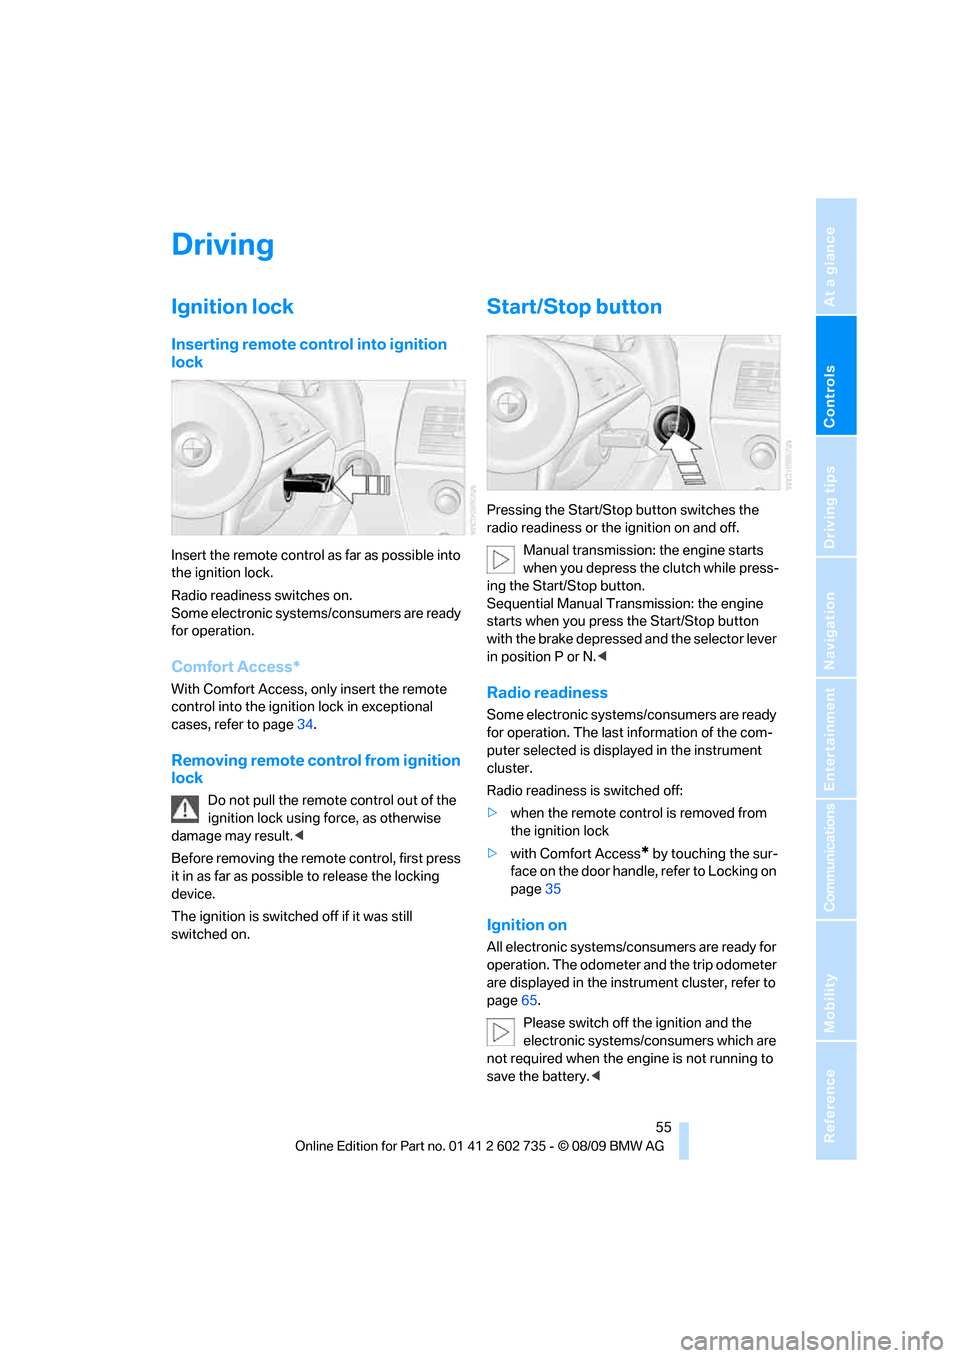
Inserting remote control into ignition
lock
Insert the remote control as far as possible into
the ignition lock.
Radio readiness switches on.
Some electronic systems/consumers are ready
for operation.
Comfort Access*
With Comfort Access, only insert the remote
control into the ignition lock in exceptional
cases, refer to page34.
Removing remote control from ignition
lock
Do not pull the remote control out of the
ignition lock using force, as otherwise
damage may result.<
Before removing the remote control, first press
it in as far as possible to release the locking
device.
The ignition is switched off if it was still
switched on.
Start/Stop button
Pressing the Start/Stop button switches the
radio readiness or the ignition on and off.
Manual transmission: the engine starts
when you depress the clutch while press-
ing the Start/Stop button.
Sequential Manual Transmission: the engine
starts when you press the Start/Stop button
with the brake depressed and the selector lever
in position P or N.<
Radio readiness
Some electronic systems/consumers are ready
for operation. The last information of the com-
puter selected is displayed in the instrument
cluster.
Radio readiness is switched off:
>when the remote control is removed from
the ignition lock
>with Comfort Access
* by touching the sur-
face on the door handle, refer to Locking on
page35
Ignition on
All electronic systems/consumers are ready for
operation. The odometer and the trip odometer
are displayed in the instrument cluster, refer to
page65.
Please switch off the ignition and the
electronic systems/consumers which are
not required when the engine is not running to
save the battery.<
Page 58 of 250
Driving
56
Radio readiness and ignition switched
off
All indicator and warning lamps in the instru-
ment cluster go out.
Starting engine
Do not run the engine in enclosed areas,
otherwise the inhalation of toxic exhaust
gases can cause loss of consciousness and
death. The exhaust gases contain carbon mon-
oxide, an odorless and colorless, but highly
toxic gas.
Never leave an unattended vehicle with the
engine running, as such a vehicle represents a
potential safety hazard.
Before leaving the vehicle with the engine run-
ning, shift into neutral
* or move the selector
lever into position N and firmly apply the park-
ing brake, otherwise the vehicle can begin to
roll.<
Avoid frequent starting in quick succes-
sion or repeated starting attempts in
which the engine does not start. Otherwise, the
fuel is not burned or inadequately burned and
there is a danger of overheating and damaging
the catalytic converter.<
Do not allow the engine to warm up by leaving it
running while the vehicle remains stationary.
Instead, begin to drive at a moderate engine
speed.
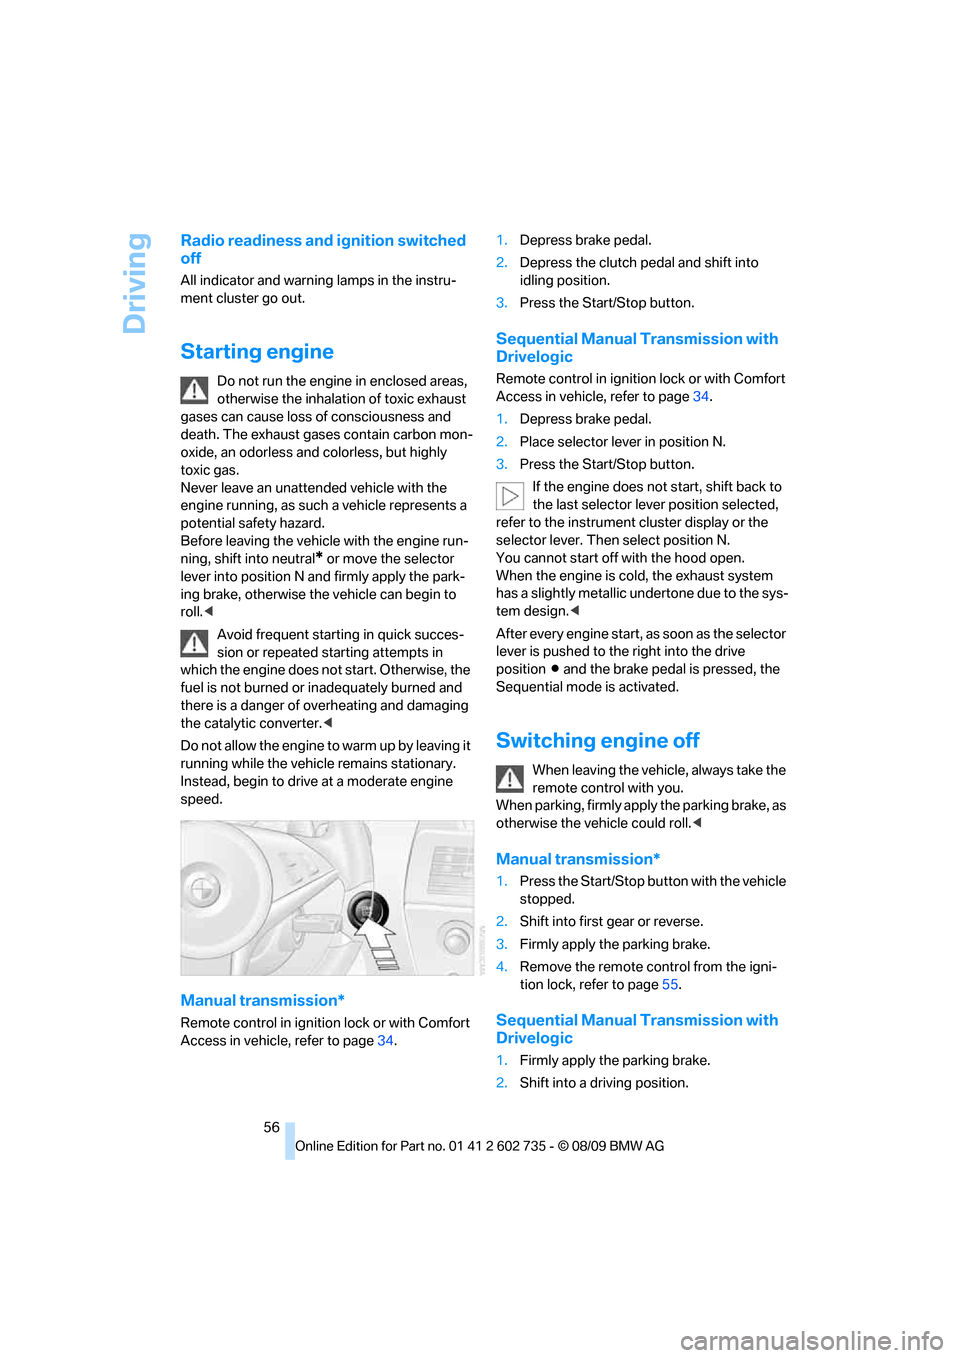
Manual transmission*
Remote control in ignition lock or with Comfort
Access in vehicle, refer to page34.1.Depress brake pedal.
2.Depress the clutch pedal and shift into
idling position.
3.Press the Start/Stop button.
Sequential Manual Transmission with
Drivelogic
Remote control in ignition lock or with Comfort
Access in vehicle, refer to page34.
1.Depress brake pedal.
2.Place selector lever in position N.
3.Press the Start/Stop button.
If the engine does not start, shift back to
the last selector lever position selected,
refer to the instrument cluster display or the
selector lever. Then select position N.
You cannot start off with the hood open.
When the engine is cold, the exhaust system
has a slightly metallic undertone due to the sys-
tem design.<
After every engine start, as soon as the selector
lever is pushed to the right into the drive
positionΒ and the brake pedal is pressed, the
Sequential mode is activated.
Switching engine off
When leaving the vehicle, always take the
remote control with you.
When parking, firmly apply the parking brake, as
otherwise the vehicle could roll.<
Manual transmission*
1.Press the Start/Stop button with the vehicle
stopped.
2.Shift into first gear or reverse.
3.Firmly apply the parking brake.
4.Remove the remote control from the igni-
tion lock, refer to page55.
Sequential Manual Transmission with
Drivelogic
1.Firmly apply the parking brake.
2.Shift into a driving position.
Page 59 of 250
Controls
57Reference
At a glance
Driving tips
Communications
Navigation
Entertainment
Mobility
3.Press the Start/Stop button.
If N is engaged when switching off the
engine, this will be pointed out to you visu-
ally and acoustically.
4.Remove the remote control from the igni-
tion lock, refer to page55.
Parking brake
The parking brake is primarily intended to pre-
vent the vehicle from rolling while parked; it
brakes the rear wheels.
Indicator lamp
The indicator lamp lights up, and a sig-
nal sounds when you drive away. The
parking brake is applied.
Indicator lamp for Canadian models.
Applying
The lever locks in position automatically.
Releasing
Pull slightly upwards, press the button and
lower the lever.
If exceptional circumstances should
make it necessary to apply the parking
brake while the vehicle is in motion, do not pull it
too firmly. In doing so, continuously press the
button of the parking brake lever. Otherwise,
too firm an application of the parking brake can
lock up the rear wheels and cause the rear of the
vehicle to swerve.<
To prevent corrosion and one-sided brak-
ing action, occasionally engage the park-ing brake lightly when the vehicle is slowly com-
ing to a stop if the traffic conditions are suitable.
The brake lamps do not light up when the park-
ing brake is applied.<
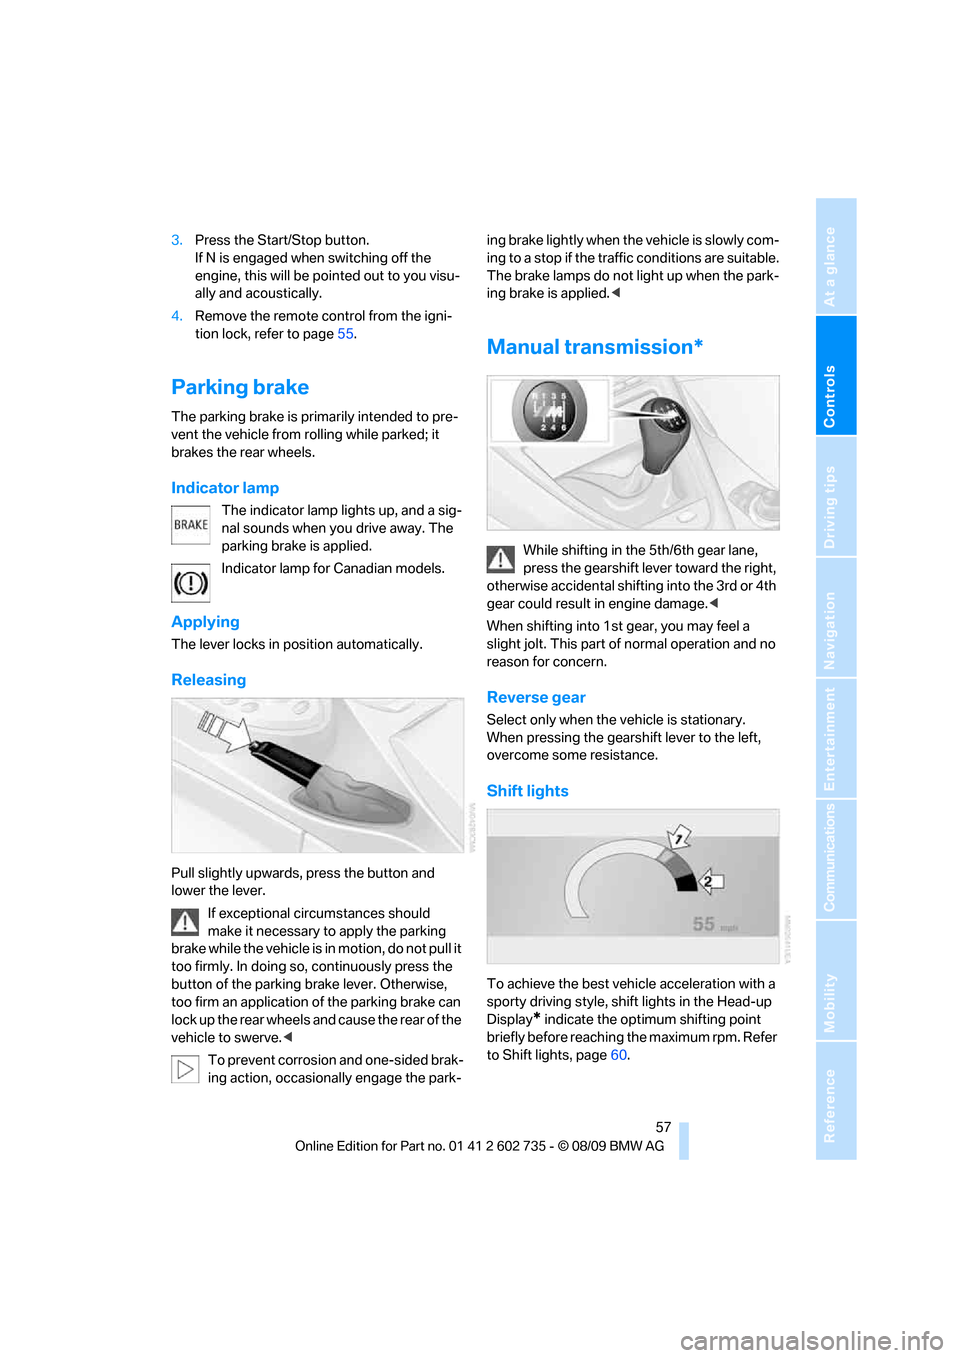
Manual transmission*
While shifting in the 5th/6th gear lane,
press the gearshift lever toward the right,
otherwise accidental shifting into the 3rd or 4th
gear could result in engine damage.<
When shifting into 1st gear, you may feel a
slight jolt. This part of normal operation and no
reason for concern.
Reverse gear
Select only when the vehicle is stationary.
When pressing the gearshift lever to the left,
overcome some resistance.
Shift lights
To achieve the best vehicle acceleration with a
sporty driving style, shift lights in the Head-up
Display
* indicate the optimum shifting point
briefly before reaching the maximum rpm. Refer
to Shift lights, page60.
Page 60 of 250
Driving
58
Sequential Manual
Transmission with Drivelogic
The concept
The SMG Sequential Manual Transmission
with Drivelogic is an automated manual trans-
mission in which an electrohydraulic system
handles the clutching and gear changes.
The Sequential Manual Transmission is oper-
ated with the selector lever and two shift pad-
dles on the steering wheel.
It offers you the following functions:
>Optional manual or automatic operation:
Sequential mode or Drive mode
>Selection option between different driving
programs, Drivelogic, refer to page59
>Upshift display, shift lights, refer to page60
>Automatic downshifting and prevention of
incorrect shifting even in Sequential opera-
tion
>Automatic double clutching
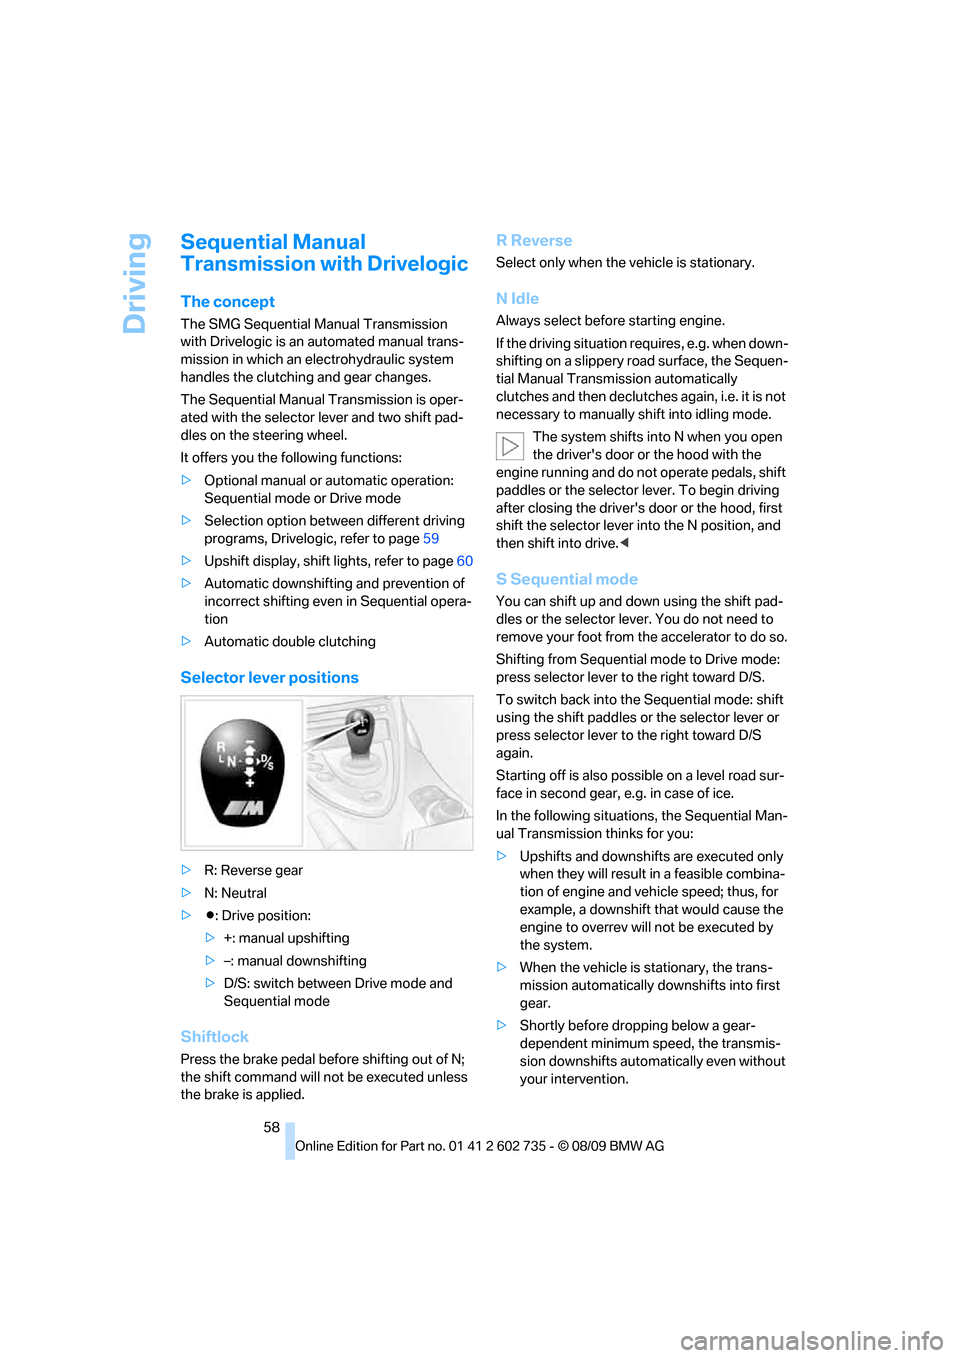
Selector lever positions
>R: Reverse gear
>N: Neutral
>Β: Drive position:
>+: manual upshifting
>–: manual downshifting
>D/S: switch between Drive mode and
Sequential mode
Shiftlock
Press the brake pedal before shifting out of N;
the shift command will not be executed unless
the brake is applied.
R Reverse
Select only when the vehicle is stationary.
N Idle
Always select before starting engine.
If the driving situation requires, e.g. when down-
shifting on a slippery road surface, the Sequen-
tial Manual Transmission automatically
clutches and then declutches again, i.e. it is not
necessary to manually shift into idling mode.
The system shifts into N when you open
the driver's door or the hood with the
engine running and do not operate pedals, shift
paddles or the selector lever. To begin driving
after closing the driver's door or the hood, first
shift the selector lever into the N position, and
then shift into drive.<
S Sequential mode
You can shift up and down using the shift pad-
dles or the selector lever. You do not need to
remove your foot from the accelerator to do so.
Shifting from Sequential mode to Drive mode:
press selector lever to the right toward D/S.
To switch back into the Sequential mode: shift
using the shift paddles or the selector lever or
press selector lever to the right toward D/S
again.
Starting off is also possible on a level road sur-
face in second gear, e.g. in case of ice.
In the following situations, the Sequential Man-
ual Transmission thinks for you:
>Upshifts and downshifts are executed only
when they will result in a feasible combina-
tion of engine and vehicle speed; thus, for
example, a downshift that would cause the
engine to overrev will not be executed by
the system.
>When the vehicle is stationary, the trans-
mission automatically downshifts into first
gear.
>Shortly before dropping below a gear-
dependent minimum speed, the transmis-
sion downshifts automatically even without
your intervention.