PARKING BUTTON BMW X5 2015 F15 User Guide
[x] Cancel search | Manufacturer: BMW, Model Year: 2015, Model line: X5, Model: BMW X5 2015 F15Pages: 275, PDF Size: 6.46 MB
Page 73 of 275
Switching off the vehicle during an
automatic engine stop
During an automatic engine stop, the vehicle
can be switched off permanently, e. g., when
leaving it.1.Press the Start/Stop button. The ignition is
switched off. The Auto Start/Stop function
is deactivated.
Selector lever position P is engaged auto‐
matically.2.Set the parking brake.
Engine start as usual via Start/Stop button.
Automatic deactivation
In certain situations, Auto Start/Stop function
is deactivated automatically for safety reasons
as if the driver were absent.
Malfunction
The Auto Start/Stop function no longer
switches off the engine automatically. A Check
Control message is displayed. It is possible to
continue driving. Have the system checked.
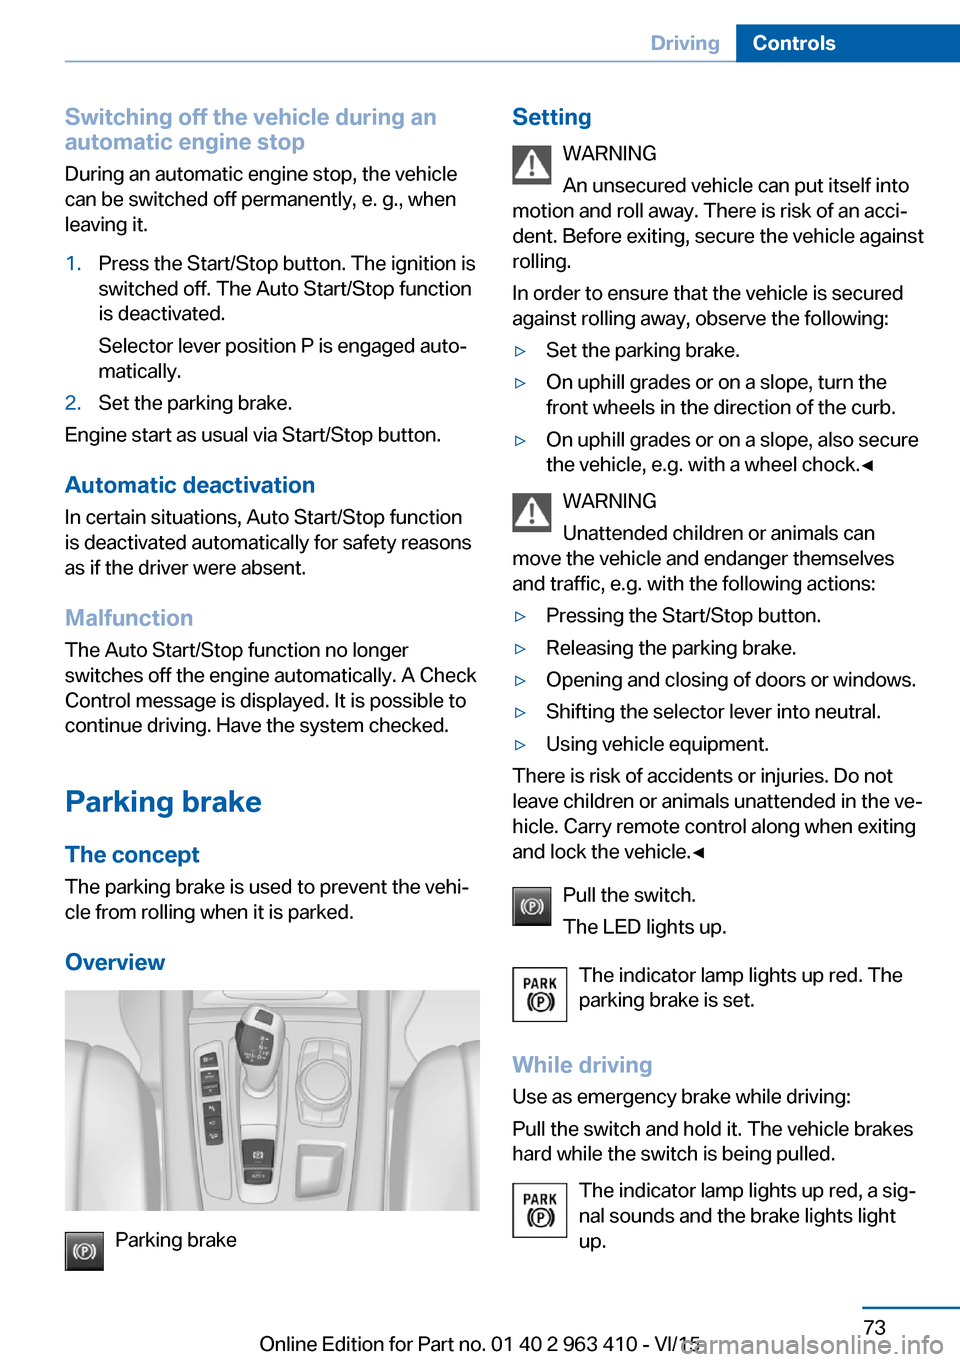
Parking brake The concept
The parking brake is used to prevent the vehi‐
cle from rolling when it is parked.
Overview
Parking brake
Setting WARNING
An unsecured vehicle can put itself into
motion and roll away. There is risk of an acci‐
dent. Before exiting, secure the vehicle against
rolling.
In order to ensure that the vehicle is secured
against rolling away, observe the following:▷Set the parking brake.▷On uphill grades or on a slope, turn the
front wheels in the direction of the curb.▷On uphill grades or on a slope, also secure
the vehicle, e.g. with a wheel chock.◀
WARNING
Unattended children or animals can
move the vehicle and endanger themselves
and traffic, e.g. with the following actions:
▷Pressing the Start/Stop button.▷Releasing the parking brake.▷Opening and closing of doors or windows.▷Shifting the selector lever into neutral.▷Using vehicle equipment.
There is risk of accidents or injuries. Do not
leave children or animals unattended in the ve‐
hicle. Carry remote control along when exiting
and lock the vehicle.◀
Pull the switch.
The LED lights up.
The indicator lamp lights up red. The
parking brake is set.
While driving
Use as emergency brake while driving:
Pull the switch and hold it. The vehicle brakes
hard while the switch is being pulled.
The indicator lamp lights up red, a sig‐
nal sounds and the brake lights light
up.
Seite 73DrivingControls73
Online Edition for Part no. 01 40 2 963 410 - VI/15
Page 75 of 275
ActivatingThis function can be activated when the driv‐
er's door is closed, the safety belt is fastened
and the engine is running.
Press button.
The LED and the letters AUTO H light
up.
The indicator lamp lights up.
Automatic Hold is activated.
Deactivating Press button again.
The LED and the letters AUTO H go
out.
Automatic Hold is deactivated.
If the vehicle is being held by Automatic Hold,
press on the brake pedal to deactivate it.
When the parking brake is set manually, Auto‐
matic Hold is deactivated automatically.
Driving Automatic Hold is activated: the vehicle is au‐
tomatically secured against rolling after brak‐
ing to a standstill.
The indicator lamp lights up green.
Step on the accelerator pedal to drive
off.
The brake is released automatically.
The indicator lamp goes out.
CAUTION
If the vehicle is stationary, Automatic
Hold engages the parking brake. It prevents
the vehicle from rolling in a car wash. There is
risk of property damage. Deactivate Automatic
Hold prior to entering the car wash.◀Parking
The parking brake is automatically set if the
engine is switched off while the vehicle is be‐
ing held by Automatic Hold.
The indicator lamp changes from green
to red.
The parking brake is not set if the en‐
gine is switched off while the vehicle is coast‐
ing to a halt. Automatic Hold is deactivated.
Automatic Hold remains activated during the
engine stop brought about by the Auto Start/
Stop function.
WARNING
Unattended children or animals can
move the vehicle and endanger themselves
and traffic, e.g. with the following actions:▷Pressing the Start/Stop button.▷Releasing the parking brake.▷Opening and closing of doors or windows.▷Shifting the selector lever into neutral.▷Using vehicle equipment.
There is risk of accidents or injuries. Do not
leave children or animals unattended in the ve‐
hicle. Carry remote control along when exiting
and lock the vehicle.◀
Malfunction
In the event of a failure or malfunction of the
parking brake, secure the vehicle against roll‐
ing using a wheel chock, e.g., when leaving it.
Manual release WARNING
An unsecured vehicle can put itself into
motion and roll away. There is risk of an acci‐
dent. Before exiting, secure the vehicle against
rolling.
In order to ensure that the vehicle is secured
against rolling away, observe the following:
▷Set the parking brake.Seite 75DrivingControls75
Online Edition for Part no. 01 40 2 963 410 - VI/15
Page 108 of 275
When the high beams or headlight flasher are
activated, the front fog lights are not switched
on.
Instrument lighting Adjusting The parking lights or low beams
must be switched on to adjust
the brightness.
Adjust the brightness with the
thumbwheel.
Interior lights
General information The interior lights, footwell lights, access lights
and courtesy lights are controlled automati‐
cally.
Thumb wheel for the instrument lighting con‐
trols brightness of some of these features.
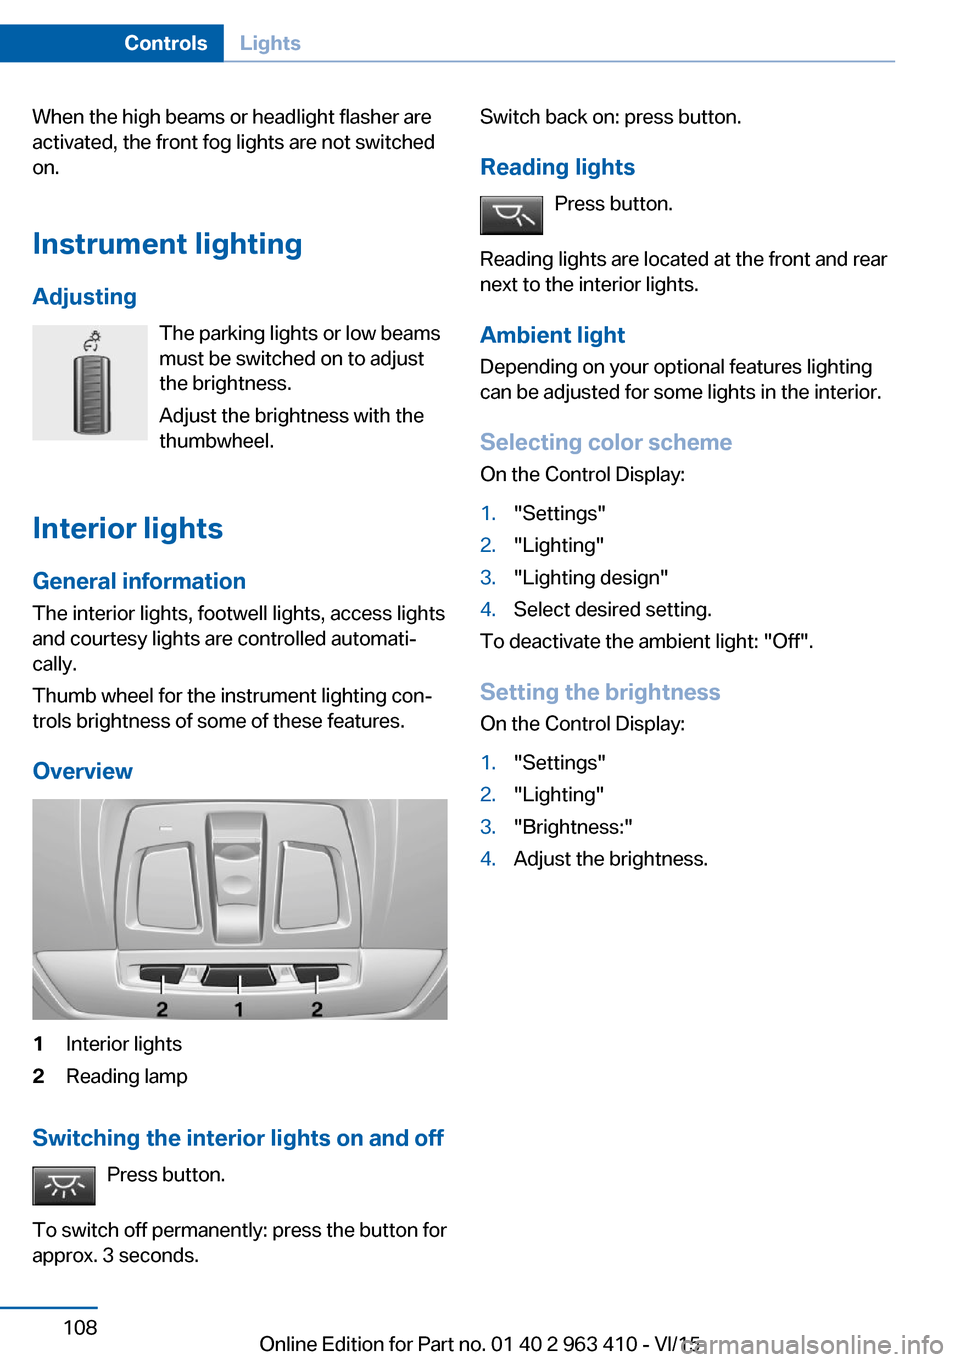
Overview1Interior lights2Reading lamp
Switching the interior lights on and off Press button.
To switch off permanently: press the button for
approx. 3 seconds.
Switch back on: press button.
Reading lights Press button.
Reading lights are located at the front and rear
next to the interior lights.
Ambient light Depending on your optional features lighting
can be adjusted for some lights in the interior.
Selecting color scheme
On the Control Display:1."Settings"2."Lighting"3."Lighting design"4.Select desired setting.
To deactivate the ambient light: "Off".
Setting the brightness On the Control Display:
1."Settings"2."Lighting"3."Brightness:"4.Adjust the brightness.Seite 108ControlsLights108
Online Edition for Part no. 01 40 2 963 410 - VI/15
Page 145 of 275
Driving comfortVehicle features and options
This chapter describes all standard, country-
specific and optional features offered with the
series. It also describes features that are not
necessarily available in your car, e. g., due to
the selected options or country versions. This
also applies to safety-related functions and
systems. The respectively applicable country
provisions must be observed when using the
respective features and systems.
Active Cruise Control with Stop & Go function, ACC
The concept
Use this system to select a desired speed that
the vehicle will maintain automatically on clear
roads.
To the extent possible, the system automati‐
cally adjusts the speed to a slower vehicle
ahead of you.
The distance that the vehicle maintains to the
vehicle ahead of you can be varied.
For safety reasons, it depends on the speed.
To maintain a certain distance, the system au‐
tomatically reduces the speed, applies the
brakes lightly, or accelerates again if the vehi‐
cle ahead begins moving faster.
If the vehicle ahead of you brakes to a halt, and
then proceeds to drive again within a brief pe‐
riod, the system is able to detect this within the
given system limits. Your own vehicle will
brake automatically and then accelerate again.
If the vehicle ahead of you drives away again
after a prolonged period, briefly press the ac‐
celerator pedal or press the appropriate button
to reactivate the system. The vehicle will auto‐
matically accelerate.As soon as the road is clear, the vehicle accel‐
erates to the desired speed.
The speed is also maintained downhill, but
may not be maintained uphill if engine power is
insufficient.
General information
Depending on the driving settings, the features
of the cruise control can change in certain
areas.
Information WARNING
The system does not relieve from the
personal responsibility to correctly assess the
traffic situation. Based on the limits of the sys‐
tem, it cannot independently react to all traffic
situations. There is risk of an accident. Adjust
the driving style to the traffic conditions. Watch
traffic closely and actively interfere in the re‐
spective situations.◀
WARNING
An unsecured vehicle can put itself into
motion and roll away. There is risk of an acci‐
dent. Before exiting, secure the vehicle against
rolling.
In order to ensure that the vehicle is secured
against rolling away, observe the following:▷Set the parking brake.▷On uphill grades or on a slope, turn the
front wheels in the direction of the curb.▷On uphill grades or on a slope, also secure
the vehicle, e.g. with a wheel chock.◀Seite 145Driving comfortControls145
Online Edition for Part no. 01 40 2 963 410 - VI/15
Page 151 of 275
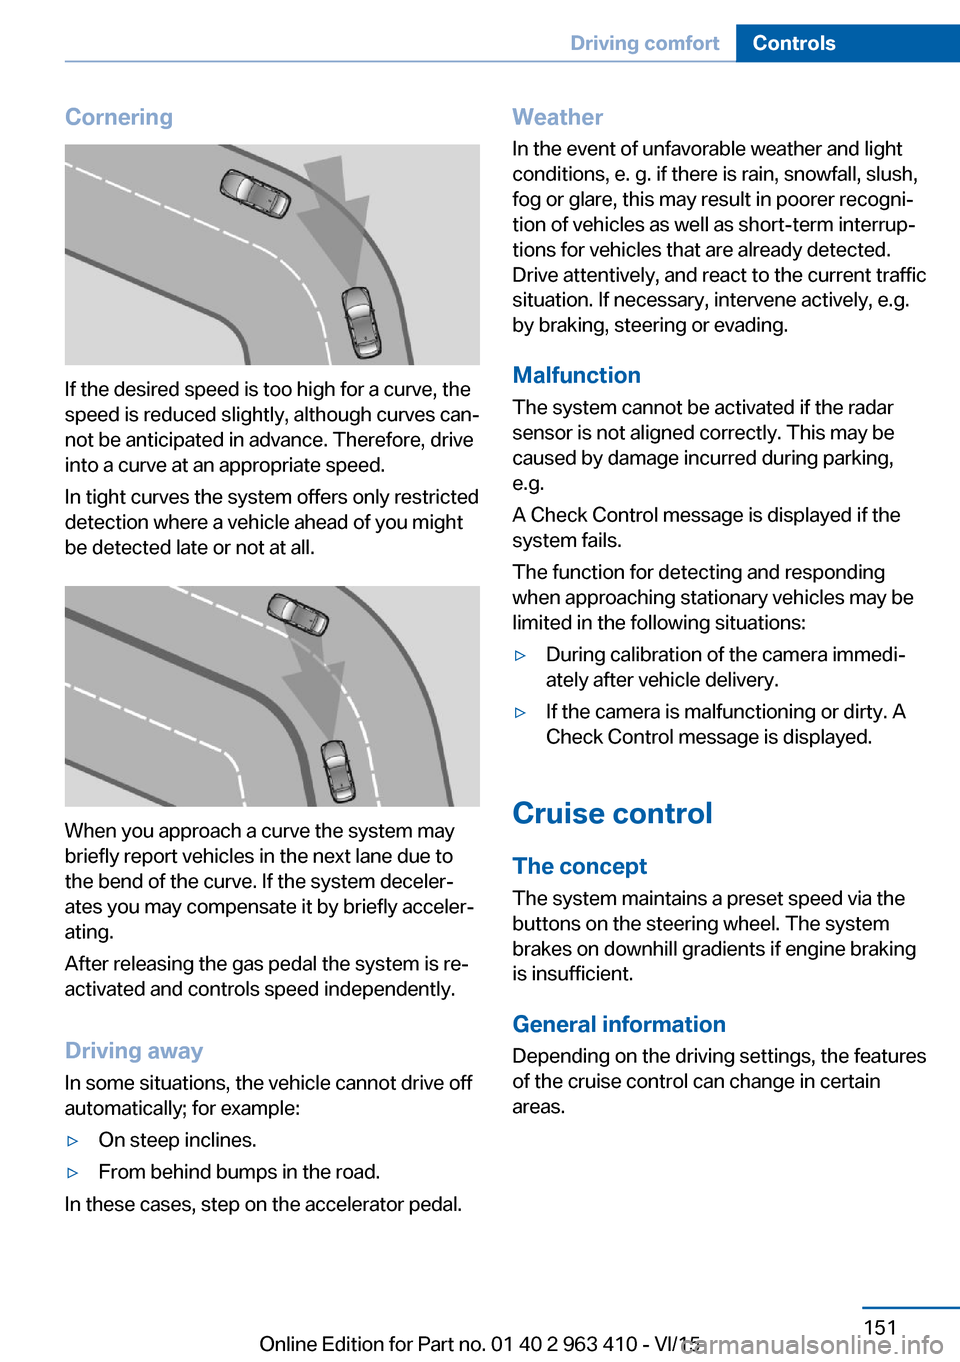
Cornering
If the desired speed is too high for a curve, the
speed is reduced slightly, although curves can‐
not be anticipated in advance. Therefore, drive
into a curve at an appropriate speed.
In tight curves the system offers only restricted
detection where a vehicle ahead of you might
be detected late or not at all.
When you approach a curve the system may
briefly report vehicles in the next lane due to
the bend of the curve. If the system deceler‐
ates you may compensate it by briefly acceler‐
ating.
After releasing the gas pedal the system is re‐
activated and controls speed independently.
Driving away In some situations, the vehicle cannot drive off
automatically; for example:
▷On steep inclines.▷From behind bumps in the road.
In these cases, step on the accelerator pedal.
Weather
In the event of unfavorable weather and light conditions, e. g. if there is rain, snowfall, slush,
fog or glare, this may result in poorer recogni‐
tion of vehicles as well as short-term interrup‐
tions for vehicles that are already detected. Drive attentively, and react to the current trafficsituation. If necessary, intervene actively, e.g.
by braking, steering or evading.
Malfunction
The system cannot be activated if the radar sensor is not aligned correctly. This may be
caused by damage incurred during parking,
e.g.
A Check Control message is displayed if the
system fails.
The function for detecting and responding
when approaching stationary vehicles may be limited in the following situations:▷During calibration of the camera immedi‐
ately after vehicle delivery.▷If the camera is malfunctioning or dirty. A
Check Control message is displayed.
Cruise control
The concept The system maintains a preset speed via the
buttons on the steering wheel. The system
brakes on downhill gradients if engine braking
is insufficient.
General information
Depending on the driving settings, the features
of the cruise control can change in certain
areas.
Seite 151Driving comfortControls151
Online Edition for Part no. 01 40 2 963 410 - VI/15
Page 154 of 275
Displays in the Head-up DisplaySome system information can also be dis‐
played in the Head-up Display.
PDC Park Distance Control
The concept PDC is a support when parking. When you
slowly approach an object in the rear - or also
in the front of the vehicle if the feature is availa‐
ble - then the object is reported through:▷Signal tones.▷Visual display.
General information
Ultrasound sensors in the bumpers measure
the distances from objects.
The maneuvering range, depending on the ob‐
stacle and environmental conditions, is approx.
6 ft/2 m.
An acoustic warning is first given with the fol‐
lowing circumstances:
▷By the front sensors and the two rear cor‐
ner sensors at approx. 24 in/60 cm.▷By the rear middle sensors at approx.
5 ft/1.50 m.▷When a collision is imminent.
Information
WARNING
The system does not relieve from the
personal responsibility to correctly assess the
traffic situation. Based on the limits of the sys‐
tem, it cannot independently react to all traffic
situations. There is risk of an accident. Adjust
the driving style to the traffic conditions. Watch
traffic closely and actively interfere in the re‐
spective situations.◀
WARNING
Due to high speeds when PDC is acti‐
vated, the warning can be delayed due to
physical circumstances. There is risk of injuries
or risk of property damage. Avoid approaching
an object too fast. Avoid driving off fast while
PDC is not yet active.◀
Overview
With front PDC: button in vehicle
PDC Park Distance Control
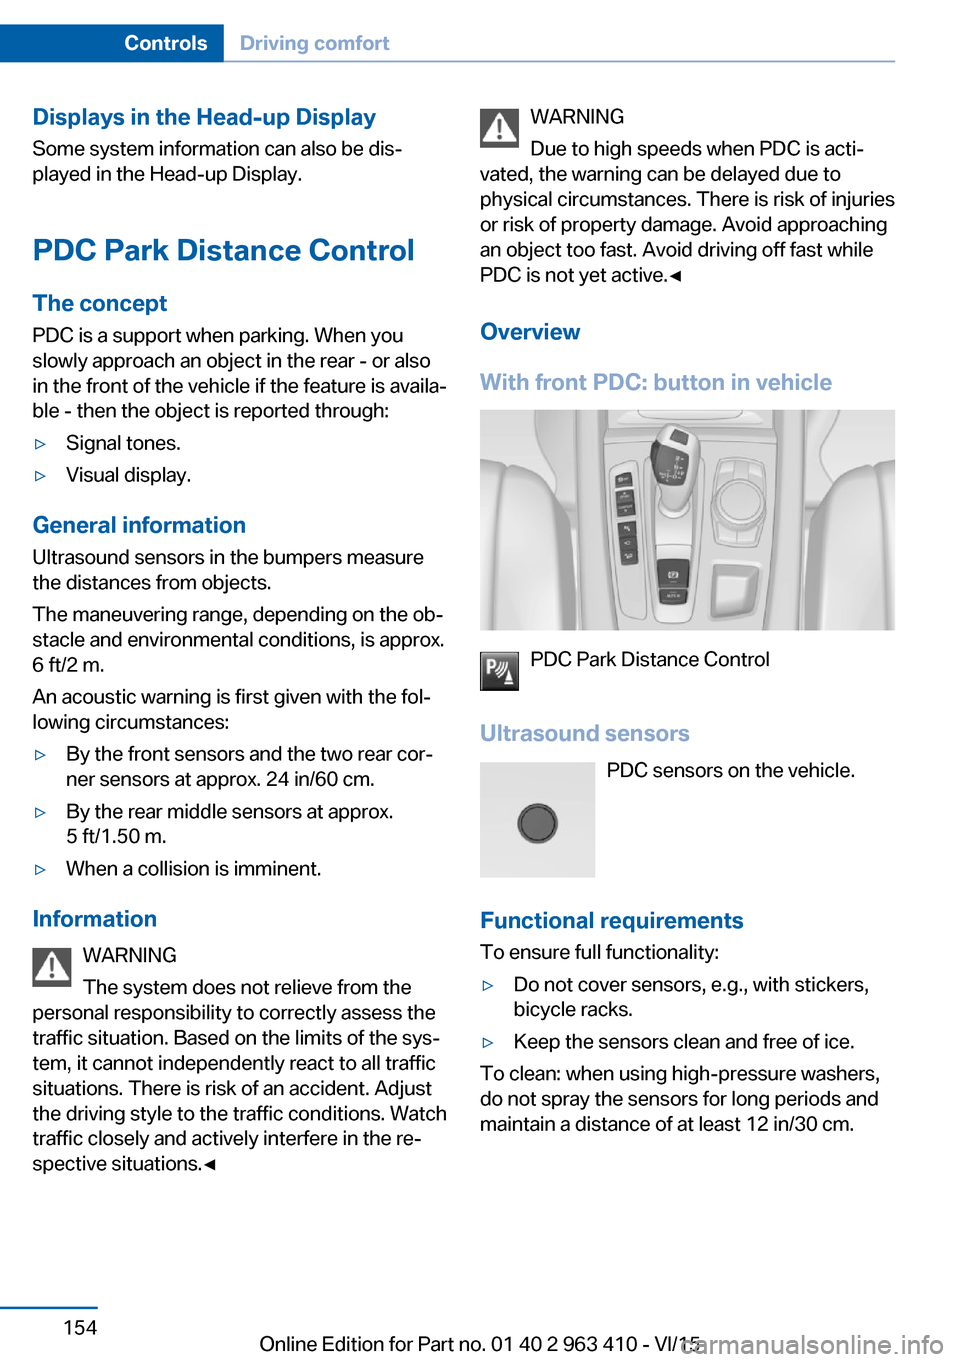
Ultrasound sensors PDC sensors on the vehicle.
Functional requirements
To ensure full functionality:
▷Do not cover sensors, e.g., with stickers,
bicycle racks.▷Keep the sensors clean and free of ice.
To clean: when using high-pressure washers,
do not spray the sensors for long periods and
maintain a distance of at least 12 in/30 cm.
Seite 154ControlsDriving comfort154
Online Edition for Part no. 01 40 2 963 410 - VI/15
Page 155 of 275
Switching on/off
Switching on automatically PDC switches on automatically in the following
situations:▷If selector lever position R is engaged
when the engine is running.
The rearview camera also switches on.▷If equipped with front PDC: when obsta‐
cles are detected behind or in front of the
vehicle by PDC and the speed is slower
than approx. 2.5 mph/4 km/h.
You may turn off automatic activation:
1."Settings"2."Parking"3.Select setting.
Settings are stored for the profile currently
used.
Automatic deactivation during forward
travel
The system switches off when a certain driving
distance or speed is exceeded.
Switch the system back on if needed.
With front PDC: switching on/off
manually
Press button.
▷On: the LED lights up.▷Off: the LED goes out.
The rearview camera image is displayed when
the reverse gear is engaged by pressing the
button.
Display
Signal tones When approaching an object, an intermittent
sound indicates the position of the object. E. g.
if an object is detected to the left rear of the
vehicle, a signal tone sounds from the left rear
speaker.
The shorter the distance to the object, the
shorter the intervals.
If the distance to a detected object is less than
approx. 10 in/25 cm, a continuous tone is
sounded.
With front PDC: if objects are located both in
front of and behind the vehicle, an alternating
continuous signal is sounded.
The signal tone is switched off, when selector
lever position P is engaged on vehicles with
Steptronic transmission.
Volume
The ratio of the PDC signal tone volume to the
entertainment volume can be adjusted.1."Multimedia", "Radio" or "Settings"2."Tone"3."Volume settings"4."PDC"5.Turn the controller until the desired setting
is selected.6.Press the controller.
Settings are stored for the profile currently
used.
Visual warning
The approach of the vehicle to an object can
be shown on the Control Display. Objects that
are farther away are already displayed on the
Control Display before a signal sounds.
A display appears as soon as Park Distance
Control (PDC) is activated.
The range of the sensors is represented in the
colors green, yellow and red.
When the image of the rearview camera is dis‐
played, the switch can be made to PDC:
"Rear view camera"
Seite 155Driving comfortControls155
Online Edition for Part no. 01 40 2 963 410 - VI/15
Page 157 of 275
tions. Watch traffic and vehicle surroundings
closely and actively interfere in the respective
situations.◀
Overview
Button in the vehicle
Rearview camera
Camera
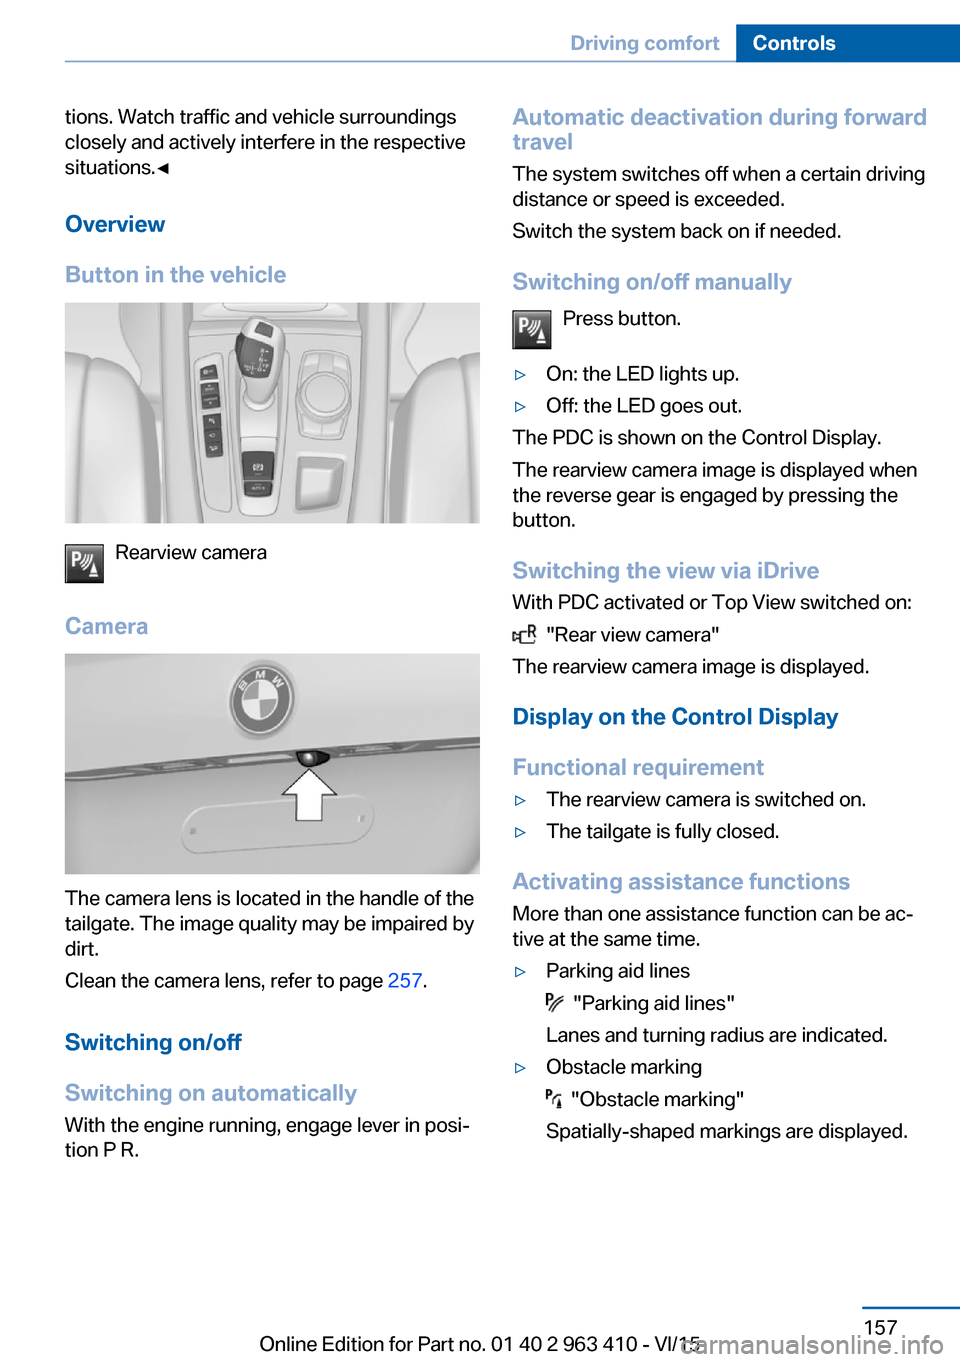
The camera lens is located in the handle of the
tailgate. The image quality may be impaired by
dirt.
Clean the camera lens, refer to page 257.
Switching on/off
Switching on automatically With the engine running, engage lever in posi‐
tion P R.
Automatic deactivation during forward
travel
The system switches off when a certain driving
distance or speed is exceeded.
Switch the system back on if needed.
Switching on/off manually Press button.▷On: the LED lights up.▷Off: the LED goes out.
The PDC is shown on the Control Display.
The rearview camera image is displayed when
the reverse gear is engaged by pressing the
button.
Switching the view via iDrive With PDC activated or Top View switched on:
"Rear view camera"
The rearview camera image is displayed.
Display on the Control Display
Functional requirement
▷The rearview camera is switched on.▷The tailgate is fully closed.
Activating assistance functions
More than one assistance function can be ac‐
tive at the same time.
▷Parking aid lines
"Parking aid lines"
Lanes and turning radius are indicated.
▷Obstacle marking
"Obstacle marking"
Spatially-shaped markings are displayed.
Seite 157Driving comfortControls157
Online Edition for Part no. 01 40 2 963 410 - VI/15
Page 159 of 275
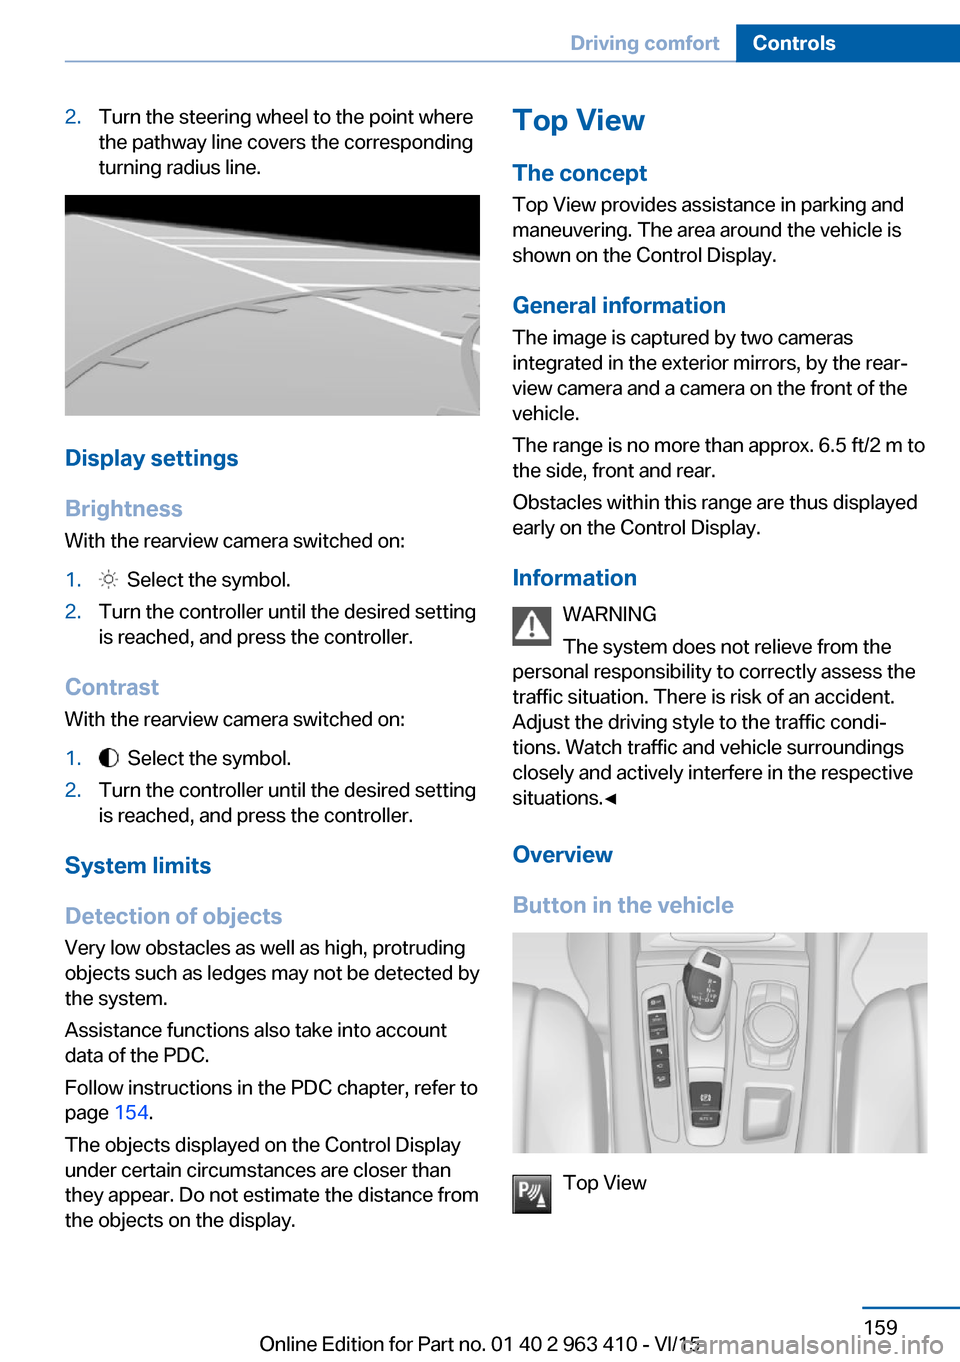
2.Turn the steering wheel to the point where
the pathway line covers the corresponding
turning radius line.
Display settings
Brightness
With the rearview camera switched on:
1. Select the symbol.2.Turn the controller until the desired setting
is reached, and press the controller.
Contrast
With the rearview camera switched on:
1. Select the symbol.2.Turn the controller until the desired setting
is reached, and press the controller.
System limits
Detection of objects
Very low obstacles as well as high, protruding
objects such as ledges may not be detected by
the system.
Assistance functions also take into account
data of the PDC.
Follow instructions in the PDC chapter, refer to
page 154.
The objects displayed on the Control Display
under certain circumstances are closer than
they appear. Do not estimate the distance from
the objects on the display.
Top View
The concept Top View provides assistance in parking and
maneuvering. The area around the vehicle is
shown on the Control Display.
General information The image is captured by two cameras
integrated in the exterior mirrors, by the rear‐
view camera and a camera on the front of the
vehicle.
The range is no more than approx. 6.5 ft/2 m to
the side, front and rear.
Obstacles within this range are thus displayed
early on the Control Display.
Information WARNING
The system does not relieve from the
personal responsibility to correctly assess the
traffic situation. There is risk of an accident.
Adjust the driving style to the traffic condi‐ tions. Watch traffic and vehicle surroundings
closely and actively interfere in the respective
situations.◀
Overview
Button in the vehicle
Top View
Seite 159Driving comfortControls159
Online Edition for Part no. 01 40 2 963 410 - VI/15
Page 161 of 275
2.Turn the controller until the desired setting
is reached, and press the controller.
Displaying the turning radius and
pathway lines
▷The static, red turning radius line shows
the space needed to the side of the vehicle
when the steering wheel is turned all the
way.▷The variable, green pathway line assists
you in assessing the amount of space ac‐
tually needed to the side of the vehicle.
The lane line depends on the engaged
gear and the current steering angle. The
track line is continuously adjusted for the
steering wheel movement.
"Parking aid lines"
Turning circle and pathway lines are displayed.
System limits
A Check Control message is displayed when a
camera is not working.
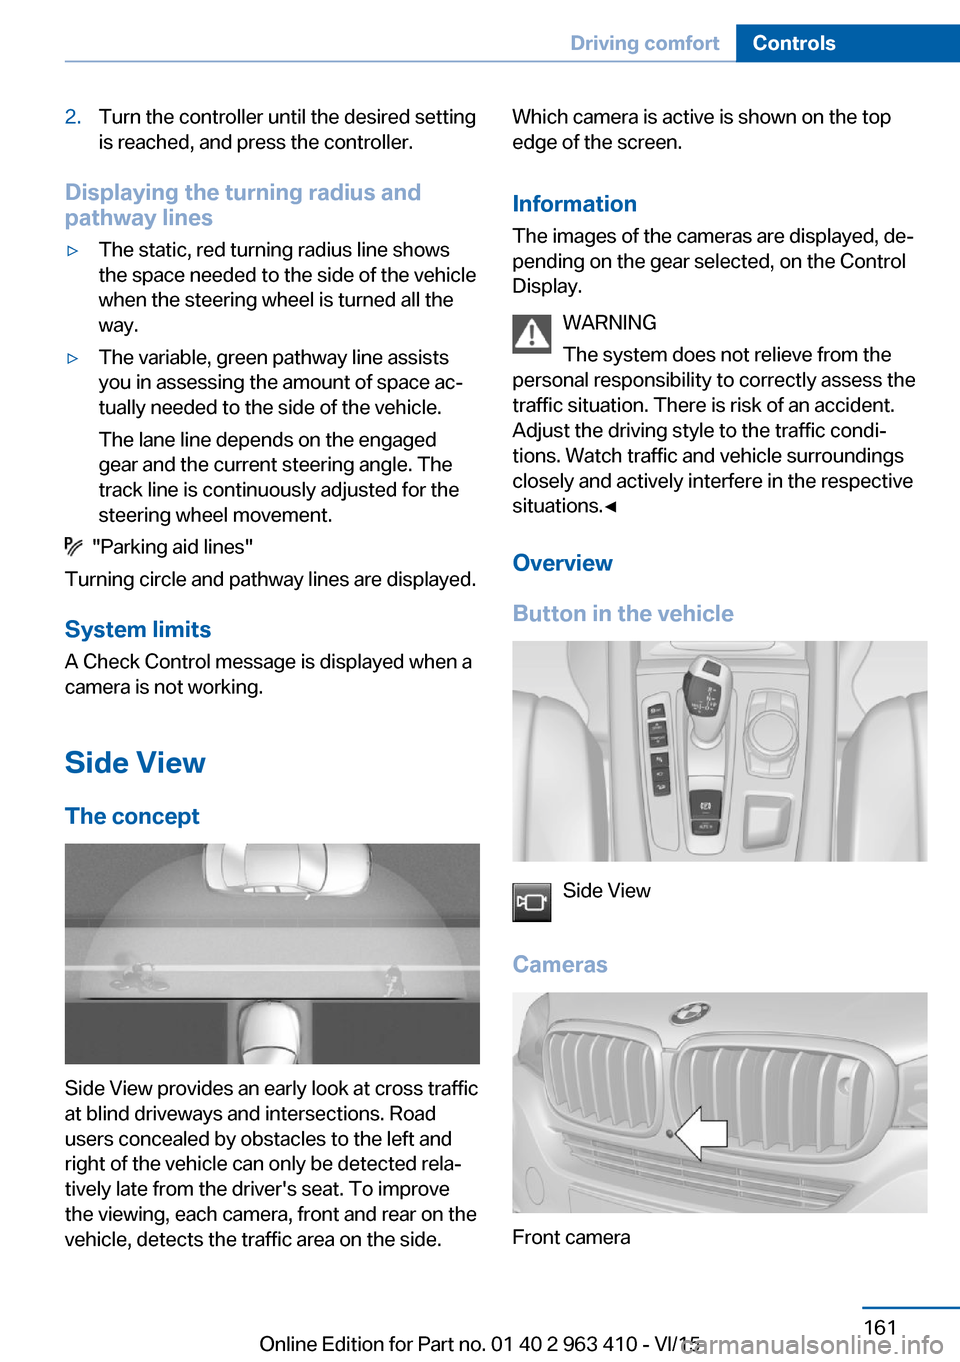
Side View The concept
Side View provides an early look at cross traffic
at blind driveways and intersections. Road
users concealed by obstacles to the left and
right of the vehicle can only be detected rela‐
tively late from the driver's seat. To improve
the viewing, each camera, front and rear on the
vehicle, detects the traffic area on the side.
Which camera is active is shown on the top
edge of the screen.
Information The images of the cameras are displayed, de‐
pending on the gear selected, on the Control
Display.
WARNING
The system does not relieve from the
personal responsibility to correctly assess the
traffic situation. There is risk of an accident.
Adjust the driving style to the traffic condi‐
tions. Watch traffic and vehicle surroundings
closely and actively interfere in the respective
situations.◀
Overview
Button in the vehicle
Side View
Cameras
Front camera
Seite 161Driving comfortControls161
Online Edition for Part no. 01 40 2 963 410 - VI/15