key BUICK ENCLAVE 2018 Infotainment System Guide
[x] Cancel search | Manufacturer: BUICK, Model Year: 2018, Model line: ENCLAVE, Model: BUICK ENCLAVE 2018Pages: 88, PDF Size: 0.99 MB
Page 15 of 88
Buick Infotainment System (GMNA-Localizing-U.S./Canada-10999317) -
2018 - CRC - 7/31/17
14 Radio
Direct Tune
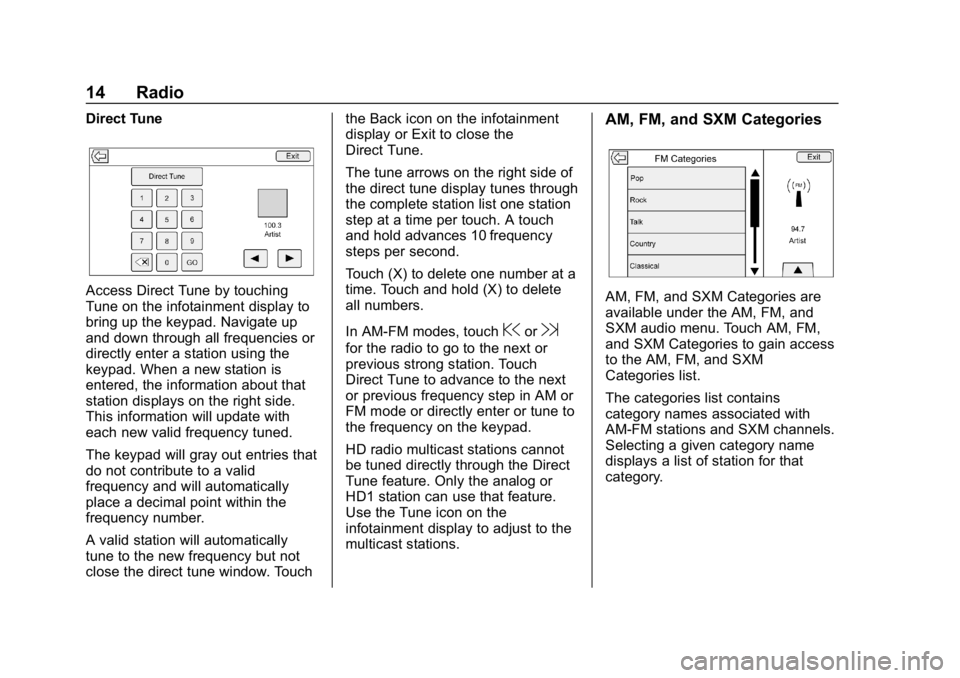
Access Direct Tune by touching
Tune on the infotainment display to
bring up the keypad. Navigate up
and down through all frequencies or
directly enter a station using the
keypad. When a new station is
entered, the information about that
station displays on the right side.
This information will update with
each new valid frequency tuned.
The keypad will gray out entries that
do not contribute to a valid
frequency and will automatically
place a decimal point within the
frequency number.
A valid station will automatically
tune to the new frequency but not
close the direct tune window. Touchthe Back icon on the infotainment
display or Exit to close the
Direct Tune.
The tune arrows on the right side of
the direct tune display tunes through
the complete station list one station
step at a time per touch. A touch
and hold advances 10 frequency
steps per second.
Touch (X) to delete one number at a
time. Touch and hold (X) to delete
all numbers.
In AM-FM modes, touch
@or9
for the radio to go to the next or
previous strong station. Touch
Direct Tune to advance to the next
or previous frequency step in AM or
FM mode or directly enter or tune to
the frequency on the keypad.
HD radio multicast stations cannot
be tuned directly through the Direct
Tune feature. Only the analog or
HD1 station can use that feature.
Use the Tune icon on the
infotainment display to adjust to the
multicast stations.
AM, FM, and SXM Categories
AM, FM, and SXM Categories are
available under the AM, FM, and
SXM audio menu. Touch AM, FM,
and SXM Categories to gain access
to the AM, FM, and SXM
Categories list.
The categories list contains
category names associated with
AM-FM stations and SXM channels.
Selecting a given category name
displays a list of station for that
category.
Page 22 of 88
Buick Infotainment System (GMNA-Localizing-U.S./Canada-10999317) -
2018 - CRC - 7/31/17
Audio Players 21
2. Touch the album to view a listof all songs on the album.
3. Touch a song from the list to begin playback.
Songs: 1. Touch to display a list of All Songs on the USB.
2. To begin playback, touch a song from the list.
Genres: 1. Touch to view the genres on the USB.
2. Touch a genre to view a list of all content of that genre.
3. Touch artists to view a list of albums.
4. Touch an album to view a list of songs.
5. Touch a song to begin playback.
Podcasts, Composers, Audio
Books, and Videos are shown when
More is touched from near the
bottom of the display. Podcasts:
1. Touch to view the podcasts on the USB.
2. Touch a podcast. If episodes exist, touch an episode.
Composers: 1. Touch to view the composers on the USB.
2. Touch Composer to view a list of albums by that composer.
3. Touch an album to view a list of songs on that album.
4. Touch a song from the list to begin playback.
Audiobooks: 1. Touch to view the audiobooks stored on the USB.
2. Touch audiobook.
3. Touch a chapter to begin playback.
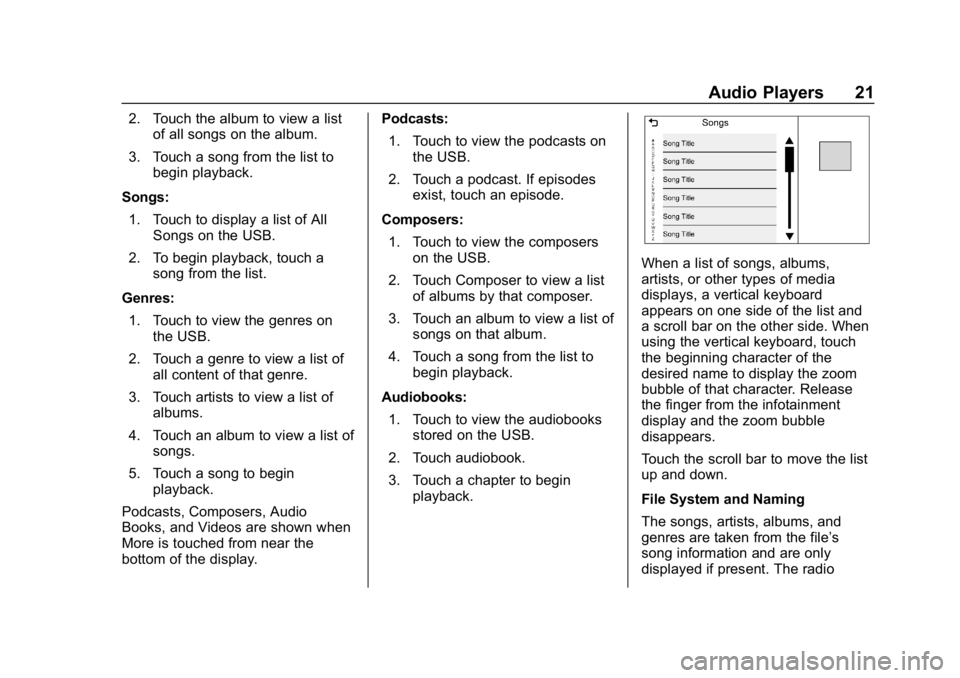
When a list of songs, albums,
artists, or other types of media
displays, a vertical keyboard
appears on one side of the list and
a scroll bar on the other side. When
using the vertical keyboard, touch
the beginning character of the
desired name to display the zoom
bubble of that character. Release
the finger from the infotainment
display and the zoom bubble
disappears.
Touch the scroll bar to move the list
up and down.
File System and Naming
The songs, artists, albums, and
genres are taken from the file’s
song information and are only
displayed if present. The radio
Page 32 of 88
Buick Infotainment System (GMNA-Localizing-U.S./Canada-10999317) -
2018 - CRC - 7/31/17
Navigation 31
Contacts1. Touch Delete All Entries to delete the entire list of
contacts. A pop-up displays to
confirm.
2. Touch Edit Contacts List to display the Contacts to edit.
Recent Destinations
. Touch Delete All Destinations to
delete the entire recent
destination list. A pop-up
displays asking to confirm the
deletion.
. Touch Delete Individual
Destinations to display a recent
destinations list. Touch the
individual entry to delete.
My POIs
. Touch My POIs to display a
menu of other options.
. Touch Delete Individual
Categories. A My POIs category
list displays.
. Touch the individual entry to
delete. .
Touch Delete All My POIs to
delete the entire list of
categories. A pop-up displays
asking to confirm the deletion.
. To exit out of a list, touch Exit in
the top right corner of the map to
return to the main map view.
Upload Saved Locations
. Touch Upload on the Upload
Saved Locations menu to save
the Vehicle Contacts list and any
My POIs that have been saved
to the vehicle.
. Once saved locations have been
uploaded to a USB, they can be
transferred to a different vehicle
or restored to the current
contacts list.Delete Autocomplete
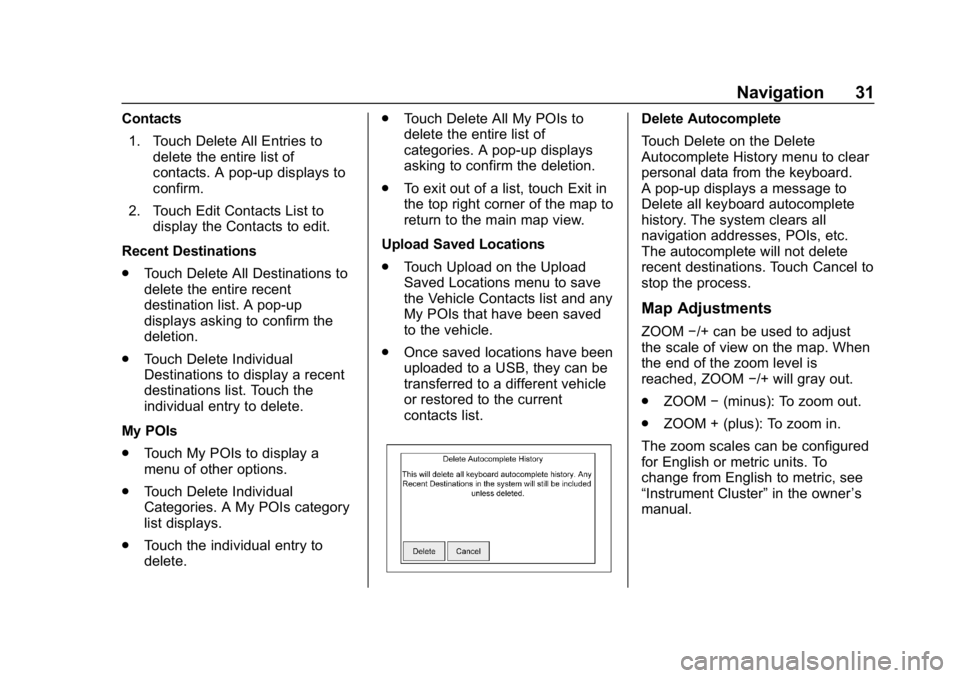
Touch Delete on the Delete
Autocomplete History menu to clear
personal data from the keyboard.
A pop-up displays a message to
Delete all keyboard autocomplete
history. The system clears all
navigation addresses, POIs, etc.
The autocomplete will not delete
recent destinations. Touch Cancel to
stop the process.
Map Adjustments
ZOOM −/+ can be used to adjust
the scale of view on the map. When
the end of the zoom level is
reached, ZOOM −/+ will gray out.
. ZOOM −(minus): To zoom out.
. ZOOM + (plus): To zoom in.
The zoom scales can be configured
for English or metric units. To
change from English to metric, see
“Instrument Cluster” in the owner’s
manual.
Page 36 of 88
Buick Infotainment System (GMNA-Localizing-U.S./Canada-10999317) -
2018 - CRC - 7/31/17
Navigation 35
.Recent (destinations)
. Contacts
Touch Destination on the
infotainment display and the last
used destination view is shown.
This mode is retained. The initial
default is Address.
Navigation Next Turn Maneuver
Alert
The navigation system may need to
get the attention of the driver in
certain situations.
If not in the navigation application
when a near maneuver prompt is
given, it is shown as an alert. The
alert contains the turn indicator and
an option to display the main
navigation view, or dismiss the alert.
The alert also contains the name of
the street to turn on and a
countdown bar.
Auto-Capitalization
The shift key is automatically
enabled when a period is entered
on the keyboard. Once the first character is typed after the period,
the next character will change to
lower-case.
Alpha-Numeric Keyboard
The keyboard is used in multiple
locations throughout the system and
can be used with many features.
The navigation system uses the
keyboard's alpha-numeric keyboard.
The keyboard can also be modified
to include characters appropriate for
the region configured in the vehicle
settings.
@:
Touch to search for the
destination details of an address or
place of interest entered in the text
field. Once
@is touched, the
activity indicator displays in the list
of possible matches.
|: Touch to display a list of
matches.
When there are multiple matches, a
dropdown arrow is shown after the
autocomplete text. This dropdown
displays an entire list of matches.
Touch the appropriate match without
having to enter more text.
z: Touch to delete the last typed
character. Touch and hold to clear
the entire text field. If the entire text
field has been deleted, this display
option becomes an Undo option.
Touching Undo will restore the
deleted text.
Exit : Touch to return to the
previous Map view.
SYM : Touch to show the symbol
keyboard.
Space : Touch to enter a space
between characters or the words of
a name.
R: Touch to display the
interaction selector.
E: If equipped, touch to switch
between Alpha-Numeric Keyboard
and Character Recognition.
Special Characters
As the characters are typed on the
keyboard, a pop-up of the letter
touched displays above the key that
was touched.
Page 37 of 88
Buick Infotainment System (GMNA-Localizing-U.S./Canada-10999317) -
2018 - CRC - 7/31/17
36 Navigation
Continue to touch and hold, and any
additional special characters
associated with that letter are
displayed around the current letter.
To select one of the special
characters, slide a finger left or right
to adjust the highlight of the special
character.
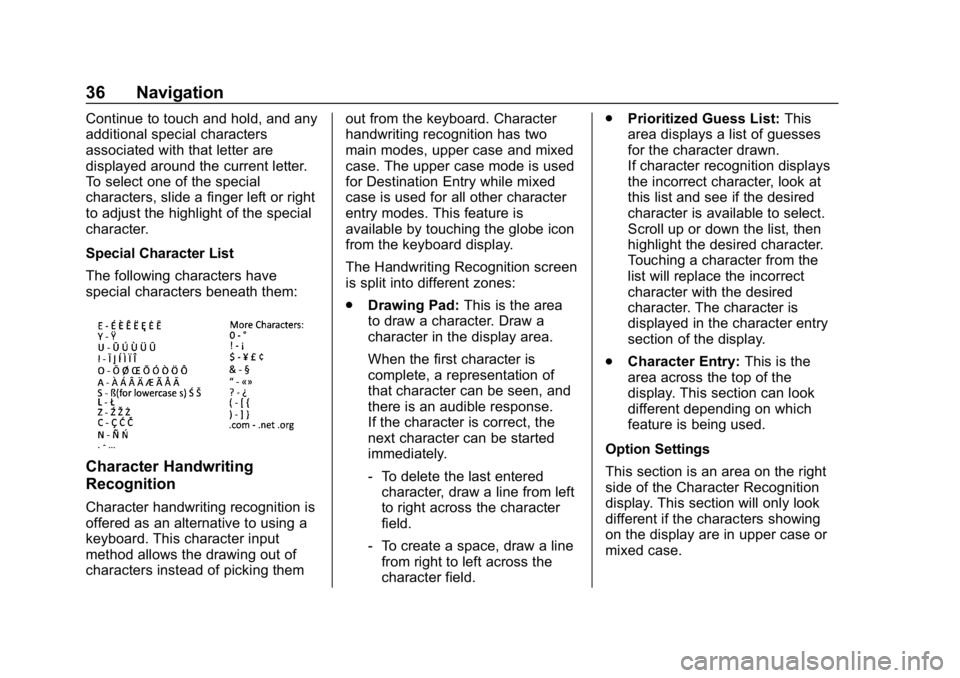
Special Character List
The following characters have
special characters beneath them:
Character Handwriting
Recognition
Character handwriting recognition is
offered as an alternative to using a
keyboard. This character input
method allows the drawing out of
characters instead of picking themout from the keyboard. Character
handwriting recognition has two
main modes, upper case and mixed
case. The upper case mode is used
for Destination Entry while mixed
case is used for all other character
entry modes. This feature is
available by touching the globe icon
from the keyboard display.
The Handwriting Recognition screen
is split into different zones:
.
Drawing Pad: This is the area
to draw a character. Draw a
character in the display area.
When the first character is
complete, a representation of
that character can be seen, and
there is an audible response.
If the character is correct, the
next character can be started
immediately.
‐ To delete the last entered
character, draw a line from left
to right across the character
field.
‐ To create a space, draw a line
from right to left across the
character field. .
Prioritized Guess List: This
area displays a list of guesses
for the character drawn.
If character recognition displays
the incorrect character, look at
this list and see if the desired
character is available to select.
Scroll up or down the list, then
highlight the desired character.
Touching a character from the
list will replace the incorrect
character with the desired
character. The character is
displayed in the character entry
section of the display.
. Character Entry: This is the
area across the top of the
display. This section can look
different depending on which
feature is being used.
Option Settings
This section is an area on the right
side of the Character Recognition
display. This section will only look
different if the characters showing
on the display are in upper case or
mixed case.
Page 39 of 88
Buick Infotainment System (GMNA-Localizing-U.S./Canada-10999317) -
2018 - CRC - 7/31/17
38 Navigation
If only one type of result is found,
the single type result screen is
shown. Within each group, they are
listed in confidence order. This
means the highest confidence result
will be at the top.
If multiple types of matches are
found, the result list with the highest
confidence match displays.
Address and Contact matches are
shown in full width list format. The
match results will display unique
icons for full addresses, streets,
intersections, cities, states/
provinces, and countries.
POIs show in a split list format with
the map on the right displaying the
locations of the matches. The brand
icon or category icon will display for
the match results.
When a list displays, the results for
a particular type can be filtered by
touching the filters along the top of
the screen. If there are no particular
results for a selected type, a
message is indicated in the list.For example:
.
For no addresses: “No
Addresses Found Within
. For no POIs: “No POIs Found
Within <75 km/50 mi/ 800 km/
500 mi>.” This distance is shown
depending on what radius is
completed and what current
units are selected.
. For no contacts: “No Contacts
Found.”
The system performs partial
searches on contacts, so typing a
first name or last name would find a
match. The entire contact name
does not need to be entered for it to
be found in a search.
Touching a contact listed on the
results list displays the standard
contact details view to select an
item, such as an address to start
routing, or a phone number to place
a call. Address
.
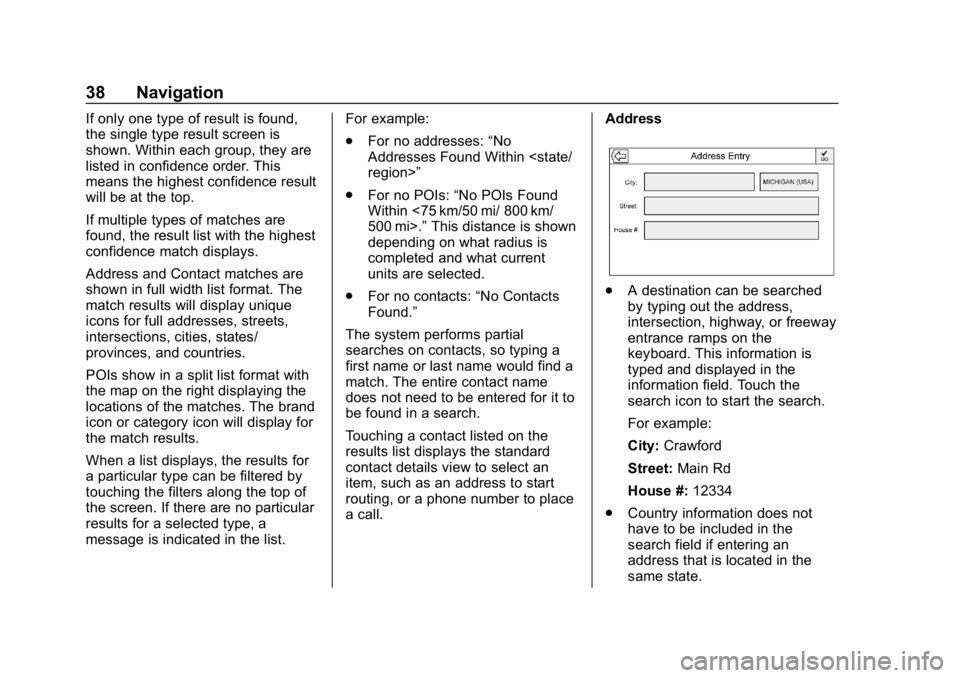
A destination can be searched
by typing out the address,
intersection, highway, or freeway
entrance ramps on the
keyboard. This information is
typed and displayed in the
information field. Touch the
search icon to start the search.
For example:
City: Crawford
Street: Main Rd
House #: 12334
. Country information does not
have to be included in the
search field if entering an
address that is located in the
same state.
Page 40 of 88
Buick Infotainment System (GMNA-Localizing-U.S./Canada-10999317) -
2018 - CRC - 7/31/17
Navigation 39
.Whenever the keyboard view is
entered, the last text that was
typed, even if it was not
searched on, will display.
. A partial or complete address
can be typed in the search field.
If a partial address is typed, the
system attempts to use local
knowledge to fill in additional
information. For example, if no
city name or state/province are
given, the system assumes a
search for something in the
current city or a nearby city in
the current state/province. The
system is also capable of
recognizing address formats
according to other regions.
If a destination address or location
being entered is outside of the
country, the country abbreviation
must be added after the address.
Spelling Mistakes
The system is able to offer
alternatives if the searched term is
not found exactly. The system uses
the closest term it finds and
provides those results. The system first searches the
entered term exactly. If no matches
are found, partial words are used.
Search in Process
Touch Search; the results screen
displays with the activity indicator.
There is a non-selectable List item
in the list that says
“Searching”to
indicate that it is in process.
Once the results are found, the
correct list will display.
No Results Found
If no results are found from an
entered search term, a pop-up
displays indicating there are no
results found. Touch OK to return to
the keyboard view.
Results Display
If only a single match is found at the
end of a search, the list is not
shown but the Destination Details
View is shown. Touch Back from the
Destination Details View to go back
to the results list screen. If it was a
POI search, the Continue POI
Search option is available in case
that was not the desired POI. Places of Interest (POI)
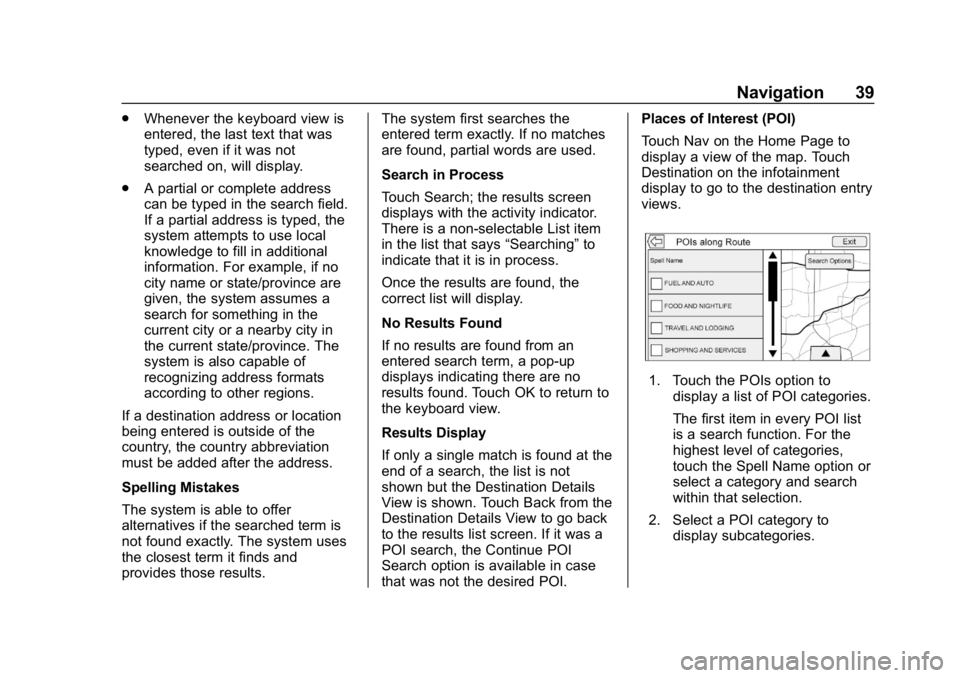
Touch Nav on the Home Page to
display a view of the map. Touch
Destination on the infotainment
display to go to the destination entry
views.
1. Touch the POIs option to
display a list of POI categories.
The first item in every POI list
is a search function. For the
highest level of categories,
touch the Spell Name option or
select a category and search
within that selection.
2. Select a POI category to display subcategories.
Page 41 of 88
Buick Infotainment System (GMNA-Localizing-U.S./Canada-10999317) -
2018 - CRC - 7/31/17
40 Navigation
3. If a selected subcategory hasno results in the surrounding
area, the search is expanded
until a result is found.
4. If a high-level category is selected, such as restaurants,
the map zooms in to the region
near the vehicle’s position to
show the nearest matches.
When a list displays, it can be
filtered for a particular type by
touching the filter along the top
of the screen. If there are no
particular results for a selected
filter type, it is indicated in
the list.
5. Pan or zoom the map using the finger gestures to minimize the
POI list and to interact with the
map. The icons that were
shown before continue to be
displayed and updated. The list
is also updated based on
where the map was panned or
zoomed. The search for POIs
is constrained to where the
map has been moved to. 6. If the search map is touched to
re-center, the crosshairs are
shown to indicate the center of
the new search location. If a
POI icon is touched on while in
the full expanded map, a
callout for that location
displays. Touch the callout to
display the destination
details view.
7. Touch the map Reset option to return the map to automatic
zooming and searching. It is
re-centered around the
vehicle’s position, the route,
the destination, or another
location that was specified for
the search. The map Reset is
only displayed if the map was
manually adjusted.
If multiple types of matches are
found, the All list is shown with the
results sorted by confidence order
with the highest confidence result at
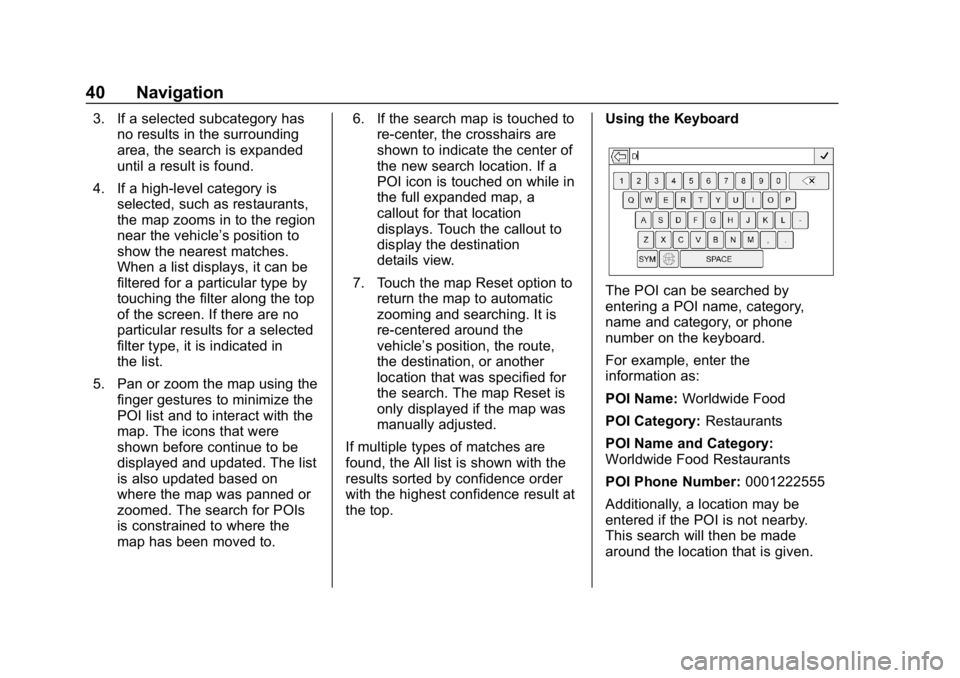
the top. Using the Keyboard
The POI can be searched by
entering a POI name, category,
name and category, or phone
number on the keyboard.
For example, enter the
information as:
POI Name:
Worldwide Food
POI Category: Restaurants
POI Name and Category:
Worldwide Food Restaurants
POI Phone Number: 0001222555
Additionally, a location may be
entered if the POI is not nearby.
This search will then be made
around the location that is given.
Page 42 of 88
Buick Infotainment System (GMNA-Localizing-U.S./Canada-10999317) -
2018 - CRC - 7/31/17
Navigation 41
For example, enter the
information as:
POI Name and Location:
Worldwide Food Chicago IL
The POI keyboard search results
will display in the order in which
they were found.
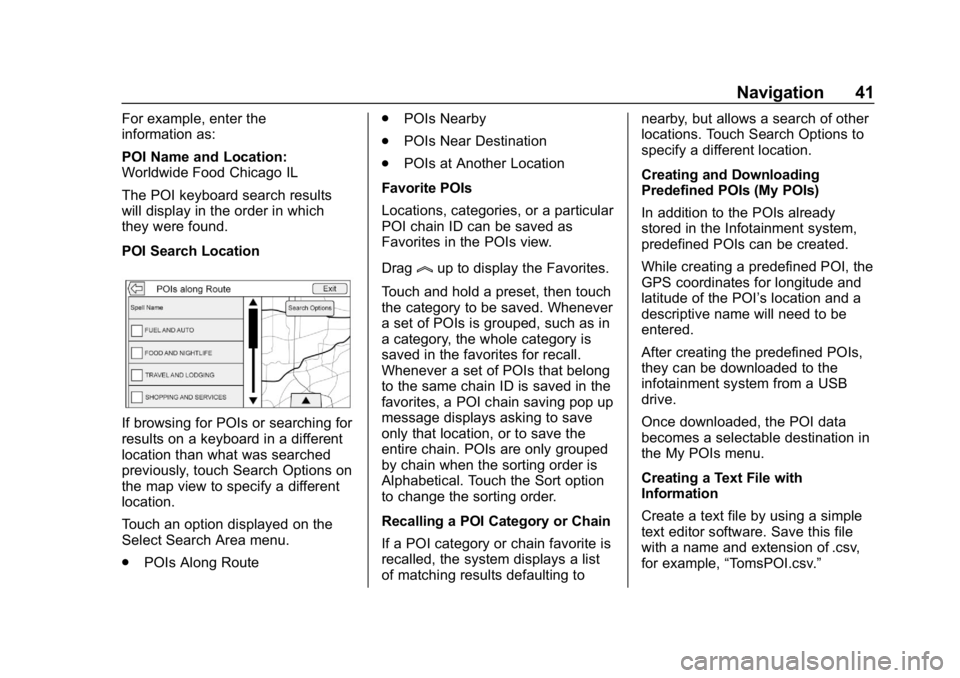
POI Search Location
If browsing for POIs or searching for
results on a keyboard in a different
location than what was searched
previously, touch Search Options on
the map view to specify a different
location.
Touch an option displayed on the
Select Search Area menu.
.POIs Along Route .
POIs Nearby
. POIs Near Destination
. POIs at Another Location
Favorite POIs
Locations, categories, or a particular
POI chain ID can be saved as
Favorites in the POIs view.
Drag
lup to display the Favorites.
Touch and hold a preset, then touch
the category to be saved. Whenever
a set of POIs is grouped, such as in
a category, the whole category is
saved in the favorites for recall.
Whenever a set of POIs that belong
to the same chain ID is saved in the
favorites, a POI chain saving pop up
message displays asking to save
only that location, or to save the
entire chain. POIs are only grouped
by chain when the sorting order is
Alphabetical. Touch the Sort option
to change the sorting order.
Recalling a POI Category or Chain
If a POI category or chain favorite is
recalled, the system displays a list
of matching results defaulting to nearby, but allows a search of other
locations. Touch Search Options to
specify a different location.
Creating and Downloading
Predefined POIs (My POIs)
In addition to the POIs already
stored in the Infotainment system,
predefined POIs can be created.
While creating a predefined POI, the
GPS coordinates for longitude and
latitude of the POI’s location and a
descriptive name will need to be
entered.
After creating the predefined POIs,
they can be downloaded to the
infotainment system from a USB
drive.
Once downloaded, the POI data
becomes a selectable destination in
the My POIs menu.
Creating a Text File with
Information
Create a text file by using a simple
text editor software. Save this file
with a name and extension of .csv,
for example,
“TomsPOI.csv.”
Page 48 of 88
Buick Infotainment System (GMNA-Localizing-U.S./Canada-10999317) -
2018 - CRC - 7/31/17
Navigation 47
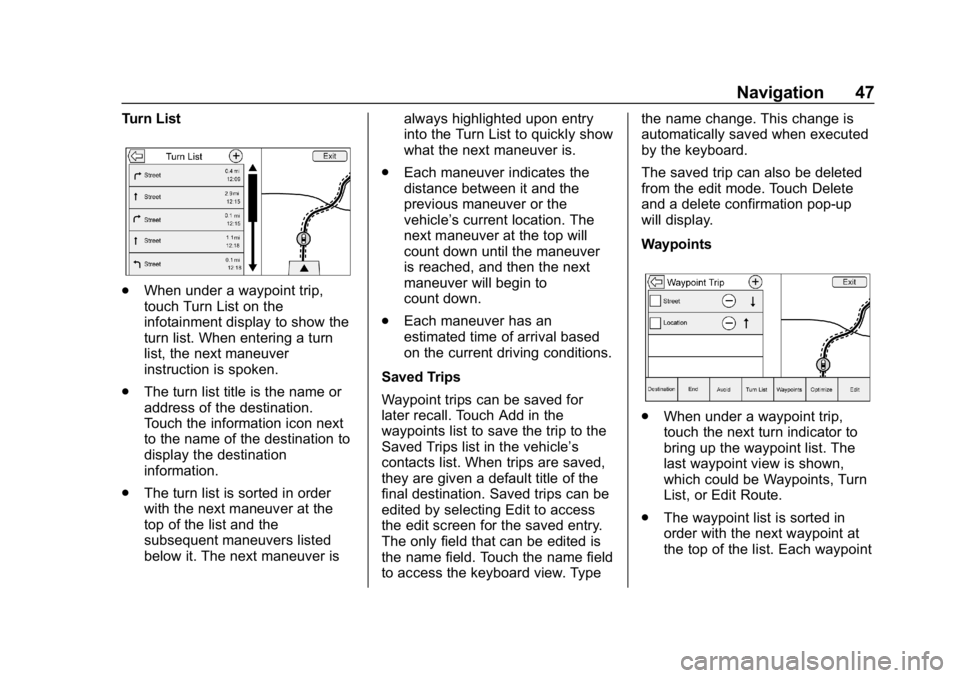
Turn List
.When under a waypoint trip,
touch Turn List on the
infotainment display to show the
turn list. When entering a turn
list, the next maneuver
instruction is spoken.
. The turn list title is the name or
address of the destination.
Touch the information icon next
to the name of the destination to
display the destination
information.
. The turn list is sorted in order
with the next maneuver at the
top of the list and the
subsequent maneuvers listed
below it. The next maneuver is always highlighted upon entry
into the Turn List to quickly show
what the next maneuver is.
. Each maneuver indicates the
distance between it and the
previous maneuver or the
vehicle’s current location. The
next maneuver at the top will
count down until the maneuver
is reached, and then the next
maneuver will begin to
count down.
. Each maneuver has an
estimated time of arrival based
on the current driving conditions.
Saved Trips
Waypoint trips can be saved for
later recall. Touch Add in the
waypoints list to save the trip to the
Saved Trips list in the vehicle’ s
contacts list. When trips are saved,
they are given a default title of the
final destination. Saved trips can be
edited by selecting Edit to access
the edit screen for the saved entry.
The only field that can be edited is
the name field. Touch the name field
to access the keyboard view. Type the name change. This change is
automatically saved when executed
by the keyboard.
The saved trip can also be deleted
from the edit mode. Touch Delete
and a delete confirmation pop-up
will display.
Waypoints
.
When under a waypoint trip,
touch the next turn indicator to
bring up the waypoint list. The
last waypoint view is shown,
which could be Waypoints, Turn
List, or Edit Route.
. The waypoint list is sorted in
order with the next waypoint at
the top of the list. Each waypoint