BUICK RIVIERA 1993 Owners Manual
Manufacturer: BUICK, Model Year: 1993, Model line: RIVIERA, Model: BUICK RIVIERA 1993Pages: 324, PDF Size: 16.01 MB
Page 121 of 324
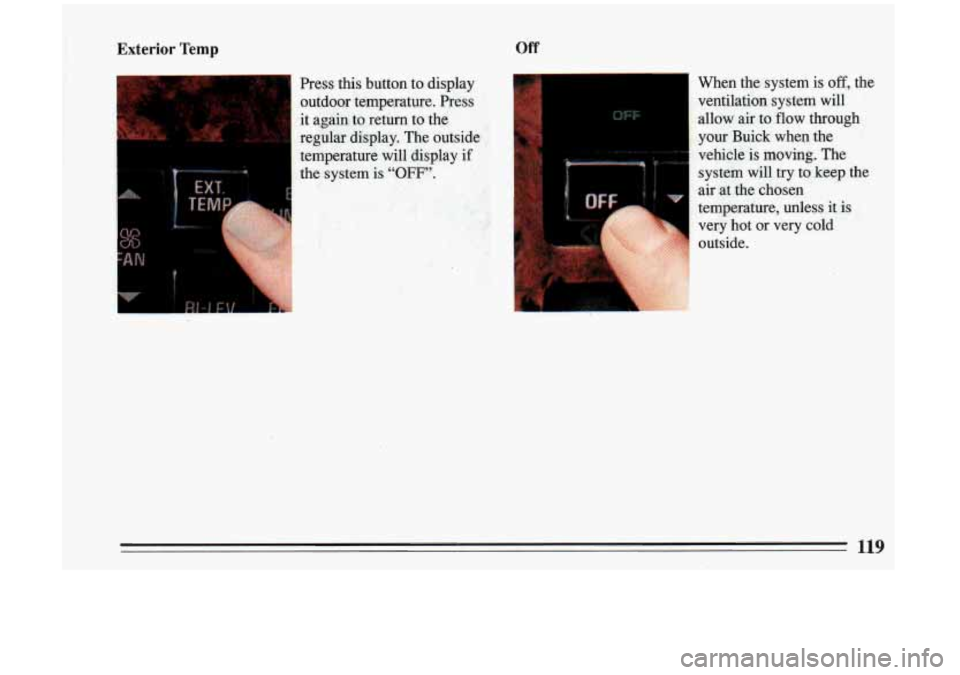
Exterior Temp Off
Press this button to display
outdoor temperature. Press
it a.gah
to return to the
regblar display. The outside
temperature will display
if
the system is “OFF”.
When the system is off, the
ventilatioh system will
alhw air to
flow through -
your Buick when the
vehi@e
is moving. The
system
w’ill try to keep the
.air at the chosen
temperature, unless it is
very hot
or very cold
outside.
119
Page 122 of 324
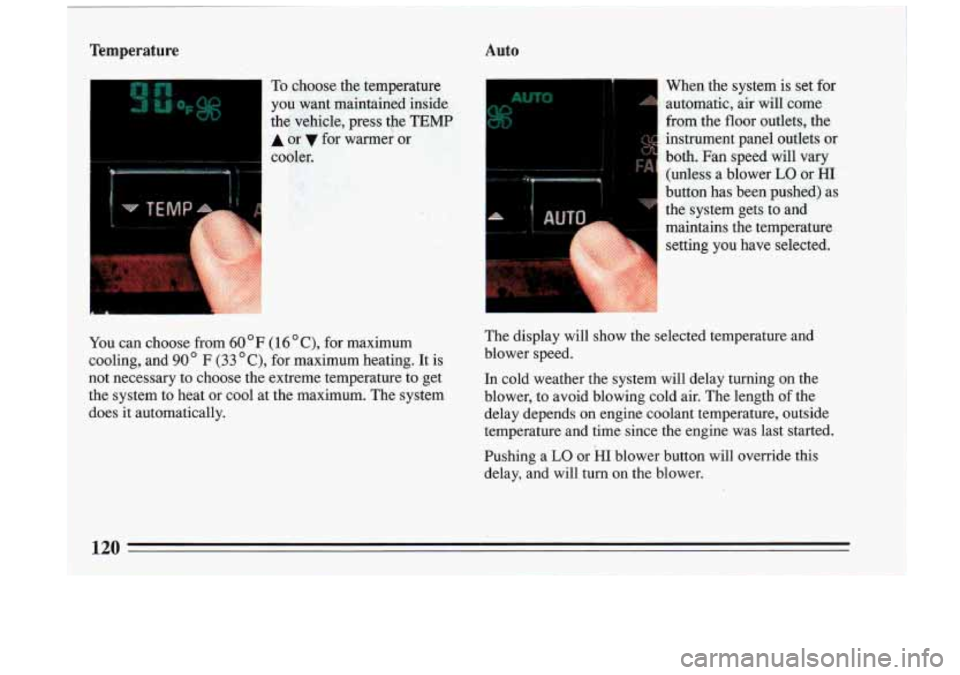
Auto
I- - To choose the temperature When the system is set
far
you- want maintained inside automatic, air
will come
the vehicle, press the
TEMP from the floor outlets, the
A or for warmer or instrument panel outlets or
cooler. both. Fan speed will vary
(unless a blower
LO or HI
:.if, button has been pushed) as
the system gets to and
maintains the temperature setting you have selected.
-
,..I . .
a
~
You can choose from 60 OF (1 6 " C), for maximum
1 cooling, and 90' F (33 "C), for maximum heating. It is The display will show the selected temperature and
blower speed.
! not necessary to choose the extreme temperature to get In cold weather the system will delay turning on the
the system to heat
or cool at the maximum. The system
blower, to avoid blowing cold air. The length of the
does it automatically. delay depends
on engine coolant temperature, outside
temperature and time since the engine was last started.
Pushing a
LO or HI blower button will override this
delay, and will turn on the blower.
120
Page 123 of 324
To rid the system of stale air in warm weather, air will
come out of the floor outlets for a short time.
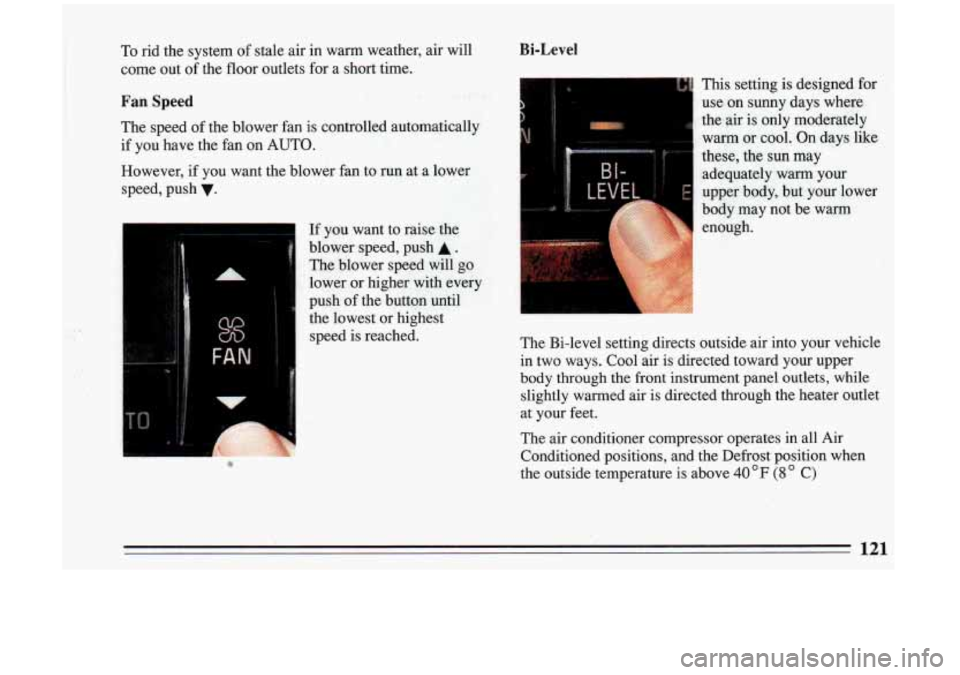
Fan Speed
Bi-Level
H
The speed of the blower fan is controlled automancally'
if you have the fan on AUTO.
However, if you want the blower fan to run at a lower
speed, push
v.
If you want to raise the
blower speed, push
A.
The blower speed will go
lower or higher with
every
push of the button until
the lowest or highest
speed is reached.
This setting is designed for
use on sunny days where
the-air is only moderately
warm or cool. On days like
these, the sun may
adequately
warm your
upper body, but your lower
body may not be warm enough.
The Bi-level setting directs outside air into your vehicle
in two ways. Cool air is directed toward your upper
body through the front instrument panel outlets,
while
slightly warmed air is directed through the heater outlet
at your feet.
The air conditioner compressor operates in all Air Conditioned positions, and the Defrost position when
the outside temperature is above 40 OF (8 C)
121
Page 124 of 324
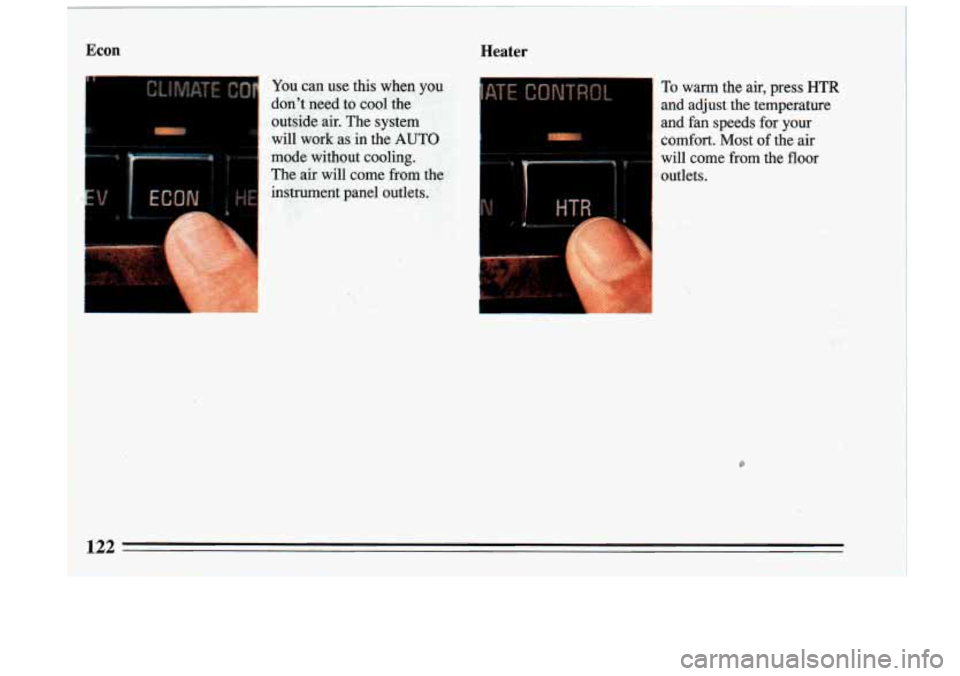
Econ Heater
You can use this when JT~~E' To warm the air, press HTR
don't need to cool the and adjust the temperature
outside air. The system
and fan speeds for your
will work as-in the
AUTO comfort. Most of the air
mode without cooling. will come
from the floor
The air will come from
the j outlets.
ingxument panel outlets
122
Page 125 of 324
Defrost
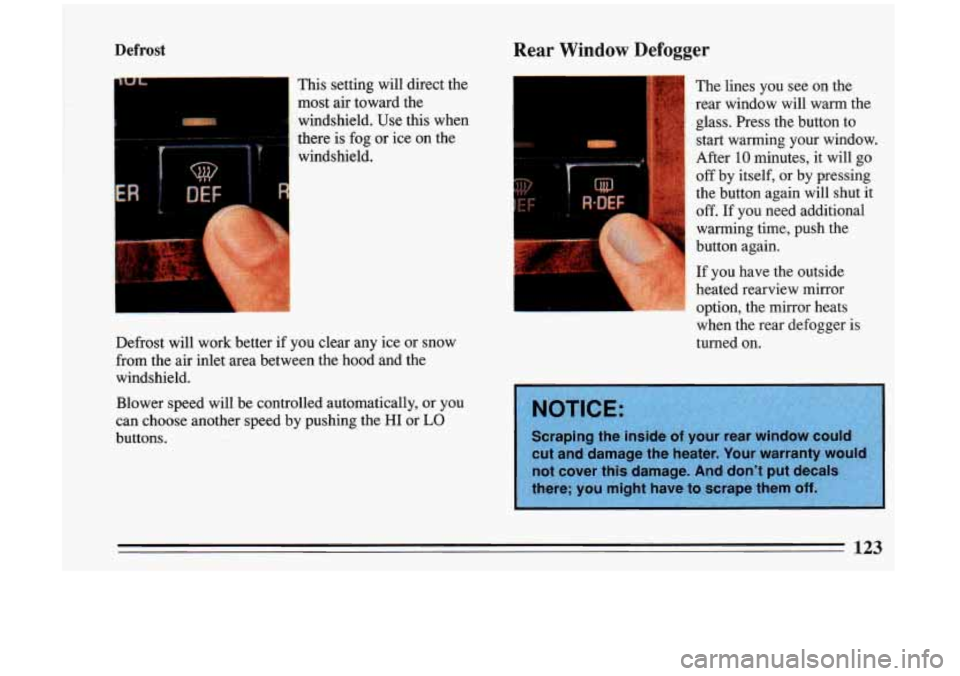
This setting will direct the
most air toward the
windshield. Use this when
there is fog
or ice on the
Rear Window Defogger
f
windshield.
Defrost will work better if you clear any ice or snow
from the air inlet area between the hood and the
windshield.
Blower speed will be controlled automatically, or you
can choose another speed by pushing the HI
or LO
buttons. The
lines you see
on the
rear window will warm the
glass. Press the button to
start warming your window.
After
10 minutes, it will go
off by itself, or by pressing
the button again will shut it
off. If you need additional
warming time, push the
button again.
If you have the outside
! heated rearview mirror option, the mirror heats
when the rear defogger is
turned on.
Page 126 of 324
Audio Systems
Your Delco@ audio system has been designed to operate
easily and give years
of listening pleasure. But you will
get the most enjoyment out of it if you acquaint yourself
with it first. Find out what your DelcoQ system can
do
and how to operate all its controls, to be sure you’re
getting the most out of the advanced engineering that
went into it.
FM Stereo
FM stereo will give you the best sound. But FM signals
will reach only about
10 to 40 miles (16 to 65 km). And,
tall buildings or hills can interfere with FM signals,
causing the sound
to come and go.
AM
The range for most AM stations is greater than for FM,
especially at night. The longer range, however, can
cause stations to interfere with each other. AM can pick
up noise from things like storms and power lines. Try
redu
~ --lg the treble to reduce this noise.
AM Stereo
This means the Delcoa system can receive C-QUAM@
stereo broadcasts. Many AM stations around the country
use C-QUAM@ to produce stereo, though some do not.
(C-QUAM@ is
a registered trademark of Motorola, Inc.)
If your Delcoa system can get C-QUAM@, your
STEREO light will come on when you’re receiving it.
I 124 I
! I
Page 127 of 324
A CAUTION:
Hearing damage from loud noise is almost
undetectable until
it is too late. Your hearing
can adapt to higher volumes of sound. Sound
that seems normal can be loud and harmful to
your hearing. Take precautions by adjusting the
volume control on your radio to a safe sound
level before your hearing adapts to
it.
To help avoid hearing loss or damage:
Adjust the volume control to the lowest
Increase volume slowly until you hear
setting.
comfortably and
clearly.
Page 128 of 324
To Play This Radio It allows you to recall the frequency when the radio
It allows you to hear the other side of the tape. Press
is playing.
the upper knob while cassette is playing.
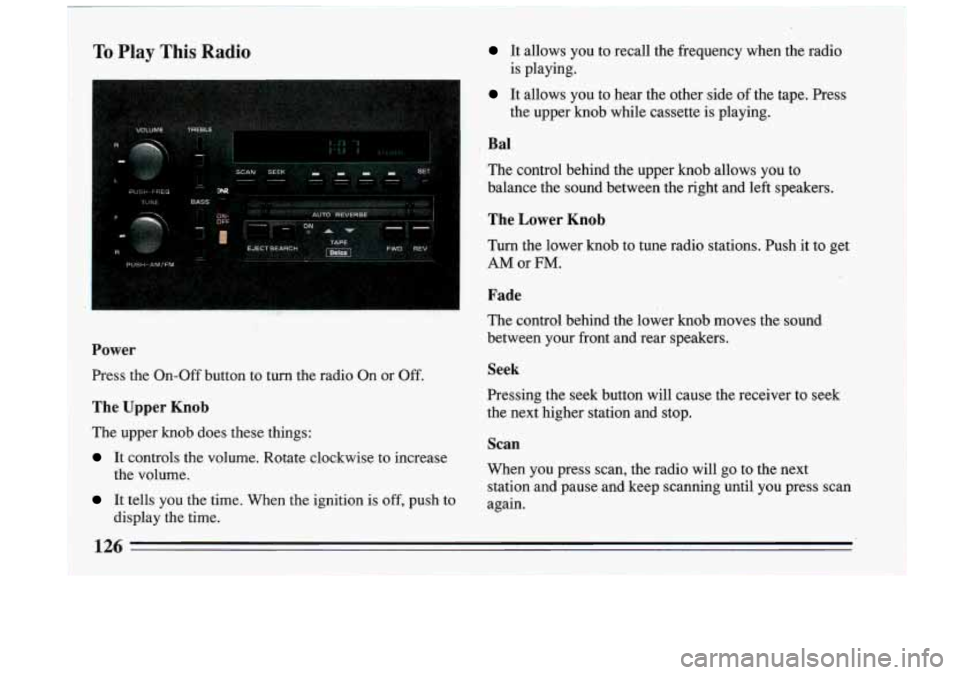
~ Bal
The control behind the upper knob allows you to
balance the sound between the right and left speakers.
! The Lower Knob
I Turn the lower knob to tune radio stations. Push it to get
I AMor FM.
Fade
The control behind the lower knob moves the sotifid
between your front and rear speakers.
Power
Press the On-Off button to turn the radio On or Off. Seek
The Upper Knob the next higher station and stop.
The upper
knob does these things:
It controls the volume. Rotate clockwise to increase Pressing the seek button will cause the receiver to seek
Scan
When you press scan,
the radio will go to the next
station and pause and keep scanning until you press scan
the volume.
It tells YOU the time. When
the ignition is off, push to again.
display the time.
126 -
Page 129 of 324
Pushbuttons
The four pushbuttons let you return to favorite stations.
You can set the pushbuttons for up to fourteen stations
(7 AM and 7 FM).
0
0
0
0
0
0
Tune in the desired station.
Press the SET pushbutton. (SET appears in the
display.)
Within
5 seconds, push one of the four pushbuttons.
Whenever you press that button, the preset station
will return. In additional to the
4 stations set as
above, up to three additional stations may be preset
on each band by pressing two adjoining buttons at
the same time.
Tune in the station you want.
Press SET pushbutton. (SET appears in the display.)
Within
5 seconds, push any two adjoining
pushbuttons at the same time. (The station will return
when the same two buttons are pressed again.)
Clock
To set the clock,
0 Press the SET pushbutton.
0 Within 5 seconds, press and hold SCAN until the
0 Press and hold SEEK until the correct minute correct hour appears on
the display.
appears on the display.
Treble
Slide the treble lever up to increase the treble response.
If station is weak or noisy, slide the treble lever down to
reduce the noise.
Bass
Slide the bass lever up to increase the bass response.
Adjust the bass lever to give a pleasing sound to your
ear.
DNR Q
This is the Dynamic Noise Reduction button. DNR Q
helps remove background hiss from the radio or tape
player. You may want to leave
it pushed in all the time.
127
Page 130 of 324
To Play A Cassette Search
Your tape player is built to work best with tapes that are Push the
~J3mcH button to the right. TO search for the
30 to 45 minutes long on each side. Tapes longer than beginning
of the next selection, push FWD. Push REV
that are
so thin that they may not work well in this and
the tape will reverse to the beginning of the current
player. selection.
With the radio on, push a tape into the slot marked
AUTO REVERSE (tape side goes
in first).
Once the tape is playing, use the upper and lower knobs
for volume balance and fade just as you
do for the radio.
The arrows indicate which side
of the tape is being
Program
To go from one side of the tape to the other, press the
upper knob.
Eject
played.
Your tape player has an AUTO REVERSE feature radio, press EJECT but\
ton.,
which automatically plays the other side of the tape after
the first side has played. To
remove the tape or stop the tape and switch to the
Forward
To advance the tape, press FWD and the tape will
rapidly
go forward until you press the REV button
lightly.
..
Reverse
To reverse the tape, press REV and the tape will rapidly
reverse until you press the
FWD button lightly.
128