engine CADILLAC CATERA 1998 1.G Owners Manual
[x] Cancel search | Manufacturer: CADILLAC, Model Year: 1998, Model line: CATERA, Model: CADILLAC CATERA 1998 1.GPages: 346, PDF Size: 19.13 MB
Page 141 of 346
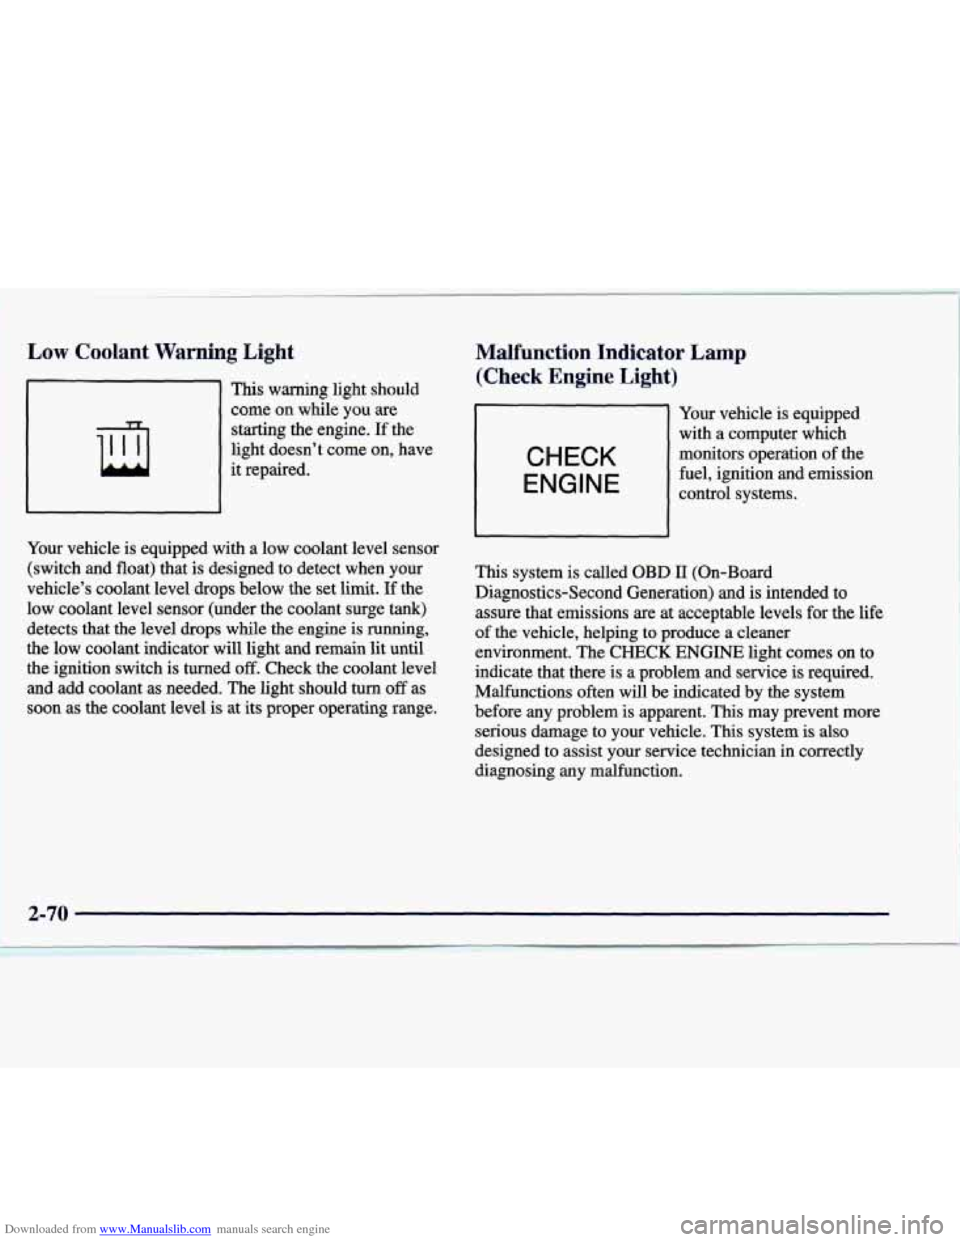
Downloaded from www.Manualslib.com manuals search engine Low Coolant Warning Light
This warning light should
come on while
you are
starting the engine. If the
light doesn’t come on, have
it repaired.
I I
Your vehicle is equipped with a low coolant level sensor
(switch and float) that is designed to detect when your
vehicle’s coolant level drops below the set
limit. If the
low coolant level sensor (under the coolant surge tank)
detects that the level drops while the engine is running,
the low coolant indicator will light and remain lit until
the ignition switch
is turned off. Check the coolant level
and add coolant as needed.
The light should turn off as
soon as the coolant level
is at its proper operating range.
Malfunction Indicator Lamp
(Check Engine Light)
CHECK
ENGINE
Your vehicle is equipped
with a computer which
monitors operation
of the
fuel, ignition and emission
control systems.
This system is called OBD
11 (On-Board
Diagnostics-Second Generation) and is intended to assure that emissions are
at acceptable levels for the life
of the vehicle, helping to produce a cleaner
environment. The CHECK
ENGINE light comes on to
indicate that there is a problem and service
is required.
Malfunctions often will be indicated by the system
before any problem
is apparent. This may prevent more
serious damage to your vehicle. This system
is also
designed to assist your service technician in correctly
diagnosing
any malfunction.
2-70
I
Page 142 of 346
Downloaded from www.Manualslib.com manuals search engine NOTICE:
If you keep driving your vehicle with this light
on, after a while, your emission controls may not work as well, your fuel economy may not be as
good and your engine may not run as smoothly.
This could lead to costly repairs that may not be covered by your warranty.
If the Light Is Flashing
The following may prevent more serious damage to
your vehicle:
0 Reducing vehicle speed.
Avoiding hard accelerations.
Avoiding steep uphill grades.
0 If you are towing a trailer, reduce the amount of
cargo being hauled as
soon as it is possible.
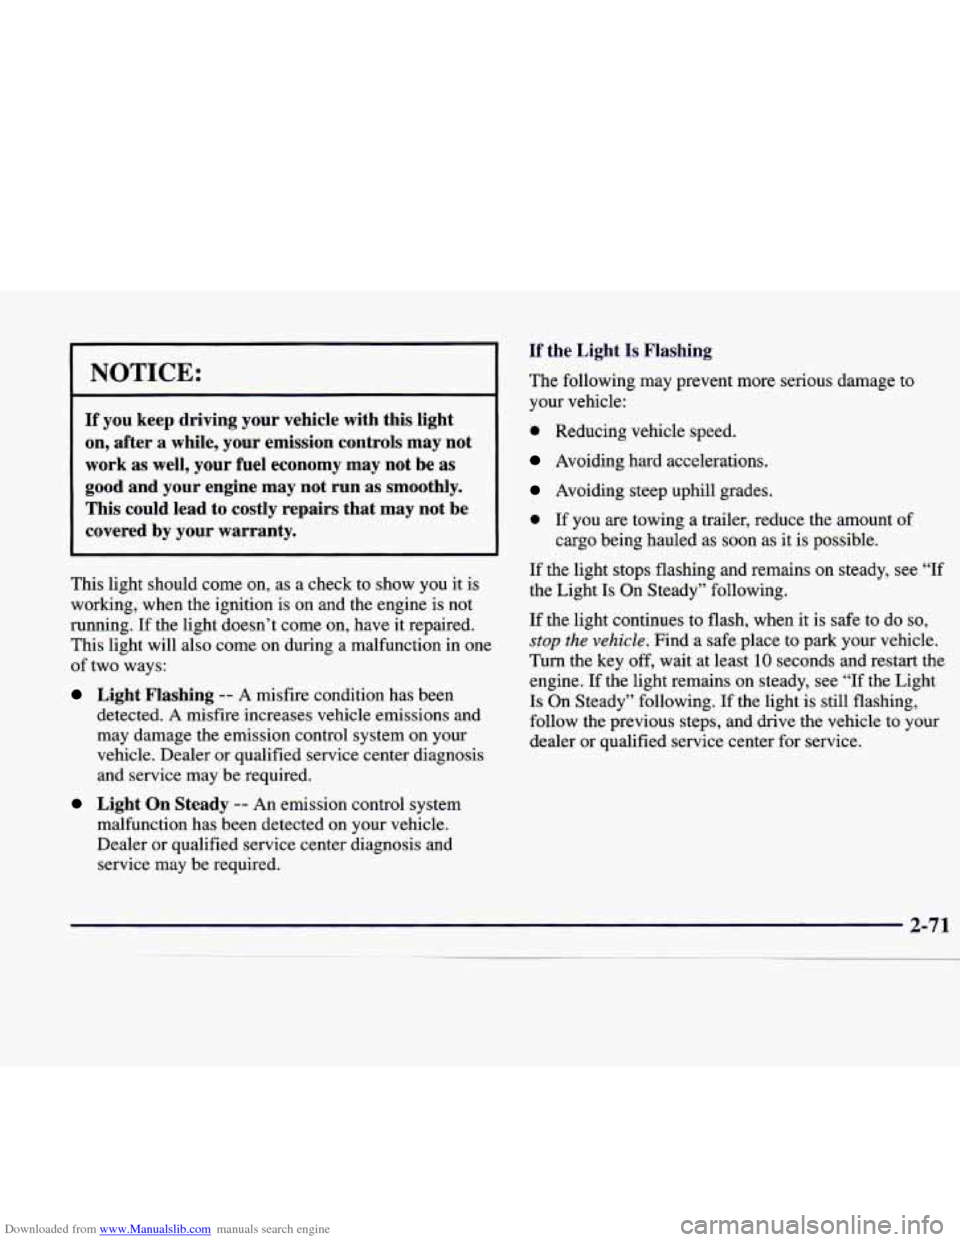
This light should come on, as a check to show you it is
working, when the ignition is on and the engine
is not
running.
If the light doesn’t come on, have it repaired.
This light will also come
on during a malfunction in one
of two ways:
Light Flashing -- A misfire condition has been
detected.
A misfire increases vehicle emissions and
may damage the emission control system on your
vehicle. Dealer or qualified service center diagnosis and service may be required.
Light On Steady -- An emission control system
malfunction has been detected on your vehicle.
Dealer or qualified service center diagnosis and
service may be required. If the light stops flashing and remains on steady,
see “If
the Light
Is On Steady” following.
If the light continues to flash, when it is safe to do
so,
stop the vehicle. Find a safe place to park your vehicle.
Turn the key off, wait at least
10 seconds and restart the
engine. If the light remains on steady, see
“If the Light
Is On Steady” following. If the light is still flashing,
follow the previous steps, and drive the vehicle to your
dealer or qualified service center for service.
Page 143 of 346
Downloaded from www.Manualslib.com manuals search engine If the Light Is On Steady
You may be able to correct the emission system
malfunction by considering the following:
Did you recently put fuel into your vehicle?
If
so, reinstall the fuel cap, making sure to fully install
the cap. The diagnostic system can determine if the fuel
cap has been left
off or improperly installed. A loose or
missing fuel cap will allow fuel to evaporate into the
atmosphere.
A few driving trips with the cap properly
installed should turn the light
off.
Did you just drive through a deep puddle of water?
If
so, your electrical system may be wet. The condition
will usually be corrected when the electrical system
dries out.
A few driving trips should turn the light off.
Are you low on fuel? As your engine starts to run out of fuel, your engine may
not run as efficiently as designed since small amounts of
air are sucked into the fuel
line causing a misfire. The
system can detect this. Adding fuel should correct this
condition. Make sure to install
the fuel cap properly. It
will take a few driving trips to turn the light off. Have
you recently changed brands of fuel?
If
so, be sure to fuel your vehicle with quality fuel (see
“Fuel” in the Index). Poor
fuel quality will cause your
engine not to
run as efficiently as designed. You may
notice this as stalling after start-up, stalling when you
put the vehicle into gear, misfiring, hesitation on acceleration or stumbling on acceleration. (These
conditions may go away once the engine
is warmed up.)
This will be detected by the system and cause the light
to
turn on.
If you experience one or more of these conditions,
change the fuel brand you use. It will require at least one
full tank of
the proper fuel to turn the light off.
If
none of the above steps have made the light turn off,
have your dealer or qualified service center check the
vehicle. Your dealer has the proper test equipment and
diagnostic tools to
fix any mechanical or electrical
problems that may have developed.
2-72
. .~ ~ -
Page 144 of 346
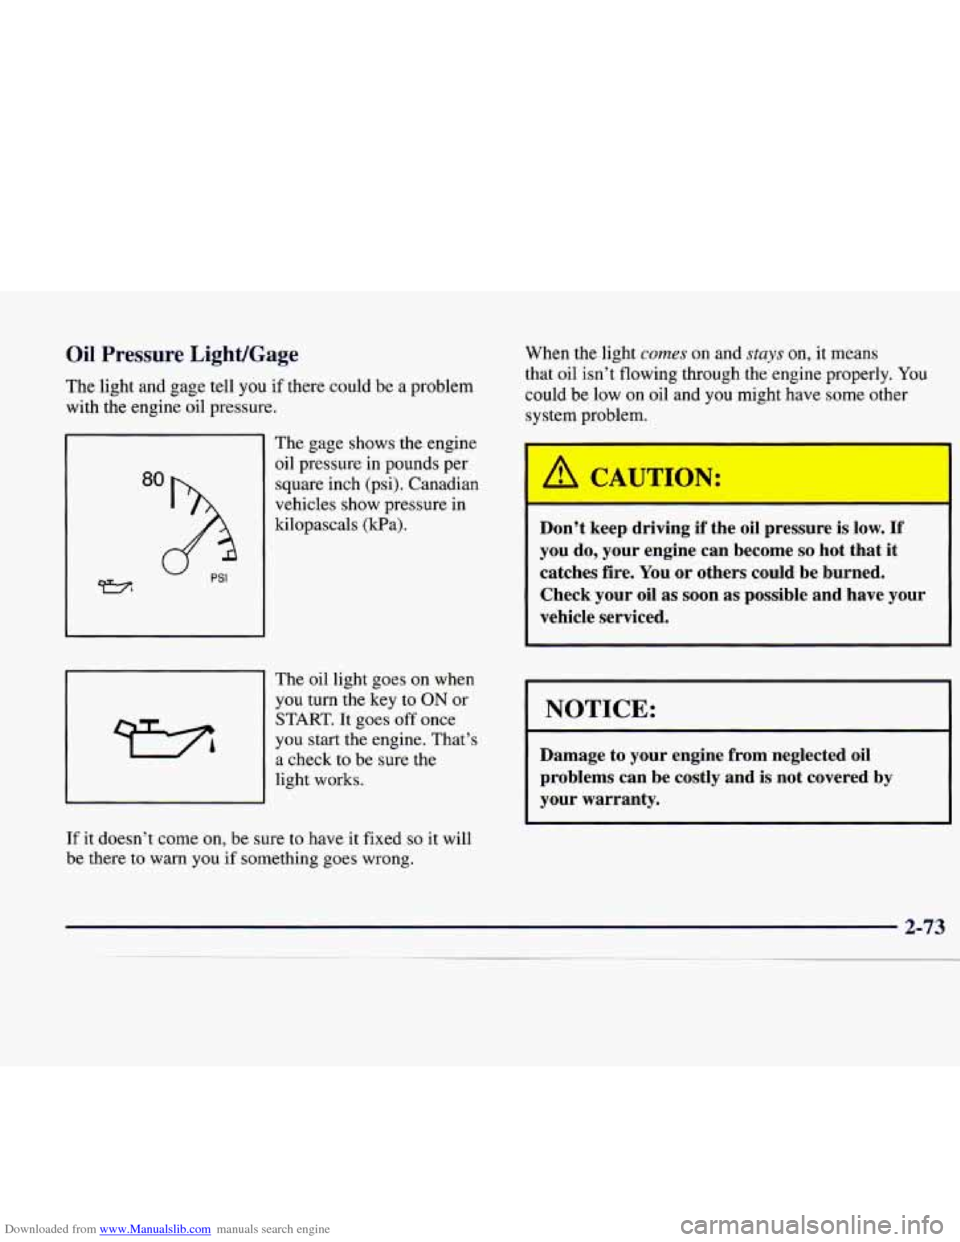
Downloaded from www.Manualslib.com manuals search engine Oil Pressure LighUGage
The light and gage tell you if there could be a problem
with the engine oil pressure. When
the light
comes on and stays on, it means
that oil isn’t flowing through the engine properly.
You
could be low on oil and you might have some other
system problem.
The gage shows the engine
oil pressure in pounds per
square inch (psi). Canadian
vehicles show pressure in
kilopascals (Wa).
The oil light goes on when
you turn the key to ON or
START. It goes off once
you start the engine. That’s
a check to be sure the
light
works.
If it doesn’t come on, be sure to have it fixed so it will
be there to warn you if something goes wrong.
1 A CAUTION:
Don’t keep driving if the oil pressure is low. If
you do, your engine can become so hot that it
catches fire. You or others could be burned.
Check your oil as soon as possible and have your
vehicle serviced.
1 NOTICE:
Damage to your engine from neglected oil
problems can be costly and is not covered by
your warranty.
Page 145 of 346
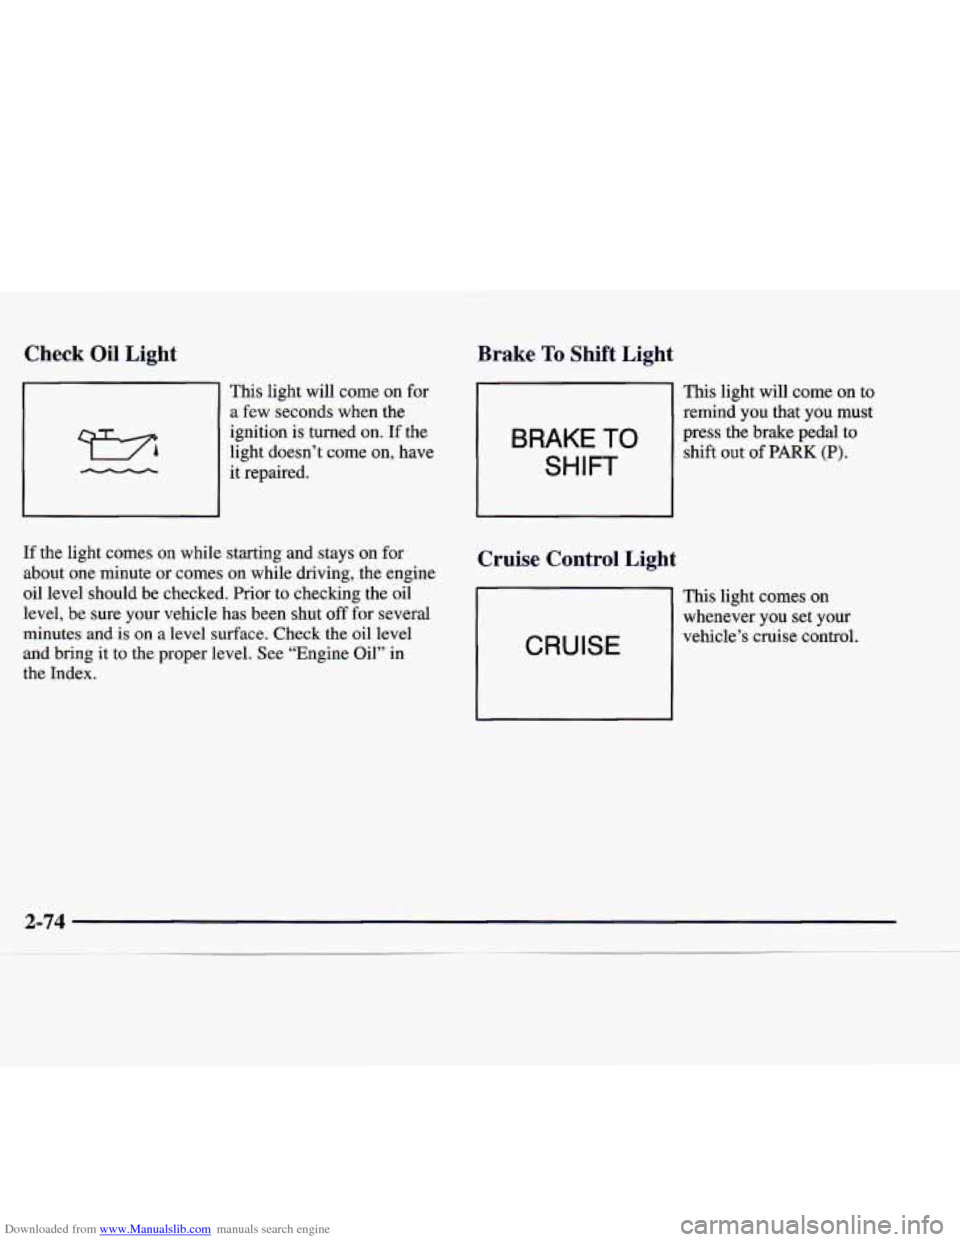
Downloaded from www.Manualslib.com manuals search engine Check Oil Light
This light will come on for
a few seconds when the
ignition is turned on. If the
light doesn’t come on, have
it repaired.
If the light comes
on while starting and stays on for
about one minute or comes on while driving, the engine
oil level should be checked. Prior to checking the oil
level, be sure your vehicle has been shut
off for several
minutes and is
on a level surface. Check the oil level
and bring it to the proper level. See “Engine Oil” in
the Index.
Brake To Shift Light
Ill This light will come on to
remind you that you must
press the brake pedal to shift
out of PARK (P). BRAKE TO
SHIFT
Cruise Control Light
CRUISE
This light comes on
whenever you set your
vehicle’s cruise control.
Page 146 of 346
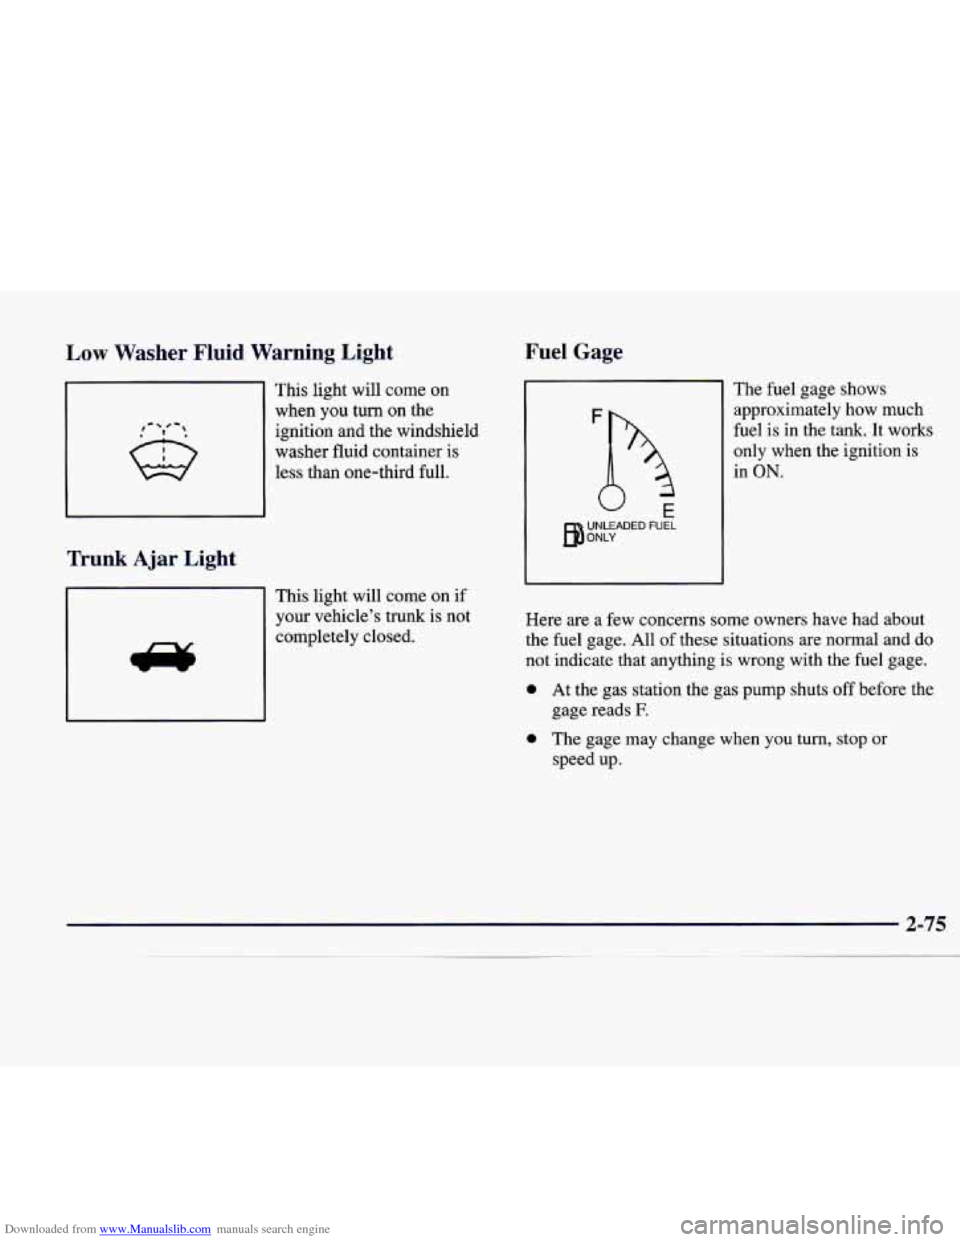
Downloaded from www.Manualslib.com manuals search engine Low Washer Fluid Warning Light
,- # -,
This light will come on
when you turn on the
ignition and the windshield
washer fluid container is
less than one-third full.
Trunk Ajar Light
This light will come on if
your vehicle’s trunk is not
completely closed.
Fuel Gage
The fuel gage shows
approximately how much
fuel is in the tank.
It works
only when the ignition
is
in ON.
Here are a few concerns some owners have had about
the fuel gage. All of these situations are normal and do
not indicate that anything
is wrong with the fuel gage.
0 At the gas station the gas pump shuts off before the
0 The gage may change when you turn, stop or
gage
reads
E
speed up.
2-75
Page 147 of 346
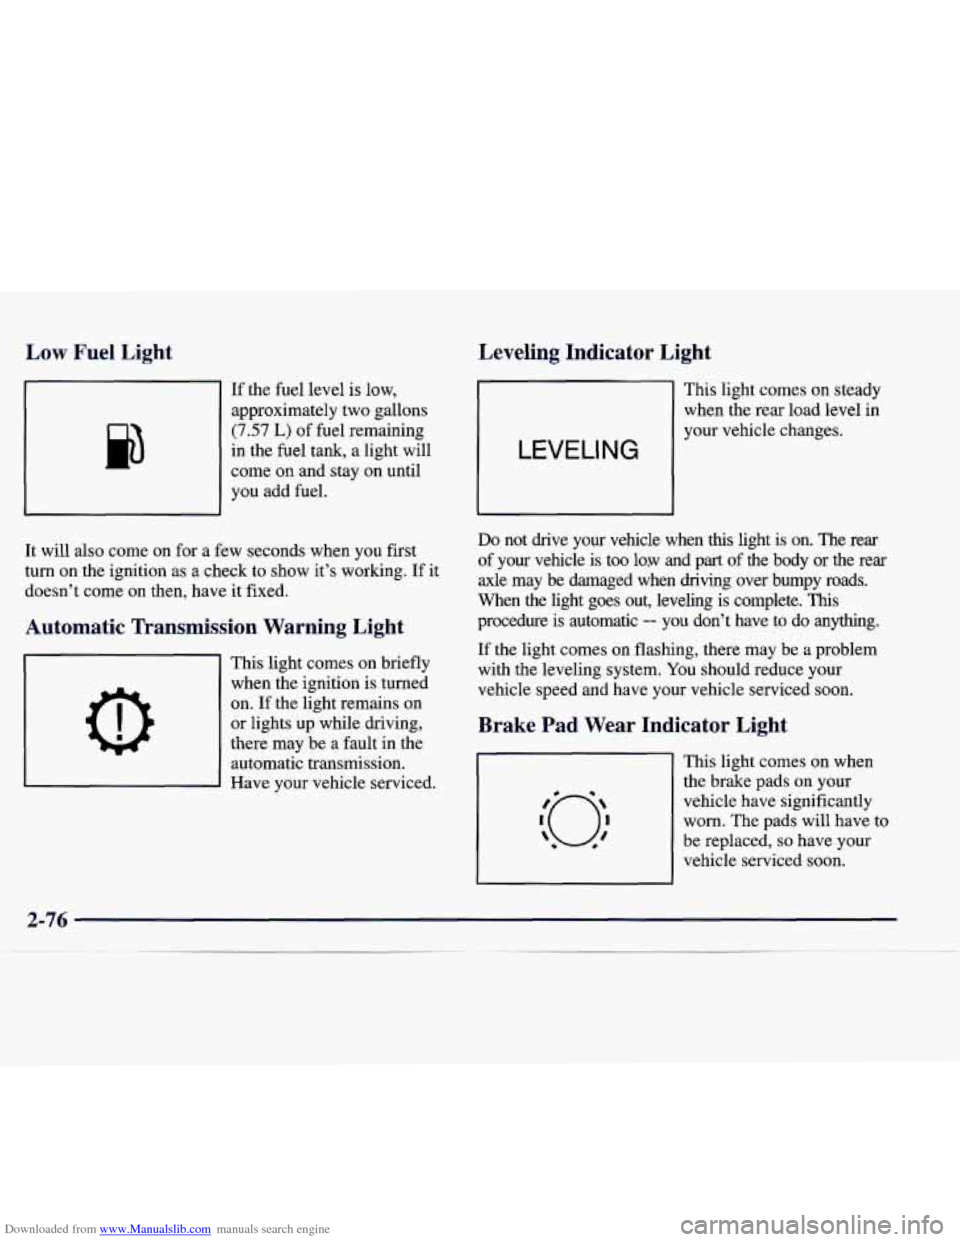
Downloaded from www.Manualslib.com manuals search engine Low Fuel Light
If the fuel level is low,
approximately two gallons
(7.57 L) of fuel remaining
in the fuel tank, a light will
come
on and stay on until
you add fuel.
It will also come on for a few seconds when
you first
turn on the ignition as a check to show it’s working. If
it
doesn’t come on then, have it fixed.
Automatic Transmission Warning Light
0
This light comes on briefly
when the ignition
is turned
on. If the light remains on
or lights up while driving,
there may be a fault in the
automatic transmission.
Have your vehicle serviced.
Leveling Indicator Light
LEVELING
This light comes on steady
when the rear load level in
your vehicle changes.
Do not drive your vehicle when this light is on. The rear
of your vehicle is too low and part of the body or the rear
axle may be damaged when driving over bumpy roads.
When the light goes out, leveling is complete.
This
procedure is automatic -- you don’t have to do anytlmng.
If the light comes on flashing, there may be a problem
with the leveling system. You should reduce your
vehicle speed and have your vehicle serviced soon.
Brake Pad Wear Indicator Light
This light comes on when
the brake pads
on your
vehicle have significantly
worn. The pads will have to
be replaced,
so have your
vehicle serviced soon.
Page 148 of 346
Downloaded from www.Manualslib.com manuals search engine Section 3 Comfort Controls and Audio Systems
In this section, you’ll find out how to operate the comfort control and audio systems offered with your vehicle. Be
sure to read about the particular systems supplied with your vehicle.
3 -2
3-2 3-3
3-4
3-6
3-6 3 -7
3-8
3-8 3-9
3-9
3-9 3-13 Comfort
Controls
Electronic Climate Control (ECC)
Automatic Operation
Manual Operation Air Conditioning
Heating
Ventilation System
Defrosting
Rear Window Defogger
Audio Systems
Setting the Clock
AM-FM Stereo with Cassette Tape Player
AM-FM Stereo with Cassette Tape and
Compact Disc Player with Radio Data
Systems (RDS)(If Equipped) 3-21
3-22
3-25 3-26
3
-26
3-27 3-27
3-28
3-30
3-30 3-30 Radio Data Systems
(RDS) Program Type
(PTY) Selections
Trunk Mounted CD Changer (Option) CD Adapter Kits
Theft-Deterrent Feature
Audio Steering Wheel Controls
Understanding Radio Reception Tips About Your Audio System
Care of Your Cassette Tape Player
Care of Your Compact Discs
Care
of Your Compact Disc Player
Heated Backlite Antenna
3-1
Page 149 of 346
Downloaded from www.Manualslib.com manuals search engine Comfort Controls
This section tells you how to make your air system work
for you. Your comfort control system uses
ozone-friendly
R- 134a refrigerant.
You can control the heating, cooling and ventilation
systems in your vehicle. Guidelines for using these
systems are found later in this section.
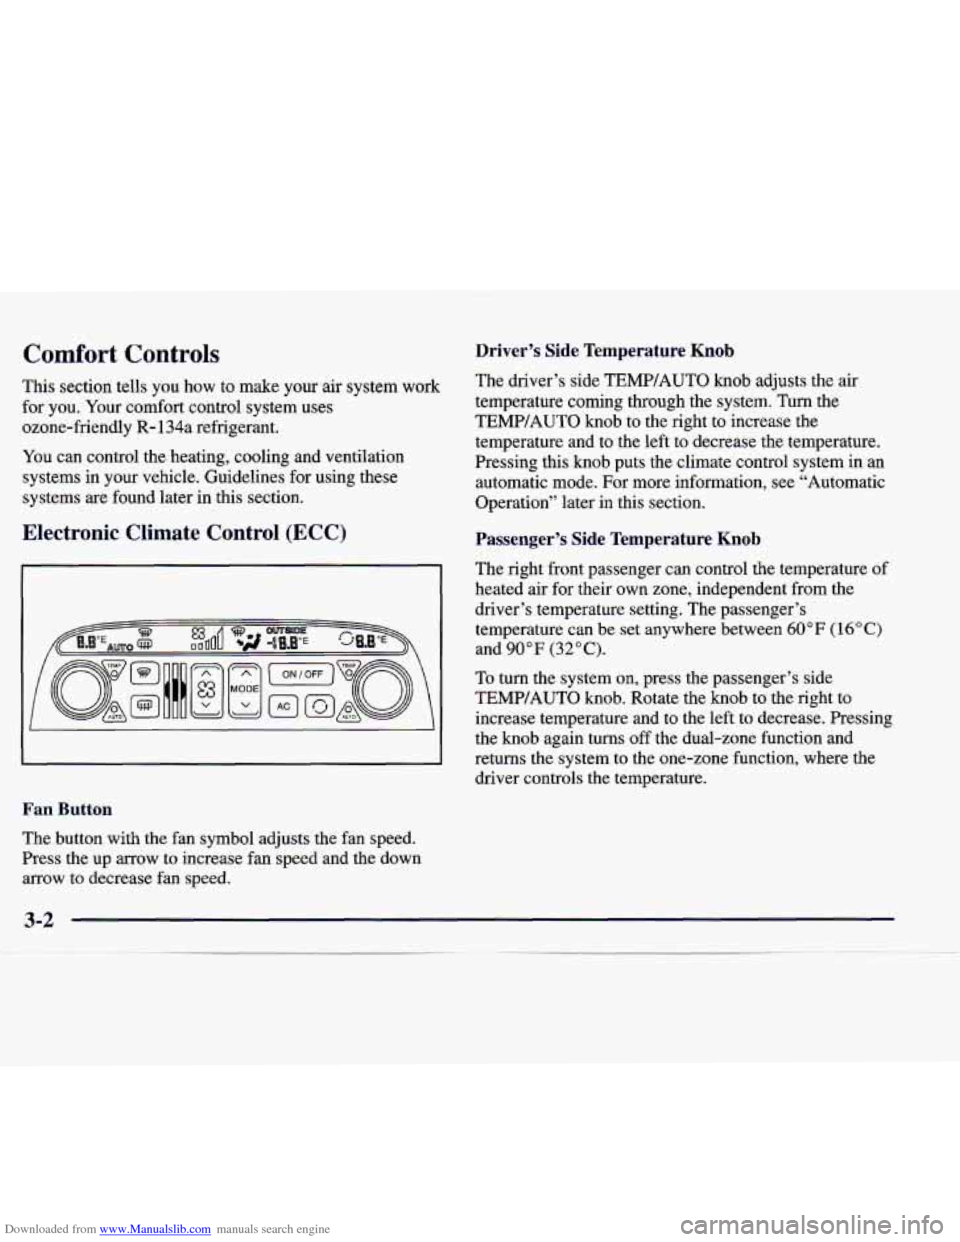
Electronic Climate Control (ECC)
Driver’s Side Temperature Knob
The driver’s side TEMP/AUTO knob adjusts the air
temperature coming through the system. Turn the
TEMP/AUTO knob to the right to increase the
temperature and to the left to decrease the temperature.
Pressing this
knob puts the climate control system in an
automatic mode. For more information, see “Automatic
Operation” later in this section.
Passenger’s Side Temperature Knob
The right front passenger can control the temperature of
heated air for their own zone, independent from the
driver’s temperature setting. The passenger’s
temperature can
be set anywhere between 60 OF (1 6 O C)
and 90°F (32°C).
To turn the system on, press the passenger’s side
TEMP/AUTO knob. Rotate the knob to the right to
increase temperature and to the left to decrease. Pressing
the knob again turns
off the dual-zone function and
returns the system to the one-zone function, where the
driver controls the temperature.
Fan Button
The button with the fan symbol adjusts the fan speed.
Press the up arrow to increase fan speed and the down
arrow
to decrease fan speed.
3-2
Page 150 of 346
Downloaded from www.Manualslib.com manuals search engine Outside Temperature Display
The outside temperature is always displayed when your
vehicle's ignition is on. If the outside temperature
display begins to flash, this means that icy road
conditions
are possible. Adjust your driving if needed.
The display will flash for about
30 seconds and then
remain on steady.
Mode Button
Press this button to deliver air through the floor, middle
or windshield outlets. The climate control system will
stay in the selected ECC mode until the MODE button is
pressed again or until the TEMP/AUTO knob is pressed.
Press the up or down arrow to see the available modes.
EnglisWetric Display
You can change the temperature display from English
(degrees Fahrenheit) to metric (degrees Celsius) by
pressing and holding the driver's side TEMP/AUTO
knob for approximately three seconds. Repeat the
process to change back to English from metric.
Automatic Operation
Pressing the driver's side TEMP/AUTO knob sets the
system for automatic operation. Once the system is set,
sensors will control the air delivery mode. Air will come
from the floor, middle, side
or windshield outlets. The
fan speed will
vary as the system maintains the selected
temperature setting. (All previous manually set mode
settings will change back to a fully automatic mode
when the climate control system is turned on this way.)
Be careful not to put anything over the solar sensor
located in the middle of the instrument panel near the
windshield. This sensor is used by the automatic system
to regulate temperature.
To find your comfort zone, start with the
75 "F (24°C)
setting and allow about 20 minutes for the system to
regulate air temperature. Adjust the temperature if
necessary. If you choose
60 OF (1 6 " C), the system will
remain at that maximum cooling setting and will not
regulate fan speed. If you choose the temperature of
90" F (32"C), the system will remain at that maximum
heating setting and will not regulate fan speed. Choosing
either maximum setting will not cause the system to heat
or cool any faster.