remote control CADILLAC CTS 2009 2.G Owners Manual
[x] Cancel search | Manufacturer: CADILLAC, Model Year: 2009, Model line: CTS, Model: CADILLAC CTS 2009 2.GPages: 490, PDF Size: 2.68 MB
Page 1 of 490
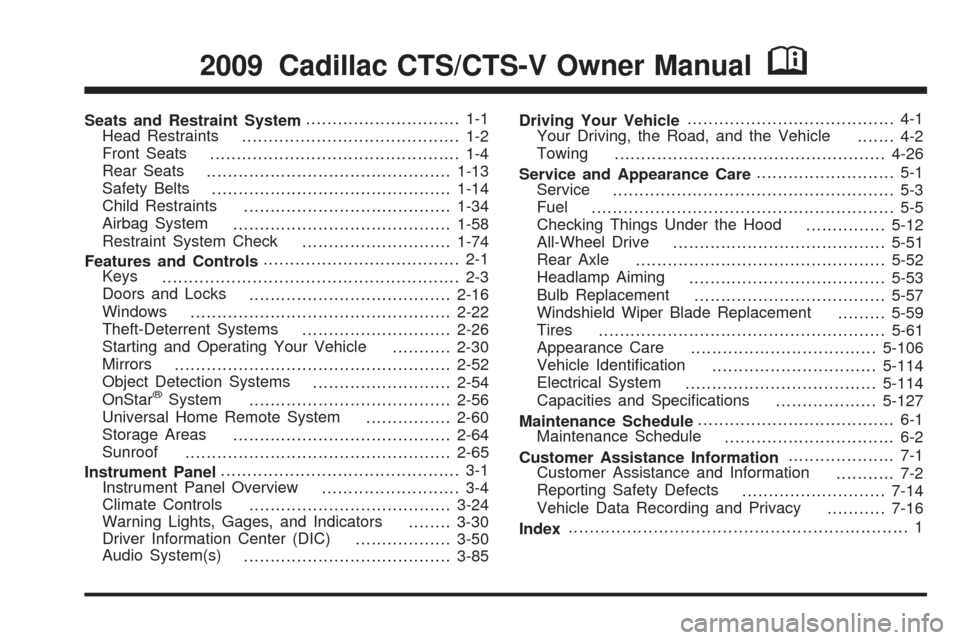
Seats and Restraint System............................. 1-1
Head Restraints
......................................... 1-2
Front Seats
............................................... 1-4
Rear Seats
..............................................1-13
Safety Belts
.............................................1-14
Child Restraints
.......................................1-34
Airbag System
.........................................1-58
Restraint System Check
............................1-74
Features and Controls..................................... 2-1
Keys
........................................................ 2-3
Doors and Locks
......................................2-16
Windows
.................................................2-22
Theft-Deterrent Systems
............................2-26
Starting and Operating Your Vehicle
...........2-30
Mirrors
....................................................2-52
Object Detection Systems
..........................2-54
OnStar
®System
......................................2-56
Universal Home Remote System
................2-60
Storage Areas
.........................................2-64
Sunroof
..................................................2-65
Instrument Panel............................................. 3-1
Instrument Panel Overview
.......................... 3-4
Climate Controls
......................................3-24
Warning Lights, Gages, and Indicators
........3-30
Driver Information Center (DIC)
..................3-50
Audio System(s)
.......................................3-85Driving Your Vehicle....................................... 4-1
Your Driving, the Road, and the Vehicle
....... 4-2
Towing
...................................................4-26
Service and Appearance Care.......................... 5-1
Service
..................................................... 5-3
Fuel
......................................................... 5-5
Checking Things Under the Hood
...............5-12
All-Wheel Drive
........................................5-51
Rear Axle
...............................................5-52
Headlamp Aiming
.....................................5-53
Bulb Replacement
....................................5-57
Windshield Wiper Blade Replacement
.........5-59
Tires
......................................................5-61
Appearance Care
...................................5-106
Vehicle Identi�cation
...............................5-114
Electrical System
....................................5-114
Capacities and Speci�cations
...................5-127
Maintenance Schedule..................................... 6-1
Maintenance Schedule
................................ 6-2
Customer Assistance Information.................... 7-1
Customer Assistance and Information
........... 7-2
Reporting Safety Defects
...........................7-14
Vehicle Data Recording and Privacy
...........7-16
Index................................................................ 1
2009 Cadillac CTS/CTS-V Owner ManualM
Page 5 of 490
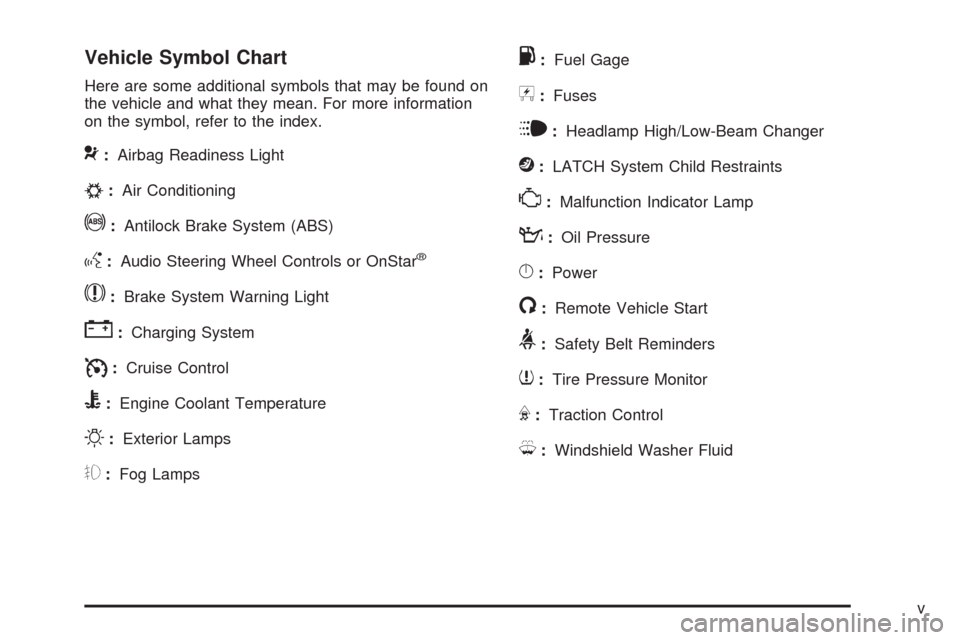
Vehicle Symbol Chart
Here are some additional symbols that may be found on
the vehicle and what they mean. For more information
on the symbol, refer to the index.
9:Airbag Readiness Light
#:Air Conditioning
!:Antilock Brake System (ABS)
g:Audio Steering Wheel Controls or OnStar®
$:Brake System Warning Light
":Charging System
I:Cruise Control
B:Engine Coolant Temperature
O:Exterior Lamps
#:Fog Lamps
.:Fuel Gage
+:Fuses
i:Headlamp High/Low-Beam Changer
j:LATCH System Child Restraints
*:Malfunction Indicator Lamp
::Oil Pressure
}:Power
/:Remote Vehicle Start
>:Safety Belt Reminders
7:Tire Pressure Monitor
F:Traction Control
M:Windshield Washer Fluid
v
Page 14 of 490
Memory Seat, Mirrors and
Steering Wheel
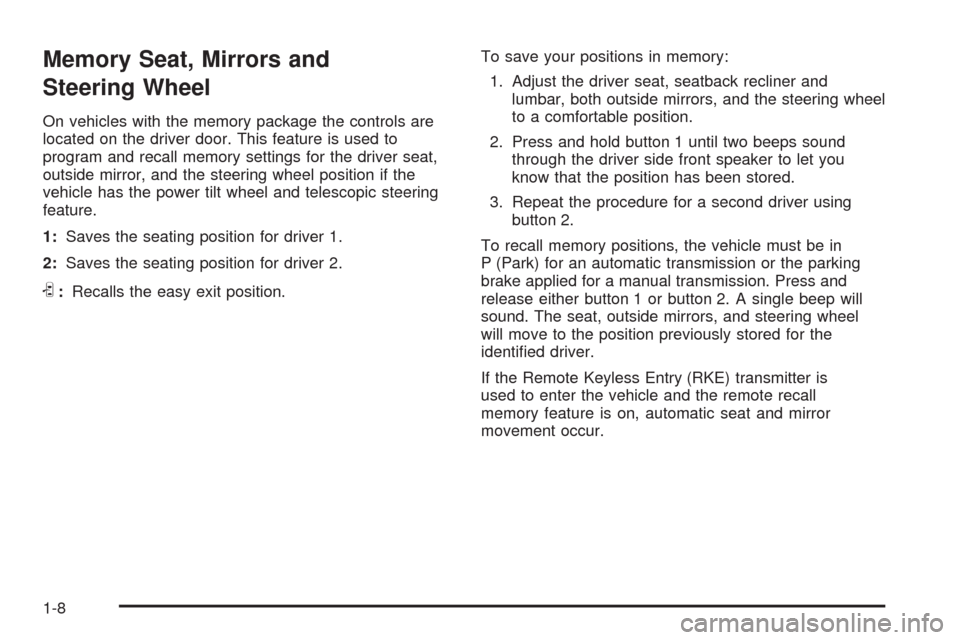
On vehicles with the memory package the controls are
located on the driver door. This feature is used to
program and recall memory settings for the driver seat,
outside mirror, and the steering wheel position if the
vehicle has the power tilt wheel and telescopic steering
feature.
1:Saves the seating position for driver 1.
2:Saves the seating position for driver 2.
S:Recalls the easy exit position.To save your positions in memory:
1. Adjust the driver seat, seatback recliner and
lumbar, both outside mirrors, and the steering wheel
to a comfortable position.
2. Press and hold button 1 until two beeps sound
through the driver side front speaker to let you
know that the position has been stored.
3. Repeat the procedure for a second driver using
button 2.
To recall memory positions, the vehicle must be in
P (Park) for an automatic transmission or the parking
brake applied for a manual transmission. Press and
release either button 1 or button 2. A single beep will
sound. The seat, outside mirrors, and steering wheel
will move to the position previously stored for the
identi�ed driver.
If the Remote Keyless Entry (RKE) transmitter is
used to enter the vehicle and the remote recall
memory feature is on, automatic seat and mirror
movement occur.
1-8
Page 83 of 490
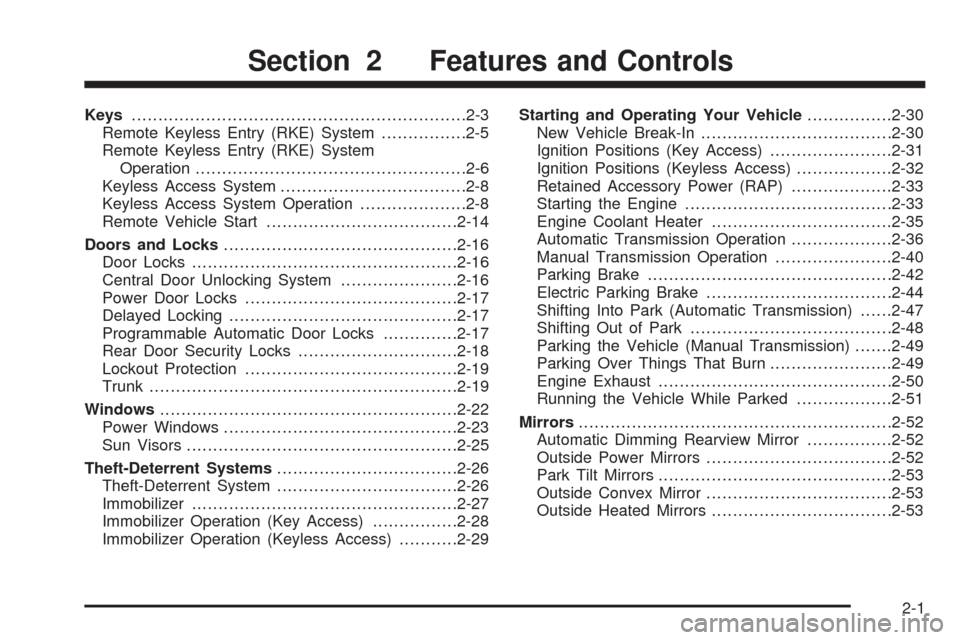
Keys...............................................................2-3
Remote Keyless Entry (RKE) System................2-5
Remote Keyless Entry (RKE) System
Operation...................................................2-6
Keyless Access System...................................2-8
Keyless Access System Operation....................2-8
Remote Vehicle Start....................................2-14
Doors and Locks............................................2-16
Door Locks..................................................2-16
Central Door Unlocking System......................2-16
Power Door Locks........................................2-17
Delayed Locking...........................................2-17
Programmable Automatic Door Locks..............2-17
Rear Door Security Locks..............................2-18
Lockout Protection........................................2-19
Trunk..........................................................2-19
Windows........................................................2-22
Power Windows............................................2-23
Sun Visors...................................................2-25
Theft-Deterrent Systems..................................2-26
Theft-Deterrent System..................................2-26
Immobilizer..................................................2-27
Immobilizer Operation (Key Access)................2-28
Immobilizer Operation (Keyless Access)...........2-29Starting and Operating Your Vehicle................2-30
New Vehicle Break-In....................................2-30
Ignition Positions (Key Access).......................2-31
Ignition Positions (Keyless Access)..................2-32
Retained Accessory Power (RAP)...................2-33
Starting the Engine.......................................2-33
Engine Coolant Heater..................................2-35
Automatic Transmission Operation...................2-36
Manual Transmission Operation......................2-40
Parking Brake..............................................2-42
Electric Parking Brake
...................................2-44
Shifting Into Park (Automatic Transmission)......2-47
Shifting Out of Park......................................2-48
Parking the Vehicle (Manual Transmission).......2-49
Parking Over Things That Burn.......................2-49
Engine Exhaust............................................2-50
Running the Vehicle While Parked..................2-51
Mirrors...........................................................2-52
Automatic Dimming Rearview Mirror................2-52
Outside Power Mirrors...................................2-52
Park Tilt Mirrors............................................2-53
Outside Convex Mirror...................................2-53
Outside Heated Mirrors..................................2-53
Section 2 Features and Controls
2-1
Page 84 of 490
Object Detection Systems...............................2-54
Ultrasonic Rear Parking Assist (URPA)............2-54
OnStar
®System.............................................2-56
Universal Home Remote System......................2-60
Universal Home Remote System Operation
(With One Triangular LED)...........................2-60Storage Areas................................................2-64
Glove Box...................................................2-64
Cupholders..................................................2-64
Instrument Panel Storage...............................2-65
Center Console Storage.................................2-65
Convenience Net..........................................2-65
Sunroof.........................................................2-65
Section 2 Features and Controls
2-2
Page 95 of 490

Starting the Vehicle with a Low
Transmitter Battery
Replace the battery if the Replace Battery In Remote
Key message displays in the DIC. See “Replace Battery
In Remote Key” underDIC Warnings and Messages
on page 3-58for additional information.
If the transmitter battery is weak, the DIC may display
Electronic Key Not Detected when you try to start the
vehicle. To start the vehicle, place the transmitter in the
center console storage area transmitter pocket with the
buttons facing to the front of the vehicle. Then, with the
vehicle in P (Park) or N (Neutral), press the brake pedal
and the ignition control knob. SeeStarting the Engine on
page 2-33, for additional information about the vehicle’s
electronic keyless ignition with push start. Replace the
transmitter battery as soon as possible.
Battery Replacement
Notice:When replacing the battery, do not touch
any of the circuitry on the transmitter. Static
from your body could damage the transmitter.
1. Separate the transmitter with a �at, thin object
inserted into the slot on the side or back of the
transmitter.
2. Remove the old battery. Do not use a metal object.
3. Insert the new battery, positive side facing down.
Replace with a CR2032 or equivalent battery.
4. Snap the transmitter back together.
2-13
Page 96 of 490
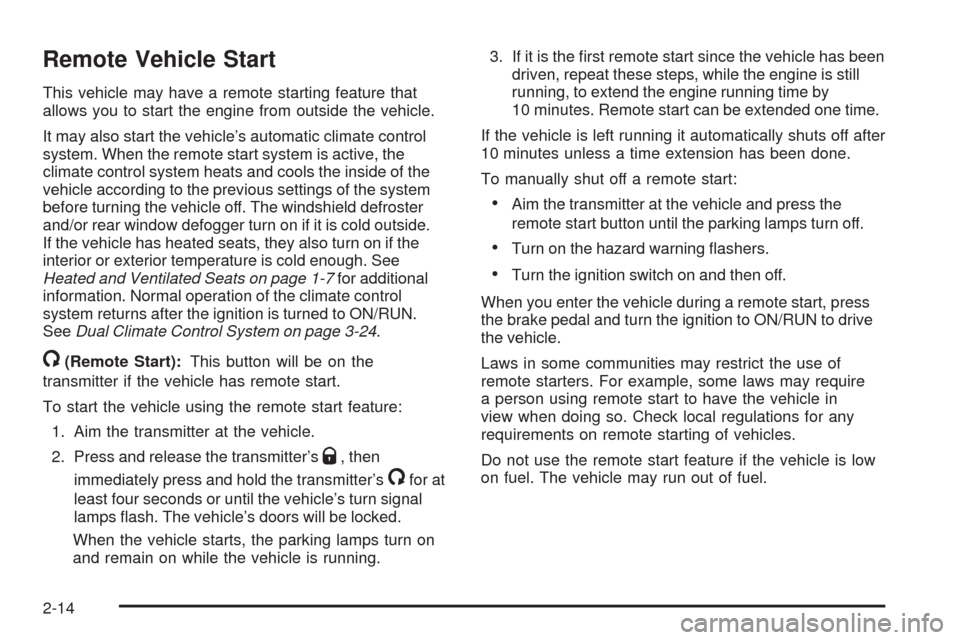
Remote Vehicle Start
This vehicle may have a remote starting feature that
allows you to start the engine from outside the vehicle.
It may also start the vehicle’s automatic climate control
system. When the remote start system is active, the
climate control system heats and cools the inside of the
vehicle according to the previous settings of the system
before turning the vehicle off. The windshield defroster
and/or rear window defogger turn on if it is cold outside.
If the vehicle has heated seats, they also turn on if the
interior or exterior temperature is cold enough. See
Heated and Ventilated Seats on page 1-7for additional
information. Normal operation of the climate control
system returns after the ignition is turned to ON/RUN.
SeeDual Climate Control System on page 3-24.
/(Remote Start):This button will be on the
transmitter if the vehicle has remote start.
To start the vehicle using the remote start feature:
1. Aim the transmitter at the vehicle.
2. Press and release the transmitter’s
Q, then
immediately press and hold the transmitter’s
/for at
least four seconds or until the vehicle’s turn signal
lamps �ash. The vehicle’s doors will be locked.
When the vehicle starts, the parking lamps turn on
and remain on while the vehicle is running.3. If it is the �rst remote start since the vehicle has been
driven, repeat these steps, while the engine is still
running, to extend the engine running time by
10 minutes. Remote start can be extended one time.
If the vehicle is left running it automatically shuts off after
10 minutes unless a time extension has been done.
To manually shut off a remote start:
Aim the transmitter at the vehicle and press the
remote start button until the parking lamps turn off.
Turn on the hazard warning �ashers.
Turn the ignition switch on and then off.
When you enter the vehicle during a remote start, press
the brake pedal and turn the ignition to ON/RUN to drive
the vehicle.
Laws in some communities may restrict the use of
remote starters. For example, some laws may require
a person using remote start to have the vehicle in
view when doing so. Check local regulations for any
requirements on remote starting of vehicles.
Do not use the remote start feature if the vehicle is low
on fuel. The vehicle may run out of fuel.
2-14
Page 97 of 490
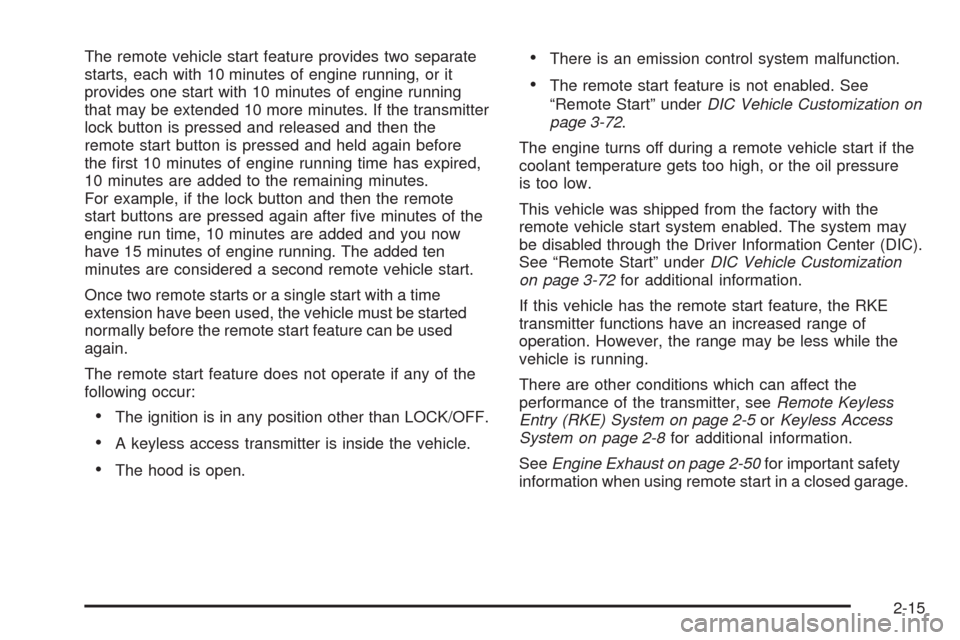
The remote vehicle start feature provides two separate
starts, each with 10 minutes of engine running, or it
provides one start with 10 minutes of engine running
that may be extended 10 more minutes. If the transmitter
lock button is pressed and released and then the
remote start button is pressed and held again before
the �rst 10 minutes of engine running time has expired,
10 minutes are added to the remaining minutes.
For example, if the lock button and then the remote
start buttons are pressed again after �ve minutes of the
engine run time, 10 minutes are added and you now
have 15 minutes of engine running. The added ten
minutes are considered a second remote vehicle start.
Once two remote starts or a single start with a time
extension have been used, the vehicle must be started
normally before the remote start feature can be used
again.
The remote start feature does not operate if any of the
following occur:
The ignition is in any position other than LOCK/OFF.
A keyless access transmitter is inside the vehicle.
The hood is open.
There is an emission control system malfunction.
The remote start feature is not enabled. See
“Remote Start” underDIC Vehicle Customization on
page 3-72.
The engine turns off during a remote vehicle start if the
coolant temperature gets too high, or the oil pressure
is too low.
This vehicle was shipped from the factory with the
remote vehicle start system enabled. The system may
be disabled through the Driver Information Center (DIC).
See “Remote Start” underDIC Vehicle Customization
on page 3-72for additional information.
If this vehicle has the remote start feature, the RKE
transmitter functions have an increased range of
operation. However, the range may be less while the
vehicle is running.
There are other conditions which can affect the
performance of the transmitter, seeRemote Keyless
Entry (RKE) System on page 2-5orKeyless Access
System on page 2-8for additional information.
SeeEngine Exhaust on page 2-50for important safety
information when using remote start in a closed garage.
2-15
Page 101 of 490

Lockout Protection
If the power door lock switch is pressed when the key is
in the ignition and a door is open, all the doors will
lock and only the driver door will unlock. If the doors are
closed, they can be locked by using the Remote
Keyless Entry (RKE) transmitter. Be sure to remove the
key from the ignition when locking the vehicle.
This feature can be overridden by pressing the lock
button on the RKE transmitter or by pressing the power
lock switch a second time.
On vehicles with a Keyless Access System, the system
can be programmed to alert you when all the doors
are closed and a transmitter has been left inside of the
vehicle. SeeDIC Vehicle Customization on page 3-72
for more information.
Trunk
{CAUTION:
Exhaust gases may enter the vehicle if it is driven
with the liftgate, trunk/hatch open, or with any
objects that pass through the seal between the
body and the trunk/hatch or liftgate. Engine exhaust
contains Carbon Monoxide (CO) which cannot be
seen or smelled. It can cause unconsciousness and
even death.
If the vehicle must be driven with the liftgate, or
trunk/hatch open:
Close all of the windows
Fully open the air outlets on or under the
instrument panel
Adjust the Climate Control system to a setting
that brings in only outside air and set the fan
speed to the highest setting. See Climate
Control System in the Index.
If the vehicle is equipped with a power liftgate,
disable the power liftgate function.
For more information about carbon monoxide, see
Engine ExhaustEngine Exhaust on page 2-50.
2-19
Page 107 of 490

Express Window Anti-Pinch Override
{CAUTION:
If express override is activated, the window will not
reverse automatically. You or others could be
injured and the window could be damaged. Before
you use express override, make sure that all people
and obstructions are clear of the window path.
In an emergency, the anti-pinch feature can be
overridden in a supervised mode. Hold the window
switch all the way up to the second position. The window
will rise for as long as the switch is held. Once the
switch is released, the express mode is re-activated.
In this mode, the window can still close on an object in
its path. Use care when using the override mode.
Window Lockout
o
(Window Lockout):The rear window lockout button
is located on the driver door near the window switches.
Press the right side of the button to disable the rear
window controls. The light on the button will illuminate,
indicating the feature is in use. The rear windows
still can be raised or lowered using the driver window
switches when the lockout feature is active.
To restore power to the rear windows, press the button
again. The light on the button will go out.
Sun Visors
Swing down the visor to block out glare. It can also be
detached from the center mount and moved to the
side to block glare from that direction.
The driver visor may also have buttons for a built-in
garage door opener. SeeUniversal Home Remote
System on page 2-60for more information.
Lighted Visor Vanity Mirror
Pull the visor down and lift the cover to access the
mirror. A light comes on when the cover is lifted and
goes out when it is closed.
2-25