Page 2 CADILLAC ESCALADE 2003 2.G Owners Manual
[x] Cancel search | Manufacturer: CADILLAC, Model Year: 2003, Model line: ESCALADE, Model: CADILLAC ESCALADE 2003 2.GPages: 486, PDF Size: 3.32 MB
Page 308 of 486
Using heavier suspension components to get added
durability might not change your weight ratings. Ask your
dealer to help you load your vehicle the right way.
If you put things inside your vehicle ± like suitcases,
tools, packages, or anything else ± they go as fast
as the vehicle goes. If you have to stop or turn quickly,
or if there is a crash, they'll keep going.
{CAUTION:
Things you put inside your vehicle can strike
and injure people in a sudden stop or turn, or
in a crash.
·Put things in the cargo area of your
vehicle. Try to spread the weight evenly.
·Never stack heavier things, like suitcases,
inside the vehicle so that some of them
are above the tops of the seats.
·Don't leave an unsecured child restraint in
your vehicle.
·When you carry something inside the
vehicle, secure it whenever you can.
·Don't leave a seat folded down unless you
need to.There's also important loading information for off-road
driving in this manual. See ªLoading Your Vehicle
for Off-Road Drivingº under
Operating Your
All-Wheel-Drive Vehicle Off Paved Roads on page 4-18.
Add-On Equipment
When you carry removable items, you may need to put
a limit on how many people you can carry inside
your vehicle. Be sure to weigh your vehicle before you
buy and install the new equipment.
Notice:Your warranty does not cover parts or
components that fail because of overloading.
Remember not to exceed the Gross Axle Weight Rating
(GAWR) of the front or rear axle. See
Loading Your
Vehicle on page 4-51.
The Cargo Weight Rating (CWR) is the maximum
weight of the load your vehicle can carry. It doesn't
include the weight of the people inside. But you
can ®gure about 150 lbs. (68 kg) for each seat.
The total cargo load must not be more than your
vehicle's CWR.
4-52
Page 309 of 486

Automatic Level Control
The automatic level control rear suspension comes as a
part of the Road Sensing Suspension. SeeRoad
Sensing Suspension on page 4-9.
This type of level control is fully automatic and will
provide a better leveled riding position as well as better
handling under a variety of passenger and loading
conditions. An air compressor connected to the rear
shocks will raise or lower the rear of the vehicle
to maintain proper vehicle height. The system is
activated when the ignition key is turned to RUN and
will automatically adjust vehicle height thereafter.
The system may exhaust (lower vehicle height) for up to
10 minutes after the ignition key has been turned to
OFF. You may hear the air compressor operating when
the height is being adjusted.
If a weight-distributing hitch is being used, it is
recommended to allow the shocks to in¯ate, thereby
leveling the vehicle prior to adjusting the height.
Trailer Recommendations
You must subtract your hitch loads from the Cargo
Weight Rating (CWR). CWR is the maximum weight of
the load your vehicle can carry. It doesn't include
the weight of the people inside. But you can ®gure about
150 lbs. (68 kg) for each seat. The total cargo load
must not be more than your vehicle's CWR.
Weigh your vehicle with the trailer attached, so that you
won't go over the GVWR or GAWR. If you are using
a weight-distributing hitch, weigh the vehicle without the
spring bars in place.
You'll get the best performance if you spread out the
weight of your load the right way, and if you choose the
correct hitch and trailer brakes.
For more information, see
Towing a Trailer on
page 4-54.
4-53
Page 314 of 486

Weight of the Trailer Tongue
The tongue load (A) of any trailer is an important weight
to measure because it affects the total or gross weight
of your vehicle. The Gross Vehicle Weight (GVW)
includes the curb weight of the vehicle, any cargo you
may carry in it, and the people who will be riding in
the vehicle. And if you will tow a trailer, you must add
the tongue load to the GVW because your vehicle will be
carrying that weight, too. See
Loading Your Vehicle
on page 4-51for more information about your vehicle's
maximum load capacity.
If you're using a weight-carrying or a weight-distributing
hitch, the trailer tongue weight (A) should be 10 percent
to 15 percent of the total loaded trailer weight (B).
Do not exceed the maximum allowable tongue weight
for your vehicle.
After you've loaded your trailer, weigh the trailer and then
the tongue, separately, to see if the weights are proper. If
they aren't, you may be able to get them right simply by
moving some items around in the trailer.
4-58
Page 318 of 486
Driving On Grades
Reduce speed and shift to a lower gearbeforeyou start
down a long or steep downgrade. If you don't shift
down, you might have to use your brakes so much that
they would get hot and no longer work well.
You can tow in DRIVE (D). You may want to shift the
transmission to THIRD (3) or, if necessary, a lower gear
selection if the transmission shifts too often (e.g.,
under heavy loads and/or hilly conditions).
You may also want to activate the tow/haul mode if the
transmission shifts too often. See ªTow/Haul Modeº
earlier.
When towing at high altitude on steep uphill grades,
consider the following: Engine coolant will boil at a lower
temperature than at normal altitudes. If you turn your
engine off immediately after towing at high altitude
on steep uphill grades, your vehicle may show signs
similar to engine overheating. To avoid this, let the
engine run while parked (preferably on level ground)
with the automatic transmission in PARK (P) for a
few minutes before turning the engine off. If you do get
the overheat warning, see
Engine Overheating on
page 5-28.
Parking on Hills
{CAUTION:
You really should not park your vehicle, with a
trailer attached, on a hill. If something goes
wrong, your rig could start to move. People
can be injured, and both your vehicle and the
trailer can be damaged.
But if you ever have to park your rig on a hill, here's
how to do it:
1. Apply your regular brakes, but don't shift into
PARK (P) yet.
2. Have someone place chocks under the trailer
wheels.
3. When the wheel chocks are in place, release the
regular brakes until the chocks absorb the load.
4. Reapply the regular brakes. Then apply your
parking brake and shift into PARK (P).
5. Release the regular brakes.
4-62
Page 323 of 486
Service
Your dealer knows your vehicle best and wants you to
be happy with it. We hope you'll go to your dealer
for all your service needs. You'll get genuine GM parts
and GM-trained and supported service people.
We hope you'll want to keep your GM vehicle all GM.
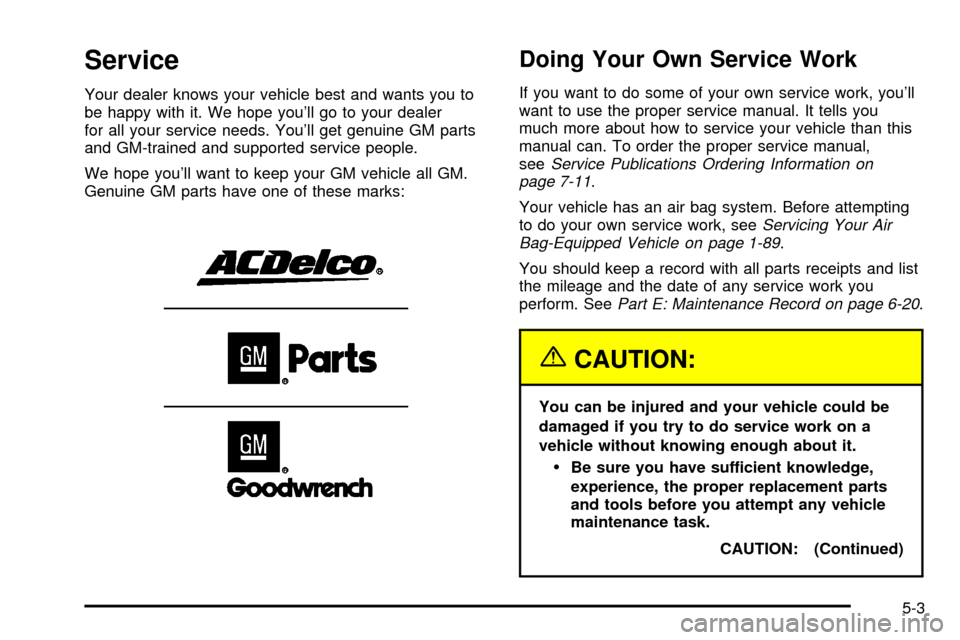
Genuine GM parts have one of these marks:
Doing Your Own Service Work
If you want to do some of your own service work, you'll
want to use the proper service manual. It tells you
much more about how to service your vehicle than this
manual can. To order the proper service manual,
see
Service Publications Ordering Information on
page 7-11.
Your vehicle has an air bag system. Before attempting
to do your own service work, see
Servicing Your Air
Bag-Equipped Vehicle on page 1-89.
You should keep a record with all parts receipts and list
the mileage and the date of any service work you
perform. See
Part E: Maintenance Record on page 6-20.
{CAUTION:
You can be injured and your vehicle could be
damaged if you try to do service work on a
vehicle without knowing enough about it.
·Be sure you have sufficient knowledge,
experience, the proper replacement parts
and tools before you attempt any vehicle
maintenance task.
CAUTION: (Continued)
5-3
Page 324 of 486
CAUTION: (Continued)
·
Be sure to use the proper nuts, bolts and
other fasteners. ªEnglishº and ªmetricº
fasteners can be easily confused. If you
use the wrong fasteners, parts can later
break or fall off. You could be hurt.
Adding Equipment to the Outside of
Your Vehicle
Things you might add to the outside of your vehicle can
affect the air¯ow around it. This may cause wind
noise and affect windshield washer performance. Check
with your dealer before adding equipment to the
outside of your vehicle.
Fuel
The 8th digit of your vehicle identi®cation number (VIN)
shows the code letter or number that identi®es your
engine. You will ®nd the VIN at the top left of the
instrument panel. See
Vehicle Identi®cation
Number (VIN) on page 5-102.
Gasoline Octane
If your vehicle has the 5.3L engine (VIN Code T), use
regular unleaded gasoline with a posted octane of 87 or
higher. If the octane is less than 87, you may get a heavy
knocking noise when you drive. If this occurs, use a
gasoline rated at 87 octane or higher as soon as possible.
Otherwise, you might damage your engine. A little pinging
noise when you accelerate or drive uphill is considered
normal. This does not indicate a problem exists or that a
higher-octane fuel is necessary. If you are using 87
octane or higher-octane fuel and you hear heavy
knocking, your engine needs service.
If your vehicle has the 6.0L HO engine (VIN Code N), use
premium unleaded gasoline with a posted octane of 91 or
higher for best performance. You may also use middle
grade or regular unleaded gasoline rated at 87 octane or
higher, but your vehicle's acceleration may be slightly
reduced. If the octane is less than 87, you may get a
heavy knocking noise when you drive. If this occurs, use
a gasoline rated at 87 octane or higher as soon as
possible. Otherwise, you might damage your engine.
5-4
Page 325 of 486
Gasoline Speci®cations
It is recommended that gasoline meet speci®cations
which were developed by the American Automobile
Manufacturers Association and endorsed by the
Canadian Vehicle Manufacturers Association for better
vehicle performance and engine protection. Gasoline
meeting these speci®cations could provide improved
driveability and emission control system performance
compared to other gasoline.
In Canada, look for the
ªAuto Makers' Choiceº
label on the pump.
California Fuel
If your vehicle is certi®ed to meet California Emission
Standards (see the underhood emission control label), it
is designed to operate on fuels that meet California
speci®cations. If this fuel is not available in states
adopting California emissions standards, your vehicle
will operate satisfactorily on fuels meeting federal
speci®cations, but emission control system performance
may be affected. The malfunction indicator lamp may
turn on (see
Malfunction Indicator Lamp on page 3-44)
and your vehicle may fail a smog-check test. If this
occurs, return to your authorized GM dealer for
diagnosis. If it is determined that the condition is caused
by the type of fuel used, repairs may not be covered
by your warranty.
Canada Only
5-5
Page 328 of 486
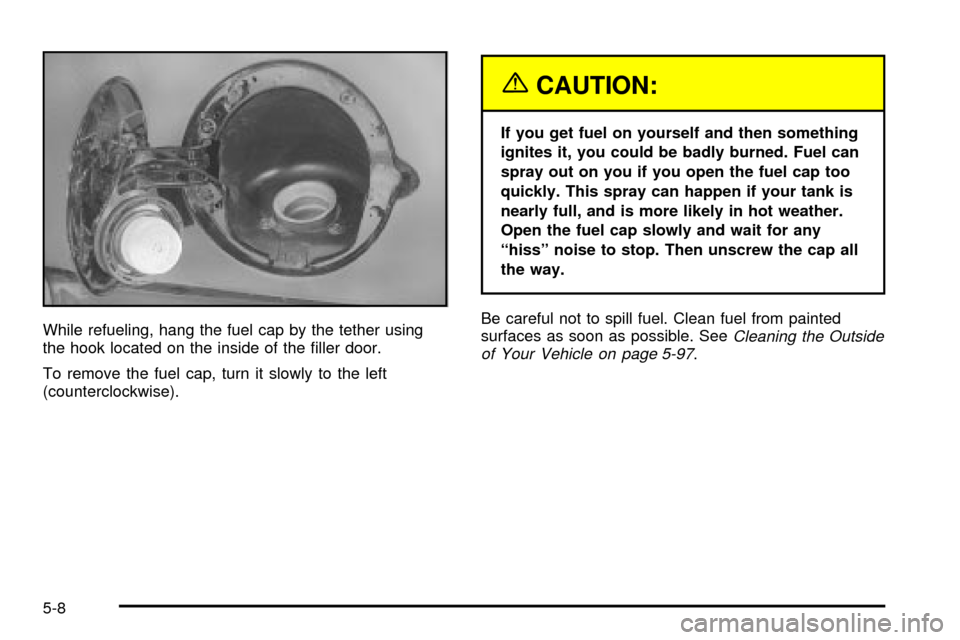
While refueling, hang the fuel cap by the tether using
the hook located on the inside of the ®ller door.
To remove the fuel cap, turn it slowly to the left
(counterclockwise).
{CAUTION:
If you get fuel on yourself and then something
ignites it, you could be badly burned. Fuel can
spray out on you if you open the fuel cap too
quickly. This spray can happen if your tank is
nearly full, and is more likely in hot weather.
Open the fuel cap slowly and wait for any
ªhissº noise to stop. Then unscrew the cap all
the way.
Be careful not to spill fuel. Clean fuel from painted
surfaces as soon as possible. See
Cleaning the Outside
of Your Vehicle on page 5-97.
5-8
Page 329 of 486
When you put the fuel cap back on, turn it to the right
(clockwise) until you hear a clicking sound. Make
sure you fully install the cap. The diagnostic system can
determine if the fuel cap has been left off or improperly
installed. this would allow fuel to evaporate into the
atmosphere. See
Malfunction Indicator Lamp on
page 3-44.
Notice:If you need a new fuel cap, be sure to get the
right type. Your dealer can get one for you. If you get
the wrong type, it may not ®t properly. This may
cause your malfunction indicator lamp to light and
may damage your fuel tank and emissions system.
See ªMalfunction Indicator Lampº in the Index.
Filling a Portable Fuel Container
{CAUTION:
Never ®ll a portable fuel container while it is in
your vehicle. Static electricity discharge from
the container can ignite the gasoline vapor.
You can be badly burned and your vehicle
damaged if this occurs. To help avoid injury to
you and others:
·Dispense gasoline only into approved
containers.
·Do not ®ll a container while it is inside a
vehicle, in a vehicle's trunk, pickup bed or
on any surface other than the ground.
·Bring the ®ll nozzle in contact with the
inside of the ®ll opening before operating
the nozzle. Contact should be maintained
until the ®lling is complete.
·Don't smoke while pumping gasoline.
5-9
Page 333 of 486

A. Engine Air Cleaner/Filter. SeeEngine Air
Cleaner/Filter on page 5-19.
B. Coolant Surge Tank. See
Cooling System on
page 5-30andCoolant Surge Tank Pressure Cap
on page 5-27.
C. Air Filter Restriction Indicator (If Equipped). See
Engine Air Cleaner/Filter on page 5-19.
D. Engine Oil Fill. See
Engine Oil on page 5-14.
E. Engine Oil Dipstick. See
Engine Oil on page 5-14.
F. Automatic Transmission Dipstick. See
Automatic
Transmission Fluid on page 5-21.
G. Fan. See
Cooling System on page 5-30andEngine
Fan Noise on page 5-36.H. Remote Negative (-) Terminal (GND). See
Jump
Starting on page 5-44.
I. Remote Positive (+) Terminal. See
Jump Starting on
page 5-44.
J. Power Steering Fluid Reservoir (Out of View). See
Power Steering Fluid on page 5-36.
K. Brake Fluid Reservoir. See
Brakes on page 5-39.
L. Underhood Fuse Block. See ªUnderhood Fuse Blockº
under
Fuses and Circuit Breakers on page 5-103.
M. Battery. See
Battery on page 5-43.
N. Windshield Washer Fluid Reservoir. See
Windshield
Washer Fluid on page 5-38.
5-13