check engine CHEVROLET ASTRO 1997 2.G User Guide
[x] Cancel search | Manufacturer: CHEVROLET, Model Year: 1997, Model line: ASTRO, Model: CHEVROLET ASTRO 1997 2.GPages: 404, PDF Size: 20.63 MB
Page 108 of 404
Downloaded from www.Manualslib.com manuals search engine Rear Window WasherWiper (Option)
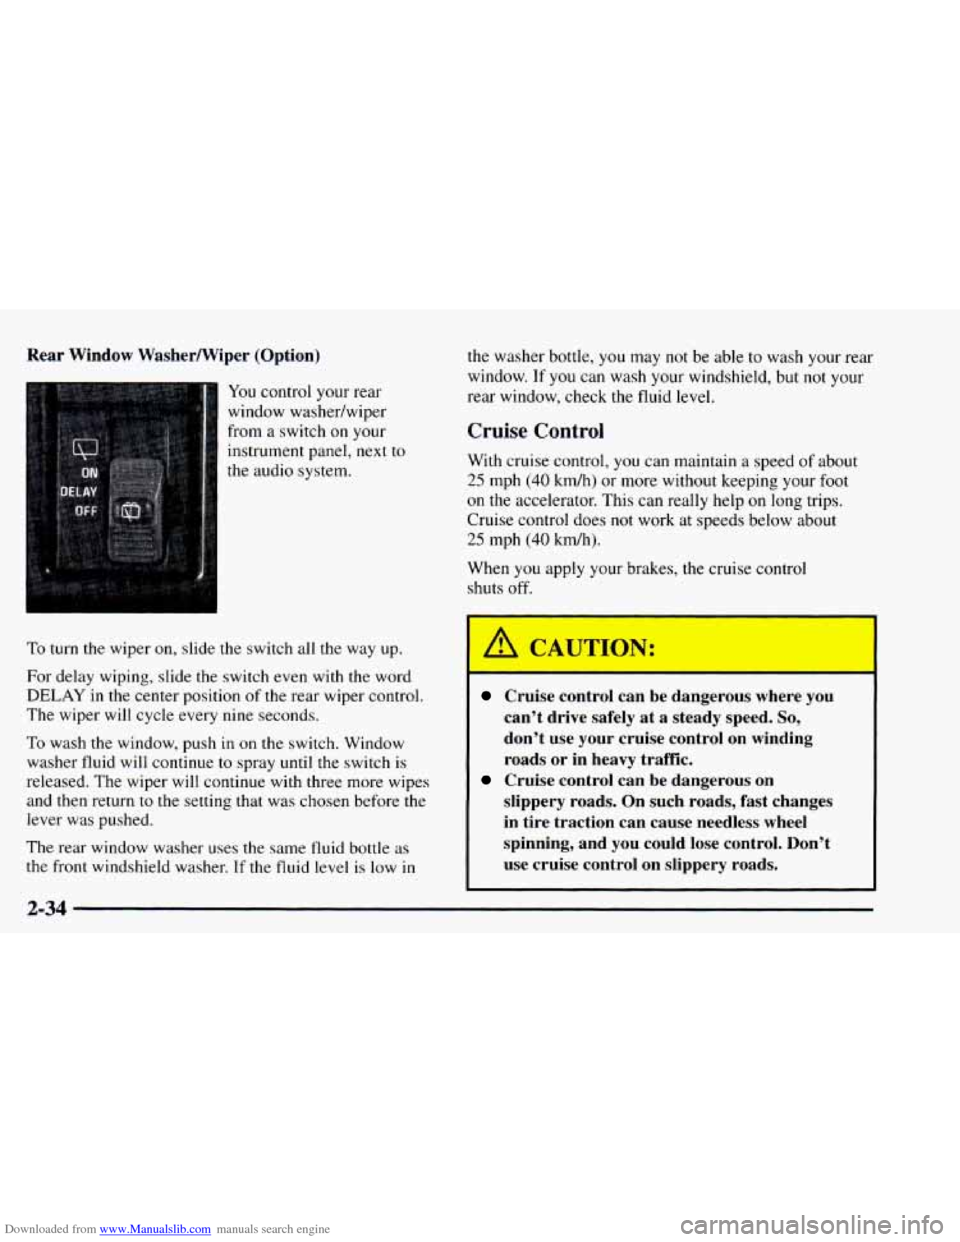
You control your rear
window washedwiper
from a switch on your
instrument panel, next to
the audio system.
To turn the wiper on, slide the switch all the way up.
For delay wiping, slide the switch even with the word
DELAY in the center position of the rear wiper control.
The wiper will cycle every
nine seconds.
To wash the window, push in on the switch, Window
washer fluid will continue to spray until the switch is
released. The wiper will continue with three more wipes
and then return to
the setting that was chosen before the
lever was pushed.
The rear window washer uses the same fluid bottle as
the front windshield washer. If the fluid level is low in
the washer bottle, you may not be able to wash your rear
window. If
you can wash your windshield, but not your
rear window, check the fluid level.
Cruise Control
With cruise control, you can maintain a speed of about
25 mph (40 kmh) or more without keeping your foot
on the accelerator. This can really help on long trips.
Cruise control does not work at speeds below about
25 mph (40 km/h).
When
you apply your brakes, the cruise control
shuts off.
Cruise control can be dangerous where you
can’t drive safely at a steady speed.
So,
don’t use your cruise control on winding
roads or in heavy traffic.
slippery roads. On such roads, fast changes
in tire traction can cause needless wheel
spinning, and you could lose control. Don’t
use cruise control on slippery roads.
Cruise control can be dangerous on
2-34
Page 112 of 404
Downloaded from www.Manualslib.com manuals search engine Rotate the knob clockwise again to the master
lighting symbol
to turn on all the lamps listed as
well as the headlamps.
Rotate the knob counterclockwise
to OFF to turn off
your lamps.
Rotate the dial next to the knob up
to adjust your
instrument panel lights. Rotate the dial up
to the first
notch for full intensity.
If you rotate the dial to the
second notch, your interior lamps will come on.
Rotate the dial next to the lamp switch down
to dim
your instrument panel lights.
Headlamps
You can switch your headlamps from high to low beam
by pulling the multifunction lever toward
you.
A circuit breaker protects your headlamps. If you have
an electrical overload, your headlamps will flicker on
and off. Have your headlamp wiring checked right away
if this happens.
Headlamps On Reminder
A reminder tone will sound when your headlamps or
parking lamps are turned on and your ignition is
in the
OFF, LOCK or ACCESSORY position. To turn the tone
off, turn the switch to
OFF.
Daytime Running Lamps
Daytime Running Lamps (DRL) can make it easier
for others
to see the front of your vehicle during the
day. DRL can be helpful in many different driving
conditions, but they can be especially helpful
in the
short periods after dawn and before sunset.
The DRL system will make your headlamps come
on at
a reduced brightness when:
0 the ignition is on,
0 the headlamp switch is off and
0 the parking brake is released.
2-38
Page 116 of 404
Downloaded from www.Manualslib.com manuals search engine To make sure you do not accidentally move a mirror.
turn the knob
to the middle (off‘) position.
Mirrors can also be folded
in or out. Push the mirror
toward
the vehicle to move it in. After pushing the
mirror out, adjustment will be maintained.
Convex Outside Mirror
Your passenger’s side mirror is convex. A convex
mirror’s surface is curved
so you can see more from
the driver’s seat.
1 A CAUTION:
-
A convex mirror can make things (like other
vehicles) look farther away than they really are.
If you cut too sharply into the right lane, you
could hit a vehicle on your right. Check your
inside mirror or glance over your shoulder before
changing lanes.
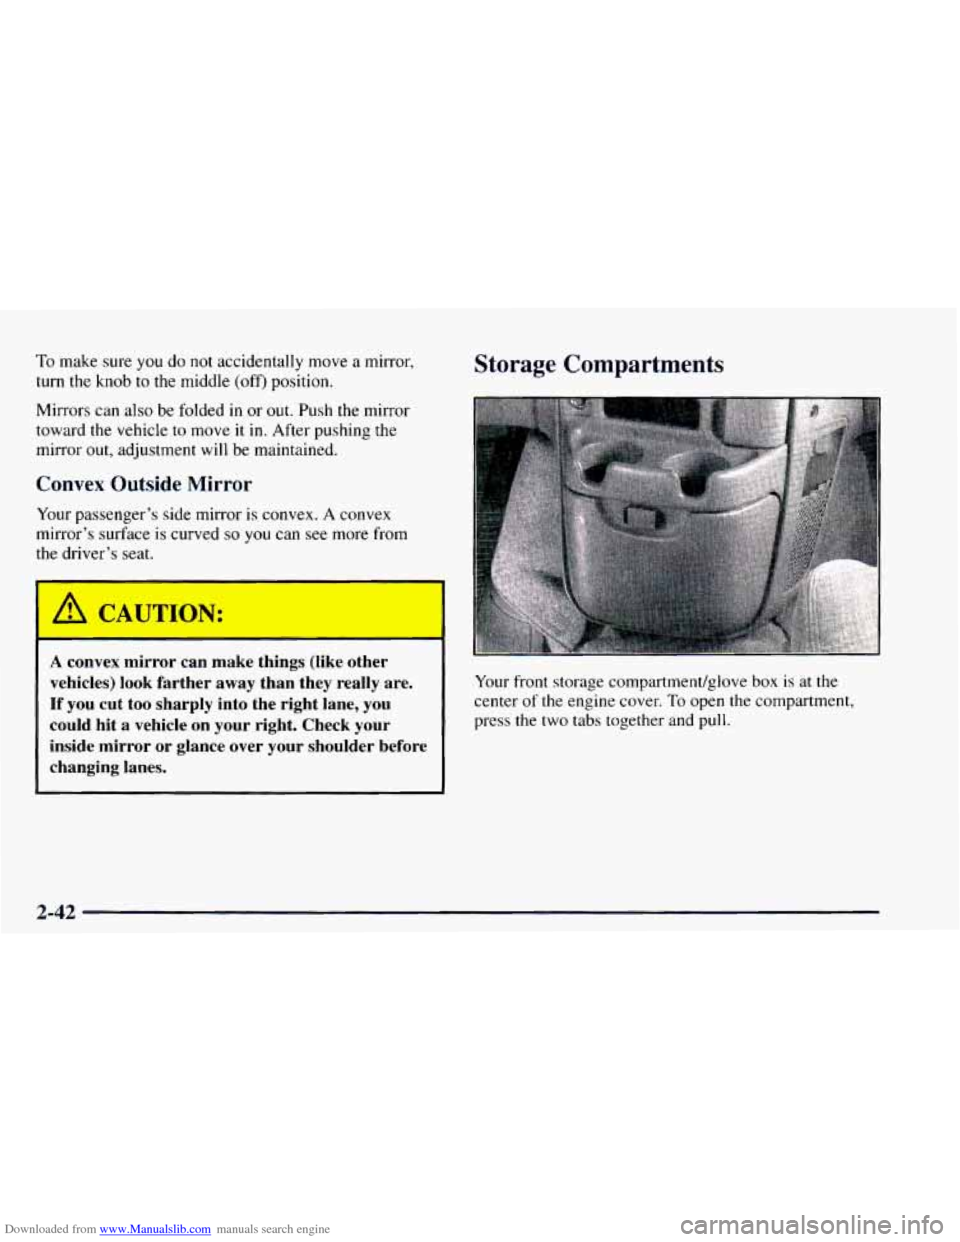
Storage Compartments
Your front storage compartment/glove box is at the
center
of the engine cover. To open the compartment,
press the two tabs together and
pull.
2-42
Page 124 of 404
Downloaded from www.Manualslib.com manuals search engine ~~ NOTICE:
Loading cargo that
weighs more than 200 lbs.
(91 kg) on the luggage carrier may damage your
vehicle. When you carry large things, never let
them hang over the rear or the sides of your
vehicle. Load your cargo
so that it rests on the
slats and does not scratch or damage the vehicle.
Put the cargo against the side rails and fasten it
securely to the luggage carrier. Put the main
weight as far forward
as you can.
Don’t exceed
the maximum vehicle capacity when
loading your vehicle. For more information on vehicle
capacity and loading, see “Loading Your Vehicle”
in
the Index.
To prevent damage or loss of cargo as you’re driving,
check now and
then to make sure the luggage carrier and
cargo are still securely fastened.
Ashtrays and Cigarette Lighter
The cigarette lighter is on the left of the engine
cover console.
To use the lighter, press it in all the way and let go.
When it’s done heating, it will pop back by itself.
NOTICE:
Don’t hold a cigarette lighter in with your hand
while it is heating.
If you do, it won’t be able to
back
away from the heating element when it’s
ready. That can make it overheat, damaging the
lighter and the heating element.
2-50
Page 134 of 404
Downloaded from www.Manualslib.com manuals search engine Warning Lights, Gages and Indicators
This part describes the warning lights and gages that
may be on your vehicle. The pictures will help you
locate them.
Warning lights and gages can signal that something is
wrong before it becomes serious enough to cause an
expensive repair or replacement. Paying attention
to
your warning lights and gages could also save you or
others from injury.
Warning lights come on when there may be or
is a
problem with one
of your vehicle’s functions. As you
will see in the details on the next few pages, some
warning lights come on briefly when you start the
engine just
to let you know they’re working. If you are
familiar with this section, you should not be alarmed
when this happens.
Gages can indicate
when there may be or is a problem
with one of your vehicle’s functions. Often gages and
warning lights work together to
let you know when
there’s a problem with your vehicle. When
one of the warning lights comes on and stays
on
when you are driving, or when one of the gages shows
there may be a problem, check the section that tells
you what to do about it. Please follow this manual’s
advice. Waiting to do repairs can be costly
-- and even
dangerous.
So please get to know your warning light
and gages. They’re a big help.
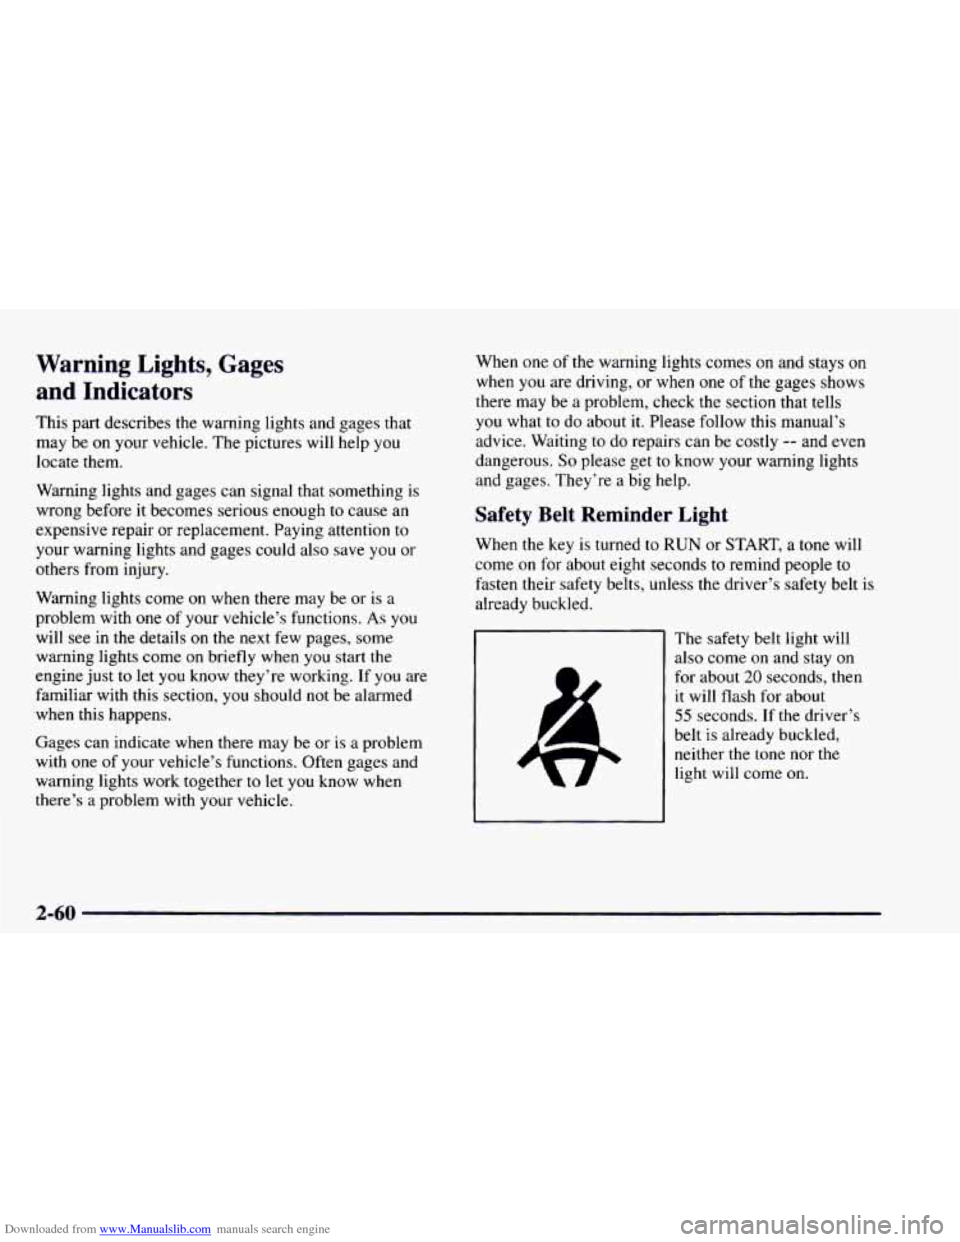
Safety Belt Reminder Light
When the key is turned to RUN or START, a tone wi
come
on for about eight seconds to remind people to
fasten their safety belts, unless
the driver’s safety bel
already buckled.
The safety belt light will
.t 1:
S
I
is
~ also come on and stay on
for about
20 seconds, then
it will flash for about
55 seconds. If the driver’s
belt is already buckled, neither the tone nor the
light will come
on.
2-60
Page 135 of 404
Downloaded from www.Manualslib.com manuals search engine Air Bag Readiness Light
There is an air bag readiness light on the instrument
panel, which shows
AIR BAG. The system checks the
air bag’s electrical system for malfunctions. The light
tells
you if there is an electrical problem. The system
check includes the air bag sensors, the air bag modules,
the wiring and the crash sensing and diagnostic module.
For more information on the air bag system, see “Air
Bag” in the Index.
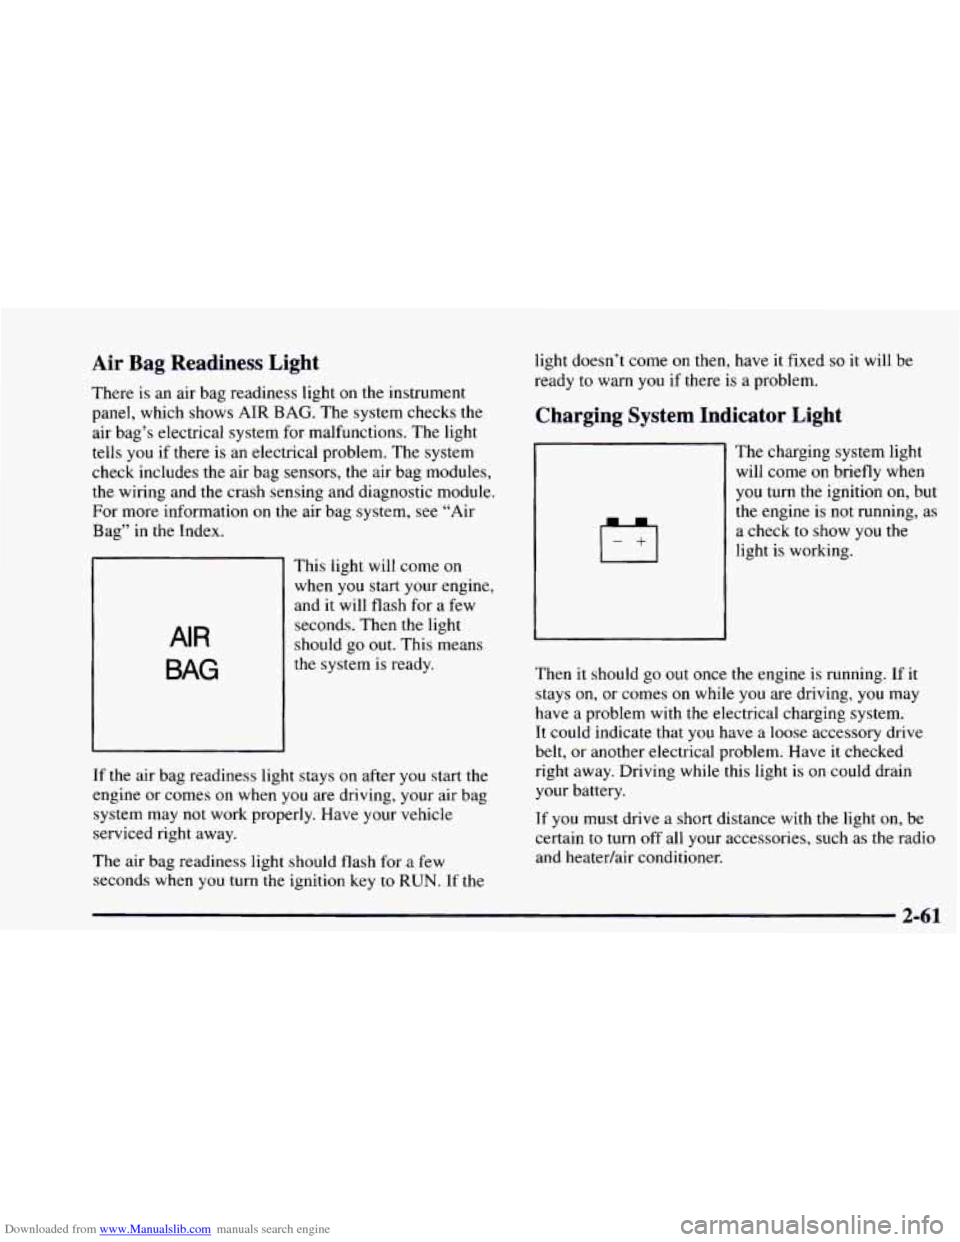
AIR
BAG
This light will come on
when you start your engine,
and it will flash for a few
seconds. Then the light
should go out. This means
the system is ready.
If the air bag readiness light stays
on after you start the
engine or comes
on when you are driving, your air bag
system may not work properly. Have your vehicle
serviced right away.
The air bag readiness light should flash for a few
seconds when
you turn the ignition key to RUN. If the light doesn’t
come
on then, have it fixed so it will be
ready to warn
you if there is a problem.
Charging System Indicator Light
The charglng system light
will come on briefly when
you turn the ignition on, but
the engine is
not running, as
a check
to show you the
light is working.
Then it should go out once the engine is running. If it
stays on, or comes
on while you are driving, you may
have a problem with the electrical charging system.
It could indicate that
you have a loose accessory drive
belt, or another electrical problem. Have it checked
right away. Driving while this light
is on could drain
your battery.
If you must drive a short distance with the light on, be
certain to turn off all your accessories, such as the radio
and heatedair conditioner.
Page 139 of 404
Downloaded from www.Manualslib.com manuals search engine Malfunction Indicator Lamp (Service Engine Soon Light)
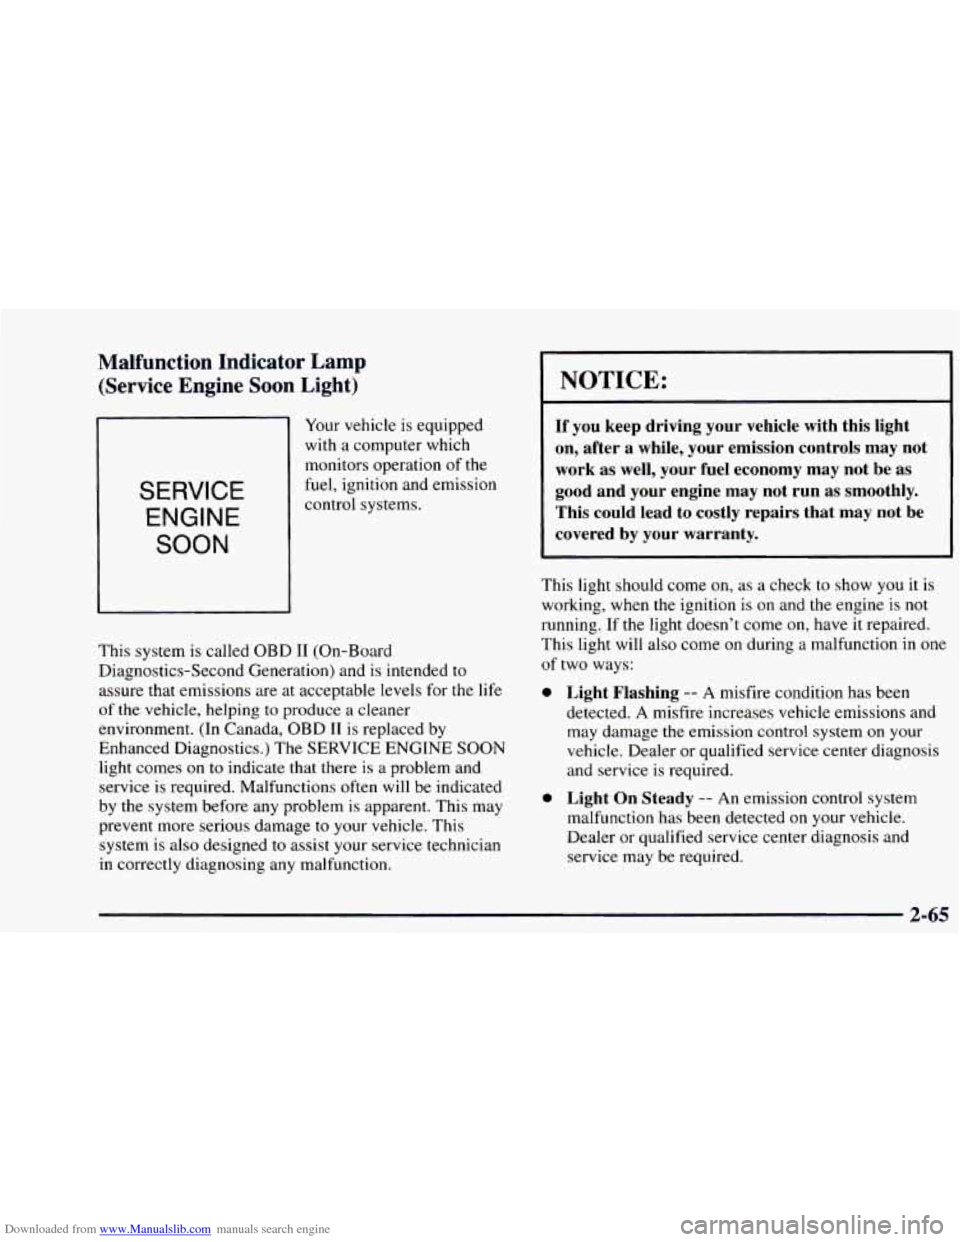
Your vehicle is equipped
with a computer which
monitors operation of the
fuel, ignition and emission SERVICE
ENGINE
SOON
This system is called OBD I1 (On-Board
Diagnostics-Second Generation) and is intended to
assure that emissions are at acceptable levels for the life
of the vehicle, helping
to produce a cleaner
environment. (In Canada, OBD
I1 is replaced by
Enhanced Diagnostics.) The SERVICE ENGINE SOON
light comes
on to indicate that there is a problem and
service is required. Malfunctions
often will be indicated
by the system before any problem is apparent. This may
prevent more serious damage to your vehicle. This
system is also designed
to assist your service technician
in correctly diagnosing any malfunction.
NOTICE:
If you keep driving your vehicle with this light
on, after a while, your emission controls may not
work as well, your fuel economy may not be
as
good and your engine may not run as smoothly.
This could lead to costly repairs that may not be
covered by your warranty.
This light should come on, as a check to show you it is
working, when the ignition is on and the engine is not
running. If the light doesn’t come on, have it repaired.
This light will also come
on during a malfunction in one
of two ways:
0
0
Light Flashing -- A misfire condition has been
detected.
A misfire increases vehicle emissions and
may damage the emission control system on your
vehicle. Dealer or qualified service center diagnosis
and service is required.
Light On Steady -- An emission control system
malfunction has been detected on your vehicle.
Dealer or qualified service center diagnosis and
service may be required.
2-65
Page 141 of 404
Downloaded from www.Manualslib.com manuals search engine If you experience one or more of these conditions,
change the
fuel brand you use. It will require at least one
full tank of the proper fuel to turn the light off.
If none of the above steps have made the light turn
off,
have your dealer or qualified service center check the
vehicle. Your dealer has the proper test equipment and
diagnostic tools
to fix any mechanical or electrical
problems that may have developed.
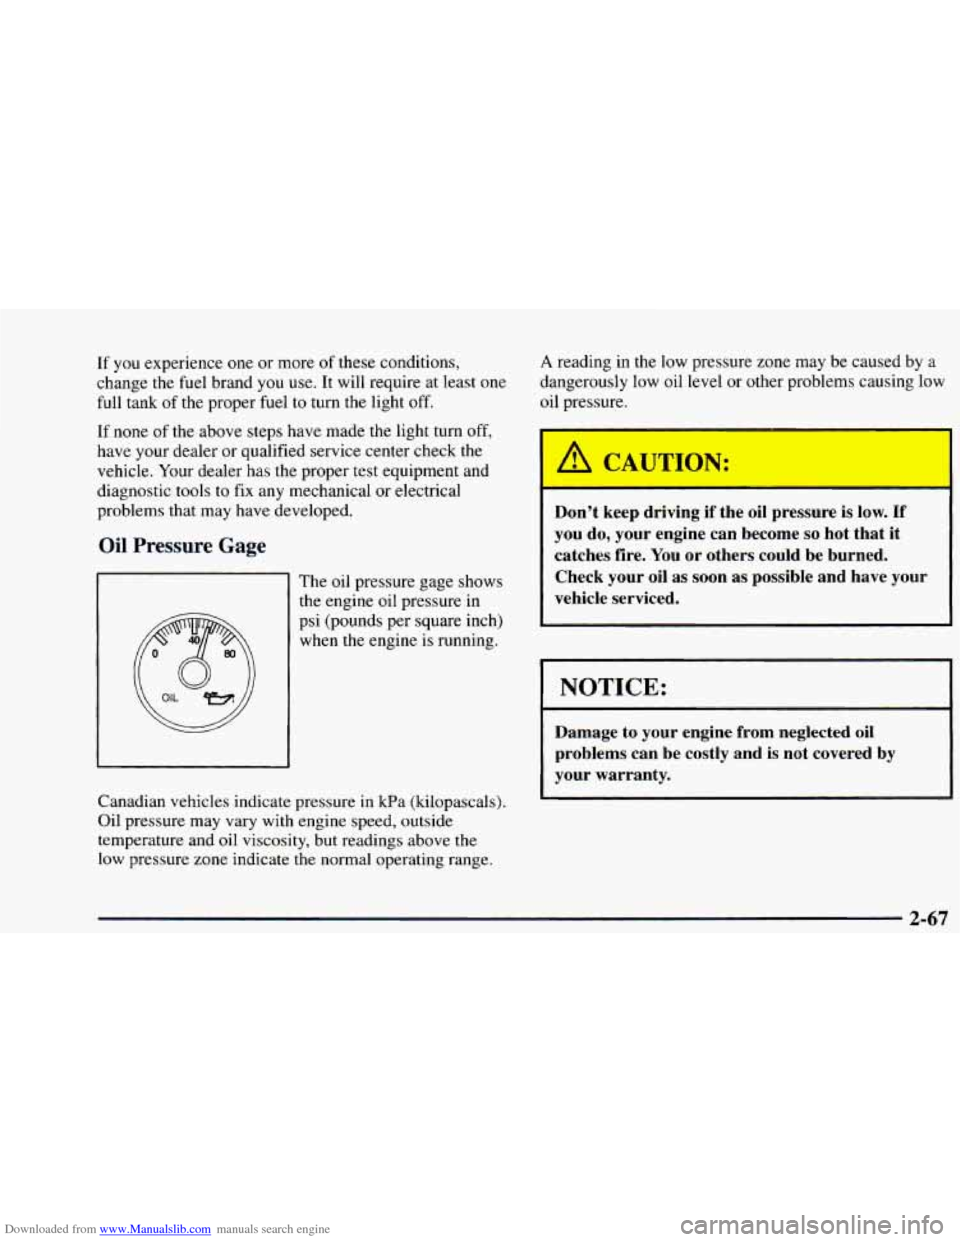
Oil Pressure Gage
The oil pressure gage shows
the engine oil pressure in
psi (pounds per square inch)
when the engine is running.
Canadian vehicles indicate pressure in kPa (kilopascals).
Oil pressure may vary with engine speed, outside
temperature and oil viscosity, but readings above the
low pressure zone indicate the normal operating range.
A reading in the low pressure zone may be caused by a
dangerously low oil level or other problems causing low
oil pressure.
I
Don’t keep driving if the oil pressure is low. If
you do, your engine can become so hot that it
catches fire.
You or others could be burned.
Check your oil
as soon as possible and have your
vehicle serviced.
1
NOTICE:
Damage to your engine from neglected oil
problems can be costly and is not covered by
your warranty.
2-67
Page 142 of 404
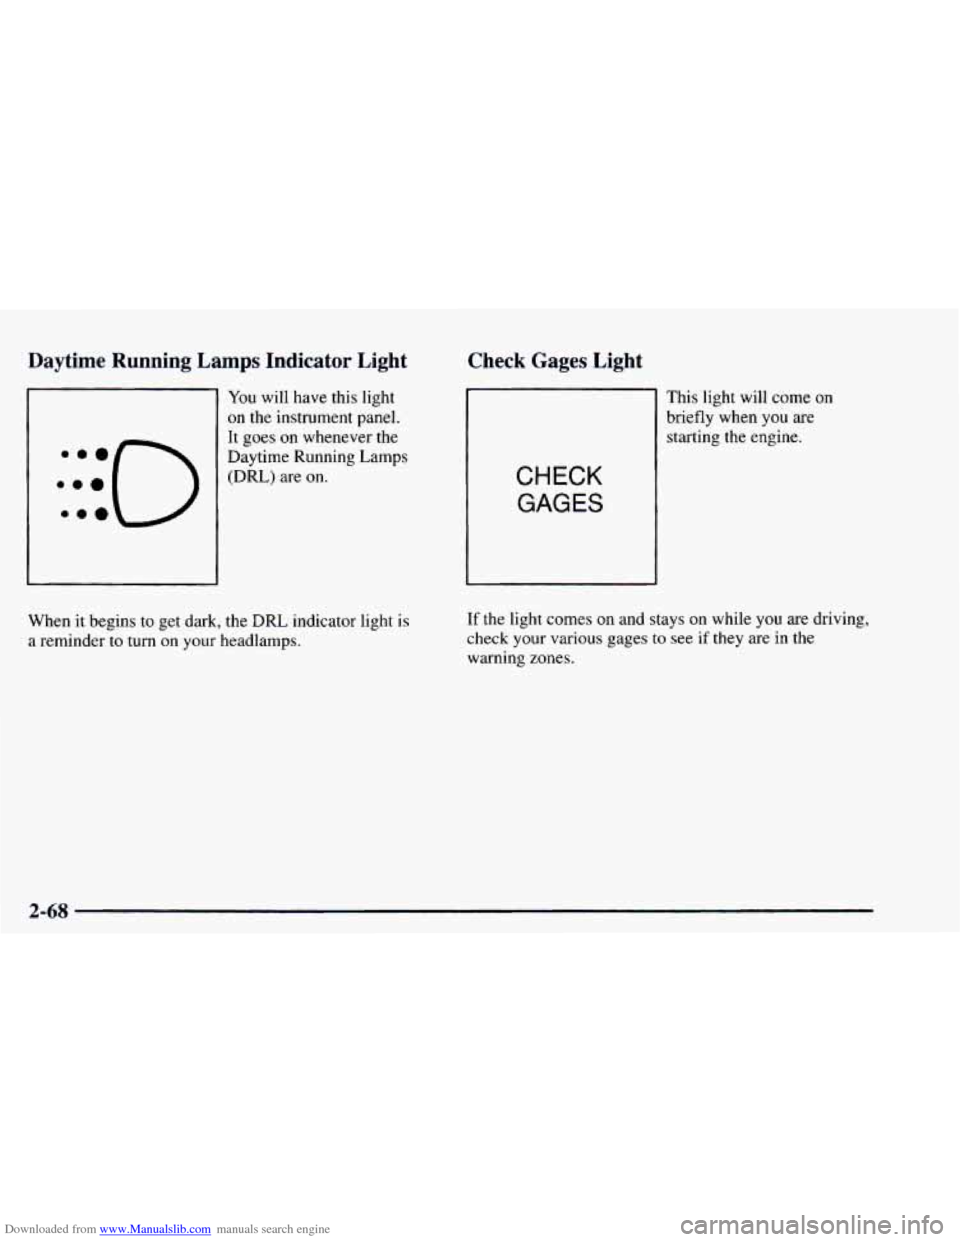
Downloaded from www.Manualslib.com manuals search engine Daytime Running Lamps Indicator L' -'-
I
:::O e..
You will have this light
on the instrument panel.
It goes on whenever the
Daytime Running Lamps (DRL) are on.
--k -- * Gages Light
This light will come on
briefly when you are
starting the engine.
CHECK
GAGES
When it begins to get dark, the DRL indicator light is
a reminder to turn on your headlamps.
If the light comes on and stays on while you are driving,
check your
various gages to see if they are in the
warning zones.
2-68
Page 174 of 404
Downloaded from www.Manualslib.com manuals search engine To unlock a secured radio, see “Unlocking the
Theft-Deterrent Feature After a Power
Loss” earlier in
this section.
Understanding Radio Reception
FM Stereo
FM stereo will give you the best sound. But FM signals
will reach only about 10 to
40 miles (16 to 65 km). Tall
buildings
or hills can interfere with FM signals, causing
the sound to come and go.
AM
The range for most AM stations is greater than for FM,
especially at night. The longer range, however, can
cause stations to interfere with each other. AM can pick
up noise from things like storms and power lines.
Try
reducing the treble to reduce this noise if you ever get it.
Tips About Your Audio System
Hearing damage from loud noise is almost undetectable
until it
is too late. Your hearing can adapt to higher
volumes
of sound. Sound that seems normal can be loud
and harmful to your hearing. Take precautions by
adjusting the volume control on your radio to a safe
sound level before your hearing adapts to it.
To help avoid hearing loss or damage:
Adjust the volume control to the lowest setting.
Increase volume slowly until you hear comfortably
and clearly.
.
NOTICE:
Before you add any sound equipment to your
vehicle
-- like a tape player, CB radio, mobile
telephone or two-way radio
-- be sure you can add
what you want.
If’ you can, it’s very important to
do
it properly. Added sound equipment may
interfere with the operation
of your vehicle’s
engine, Delco radio
or other systems, and even
damage them. Your vehicle’s systems may interfere
with the operation
of sound equipment that has
been added improperly.
So, before adding sound equipment, check with
your dealer and be sure to check Federal rules
covering mobile radio and telephone units.
3-28