check engine CHEVROLET CAMARO 1998 4.G Owners Manual
[x] Cancel search | Manufacturer: CHEVROLET, Model Year: 1998, Model line: CAMARO, Model: CHEVROLET CAMARO 1998 4.GPages: 402, PDF Size: 21.2 MB
Page 21 of 402
Downloaded from www.Manualslib.com manuals search engine Section 1 Seats and Restraint Systems
Here you’ll find information about the seats in your Chevrolet and how to use your safety belts properly. You can also
learn about some things you should
not do with air bags and safety belts.
1-2
1-6
1-11
1-12
1- 12
1-19
1-20
1-20 Seats
and Controls
Safety Belts: They’re for Everyone
Here are Questions Many People Ask About
Safety Belts-- and the Answers
How to Wear Safety Belts Properly
Driver Position
Safety Belt Use During Pregnancy
Right Front Passenger Position
Air Bag System Rear Seat Passengers
Children
Child Restraints
Larger Children
Safety Belt Extender
Checking Your Restraint Systems
Replacing Restraint System Parts After
a Crash
1-26
1-30
1-33
1-43
1-46 1-46
1-46
1-1
Page 26 of 402
Downloaded from www.Manualslib.com manuals search engine Folding Rear Seatback
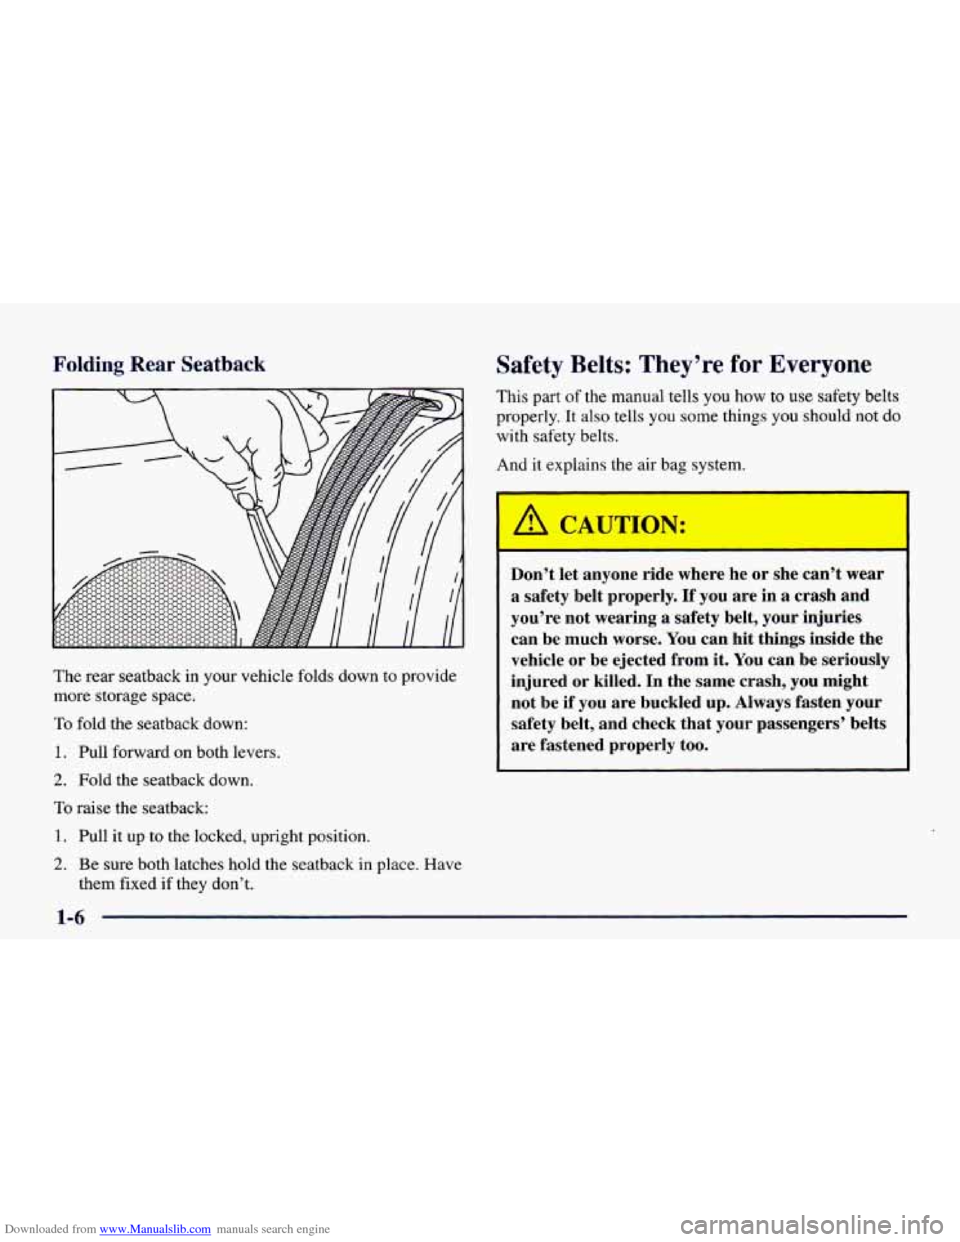
The rear seatback in your vehicle folds down to provide
more storage space.
To fold the seatback down:
1. Pull forward on both levers.
2. Fold the seatback down.
To raise the seatback:
1. Pull it up to the locked, upright position.
2. Be sure both latches hold the seatback in place. Have
them fixed if they don’t.
Safety Belts: They’re for Everyone
This part of the manual tells you how to use safety belts
properly. It also tells you some things you should not
do
with safety belts.
And it explains the air bag system.
Don’t let anyone ride where he or she can’t wear
a safety belt properly.
If you are in a crash and
you’re not wearing a safety belt, your injuries
can
be much worse. You can hit things inside the
vehicle or be ejected from it. You can be seriously
injured or killed.
In the same crash, you might
not be
if you are buckled up. Always fasten your
safety belt, and check that your passengers’ belts
are fastened properly too.
Page 42 of 402
Downloaded from www.Manualslib.com manuals search engine The system checks the air bag electrical system for
malfunctions. The light tells
you if there is an electrical
problem. See “Air Bag Readiness Light” in the Index
for more information.
How the Air Bag System Works
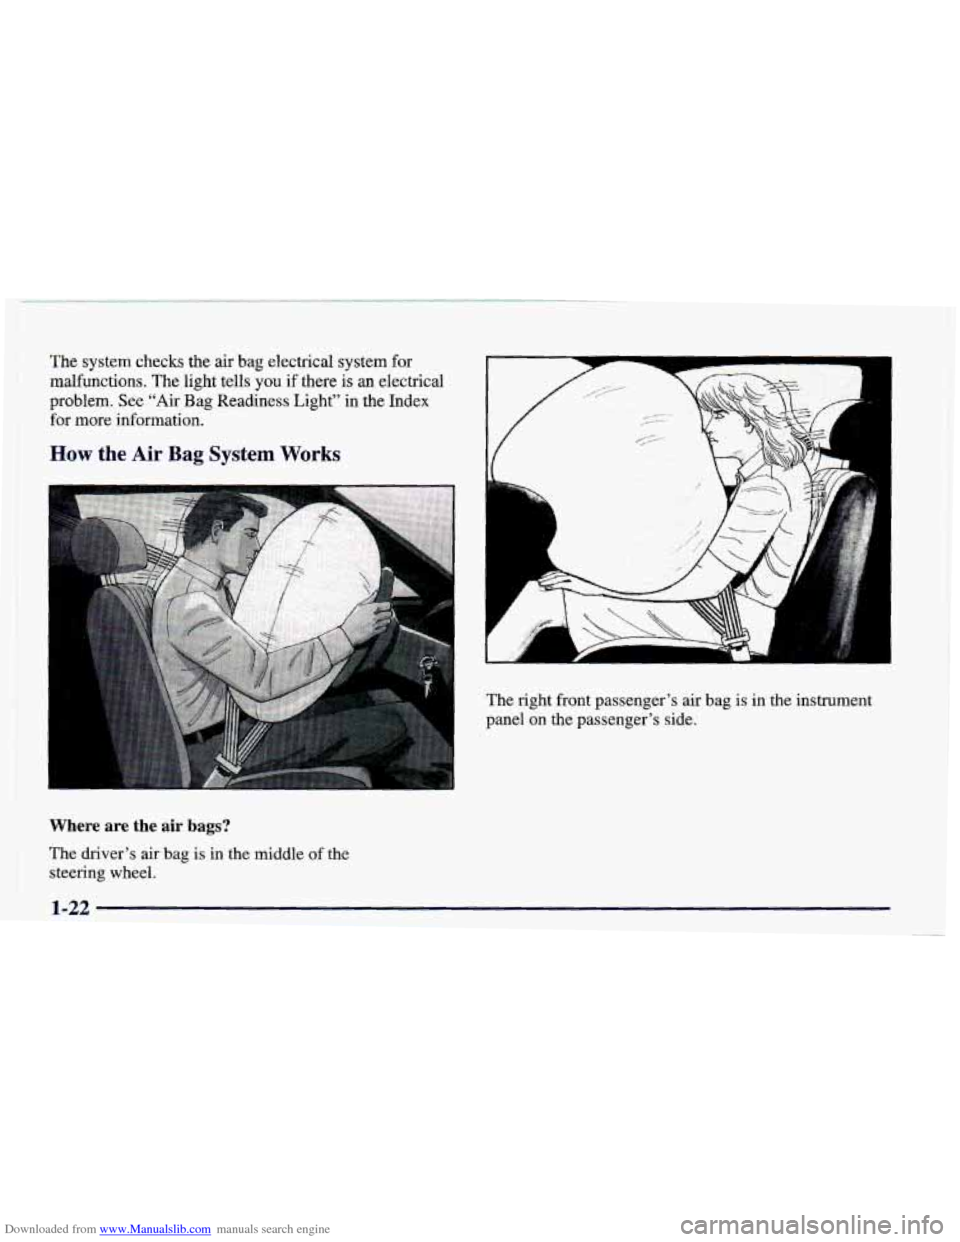
Where are the air bags?
The driver’s air bag is in the middle of the
steering wheel.
.”
The right front passenger’s air bag is in the instrument
panel on the passenger’s side.
1-22
Page 66 of 402

Downloaded from www.Manualslib.com manuals search engine Safety Belt Extender
If the vehicle’s safety belt will fasten around you, you
should use it.
But if a safety belt isn’t long enough to fasten, your
dealer will order you an extender. It’s free. When you go
in to order it, take the heaviest coat
you will wear, so the
extender will be long enough for you. The extender will
be just for you, and just for the seat in your vehicle that
you choose. Don’t let someone else
use it, and use it
only for the seat it is made to fit.
To wear it, just attach it
to the regular safety belt.
Checking Your Restraint Systems
Now and then, make sure the safety belt reminder light
and all your belts, buckles, latch plates, retractors and
anchorages are working properly. Look for any other
loose or damaged safety belt system parts. If you see
anything that might keep a safety belt system from
doing its job, have it repaired.
Torn or frayed safety belts may not protect you
in a
crash. They can rip apart under impact forces. If a belt
is torn or frayed, get a new one right away.
Also look for any opened or broken air bag covers, and
have them repaired or replaced. (The air bag system
does not need regular maintenance.)
Replacing Restraint System Parts
After a Crash
If you’ve had a crash, do you need new belts?
After a very minor collision, nothing may be necessary.
But if the belts were stretched, as they would be if worn
during a more severe crash, then you need new belts.
If belts are cut or damaged, replace them. Collision
damage also may mean you will need to have safety belt
or seat parts repaired or replaced. New parts and repairs
may be necessary even if the belt wasn’t being used
at
the time of the collision.
If an air bag inflates, you’ll need
to replace air bag
system parts. See the part
on the air bag system earlier
in this section.
1-46
Page 76 of 402
Downloaded from www.Manualslib.com manuals search engine This system has a range of about 3 feet (1 m) up to
30 feet (9 m). At times you may notice a decrease in
range. This is normal for any keyless entry system.
If the transmitter does not work
or if you have to
stand closer to your vehicle for the transmitter to work,
try this:
0
0
0
0
Check to determine if battery replacement is
necessary. See the instructions that follow.
Check the distance. You may be too far from your
vehicle.
You may need to stand closer during rainy
or snowy weather.
Check the location. Other vehicles or objects may be
blocking the signal. Take
a few steps to the left or
right, hold the transmitter higher, and try again.
If you’re still having trouble, see your dealer or a
qualified technician
for service.
Operation
The driver’s door will unlock automatically when
UNLOCK is pressed. If UNLOCK
is pressed again
within five seconds, the passenger’s door will also
unlock. All doors will lock when LOCK
is pressed.
The hatch will unlock when the button with the trunk
symbol is pressed twice within five seconds,
as long as
the ignition is turned to OFF. If the ignition is on, the
trunk button will only work
if the transmission is in
PARK (P) for an automatic transmission, or if the
parking brake is. set on
a manual transmission.
The system will turn on the interior lamps for about
40 seconds (or until the ignition is turned to RUN),
when you unlock the doors or hatch. The interior
lamps will go
off when you lock the doors.
Operating the keyless entry transmitter may interact
with the Vehicle and Content Theft-DeterrendAlarm System (if you have this option). See “Vehicle and
Content Theft-DeterrendAlarm System’’ in the Index.
2-8
Page 77 of 402
Downloaded from www.Manualslib.com manuals search engine Alardanic Mode
If your vehicle is equipped with the Vehicle and Content
Theft-DeterrenVAlarm System, you will have a fourth
button on your transmitter. This button is the panic
button. If you are involved in a panic situation, press
this button and your vehicle’s horn will sound and the
headlamps will flash. This will draw needed attention to
you and your vehicle.
To turn this feature off, either
push the panic button again or turn the ignition to the
RUN position. Note: This feature will not work if your
ignition is on or if the transmitter is
30 feet (9 m) or
more away from your vehicle.
Transmitter Range
The range of your keyless entry system should be about
30 feet (9 m). At times you may notice a decrease in the
range. This is normal for any keyless entry system. If
the transmitter does not work, or you have to stand
closer to your vehicle for the transmitter to work:
0 You may have to replace the battery in your transmitter.
See the instructions for battery replacement.
0 You may be too far from your vehicle. Check your
distance. You may have to stand closer to your
vehicle in rain or snow.
You may have to synchronize your transmitter to
the receiver in your vehicle. See the instructions
for synchronization.
0 You may have to match the transmitters to your
vehicle. See instructions.
If none of the above apply, see your dealer or
qualified technician for service.
Synchronization
Synchronization may be necessary due to the security
method used by the keyless entry system. The transmitter
does not send the same signal twice to the receiver. The
receiver will not respond to a signal it has been sent
previously. This prevents anyone from recoding and
playing back the signal from the transmitter. To
resynchronize the transmitter with the receiver:
0 While standing close to your vehicle, at the same
time press and hold the LOCK and
UNLOCK buttons
on the transmitter for about eight seconds.
The door
locks should cycle and the parking lamps should
flash to confirm synchronization. If
this does not
happen, you may need to replace the battery in your
transmitter or match the transmitter to vour vehicle.
Check the location. Other vehicles or objects may be
blocking the signal, Take a few steps to the right or left.
2 -9
Page 78 of 402
Downloaded from www.Manualslib.com manuals search engine Transmitter Verification (If Equipped)
This feature provides feedback to the holder of the
keyless entry transmitter that a command has been
received by the keyless entry receiver. The parking
lamps will flash
on every lock and unlock command and
the horn will sound only if the
LOCK button is pressed
twice within five seconds. This allows for silent
operation
of locking and unlocking, unless a confirming
horn chirp is desired. Other options may be selected for
this feature (see “Feature Customization” in the Index).
Matching Transmitter(s) To Your Vehicle
Each keyless entry transmitter is coded to prevent another
transmitter from unlocking your vehicle.
If a transmitter
is lost or stolen, a replacement can be purchased through
your dealer. Remember to bring any remaining
transmitters with you when you go
to your dealer. When
the dealer matches the replacement transmitter to your
vehicle, any remaining transmitters must also be matched.
Once your dealer has coded the new transmitter, the lost transmitter will not unlock your vehicle. Each vehicle can
have only four transmitters matched to
it.
Have each transmitter you intend to match ready for the
next steps.
To match transmitters to your vehicle:
1. Turn the ignition to RUN, then to OFF. This
will disarm the Vehicle and Content Theft-DeterrenVAlann System (if your vehicle
has
this option).
2. Remove the RADIO fuse. This fuse is located in the
main fuse block which is located on the left side
of
your main instrument panel. When the fuse block is
open the radio fuse is located on the lower right hand
corner of your instrument panel. See “Fuses and
Circuit Breakers’’ in the Index.
3. Turn the ignition from OFF to RUN three times
quickly (within five seconds). The vehicle will
respond by locking the doors, unlocking the driver’s
doors and releasing the hatch. Your transmitter is
now ready to match the vehicle.
4. Press and hold the LOCK and UNLOCK buttons on
the first transmitter for
15 seconds. The vehicle will
respond as in Step
3.
5. Repeat Step 4 for the remaining transmitters.
6. When you have finished matching all of your
7. Check that all transmitters work by pressing
If the transmitters don’t work, or if you’d rather not
match the transmitters yourself,
see your dealer.
transmitters, replace the
RADIO fuse.
their buttons.
2-10
Page 79 of 402
Downloaded from www.Manualslib.com manuals search engine Battery Replacement
Under normal use, the battery in your keyless entry
transmitter should last about two years.
You can tell the battery is weak
if the transmitter won’t
work at the normal range
in any location. If you have to
get close to your vehicle before the transmitter works,
it’s probably time to change the battery.
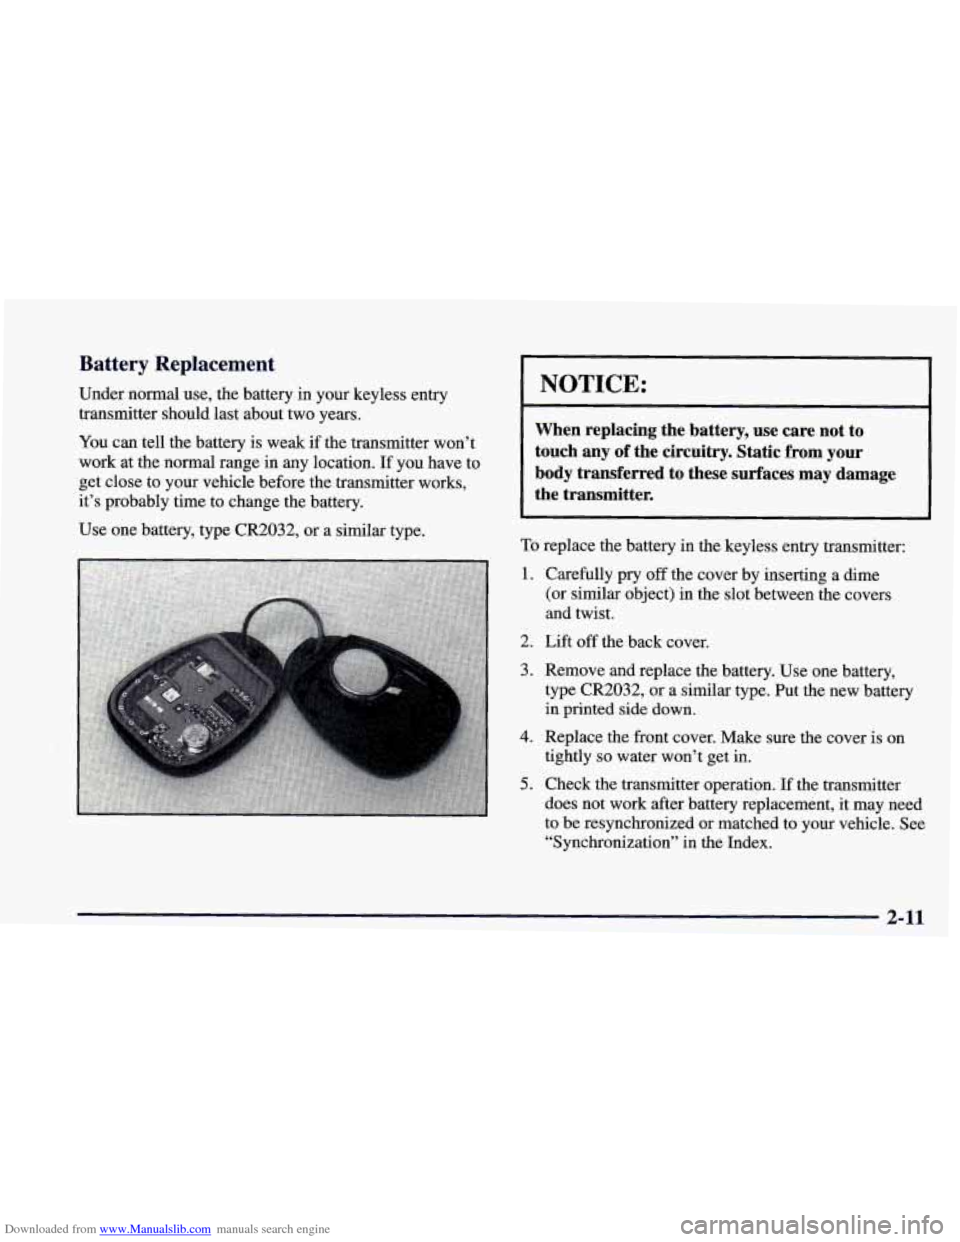
Use one battery, type CR2032, or a similar type.
NOTICE:
When replacing the battery, use care not to
touch any
of the circuitry. Static from your
body transferred to these surfaces may damage
the transmitter.
To replace the battery in the keyless entry transmitter:
1.
2.
3.
4.
5.
Carefully pry off the cover by inserting a dime
(or similar object) in the slot between the covers
and twist.
Lift
off the back cover.
Remove and replace the battery. Use one battery,
type CR2032, or a similar type. Put the new battery
in printed side down.
Replace the front cover. Make sure the cover is on
tightly
so water won’t get in.
Check the transmitter operation. If the transmitter
does not work after battery replacement, it may need
to be resynchronized or matched to your vehicle. See
“Synchronization” in the Index.
2-11
Page 86 of 402

Downloaded from www.Manualslib.com manuals search engine PASS-Key@ I1
1
Your vehicle is equipped
with the PASS-Key I1
(Personalized Automotive
Security System)
theft-deterrent system.
PASS-Key
I1 is a passive
theft-deterrent system.
It works when you insert
or remove the key from
the ignition.
PASS-Key
I1 uses a resistor pellet in the ignition key
that matches a decoder in your vehicle.
When the PASS-Key
I1 system senses that someone is
using the wrong key, it shuts down the vehicle’s starter
and fuel systems. For about three minutes, the starter
won’t work and fuel won’t go to the engine. If someone
tries to start your vehicle again or uses another key
during this time, the vehicle will not start. This
discourages someone from randomly trying different
keys with different resistor pellets in an attempt
to
make a match. The ignition key must
be clean and dry before it’s
inserted in the ignition or the engine may not start. If
the engine does not start and the
SECURITY light stays
on when you
try to start the vehicle, the key may be
dirty or wet.
Turn the ignition off.
Clean and dry the key. Wait about three minutes and
try
again. The SECURITY light may remain on during this
time. If the starter still won’t work, and the key appears
to be clean and dry, wait about three minutes and try
another ignition key. At this time, you may also want
to
check the fuses (see “Fuses and Circuit Breakers” in the
Index).
If the starter won’t work with the other key, your
vehicle needs service. If your vehicle does start, the first
ignition key may be faulty. See your dealer or a
locksmith who can service the PASS-Key
11.
If you accidentally use a key that has a damaged or
missing resistor pellet, the starter won’t work. The
SECURITY light will flash. But you don’t have to wait
three minutes before trying another ignition key.
See your dealer or a locksmith who can service the
PASS-Key
I1 to have a new key made.
2-18
Page 96 of 402
Downloaded from www.Manualslib.com manuals search engine 3. If your engine still won’t start (or starts but then
stops), it could be flooded with too much gasoline.
Try pushing your accelerator pedal all the way to
the floor and holding it there as you hold the key in
START for about three seconds. If the vehicle starts
briefly but then stops again, do the same thing, but
this time keep the pedal down for five or six seconds.
This clears the extra gasoline from the engine.
After waiting about
15 seconds, repeat the normal
starting procedure.
I NOTICE:
Your engine is designed to work with the
electronics in your vehicle.
If you add electrical
parts
or accessories, you could change the way
the engine operates. Before adding electrical
equipment, check with your dealer.
If you don’t,
your engine might not perform properly.
If you ever have to have your vehicle towed, see
the part
of this manual that tells how to do it
without damaging your vehicle. See “Towing
Your Vehicle” in the Index.
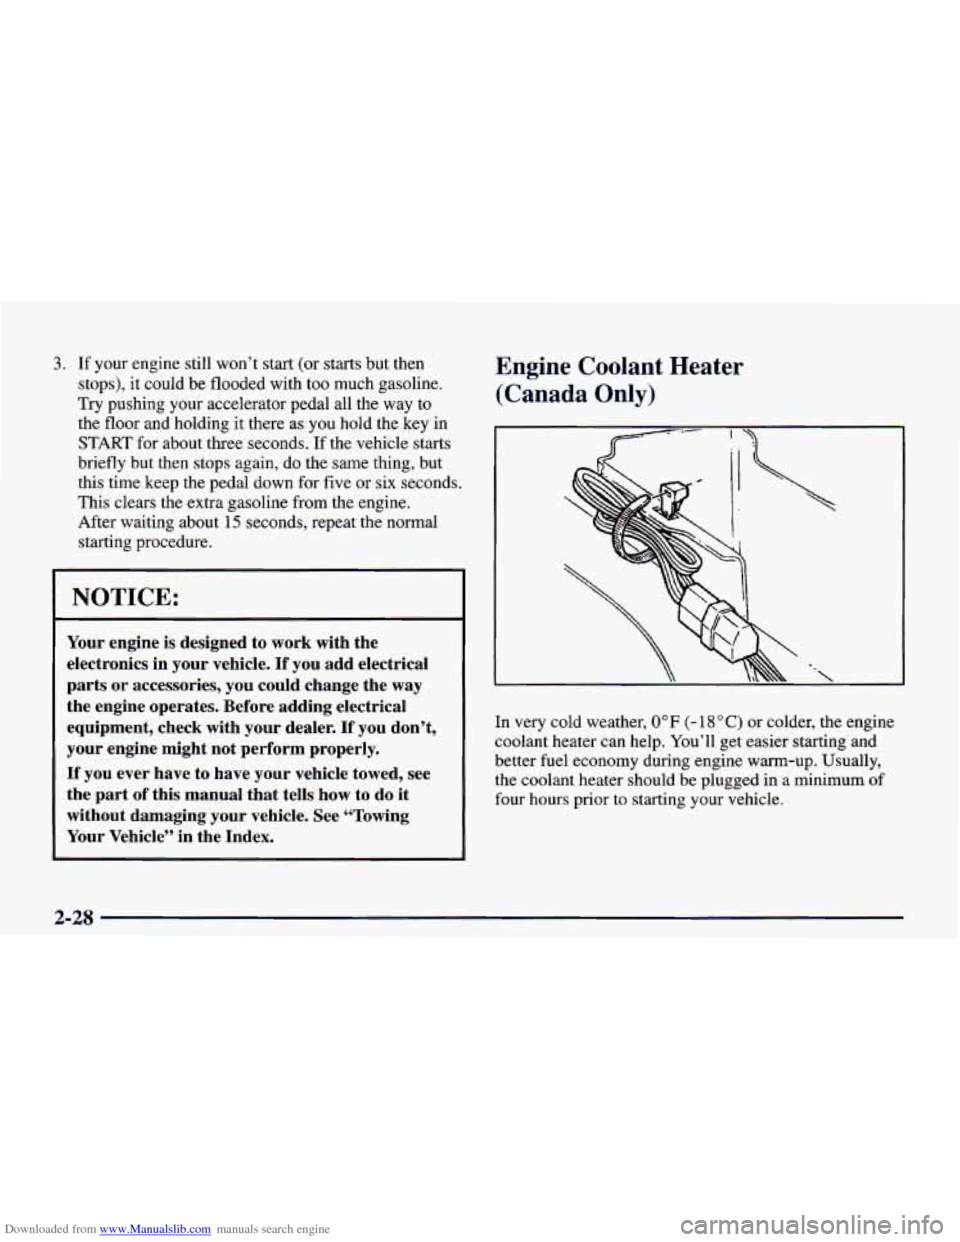
Engine Coolant Heater
(Canada
Only)
In very cold weather, 0°F (- 18 O C) or colder, the engine
coolant heater can help. You’ll get easier starting and
better fuel economy during engine warm-up. Usually,
the coolant heater should be plugged in a minimum of
four hours prior to starting your vehicle.
2-2s