heating CHEVROLET CAMARO 1998 4.G Owners Manual
[x] Cancel search | Manufacturer: CHEVROLET, Model Year: 1998, Model line: CAMARO, Model: CHEVROLET CAMARO 1998 4.GPages: 402, PDF Size: 21.2 MB
Page 80 of 402
Downloaded from www.Manualslib.com manuals search engine Hatch Hatch Release
It can be dangerous to drive with the hatch open
because carbon monoxide (CO) gas can come into
your vehicle.
You can’t see or smell CO. It can
cause unconsciousness and even death.
If you must drive with the hatch open or if
electrical wiring or other cable connections
must pass through the seal between the body
and the hatch:
0 Make sure all windows are shut.
%rn the fan on your heating or cooling
system
to its highest speed with the setting
on VENT. That will force outside air into
your vehicle. See “Comfort Controls” in
the Index.
instrument panel, open them
all the way.
If you have air outlets on or under the
See ‘(Engine Exhaust’’ in the Index.
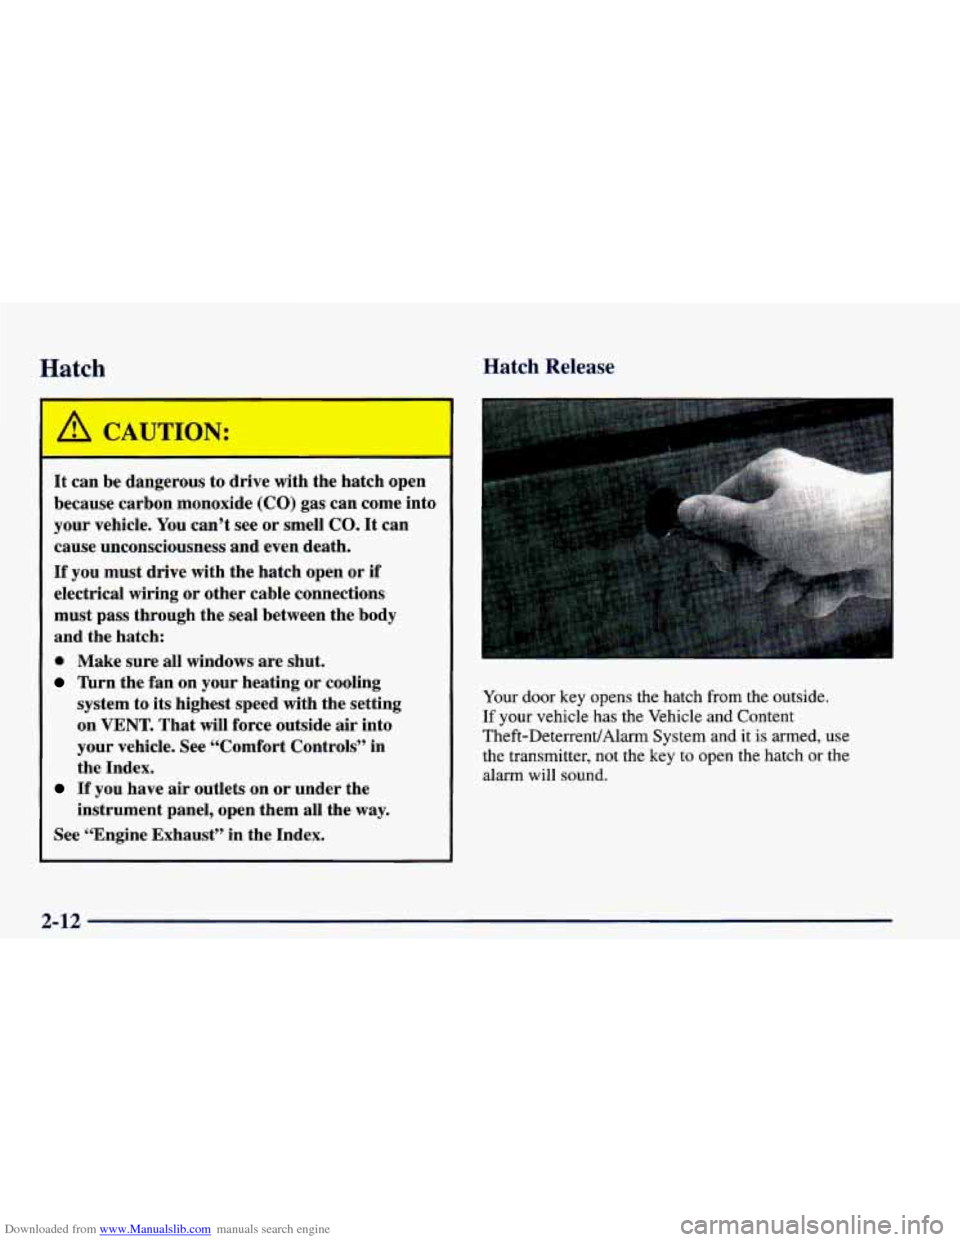
Your door key opens the hatch from the outside.
If your vehicle has the Vehicle and Content
Theft-DeterrendAlarm System and it
is armed, use
the transmitter, not the key
to open the hatch or the
alarm will sound.
2-12
Page 126 of 402
Downloaded from www.Manualslib.com manuals search engine To use the lighter, push it in all the way and let go.
When it’s ready, it will pop back by itself.
~
NOTICE:
~~
I I 1 I
Don’t hold a cigarette lighter in with your hand
while
it is heating. If you do, it won’t be able to
back away from the heating element when it’s
ready. That can make it overheat, damaging the
lighter and the heating element.
If you plug accessories into your cigarette lighter, such
as heating devices or air compressors, these accessories
should have a rated current of less than 15 amps.
Exceeding
this limit will result in a blown fuse.
Sun Visors
To block out glare, you can swing down the visors. YQU
can also swing them to the side.
Visor Vanity Mirror
Pull down the sun visor and lift the cover to expose the
vanity mirror.
Accessory Plug
This plug is located inside the front section ahead of
the
shift lever in the console. The plug can be used to
connect electrical equipment such as a cellular phone or
CB radio. Be sure to follow the installation instructions
included with the equipment.
NOTICE:
When using the accessory plug:
0 The maximum load of any electrical
equipment should not exceed three amps.
Be sure to turn off any electrical equipment
when not in use. Leaving electrical
equipment
on for extended periods can
drain your battery.
We recommend that you see a qualified technician or
your dealer for the proper installation of your equipment.
2-58
Page 148 of 402

Downloaded from www.Manualslib.com manuals search engine Engine Coolant Temperature Gage
This gage shows the engine
coolant temperature. If the
gage pointer moves into
the red area, your engine
is approaching an
overheating condition.
If you have been operating your vehicle under normal
driving conditions, you should pull
off the road, stop
your vehicle and turn off the engine as soon as possible.
In “Problems on the Road” this section shows what to
do. See “Engine Overheating,’’
in the Index.
Low Coolant Light ( 5.7L V8 Engine)
This warning light should
come on briefly while you
are starting your engine. If
the light doesn’t come on,
have it remired. Your
vehicle is equipped with
a low coolant indicator
that
is designed to detect when the coolant level drops
below the set limit.
If the low coolant level sensor (on
the radiator) detects that the level drops while the engine
is running, the low coolant indicator will light and
remain lit for five minutes or until the ignition switch
is turned to
OFF. Check the coolant level and add
coolant as needed.
The low coolant light might stay on after filling the
radiator. Turn the ignition switch to the
OW position,
then restart the engine to verify that the low coolant
light goes out. See “Engine Coolant” in the Index.
NOTICE:
Driving with the low coolant light on could
cause your vehicle to overheat. See “Engine Overheating’’ in the Index. Your vehicle could
be damaged, and it wouldn’t be covered by
your warranty.
I . 2-80
Page 155 of 402
Downloaded from www.Manualslib.com manuals search engine 0 Section 3 Comfort Controls and Audio Systems
In this section, you’ll find out how to operate the comfort control and audio systems offered with your vehicle. Be
sure to read about the particular systems supplied with your vehicle.
3-2
3-3
3-4
3-4
3-5
3-5
3-6
3-6
3-7 Comfort Controls
Air Conditioning
Heating
Ventilation System
Defogging and Defrosting
Rear Window Defogger (If Equipped)
Setting the Clock for Systems without
Automatic Tone Control
Setting the Clock for Systems with
Automatic Tone Control
AM-FM Stereo with Cassette
Tape Player 3-9
3- 14
3-18
3-2 1
3-23
3-23
3-24
3 -25
3-25
3-25 AM-FM
Stereo with Cassette Tape Player and
Automatic Tone Control (If Equipped)
AM-FM Stereo
with Compact Disc Player and
Automatic Tone Control (If Equipped)
Trunk Mounted CD Changer
(If Equipped)
Theft-Deterrent Feature (If Equipped)
Understanding Radio Reception
Tips About Your Audio System
Care of Your Cassette Tape Player
Care of Your Compact Discs
Care of Your Compact Disc Player
Fixed Mast Antenna
3-1
Page 156 of 402
Downloaded from www.Manualslib.com manuals search engine Comfort Controls
lhl
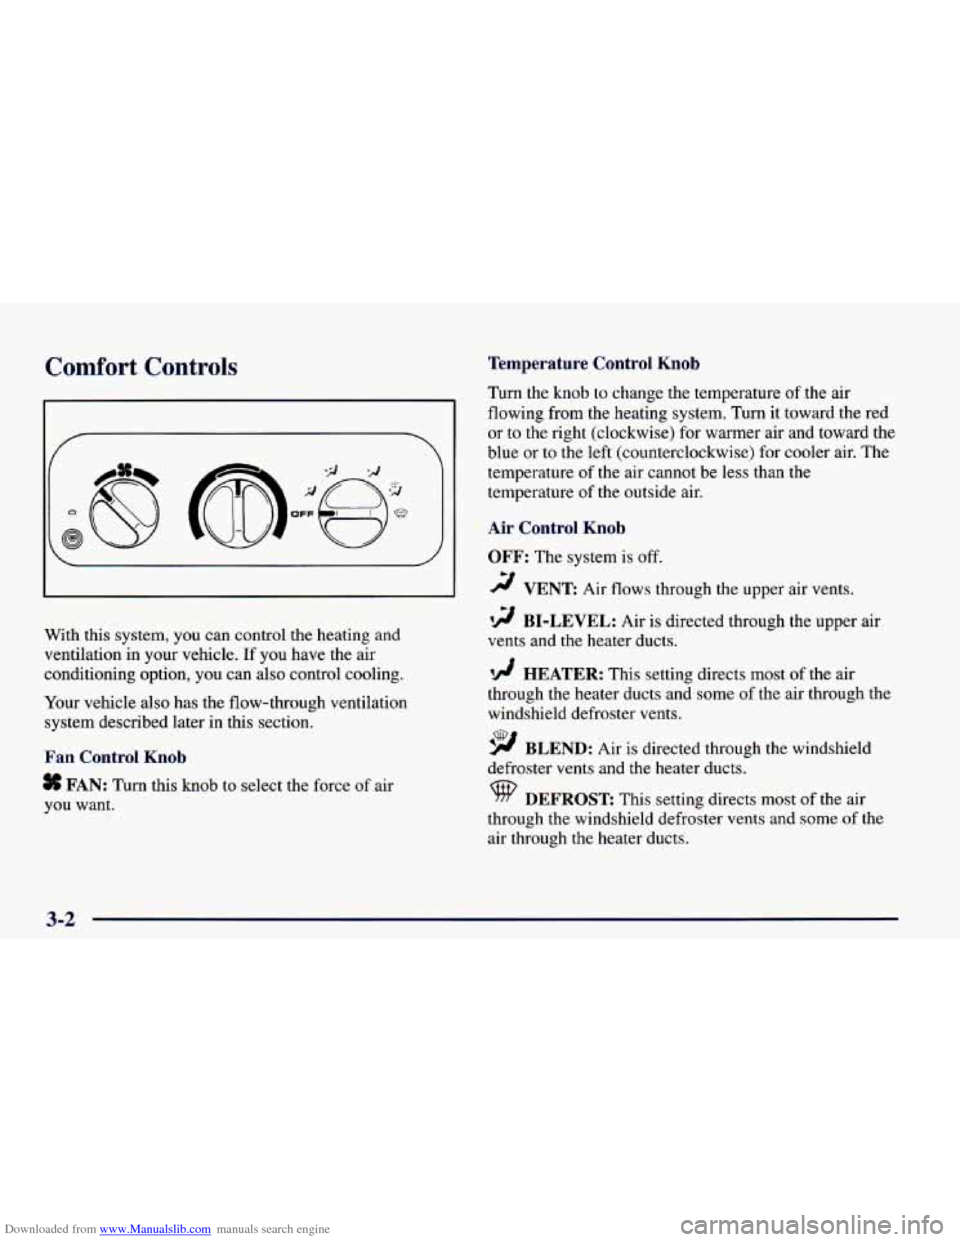
With this system, you can control the heating and
ventilation in your vehicle. If you have the air
conditioning option, you can also control cooling.
Your vehicle also has the flow-through ventilation
system described later in this section.
Fan Control Knob
# FAN: Turn this knob to select the force of air
you want.
Temperature Control Knob
Turn the knob to change the temperature of the air
flowing from the heating system. Turn it toward the red
or
to the right (clockwise) for warmer air and toward the
blue or to the left (counterclockwise) for cooler air. The
temperature of the air cannot be less than the
temperature of the outside air.
Air Control Knob
OFF: The system is off.
2 VENT Air flows through the upper air vents.
i
’!! BI-LEVEL: Air is directed through the upper air
vents and the heater ducts.
‘!A HEATER: This setting directs most of the air
through the heater ducts and some
of the air through the
windshield defroster vents.
9 BLEND: Air is directed through the windshield
defroster vents and the heater ducts.
9 DEFROST This setting directs most of the air
through the windshield defroster vents and some
of the
air through the heater ducts.
3-2
Page 157 of 402
Downloaded from www.Manualslib.com manuals search engine Air Conditioning
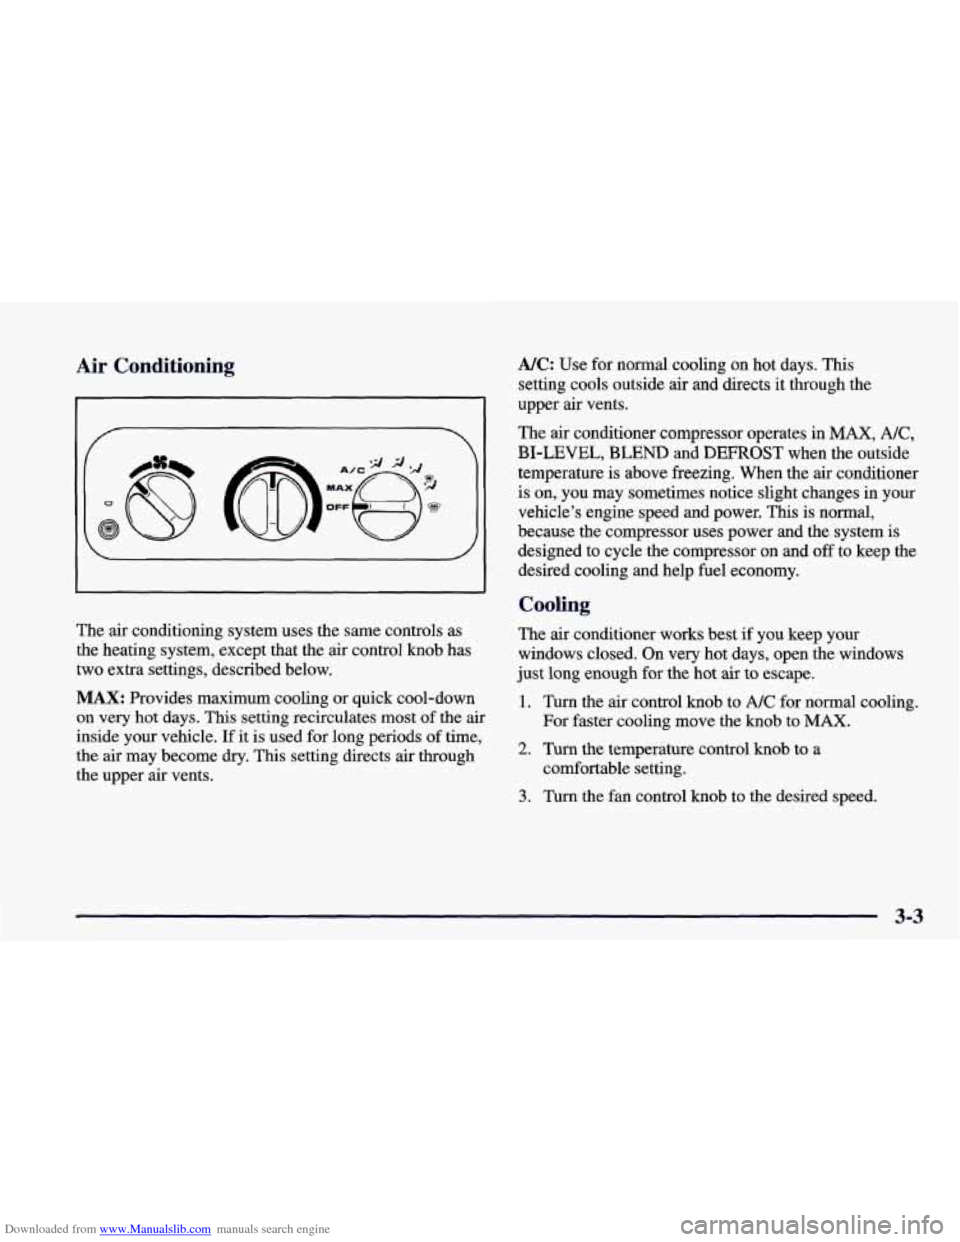
The air conditioning system uses the same controls as
the heating system, except that the
air control knob has
two extra settings, described below.
MAX: Provides maximum cooling or quick cool-down
on
very hot days. This setting recirculates most of the air
inside your vehicle. If it is used for long periods of time,
the air may become
dry. This setting directs air through
the upper air vents.
A/C: Use for normal cooling on hot days. This
setting cools outside air and directs it through the
upper air vents.
The air conditioner compressor operates in
MAX, NC,
BI-LEVEL, BLEND and DEFROST when the outside
temperature is above freezing. When the air conditioner
is on, you may sometimes notice slight changes in your
vehicle’s engine speed and power. This is normal,
because the compressor uses power and the system
is
designed to cycle the compressor on and off to keep the
desired cooling and help fuel economy.
Cooling
The air conditioner works best if you keep your
windows closed. On very hot days, open the windows
just long enough for the hot
air to escape.
1. Turn the air control knob to A/C for normal cooling.
2. Turn the temperature control knob to a
3. Turn the fan control knob to the desired speed.
For
faster cooling move the knob to
MAX.
comfortable setting.
3-3
Page 158 of 402
Downloaded from www.Manualslib.com manuals search engine Heating Ventilation System
The heater works best if you keep your windows closed
while using it.
1. Turn the air control knob to HEATER.
2. Turn the fan control knob to the desired speed.
3. Turn the temperature control knob to a
If your vehicle is equipped with an optional engine coolant
heater, you can use it in cold weather (around
20°F/-8 “C
or lower) to improve heater performance on initial start up.
Because
an engine coolant heater warms the engine
coolant, your vehicles heating system can more quickly
and efficiently provide heat for your vehicle’s passenger
area. See “Engine Coolant Heater” in the Index. comfortable
setting.
Bi-Level Heating
You may want to use bi-level heating on cool, but sunny
days. This setting directs cool air toward your body and
warmer air toward your feet.
1. Turn the air control knob to BI-LEVEL.
2. Turn the temperature control knob to a
comfortable setting.
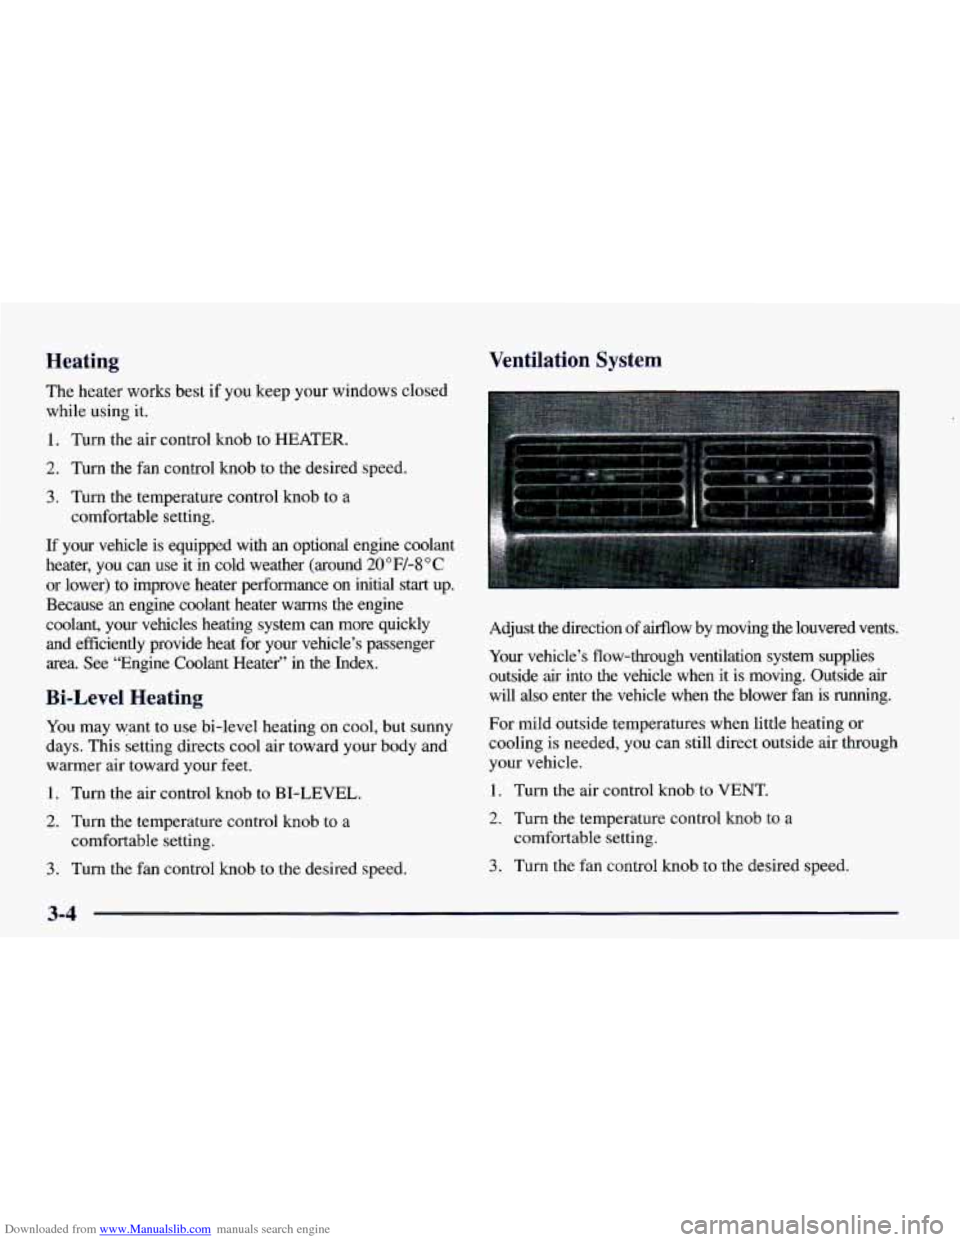
3. Turn the fan control knob to the desired speed. Adjust the direction of airflow by moving the louvered vents.
Your vehicle’s flow-through ventilation system supplies outside
air into the vehicle when it is moving. Outside air
will also enter the vehicle when the blower fan is running.
For mild outside temperatures when little heating or
cooling
is needed, you can still direct outside air through
your vehicle.
1. Turn the air control knob to VENT.
2. Turn the temperature control knob to a
comfortable setting.
3. Turn the fan control knob to the desired speed.
Page 216 of 402
Downloaded from www.Manualslib.com manuals search engine Driving On Grades Parking on Hills
Reduce speed and shift to a lower gear before you start
down a long or steep downgrade.
If you don’t shift
down, you might have to use your brakes
so much that
they would get hot and
no longer work well.
On a long uphill grade, shift down and reduce your
speed to around
45 mph (70 km/h) to reduce the
possibility of engine and transmission overheating.
If you are towing a trailer and you have an automatic
transmission with overdrive, you may prefer to drive in
DRIVE (D) instead of AUTOMATIC OVERDRIVE
(a)
or, as you need to, a lower gear). Or, if you have a
manual transmission with FIFTH
(5) or SIXTH (6) gear,
it is best to drive
in FOURTH (4) gear (if five speed
manual transmission) or FIFTH
(5) gear (if you have a
six speed manual transmission) (or, as you need to, a
lower gear). You
really should
not park your vehicle, with a trailer
attached,
on a hill. If something goes wrong, your rig
could start to move. People can be injured, and both
your vehicle and the trailer can be damaged.
But
if you ever have to park your rig on a hill, here’s
how to
do it:
1. Apply your regular brakes, but don’t shift into
PARK
(P) yet, or into gear for a manual transmission.
2. Have someone place chocks under the trailer wheels.
3. When the wheel chocks are in place, release the
regular brakes. Then apply your parking brakes until
the
chocks absorb the load.
4. Reapply the regular brakes. Then apply your parking
brake and then shift to PARK(P) or REVERSE (R)
for a manual transmission.
5. Release the regular brakes.
4-36
Page 217 of 402
Downloaded from www.Manualslib.com manuals search engine When You Are Ready to Leave After
Parking on a Hill
1. Apply your regular brakes and hold the pedal down
while you:
Start your engine;
Shift into a gear; and
Release the parking brake.
2. Let up on the brake pedal.
3. Drive slowly until the trailer is clear of the chocks.
4. Stop and have someone pick up and store the chocks.
Maintenance When Trailer Towing
Your vehicle will need service more often when you’re
pulling a trailer. See the Maintenance Schedule for more
on this. Things that are especially important in trailer
operation are automatic transmission fluid (don’t
overfill), engine oil, axle lubricant, belts, belt, cooling
system and brake adjustment. Each of these is covered
in this manual, and the Index will help you find them
quickly. If you’re trailering, it’s a good idea to review
these sections before you start your trip.
Check periodically to see that all hitch nuts and bolts
are tight.
Engine Cooling When Trailer Towing
Your cooling system may temporarily overheat during
severe operating conditions. See “Engine Overheating”
in the Index.
4-37
Page 219 of 402
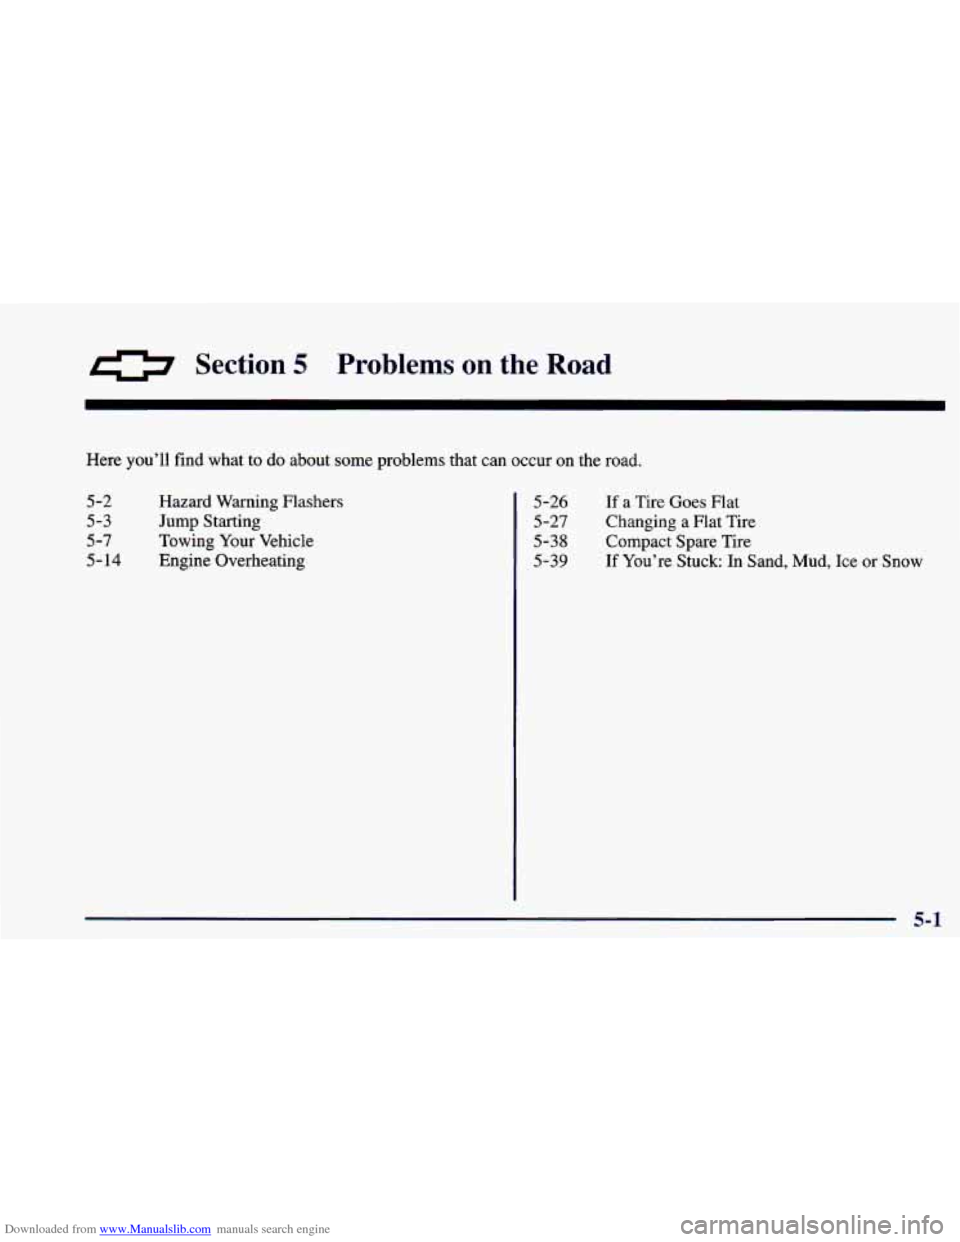
Downloaded from www.Manualslib.com manuals search engine 0 Section 5 Problems on the Road
Here you’ll find what to do about some problems that can occur on the road.
5-2
5-3
5-7
5- 14
Hazard Warning Flashers
Jump Starting
Towing Your Vehicle
Engine Overheating 5 -26
5 -27
5-38
5-39
If a Tire Goes Flat
Changing a Flat Tire
Compact Spare Tire
If You’re Stuck: In Sand, Mud, Ice or Snow
5-1