fuel CHEVROLET CAVALIER 1995 3.G Owners Manual
[x] Cancel search | Manufacturer: CHEVROLET, Model Year: 1995, Model line: CAVALIER, Model: CHEVROLET CAVALIER 1995 3.GPages: 340, PDF Size: 17.09 MB
Page 10 of 340
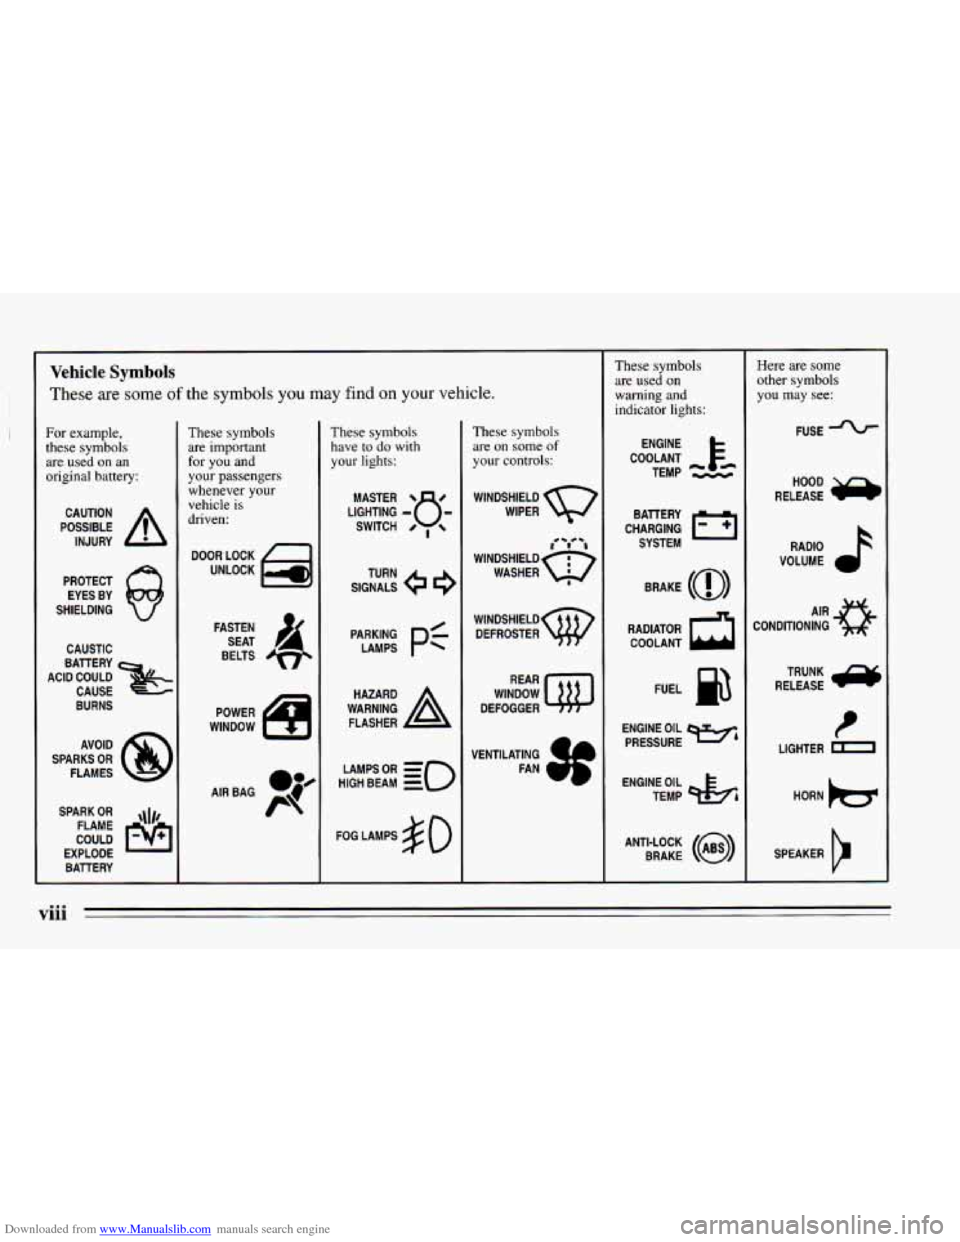
Downloaded from www.Manualslib.com manuals search engine Vehicle Symbols
These are some of the symbols you may find on your vehicle.
For example,
these symbols are used on an
original battery:
POSSIBLE A
CAUTION
INJURY
PROTECT EYES BY
SHIELDING
Q
CAUSTIC
ACID COULD BATTERY
CAUSE
BURNS
AVOID
SPARKS
OR
FLAMES
SPARK
OR ,\I/,
COULD FLAME
EXPLODE BATTERY
These symbols
are important
for you and
your passengers
whenever your
vehicle is
driven:
DOOR LOCK
UNLOCK
FASTEN SEAT
4
BELTS
POWER
WINDOW
These symbols have to
do with
your lights:
SIGNALS 6
TURN
HIGH
LAMPSoR BEAM = =o
FOG LAMPS $0
These symbols
are on
some of
your controls:
WINDSHIELD
WIPER
i i
WINDSHIELD
WASHER I
WINDSHIELD DEFROSTER
WINDOW
DEFOGGER
VENTILATING FAN
These symbols are used on
warning and
indicator lights:
COOLANT F-
ENGINE
TEMP
--
CHARGING I-1
BATTERY SYSTEM
BRAKE
(0)
RADIATOR COOLANT
a
FUEL
ENGINE OIL
PRESSURE
Wb
TEMP OIL &
ANTI-LOCK (@)
BRAKE
Here are some
other symbols
you may
see:
FUSE
RELEASE
a
RADIO
VOLUME
CONDITIONING
AIR 43
LIGHTER HORN
)b.
SPEAKER
b
viii
Page 63 of 340
Downloaded from www.Manualslib.com manuals search engine Passlock (Option)
Your vehicle may be equipped with the Passlock
theft-deterrent system.
To find out if your vehicle has
Passlock, turn the ignition key to RUN position.
If the
THEFT SYSTEM light comes on, then your vehicle is
equipped with Passlock. Passlock
is a passive
theft-deterrent system. The system is armed once the
key is removed from the ignition. Passlock enables fuel
if the ignition lock cylinder is turned with a valid key. If
a correct key is not used, fuel is disabled.
During normal operation, the
THEFT SYSTEM light will
go
off after the engine is started. In the unlikely event that
the engine stalls and the
THEFI’ SYSTEM light flashes,
wait until the light stops flashing before
trying to restart
the engine. Remember to release the key from.the START
position
as soon as the engine starts. If after several tries
the vehicle still does not start, the vehicle may need
service. At
this the, you may also want to check the fuses
(see “Fuses and Circuit Breakers” in the Index).
See your
Chevrolet dealer for service.
If the THEFT SYSTEM light comes on while the engine
is running, a problem has been detected and
the system
may need service. See your Chevrolet dealer for service.
In an emergency, call the Chevrolet Roadside Assistance
Program at 1-800-CHEV USA (1-800-243-8872).
New Vehicle “Break-In”
Your modern Chevrolet doesn’t need an
elaborate “break-in.” But it will perform better
in the long run if you follow these guidelines:
e
e
0
Don’t drive at any one speed -- fast or
slow
-- for the first 500 miles (804 h).
Don’t make full-throttle starts.
Avoid making hard stops for the
first
200 miles (322 km) or so. During this time
your new brake linings aren’t yet broken
in. Hard stops with new linings can mean
premature wear and earlier replacement.
Follow this “breaking-in” guideline every
time you get new brake linings.
Don’t tow a trailer during “break-in.” See
“Towing a Trailer’’ in the Index for more
information.
2-7
Page 67 of 340
Downloaded from www.Manualslib.com manuals search engine NOTICE:
Your engine is designed to work with the
electronics in your vehicle.
If you add electrical
parts or accessories, you could change the way
the fuel injection system operates. Before adding
electrical equipment, check with your dealer.
If
you don’t, your engine might not perform
properly.
If you ever have to have your vehicle towed, see
the part
of this manual that tells how to do it
without damaging your vehicle. See “Towing
Your Vehicle” in the Index.
To start your
2.3 Liter engine:
1. Without pushing the accelerator pedal, turn your
ignition key to START. When the engine starts,
let
go of the key. The idle speed will go down as your
engine gets warm.
NOTICE:
Holding your key in START for longer than
15 seconds at a time will cause your battery to be
drained much sooner. And the excessive heat can
damage your starter motor.
2. If it doesn’t start right away, and if the weather is
very cold (below
-20” F, or -29” C), push the
accelerator pedal about one-quarter of the way down
while you turn the key
to START. Do this until the
engine starts. As soon as it does, let go
of the key.
stops), it could be flooded with too much gasoline.
Try pushing your accelerator pedal all the way to the
floor and holding it there as
you hold the key in
START for about three seconds. This clears the extra
gasoline from the engine. If the vehicle starts briefly
but then stops again, do the same thing, but this time
keep the pedal about one-quarter of the way down
for five
or six seconds.
3. If your engine still won’t start (or starts but then
2-11
Page 68 of 340
Downloaded from www.Manualslib.com manuals search engine NOTICE:
Your engine is designed to work with the
electronics in your vehicle.
If you add electrical
parts or accessories, you could change the
way
the fuel injection system operates. Before adding
electrical equipment, check with your dealer. If
you don’t, your engine might not perform
properly.
If you ever have to have your vehicle towed, see
the part of this manual that tells how to do
it
without damaging your vehicle. See “Towing
Your Vehicle” in the Index.
Driving Through Deep Standing
Water
I
I NOTICE:
If you drive too quickly through deep puddles or
standing water, water can come in through your engine’s air intake and badly damage your
engine. Never drive through water that is slightly
lower than the underbody
of your vehicle. If you
can’t avoid deep puddles or standing water, drive
through them very slowly.
Engine Coolant Heater (Option)
In very cold weather, 0°F (- 18°C) or colder, the engine
coolant heater can help. You’ll get easier starting and
better fuel economy during engine warm-up. Usually,
the coolant heater should be plugged in a minimum of
four hours prior to starting your vehicle.
To use the coolant heater:
I. Turn off the engine.
2. Open the hood and unwrap the electrical cord.
3. Plug it into a normal, grounded 110-volt outlet.
2-12
Page 72 of 340
Downloaded from www.Manualslib.com manuals search engine NOTICE:
i I NOTICE: I
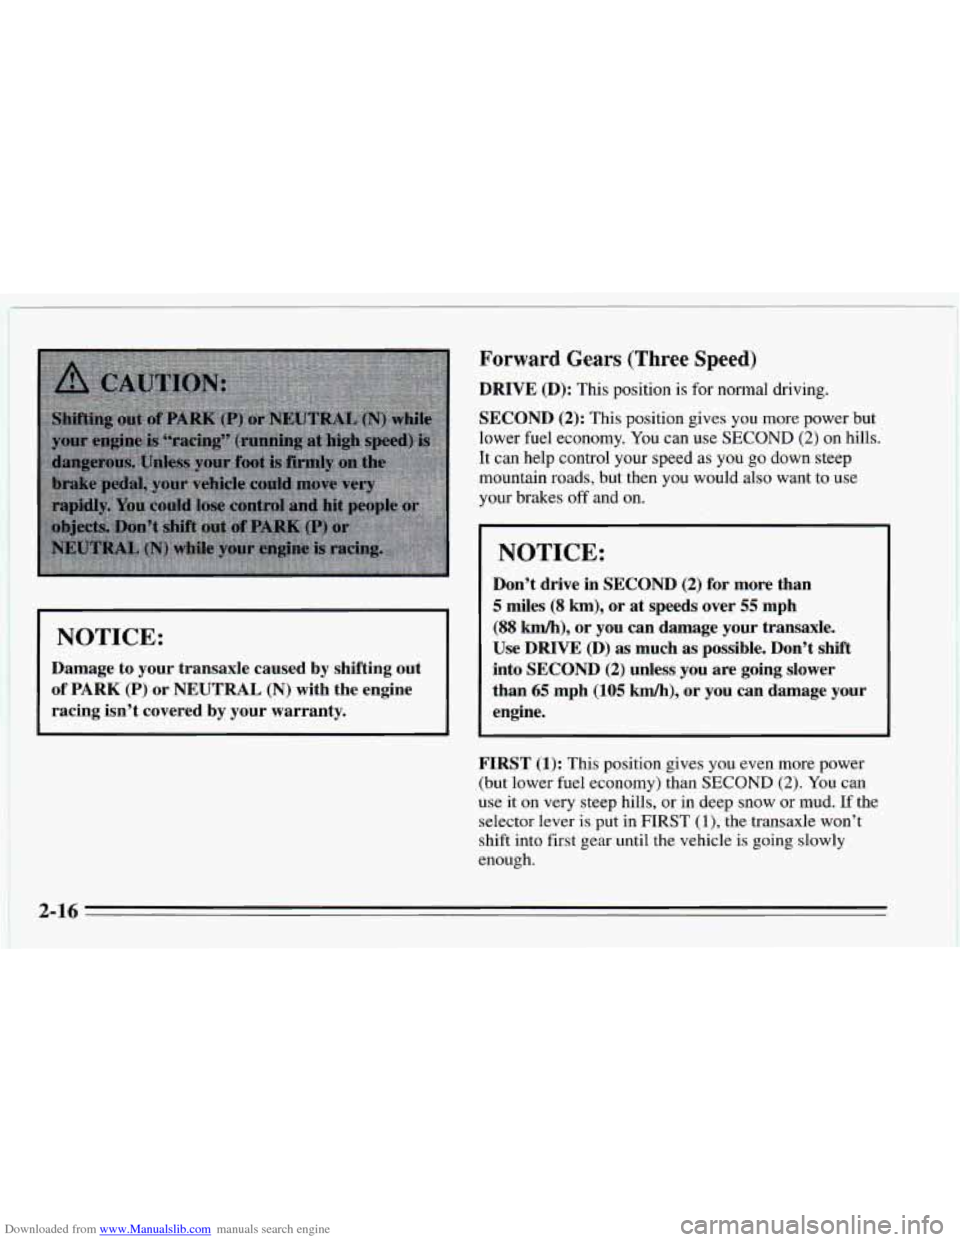
Damage to your transaxle caused by shifting out
of PARK (P) or NEUTRAL (N) with the engine
racing isn’t covered
by your warranty.
j
Forward Gears (Three Speed)
DRIVE (D): This position is for normal driving.
SECOND (2): This position gives you more power but
lower fuel economy. You can use
SECOND (2) on hills.
It can help control your speed as you
go down steep
mountain roads, but then you would also want to use
your brakes
off and on.
Don’t drive in SECOND (2) for more than
5 miles (8 km), or at speeds over 55 mph
(88 km/h), or you can damage your transaxle.
Use
DRIVE @) as much as possible. Don’t shift
into SECOND
(2) unless you are going slower
than
65 mph (105 km/h), or you can damage your
engine.
FIRST (1): This position gives you even more power
(but lower fuel economy) than
SECOND (2). You can
use it on very steep hills, or in deep snow or mud.
If the
selector lever
is put in FIRST (l), the transaxle won’t
shift into first gear until the vehicle is going slowly
enough.
2-16
Page 73 of 340
Downloaded from www.Manualslib.com manuals search engine NOTICE:
If your front wheels can’t rotate, don’t try to
drive. This might happen if you were stuck in
very deep sand or mud or were up against a solid
object.
You could damage your transaxle. Also, if
you stop when going uphill, don’t hold your
vehicle there with only the accelerator pedal. This
could overheat and damage the transaxle. Use
your brakes or shift into
PARK (P) to hold your
vehicle in position on
a hill.
Forward Gears (Four Speed)
AUTOMATIC OVERDRIVE (D): This position is for
normal driving with
the four speed automatic transaxle.
If
you need more power for passing, and you’re:
0 Going less than about 35 mph (56 km/h), push your
accelerator pedal about halfway down.
0 Going about 35 mph (56 kmh), push your
accelerator all
the way down.
THIRD (3): This position is also used for normal
driving, however,
it offers more power and lower fuel
economy than AUTOMATIC OVERDRIVE (D). Here
are some times you might choose THIRD
(3) instead of
AUTOMATIC OVERDRIVE (D):
0 When driving on hilly, winding roads.
0 When towing a trailer, so there is less shifting
between gears.
0 When going down a steep hill.
SECOND (2): This position gives you more power out
lower fuel economy. You can use SECOND
(2) on hills.
It can help control your speed as you
go down steep
mountain roads, but then
you would also want to use
your brakes off and on.
NOTICE:
Don’t drive in SECOND (2) for more than
5 miles (8 km), or at speeds over 55 mph
(88 km/h), or you can damage your transaxle.
Use AUTOMATIC OVERDRIVE
(D), THIRD (3)
or DRIVE (D) as much as possible. Don’t shift into
SECOND
(2) unless you are going slower than 65
mph (105 km/h), or you can damage your engine.
2-17
Page 74 of 340
Downloaded from www.Manualslib.com manuals search engine FIRST (1): This position gives you even more power
(but lower fuel economy) than SECOND (2). You can
use it
on very steep hills, or in deep snow or mud. If the
selector lever is
put in FIRST (1)’ the transaxle won’t
shift into first gear until the vehicle is going slowly
enough.
NOTICE:
If your front wheels can’t rotate, don’t try to
drive. This might happen
if you were stuck in
very deep sand or mud or were up against a solid
object.
You could damage your transaxle. Also, if
you stop when going uphill, don’t hold your
vehicle there with only the accelerator pedal. This
could overheat and damage the transaxle. Use
your brakes or shift into
PARK (P) to hold your
vehicle in position on
a hill.
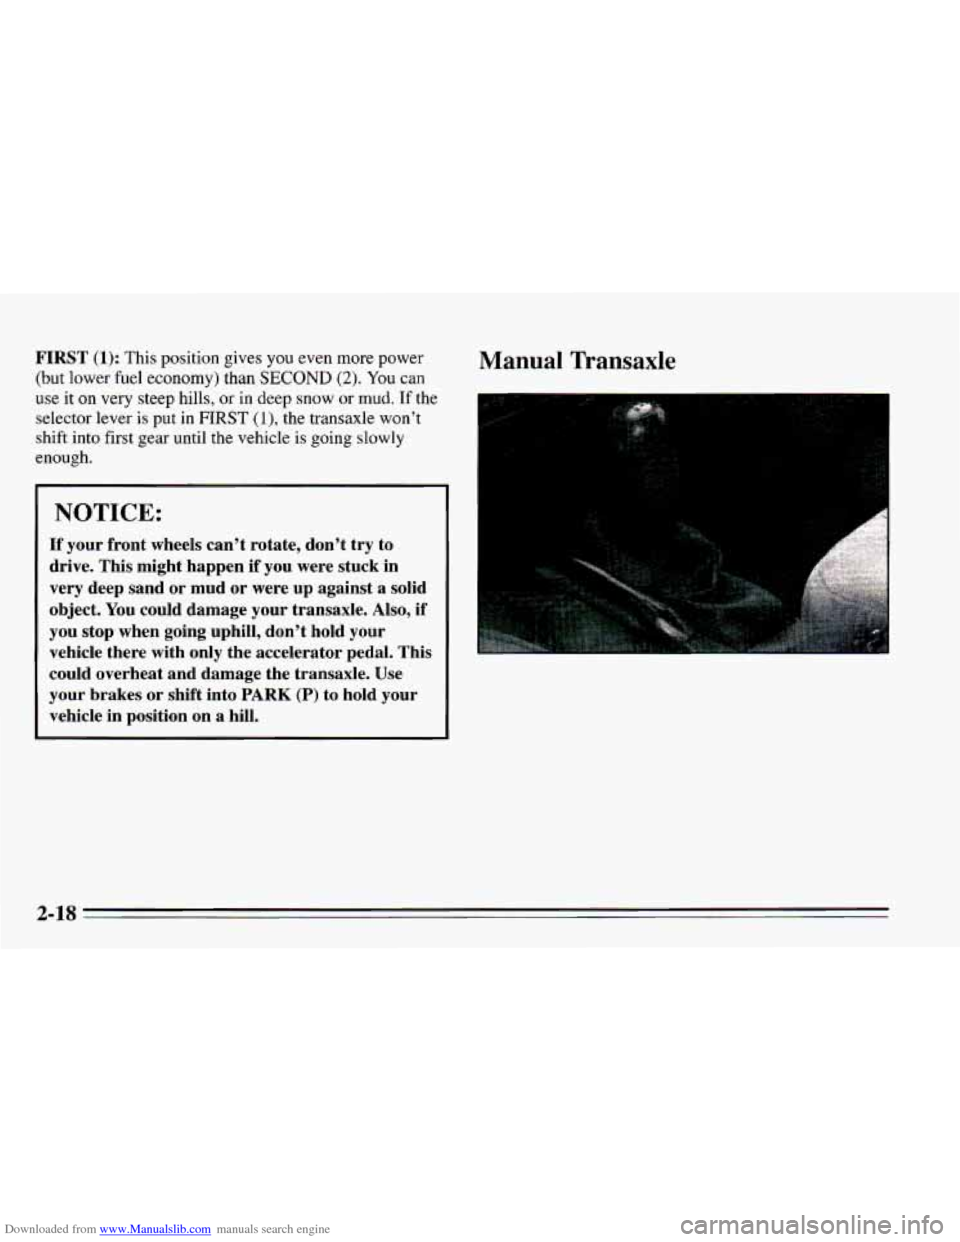
Manual Transaxle
2-18
Page 76 of 340
Downloaded from www.Manualslib.com manuals search engine Shift Light (Manual Transaxle)
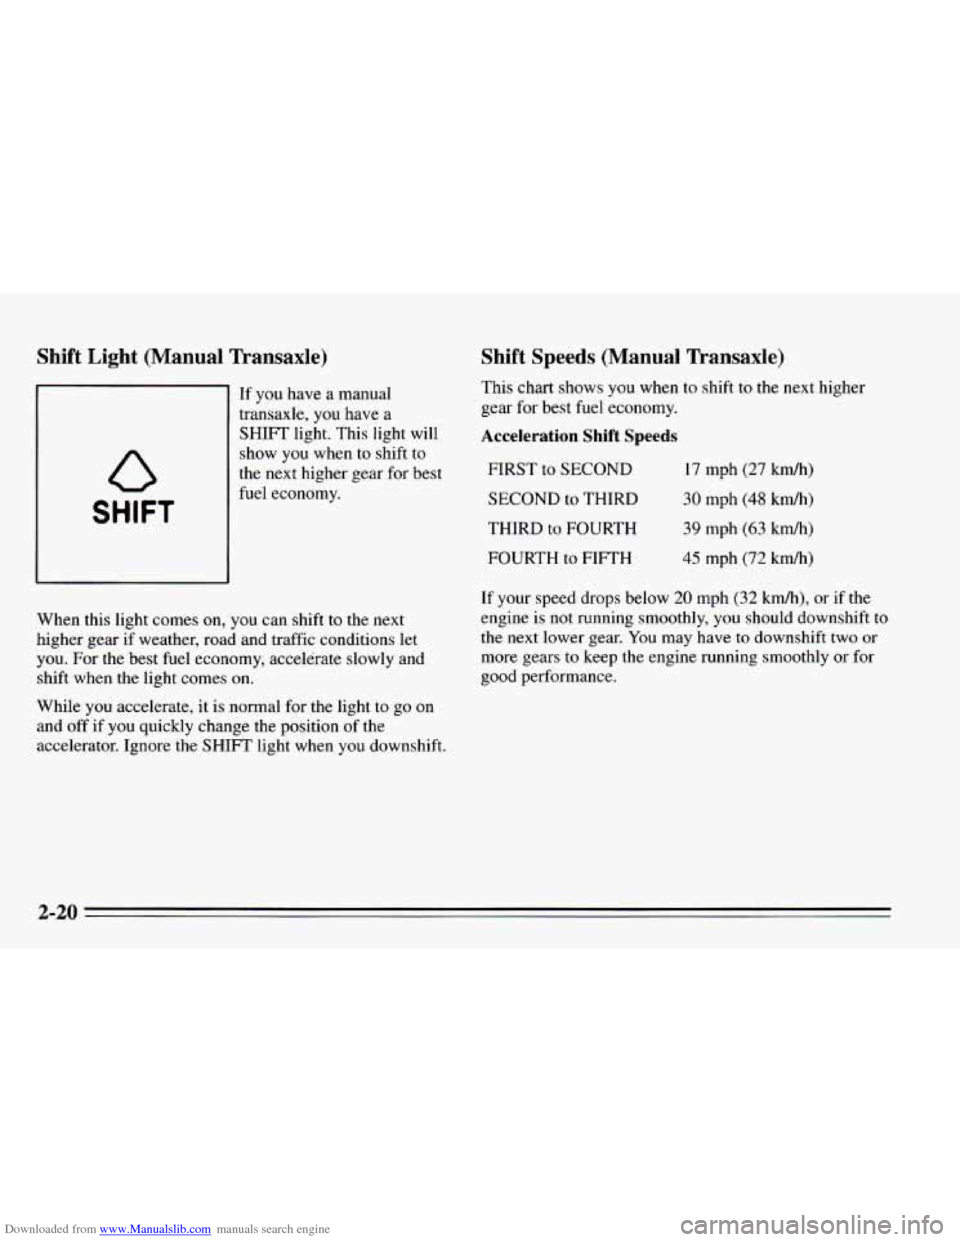
If you have a manual
transaxle, you have a
SHIFT light. This light will
show
you when to shift to
the next higher gear for best
SHIFT
fuel economy.
When this light comes
on, you can shift to the next
higher gear if weather, road and traffic conditions
let
you. For the best fuel economy, accelerate slowly and
shift when the light comes on.
While you accelerate, it is normal for
the light to go on
and off if
you quickly change the position of the
accelerator. Ignore the SHIFT light when you downshift.
Shift Speeds (Manual Transaxle)
This chart shows you when to shift to the next higher
gear for best fuel economy.
Acceleration Shift Speeds
FIRST to SECOND
SECOND to THIRD
THIRD to FOURTH
FOURTH
to FIFTH
17 mph (27 km/h)
30 mph (48 krn/h)
39 mph (63 kmh)
45 mph (72 kmh)
If your speed drops below 20 mph (32 kmh),
or if the
engine is
not running smoothly, you should downshift to
the next lower gear. You may have to downshift two or
more gears to keep
the engine running smoothly or for
good performance.
2-20
Page 112 of 340
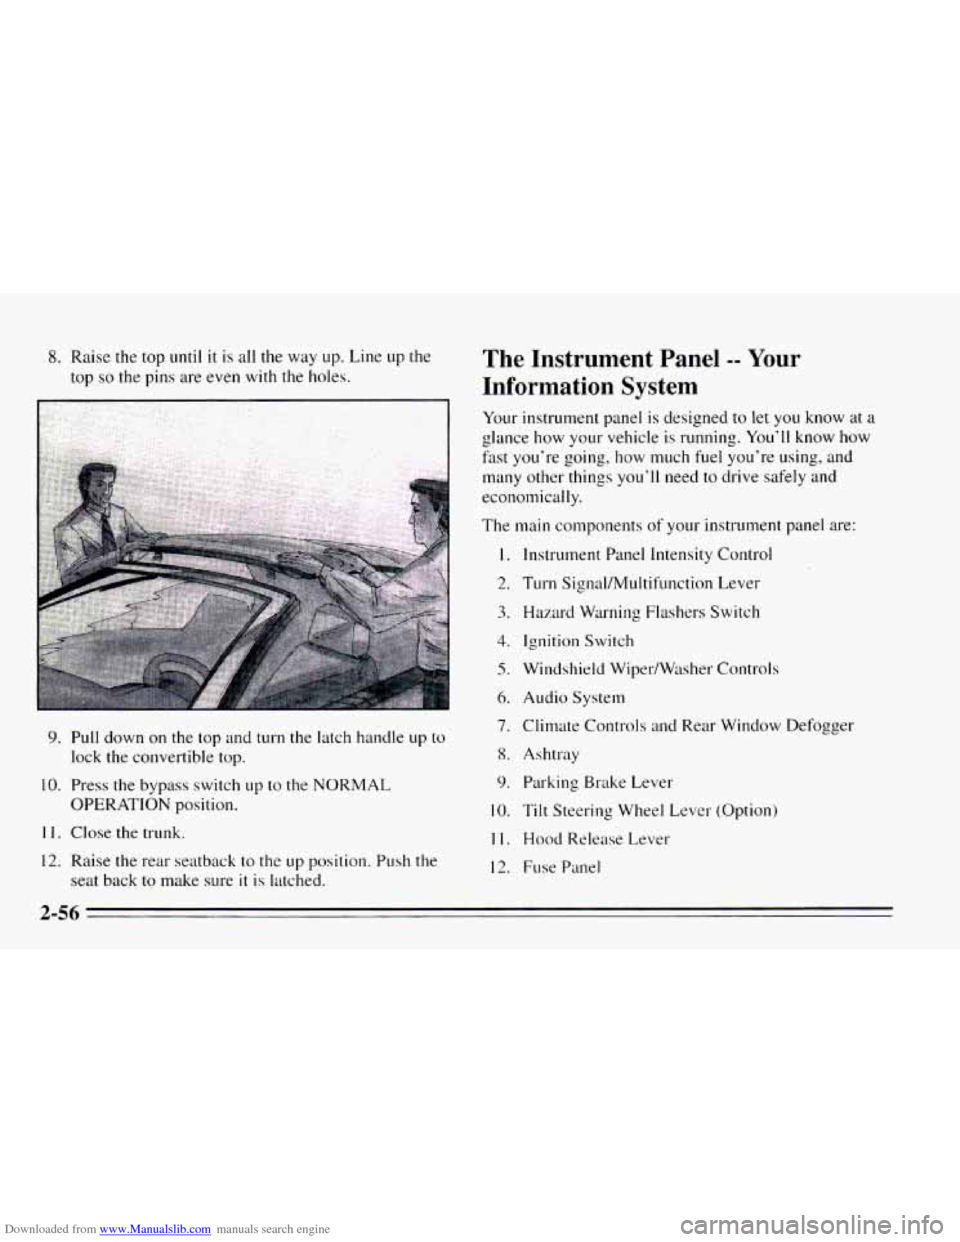
Downloaded from www.Manualslib.com manuals search engine 8. Raise the top until it is all the way up. Line up the
top
so the pins are even with the holes.
9. Pull down on the top and turn the latch handle up to
lock the convertible top.
10. Press the bypass switch up to the NORMAL
OPERATION position.
11. Close the trunk.
12. Raise the rear seatback to the up position. Push the
seat back to make sure
it is latched.
The Instrument Panel -- Your
Information System
Your instrument panel is designed to let you know at a
glance how your vehicle is running. You’ll know how
fast you‘re going, how much fuel you’re using, and
many other things you’ll need to drive safely and
economically.
The main components
of your instrutnent panel are:
1.
2.
3.
4.
5.
6.
7.
8.
9.
10.
11.
12.
Instrument Panel Intensity Control
Turn Signal/MuItifunction Lever
Hazard Warning Flashers Switch
Ignition Switch
Windshield Wiper/Wtlsher Controls
Audio System
Climate Controls
and Rear Window Defogger
Ashtray Parking Brake Lever
Tilt Steering Wheel Lever (Option)
Hood Release Lever
Fuse Panel
2-56
Page 123 of 340
Downloaded from www.Manualslib.com manuals search engine Fuel Gage
/
/
F
UNLEADED
FUEL ONLY El9
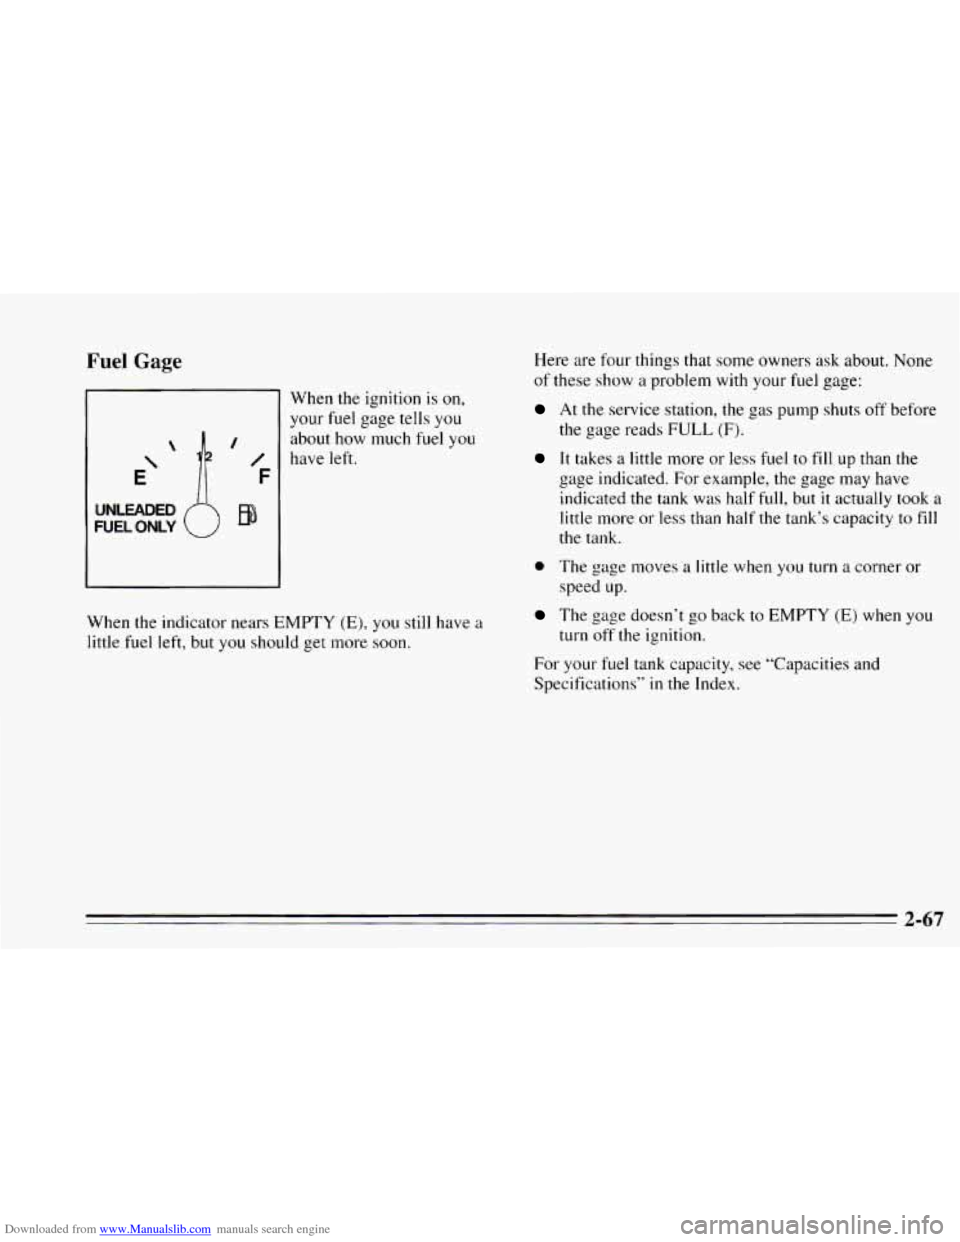
When the ignition is on,
your fuel gage tells you
about how much
fuel you
have left.
When the indicator nears EMPTY
(E), you still have a
little fuel left, but you should get more soon.
Here are four things that some owners ask about. None
of these show a problem with your fuel gage:
At the service station, the gas pump shuts off before
the gage reads
FULL (F).
It takes a little more or less fuel to fill up than the
gage indicated. For example, the gage may have
indicated the tank was half
full, but it actually took a
little more or less than half the tank’s capacity to fill
the tank.
0 The gage moves a little when you turn a corner or
The gage doesn’t go back to EMPTY (E) when you
speed up.
turn off the ignition.
For your
fuel tank capacity, see “Capacities and
Specifications”
in the Index.
2-67