center console CHEVROLET CAVALIER 1996 3.G Owners Manual
[x] Cancel search | Manufacturer: CHEVROLET, Model Year: 1996, Model line: CAVALIER, Model: CHEVROLET CAVALIER 1996 3.GPages: 372, PDF Size: 19.73 MB
Page 87 of 372
Downloaded from www.Manualslib.com manuals search engine Windows
On a vehicle with manual windows, use the window
crank to open and close each window.
Power Windows (Option)
The driver’s window switch has an auto-down feature.
The driver’s window can be opened to the desired
amount by pushing the rear of the switch to the first
detent. For the auto-down feature, push the rear of the
switch all the way down. The window will continue
going down until fully opened.
To stop the window while it is lowering, briefly press
the switch forward, then release.
To raise the window, press and hold the switch forward.
In a sedan model, you may also have a lockout switch.
Press
it to disable the rear passenger power window
switches. This will prevent rear passengers from
opening and closing the windows. The driver can still
control all windows with the switch in the lock position.
rress the lockout button again to enable the passenger
window switches.
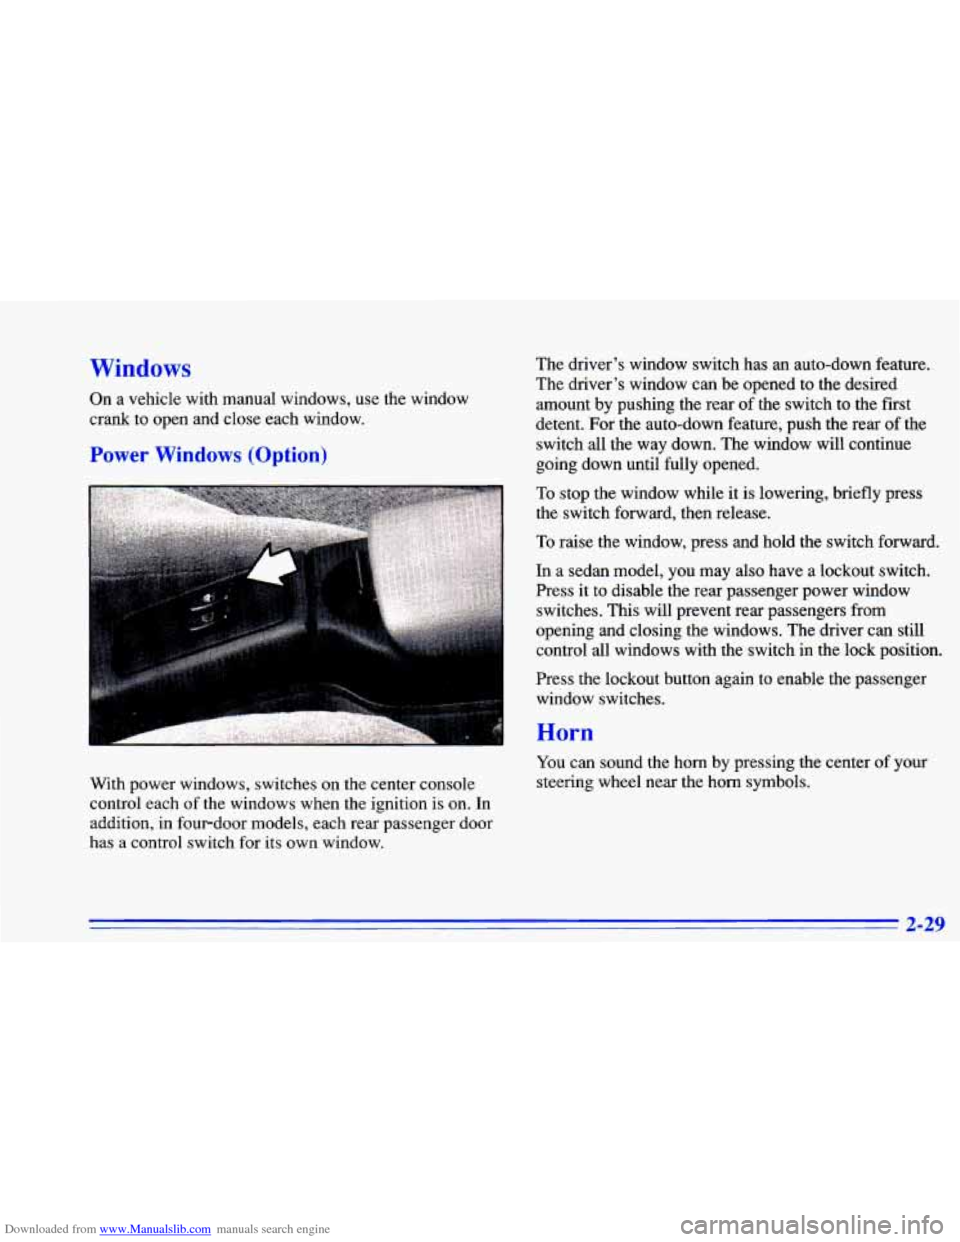
With power windows, switches on the center console
control each
of the windows when the ignition is on. In
addition, in fourdoor models, each rear passenger door
has a control switch for its own window.
Horn
You can sound the horn by pressing the center of your
steering wheel near the horn symbols.
2-29
Page 103 of 372
Downloaded from www.Manualslib.com manuals search engine Convex Outside Mirror
Your passenger’s side mirror is convex. A convex
mirror’s surface is curved
so you can see more from the
driver’s seat.
/I CAUTION:
A convex mirror can make things (like other
vehicles) look farther away than they really are.
If you cut too sharply into the right lane, you
could hit a vehicle on your right. Check your
inside mirror or glance over your shoulder before
changing lanes.
Storage Compartments
Center Console Storage Area
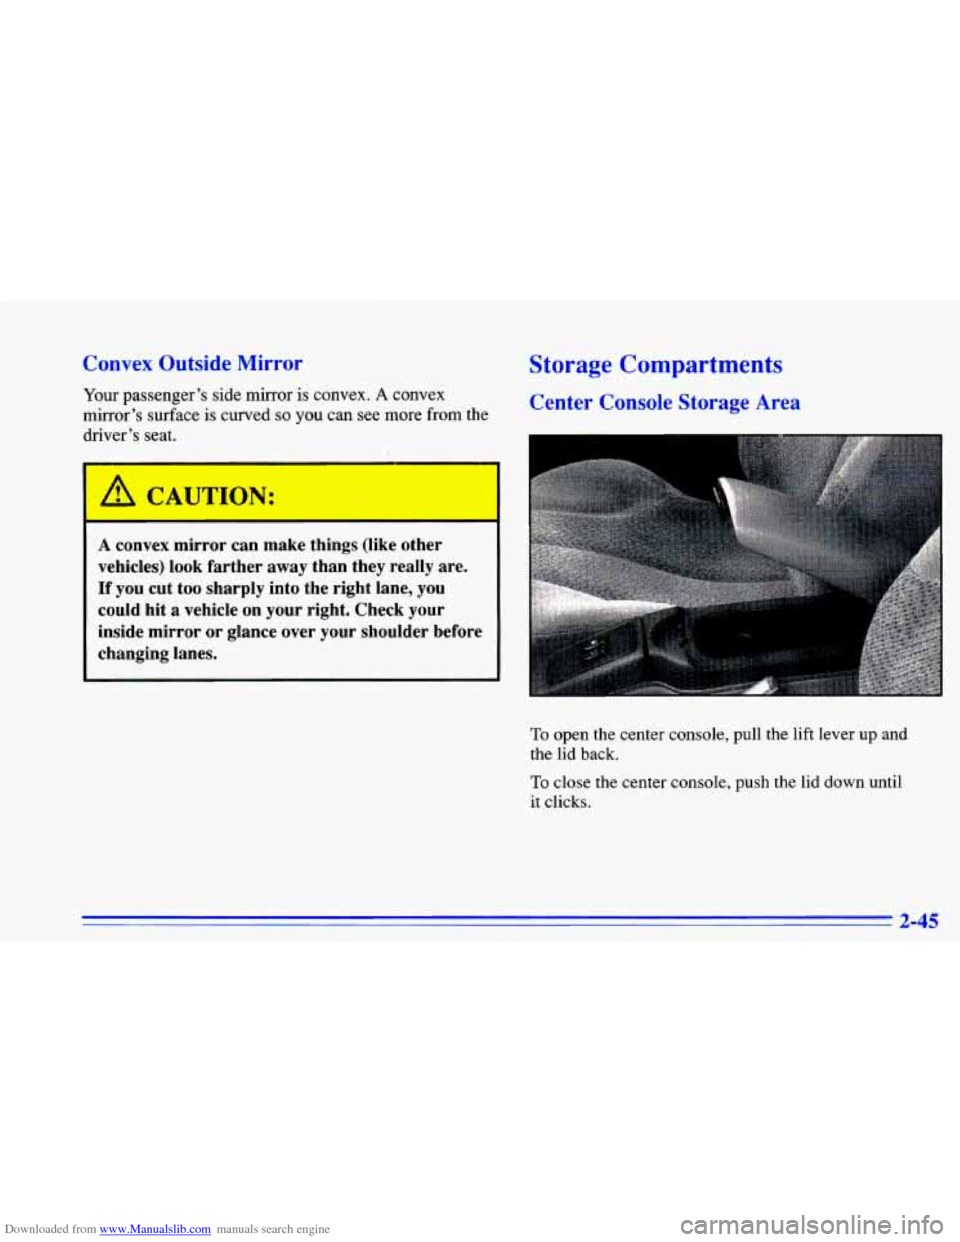
To open the center console, pull the lift lever up and
the lid back.
To close the center console, push the lid down until
it clicks.
2-45
Page 104 of 372
Downloaded from www.Manualslib.com manuals search engine Center Console Cupholders
Open the center console lid all the way to uncover the
front and rear cupholders. There is also a cupholder at
the front of the console.
Convenience Net (Option)
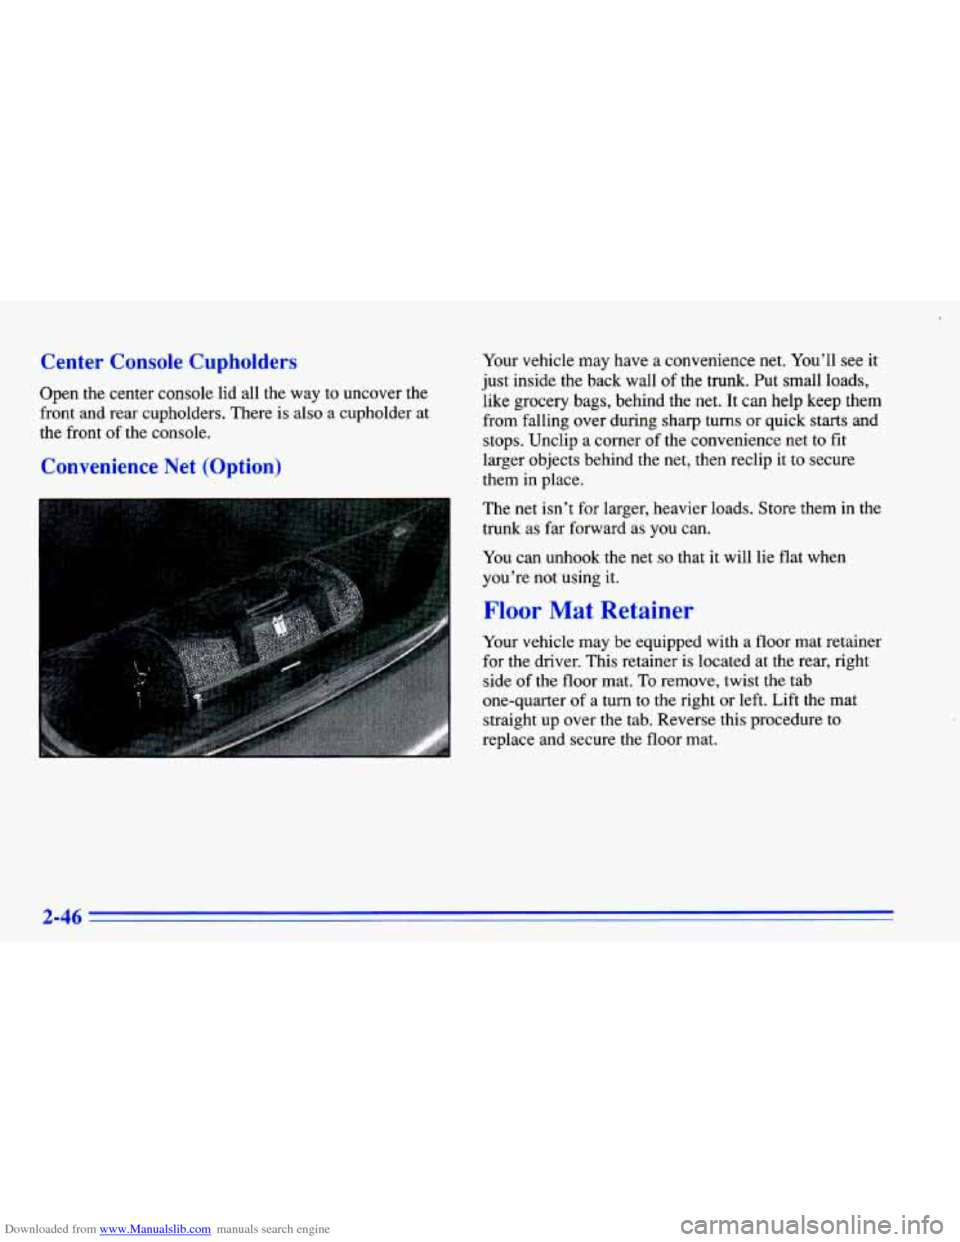
Your vehicle may have a convenience net. You’ll see it
just inside the back wall
of the trunk. Put small loads,
like grocery bags, behind the net. It can help keep them
from falling over during sharp turns or quick starts and
stops. Unclip a corner of the convenience net to fit
larger objects behind
the net, then reclip it to secure
them in place.
The net isn’t
for larger, heavier loads. Store them in the
trunk as far forward as you can.
You can unhook the net
so that it will lie flat when
you’re not using
it.
Floor Mat Retainer
Your vehicle may be equipped with a floor mat retainer
for the driver. This retainer is located at the rear, right
side of the floor mat.
To remove, twist the tab
one-quarter
of a turn to the right or left. Lift the mat
straight up over the tab. Reverse this procedure
to
replace and secure the floor mat.
Page 337 of 372
Downloaded from www.Manualslib.com manuals search engine Manual Transaxle Check
Check the transaxle fluid level; add if needed. See
“Manual Transaxle” in the Index. A fluid loss may
indicate
a problem. Check the system and repair if needed.
At Least Once a Year
Automatic TLansaxle Check (Except 2.4L Code
T Engine)
Check the transaxle fluid level; add if needed. See
“Automatic Transaxle”
in the Index. A fluid loss may
indicate
a problem. Check the system and repair if needed.
Automatic Transaxle Inspection (2.4L Code
T Engine Only)
If you have the optional 2.4L Code T engine (see “Engine
Identification”
in the Index) and an automatic transaxle, it is
not necessary to check the transaxle fluid level.
A transaxle
fluid leak is the only reason for fluid loss. Check for leaks\
.
If a
leak occurs,
take the vehicle to your Chevrolet dealership
Service Department and have it repaired
as soon as possible.
You may
also have your fluid checked by your dealer or
service center when you have your engine
oil changed.
HyG lulic Clutch System Check
Check the fluid level in the clutch reservoir. See
“Hydraulic Clutch Fluid” in the Index.
A fluid loss in
this system could indicate a problem. Have the system
inspected and repaired at once.
Key Lock Cylinders Service
Lubricate the key lock cylinders with the lubricant
specified
in Part D.
Body Lubrication Service
Lubricate all body door and rear compartment hinges. Also lubricate all hinges and latches, including those for
the primary and secondary hood latches, glove box door,
console door and any folding seat hardware.
Part D tells
you what to use. More frequent lubrication may be
required when exposed to a corrosive environment.
Starter Switch Check
I A CAUTION:
When you are doing this check, the vehicle could
move suddenly.
If it does, you or others could be
injured. Follow the steps below.
1. Before you start, be sure you have enough room
around the vehicle.
Page 360 of 372
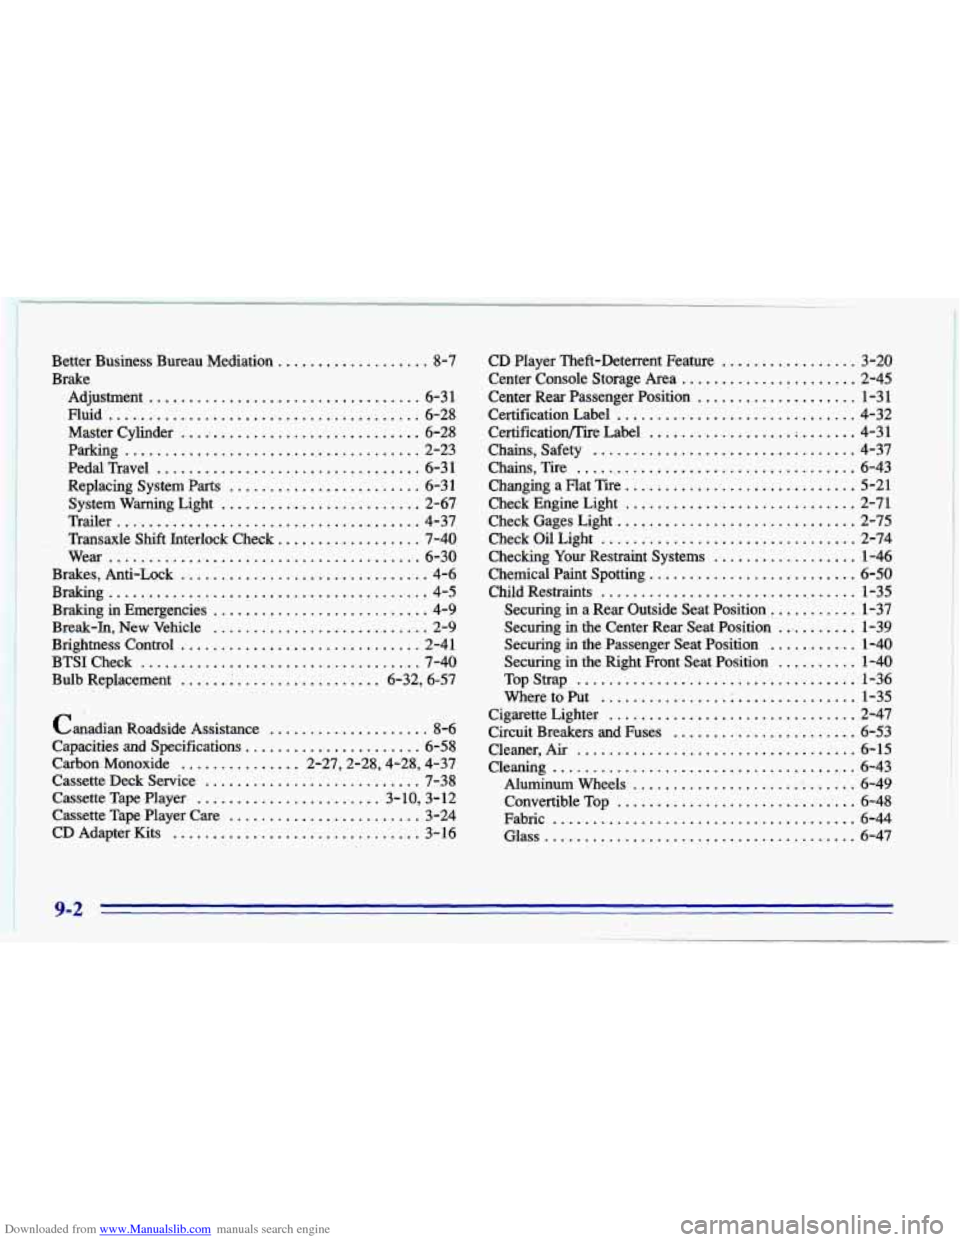
Downloaded from www.Manualslib.com manuals search engine Better Business Bureau Mediation ................... 8-7
Brake Adjustment
.................................. 6-3 1
Master Cylinder ............................... 6-28
Parking
..................................... 2-23
System Warning Light
......................... 2-67
Fluid
....................................... 6-28
Pedal Travel
.................................. 6-3 1
Replacing System Parts ........................ 6-31
Trailer
...................................... 4-37
Transaxle Shift Interlock Check
.................. 7-40
Wear
....................................... 6-30
Brakes. Anti-Lock
............................... 4-6
Braking
........................................ 4-5
Braking in Emergencies
........................... 4-9
Break-In. New Vehicle
........................... 2-9
BTSICheck
................................... 7-40
Bulb Replacement
...... .................. 6-32. 6-57
Brightness Control
.............................. 2-41
Canadian Roadside Assistance
.................... 8-6
Capacities and Specifications
...................... 6-58
Carbon Monoxide
............... 2.27.2.28.4.28. 4.37
Cassette Deck Service
........................... 7-38
Cassette Tape Player ....................... 3.10. 3.12
Cassette Tape Player Care
........................ 3-24
CD Adapter Kits
............................... 3- 16
CD Player Theft-Deterrent Feature ................. 3-20
Center Console Storage Area
...................... 2-45
Center Rear Passenger Position
.................... 1-31
Certification Label
.............................. 4-32
Certificatiooire Label
.................. ; ....... 4-31
Chains. Safety
................................. 4-37
Chains. Tire
................................... 6-43
Changing a Flat Tire
............................. 5-21
Check Engine Light
............................. 2-71
CheckGagesLight
.............................. 2-75
CheckOilLight
................................ 2-74
Checking
Your Restraint Systems .................. 1-46
Chemical Paint Spotting
.......................... 6-50
Child Restraints
................................ 1-35
Securing in a Rear Outside Seat Position
........... 1-37
Securing
in the Center Rear Seat Position .......... 1-39
Securing
in the Passenger Seat Position ........... 1-40
Securing in the Right Front Seat Position
.......... 1-40
TopStrap
................................... 1-36
WheretoPut
................................ 1-35
Cigarette Lighter
............................... 2-47
Circuit Breakers
and Fuses ....................... 6-53
Cleaner. Air ................................... 6-15
Cleaning
...................................... 6-43
Aluminum Wheels
............................ 6-49
Convertible
Top .............................. 6-48
Fabric ...................................... 6-44
Glass
....................................... 6-47
9-2 .