roof CHEVROLET CORVETTE 2016 7.G Owners Manual
[x] Cancel search | Manufacturer: CHEVROLET, Model Year: 2016, Model line: CORVETTE, Model: CHEVROLET CORVETTE 2016 7.GPages: 351, PDF Size: 6.02 MB
Page 6 of 351
Chevrolet Corvette Owner Manual (GMNA-Localizing-U.S./Canada/Mexico-
9085364) - 2016 - crc - 9/15/15
In Brief 5
In Brief
Instrument Panel
Instrument Panel . . . . . . . . . . . . . . . . 6
Initial Drive Information
Initial Drive Information . . . . . . . . . . 8
Remote Keyless Entry (RKE)System . . . . . . . . . . . . . . . . . . . . . . . . 8
Remote Vehicle Start . . . . . . . . . . . 8
Door Locks . . . . . . . . . . . . . . . . . . . . . 9
Trunk Release . . . . . . . . . . . . . . . . . 10
Windows . . . . . . . . . . . . . . . . . . . . . . . 10
Seat Adjustment . . . . . . . . . . . . . . . 11
Memory Features . . . . . . . . . . . . . . 12
Heated and Ventilated Seats . . . 12
Safety Belts . . . . . . . . . . . . . . . . . . . . 13
Passenger Sensing System . . . 13
Mirror Adjustment . . . . . . . . . . . . . . 14
Steering Wheel Adjustment . . . . 14
Interior Lighting . . . . . . . . . . . . . . . . 15
Exterior Lighting . . . . . . . . . . . . . . . 15
Windshield Wiper/Washer . . . . . . 15
Climate Controls . . . . . . . . . . . . . . . 16
Transmission . . . . . . . . . . . . . . . . . . 17
Vehicle Features
Infotainment System . . . . . . . . . . . 18
Steering Wheel Controls . . . . . . . 18
Cruise Control . . . . . . . . . . . . . . . . . 18
Driver Information Center (DIC) . . . . . . . . . . . . . . . . . 19
Curb View Camera . . . . . . . . . . . . 19
Rear Vision Camera (RVC) . . . . 19
Power Outlets . . . . . . . . . . . . . . . . . 19
Universal Remote System . . . . . 20
Roof Panel . . . . . . . . . . . . . . . . . . . . 20
Convertible . . . . . . . . . . . . . . . . . . . . 20
Performance and Maintenance
Traction Control/Electronic Stability Control . . . . . . . . . . . . . . 20
Tire Pressure Monitor . . . . . . . . . . 21
Performance Vehicle Features . . . . . . . . . . . . . . . . . . . . . 21
Engine Oil Life System . . . . . . . . 22
Car Wash Guidelines . . . . . . . . . . 22
Driving for Better Fuel Economy . . . . . . . . . . . . . . . . . . . . . 22
Roadside Assistance Program . . . . . . . . . . . . . . . . . . . . . . 23
Page 21 of 351
Chevrolet Corvette Owner Manual (GMNA-Localizing-U.S./Canada/Mexico-
9085364) - 2016 - crc - 9/15/15
20 In Brief
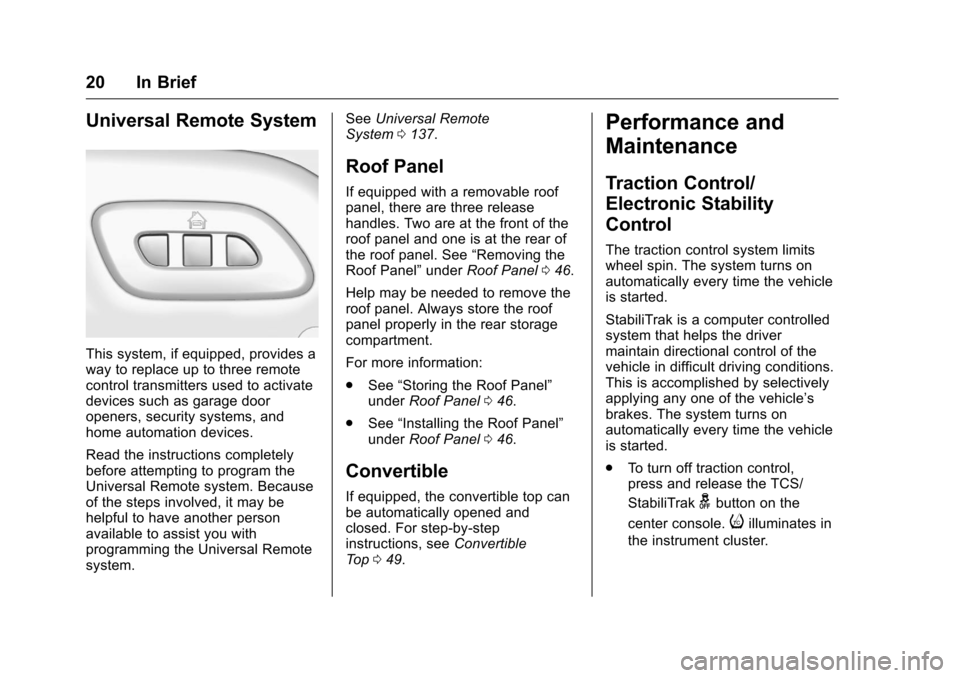
Universal Remote System
This system, if equipped, provides a
way to replace up to three remote
control transmitters used to activate
devices such as garage door
openers, security systems, and
home automation devices.
Read the instructions completely
before attempting to program the
Universal Remote system. Because
of the steps involved, it may be
helpful to have another person
available to assist you with
programming the Universal Remote
system.See
Universal Remote
System 0137.
Roof Panel
If equipped with a removable roof
panel, there are three release
handles. Two are at the front of the
roof panel and one is at the rear of
the roof panel. See “Removing the
Roof Panel” underRoof Panel 046.
Help may be needed to remove the
roof panel. Always store the roof
panel properly in the rear storage
compartment.
For more information:
. See “Storing the Roof Panel”
under Roof Panel 046.
. See “Installing the Roof Panel”
under Roof Panel 046.
Convertible
If equipped, the convertible top can
be automatically opened and
closed. For step-by-step
instructions, see Convertible
Top 049.
Performance and
Maintenance
Traction Control/
Electronic Stability
Control
The traction control system limits
wheel spin. The system turns on
automatically every time the vehicle
is started.
StabiliTrak is a computer controlled
system that helps the driver
maintain directional control of the
vehicle in difficult driving conditions.
This is accomplished by selectively
applying any one of the vehicle’s
brakes. The system turns on
automatically every time the vehicle
is started.
.
To turn off traction control,
press and release the TCS/
StabiliTrak
gbutton on the
center console.
iilluminates in
the instrument cluster.
Page 25 of 351
Chevrolet Corvette Owner Manual (GMNA-Localizing-U.S./Canada/Mexico-
9085364) - 2016 - crc - 9/15/15
24 Keys, Doors, and Windows
Keys, Doors, and
Windows
Keys and Locks
Keys . . . . . . . . . . . . . . . . . . . . . . . . . . . 24
Remote Keyless Entry (RKE)System . . . . . . . . . . . . . . . . . . . . . . . 25
Remote Keyless Entry (RKE) System Operation . . . . . . . . . . . . 26
Remote Vehicle Start . . . . . . . . . . 31
Door Locks . . . . . . . . . . . . . . . . . . . . 33
Power Door Locks . . . . . . . . . . . . . 35
Delayed Locking . . . . . . . . . . . . . . . 35
Automatic Door Locks . . . . . . . . . 35
Lockout Protection . . . . . . . . . . . . . 36
Doors
Hatch (Trunk) . . . . . . . . . . . . . . . . . . 37
Vehicle Security
Vehicle Security . . . . . . . . . . . . . . . . 39
Vehicle Alarm System . . . . . . . . . 39
Immobilizer . . . . . . . . . . . . . . . . . . . . 40
Immobilizer Operation . . . . . . . . . 41
Exterior Mirrors
Convex Mirrors . . . . . . . . . . . . . . . . 42
Power Mirrors . . . . . . . . . . . . . . . . . . 42
Folding Mirrors . . . . . . . . . . . . . . . . . 42
Heated Mirrors . . . . . . . . . . . . . . . . . 42
Automatic Dimming Mirror . . . . . 42
Reverse Tilt Mirrors . . . . . . . . . . . . 42
Interior Mirrors
Interior Rearview Mirrors . . . . . . . 43
Manual Rearview Mirror . . . . . . . . 43
Automatic Dimming Rearview Mirror . . . . . . . . . . . . . . . . . . . . . . . . . 43
Windows
Windows . . . . . . . . . . . . . . . . . . . . . . . 44
Power Windows . . . . . . . . . . . . . . . 44
Sun Visors . . . . . . . . . . . . . . . . . . . . . 45
Roof
Roof Panel . . . . . . . . . . . . . . . . . . . . 46
Convertible Top . . . . . . . . . . . . . . . . 49
Keys and Locks
Keys
{Warning
Leaving children in a vehicle with
a Remote Keyless Entry (RKE)
transmitter is dangerous and
children or others could be
seriously injured or killed. They
could operate the power windows
or other controls or make the
vehicle move. The windows will
function with the RKE transmitter
in the vehicle, and children or
others could be caught in the path
of a closing window. Do not leave
children in a vehicle with an RKE
transmitter.
Page 47 of 351
Chevrolet Corvette Owner Manual (GMNA-Localizing-U.S./Canada/Mexico-
9085364) - 2016 - crc - 9/15/15
46 Keys, Doors, and Windows
Roof
Roof Panel
If equipped with a removable roof
panel, use the following procedures
to remove or install it.
Caution
If a roof panel is dropped or
rested on its edges, the roof
panel, paint, and/or
weatherstripping may be
damaged. Always place the roof
panel in the stowage receivers
after removing it from the vehicle.
Removing the Roof Panel
{Warning
Do not remove a roof panel while
the vehicle is moving. The panel
could fall into the vehicle and
strike an occupant and cause you
to lose control. It could also fly off(Continued)
Warning (Continued)
and strike another vehicle.
Remove the roof panel only when
the vehicle is parked.
It may be necessary to have help
removing the roof panel.
To remove: 1. Shift an automatic transmission into P (Park) or a manual
transmission into 1 (First) or
R (Reverse).
2. Turn the ignition off and set the parking brake.
3. Lower both sun visors.
4. Open the rear hatch/trunk and remove any items that may
interfere with proper storage of
the roof panel.
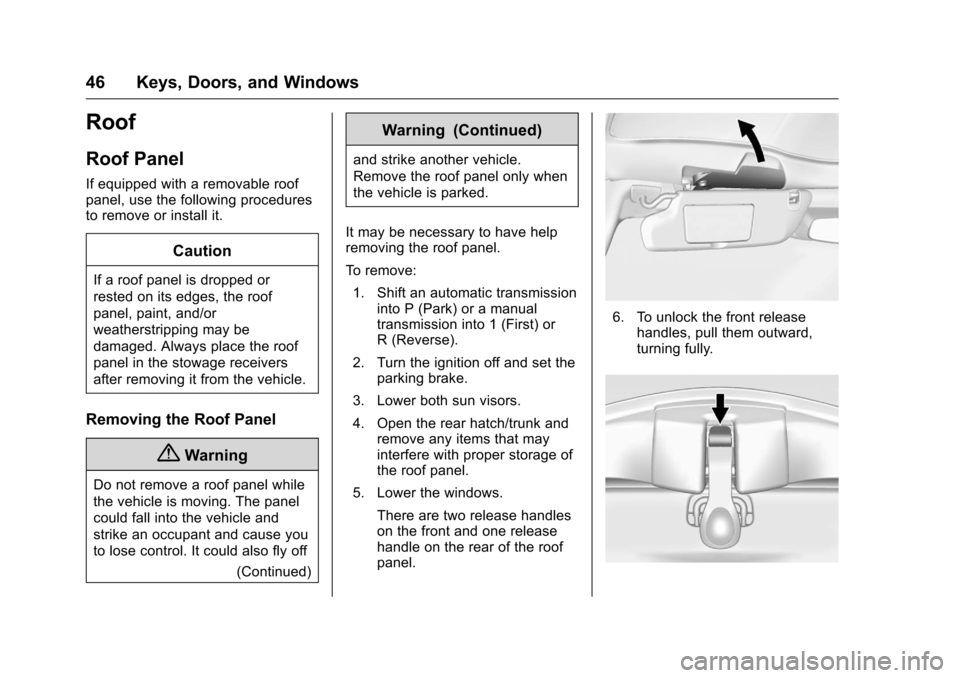
5. Lower the windows. There are two release handles
on the front and one release
handle on the rear of the roof
panel.
6. To unlock the front releasehandles, pull them outward,
turning fully.
Page 48 of 351
Chevrolet Corvette Owner Manual (GMNA-Localizing-U.S./Canada/Mexico-
9085364) - 2016 - crc - 9/15/15
Keys, Doors, and Windows 47
7. Press the button on the front ofthe rear release handle to
unlock it. The latch lever
will open.
8. Stand on one side of the vehicle, and if necessary, have
someone stand on the other
side. Together, carefully lift the
front edge of the roof panel up
and forward. Avoid dropping
the rear edge downward.
9. When the roof panel is loose, grasp it as close to the center
as possible and lift it away from
the vehicle.
Storing the Roof Panel
{Warning
If a roof panel is not stored
properly, it could be thrown about
the vehicle in a crash or sudden
maneuver. People in the vehicle
could be injured. Always use the
stowage receivers.
Caution
Dirt, dust, or other contaminants
on the removable roof panel or
cargo shade could cause damage
to the finish of the roof panel if it
is stored under the shade.
Remove the cargo shade when
storing the roof in the rear
compartment.
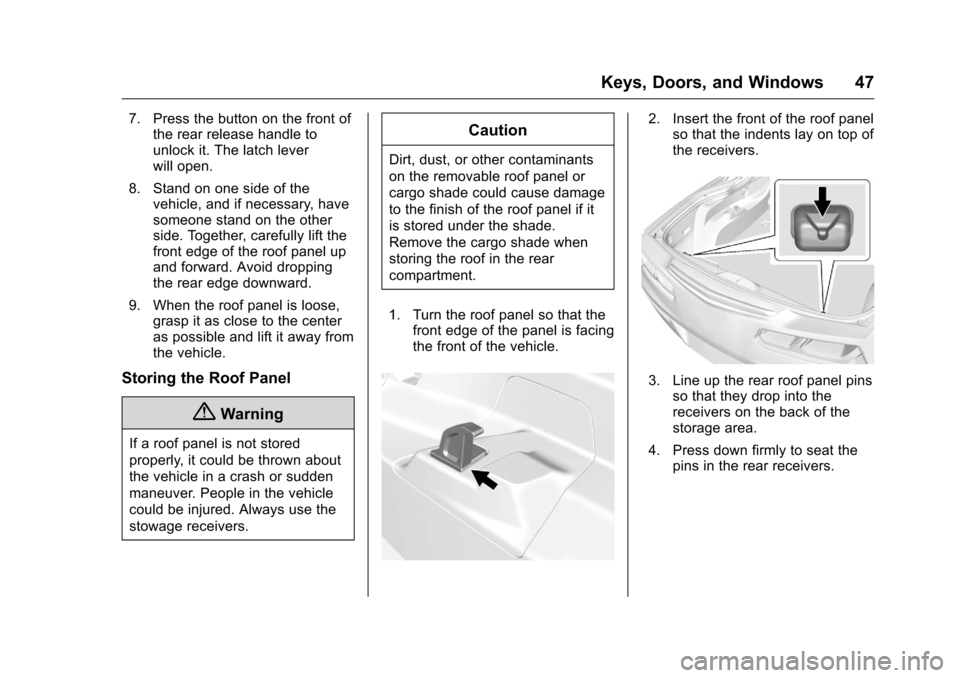
1. Turn the roof panel so that the front edge of the panel is facing
the front of the vehicle.
2. Insert the front of the roof panelso that the indents lay on top of
the receivers.
3. Line up the rear roof panel pins
so that they drop into the
receivers on the back of the
storage area.
4. Press down firmly to seat the pins in the rear receivers.
Page 49 of 351

Chevrolet Corvette Owner Manual (GMNA-Localizing-U.S./Canada/Mexico-
9085364) - 2016 - crc - 9/15/15
48 Keys, Doors, and Windows
Installing the Roof Panel
{Warning
An improperly attached roof panel
may fall into or fly off the vehicle.
You or others could be injured.
After installing the roof panel,
always check that it is firmly
attached by pushing up on the
underside of the panel. Check
now and then to be sure the roof
panel is firmly in place.
Caution
Installing the roof with the release
handles in the closed position
could cause damage to the
interior trim. Always move
handles to the open position
when installing the roof.
It is easier if two people install the
roof panel. 1. Shift an automatic transmission
into P (Park). Shift a manual
transmission into 1 (First) or
R (Reverse).
2. Turn the ignition off and set the parking brake.
3. To remove the roof panel, pull up on the rear edge and
remove it from the
storage area.
4. Carefully place the roof panel over the top of the vehicle.
5. Position the rear edge of theroof panel next to the
weatherstrip on the back of the
roof opening. Then align and fit the pins at the rear of the roof
panel inside the openings in
the rear overhead weatherstrip.
Gently lower the front edge of
the roof panel to the front of the
roof opening.
6. Check that the weatherstripping on each side
of the roof panel is under the
panel.
7. Make sure the front release handles are in the full open
position.
8. Push the roof firmly downward to engage the pins.
9. Turn the front release handles inward so that they fully latch
to the closed position. It is
critical that the handles fully
latch.
Page 50 of 351
Chevrolet Corvette Owner Manual (GMNA-Localizing-U.S./Canada/Mexico-
9085364) - 2016 - crc - 9/15/15
Keys, Doors, and Windows 49
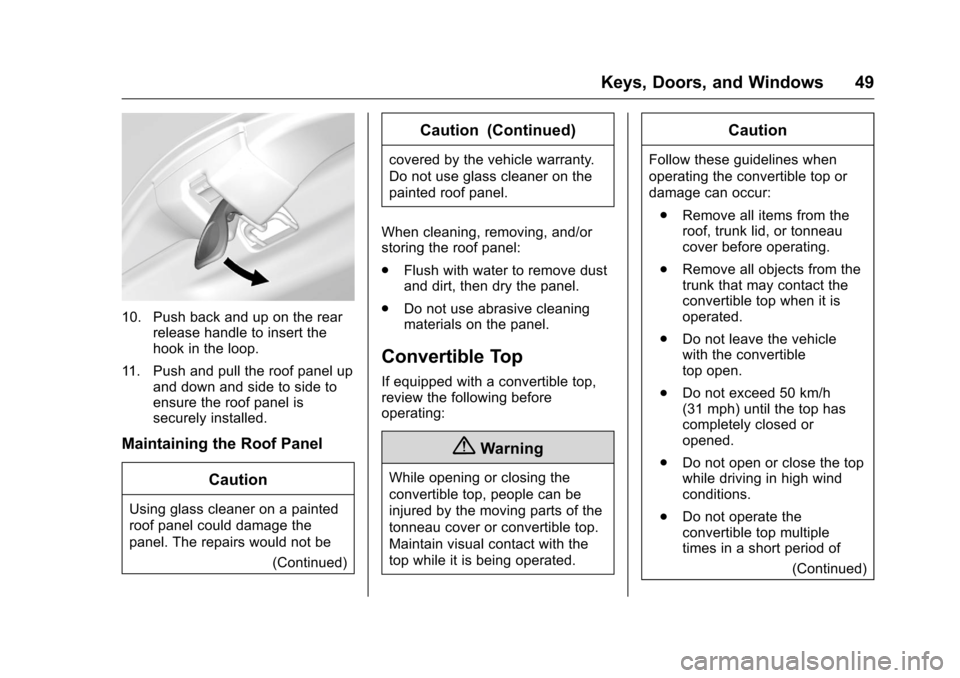
10. Push back and up on the rearrelease handle to insert the
hook in the loop.
11. Push and pull the roof panel up and down and side to side to
ensure the roof panel is
securely installed.
Maintaining the Roof Panel
Caution
Using glass cleaner on a painted
roof panel could damage the
panel. The repairs would not be (Continued)
Caution (Continued)
covered by the vehicle warranty.
Do not use glass cleaner on the
painted roof panel.
When cleaning, removing, and/or
storing the roof panel:
. Flush with water to remove dust
and dirt, then dry the panel.
. Do not use abrasive cleaning
materials on the panel.
Convertible Top
If equipped with a convertible top,
review the following before
operating:
{Warning
While opening or closing the
convertible top, people can be
injured by the moving parts of the
tonneau cover or convertible top.
Maintain visual contact with the
top while it is being operated.
Caution
Follow these guidelines when
operating the convertible top or
damage can occur:
. Remove all items from the
roof, trunk lid, or tonneau
cover before operating.
. Remove all objects from the
trunk that may contact the
convertible top when it is
operated.
. Do not leave the vehicle
with the convertible
top open.
. Do not exceed 50 km/h
(31 mph) until the top has
completely closed or
opened.
. Do not open or close the top
while driving in high wind
conditions.
. Do not operate the
convertible top multiple
times in a short period of
(Continued)
Page 90 of 351
Chevrolet Corvette Owner Manual (GMNA-Localizing-U.S./Canada/Mexico-
9085364) - 2016 - crc - 9/15/15
Storage 89
The trunk partition is a flat carpeted
board with a horizontal flap that can
be attached to the top of the trunk to
provide additional storage space.
With the convertible top up, the
trunk partition can be unsnapped
and laid flat to increase trunk cargo
space.
Center Console Storage
Caution
The area inside the console can
get hot. Do not store items that
can be damaged by heat.
To open, press the button on the
driver side.
Depending on the options, there
may be two USB ports and an
accessory outlet inside. SeePower
Outlets 094 and “Audio Players” in
the infotainment manual.
Additional Storage
Features
Cargo Cover
If equipped, the cargo cover
provides hidden storage in the rear
area of the vehicle. The cover also
blocks glare from the removable
roof panel when it is stored in the
rear compartment.
The cargo cover has two pieces: a
flat and an L-shaped piece.
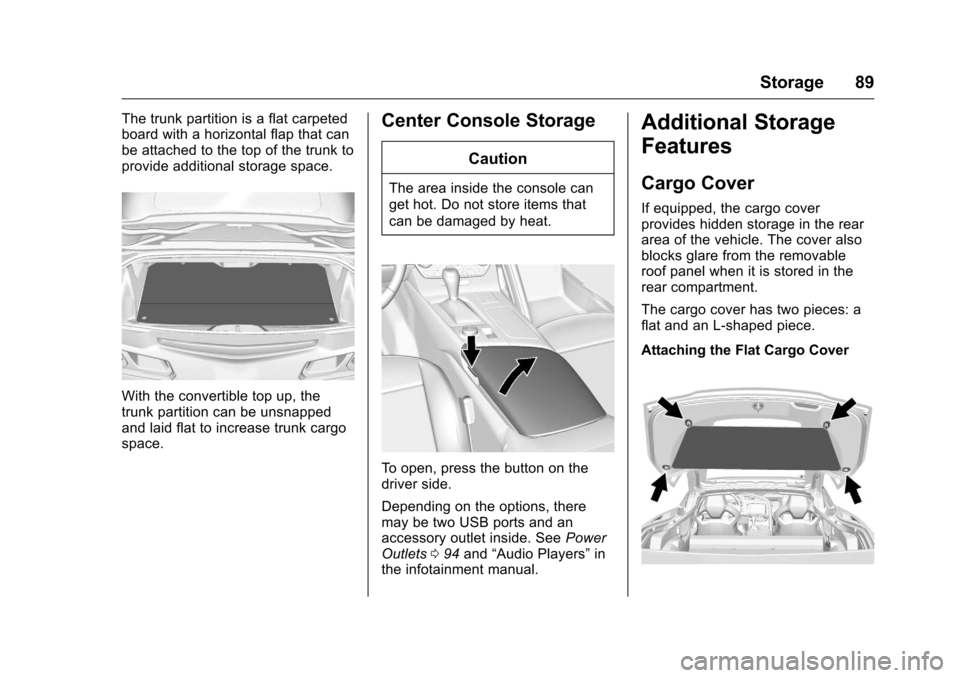
Attaching the Flat Cargo Cover
Page 154 of 351
Chevrolet Corvette Owner Manual (GMNA-Localizing-U.S./Canada/Mexico-
9085364) - 2016 - crc - 9/15/15
Climate Controls 153
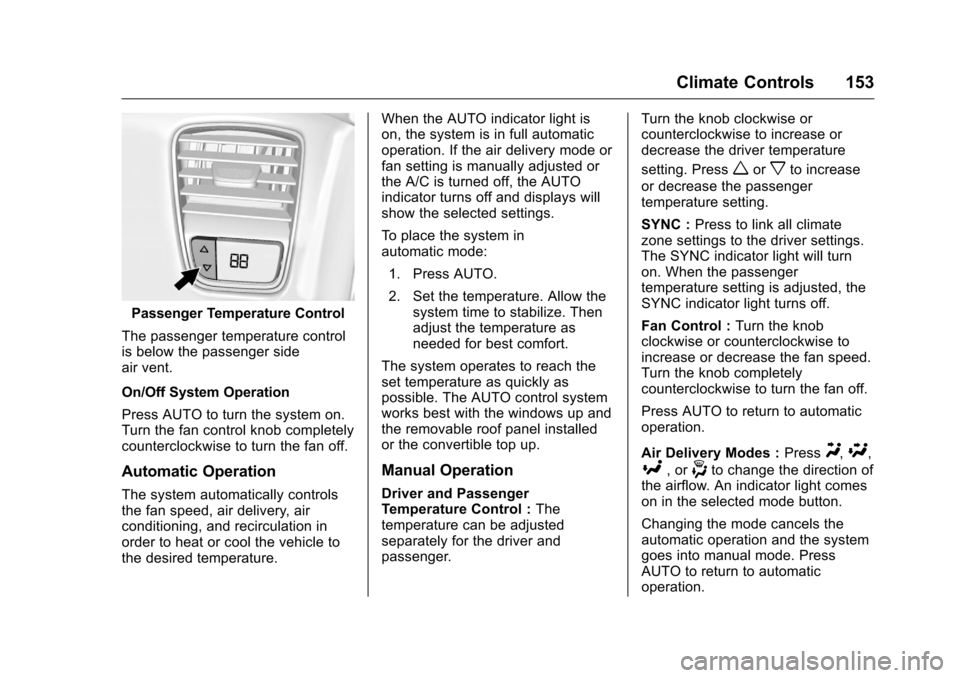
Passenger Temperature Control
The passenger temperature control
is below the passenger side
air vent.
On/Off System Operation
Press AUTO to turn the system on.
Turn the fan control knob completely
counterclockwise to turn the fan off.
Automatic Operation
The system automatically controls
the fan speed, air delivery, air
conditioning, and recirculation in
order to heat or cool the vehicle to
the desired temperature. When the AUTO indicator light is
on, the system is in full automatic
operation. If the air delivery mode or
fan setting is manually adjusted or
the A/C is turned off, the AUTO
indicator turns off and displays will
show the selected settings.
To place the system in
automatic mode:
1. Press AUTO.
2. Set the temperature. Allow the system time to stabilize. Then
adjust the temperature as
needed for best comfort.
The system operates to reach the
set temperature as quickly as
possible. The AUTO control system
works best with the windows up and
the removable roof panel installed
or the convertible top up.
Manual Operation
Driver and Passenger
Temperature Control : The
temperature can be adjusted
separately for the driver and
passenger. Turn the knob clockwise or
counterclockwise to increase or
decrease the driver temperature
setting. Press
worxto increase
or decrease the passenger
temperature setting.
SYNC : Press to link all climate
zone settings to the driver settings.
The SYNC indicator light will turn
on. When the passenger
temperature setting is adjusted, the
SYNC indicator light turns off.
Fan Control : Turn the knob
clockwise or counterclockwise to
increase or decrease the fan speed.
Turn the knob completely
counterclockwise to turn the fan off.
Press AUTO to return to automatic
operation.
Air Delivery Modes : Press
Y,\,
[, or-to change the direction of
the airflow. An indicator light comes
on in the selected mode button.
Changing the mode cancels the
automatic operation and the system
goes into manual mode. Press
AUTO to return to automatic
operation.
Page 347 of 351
Chevrolet Corvette Owner Manual (GMNA-Localizing-U.S./Canada/Mexico-
9085364) - 2016 - crc - 9/15/15
346 Index
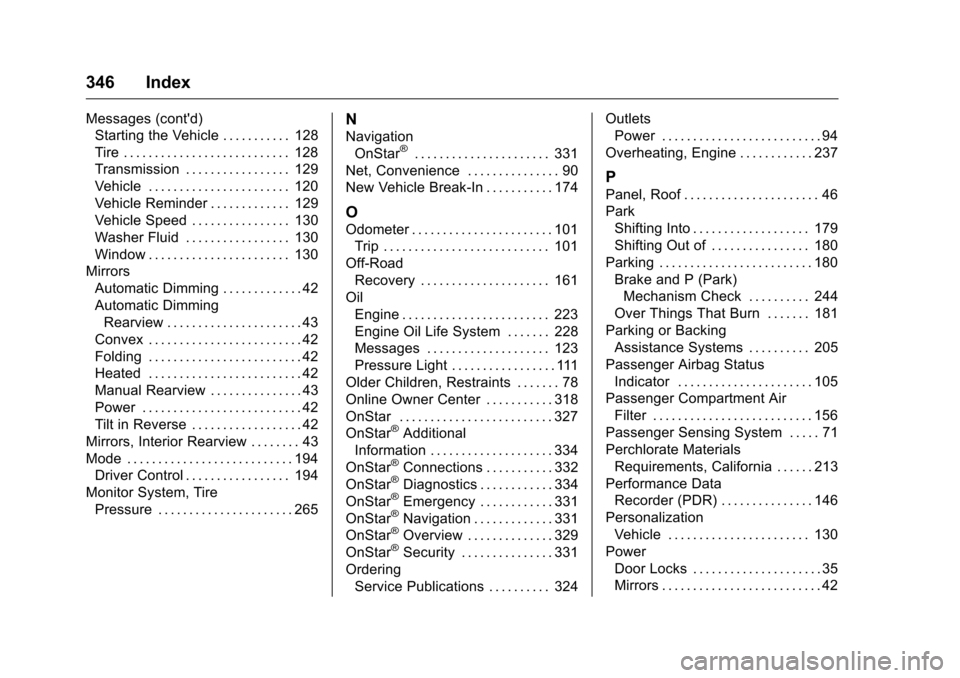
Messages (cont'd)Starting the Vehicle . . . . . . . . . . . 128
Tire . . . . . . . . . . . . . . . . . . . . . . . . . . . 128
Transmission . . . . . . . . . . . . . . . . . 129
Vehicle . . . . . . . . . . . . . . . . . . . . . . . 120
Vehicle Reminder . . . . . . . . . . . . . 129
Vehicle Speed . . . . . . . . . . . . . . . . 130
Washer Fluid . . . . . . . . . . . . . . . . . 130
Window . . . . . . . . . . . . . . . . . . . . . . . 130
Mirrors Automatic Dimming . . . . . . . . . . . . . 42
Automatic DimmingRearview . . . . . . . . . . . . . . . . . . . . . . 43
Convex . . . . . . . . . . . . . . . . . . . . . . . . . 42
Folding . . . . . . . . . . . . . . . . . . . . . . . . . 42
Heated . . . . . . . . . . . . . . . . . . . . . . . . . 42
Manual Rearview . . . . . . . . . . . . . . . 43
Power . . . . . . . . . . . . . . . . . . . . . . . . . . 42
Tilt in Reverse . . . . . . . . . . . . . . . . . . 42
Mirrors, Interior Rearview . . . . . . . . 43
Mode . . . . . . . . . . . . . . . . . . . . . . . . . . . 194 Driver Control . . . . . . . . . . . . . . . . . 194
Monitor System, Tire
Pressure . . . . . . . . . . . . . . . . . . . . . . 265N
NavigationOnStar®. . . . . . . . . . . . . . . . . . . . . . 331
Net, Convenience . . . . . . . . . . . . . . . 90
New Vehicle Break-In . . . . . . . . . . . 174
O
Odometer . . . . . . . . . . . . . . . . . . . . . . . 101 Trip . . . . . . . . . . . . . . . . . . . . . . . . . . . 101
Off-Road Recovery . . . . . . . . . . . . . . . . . . . . . 161
Oil Engine . . . . . . . . . . . . . . . . . . . . . . . . 223
Engine Oil Life System . . . . . . . 228
Messages . . . . . . . . . . . . . . . . . . . . 123
Pressure Light . . . . . . . . . . . . . . . . . 111
Older Children, Restraints . . . . . . . 78
Online Owner Center . . . . . . . . . . . 318
OnStar . . . . . . . . . . . . . . . . . . . . . . . . . 327
OnStar
®Additional
Information . . . . . . . . . . . . . . . . . . . . 334
OnStar
®Connections . . . . . . . . . . . 332
OnStar®Diagnostics . . . . . . . . . . . . 334
OnStar®Emergency . . . . . . . . . . . . 331
OnStar®Navigation . . . . . . . . . . . . . 331
OnStar®Overview . . . . . . . . . . . . . . 329
OnStar®Security . . . . . . . . . . . . . . . 331
Ordering Service Publications . . . . . . . . . . 324 Outlets
Power . . . . . . . . . . . . . . . . . . . . . . . . . . 94
Overheating, Engine . . . . . . . . . . . . 237
P
Panel, Roof . . . . . . . . . . . . . . . . . . . . . . 46
Park Shifting Into . . . . . . . . . . . . . . . . . . . 179
Shifting Out of . . . . . . . . . . . . . . . . 180
Parking . . . . . . . . . . . . . . . . . . . . . . . . . 180 Brake and P (Park)Mechanism Check . . . . . . . . . . 244
Over Things That Burn . . . . . . . 181
Parking or Backing Assistance Systems . . . . . . . . . . 205
Passenger Airbag Status Indicator . . . . . . . . . . . . . . . . . . . . . . 105
Passenger Compartment Air Filter . . . . . . . . . . . . . . . . . . . . . . . . . . 156
Passenger Sensing System . . . . . 71
Perchlorate Materials Requirements, California . . . . . . 213
Performance Data Recorder (PDR) . . . . . . . . . . . . . . . 146
Personalization Vehicle . . . . . . . . . . . . . . . . . . . . . . . 130
Power Door Locks . . . . . . . . . . . . . . . . . . . . . 35
Mirrors . . . . . . . . . . . . . . . . . . . . . . . . . . 42