ignition CHEVROLET EPICA 2004 1.G Owners Manual
[x] Cancel search | Manufacturer: CHEVROLET, Model Year: 2004, Model line: EPICA, Model: CHEVROLET EPICA 2004 1.GPages: 338, PDF Size: 2.38 MB
Page 60 of 338
•Your vehicle is equipped with a crash sensing
and diagnostic module, which records information
about the frontal air bag system. The module
records information about the readiness of the
system, when the system commands air bag
inflation and driver’s safety belt usage at deployment.
The module also records speed, engine rpm,
brake and throttle data.
•Let only qualified technicians work on your air bag
systems. Improper service can mean that an air bag
system will not work properly. See your dealer for
service.
Notice:If you damage the covering for the driver’s
or the right front passenger’s air bag, or an air
bag covering on a seatback, the bag may not work
properly. You may have to replace the air bag
module in the steering wheel, both the air bag
module and the instrument panel for the right front
passenger’s air bag, or the air bag module and
seatback for a side impact air bag. Do not open
or break the air bag coverings.
Servicing Your Air Bag-Equipped
Vehicle
Air bags affect how your vehicle should be serviced.
There are parts of the air bag systems in several places
around your vehicle. Your dealer and the service manual
have information about servicing your vehicle and the air
bag systems. To purchase a service manual, seeService
Publications Ordering Information on page 7-12.
{CAUTION:
For up to 10 seconds after the ignition key is
turned off and the battery is disconnected,
an air bag can still in�ate during improper
service. You can be injured if you are close
to an air bag when it in�ates. Avoid yellow
connectors. They are probably part of the air
bag system. Be sure to follow proper service
procedures, and make sure the person
performing work for you is quali�ed to do so.
The air bag systems do not need regular maintenance.
1-54
Page 63 of 338
Keys...............................................................2-2
Remote Keyless Entry System.........................2-4
Remote Keyless Entry System Operation...........2-5
Doors and Locks.............................................2-7
Door Locks....................................................2-7
Central Door Unlocking System........................2-8
Power Door Locks..........................................2-9
Door Ajar Reminder........................................2-9
Rear Door Security Locks..............................2-10
Lockout Protection........................................2-10
Leaving Your Vehicle....................................2-11
Trunk..........................................................2-11
Windows........................................................2-13
Power Windows............................................2-14
Sun Visors...................................................2-14
Theft-Deterrent Systems..................................2-15
Theft-Deterrent System..................................2-15
Immobilizer..................................................2-17
Immobilizer Operation....................................2-17
Starting and Operating Your Vehicle................2-18
New Vehicle Break-In....................................2-18
Ignition Positions..........................................2-19
Starting Your Engine.....................................2-20Engine Coolant Heater..................................2-21
Automatic Transaxle Operation.......................2-22
Parking Brake..............................................2-26
Shifting Into Park (P).....................................2-27
Shifting Out of Park (P).................................2-28
Parking Over Things That Burn.......................2-29
Engine Exhaust............................................2-29
Running Your Engine While
You Are Parked........................................2-30
Mirrors...........................................................2-31
Manual Rearview Mirror.................................2-31
Automatic Dimming Rearview Mirror................2-31
Outside Power Mirrors...................................2-32
Outside Convex Mirror...................................2-33
Outside Heated Mirrors..................................2-33
Storage Areas................................................2-33
Glove Box...................................................2-33
Cupholder(s)................................................2-33
Coinholder(s)................................................2-33
Sunglasses Storage Compartment...................2-34
Center Console Storage Area.........................2-34
Rear Seat Armrest........................................2-34
Sunroof.........................................................2-35
Section 2 Features and Controls
2-1
Page 64 of 338
Keys
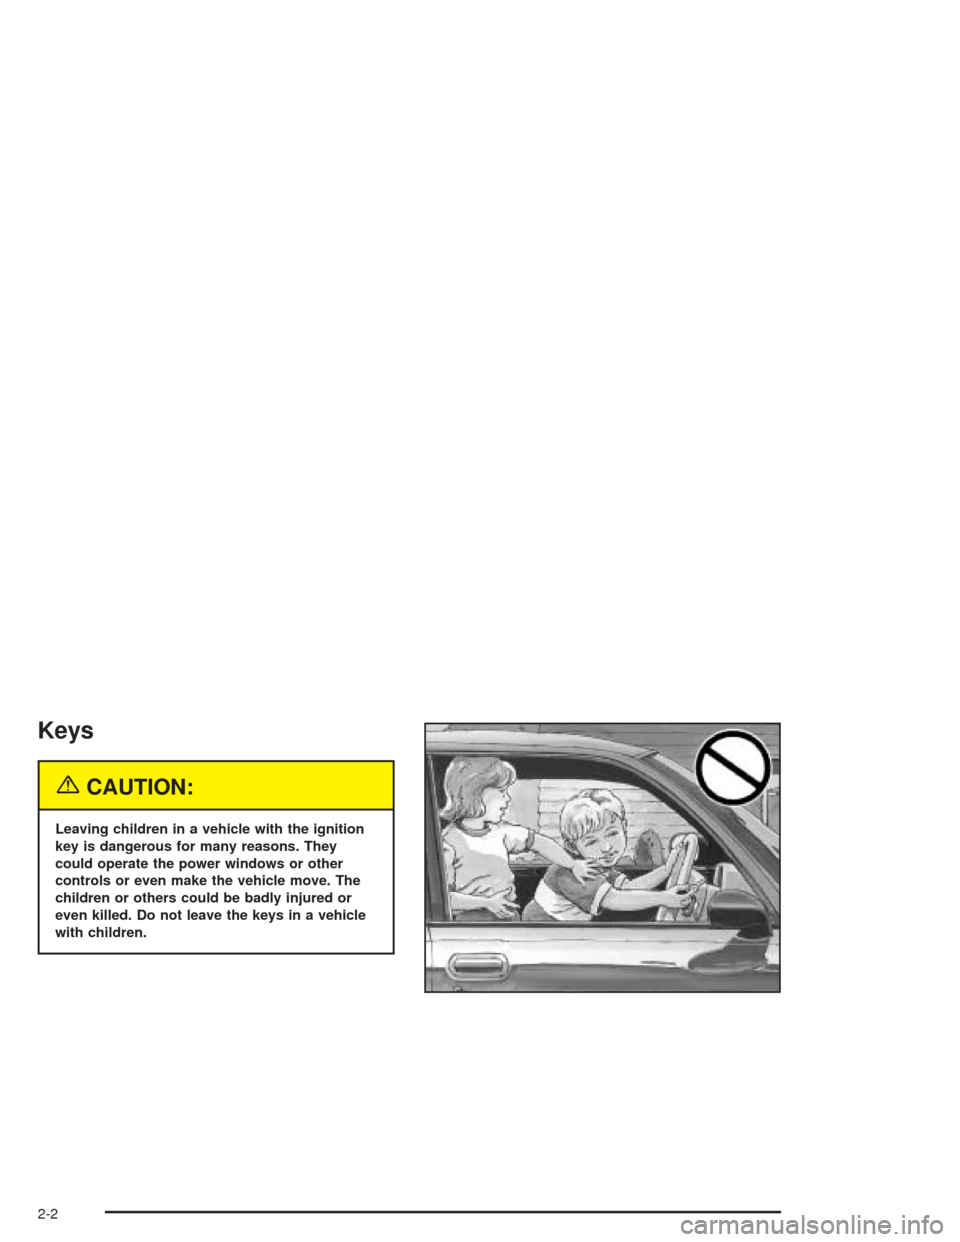
{CAUTION:
Leaving children in a vehicle with the ignition
key is dangerous for many reasons. They
could operate the power windows or other
controls or even make the vehicle move. The
children or others could be badly injured or
even killed. Do not leave the keys in a vehicle
with children.
2-2
Page 65 of 338

One key is used for the
ignition, the doors and
all other locks.
When a new vehicle is delivered, the dealer removes the
key tag and gives it to the first owner. The tag has a
code on it that tells your dealer how to make extra keys.For vehicle security, keep the key tag in a safe place and
also record the key number somewhere other than inside
of the vehicle. If you lose your key, you will be able to
have a new one made easily using the tag.
Your vehicle may have an electronic immobilizer
designed to protect your car against theft. If so, only
keys with the correct electronic code can be used
to start the vehicle. Even if a key has the same profile,
it will not start the engine if the electronic code is
incorrect. If you need a new key, contact your dealer
who can obtain the correct key code. SeeRoadside
Assistance Program on page 7-6for more information.
Notice:If you ever lock your keys in your vehicle,
you may have to damage the vehicle to get in.
Be sure you have spare keys.
2-3
Page 67 of 338
Remote Keyless Entry System
Operation
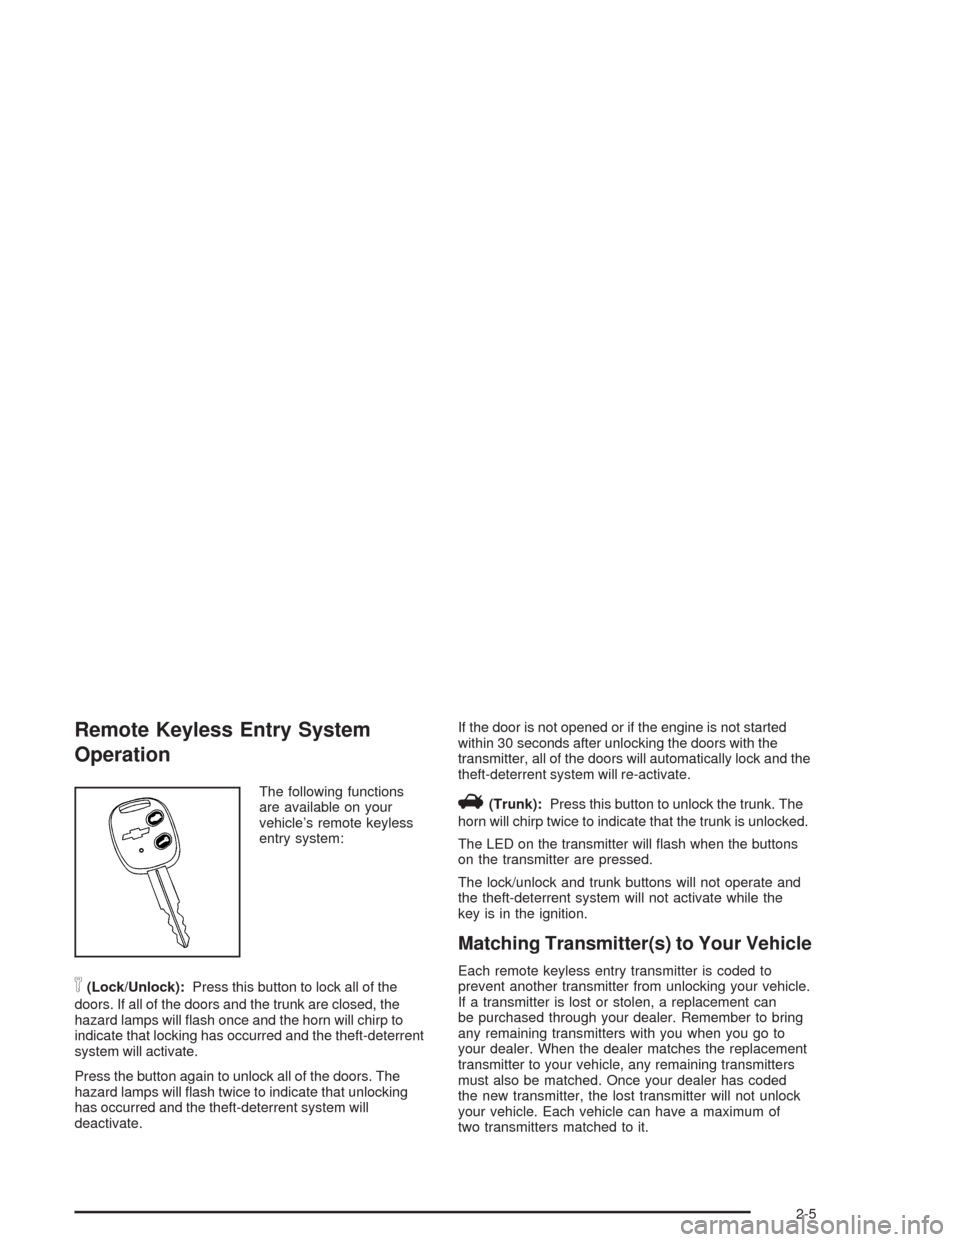
The following functions
are available on your
vehicle’s remote keyless
entry system:
n(Lock/Unlock):Press this button to lock all of the
doors. If all of the doors and the trunk are closed, the
hazard lamps will flash once and the horn will chirp to
indicate that locking has occurred and the theft-deterrent
system will activate.
Press the button again to unlock all of the doors. The
hazard lamps will flash twice to indicate that unlocking
has occurred and the theft-deterrent system will
deactivate.If the door is not opened or if the engine is not started
within 30 seconds after unlocking the doors with the
transmitter, all of the doors will automatically lock and the
theft-deterrent system will re-activate.
V(Trunk):Press this button to unlock the trunk. The
horn will chirp twice to indicate that the trunk is unlocked.
The LED on the transmitter will flash when the buttons
on the transmitter are pressed.
The lock/unlock and trunk buttons will not operate and
the theft-deterrent system will not activate while the
key is in the ignition.
Matching Transmitter(s) to Your Vehicle
Each remote keyless entry transmitter is coded to
prevent another transmitter from unlocking your vehicle.
If a transmitter is lost or stolen, a replacement can
be purchased through your dealer. Remember to bring
any remaining transmitters with you when you go to
your dealer. When the dealer matches the replacement
transmitter to your vehicle, any remaining transmitters
must also be matched. Once your dealer has coded
the new transmitter, the lost transmitter will not unlock
your vehicle. Each vehicle can have a maximum of
two transmitters matched to it.
2-5
Page 76 of 338

Power Windows
The power window
switches are located
on the armrest on the
driver’s door. In addition,
each passenger door
has a switch for its
own window.
The ignition must be turned to ON to use the power
windows. To lower a window, press down on the switch.
To raise a window, lift up on the switch.
The rear windows do not go all the way down.
Express-Down Window
The driver’s window also has an express-down feature.
This switch is labeled AUTO. Press the switch all the
way down and then release it. The driver’s window will
then go all the way down.
To stop the window while it is lowering, press the switch
again. To raise the window, pull up and hold the switch.
Window Lockout
The driver’s power
window controls also
include a lockout
button.
Press the lockout button to stop the front and rear
passengers from using their window switches.
The driver can still operate all the windows with the
lock on. Press the lockout button again to return
to normal window operation.
Sun Visors
To block out glare you can swing down the visors. You
can also remove them from the center mount and swing
them to the side. Pull out the extensions located on the
inboard side of the sun visors to block out glare.
Visor Vanity Mirror
Your vehicle has lighted vanity mirrors located on the
back of the sun visors. Swing down the sun visor and lift
the cover to expose the vanity mirror. The light will come
on when the cover is opened. The light will go out when
the cover is closed.
2-14
Page 77 of 338
Theft-Deterrent Systems
Vehicle theft is big business, especially in some cities.
Although your vehicle has a number of theft-deterrent
features, we know that nothing we put on it can make
it impossible to steal.
Theft-Deterrent System
Your vehicle has a theft-deterrent system.
The theft-deterrent system will not arm when you lock the
doors using the key or the manual door lock. It activates
only when you use the remote keyless entry transmitter.
Arming the System
To arm the system, do the following:
1. Turn the key to LOCK and remove the key from
the ignition.
If the key is inserted in the ignition, the transmitter
will not operate the theft-deterrent system.
2. Close the doors, the windows, the hood, and
the trunk.
Ensure that the windows are closed, as the system
can be activated even if the windows are open.3. Lock the door using the remote keyless entry
transmitter. The transmitter must be used to activate
the theft-deterrent system.
•The LED on the transmitter will flash.
•All of the doors will lock.
•The hazard warning lamps will flash once and
the horn will chirp.
•The theft-deterrent mode will arm.
•The security light will flash once every second to
indicate that the theft-deterrent system is armed.
The security light is located on the top center
of the instrument panel, near the windshield.
To avoid activating the alarm by accident, do one of
the following:
•Unlock the driver’s or passenger’s front door using
the key.
•Press the lock/unlock button on the remote keyless
entry transmitter.
Unlocking a door any other way will activate the alarm
when a door or the trunk is opened.
If you do not want to arm the theft-deterrent system,
lock the vehicle using the key or the manual door locks.
2-15
Page 79 of 338

Immobilizer
This device complies with Part 15 of the FCC Rules.
Operation is subject to the following two conditions:
1. this device may not cause interference, and
2. this device must accept any interference received,
including interference that may cause undesired
operation.
This device complies with RSS-210 of Industry Canada.
Operation is subject to the following two conditions:
1. this device may not cause interference, and
2. this device must accept any interference received,
including interference that may cause undesired
operation of the device.
Changes or modifications to this system by other than
an authorized service facility could void authorization to
use this equipment.
Immobilizer Operation
Your vehicle may have a passive theft-deterrent system.
The immobilizer system prevents your vehicle from
being started by unauthorized persons.
If your vehicle has an immobilizer system, your vehicle
has a special key that works with the theft-deterrent
system. There is a transponder in the key head that is
electronically coded. The correct key will start the
vehicle. An invalid key immobilizes the engine. The
immobilizer system isolates the power supply to
the ignition system, the fuel pump and the fuel injectors.
The engine immobilizer is activated after the key is turned
to LOCK and removed from the ignition. The security light
located on the top center of the instrument panel, near
the windshield, will flash when the immobilizer is active. If
the light does not flash after removing the key, have the
system checked by your dealer.
The immobilizer system works when you turn the key to
START. If the immobilizer system does not recognize the
electronic code, the engine will not start and the security
indicator will continue blinking. If your key is ever
damaged, you may not be able to start your vehicle.
2-17
Page 80 of 338
When trying to start the vehicle, if the engine does
not start and the security light continues flashing, the
key may have a damaged transponder. Turn the ignition
off and try again.
If the engine still does not start, and the key appears to
be undamaged, try another key. At this time, you may
also want to check the fuse. SeeFuses and Circuit
Breakers on page 5-79. If the engine still does not start
with the other key, your vehicle needs service. If your
vehicle does start, the first key may be faulty. See your
dealer who can service the theft-deterrent system to
have a new key made.
Up to four keys may be programmed for the vehicle.
If you lose or damage your keys, only a GM dealer
can service the theft-deterrent system to have new
keys made.
If you are ever driving and the security light comes on
and stays on, you will be able to restart your engine
if you turn it off. The theft-deterrent system, however,
is not working properly and must be serviced by
your dealer. Your vehicle is not protected by the
theft-deterrent system at this time.
In an emergency, contact Chevrolet Roadside
Assistance. SeeRoadside Assistance Program
on page 7-6.Starting and Operating Your
Vehicle
New Vehicle Break-In
Notice:Your vehicle does not need an elaborate
“break-in.” But it will perform better in the long run
if you follow these guidelines:
Do not drive at any one speed — fast or
slow — for the �rst 500 miles (805 km).
Do not make full-throttle starts.
Avoid making hard stops for the �rst
200 miles (322 km) or so. During this time
your new brake linings are not yet broken in.
Hard stops with new linings can mean
premature wear and earlier replacement.
Follow this breaking-in guideline every time
you get new brake linings.
Do not tow a trailer during break-in.
SeeTowing a Trailer on page 4-35for
more information.
2-18
Page 81 of 338
Ignition Positions
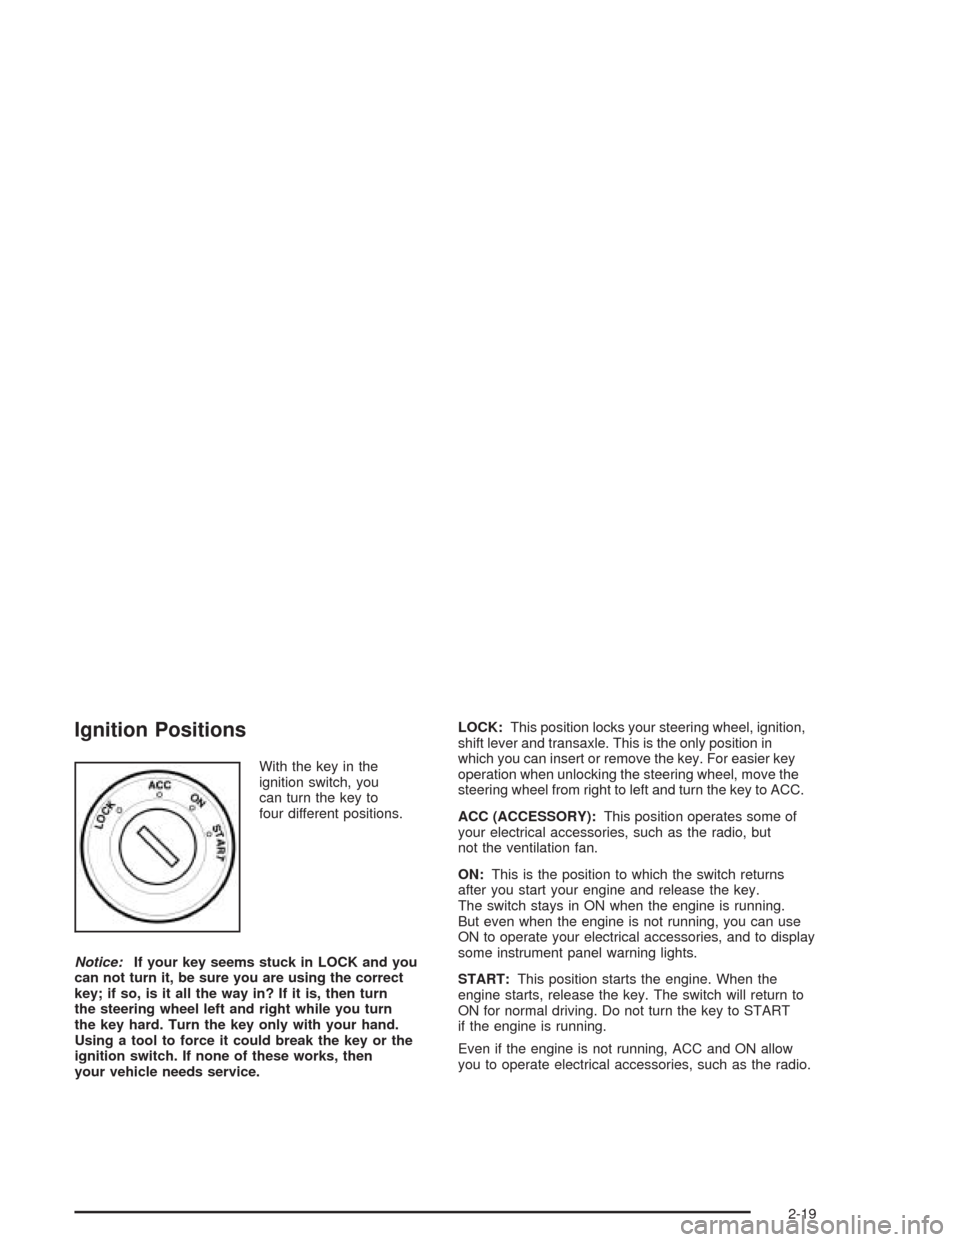
With the key in the
ignition switch, you
can turn the key to
four different positions.
Notice:If your key seems stuck in LOCK and you
can not turn it, be sure you are using the correct
key; if so, is it all the way in? If it is, then turn
the steering wheel left and right while you turn
the key hard. Turn the key only with your hand.
Using a tool to force it could break the key or the
ignition switch. If none of these works, then
your vehicle needs service.LOCK:This position locks your steering wheel, ignition,
shift lever and transaxle. This is the only position in
which you can insert or remove the key. For easier key
operation when unlocking the steering wheel, move the
steering wheel from right to left and turn the key to ACC.
ACC (ACCESSORY):This position operates some of
your electrical accessories, such as the radio, but
not the ventilation fan.
ON:This is the position to which the switch returns
after you start your engine and release the key.
The switch stays in ON when the engine is running.
But even when the engine is not running, you can use
ON to operate your electrical accessories, and to display
some instrument panel warning lights.
START:This position starts the engine. When the
engine starts, release the key. The switch will return to
ON for normal driving. Do not turn the key to START
if the engine is running.
Even if the engine is not running, ACC and ON allow
you to operate electrical accessories, such as the radio.
2-19