sunroof CHEVROLET IMPALA 2004 8.G Owners Manual
[x] Cancel search | Manufacturer: CHEVROLET, Model Year: 2004, Model line: IMPALA, Model: CHEVROLET IMPALA 2004 8.GPages: 420, PDF Size: 2.73 MB
Page 1 of 420
Seats and Restraint Systems........................... 1-1
Front Seats
............................................... 1-2
Rear Seats
............................................... 1-6
Safety Belts
.............................................. 1-9
Child Restraints
.......................................1-31
Air Bag Systems
......................................1-51
Restraint System Check
............................1-60
Features and Controls..................................... 2-1
Keys
........................................................ 2-2
Doors and Locks
....................................... 2-8
Windows
.................................................2-13
Theft-Deterrent Systems
............................2-15
Starting and Operating Your Vehicle
...........2-17
Mirrors
....................................................2-33
OnStar
®System
......................................2-36
HomeLink®Transmitter
.............................2-38
Storage Areas
.........................................2-42
Sunroof
..................................................2-43
Vehicle Personalization
.............................2-44
Instrument Panel............................................. 3-1
Instrument Panel Overview
.......................... 3-4
Climate Controls
......................................3-20
Warning Lights, Gages, and Indicators
........3-26
Message Center
.......................................3-43
Driver Information Center (DIC)
..................3-52Trip Computer
.........................................3-55
Audio System(s)
.......................................3-56
Driving Your Vehicle....................................... 4-1
Your Driving, the Road, and Your Vehicle
..... 4-2
Towing
...................................................4-30
Service and Appearance Care.......................... 5-1
Service
..................................................... 5-3
Fuel
......................................................... 5-5
Checking Things Under the Hood
...............5-10
Headlamp Aiming
.....................................5-58
Bulb Replacement
....................................5-58
Windshield Wiper Blade Replacement
.........5-63
Tires
......................................................5-64
Appearance Care
.....................................5-94
Vehicle Identi�cation
...............................5-102
Electrical System
....................................5-103
Capacities and Speci�cations
...................5-110
Maintenance Schedule..................................... 6-1
Maintenance Schedule
................................ 6-2
Customer Assistance and Information.............. 7-1
Customer Assistance and Information
........... 7-2
Reporting Safety Defects
...........................7-11
Index.................................................................1
2004 Chevrolet Impala Owner ManualM
Page 69 of 420
Keys...............................................................2-2
Remote Keyless Entry System.........................2-3
Remote Keyless Entry System Operation...........2-4
Doors and Locks.............................................2-8
Door Locks....................................................2-8
Power Door Locks..........................................2-9
Programmable Automatic Door Locks..............2-10
Lockout Protection........................................2-10
Leaving Your Vehicle....................................2-10
Trunk..........................................................2-11
Windows........................................................2-13
Power Windows............................................2-14
Sun Visors...................................................2-14
Theft-Deterrent Systems..................................2-15
Content Theft-Deterrent.................................2-15
Passlock
®....................................................2-16
Starting and Operating Your Vehicle................2-17
New Vehicle Break-In....................................2-17
Ignition Positions..........................................2-17
Starting Your Engine.....................................2-18
Engine Coolant Heater..................................2-20
Automatic Transaxle Operation.......................2-22
Parking Brake..............................................2-26
Shifting Into Park (P).....................................2-27Shifting Out of Park (P).................................2-30
Parking Over Things That Burn.......................2-30
Engine Exhaust............................................2-31
Running Your Engine While You Are Parked. . . .2-32
Mirrors...........................................................2-33
Manual Rearview Mirror.................................2-33
Manual Rearview Mirror with OnStar
®..............2-33
Automatic Dimming Rearview Mirror................2-34
Automatic Dimming Rearview Mirror
with OnStar
®............................................2-34
Outside Power Mirrors...................................2-35
Outside Convex Mirror...................................2-36
OnStar
®System.............................................2-36
HomeLink®Transmitter...................................2-38
Programming the HomeLink®Transmitter.........2-38
Storage Areas................................................2-42
Glove Box...................................................2-42
Front Storage Area.......................................2-42
Center Console Storage Area.........................2-42
Rear Storage Area........................................2-42
Convenience Net..........................................2-42
Sunroof.........................................................2-43
Vehicle Personalization...................................2-44
Section 2 Features and Controls
2-1
Page 86 of 420
ACC (ACCESSORY):This is the position in which you
can operate your electrical accessories. With the key
in this position, the ignition and automatic transaxle will
unlock.
ON:This is the position to which the switch returns after
you start the engine and release the switch. The switch
stays in ON while the engine is running. But even when
the engine is not running, you can use ON to operate
your electrical accessories and to display some
instrument panel cluster messages and warning lights.
START:This position starts the engine. When the
engine starts, release the key. The ignition switch will
return to ON for normal driving.
While the engine is not running, ACC and ON allow you
to operate your electrical accessories, such as the radio.
A warning chime will sound if you open the driver’s door
while the ignition is in OFF or ACC and the key is in
the ignition.
Retained Accessory Power (RAP)
With Retained Accessory Power (RAP), your power
windows, audio system and sunroof (option) will
continue to work for up to 10 minutes after the ignition is
turned to OFF and none of the doors is opened.
Starting Your Engine
Move your shift lever to PARK (P) or NEUTRAL (N).
Your engine won’t start in any other position — that’s a
safety feature. To restart when you’re already moving,
use NEUTRAL (N) only.
Notice:Shifting into PARK (P) with the vehicle
moving could damage the transaxle. Shift into
PARK (P) only when your vehicle is stopped.
Starting Your 3400 V6 Engine
1. With your foot off the accelerator pedal, turn your
ignition key to START. When the engine starts, let
go of the key. The idle speed will go down as
your engine warms up.
Notice:Holding your key in START for longer than
15 seconds at a time will cause your battery to
be drained much sooner. And the excessive heat
can damage your starter motor. Wait about
15 seconds between each try to help avoid draining
your battery or damaging your starter.
2. If the engine doesn’t start in 10 seconds, push the
accelerator pedal about one-quarter of the way down
while you turn the key to START. Do this until the
engine starts. As soon as it does, let go of the key.
2-18
Page 111 of 420
Sunroof
Your vehicle may have an express-open sunroof.
It includes a sliding and tilting glass panel and a
sunshade.
The switch is located on the overhead console if
the vehicle is equipped with a Driver Information
Center (DIC). If the vehicle is not equipped with
a DIC, the sunroof switch is located on the roof
panel headliner.
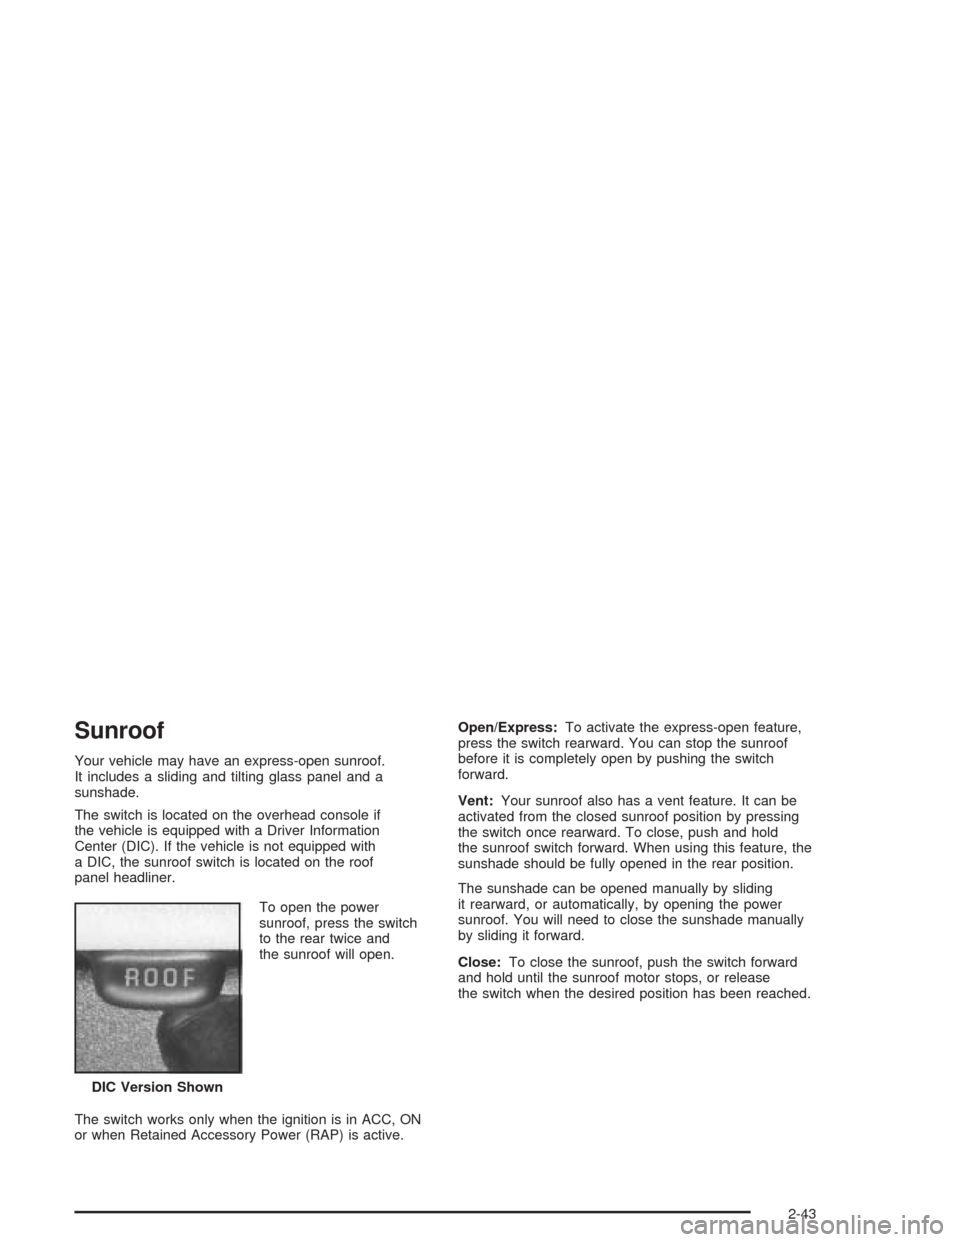
To open the power
sunroof, press the switch
to the rear twice and
the sunroof will open.
The switch works only when the ignition is in ACC, ON
or when Retained Accessory Power (RAP) is active.Open/Express:To activate the express-open feature,
press the switch rearward. You can stop the sunroof
before it is completely open by pushing the switch
forward.
Vent:Your sunroof also has a vent feature. It can be
activated from the closed sunroof position by pressing
the switch once rearward. To close, push and hold
the sunroof switch forward. When using this feature, the
sunshade should be fully opened in the rear position.
The sunshade can be opened manually by sliding
it rearward, or automatically, by opening the power
sunroof. You will need to close the sunshade manually
by sliding it forward.
Close:To close the sunroof, push the switch forward
and hold until the sunroof motor stops, or release
the switch when the desired position has been reached.
DIC Version Shown
2-43
Page 138 of 420
Delayed Exit Lighting
This feature illuminates the interior for a period of time
after the key is removed from the ignition.
The ignition must be off for delayed exit lighting to work.
When the key is removed, interior illumination will
activate and remain on until one of the following occurs:
The ignition is moved to ON,
the power door locks are activated, or
an illumination period of 25 seconds has elapsed.
If during the illumination period a door is opened,
the timed illumination period will be canceled and the
interior lamps will remain on because a door is open.
Parade Dimming
The instrument panel has an added feature called
parade mode. This feature prohibits the dimming of your
instrument panel displays during the daylight while
the headlamps are on so that you’ll still be able to see
the displays.
Reading Lamps
Your vehicle may be equipped with reading lamps that
are located on the assist handles in the headliner.
These lamps and the interior courtesy lamps come on
when any door is opened. Press the lens to turn them on
and off.
Dome Lamp
If your vehicle has this feature, the dome lamp will
come on when you open a door. You can also turn this
lamp on by turning the exterior lamps control clockwise
as far as it will go. Vehicles that have the optional
sunroof do not have a dome lamp.
Battery Rundown Protection
Your vehicle has a feature to help prevent you from
draining the battery in case you accidentally leave on the
interior courtesy lamps, reading/map lamps, visor
vanity lamps or trunk lamp. If you leave any of these
lamps on, they will automatically turn off after
10 minutes, if the ignition is off. The lamps won’t come
back on again until you do the following:
Turn the ignition on, or
turn the exterior lamps control off, then on again.
If your vehicle has less than 15 miles (25 km) on
the odometer, the battery saver will turn off the lamps
after only three minutes.
Battery rundown protection will also work if the
headlamps are left on. After having been left on for
10 minutes, the headlamps and the parking lamps will
�ash three times. They will remain on for one more
minute before turning off automatically.
3-18
Page 172 of 420
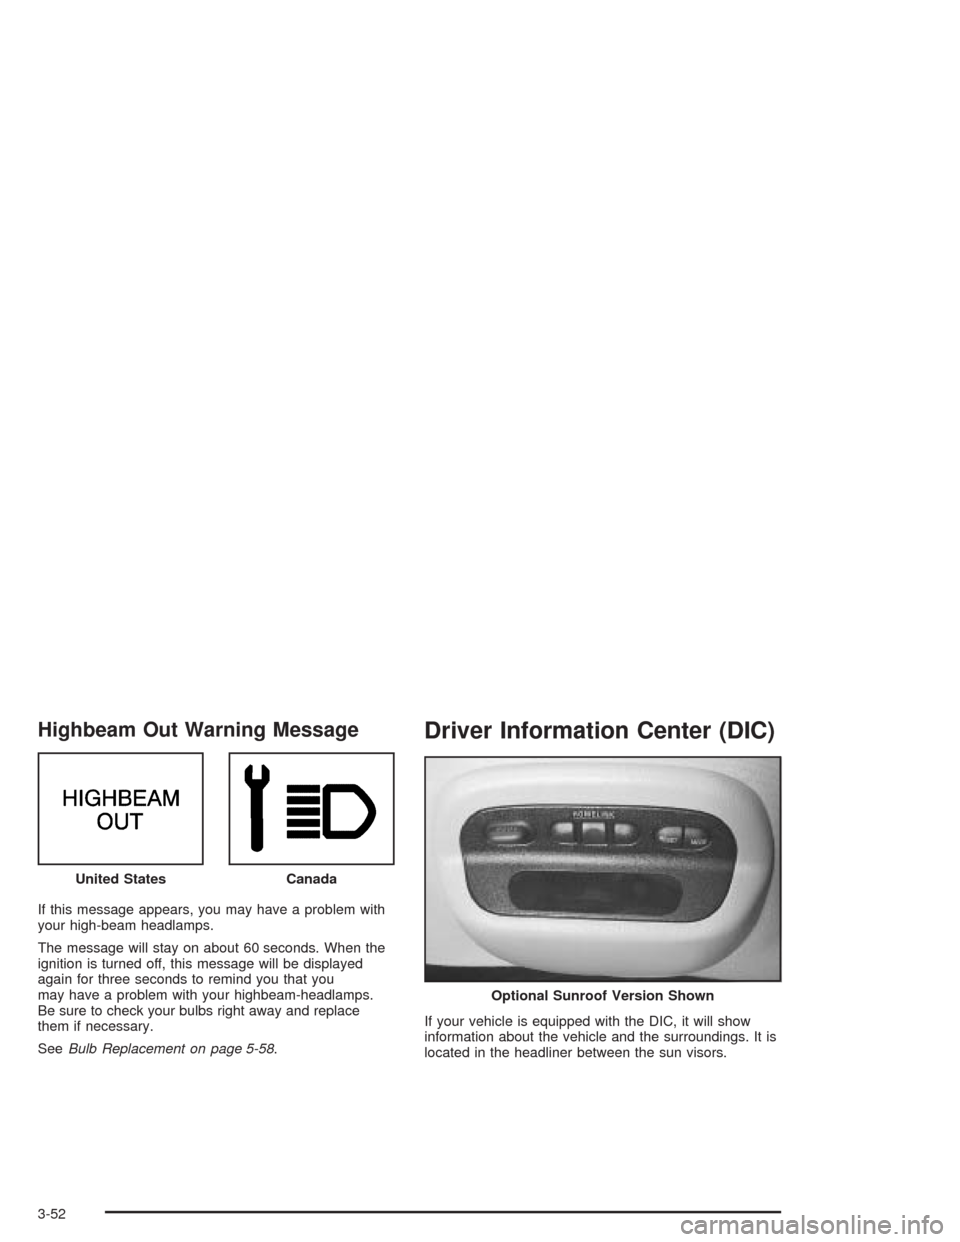
Highbeam Out Warning Message
If this message appears, you may have a problem with
your high-beam headlamps.
The message will stay on about 60 seconds. When the
ignition is turned off, this message will be displayed
again for three seconds to remind you that you
may have a problem with your highbeam-headlamps.
Be sure to check your bulbs right away and replace
them if necessary.
SeeBulb Replacement on page 5-58.
Driver Information Center (DIC)
If your vehicle is equipped with the DIC, it will show
information about the vehicle and the surroundings. It is
located in the headliner between the sun visors. United States
Canada
Optional Sunroof Version Shown
3-52
Page 217 of 420
XM™ Satellite Radio Antenna
System
The XM™ Satellite Radio antenna is located on the roof
of your vehicle. Keep this antenna clear of snow and
ice build up for clear radio reception.
The performance of the XM system may be affected if
the sunroof is open.
Vehicle Customization Settings
The audio system can be used to control vehicle
customization settings using the DISPL knob when the
radio is off. SeeVehicle Personalization on page 2-44
for more information.
Chime Level Adjustment
The radio is the vehicle chime producer. To change the
volume level, press and hold pushbutton 6 with the
ignition on and the radio power off. The chime volume
level will change from the normal level to loud, and
LOUD will appear on the radio display. To change back
to the default or normal setting, press and hold
pushbutton 6 again. The chime level will change from
the loud level to normal, and NORMAL will appear
on the radio display. Each time the chime volume is
changed, three chimes will sound as an example of the
new volume selected. Removing the radio and not
replacing it with a factory radio or chime module will
disable vehicle chimes.
3-97
Page 367 of 420
Fuses Usage
ABS/PCM Anti-Lock Brake System, Powertrain
Control Module, Brake Switch,
Crank Relay, Canister Vent Solenoid
(Run, Crank)
STOPBrake Lamps, Body Control Module
(Run, Crank)
TURN SIGNAL Turn Signal Flashers
CRUISECruise Control Steering Column
Controls
AC/CRUISEHVAC Temp Door Motors & Module,
Cruise Control Module
A/C FAN HVAC Blower
STR COL Steering Wheel Lighting
DR LKBody Control Module, Door Lock
Controls
PWR MIR Power Mirrors
CLSTR/BCMCluster, Body Control Module,
Data Link Connector (Battery)
LH HTD
ST/BCMDriver’s Heated Seat, Body Control
Module, Battery Controlled LoadsCircuit
BreakersUsage
RETAINED
ACCESSORY
PWR BRKRPower Window, Sunroof Breaker
Relays Usage
HEADLAMP
RELAYHeadlamp Relay
RETAINED
ACCESSORY
PWR RELAYRetained Accessory Power Relay
5-105
Page 418 of 420
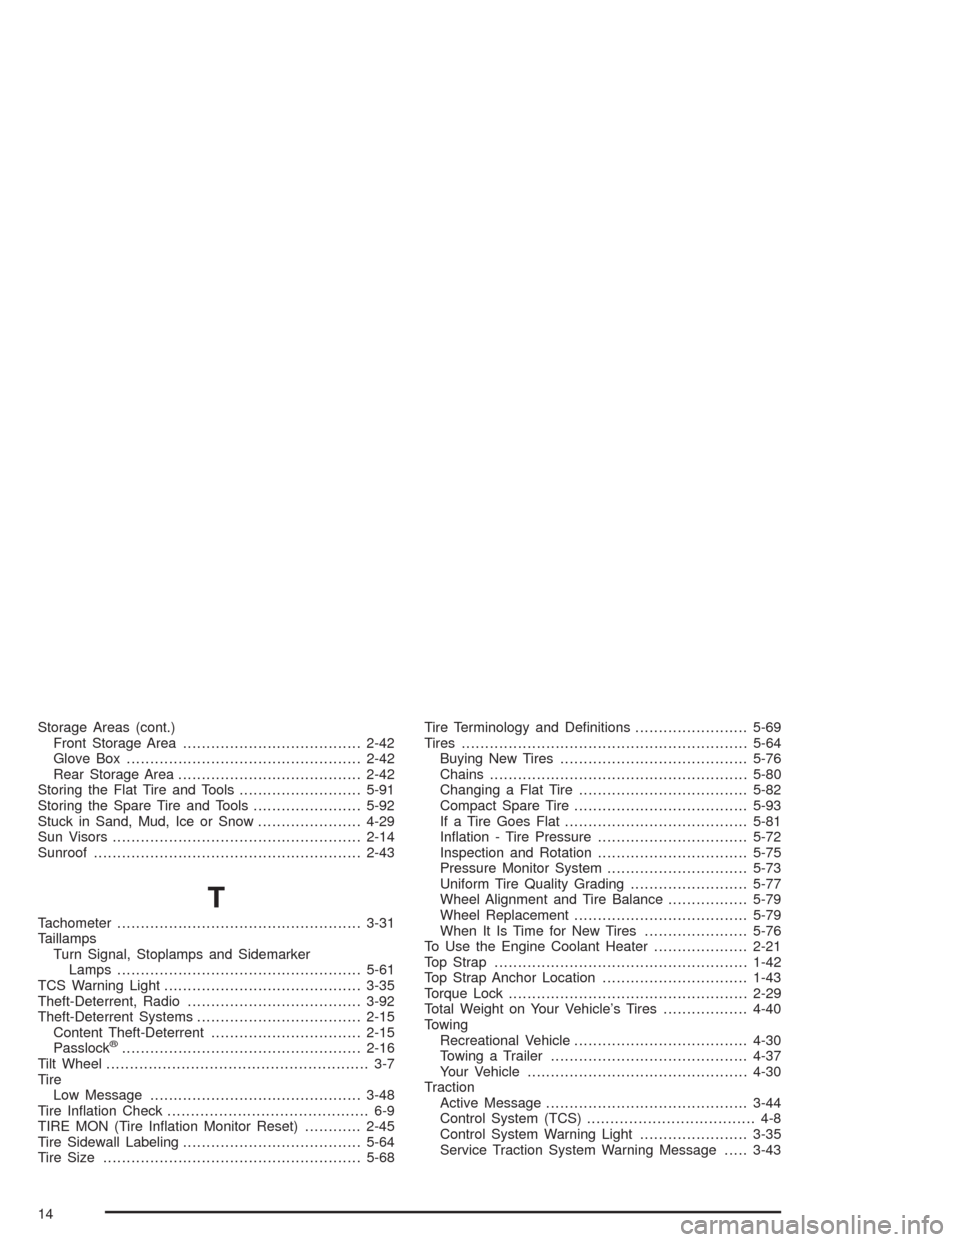
Storage Areas (cont.)
Front Storage Area......................................2-42
Glove Box..................................................2-42
Rear Storage Area.......................................2-42
Storing the Flat Tire and Tools..........................5-91
Storing the Spare Tire and Tools.......................5-92
Stuck in Sand, Mud, Ice or Snow......................4-29
Sun Visors.....................................................2-14
Sunroof.........................................................2-43
T
Tachometer....................................................3-31
Taillamps
Turn Signal, Stoplamps and Sidemarker
Lamps....................................................5-61
TCS Warning Light..........................................3-35
Theft-Deterrent, Radio.....................................3-92
Theft-Deterrent Systems...................................2-15
Content Theft-Deterrent................................2-15
Passlock
®...................................................2-16
Tilt Wheel........................................................ 3-7
Tire
Low Message.............................................3-48
Tire In�ation Check........................................... 6-9
TIRE MON (Tire In�ation Monitor Reset)............2-45
Tire Sidewall Labeling......................................5-64
Tire Size.......................................................5-68Tire Terminology and De�nitions........................5-69
Tires.............................................................5-64
Buying New Tires........................................5-76
Chains.......................................................5-80
Changing a Flat Tire....................................5-82
Compact Spare Tire.....................................5-93
If a Tire Goes Flat.......................................5-81
In�ation - Tire Pressure................................5-72
Inspection and Rotation................................5-75
Pressure Monitor System..............................5-73
Uniform Tire Quality Grading.........................5-77
Wheel Alignment and Tire Balance.................5-79
Wheel Replacement.....................................5-79
When It Is Time for New Tires......................5-76
To Use the Engine Coolant Heater....................2-21
Top Strap......................................................1-42
Top Strap Anchor Location...............................1-43
Torque Lock...................................................2-29
Total Weight on Your Vehicle’s Tires..................4-40
Towing
Recreational Vehicle.....................................4-30
Towing a Trailer..........................................4-37
Your Vehicle...............................................4-30
Traction
Active Message...........................................3-44
Control System (TCS).................................... 4-8
Control System Warning Light.......................3-35
Service Traction System Warning Message.....3-43
14