tow CHEVROLET KODIAK 2007 Owners Manual
[x] Cancel search | Manufacturer: CHEVROLET, Model Year: 2007, Model line: KODIAK, Model: CHEVROLET KODIAK 2007Pages: 430, PDF Size: 6.06 MB
Page 1 of 430
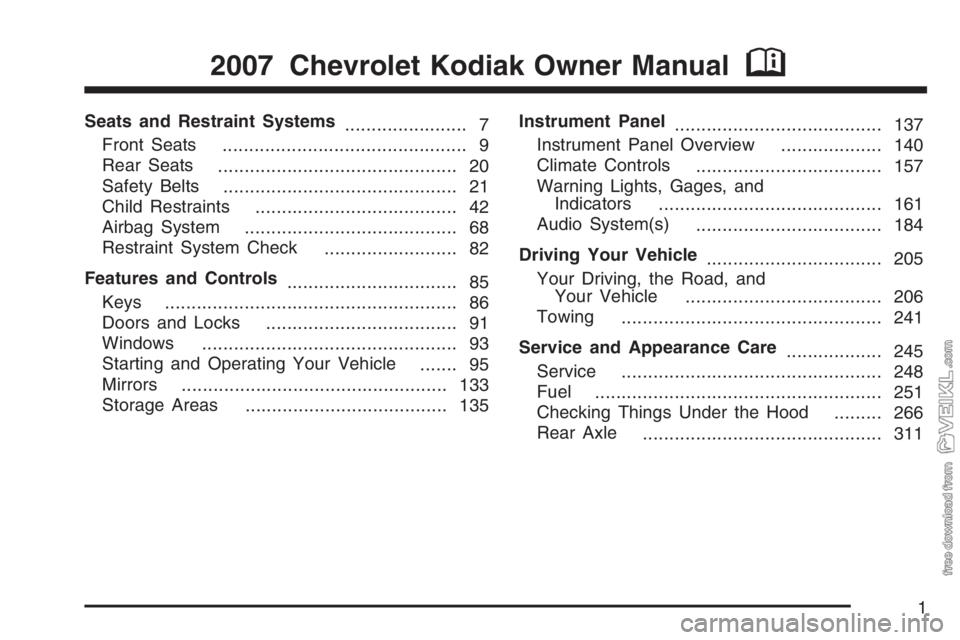
Seats and Restraint Systems
....................... 7
Front Seats
.............................................. 9
Rear Seats
............................................. 20
Safety Belts
............................................ 21
Child Restraints
...................................... 42
Airbag System
........................................ 68
Restraint System Check
......................... 82
Features and Controls
................................ 85
Keys
....................................................... 86
Doors and Locks
.................................... 91
Windows
................................................ 93
Starting and Operating Your Vehicle
....... 95
Mirrors
.................................................. 133
Storage Areas
...................................... 135Instrument Panel
....................................... 137
Instrument Panel Overview
................... 140
Climate Controls
................................... 157
Warning Lights, Gages, and
Indicators
.......................................... 161
Audio System(s)
................................... 184
Driving Your Vehicle
................................. 205
Your Driving, the Road, and
Your Vehicle
..................................... 206
Towing
................................................. 241
Service and Appearance Care
.................. 245
Service
................................................. 248
Fuel
...................................................... 251
Checking Things Under the Hood
......... 266
Rear Axle
............................................. 311
2007 Chevrolet Kodiak Owner ManualM
1
Page 13 of 430
Split Bench Seat (80/20 Split)
If your vehicle has a split bench seat, the
passenger seat is not adjustable.
There is a storage area underneath the seat
cushion. SeeStorage Areas on page 135.
Air Suspension Seats
Your vehicle may have a low-back or high-back
air suspension seat. There are several ways
to adjust the seat.
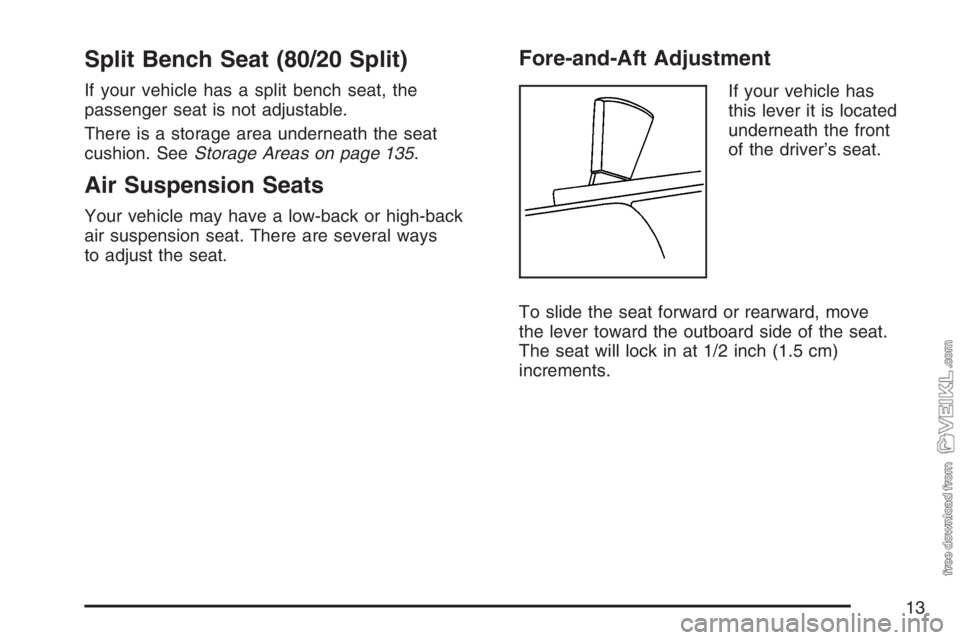
Fore-and-Aft Adjustment
If your vehicle has
this lever it is located
underneath the front
of the driver’s seat.
To slide the seat forward or rearward, move
the lever toward the outboard side of the seat.
The seat will lock in at 1/2 inch (1.5 cm)
increments.
13
Page 20 of 430
Rear Seats
Rear Seat Operation
Folding the Rear Seat (Crew Cab)
{CAUTION:
A safety belt that is improperly routed,
not properly attached, or twisted will not
provide the protection needed in a crash.
The person wearing the belt could be
seriously injured. After raising the rear
seatback, always check to be sure that
the safety belts are properly routed and
attached, and are not twisted.
Notice:Folding a rear seat with the safety
belts still fastened may cause damage to the
seat or the safety belts. Always unbuckle
the safety belts and return them to their normal
stowed position before folding a rear seat.
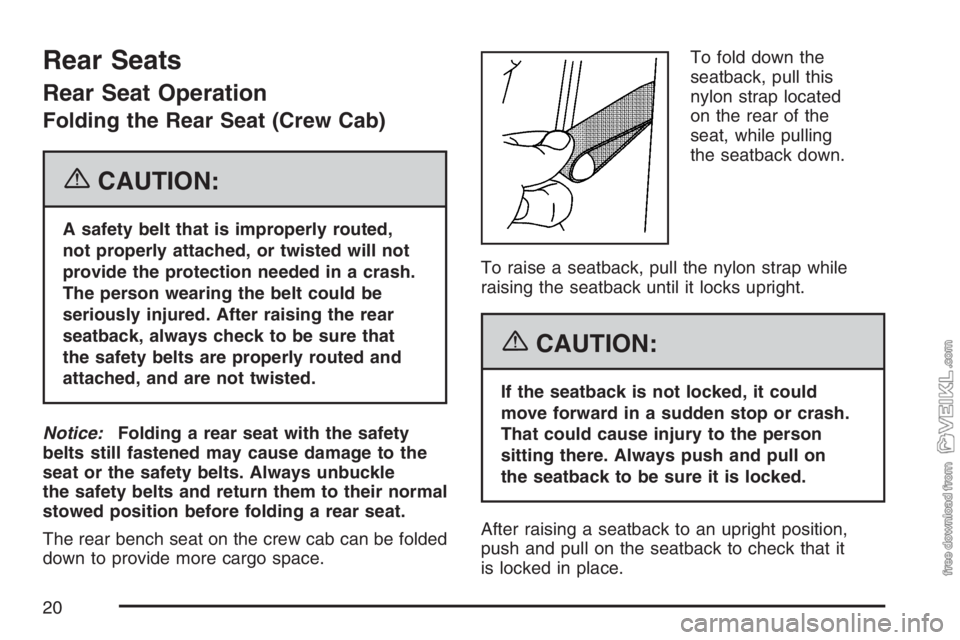
The rear bench seat on the crew cab can be folded
down to provide more cargo space.To fold down the
seatback, pull this
nylon strap located
on the rear of the
seat, while pulling
the seatback down.
To raise a seatback, pull the nylon strap while
raising the seatback until it locks upright.
{CAUTION:
If the seatback is not locked, it could
move forward in a sudden stop or crash.
That could cause injury to the person
sitting there. Always push and pull on
the seatback to be sure it is locked.
After raising a seatback to an upright position,
push and pull on the seatback to check that it
is locked in place.
20
Page 43 of 430
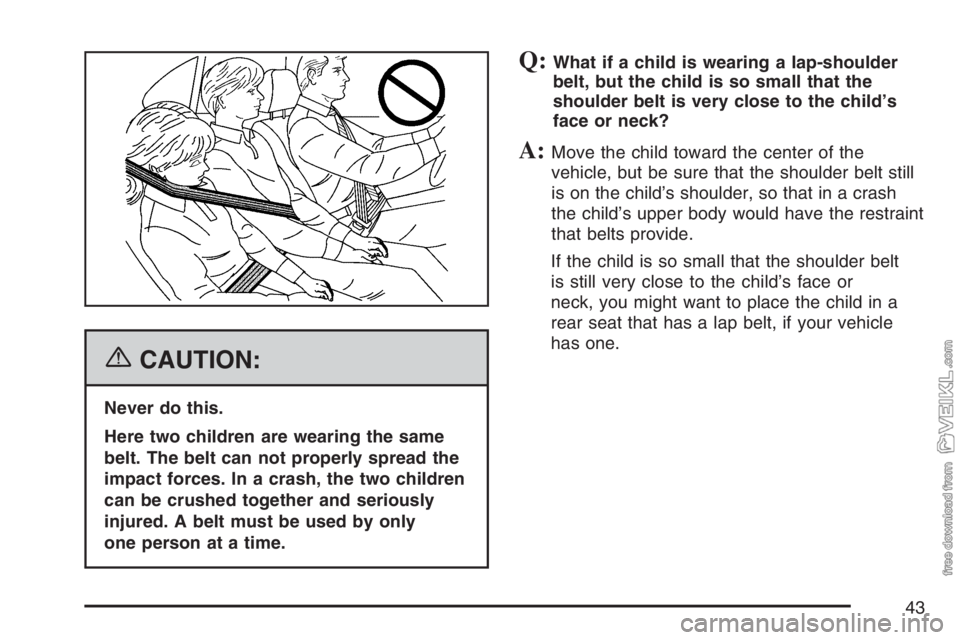
{CAUTION:
Never do this.
Here two children are wearing the same
belt. The belt can not properly spread the
impact forces. In a crash, the two children
can be crushed together and seriously
injured. A belt must be used by only
one person at a time.
Q:What if a child is wearing a lap-shoulder
belt, but the child is so small that the
shoulder belt is very close to the child’s
face or neck?
A:Move the child toward the center of the
vehicle, but be sure that the shoulder belt still
is on the child’s shoulder, so that in a crash
the child’s upper body would have the restraint
that belts provide.
If the child is so small that the shoulder belt
is still very close to the child’s face or
neck, you might want to place the child in a
rear seat that has a lap belt, if your vehicle
has one.
43
Page 49 of 430
{CAUTION:
The body structure of a young child is
quite unlike that of an adult or older child,
for whom the safety belts are designed.
A young child’s hip bones are still so
small that the vehicle’s regular safety belt
may not remain low on the hip bones, as
it should. Instead, it may settle up around
the child’s abdomen. In a crash, the belt
would apply force on a body area that
is unprotected by any bony structure.
This alone could cause serious or fatal
injuries. Young children always should be
secured in appropriate child restraints.
We know securing a child can present real
problems in a medium-duty vehicle like yours.
If your vehicle is a regular cab model with
an air-suspension seat in the right front
passenger’s position, there is no place in your
vehicle to secure a child restraint.The only answer is to have smaller children make
the trip in another vehicle, where they can get
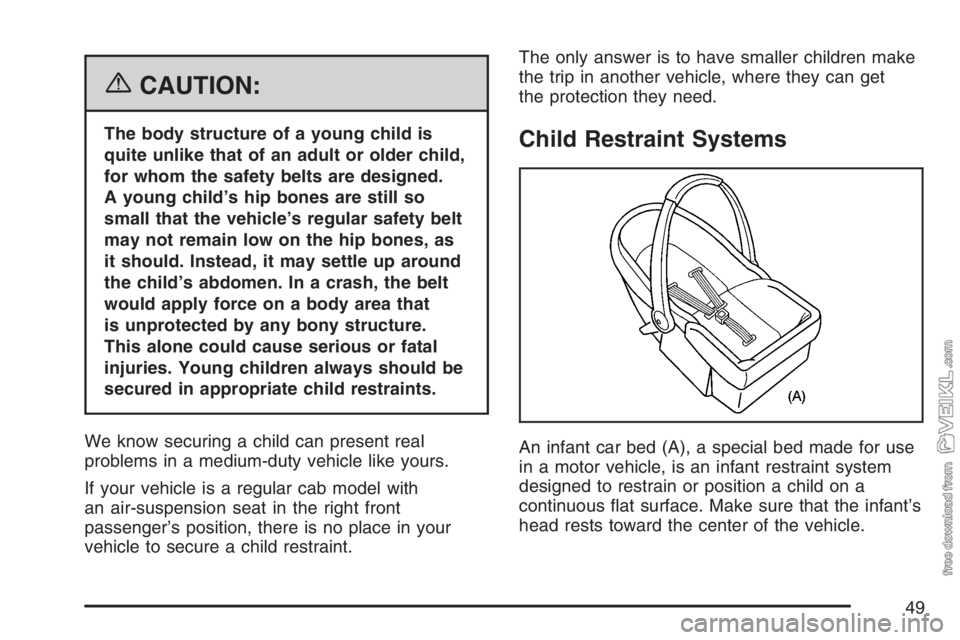
the protection they need.Child Restraint Systems
An infant car bed (A), a special bed made for use
in a motor vehicle, is an infant restraint system
designed to restrain or position a child on a
continuous flat surface. Make sure that the infant’s
head rests toward the center of the vehicle.
49
Page 73 of 430
In any particular crash, no one can say whether
an airbag should have inflated simply because
of the damage to a vehicle or because of what
the repair costs were. Inflation is determined
by what the vehicle hits, the angle of the impact,
and how quickly the vehicle slows down.
What Makes an Airbag In�ate?
In an impact of sufficient severity, the airbag
sensing system detects that the vehicle is
in a crash. The sensing system triggers a release
of gas from the inflator, which inflates the
airbag. The inflator, airbag, and related hardware
are all part of the airbag modules inside the
steering wheel and in the instrument panel in
front of the right front passenger.
How Does an Airbag Restrain?
In moderate to severe frontal or near-frontal
collisions, even belted occupants can contact
the steering wheel or the instrument panel.
The airbag supplements the protection provided
by safety belts. Airbags distribute the force of
the impact more evenly over the occupant’s upper
body, stopping the occupant more gradually.
But airbags would not help you in many types of
collisions, including rollovers, rear impacts,
and many side impacts, primarily because an
occupant’s motion is not toward those airbags.
Airbags should never be regarded as anything
more than a supplement to safety belts, and then
only in moderate to severe frontal or near-frontal
collisions.
73
Page 94 of 430
Power Windows
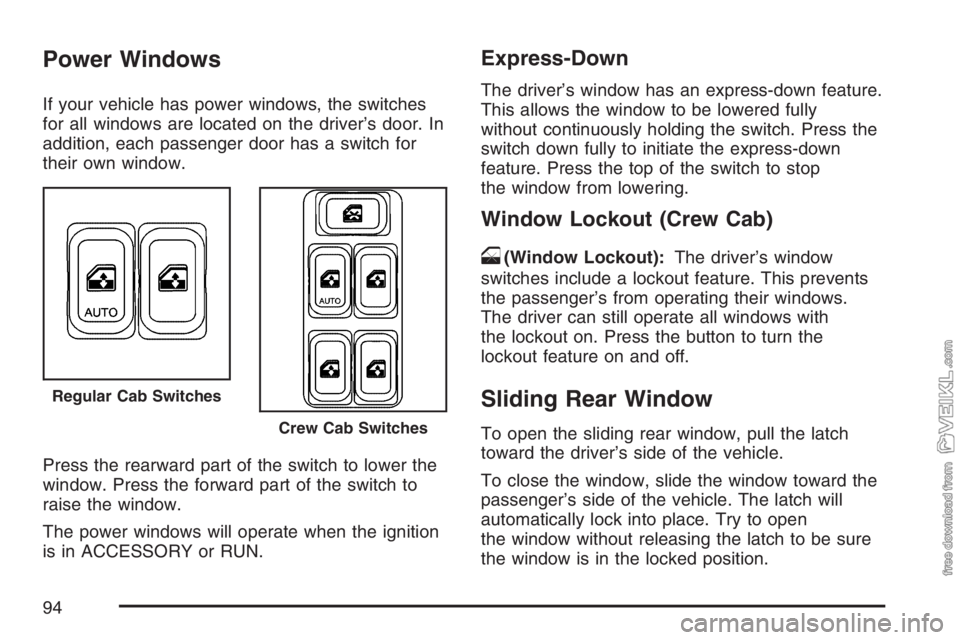
If your vehicle has power windows, the switches
for all windows are located on the driver’s door. In
addition, each passenger door has a switch for
their own window.
Press the rearward part of the switch to lower the
window. Press the forward part of the switch to
raise the window.
The power windows will operate when the ignition
is in ACCESSORY or RUN.
Express-Down
The driver’s window has an express-down feature.
This allows the window to be lowered fully
without continuously holding the switch. Press the
switch down fully to initiate the express-down
feature. Press the top of the switch to stop
the window from lowering.
Window Lockout (Crew Cab)
o
(Window Lockout):The driver’s window
switches include a lockout feature. This prevents
the passenger’s from operating their windows.
The driver can still operate all windows with
the lockout on. Press the button to turn the
lockout feature on and off.
Sliding Rear Window
To open the sliding rear window, pull the latch
toward the driver’s side of the vehicle.
To close the window, slide the window toward the
passenger’s side of the vehicle. The latch will
automatically lock into place. Try to open
the window without releasing the latch to be sure
the window is in the locked position.
Regular Cab Switches
Crew Cab Switches
94
Page 96 of 430
Ignition Positions
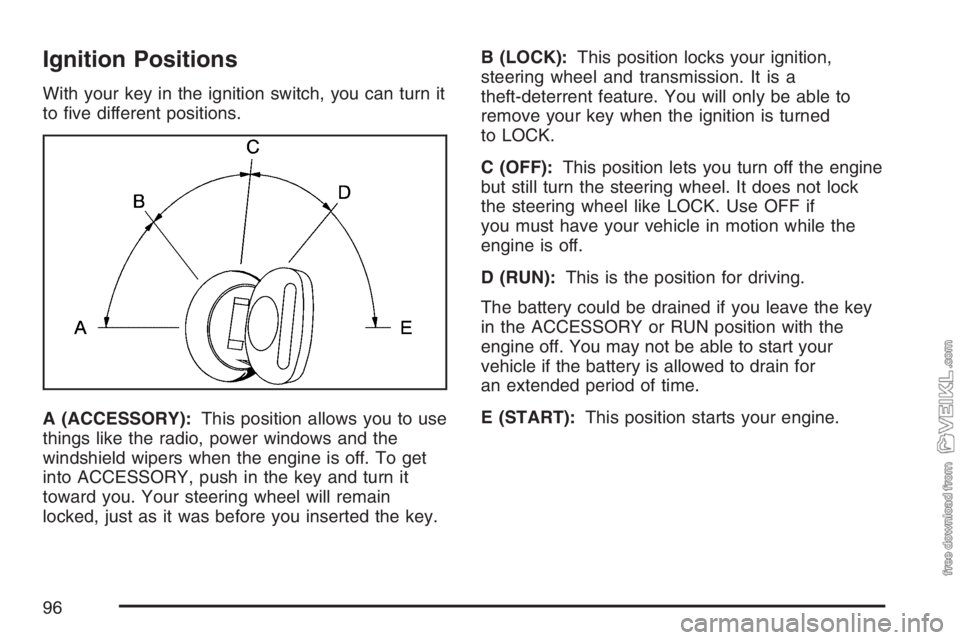
With your key in the ignition switch, you can turn it
to five different positions.
A (ACCESSORY):This position allows you to use
things like the radio, power windows and the
windshield wipers when the engine is off. To get
into ACCESSORY, push in the key and turn it
toward you. Your steering wheel will remain
locked, just as it was before you inserted the key.B (LOCK):This position locks your ignition,
steering wheel and transmission. It is a
theft-deterrent feature. You will only be able to
remove your key when the ignition is turned
to LOCK.
C (OFF):This position lets you turn off the engine
but still turn the steering wheel. It does not lock
the steering wheel like LOCK. Use OFF if
you must have your vehicle in motion while the
engine is off.
D (RUN):This is the position for driving.
The battery could be drained if you leave the key
in the ACCESSORY or RUN position with the
engine off. You may not be able to start your
vehicle if the battery is allowed to drain for
an extended period of time.
E (START):This position starts your engine.
96
Page 98 of 430
Starter Motor Operation
•The starter motor will disengage if you release
the key or the engine reaches a predetermined
engine speed.
•To prevent overheating, the starter motor will
disengage after continuously operating for
15 seconds. You must release the key
from the start position to re-engage the starter.
•The starter motor will not engage if the engine
is already running.
•The starter motor will disengage if, after
two seconds, the starter pinion gear does not
engage the flywheel or there is no engine
rpm signal from the engine speed sensor.
Starting Your Engine
1. Without pushing the accelerator pedal, turn
your ignition key to START. When the
engine starts, let go of the key. The idle speed
will go down as your engine gets warm.2. If the engine does not start in 10 seconds,
push the accelerator pedal all the way down
and crank the engine for five more seconds,
unless it starts sooner.
3. If your engine still will not start, or starts but
then stops, it could be flooded with too much
gasoline.
Wait 15 seconds to let the starter motor cool
down. Do Steps 1 through 3 again.
When the engine starts, let go of the key and
the accelerator pedal.
Notice:Your engine is designed to work with
the electronics in your vehicle. If you add
electrical parts or accessories, you could
change the way the engine operates. Before
adding electrical equipment, check with your
dealer. If you do not, your engine might not
perform properly. Any resulting damage would
not be covered by your vehicle’s warranty.
If you ever need to have your vehicle towed, see
Towing Your Vehicle on page 241.
98
Page 116 of 430
Overdrive Defeat
If your vehicle has this feature, you can select not
to shift up to fifth gear. This is useful when
towing or under a heavy load.
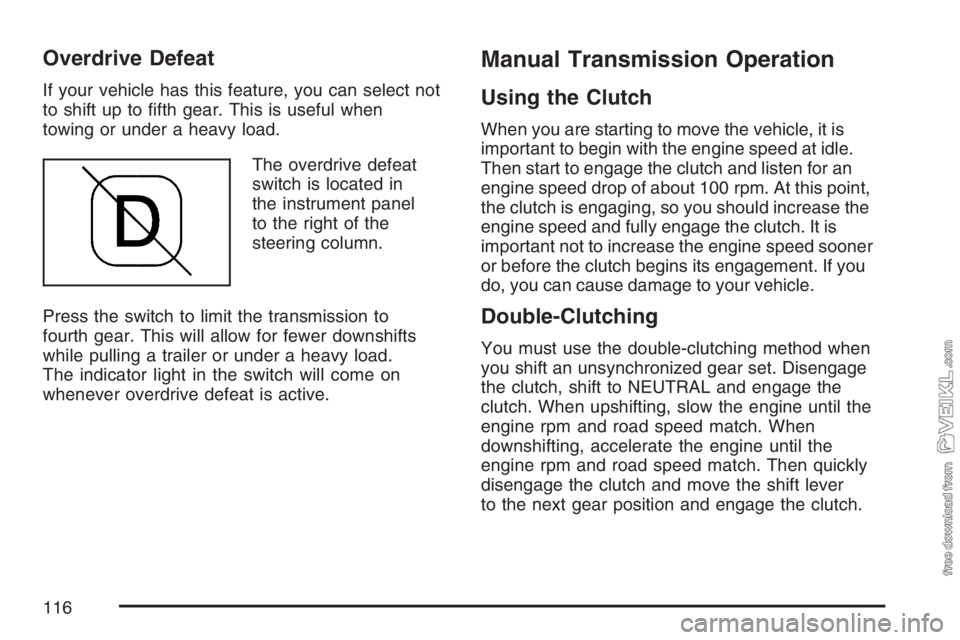
The overdrive defeat
switch is located in
the instrument panel
to the right of the
steering column.
Press the switch to limit the transmission to
fourth gear. This will allow for fewer downshifts
while pulling a trailer or under a heavy load.
The indicator light in the switch will come on
whenever overdrive defeat is active.
Manual Transmission Operation
Using the Clutch
When you are starting to move the vehicle, it is
important to begin with the engine speed at idle.
Then start to engage the clutch and listen for an
engine speed drop of about 100 rpm. At this point,
the clutch is engaging, so you should increase the
engine speed and fully engage the clutch. It is
important not to increase the engine speed sooner
or before the clutch begins its engagement. If you
do, you can cause damage to your vehicle.
Double-Clutching
You must use the double-clutching method when
you shift an unsynchronized gear set. Disengage
the clutch, shift to NEUTRAL and engage the
clutch. When upshifting, slow the engine until the
engine rpm and road speed match. When
downshifting, accelerate the engine until the
engine rpm and road speed match. Then quickly
disengage the clutch and move the shift lever
to the next gear position and engage the clutch.
116