towing CHEVROLET KODIAK 2007 Owners Manual
[x] Cancel search | Manufacturer: CHEVROLET, Model Year: 2007, Model line: KODIAK, Model: CHEVROLET KODIAK 2007Pages: 430, PDF Size: 6.06 MB
Page 1 of 430
Seats and Restraint Systems
....................... 7
Front Seats
.............................................. 9
Rear Seats
............................................. 20
Safety Belts
............................................ 21
Child Restraints
...................................... 42
Airbag System
........................................ 68
Restraint System Check
......................... 82
Features and Controls
................................ 85
Keys
....................................................... 86
Doors and Locks
.................................... 91
Windows
................................................ 93
Starting and Operating Your Vehicle
....... 95
Mirrors
.................................................. 133
Storage Areas
...................................... 135Instrument Panel
....................................... 137
Instrument Panel Overview
................... 140
Climate Controls
................................... 157
Warning Lights, Gages, and
Indicators
.......................................... 161
Audio System(s)
................................... 184
Driving Your Vehicle
................................. 205
Your Driving, the Road, and
Your Vehicle
..................................... 206
Towing
................................................. 241
Service and Appearance Care
.................. 245
Service
................................................. 248
Fuel
...................................................... 251
Checking Things Under the Hood
......... 266
Rear Axle
............................................. 311
2007 Chevrolet Kodiak Owner ManualM
1
Page 98 of 430
Starter Motor Operation
•The starter motor will disengage if you release
the key or the engine reaches a predetermined
engine speed.
•To prevent overheating, the starter motor will
disengage after continuously operating for
15 seconds. You must release the key
from the start position to re-engage the starter.
•The starter motor will not engage if the engine
is already running.
•The starter motor will disengage if, after
two seconds, the starter pinion gear does not
engage the flywheel or there is no engine
rpm signal from the engine speed sensor.
Starting Your Engine
1. Without pushing the accelerator pedal, turn
your ignition key to START. When the
engine starts, let go of the key. The idle speed
will go down as your engine gets warm.2. If the engine does not start in 10 seconds,
push the accelerator pedal all the way down
and crank the engine for five more seconds,
unless it starts sooner.
3. If your engine still will not start, or starts but
then stops, it could be flooded with too much
gasoline.
Wait 15 seconds to let the starter motor cool
down. Do Steps 1 through 3 again.
When the engine starts, let go of the key and
the accelerator pedal.
Notice:Your engine is designed to work with
the electronics in your vehicle. If you add
electrical parts or accessories, you could
change the way the engine operates. Before
adding electrical equipment, check with your
dealer. If you do not, your engine might not
perform properly. Any resulting damage would
not be covered by your vehicle’s warranty.
If you ever need to have your vehicle towed, see
Towing Your Vehicle on page 241.
98
Page 116 of 430
Overdrive Defeat
If your vehicle has this feature, you can select not
to shift up to fifth gear. This is useful when
towing or under a heavy load.
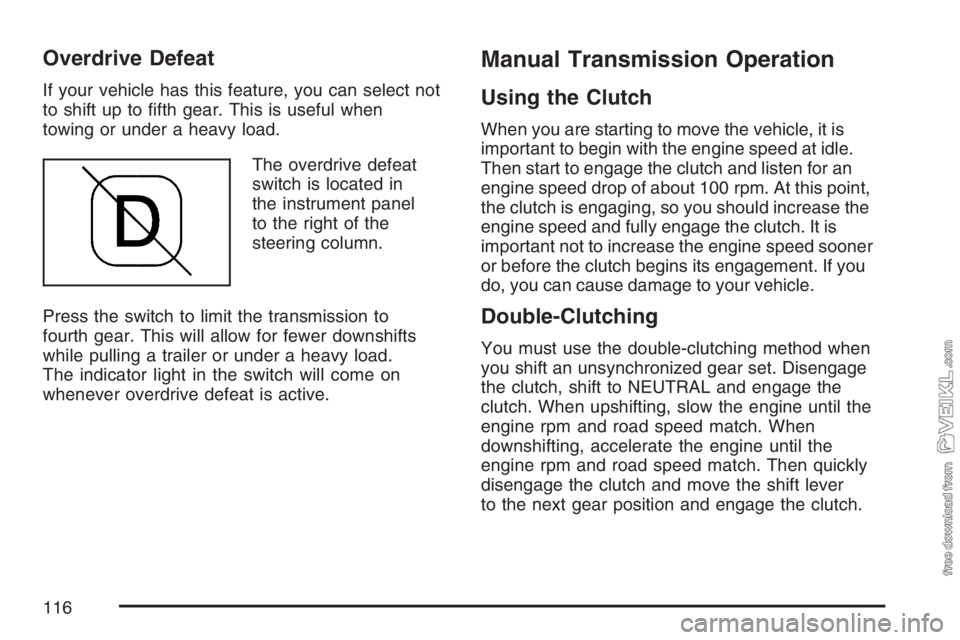
The overdrive defeat
switch is located in
the instrument panel
to the right of the
steering column.
Press the switch to limit the transmission to
fourth gear. This will allow for fewer downshifts
while pulling a trailer or under a heavy load.
The indicator light in the switch will come on
whenever overdrive defeat is active.
Manual Transmission Operation
Using the Clutch
When you are starting to move the vehicle, it is
important to begin with the engine speed at idle.
Then start to engage the clutch and listen for an
engine speed drop of about 100 rpm. At this point,
the clutch is engaging, so you should increase the
engine speed and fully engage the clutch. It is
important not to increase the engine speed sooner
or before the clutch begins its engagement. If you
do, you can cause damage to your vehicle.
Double-Clutching
You must use the double-clutching method when
you shift an unsynchronized gear set. Disengage
the clutch, shift to NEUTRAL and engage the
clutch. When upshifting, slow the engine until the
engine rpm and road speed match. When
downshifting, accelerate the engine until the
engine rpm and road speed match. Then quickly
disengage the clutch and move the shift lever
to the next gear position and engage the clutch.
116
Page 120 of 430
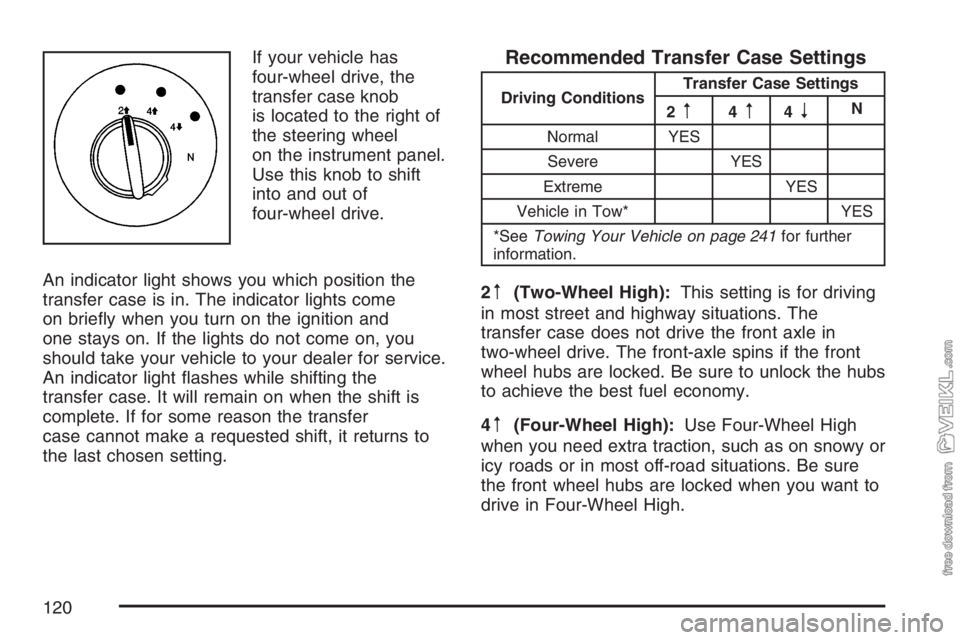
If your vehicle has
four-wheel drive, the
transfer case knob
is located to the right of
the steering wheel
on the instrument panel.
Use this knob to shift
into and out of
four-wheel drive.
An indicator light shows you which position the
transfer case is in. The indicator lights come
on briefly when you turn on the ignition and
one stays on. If the lights do not come on, you
should take your vehicle to your dealer for service.
An indicator light flashes while shifting the
transfer case. It will remain on when the shift is
complete. If for some reason the transfer
case cannot make a requested shift, it returns to
the last chosen setting.Recommended Transfer Case Settings
Driving ConditionsTransfer Case Settings
2m4m4nN
Normal YES
Severe YES
Extreme YES
Vehicle in Tow* YES
*SeeTowing Your Vehicle on page 241for further
information.
2m(Two-Wheel High):This setting is for driving
in most street and highway situations. The
transfer case does not drive the front axle in
two-wheel drive. The front-axle spins if the front
wheel hubs are locked. Be sure to unlock the hubs
to achieve the best fuel economy.
4
m(Four-Wheel High):Use Four-Wheel High
when you need extra traction, such as on snowy or
icy roads or in most off-road situations. Be sure
the front wheel hubs are locked when you want to
drive in Four-Wheel High.
120
Page 121 of 430
4n(Four-Wheel Low):This setting sends
maximum power to all four wheels. You might
choose Four-Wheel Low if you are driving off-road
in deep sand, deep mud, and climbing or
descending steep hills. Be sure the front wheel
hubs are locked when you want to drive in
Four-Wheel Low.
{CAUTION:
Shifting the transfer case to NEUTRAL
can cause your vehicle to roll even if the
transmission is in PARK (P). You or
someone else could be injured. If you are
going to leave your vehicle, set the
parking brake and shift the transmission
to PARK (P) and make sure the transfer
case is in a drive gear.Notice:If your vehicle has an Allison
®
transmission and you try to put the
transmission in PARK (P) while the transfer
case is in Four-Wheel Low, the transmission
might not go into PARK (P) and could damage
your vehicle. When parking your vehicle,
make sure the transfer case is in Two-Wheel
High or Four-Wheel High.
NEUTRAL:Shift the vehicle’s transfer case to
NEUTRAL only when towing your vehicle.
Shifting Into Four-Wheel High
Turn the knob to four-wheel high. This can be
done at 3 mph or less, while you are shifting out
of Four-Wheel Low. The indicator light flashes
while shifting. It remains on after the shift is
complete. Be sure to lock your front hubs.
121
Page 127 of 430
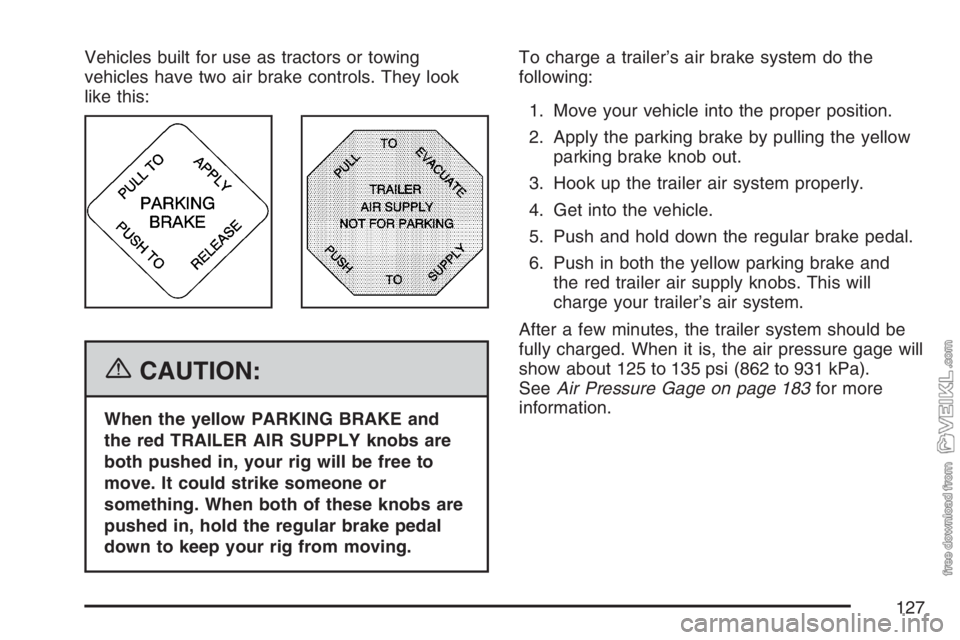
Vehicles built for use as tractors or towing
vehicles have two air brake controls. They look
like this:
{CAUTION:
When the yellow PARKING BRAKE and
the red TRAILER AIR SUPPLY knobs are
both pushed in, your rig will be free to
move. It could strike someone or
something. When both of these knobs are
pushed in, hold the regular brake pedal
down to keep your rig from moving.To charge a trailer’s air brake system do the
following:
1. Move your vehicle into the proper position.
2. Apply the parking brake by pulling the yellow
parking brake knob out.
3. Hook up the trailer air system properly.
4. Get into the vehicle.
5. Push and hold down the regular brake pedal.
6. Push in both the yellow parking brake and
the red trailer air supply knobs. This will
charge your trailer’s air system.
After a few minutes, the trailer system should be
fully charged. When it is, the air pressure gage will
show about 125 to 135 psi (862 to 931 kPa).
SeeAir Pressure Gage on page 183for more
information.
127
Page 128 of 430
For driving with a trailer, the yellow and red, if
equipped, knobs must be pushed in. When you are
not pulling a trailer, the red trailer air supply
knob must be pulled out.
{CAUTION:
If you apply any one of the air brake
parking controls while the vehicle is
moving, your rig will stop suddenly. If you
are not ready for this, you or others could
be injured. Do not apply any one of these
controls while you are driving, unless you
have to make an emergency stop.
If the air pressure drops below 60 to 70 psi
(413 to 482 kPa), the primary brake light and
warning buzzer will come on. If the air pressure
drops to 35 to 45 psi (241 to 310 kPa), the
red trailer air supply knob will automatically pop
out and apply the spring brakes on the trailer.If the air pressure drops to 35 to 45 psi
(241 to 310 kPa), the yellow park brake knob will
automatically pop out and apply the spring
brakes on the truck or tractor.
If you ever have a complete loss of air so that
your air brakes automatically apply, there is a way
that the tow operator can release the parking
brakes to tow the vehicle. SeeTowing Your
Vehicle on page 241.
Parking Brake Burnish Procedure
All vehicles which have hydraulic brakes will have
a parking brake. It is recommended that the
parking brake be burnished as part of the new
vehicle break-in. The parking brake will work best
after it has been burnished following these
instructions:
1. Making sure that there is no other traffic
around, get the vehicle speed up to
20 mph (32 km/h) and pull up to apply the
parking brake. Let the vehicle come to
a complete stop. Apply the base brakes and
disengage the parking brake.
128
Page 170 of 430
The brake system warning light may come on, and
the warning tone may sound, when you are
turning and braking at the same time. This is
normal. See “Hydraulic Brake Systems” under
Braking on page 210.
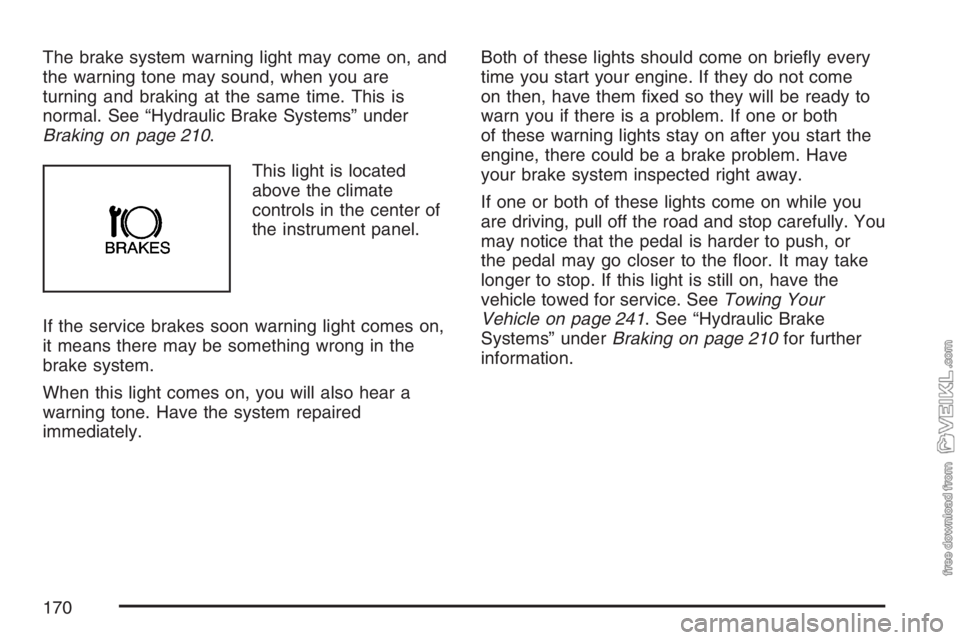
This light is located
above the climate
controls in the center of
the instrument panel.
If the service brakes soon warning light comes on,
it means there may be something wrong in the
brake system.
When this light comes on, you will also hear a
warning tone. Have the system repaired
immediately.Both of these lights should come on briefly every
time you start your engine. If they do not come
on then, have them fixed so they will be ready to
warn you if there is a problem. If one or both
of these warning lights stay on after you start the
engine, there could be a brake problem. Have
your brake system inspected right away.
If one or both of these lights come on while you
are driving, pull off the road and stop carefully. You
may notice that the pedal is harder to push, or
the pedal may go closer to the floor. It may take
longer to stop. If this light is still on, have the
vehicle towed for service. SeeTowing Your
Vehicle on page 241. See “Hydraulic Brake
Systems” underBraking on page 210for further
information.
170
Page 205 of 430
Your Driving, the Road, and Your Vehicle.... 206
Defensive Driving...................................... 206
Drunken Driving........................................ 207
Control of a Vehicle.................................. 210
Braking...................................................... 210
Hydraulic Brake Systems........................... 211
Anti-Lock Brake System (ABS).................. 212
Braking in Emergencies............................. 213
Trailer Brake Hand Control Valve.............. 214
Rear Axle Differential Lock Control............ 215
Traction Control System (TCS).................. 216
Steering.................................................... 217
Off-Road Recovery.................................... 219
Passing..................................................... 220
Loss of Control.......................................... 221
Driving at Night......................................... 223Driving in Rain and on Wet Roads............ 224
City Driving............................................... 227
Freeway Driving........................................ 228
Highway Hypnosis..................................... 229
Hill and Mountain Roads........................... 230
Winter Driving........................................... 231
If Your Vehicle is Stuck in Sand,
Mud, Ice, or Snow ................................. 236
Rocking Your Vehicle to Get It Out........... 236
Tow Hooks................................................ 237
Loading Your Vehicle................................ 238
Adding a Snow Plow or Similar
Equipment.............................................. 240
Towing........................................................ 241
Towing Your Vehicle ................................. 241
Trailer Connections................................... 243
Section 4 Driving Your Vehicle
205
Page 236 of 430
If Your Vehicle is Stuck in Sand,
Mud, Ice, or Snow
In order to free your vehicle when it is stuck,
you will need to spin the wheels, but you do not
want to spin your wheels too fast. The method
known as rocking can help you get out when you
are stuck, but you must use caution.
{CAUTION:
If you let your vehicle’s tires spin at high
speed, they can explode, and you or others
could be injured. And, the transmission or
other parts of the vehicle can overheat.
That could cause an engine compartment
�re or other damage. When you are stuck,
spin the wheels as little as possible. Do not
spin the wheels above 35 mph (55 km/h)
as shown on the speedometer.
Notice:Spinning the wheels can destroy
parts of your vehicle as well as the tires. If you
spin the wheels too fast while shifting the
transmission back and forth, you can destroy
the transmission.
Rocking Your Vehicle to Get It Out
First, turn the steering wheel left and right.
That will clear the area around the front wheels.
If you have a four-wheel-drive vehicle, shift
into 4HI. SeeFour-Wheel Drive on page 119.
If your vehicle has traction control, you should turn
the traction control system off. SeeTraction
Control System (TCS) on page 216. Then shift
back and forth between REVERSE (R) and
a forward gear, or with a manual transmission,
between FIRST (1) or SECOND (2) and
REVERSE (R), spinning the wheels as little as
possible. Release the accelerator pedal while you
shift, and press lightly on the accelerator pedal
when the transmission is in gear. By slowly
spinning the wheels in the forward and reverse
directions, you will cause a rocking motion
that may free your vehicle. If that does not get
your vehicle out after a few tries, it may need to
be towed out. If your vehicle does need to be
towed out, seeTowing Your Vehicle on page 241.
236