CHEVROLET VENTURE 2003 1.G Owners Manual
Manufacturer: CHEVROLET, Model Year: 2003, Model line: VENTURE, Model: CHEVROLET VENTURE 2003 1.GPages: 486, PDF Size: 3.3 MB
Page 271 of 486
If you attempt to save more than 20 selections, S-LIST
FULL will appear on the display.
To play the song list, press the SONG LIST button. One
beep will be heard and S-LIST will appear on the
display. The recorded tracks will begin to play in the
order that they were saved.
You may seek through the song list by using the SEEK
SCAN arrows. Seeking past the last saved track will
return you to the ®rst saved track.
To delete tracks from the song list, perform the
following steps:
1. Turn the disc player on.
2. Press the SONG LIST button to turn song list on.
S-LIST will appear on the display.
3. Press the SEEK SCAN arrows to select the desired
track to be deleted.
4. Press and hold the SONG LIST button for two
seconds. When pressing SONG LIST, one beep
will be heard immediately. After two seconds
of pressing the SONG LIST button continuously,
two beeps will be heard to con®rm that the track has
been deleted.After a track has been deleted, the remaining tracks are
moved up the list. When another track is added to
the song list, the track will be added to the end of
the list.
To delete the entire song list, perform the following
steps:
1. Turn the disc player on.
2. Press the SONG LIST button to turn song list on.
S-LIST will appear on the display.
3. Press and hold the SONG LIST button for more
than four seconds. A beep will be heard, followed
by two beeps after two seconds and a ®nal beep will
be heard after four seconds. S-LIST EMPTY will
appear on the display indicating that the song
list has been deleted.
If a disc is ejected, and the song list contains saved
tracks from that disc, those tracks are automatically
deleted from the song list. Any tracks saved to the song
list again are added to the bottom of the list.
To end song list mode, press the SONG LIST button.
One beep will be heard and S-LIST will be removed from
the display.
3-91
Page 272 of 486
Compact Disc Messages
CHECK CD:If this message appears on the radio
display, it could be due to one of the following reasons:
·You're driving on a very rough road. When the
road becomes smoother, the disc should play.
·The disc is dirty, scratched, wet or upside down.
·The air is very humid. If so, wait about an hour and
try again.
·There may have been a problem while burning
the CD.
·The label may be caught in the CD player.
If the CD is not playing correctly, for any other reason,
try a known good CD.
If any error occurs repeatedly or if an error can't be
corrected, contact your dealer. If your radio displays an
error message, write it down and provide it to your
dealer when reporting the problem.
Entertainment System
Your vehicle may have an optional Digital Video
Disc (DVD) entertainment system. The entertainment
system works with the vehicle's audio system and
includes a DVD player, a video display screen,
headphones and a remote control. The entertainment
system also integrates the rear climate control and rear
seat audio functions.
Before You Drive
The video entertainment system is for passengers in the
second and third row seats only. The driver cannot
safely view the video screen while driving and should
not try to do so.
In severe or extreme weather conditions your
entertainment system will shut down until the
temperature is within the operating range. This
protection feature will keep your video components from
being damaged while the temperature is below
-4ÉF (-20ÉC) or above 140ÉF (60ÉC). To resume
operation, shut off the entertainment system, pull down
the video screen and then heat or cool the vehicle
until the temperature is within the operating range.
3-92
Page 273 of 486
Headphones
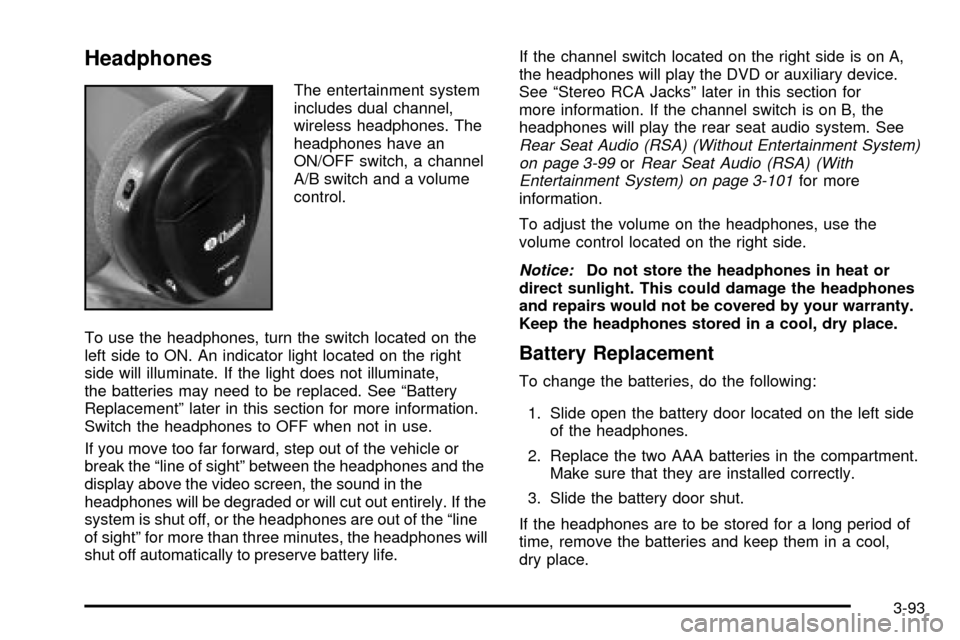
The entertainment system
includes dual channel,
wireless headphones. The
headphones have an
ON/OFF switch, a channel
A/B switch and a volume
control.
To use the headphones, turn the switch located on the
left side to ON. An indicator light located on the right
side will illuminate. If the light does not illuminate,
the batteries may need to be replaced. See ªBattery
Replacementº later in this section for more information.
Switch the headphones to OFF when not in use.
If you move too far forward, step out of the vehicle or
break the ªline of sightº between the headphones and the
display above the video screen, the sound in the
headphones will be degraded or will cut out entirely. If the
system is shut off, or the headphones are out of the ªline
of sightº for more than three minutes, the headphones will
shut off automatically to preserve battery life.If the channel switch located on the right side is on A,
the headphones will play the DVD or auxiliary device.
See ªStereo RCA Jacksº later in this section for
more information. If the channel switch is on B, the
headphones will play the rear seat audio system. See
Rear Seat Audio (RSA) (Without Entertainment System)
on page 3-99orRear Seat Audio (RSA) (With
Entertainment System) on page 3-101for more
information.
To adjust the volume on the headphones, use the
volume control located on the right side.
Notice:Do not store the headphones in heat or
direct sunlight. This could damage the headphones
and repairs would not be covered by your warranty.
Keep the headphones stored in a cool, dry place.
Battery Replacement
To change the batteries, do the following:
1. Slide open the battery door located on the left side
of the headphones.
2. Replace the two AAA batteries in the compartment.
Make sure that they are installed correctly.
3. Slide the battery door shut.
If the headphones are to be stored for a long period of
time, remove the batteries and keep them in a cool,
dry place.
3-93
Page 274 of 486
Stereo RCA Jacks
The RCA jacks are located on the faceplate of the DVD
player. They allow you to hook up an auxiliary device
such as a camcorder or a video game unit. You
may require adapter connectors or cables to connect
your auxiliary device to the RCA jacks. Refer to
the manufacturer's instructions for proper usage.
To use the auxiliary function, connect a camcorder or a
video game unit to the RCA jacks and turn on the
auxiliary device. If you want to view a DVD, insert the
DVD into the DVD player. The system will automatically
switch to DVD and start to play. To switch between
the auxiliary device and the DVD, press the SOURCE
button on the DVD player or on the remote control. See
ªDVD Playerº and ªRemote Controlº later in this
section for more information.
Audio Speakers
Only one audio source can be heard through the
speakers at one time.
Audio from the radio, cassette or CD player will be
heard through all speakers when the front audio system
is being used and the rear seat audio system is off.
Sound from the DVD player or an auxiliary device can
be heard through all speakers when the front audio
system and rear seat audio are off and a DVD or
auxiliary device is playing.
To hear the DVD, auxiliary device, or rear seat audio
system while the front audio system is on, you must use
the headphones. While the rear seat audio system is
on, the rear speakers will be muted.
3-94
Page 275 of 486
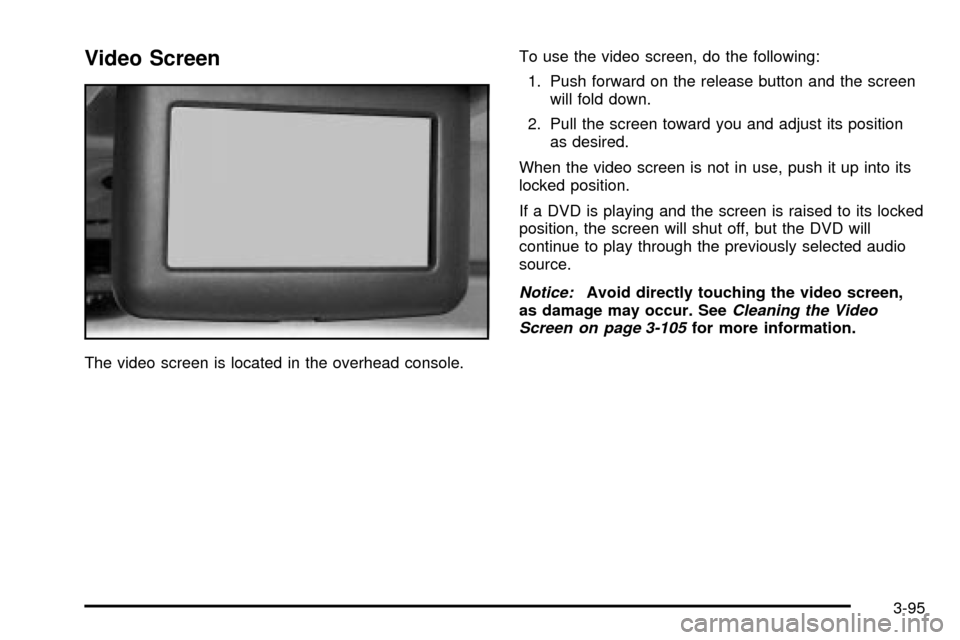
Video Screen
The video screen is located in the overhead console.To use the video screen, do the following:
1. Push forward on the release button and the screen
will fold down.
2. Pull the screen toward you and adjust its position
as desired.
When the video screen is not in use, push it up into its
locked position.
If a DVD is playing and the screen is raised to its locked
position, the screen will shut off, but the DVD will
continue to play through the previously selected audio
source.
Notice:Avoid directly touching the video screen,
as damage may occur. SeeCleaning the Video
Screen on page 3-105for more information.
3-95
Page 276 of 486
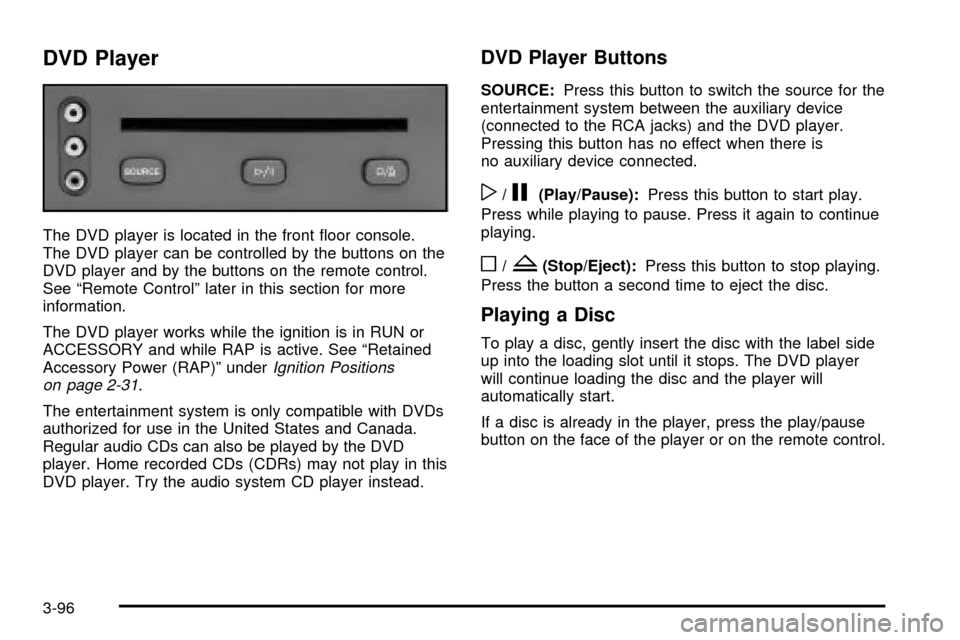
DVD Player
The DVD player is located in the front ¯oor console.
The DVD player can be controlled by the buttons on the
DVD player and by the buttons on the remote control.
See ªRemote Controlº later in this section for more
information.
The DVD player works while the ignition is in RUN or
ACCESSORY and while RAP is active. See ªRetained
Accessory Power (RAP)º under
Ignition Positions
on page 2-31.
The entertainment system is only compatible with DVDs
authorized for use in the United States and Canada.
Regular audio CDs can also be played by the DVD
player. Home recorded CDs (CDRs) may not play in this
DVD player. Try the audio system CD player instead.
DVD Player Buttons
SOURCE:Press this button to switch the source for the
entertainment system between the auxiliary device
(connected to the RCA jacks) and the DVD player.
Pressing this button has no effect when there is
no auxiliary device connected.
w/j(Play/Pause):Press this button to start play.
Press while playing to pause. Press it again to continue
playing.
o/Z(Stop/Eject):Press this button to stop playing.
Press the button a second time to eject the disc.
Playing a Disc
To play a disc, gently insert the disc with the label side
up into the loading slot until it stops. The DVD player
will continue loading the disc and the player will
automatically start.
If a disc is already in the player, press the play/pause
button on the face of the player or on the remote control.
3-96
Page 277 of 486
Some DVDs will not allow you to fast forward or skip
the copyright or previews. Some DVDs will begin playing
the movie automatically after the previews have
®nished (although there may be a delay of up to 30
seconds). If the DVD does not begin playing the movie
automatically, press the play/pause button on the
face of the DVD player or the remote control. If the DVD
still does not play, refer to the on-screen instructions.
Stopping and Resuming Playback
To stop a disc, press the stop/eject button on the DVD
player. To resume playback, press the play/pause
button. As long as you have not ejected the disc, it will
resume playback from the point where it was stopped.
If the disc has been ejected, the player will start playing
at the beginning of the disc.
Ejecting a Disc
Press the stop/eject button on the DVD player once to
stop and a second time to eject the disc.
If a disc is ejected from the player, but not removed,
the DVD player will reload the disc after a short period
of time.
Remote Control
To use the remote control, aim it at the display above
the video screen and press the desired button.
Direct sunlight or very bright light may affect the ability
of the entertainment system to receive signals from
the remote control. Be sure the remote's batteries are
not discharged, as this will also affect the function of the
remote control. Objects blocking the line of sight may
also affect the function of the remote control.
Notice:Storing the remote control in a hot area or
in direct sunlight may damage it, and the repairs
would not be covered by your warranty. Store
the remote control stored in a cool, dry place.
3-97
Page 278 of 486
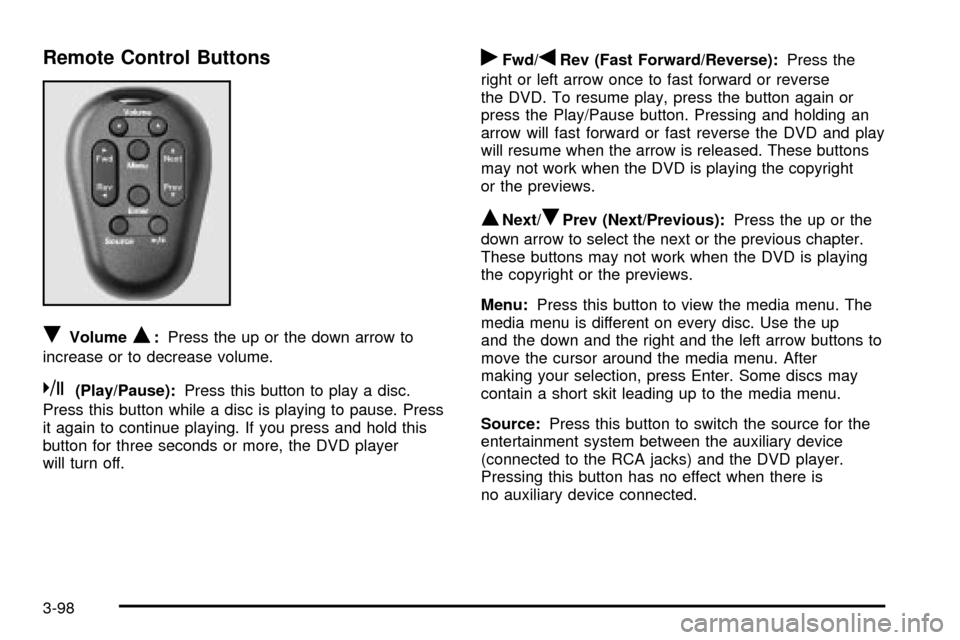
Remote Control Buttons
RVolumeQ:Press the up or the down arrow to
increase or to decrease volume.
k(Play/Pause):Press this button to play a disc.
Press this button while a disc is playing to pause. Press
it again to continue playing. If you press and hold this
button for three seconds or more, the DVD player
will turn off.
rFwd/qRev (Fast Forward/Reverse):Press the
right or left arrow once to fast forward or reverse
the DVD. To resume play, press the button again or
press the Play/Pause button. Pressing and holding an
arrow will fast forward or fast reverse the DVD and play
will resume when the arrow is released. These buttons
may not work when the DVD is playing the copyright
or the previews.
QNext/RPrev (Next/Previous):Press the up or the
down arrow to select the next or the previous chapter.
These buttons may not work when the DVD is playing
the copyright or the previews.
Menu:Press this button to view the media menu. The
media menu is different on every disc. Use the up
and the down and the right and the left arrow buttons to
move the cursor around the media menu. After
making your selection, press Enter. Some discs may
contain a short skit leading up to the media menu.
Source:Press this button to switch the source for the
entertainment system between the auxiliary device
(connected to the RCA jacks) and the DVD player.
Pressing this button has no effect when there is
no auxiliary device connected.
3-98
Page 279 of 486
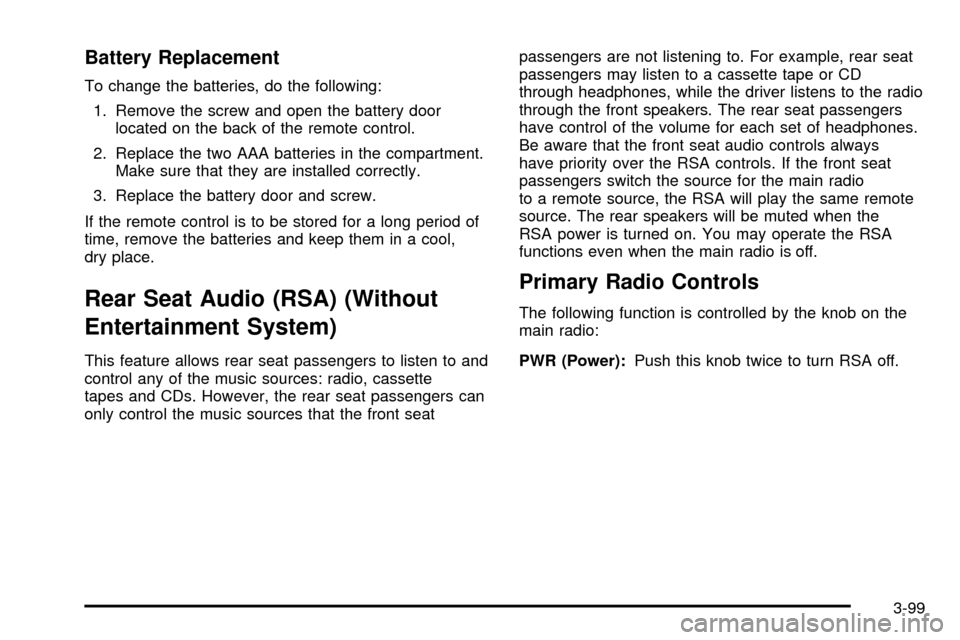
Battery Replacement
To change the batteries, do the following:
1. Remove the screw and open the battery door
located on the back of the remote control.
2. Replace the two AAA batteries in the compartment.
Make sure that they are installed correctly.
3. Replace the battery door and screw.
If the remote control is to be stored for a long period of
time, remove the batteries and keep them in a cool,
dry place.
Rear Seat Audio (RSA) (Without
Entertainment System)
This feature allows rear seat passengers to listen to and
control any of the music sources: radio, cassette
tapes and CDs. However, the rear seat passengers can
only control the music sources that the front seatpassengers are not listening to. For example, rear seat
passengers may listen to a cassette tape or CD
through headphones, while the driver listens to the radio
through the front speakers. The rear seat passengers
have control of the volume for each set of headphones.
Be aware that the front seat audio controls always
have priority over the RSA controls. If the front seat
passengers switch the source for the main radio
to a remote source, the RSA will play the same remote
source. The rear speakers will be muted when the
RSA power is turned on. You may operate the RSA
functions even when the main radio is off.
Primary Radio Controls
The following function is controlled by the knob on the
main radio:
PWR (Power):Push this knob twice to turn RSA off.
3-99
Page 280 of 486
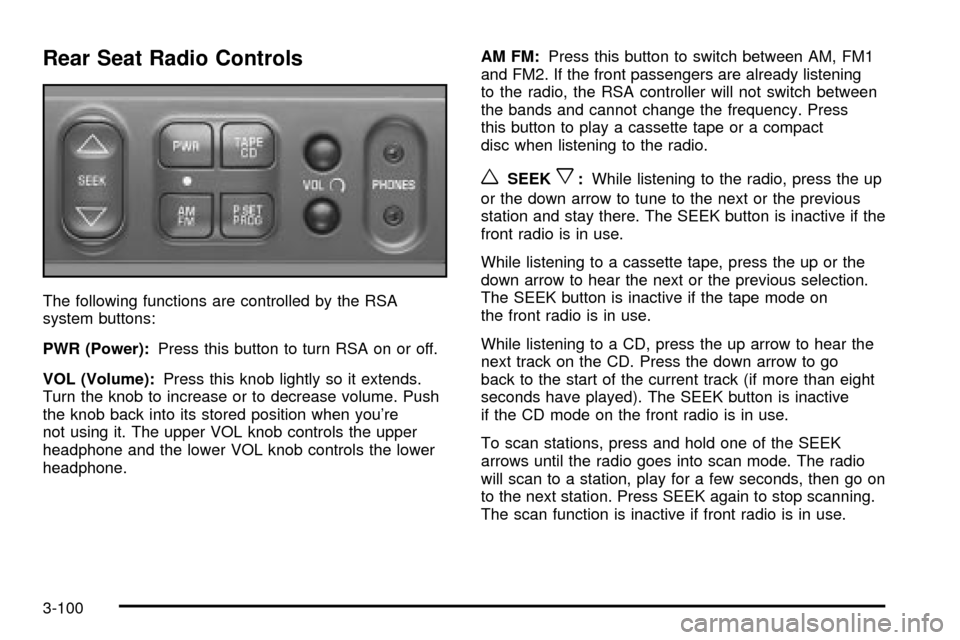
Rear Seat Radio Controls
The following functions are controlled by the RSA
system buttons:
PWR (Power):Press this button to turn RSA on or off.
VOL (Volume):Press this knob lightly so it extends.
Turn the knob to increase or to decrease volume. Push
the knob back into its stored position when you're
not using it. The upper VOL knob controls the upper
headphone and the lower VOL knob controls the lower
headphone.AM FM:Press this button to switch between AM, FM1
and FM2. If the front passengers are already listening
to the radio, the RSA controller will not switch between
the bands and cannot change the frequency. Press
this button to play a cassette tape or a compact
disc when listening to the radio.
wSEEKx:While listening to the radio, press the up
or the down arrow to tune to the next or the previous
station and stay there. The SEEK button is inactive if the
front radio is in use.
While listening to a cassette tape, press the up or the
down arrow to hear the next or the previous selection.
The SEEK button is inactive if the tape mode on
the front radio is in use.
While listening to a CD, press the up arrow to hear the
next track on the CD. Press the down arrow to go
back to the start of the current track (if more than eight
seconds have played). The SEEK button is inactive
if the CD mode on the front radio is in use.
To scan stations, press and hold one of the SEEK
arrows until the radio goes into scan mode. The radio
will scan to a station, play for a few seconds, then go on
to the next station. Press SEEK again to stop scanning.
The scan function is inactive if front radio is in use.
3-100