child lock CHRYSLER 300 2015 2.G User Guide
[x] Cancel search | Manufacturer: CHRYSLER, Model Year: 2015, Model line: 300, Model: CHRYSLER 300 2015 2.GPages: 180, PDF Size: 30.54 MB
Page 3 of 180
INTRODUCTION/WELCOME
WELCOME FROM FCA US LLC . . . . . . . 2
CONTROLS AT A GLANCE
DRIVER COCKPIT...............4INSTRUMENT CLUSTER...........6
GETTING STARTED
KEY FOB . . . . . . . . . . . . . . . . . . . . 8REMOTE START...............10KEYLESS ENTER-N-GO™..........10VEHICLE SECURITY ALARM . .......14SEAT BELT SYSTEMS.............14SUPPLEMENTAL RESTRAINT SYSTEM (SRS)—AIRBAGS . . . . . . . . . . . . . . . . . . 15CHILD RESTRAINTS.............18HEAD RESTRAINTS..............22FRONT SEATS . . . . . . . . . . . . . . . . 24REAR SEAT...................27HEATED SEATS . . . . . . . . . . . . . . . . 27HEATED AND COOLED CUPHOLDERS...28ADJUSTABLE PEDALS............29TILT/TELESCOPING STEERINGCOLUMN . . . . . . . . . . . . . . . . . . . 30
OPERATING YOUR VEHICLE
ENGINE BREAK-INRECOMMENDATIONS............31TURN SIGNAL/WIPER/WASHER/HIGH BEAMLEVER.....................32HEADLIGHT SWITCH............33ELECTRONIC SPEED CONTROL.....35ADAPTIVE CRUISE CONTROL (ACC) . . . 37LANESENSE..................42PA R K V I E W ® R E A R B AC K- U P C A M E R A . . 4 2EIGHT-SPEED AUTOMATICTRANSMISSION................43AUTOSTICK . . . . . . . . . . . . . . . . . . 44AUTOMATIC TEMPERATURE CONTROLS(ATC) . . . . . . . . . . . . . . . . . . . . . 46BLIND SPOT MONITORING........48POWER SUNROOF..............49WIND BUFFETING..............51
ELECTRONICS
YO U R V E H I C L E ' S S O U N D SYS T E M....52IDENTIFYING YOUR RADIO........54Uconnect® ACCESS..............55Uconnect® 8.4A.................71Uconnect® 8.4AN...............94Uconnect® PHONE ..............109STEERING WHEEL AUDIO CONTROLS...118SETTING THE ANALOG CLOCK.....118DRIVER INFORMATION DISPLAY (DID). . 119PROGRAMMABLE FEATURES.......120UNIVERSAL GARAGE DOOR OPENER(HomeLink®)..................121
POWER OUTLETS.............123
UTILITY
TRAILER TOWING WEIGHTS (MAXIMUMTRAILER WEIGHT RATINGS).......124RECREATIONAL TOWING (BEHINDMOTORHOME, ETC.)...........125
WHAT TO DO IN EMERGENCIES
ROADSIDE ASSISTANCE..........126INSTRUMENT CLUSTER WARNINGLIGHTS . . . . . . . . . . . . . . . . . . . . 126INSTRUMENT CLUSTER INDICATORLIGHTS . . . . . . . . . . . . . . . . . . . . 130IF YOUR ENGINE OVERHEATS......132JACKING AND TIRE CHANGING.....132BATTERY LOCATION............139JUMP-STARTING..............139MANUAL PARK RELEASE..........141TOWING A DISABLED VEHICLE.....142FREEING A STUCK VEHICLE.......143EVENT DATA RECORDER (EDR).....144
MAINTAINING YOUR VEHICLE
OPENING THE HOOD . . .........145ENGINE COMPARTMENT — 3.6L.....146ENGINE COMPARTMENT — 5.7L.....148FLUID CAPACITIES . . . . . . . . . . . . . 150FLUIDS, LUBRICANTS, AND GENUINEPA RTS . . . . . . . . . . . . . . . . . . . . . 1 5 0MAINTENANCE PROCEDURES . . . . . . 152MAINTENANCE SCHEDULE . . .....152FUSES.....................157TIRE PRESSURES...............161SPARE TIRES — IF EQUIPPED . . . . . . . 162FUEL DOOR RELEASE ...........164WHEEL AND WHEEL TRIM CARE.....165REPLACEMENT BULBS...........166
CONSUMER ASSISTANCE
FCA US LLC CUSTOMER CENTER . . . . 167FCA CANADA INC. CUSTOMERCENTER...................167PUBLICATIONS ORDERING........167ASSISTANCE FOR THE HEARINGIMPAIRED . . . . . . . . . . . . . . . . . . 167REPORTING SAFETY DEFECTS IN THEUNITED STATES . . . . . . . . . . . . . . . 168
MOPAR® ACCESSORIES
AUTHENTIC ACCESSORIES BYMOPAR® . . . . . . . . . . . . . . . . . . . 169
FREQUENTLY ASKED QUESTIONSFREQUENTLY ASKED QUESTIONS....170
INDEX................... 171
TA B L E O F CO N T E N TS
Page 5 of 180
VEHICLES SOLD IN CANADA
With respect to any vehicles sold in Canada, the name FCA US LLC shall be deemed to be
deleted and the name FCA Canada Inc. used in substitution (excluding legal lines).
WARNING!
•Pedalsthatcannotmovefreelycancauselossofvehiclecontrolandincreasetheriskof
serious personal injury.
•Alwaysmakesurethatobjectscannotfallintothedriverfootwellwhilethevehicleis
moving. Objects can become trapped under the brake pedal and accelerator pedal
causing a loss of vehicle control.
• Failure to properly follow floor mat installation or mounting can cause interference with
the brake pedal and accelerator pedal operation causing loss of control of the vehicle.
•Neverleavechildrenaloneinavehicle,orwithaccesstoanunlockedvehicle.Allowing
children to be in a vehicle unattended is dangerous for a number of reasons. A child or
others could be seriously or fatally injured. Children should be warned not to touch the
parking brake, brake pedal or the shift lever/transmission gear selector.
•Donotleavethekeyfobinornearthevehicle,orinalocationaccessibletochildren,and
do not leave the ignition of a vehicle equipped with Keyless Enter-N-Go™ in the ACC or
ON/RUN mode. A child could operate power windows, other controls, or move the
vehicle.
•Neverusethe“PARK”positionasasubstitutefortheparkingbrake.Alwaysapplythe
parking brake fully when parked to guard against vehicle movement and possible injury or
damage.
•RefertoyourOwner'sManualontheDVDforfurtherdetails.
USE OF AFTERMARKET PRODUCTS (ELECTRONICS)
The use of aftermarket devices including cell phones, MP3 players, GPS systems, or chargers
may affect the performance of on-board wireless features including Keyless Enter-N-Go™ and
Remote Start range. If you are experiencing difficulties with any of your wireless features, try
disconnecting your aftermarket devices to see if the situation improves. If your symptoms persist,
please see an authorized dealer.
CHRYSLER, DODGE, JEEP, RAM, MOPAR and Uconnect are registered trademarks of FCA
US LLC.
COPYRIGHT ©2015 FCA US LLC
INTRODUCTION/WELCOME
3
Page 11 of 180
Opening The Trunk
Push the Trunk Release button on the transmitter two times within five seconds to open the trunk.
Panic Alarm
1. Push the PANIC button once to turn the panic alarm on.
2. Wait approximately three seconds and push the button a second time to turn the panic alarm
off.
Emergency Key
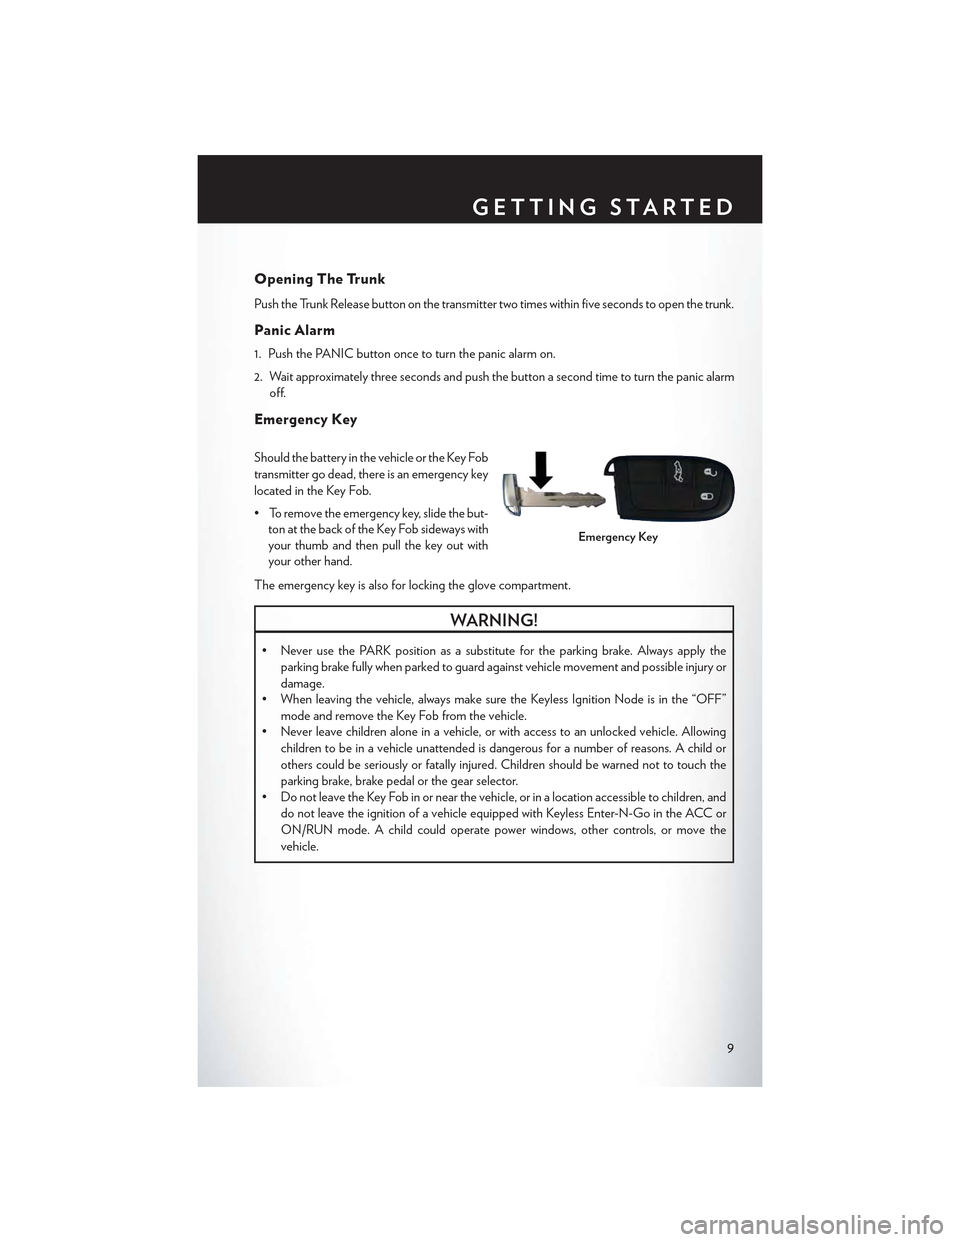
Should the battery in the vehicle or the Key Fob
transmitter go dead, there is an emergency key
located in the Key Fob.
•Toremovetheemergencykey,slidethebut-
ton at the back of the Key Fob sideways with
your thumb and then pull the key out with
your other hand.
The emergency key is also for locking the glove compartment.
WARNING!
•NeverusethePARKpositionasasubstitutefortheparkingbrake.Alwaysapplythe
parking brake fully when parked to guard against vehicle movement and possible injury or
damage.
•Whenleavingthevehicle,alwaysmakesuretheKeylessIgnitionNodeisinthe“OFF”
mode and remove the Key Fob from the vehicle.
•Neverleavechildrenaloneinavehicle,orwithaccesstoanunlockedvehicle.Allowing
children to be in a vehicle unattended is dangerous for a number of reasons. A child or
others could be seriously or fatally injured. Children should be warned not to touch the
parking brake, brake pedal or the gear selector.
•DonotleavetheKeyFobinornearthevehicle,orinalocationaccessibletochildren,and
do not leave the ignition of a vehicle equipped with Keyless Enter-N-Go in the ACC or
ON/RUN mode. A child could operate power windows, other controls, or move the
vehicle.
Emergency Key
GETTING STARTED
9
Page 12 of 180
REMOTE START
• Push the REMOTE START buttonx2on the Key Fob twice within five seconds. Pushing the
REMOTE START button a third time shuts the engine off.
•Todrivethevehicle,pushtheUNLOCKbuttonandcycletheignitiontotheON/RUN
position.
With Remote Start, the engine will only run for 15 minutes (timeout) unless the ignition is cycled
to the ON/RUN position.
The vehicle must be cycled to the ON/RUN position after two consecutive timeouts.
WARNING!
• Do not start or run an engine in a closed garage or confined area. Exhaust gas contains
Carbon Monoxide (CO) which is odorless and colorless. Carbon Monoxide is poisonous
and can cause you or others to be severely injured or killed when inhaled.
•KeepKeyFobtransmittersawayfromchildren.OperationoftheRemoteStartSystem,
windows, door locks or other controls could cause you and others to be severely injured or
killed.
KEYLESS ENTER-N-GO™
The Keyless Enter-N-Go™ system is an enhancement to the vehicle's Key Fob. This feature
allows you to lock and unlock the vehicle's door(s) and trunk without having to push the Key Fob
lock or unlock buttons as well as starting and stopping the vehicle with the push of a button.
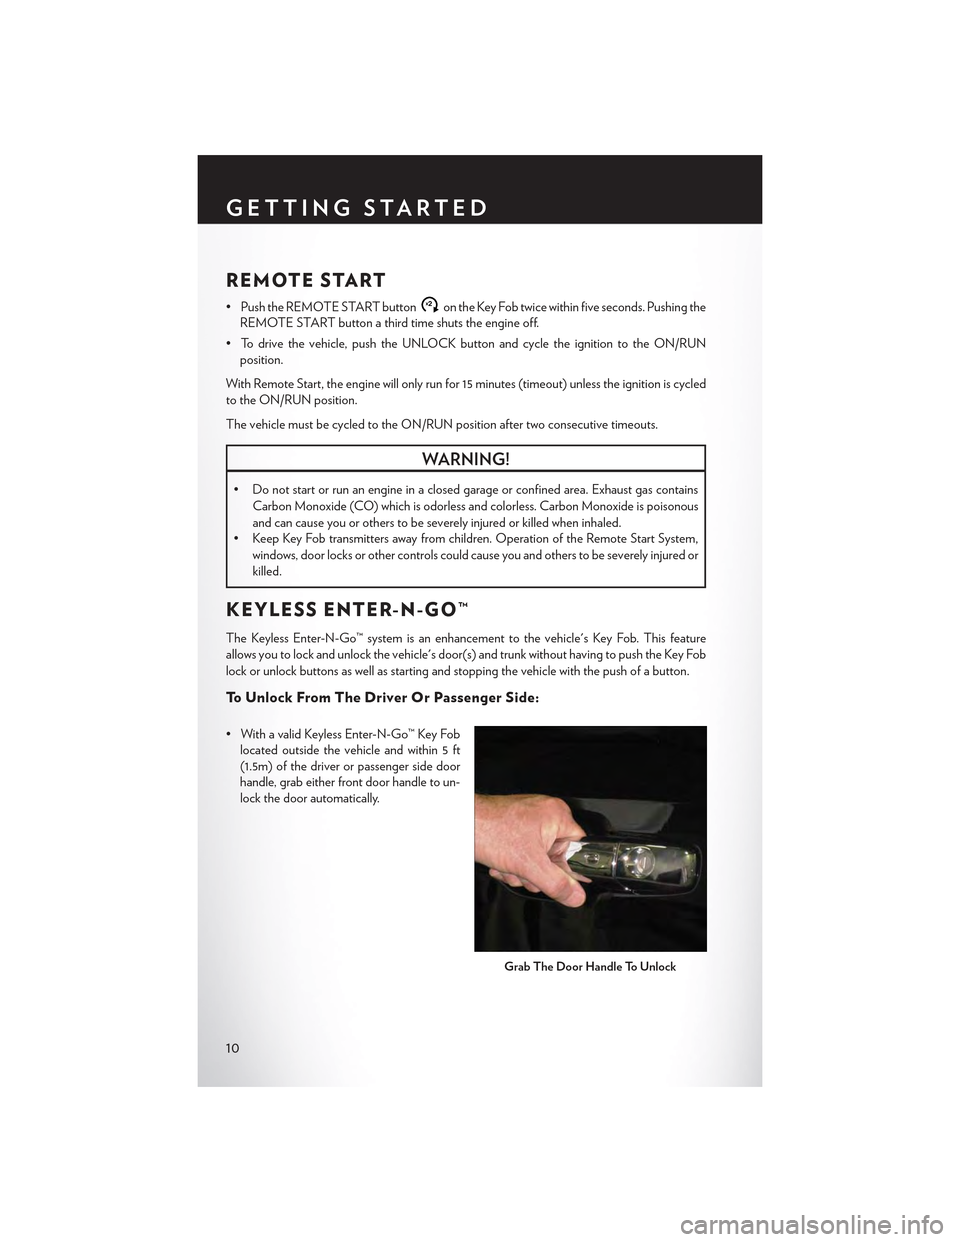
To U n l o c k F r o m T h e D r i v e r O r P a s s e n g e r S i d e :
• With a valid Keyless Enter-N-Go™ Key Fob
located outside the vehicle and within 5 ft
(1.5m) of the driver or passenger side door
handle, grab either front door handle to un-
lock the door automatically.
Grab The Door Handle To Unlock
GETTING STARTED
10
Page 20 of 180

WARNING!
• Side Air Bags need room to inflate. Do not lean against the door or window. Sit upright inthe center of the seat.
•BeingtooclosetotheSideAirBagsduringdeploymentcouldcauseyoutobeseverelyinjured or killed.
•RelyingontheSideAirBagsalonecouldleadtomoresevereinjuriesinacollision.TheSide Air Bags work with your seat belt to restrain you properly. In some collisions, Side AirBags won’t deploy at all. Always wear your seat belt even though you have Side Air Bags.
•ThisvehicleisequippedwithleftandrightSupplementalSideAirBagInflatableCurtains(SABICs). Do not stack luggage or other cargo up high enough to block the deploymentof the SABICs. The trim covering above the side windows where the SABIC and itsdeployment path are located should remain free from any obstructions.
•ThisvehicleisequippedwithSABICs.InorderfortheSABICstoworkasintended,donotinstall any accessory items in your vehicle which could alter the roof. Do not add anaftermarket sunroof to your vehicle. Do not add roof racks that require permanentattachments (bolts or screws) for installation on the vehicle roof. Do not drill into the roofof the vehicle for any reason.
•DonotuseaccessoryseatcoversorplaceobjectsbetweenyouandtheSideAirBags;theperformance could be adversely affected and/or objects could be pushed into you,causing serious injury.
CHILD RESTRAINTS
Children 12 years or younger should ride properly buckled up in a rear seat, if available. According
to crash statistics, children are safer when properly restrained in the rear seats rather than in the
front.
Every state in the United States and all Canadian provinces require that small children ride in
proper restraint systems. This is the law, and you can be prosecuted for ignoring it.
NOTE:
• For additional information, refer to www.seatcheck.org or call 1–866–SEATCHECK
(1–866–732–8243).
• Canadian residents, should refer to Transport Canada’s website for additional information:
http://www.tc.gc.ca/eng/roadsafety/safedrivers-childsafety-index-53.htm
LATCH — Lower Anchors For CHildren
•YourvehicleisequippedwiththechildrestraintanchoragesystemcalledLATCH,which
stands for Lower Anchors and Tethers for CHildren.
•Allrearseatingpositionshaveloweranchorsandtoptetheranchors.
LATCH System Weight Limit
Yo u m a y u s e t h e L A T C H a n c h o r a g e s y s t e m u n t i l t h e c o m b i n e d w e i g h t o f t h e c h i l d a n d t h e c h i l d
restraint is 65 lbs (29.5 kg). Use the seat belt and tether anchor instead of the LATCH system
once the combined weight is more than 65 lbs (29.5 kg).
GETTING STARTED
18
Page 21 of 180

Locating LATCH Anchorages
The lower anchorages are round bars that
are found at the rear of the seat cushion where
it meets the seatback, below the anchorage
symbols on the seatback. They are just visible
when you lean into the rear seat to install the
child restraint. You will easily feel them if you
run your finger along the gap between the
seatback and seat cushion.
Locating Tether Anchorages
•In addition, there are tether strap anchorages behind each rear seating position located
in the panel between the rear seatback and the rear window. These tether strap anchorages are
under a plastic cover with the tether anchorage symbol on it.
Center Seat LATCH
If a child restraint installed in the center position
blocks the seat belt webbing or buckle for the
outboard position, do not use that outboard
position. If a child seat in the center position
blocks the outboard LATCH anchors or seat
belt, do not install a child seat in that outboard
position.
LATCH Anchorage Locations
Tether Anchorage Location
GETTING STARTED
19
Page 22 of 180

Installing The Child Restraint Using The LATCH Lower Anchors
NOTE:
Never “share” a LATCH anchorage with two or more child restraints.
1. Loosen the adjusters on the lower straps and on the tether strap of the child seat so that youcan more easily attach the hooks or connectors to the vehicle anchorages.
2. Attach the lower hooks or connectors of the child restraint to the lower anchorages in theselected seating position.
3. If the child restraint has a tether strap, connect it to the top tether anchorage. See below fordirections to attach a tether anchor.
4. Tighten all of the straps as you push the child restraint rearward and downward into the seat.
Remove slack in the straps according to the child restraint manufacturer’s instructions.
5. Test that the child restraint is installed tightly by pulling back and forth on the child seat at thebelt path. It should not move more than 1 inch (25.4 mm) in any direction.
Installing The Child Restraint Using The Vehicle Seat Belts
The seat belts in the passenger seating positions are equipped with a Switchable AutomaticLocking Retractor (ALR) that is designed to keep the lap portion of the seat belt tight around thechild restraint. Any seat belt system will loosen with time, so check the belt occasionally, and pullit tight if necessary.
Te t h e r A n c h o r a g e W e i g h t L i m i t
Always use the tether anchor when using the seat belt to install a forward facing child restraint, up
to the recommended weight limit of the child restraint.
To I n s t a l l A C h i l d S e a t U s i n g A n A L R :
1. Pull enough of the seat belt webbing from the retractor to pass it through the belt path of thechild restraint. Do not twist the belt webbing in the belt path.
2. Slide the latch plate into the buckle until you hear a “click.”
3. Pull on the webbing to make the lap portion tight against the child seat.
4. To lock the seat belt, pull down on the shoulder part of the belt until you have pulled all the seatbelt webbing out of the retractor. Then, allow the webbing to retract back into the retractor. Asthe webbing retracts, you will hear a clicking sound. This means the seat belt is now in theAutomatic Locking mode.
5. Try to pull the webbing out of the retractor. If it is locked, you should not be able to pull out anywebbing. If the retractor is not locked, repeat the last step.
6. Finally, pull up on any extra webbing to tighten the lap portion around the child restraint whileyou push the child restraint rearward and downward into the vehicle seat.
7. If the child restraint has a top tether strap and the seating position has a top tether anchorage,connect the tether strap to the anchorage and tighten the tether strap. See below fordirections to attach a tether anchor.
8. Test that the child restraint is installed tightly by pulling back and forth on the child seat at the
belt path. It should not move more than 1 inch (25.4 mm) in any direction.
GETTING STARTED
20
Page 29 of 180

REAR SEAT
Folding Rear Seatback
•Pullontheloops,locatedneartheoutertopoftheseatbacks,tofolddowneitherorboth
seatbacks. These loops can be tucked away when not in use.
•Whentheseatbackisraisedtotheupright
position, make sure it is latched by strongly
pulling on the top of the seatback above the
seat loop.
WARNING!
•Be certain that the seatback is securely locked into position. If the seatback is not securely locked
into position, the seat will not provide the proper stability for child seats and/or passengers. An
improperly latched seat could cause you and others to severely injured or killed.
•Thecargoareaintherearofthevehicle(withtherearseatbacksinthelocked-upor
folded-down position) should not be used as a play area by children when the vehicle is in
motion. They could be severely injured or killed in a collision. Children should be seated
and using the proper restraint system.
HEATED SEATS
Front Heated Seats
The front heated seats control buttons are located within the climate or controls screen of the
touchscreen.
• Press the heated seat buttononce to turn the HI setting On.
• Press the heated seat buttona second time to turn the LO setting On.
• Press the heated seat buttona third time to turn the heating elements Off.
If the HI-level setting is selected, the system will automatically switch to LO-level after approximately
60 minutes. The LO-level setting will turn Off automatically after approximately 45 minutes.
NOTE:
On models that are equipped with remote start, this feature can be programmed to come on
during a remote start through the Uconnect® system. Refer to “Uconnect® Settings” in “Under-
standing Your Instrument Panel” in the Owner's Manual on the DVD.
Rear Seat Loop
GETTING STARTED
27
Page 53 of 180

Pinch Protection Feature
This feature will detect an obstruction in the opening of the sunroof during Express Close
operation. If an obstruction in the path of the sunroof is detected, the sunroof will automatically
retract. Remove the obstruction if this occurs. Next, push the switch forward and release to
Express Close.
NOTE:
If three consecutive sunroof close attempts result in P inch Protect reversals, the fourth close
attempt will be a Manual Close movement with Pinch Protect disabled.
WARNING!
•Donotletchildrenplaywiththesunroof.Neverleavechildrenunattendedinavehicle,or
with access to an unlocked vehicle. Do not leave the Key Fob in or near the vehicle, and do
not leave the ignition of a vehicle equipped with Keyless Enter-N-Go™ in the ACC or
ON/RUN mode. Occupants, particularly unattended children, can become entrapped by
the power sunroof while operating the power sunroof switch. Such entrapment may result
in serious injury or death.
• In a collision, there is a greater risk of being thrown from a vehicle with an open sunroof.
Yo u c o u l d a l s o b e s e v e r e l y i n j u r e d o r k i l l e d . A l w a y s f a s t e n y o u r s e a t b e l t p r o p e r l y a n d m a k e
sure all passengers are properly secured.
•Donotallowsmallchildrentooperatethesunroof.Neverallowyourfingers,otherbody
parts, or any object to project through the sunroof opening. Injury may result.
WIND BUFFETING
Wind buffeting can be described as a helicopter-type percussion sound. If buffeting occurs with
the rear windows open, adjust the front and rear windows together.
If buffeting occurs with the sunroof open, adjust the sunroof opening, or adjust any window. This
will minimize buffeting.
OPERATING YOUR VEHICLE
51
Page 172 of 180
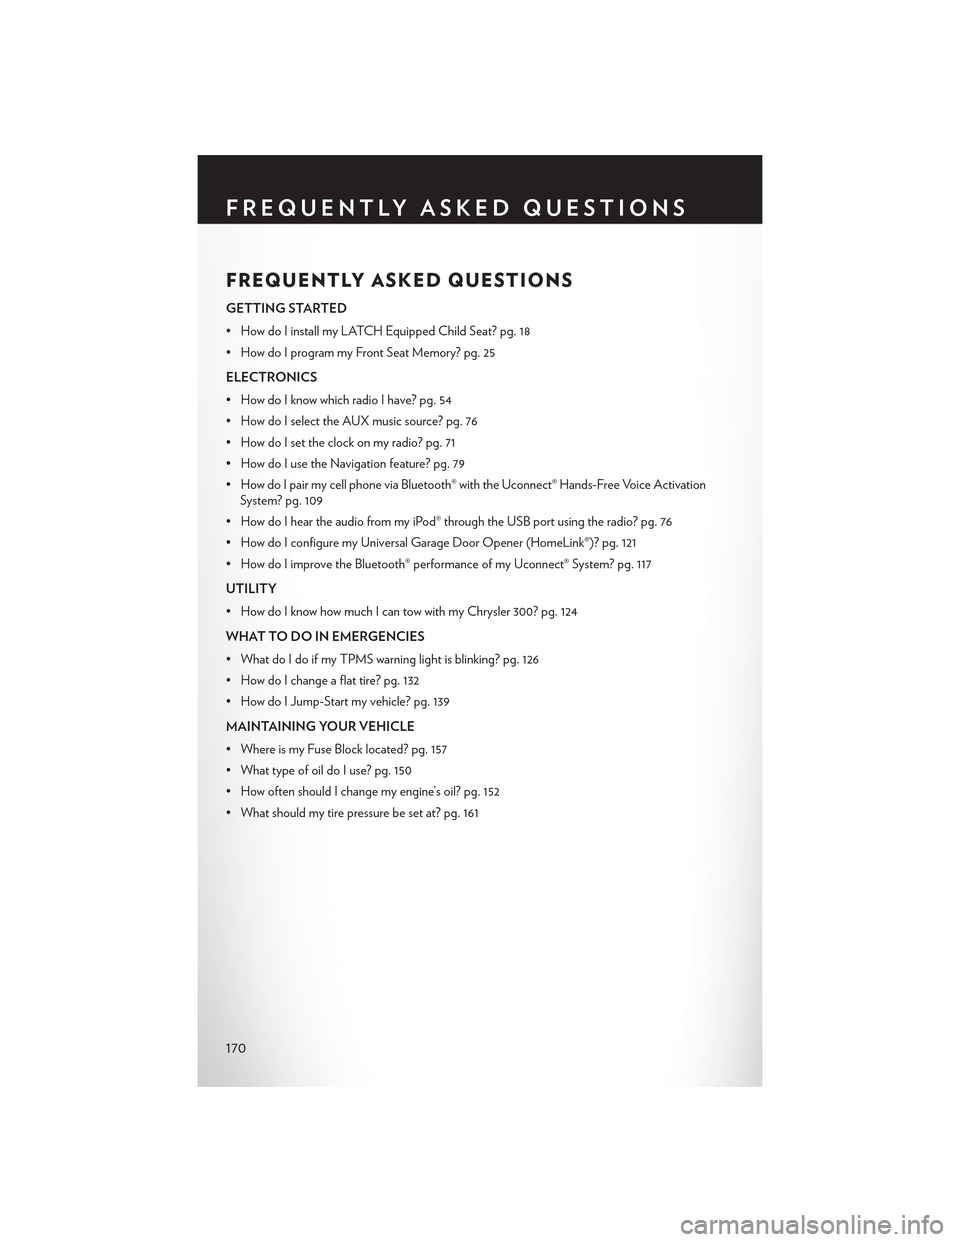
FREQUENTLY ASKED QUESTIONS
GETTING STARTED
• How do I install my LATCH Equipped Child Seat? pg. 18
•HowdoIprogrammyFrontSeatMemory?pg.25
ELECTRONICS
•HowdoIknowwhichradioIhave?pg.54
• How do I select the AUX music source? pg. 76
• How do I set the clock on my radio? pg. 71
• How do I use the Navigation feature? pg. 79
•HowdoIpairmycellphoneviaBluetooth®withtheUconnect®Hands-FreeVoiceActivation
System? pg. 109
• How do I hear the audio from my iPod® through the USB port using the radio? pg. 76
•HowdoIconfiguremyUniversalGarageDoorOpener(HomeLink®)?pg.121
•HowdoIimprovetheBluetooth®performanceofmyUconnect®System?pg.117
UTILITY
•HowdoIknowhowmuchIcantowwithmyChrysler300?pg.124
WHAT TO DO IN EMERGENCIES
• What do I do if my TPMS warning light is blinking? pg. 126
• How do I change a flat tire? pg. 132
•HowdoIJump-Startmyvehicle?pg.139
MAINTAINING YOUR VEHICLE
• Where is my Fuse Block located? pg. 157
• What type of oil do I use? pg. 150
• How often should I change my engine’s oil? pg. 152
• What should my tire pressure be set at? pg. 161
FREQUENTLY ASKED QUESTIONS
170