ECO mode CITROEN BERLINGO VAN 2019 Handbook (in English)
[x] Cancel search | Manufacturer: CITROEN, Model Year: 2019, Model line: BERLINGO VAN, Model: CITROEN BERLINGO VAN 2019Pages: 320, PDF Size: 8.91 MB
Page 79 of 320
77
12:13
1 12:00 AM12:00 AM
2
23 °C
OFF
OK
OK
00 00
00 00
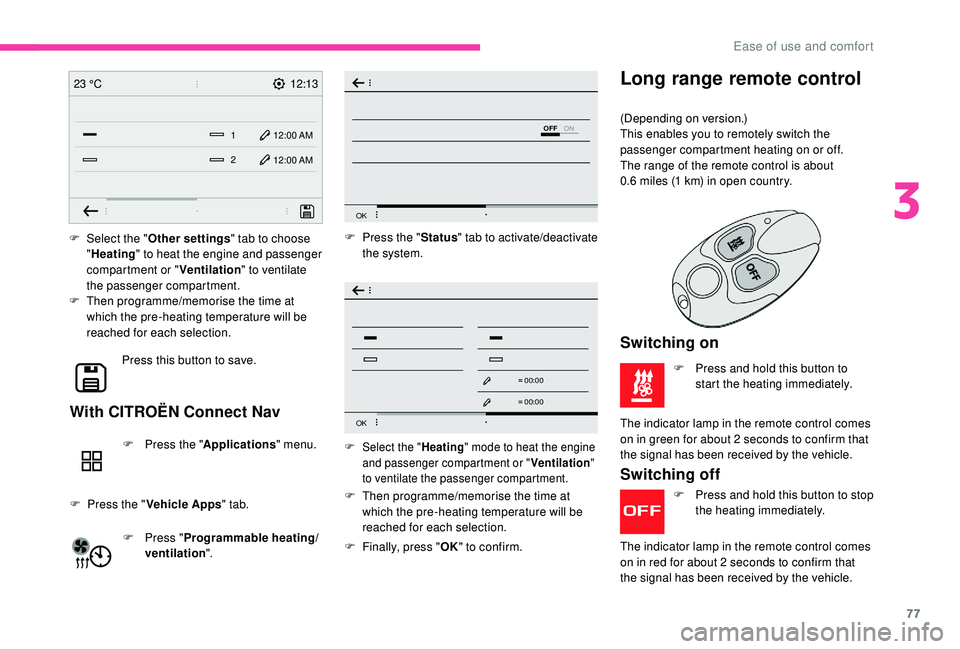
F Select the "
Other settings " tab to choose
" Heating " to heat the engine and passenger
compartment or " Ventilation" to ventilate
the passenger compartment.
F
T
hen programme/memorise the time at
which the pre-heating temperature will be
reached for each selection.
Press this button to save.
With CITROËN Connect Nav
F Press the " Applications" menu.
F
P
ress the " Vehicle Apps " tab.
F
P
ress " Programmable heating/
ventilation ". F
P
ress the "
Status" tab to activate/deactivate
the system.
F
T
hen programme/memorise the time at
which the pre-heating temperature will be
reached for each selection.
F
F
inally, press "OK" to confirm.F Select the " Heating" mode to heat the engine
and passenger compartment or " Ventilation"
to ventilate the passenger compartment.
Switching off
F Press and hold this button to stop the heating immediately.
The indicator lamp in the remote control comes
on in red for about 2
seconds to confirm that
the signal has been received by the vehicle.
Long range remote control
(Depending on version.)
This enables you to remotely switch the
passenger compartment heating on or off.
The range of the remote control is about
0.6
miles (1 km) in open country.
Switching on
F Press and hold this button to start the heating immediately.
The indicator lamp in the remote control comes
on in green for about 2
seconds to confirm that
the signal has been received by the vehicle.
3
Ease of use and comfort
Page 83 of 320
81
Lighting control stalk
Selection of main lighting
mode
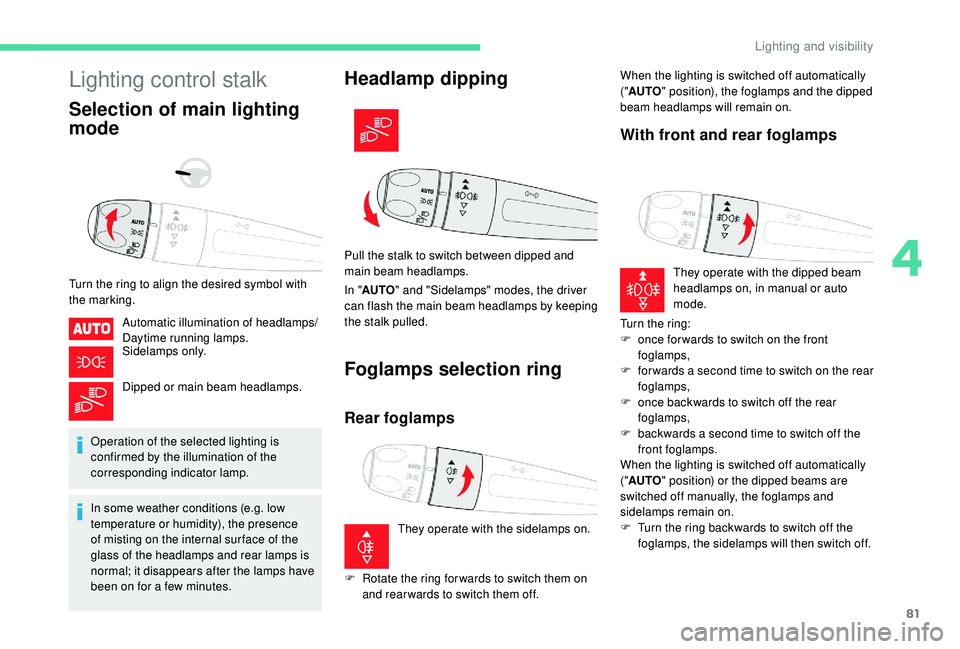
Turn the ring to align the desired symbol with
the marking.Automatic illumination of headlamps/
Daytime running lamps.
Sidelamps only.
Dipped or main beam headlamps.
Operation of the selected lighting is
confirmed by the illumination of the
corresponding indicator lamp.
In some weather conditions (e.g. low
temperature or humidity), the presence
of misting on the internal sur face of the
glass of the headlamps and rear lamps is
normal; it disappears after the lamps have
been on for a few minutes.
Headlamp dipping
In " AUTO " and "Sidelamps" modes, the driver
can flash the main beam headlamps by keeping
the stalk pulled.
Foglamps selection ring
Rear foglamps
They operate with the sidelamps on. When the lighting is switched off automatically
("
AUTO " position), the foglamps and the dipped
beam headlamps will remain on.
With front and rear foglamps
They operate with the dipped beam
headlamps on, in manual or auto
mode.
Turn the ring:
F
o
nce for wards to switch on the front
foglamps,
F
f
or wards a second time to switch on the rear
foglamps,
F
o
nce backwards to switch off the rear
foglamps,
F
b
ackwards a second time to switch off the
front foglamps.
When the lighting is switched off automatically
(" AUTO " position) or the dipped beams are
switched off manually, the foglamps and
sidelamps remain on.
F
T
urn the ring backwards to switch off the
foglamps, the sidelamps will then switch off.
Pull the stalk to switch between dipped and
main beam headlamps.
F
R
otate the ring for wards to switch them on
and rear wards to switch them off.
4
Lighting and visibility
Page 99 of 320
97
Operation
The system is activated automatically when the
ignition is switched on.
The electronic stability programme (ESC) must
not have any faults.
Between 37 and 99 mph (60 and 160 km/h), if
the system detects oscillations (snaking) in the
movement of the trailer, it acts on the brakes to
stabilise the trailer and, if necessary, reduces
engine power to slow down the vehicle.
For information on the weights and towed
loads, refer to the "Technical data" section or
the registration certificate for your vehicle.
To ensure complete safety while driving with
a Towbar system , refer to the corresponding
section.
Malfunction
Should a fault occur with the system,
this warning lamp comes on in the
instrument panel, accompanied by
the display of a message and an
audible signal. The trailer stability assist system
offers increased safety in normal
driving conditions, provided that the
recommendations on towing a trailer are
obser ved. It must not encourage the driver
to take additional risks, such as towing
a trailer in adverse operating conditions
(overloading, failure to obser ve the trailer
nose weight, worn or under-inflated tyres,
faulty braking system, etc.) or driving at
too high a speed.
In certain cases, the swaying of the trailer
may not be detected by the ESC system,
particularly with a light trailer.
When driving on slippery or poor sur faces,
the system may not be able to prevent
sudden swaying of the trailer.
Advanced Grip Control
Special patented traction control system which
improves driveability on snow, mud and sand.
This system, the operation of which has been
optimised for each situation, allows you to
manoeuvre in most conditions of poor grip
(encountered during passenger vehicle use).
Operating modes
The correction is signalled by the
flashing of this warning lamp in the
instrument panel and illumination of
the brake lamps.
If you continue to tow a trailer, reduce your
speed and drive carefully!
Contact a CITROËN dealer or a qualified
workshop to have the system checked. Associated with all-seasons Peak Mountain
Snow Flake tyres, this system offers a
compromise between safety, grip and
driveability.
The accelerator pedal should be pressed
sufficiently to allow the system to use the power
of the engine. Operation at high engine speeds
is completely normal.
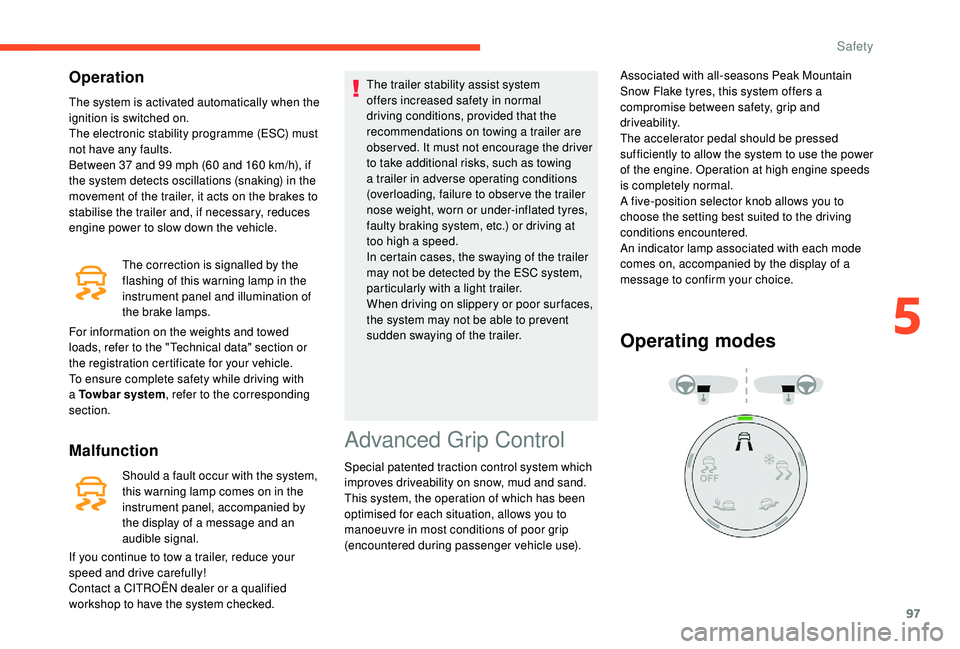
A five-position selector knob allows you to
choose the setting best suited to the driving
conditions encountered.
An indicator lamp associated with each mode
comes on, accompanied by the display of a
message to confirm your choice.
5
Safety
Page 100 of 320
98
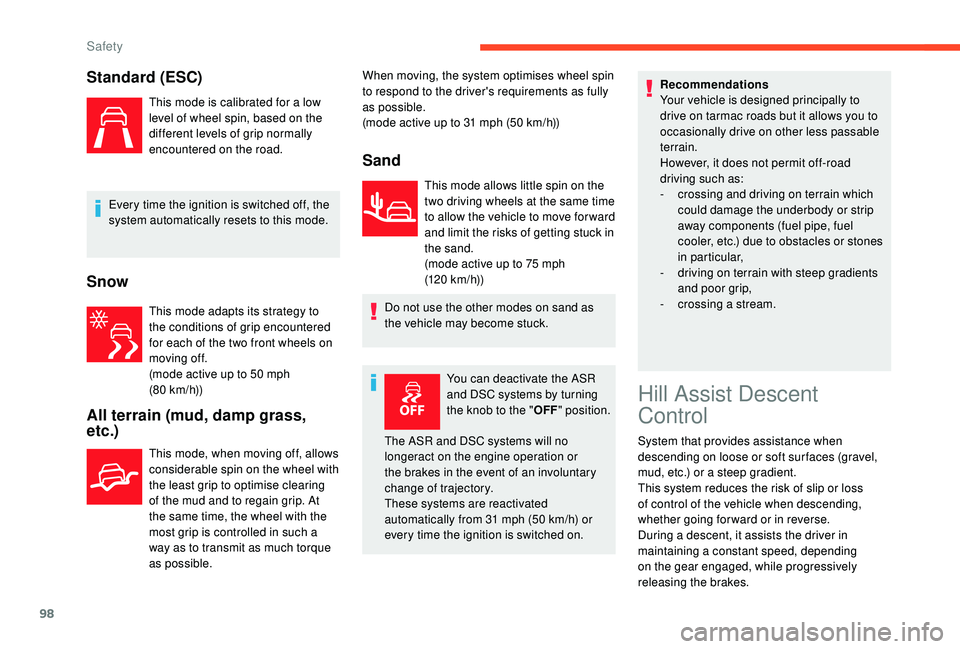
Standard (ESC)
This mode is calibrated for a low
level of wheel spin, based on the
different levels of grip normally
encountered on the road.
Every time the ignition is switched off, the
system automatically resets to this mode.
Snow
This mode adapts its strategy to
the conditions of grip encountered
for each of the two front wheels on
moving off.
(mode active up to 50
mph
(80
km/h))
All terrain (mud, damp grass,
etc.)
This mode, when moving off, allows
considerable spin on the wheel with
the least grip to optimise clearing
of the mud and to regain grip. At
the same time, the wheel with the
most grip is controlled in such a
way as to transmit as much torque
as possible. When moving, the system optimises wheel spin
to respond to the driver's requirements as fully
as possible.
(mode active up to 31
mph (50 km/h))
Sand
This mode allows little spin on the
two driving wheels at the same time
to allow the vehicle to move for ward
and limit the risks of getting stuck in
the sand.
(mode active up to 75
mph
(120
km/h))
Do not use the other modes on sand as
the vehicle may become stuck.
You can deactivate the ASR
and DSC systems by turning
the knob to the " OFF" position. Recommendations
Your vehicle is designed principally to
drive on tarmac roads but it allows you to
occasionally drive on other less passable
terrain.
However, it does not permit off-road
driving such as:
-
c rossing and driving on terrain which
could damage the underbody or strip
away components (fuel pipe, fuel
cooler, etc.) due to obstacles or stones
in particular,
-
d
riving on terrain with steep gradients
and poor grip,
-
c
rossing a stream.
The ASR and DSC systems will no
longeract on the engine operation or
the brakes in the event of an involuntary
change of trajectory.
These systems are reactivated
automatically from 31
mph (50 km/h) or
every time the ignition is switched on.
Hill Assist Descent
Control
System that provides assistance when
descending on loose or soft sur faces (gravel,
mud, etc.) or a steep gradient.
This system reduces the risk of slip or loss
of control of the vehicle when descending,
whether going forward or in reverse.
During a descent, it assists the driver in
maintaining a constant speed, depending
on the gear engaged, while progressively
releasing the brakes.
Safety
Page 124 of 320
122
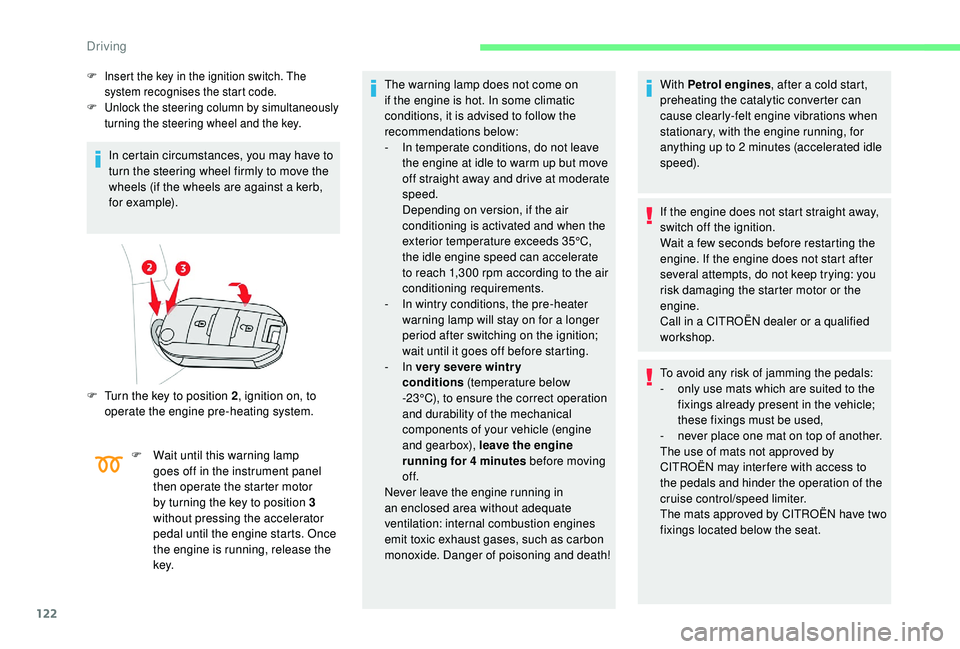
F Insert the key in the ignition switch. The system recognises the start code.
F
U
nlock the steering column by simultaneously
turning the steering wheel and the key.
In certain circumstances, you may have to
turn the steering wheel firmly to move the
wheels (if the wheels are against a kerb,
for example).
F
T
urn the key to position 2 , ignition on, to
operate the engine pre-heating system. The warning lamp does not come on
if the engine is hot. In some climatic
conditions, it is advised to follow the
recommendations below:
-
I n temperate conditions, do not leave
the engine at idle to warm up but move
off straight away and drive at moderate
speed.
Depending on version, if the air
conditioning is activated and when the
exterior temperature exceeds 35°C,
the idle engine speed can accelerate
to reach 1,300
rpm according to the air
conditioning requirements.
-
I
n wintry conditions, the pre-heater
warning lamp will stay on for a longer
period after switching on the ignition;
wait until it goes off before starting.
-
In ver y severe wintr y
conditions
(temperature below
-23°C), to ensure the correct operation
and durability of the mechanical
components of your vehicle (engine
and gearbox), leave the engine
running for 4
minutes before moving
of f.
Never leave the engine running in
an enclosed area without adequate
ventilation: internal combustion engines
emit toxic exhaust gases, such as carbon
monoxide. Danger of poisoning and death! With Petrol engines
, after a cold start,
preheating the catalytic converter can
cause clearly-felt engine vibrations when
stationary, with the engine running, for
anything up to 2 minutes (accelerated idle
speed).
If the engine does not start straight away,
switch off the ignition.
Wait a few seconds before restarting the
engine. If the engine does not start after
several attempts, do not keep trying: you
risk damaging the starter motor or the
engine.
Call in a CITROËN dealer or a qualified
workshop.
To avoid any risk of jamming the pedals:
-
o
nly use mats which are suited to the
fixings already present in the vehicle;
these fixings must be used,
-
n
ever place one mat on top of another.
The use of mats not approved by
CITROËN may inter fere with access to
the pedals and hinder the operation of the
cruise control/speed limiter.
The mats approved by CITROËN have two
fixings located below the seat.
F
W
ait until this warning lamp
goes off in the instrument panel
then operate the starter motor
by turning the key to position 3
without pressing the accelerator
pedal until the engine starts. Once
the engine is running, release the
key.
Driving
Page 125 of 320
123
With Keyless Entry and Starting
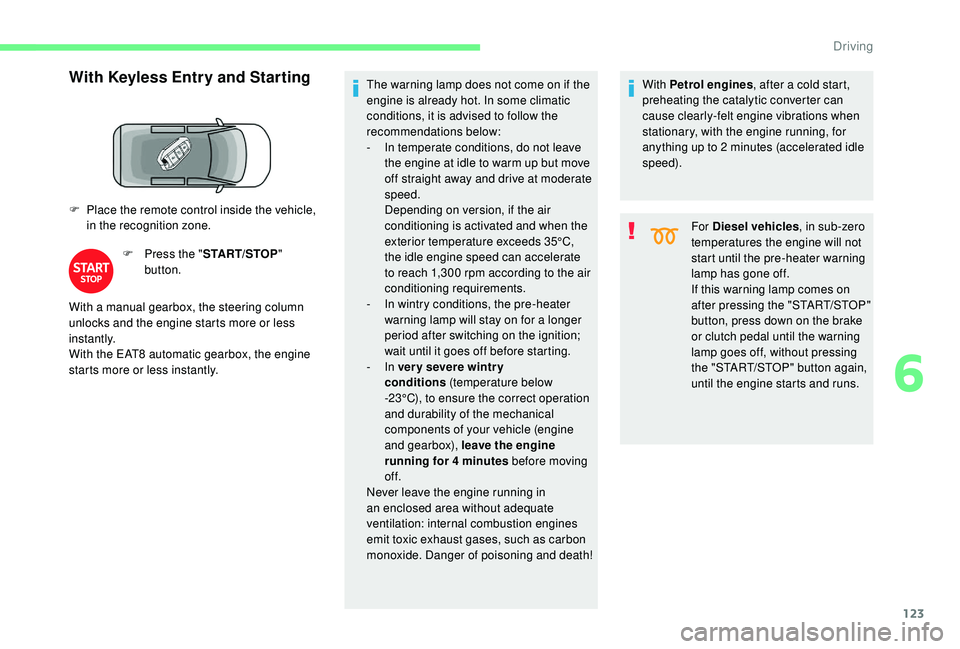
F Place the remote control inside the vehicle, in the recognition zone.
F
P
ress the "START/STOP "
button. The warning lamp does not come on if the
engine is already hot. In some climatic
conditions, it is advised to follow the
recommendations below:
-
I
n temperate conditions, do not leave
the engine at idle to warm up but move
off straight away and drive at moderate
speed.
Depending on version, if the air
conditioning is activated and when the
exterior temperature exceeds 35°C,
the idle engine speed can accelerate
to reach 1,300
rpm according to the air
conditioning requirements.
-
I
n wintry conditions, the pre-heater
warning lamp will stay on for a longer
period after switching on the ignition;
wait until it goes off before starting.
-
In ver y severe wintr y
conditions
(temperature below
-23°C), to ensure the correct operation
and durability of the mechanical
components of your vehicle (engine
and gearbox), leave the engine
running for 4
minutes before moving
of f.
Never leave the engine running in
an enclosed area without adequate
ventilation: internal combustion engines
emit toxic exhaust gases, such as carbon
monoxide. Danger of poisoning and death!
With a manual gearbox, the steering column
unlocks and the engine starts more or less
instantly.
With the EAT8 automatic gearbox, the engine
starts more or less instantly. With Petrol engines
, after a cold start,
preheating the catalytic converter can
cause clearly-felt engine vibrations when
stationary, with the engine running, for
anything up to 2 minutes (accelerated idle
speed).
For Diesel vehicles , in sub-zero
temperatures the engine will not
start until the pre-heater warning
lamp has gone off.
If this warning lamp comes on
after pressing the "START/STOP"
button, press down on the brake
or clutch pedal until the warning
lamp goes off, without pressing
the "START/STOP" button again,
until the engine starts and runs.
6
Driving
Page 127 of 320
125
Forced switch-off with
Keyless Entry and Starting
In the event of an emergency only and with the
vehicle stationary, you can switch off the engine.
With Keyless Entry and Starting
F With the remote control in the recognition zone, press the " START/STOP" button.
With a manual gearbox, the engine switches off
and the steering column locks.
With the EAT8 automatic gearbox, the engine
switches off. If the vehicle is not immobilised, the
engine will not switch off.
To avoid any risk of jamming the pedals:
-
o
nly use mats which are suited to the
fixings already present in the vehicle;
these fixings must be used,
-
n
ever place one mat on top of another.
The use of mats not approved by
CITROËN may inter fere with access to
the pedals and hinder the operation of the
cruise control/speed limiter.
The mats approved by CITROËN have two
fixings located below the seat.
Switching the ignition on
with
K
eyless Entry and
Starting
F Press the " START/STOP" button, the
instrument panel comes on but the engine
does not start.
F
P
ress this button again to switch off the
ignition and allow the vehicle to be locked.
With the ignition on, the system will
automatically go into energy economy
mode to maintain an adequate state of
charge in the battery.
Back-up starting with
K
eyless Entry and Starting
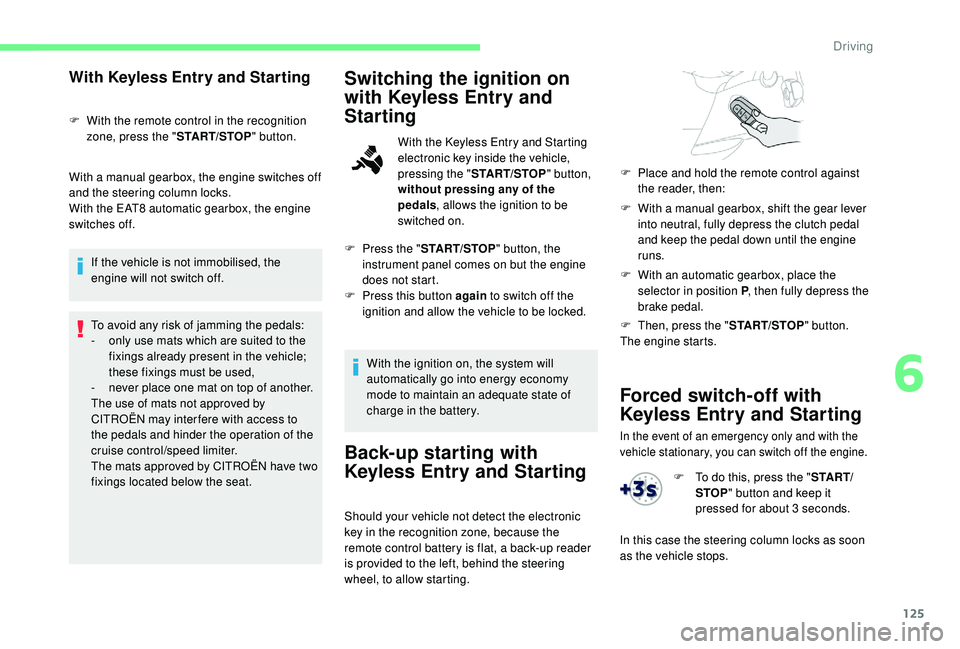
Should your vehicle not detect the electronic
key in the recognition zone, because the
remote control battery is flat, a back-up reader
is provided to the left, behind the steering
wheel, to allow starting. F
W
ith a manual gearbox, shift the gear lever
into neutral, fully depress the clutch pedal
and keep the pedal down until the engine
runs.
F
W
ith an automatic gearbox, place the
selector in position P , then fully depress the
brake pedal.
F
P
lace and hold the remote control against
the reader, then:
F
T
hen, press the "
START/STOP" button.
The engine starts.
With the
K
eyless Entry and Starting
electronic key inside the vehicle,
pressing the " START/STOP " button,
without pressing any of the
pedals , allows the ignition to be
switched on.
F
T
o do this, press the "
S TA R T/
STOP " button and keep it
pressed for about 3 seconds.
In this case the steering column locks as soon
as the vehicle stops.
6
Driving
Page 130 of 320
128
Manual application
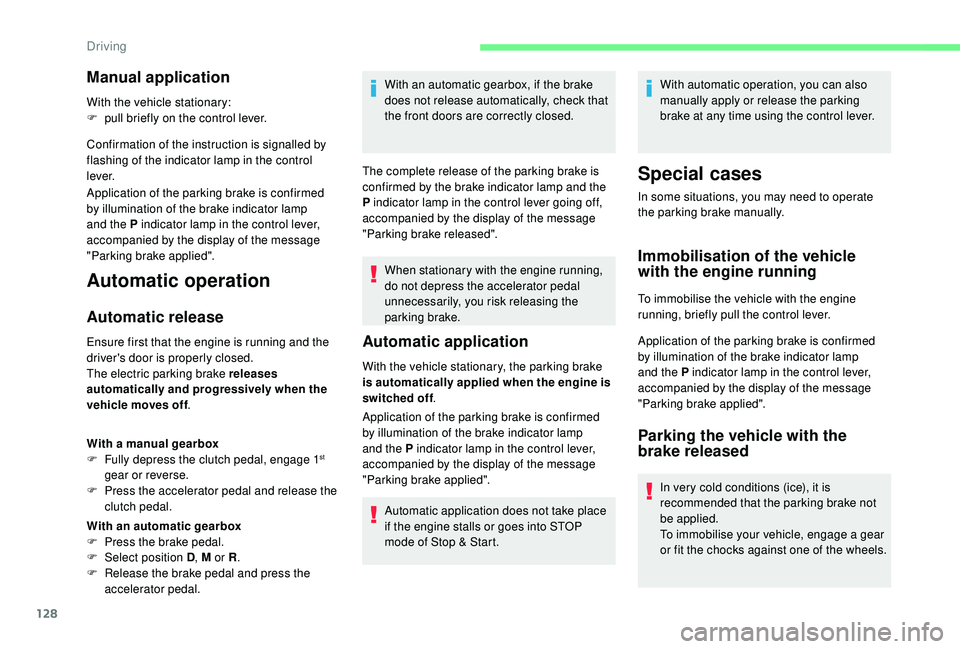
With the vehicle stationary:
F p ull briefly on the control lever.
Confirmation of the instruction is signalled by
flashing of the indicator lamp in the control
l eve r.
Application of the parking brake is confirmed
by illumination of the brake indicator lamp
and the P indicator lamp in the control lever,
accompanied by the display of the message
"Parking brake applied".
Automatic operation
Automatic release
Ensure first that the engine is running and the
driver's door is properly closed.
The electric parking brake releases
automatically and progressively when the
vehicle moves off .
With a manual gearbox
F
F
ully depress the clutch pedal, engage 1
st
gear or reverse.
F
P
ress the accelerator pedal and release the
clutch pedal.
With an automatic gearbox
F
P
ress the brake pedal.
F
Sel
ect position D , M or R.
F
R
elease the brake pedal and press the
accelerator pedal. With an automatic gearbox, if the brake
does not release automatically, check that
the front doors are correctly closed.
The complete release of the parking brake is
confirmed by the brake indicator lamp and the
P indicator lamp in the control lever going off,
accompanied by the display of the message
"Parking brake released". When stationary with the engine running,
do not depress the accelerator pedal
unnecessarily, you risk releasing the
parking brake.
Automatic application
With the vehicle stationary, the parking brake
is automatically applied when the engine is
switched off .
Application of the parking brake is confirmed
by illumination of the brake indicator lamp
and the P indicator lamp in the control lever,
accompanied by the display of the message
"Parking brake applied".
Automatic application does not take place
if the engine stalls or goes into STOP
mode of Stop & Start. With automatic operation, you can also
manually apply or release the parking
brake at any time using the control lever.
Special cases
In some situations, you may need to operate
the parking brake manually.
Immobilisation of the vehicle
with the engine running
To immobilise the vehicle with the engine
running, briefly pull the control lever.
Application of the parking brake is confirmed
by illumination of the brake indicator lamp
and the P indicator lamp in the control lever,
accompanied by the display of the message
"Parking brake applied".
Parking the vehicle with the
brake released
In very cold conditions (ice), it is
recommended that the parking brake not
be applied.
To immobilise your vehicle, engage a gear
or fit the chocks against one of the wheels.
Driving
Page 131 of 320
129
Immobilisation of the vehicle with the
parking brake released.
F
S
witch off the engine.
Illumination of the indicator lamps in the
instrument panel and control lever confirm
the application of the parking brake.
F
S
witch on the ignition again, without starting
the engine.
F
R
elease the parking brake manually by
pushing the control lever while keeping your
foot on the brake pedal.
The complete release of the parking brake is
confirmed by the brake indicator lamp and the
P indicator lamp in the control lever going off,
accompanied by the display of the message
"Parking brake released".
F
S
witch off the ignition.
With an automatic gearbox, mode P is
automatically selected when the ignition is
switched off. The wheels are blocked.
For further information on the Automatic
gearbox , particularly in relation to leaving
the vehicle in free-wheeling mode, refer to
the corresponding section. With an automatic gearbox, when mode
N is engaged, the opening of the driver's
door will cause an audible signal to sound.
It will stop when you close the driver's
door again.
Deactivating automatic
operation
In some situations, for example when it is
extremely cold or during towing (caravan,
recovery), it may be necessary to deactivate
automatic operation of the system.
F
S
tart the engine.
F
A
pply the parking brake with the control
lever, if it is released.
F
T
ake your foot fully off the brake pedal.
F
P
ush and hold the control lever in the
release direction for at least 10
seconds and
no more than 15
seconds.
F
R
elease the control lever.
F
P
ress and hold the brake pedal.
F
P
ull the control lever in the application
direction for 2
seconds.
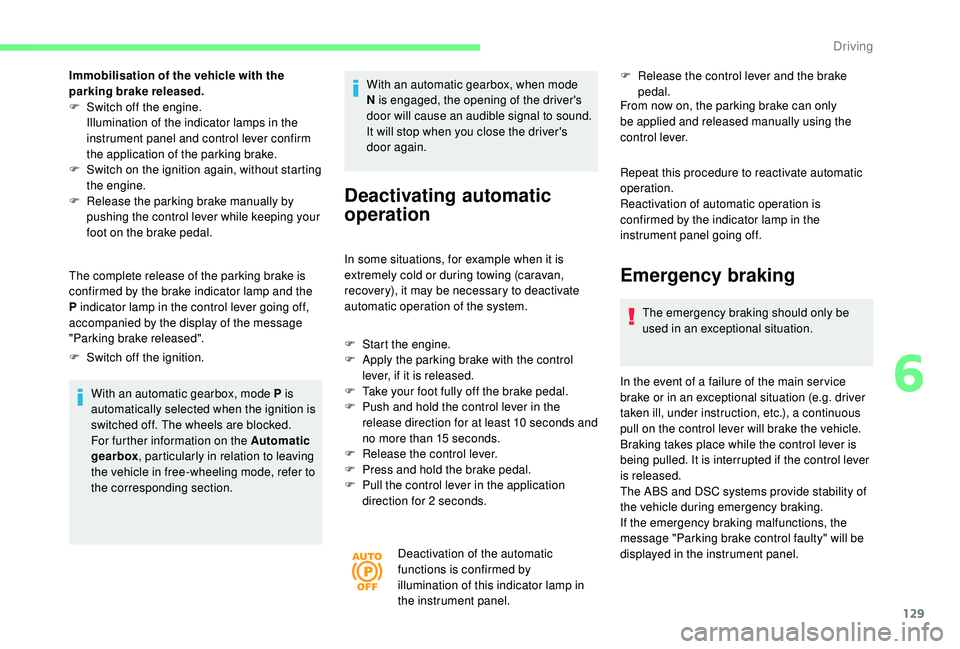
Deactivation of the automatic
functions is confirmed by
illumination of this indicator lamp in
the instrument panel. F
R
elease the control lever and the brake
pedal.
From now on, the parking brake can only
be applied and released manually using the
control lever.
Repeat this procedure to reactivate automatic
operation.
Reactivation of automatic operation is
confirmed by the indicator lamp in the
instrument panel going off.
Emergency braking
The emergency braking should only be
used in an exceptional situation.
In the event of a failure of the main ser vice
brake or in an exceptional situation (e.g. driver
taken ill, under instruction, etc.), a continuous
pull on the control lever will brake the vehicle.
Braking takes place while the control lever is
being pulled. It is interrupted if the control lever
is released.
The ABS and DSC systems provide stability of
the vehicle during emergency braking.
If the emergency braking malfunctions, the
message "Parking brake control faulty" will be
displayed in the instrument panel.
6
Driving
Page 133 of 320
131
As a safety precaution and to facilitate
starting of the engine:
-
a
lways select neutral,
-
p
ress the clutch pedal.
6-speed manual gearbox
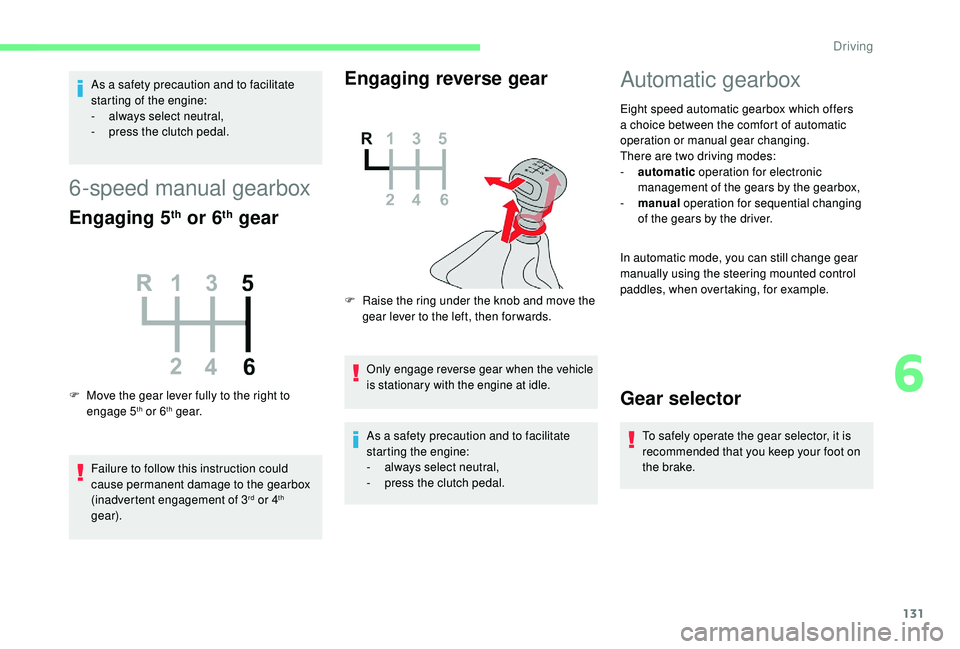
Engaging 5th or 6th gear
F Move the gear lever fully to the right to engage 5th or 6th g e a r.
Failure to follow this instruction could
cause permanent damage to the gearbox
(inadvertent engagement of 3
rd or 4th
gear).
Engaging reverse gear
F Raise the ring under the knob and move the gear lever to the left, then for wards.
Only engage reverse gear when the vehicle
is stationary with the engine at idle.
As a safety precaution and to facilitate
starting the engine:
-
a
lways select neutral,
-
p
ress the clutch pedal.
Automatic gearbox
Eight speed automatic gearbox which offers
a choice between the comfort of automatic
operation or manual gear changing.
There are two driving modes:
-
a
utomatic operation for electronic
management of the gears by the gearbox,
-
man
ual operation for sequential changing
of the gears by the driver.
In automatic mode, you can still change gear
manually using the steering mounted control
paddles, when overtaking, for example.
Gear selector
To safely operate the gear selector, it is
recommended that you keep your foot on
the brake.
6
Driving