alarm FORD EXPLORER 1998 2.G Owners Manual
[x] Cancel search | Manufacturer: FORD, Model Year: 1998, Model line: EXPLORER, Model: FORD EXPLORER 1998 2.GPages: 210, PDF Size: 1.65 MB
Page 52 of 210
Two step unlocking (if equipped)
When unlocking the driver door with the key, turn it once toward the
rear of the vehicle to unlock that door only. Turn the key to the rear a
second time to unlock all doors.
If the vehicle is equipped with the optional perimeter alarm system, this
feature will work from all doors.
CHILDPROOF DOOR LOCKS
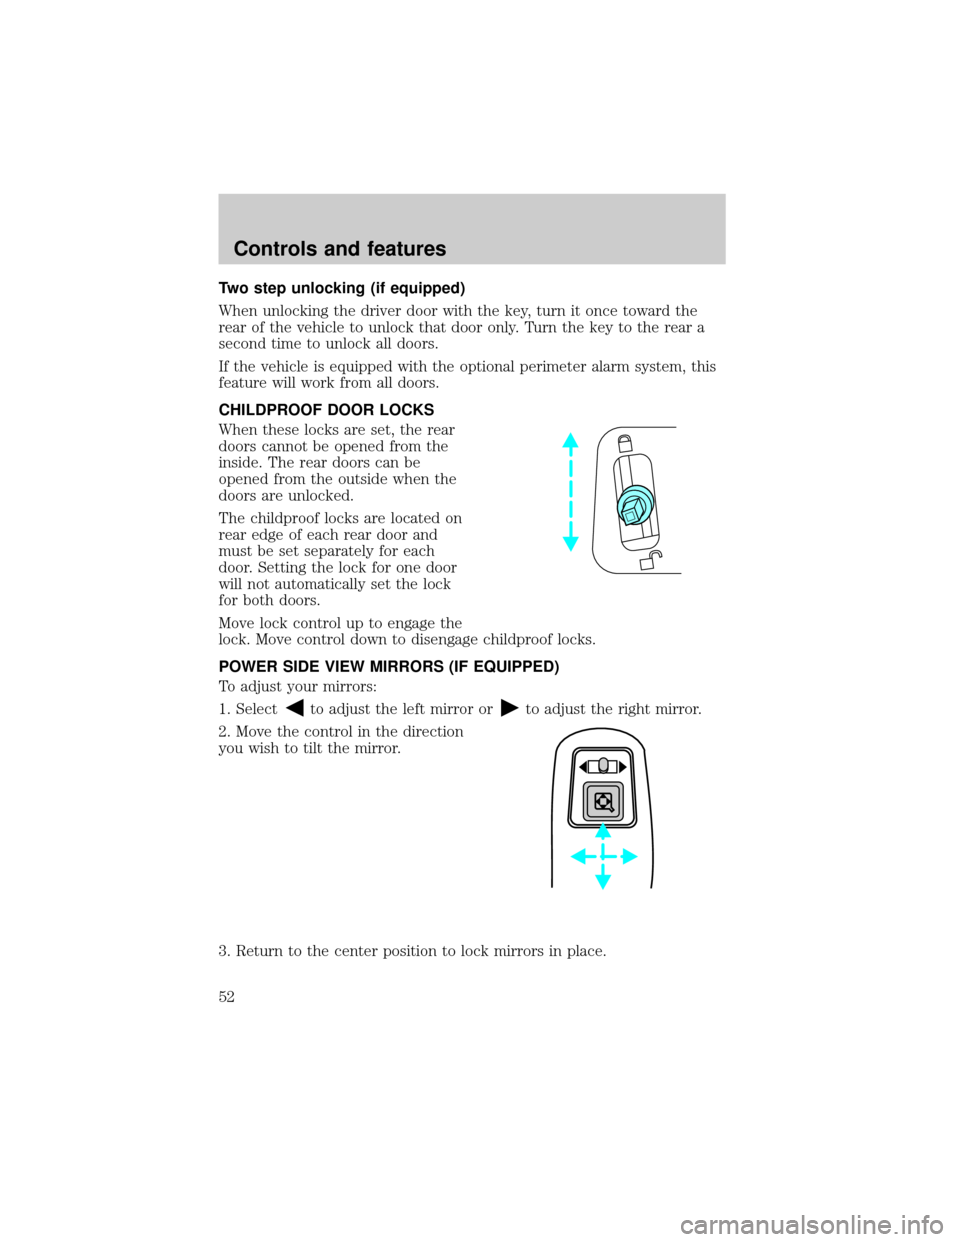
When these locks are set, the rear
doors cannot be opened from the
inside. The rear doors can be
opened from the outside when the
doors are unlocked.
The childproof locks are located on
rear edge of each rear door and
must be set separately for each
door. Setting the lock for one door
will not automatically set the lock
for both doors.
Move lock control up to engage the
lock. Move control down to disengage childproof locks.
POWER SIDE VIEW MIRRORS (IF EQUIPPED)
To adjust your mirrors:
1. Select
to adjust the left mirror orto adjust the right mirror.
2. Move the control in the direction
you wish to tilt the mirror.
3. Return to the center position to lock mirrors in place.
Controls and features
52
Page 60 of 210
Sounding a panic alarm
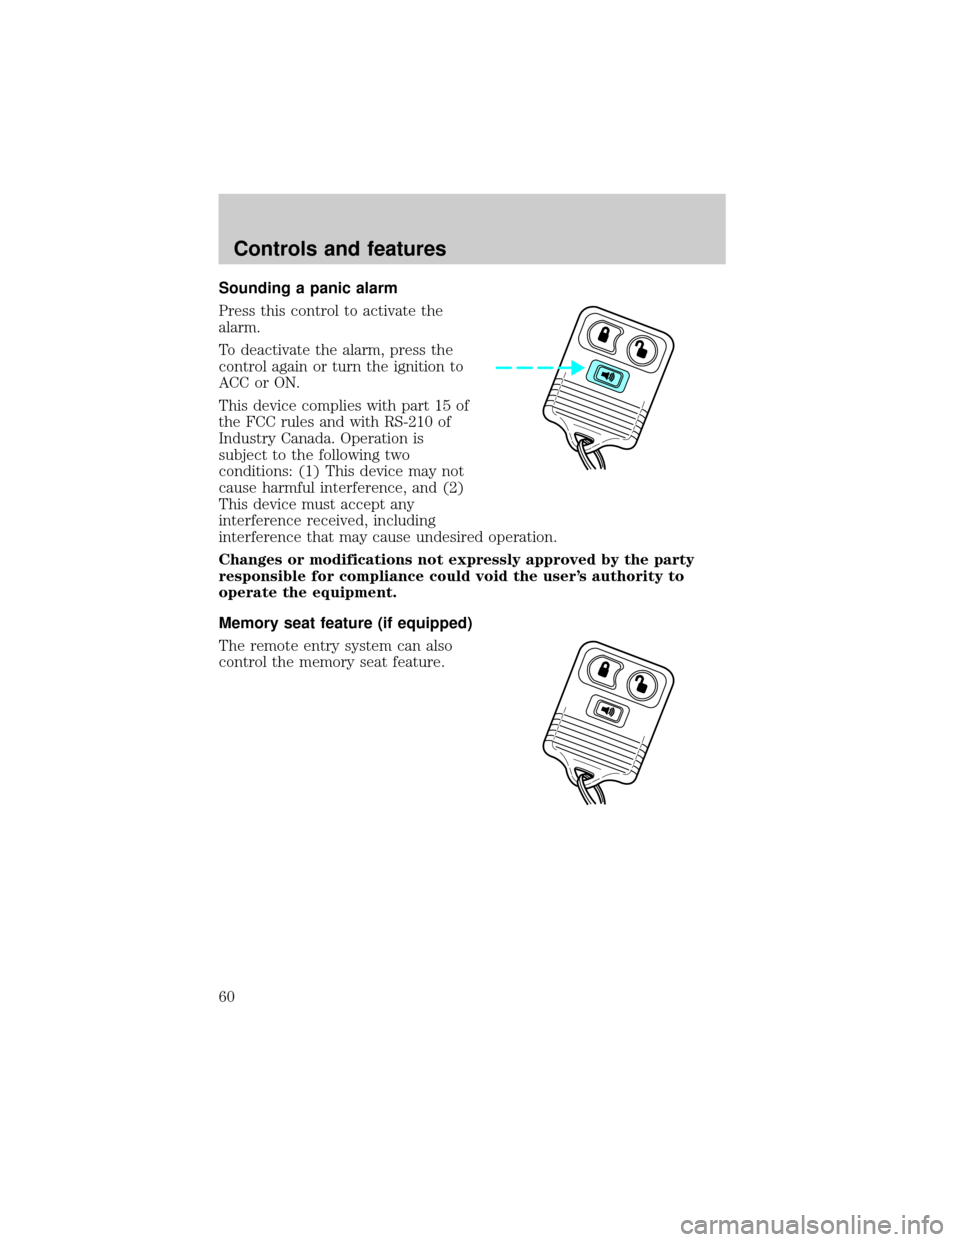
Press this control to activate the
alarm.
To deactivate the alarm, press the
control again or turn the ignition to
ACC or ON.
This device complies with part 15 of
the FCC rules and with RS-210 of
Industry Canada. Operation is
subject to the following two
conditions: (1) This device may not
cause harmful interference, and (2)
This device must accept any
interference received, including
interference that may cause undesired operation.
Changes or modifications not expressly approved by the party
responsible for compliance could void the user's authority to
operate the equipment.
Memory seat feature (if equipped)
The remote entry system can also
control the memory seat feature.
Controls and features
60
Page 61 of 210

Press the control once to unlock the
driver's door and move the memory
seat feature to the corresponding
memory position, just as if you had
pressed the memory control in the
vehicle.
When your dealer programs new
transmitters:
²the first transmitter programmed
will recall memory position one.
²the second transmitter
programmed will recall memory
position two.
²the third transmitter programmed recall memory position three.
²the fourth transmitter programmed will not recall a memory position.
Memory positions can be changed at any time. The memory feature can
be deactivated or reactivated by performing the following:
1. Make sure the alarm system (if equipped) is not armed or triggered,
the ignition is off and all doors and the liftgate window are closed.
2. Turn the ignition key from OFF to ON.
3. Press the power door unlock control three times.
4. Turn the ignition key from ON to OFF.
5. Press the power door unlock control three times.
6. Turn the ignition switch back to ON. The horn will chirp.
7. Press the power door unlock switch twice.
8. Press the unlock control two times, then press the lock control. The
horn will chirp twice if the remote memory seat feature was deactivated
or will sound three times (two short chirps followed by one long chirp) if
the feature was activated.
9. Turn the ignition to OFF. The horn will chirp once to confirm that you
activated or deactivated the remote memory seat feature.
The memory feature will continue to work from the door switch even
when deactivated at the remote entry module.
Controls and features
61
Page 63 of 210

Reprogramming transmitters
To reprogram all transmitters, place the key in the ignition and switch
from OFF to ON eight times in a row (within 10 seconds). After doors
lock/unlock, press any button on all transmitters (up to four). When
completed, switch the ignition to OFF.
All transmitters must be reprogrammed at the same time.
Illuminated entry
The interior lamps and the puddle lamps (located on the bottom of the
exterior rear view mirrors) illuminate when the remote entry system is
used to unlock the door(s) or sound the personal alarm.
The system automatically turns off after 25 seconds or when the ignition
is turned to the START or ACC position. The dome lamp switch (if
equipped) mustnotbe set to the OFF position for the illuminated entry
system to operate.
The inside lights will not turn off if:
²they have been turned on with the dimmer control or
²any door is open.
Battery saver will shut off the interior lamps 45 minutes after the last
door is closed.
Autolock
Autolock is a feature that will automatically lock all doors when:
²all vehicle doors, liftgate and liftgate window are fully closed
²the ignition key is in the ON position
²you shift into or through R (Reverse)
²the brake pedal is released
The autolock feature repeats when:
²any door is opened and then closed
²the brake pedal is released
Deactivating autolock
Before following the activation or deactivation procedures, make sure
that the anti-theft system is not armed, the ignition is OFF and all
vehicle doors and liftgate window are closed.
Controls and features
63
Page 64 of 210

1. Enter the 5 digit entry code.
2. Press and release the 3/4 control
while holding the 7/8 control.
3. Release the 7/8 control.
The horn will chirp once if autolock
was deactivated or twice (one short
and one long chirp) if autolock was
activated.
To reactivate autolock, repeat steps 1 through 3.
Autolock can also be activated or deactivated using the following
procedure:
You must complete steps 1 through 5 within 30 seconds or the procedure
will have to be repeated. If the procedure needs to be repeated, you
must wait 30 seconds.
1. Turn the ignition key to ON.
2. Press the power door unlock control three times.
3. Turn the ignition key from ON to OFF.
4. Press the power door unlock control three times.
5. Turn the ignition key back to ON. The doors will lock and unlock.
6. Press the power door unlock switch. The horn will chirp once upon
successful toggling of the Autolock feature.
7. Turn ignition to OFF. The horn will chirp to confirm procedure is
complete.
Keyless entry system (if equipped)
With the keyless entry keypad, you
can:
²lock or unlock the vehicle doors
without using the key
²arm and disarm the perimeter
alarm system (if equipped)
²activate/deactivate the autolock feature
123
45678
90
123
45678
90
Controls and features
64
Page 65 of 210
See alsoRemote entry systemandPerimeter alarm systemin this
chapter for more information.
Your vehicle has a factory-set 5 digit code that operates the keyless entry
system. You can also program your own 5 digit personal entry code.
The factory-set code is located:
²on the owner's wallet card in the glove compartment
²taped to the computer module
When pressing the controls on the keyless entry keypad, press the
middle of the buttons to ensure a good activation.
Programming your own personal entry code
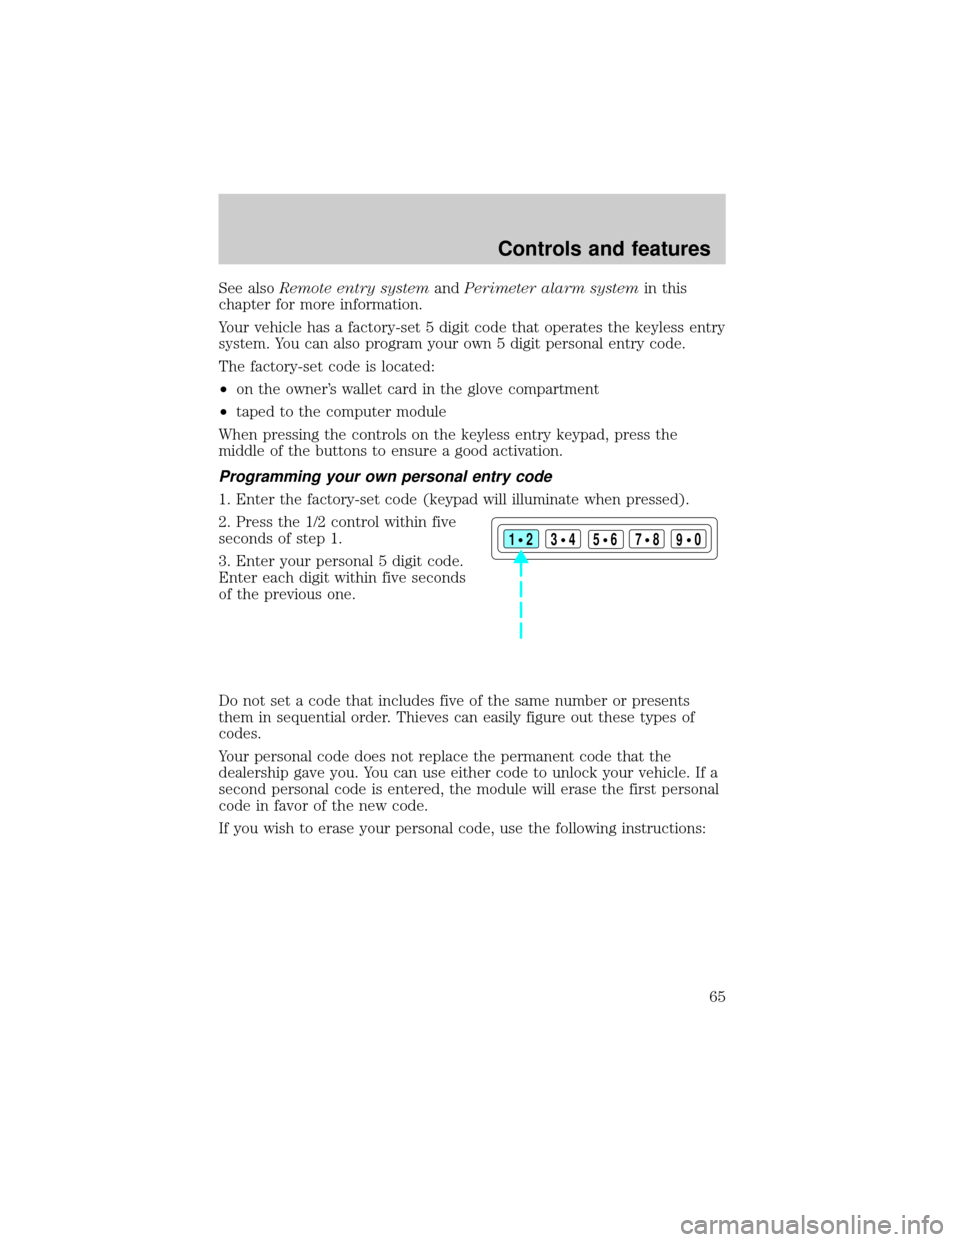
1. Enter the factory-set code (keypad will illuminate when pressed).
2. Press the 1/2 control within five
seconds of step 1.
3. Enter your personal 5 digit code.
Enter each digit within five seconds
of the previous one.
Do not set a code that includes five of the same number or presents
them in sequential order. Thieves can easily figure out these types of
codes.
Your personal code does not replace the permanent code that the
dealership gave you. You can use either code to unlock your vehicle. If a
second personal code is entered, the module will erase the first personal
code in favor of the new code.
If you wish to erase your personal code, use the following instructions:
123
45678
90
Controls and features
65
Page 66 of 210
Erasing personal code
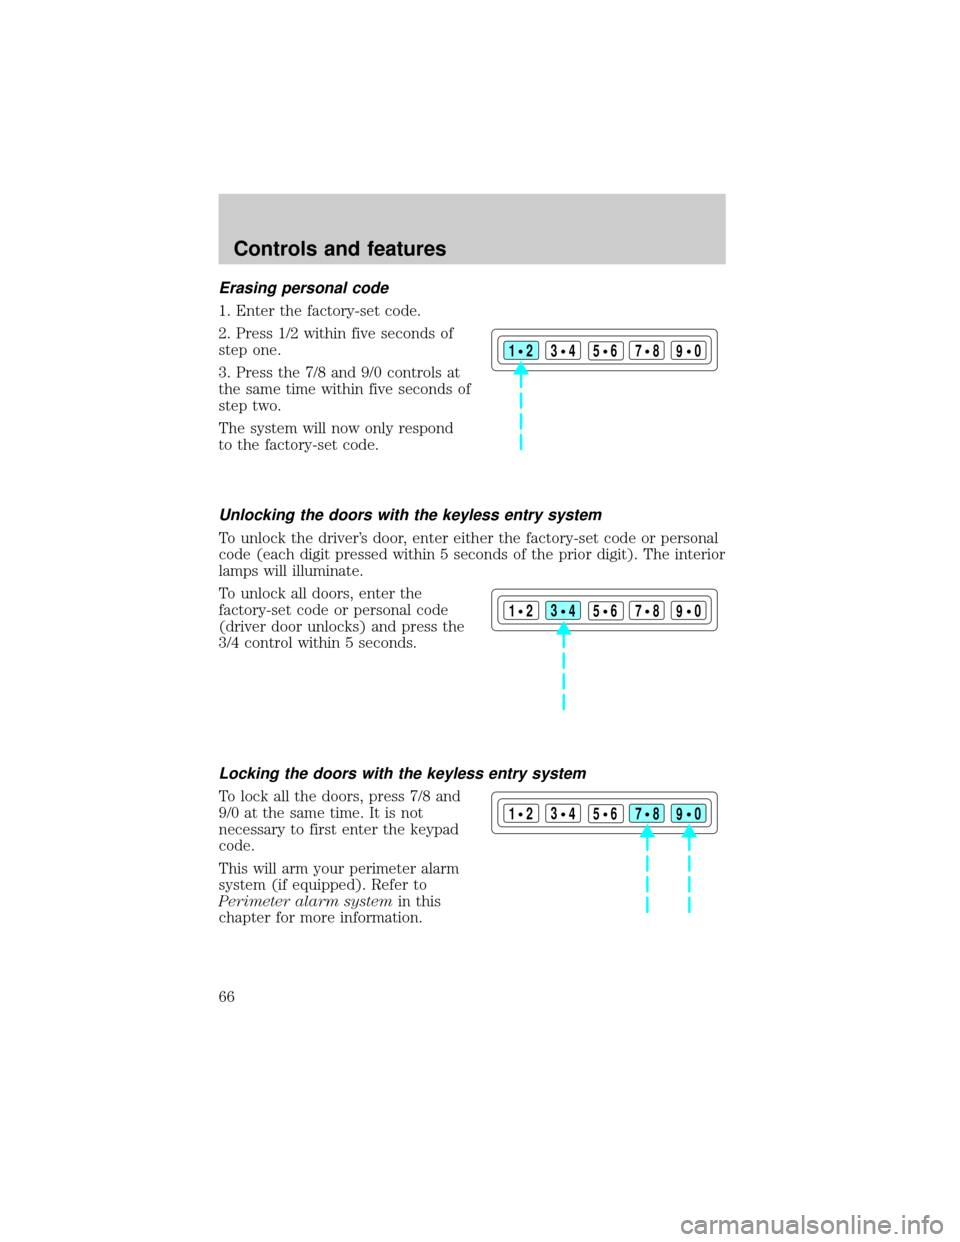
1. Enter the factory-set code.
2. Press 1/2 within five seconds of
step one.
3. Press the 7/8 and 9/0 controls at
the same time within five seconds of
step two.
The system will now only respond
to the factory-set code.
Unlocking the doors with the keyless entry system
To unlock the driver's door, enter either the factory-set code or personal
code (each digit pressed within 5 seconds of the prior digit). The interior
lamps will illuminate.
To unlock all doors, enter the
factory-set code or personal code
(driver door unlocks) and press the
3/4 control within 5 seconds.
Locking the doors with the keyless entry system
To lock all the doors, press 7/8 and
9/0 at the same time. It is not
necessary to first enter the keypad
code.
This will arm your perimeter alarm
system (if equipped). Refer to
Perimeter alarm systemin this
chapter for more information.
123
45678
90
123
45678
90
123
45678
90
Controls and features
66
Page 67 of 210
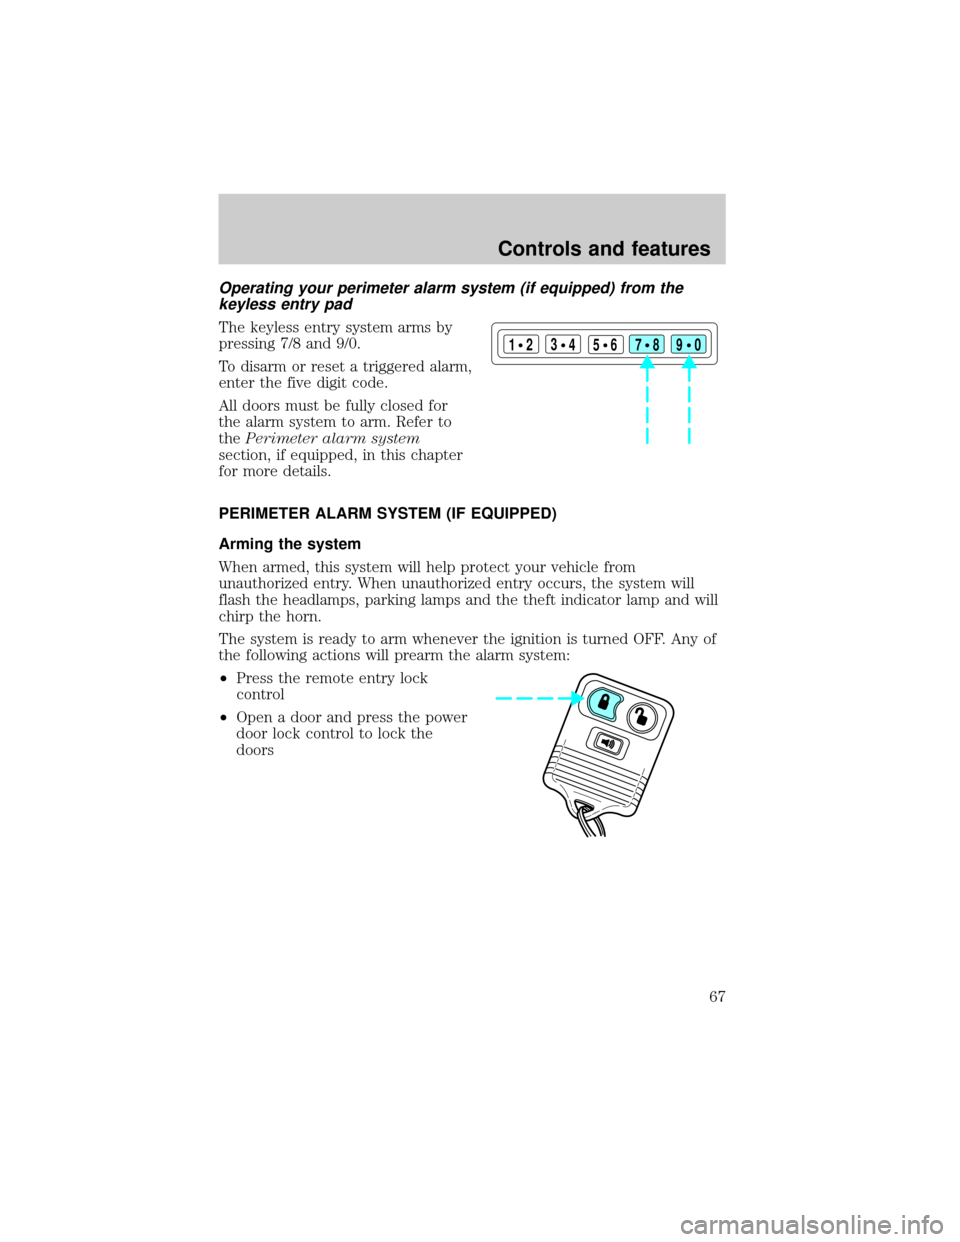
Operating your perimeter alarm system (if equipped) from the
keyless entry pad
The keyless entry system arms by
pressing 7/8 and 9/0.
To disarm or reset a triggered alarm,
enter the five digit code.
All doors must be fully closed for
the alarm system to arm. Refer to
thePerimeter alarm system
section, if equipped, in this chapter
for more details.
PERIMETER ALARM SYSTEM (IF EQUIPPED)
Arming the system
When armed, this system will help protect your vehicle from
unauthorized entry. When unauthorized entry occurs, the system will
flash the headlamps, parking lamps and the theft indicator lamp and will
chirp the horn.
The system is ready to arm whenever the ignition is turned OFF. Any of
the following actions will prearm the alarm system:
²Press the remote entry lock
control
²Open a door and press the power
door lock control to lock the
doors
123
45678
90
Controls and features
67
Page 69 of 210
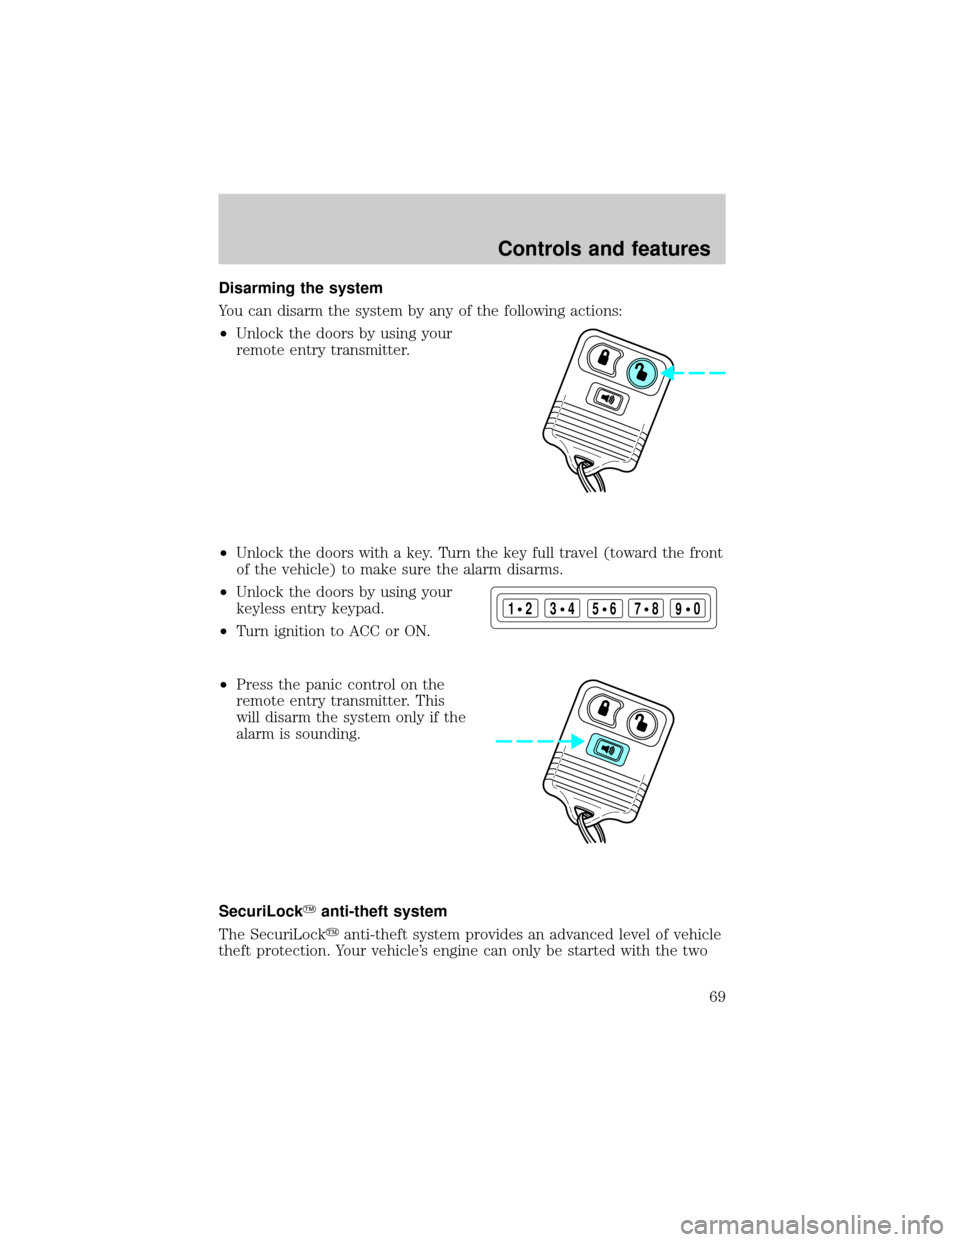
Disarming the system
You can disarm the system by any of the following actions:
²Unlock the doors by using your
remote entry transmitter.
²Unlock the doors with a key. Turn the key full travel (toward the front
of the vehicle) to make sure the alarm disarms.
²Unlock the doors by using your
keyless entry keypad.
²Turn ignition to ACC or ON.
²Press the panic control on the
remote entry transmitter. This
will disarm the system only if the
alarm is sounding.
SecuriLockYanti-theft system
The SecuriLockyanti-theft system provides an advanced level of vehicle
theft protection. Your vehicle's engine can only be started with the two
123
45678
90
Controls and features
69
Page 208 of 210

Overhead console
compass/temperature display ..44
storage compartment ...............44
Panic alarm feature, remote
entry system ................................60
Parking brake ............................105
Power door locks ........................51
Power steering
fluid, checking and adding ....169
Rear window
washer .......................................42
Recreational towing, all wheels
on the ground ...........................133
Refill capacities for fluids ........198
Relays ........................................136
Remote entry system .................58
illuminated entry ......................63
locking/unlocking doors ...........59
replacement/additional
transmitters ..........................62,63
replacing the batteries .............62
Reporting safety defects ..........205
Safety restraints
automatic locking mode
(retractor) ............................78,79
extension assembly ..................80
for children ...............................86
lap and shoulder belts ........77,78
maintenance ..............................81
proper use .................................76
warning light and chime .........11,
80,81
Safety seats for children
attaching with tether straps ....91
automatic locking mode
(retractor) .................................88
tether anchorage hardware .....91
Seats ............................................72
adjusting the seat, power ........72
folding rear seats ......................75
lumbar support .........................74
rear seat access ........................74Servicing your vehicle ..............156
precautions when servicing ...156
Snowplowing .................................3
Special notice
utility-type vehicles ....................3
Speed control ..............................36
canceling a set speed ...............39
indicator light ...........................40
resuming a set speed ...............40
tap up/tap down .......................38
turning off .................................36
Speedometer ...............................12
Starting your vehicle ...........99,102
Storage compartments
overhead storage
compartment .............................44
Tachometer
mechanical cluster ...................14
Tilt steering wheel ......................41
Tires ....................................177,178
checking the pressure ............178
replacing ..................................180
rotating ....................................179
snow tires and chains ............181
treadwear ................................177
Traction-lok rear axle ........124,175
Trailer towing ............................126
tips ...........................................132
Transaxle
fluid, checking and adding
(manual) .................................173
Transfer case
fluid checking .........................174
Transmission .............................170
automatic operation .......107,108,
109,110,111,112
fluid, checking and adding
(automatic) .............................170
Trip odometer .............................14
Turn signal
lever ...........................................35
Vehicle dimensions ...................202
Index
208