buttons FORD F-600 2022 User Guide
[x] Cancel search | Manufacturer: FORD, Model Year: 2022, Model line: F-600, Model: FORD F-600 2022Pages: 740, PDF Size: 12.6 MB
Page 180 of 740
Note:
If programming a garage door opener
or gate operator, it is advised to unplug the
device during the “cycling” process to
prevent possible overheating.
PROGRAMMING THE GARAGE
DOOR OPENER TO YOUR
HAND-HELD TRANSMITTER
This process is to program your in-vehicle
HomeLink function button with your
hand-held transmitter.
Note: The programming steps below
assume you will be programming HomeLink
that was not previously programmed. If your
HomeLink was previously programmed, you
may need to erase your HomeLink buttons.
See Clearing the Garage Door Opener
(page 178). 1.
With your vehicle parked outside of the
garage, switch your ignition to the on
position, but do not start your vehicle.
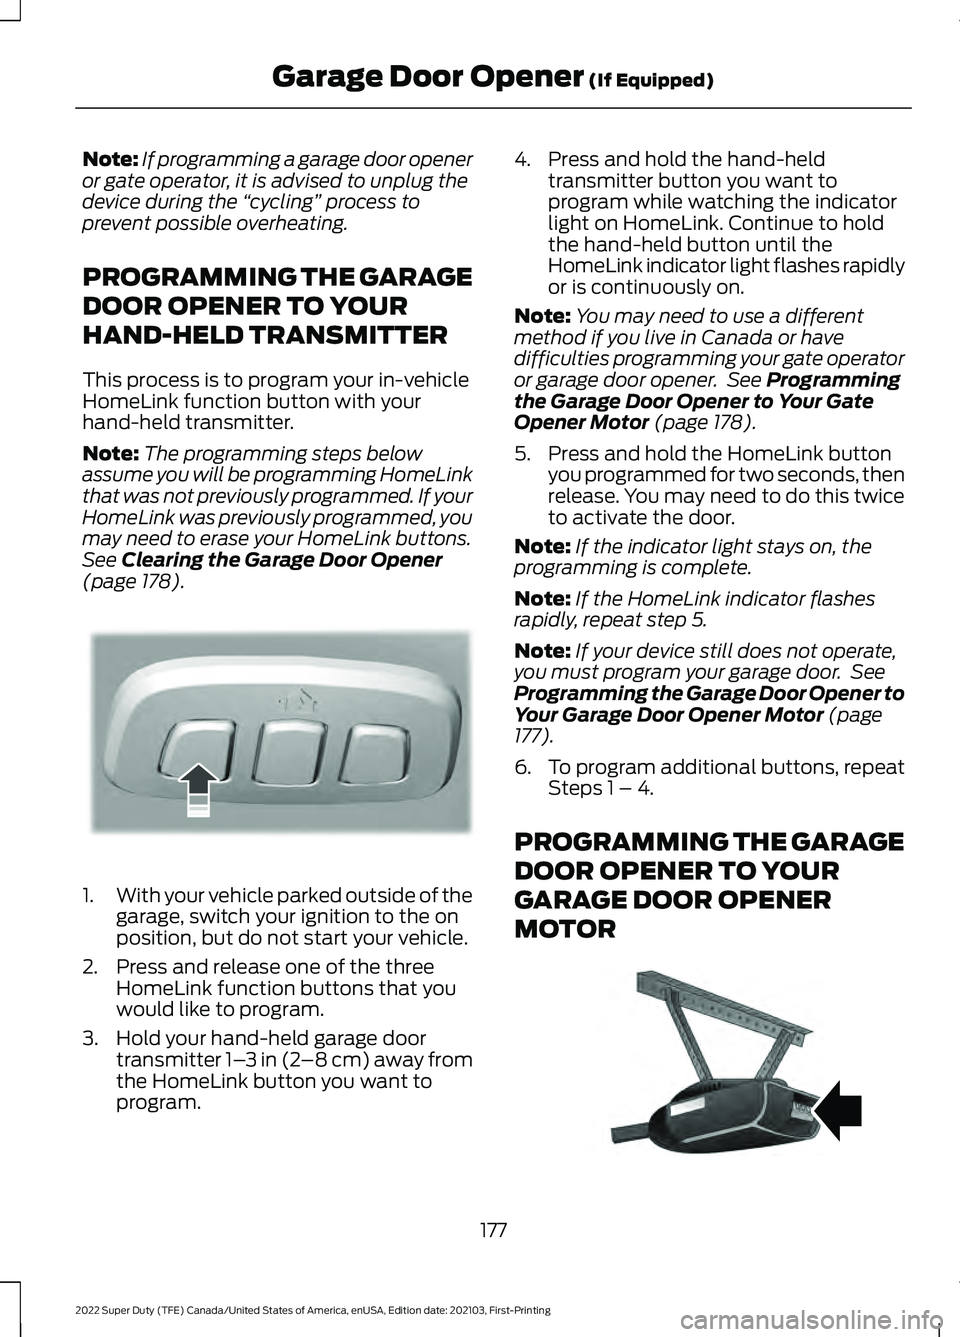
2. Press and release one of the three HomeLink function buttons that you
would like to program.
3. Hold your hand-held garage door transmitter 1– 3 in (2–8 cm) away from
the HomeLink button you want to
program. 4. Press and hold the hand-held
transmitter button you want to
program while watching the indicator
light on HomeLink. Continue to hold
the hand-held button until the
HomeLink indicator light flashes rapidly
or is continuously on.
Note: You may need to use a different
method if you live in Canada or have
difficulties programming your gate operator
or garage door opener. See
Programming
the Garage Door Opener to Your Gate
Opener Motor
(page 178).
5. Press and hold the HomeLink button you programmed for two seconds, then
release. You may need to do this twice
to activate the door.
Note: If the indicator light stays on, the
programming is complete.
Note: If the HomeLink indicator flashes
rapidly, repeat step 5.
Note: If your device still does not operate,
you must program your garage door. See
Programming the Garage Door Opener to
Your Garage Door Opener Motor
(page
177).
6. To program additional buttons, repeat Steps 1 – 4.
PROGRAMMING THE GARAGE
DOOR OPENER TO YOUR
GARAGE DOOR OPENER
MOTOR 177
2022 Super Duty (TFE) Canada/United States of America, enUSA, Edition date: 202103, First-Printing Garage Door Opener
(If Equipped)E188212 E142659
Page 181 of 740
1. Press the learn button on the garage
door opener motor, you have 30
seconds to complete the next two
steps.
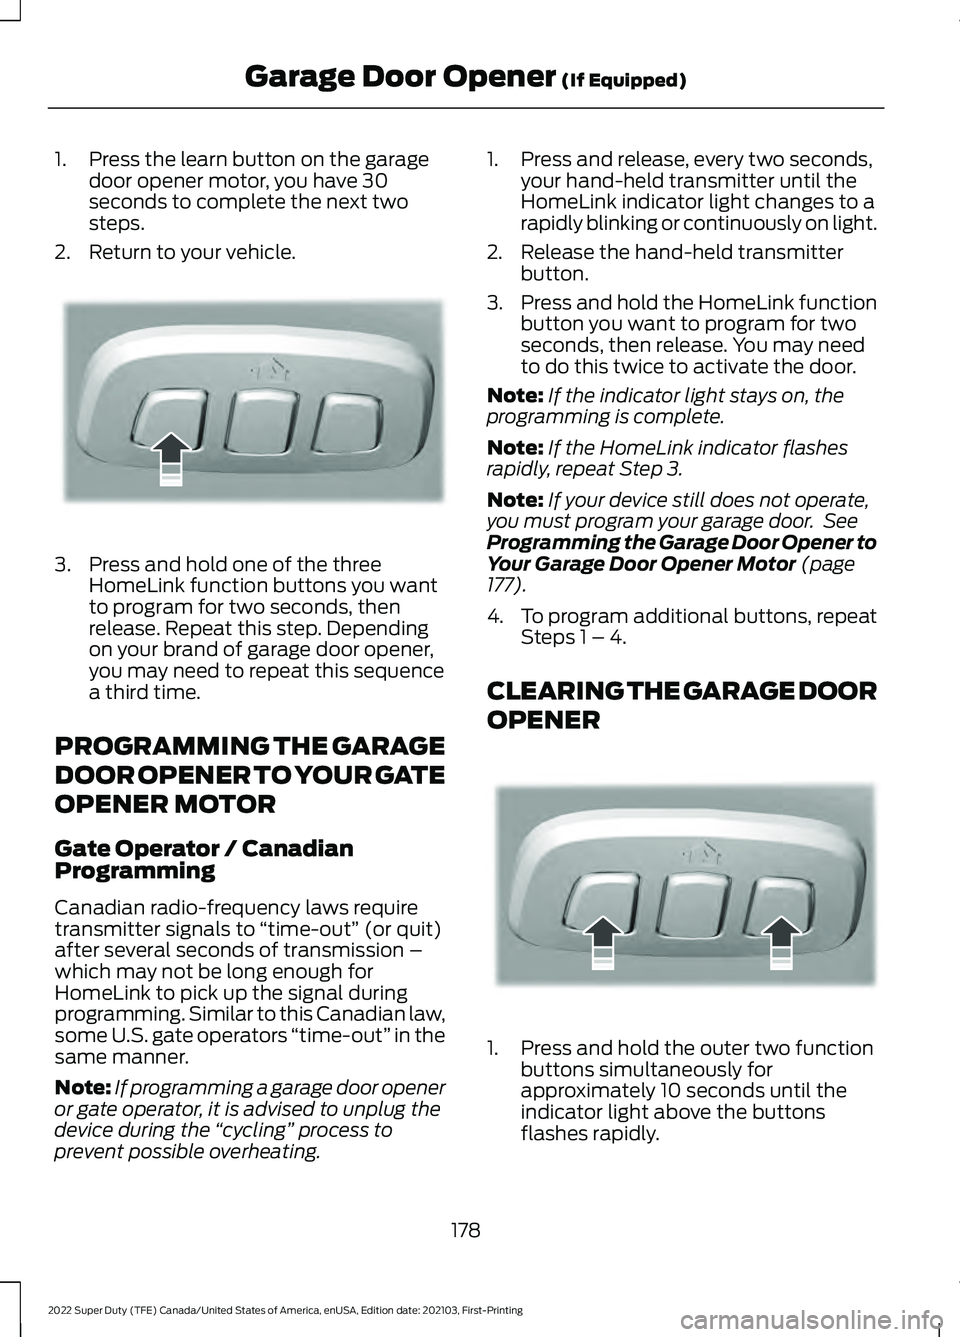
2. Return to your vehicle. 3. Press and hold one of the three
HomeLink function buttons you want
to program for two seconds, then
release. Repeat this step. Depending
on your brand of garage door opener,
you may need to repeat this sequence
a third time.
PROGRAMMING THE GARAGE
DOOR OPENER TO YOUR GATE
OPENER MOTOR
Gate Operator / Canadian
Programming
Canadian radio-frequency laws require
transmitter signals to “time-out” (or quit)
after several seconds of transmission –
which may not be long enough for
HomeLink to pick up the signal during
programming. Similar to this Canadian law,
some U.S. gate operators “time-out” in the
same manner.
Note: If programming a garage door opener
or gate operator, it is advised to unplug the
device during the “cycling” process to
prevent possible overheating. 1. Press and release, every two seconds,
your hand-held transmitter until the
HomeLink indicator light changes to a
rapidly blinking or continuously on light.
2. Release the hand-held transmitter button.
3. Press and hold the HomeLink function
button you want to program for two
seconds, then release. You may need
to do this twice to activate the door.
Note: If the indicator light stays on, the
programming is complete.
Note: If the HomeLink indicator flashes
rapidly, repeat Step 3.
Note: If your device still does not operate,
you must program your garage door. See
Programming the Garage Door Opener to
Your Garage Door Opener Motor (page
177).
4. To program additional buttons, repeat Steps 1 – 4.
CLEARING THE GARAGE DOOR
OPENER 1. Press and hold the outer two function
buttons simultaneously for
approximately 10 seconds until the
indicator light above the buttons
flashes rapidly.
178
2022 Super Duty (TFE) Canada/United States of America, enUSA, Edition date: 202103, First-Printing Garage Door Opener
(If Equipped)E188212 E188213
Page 182 of 740
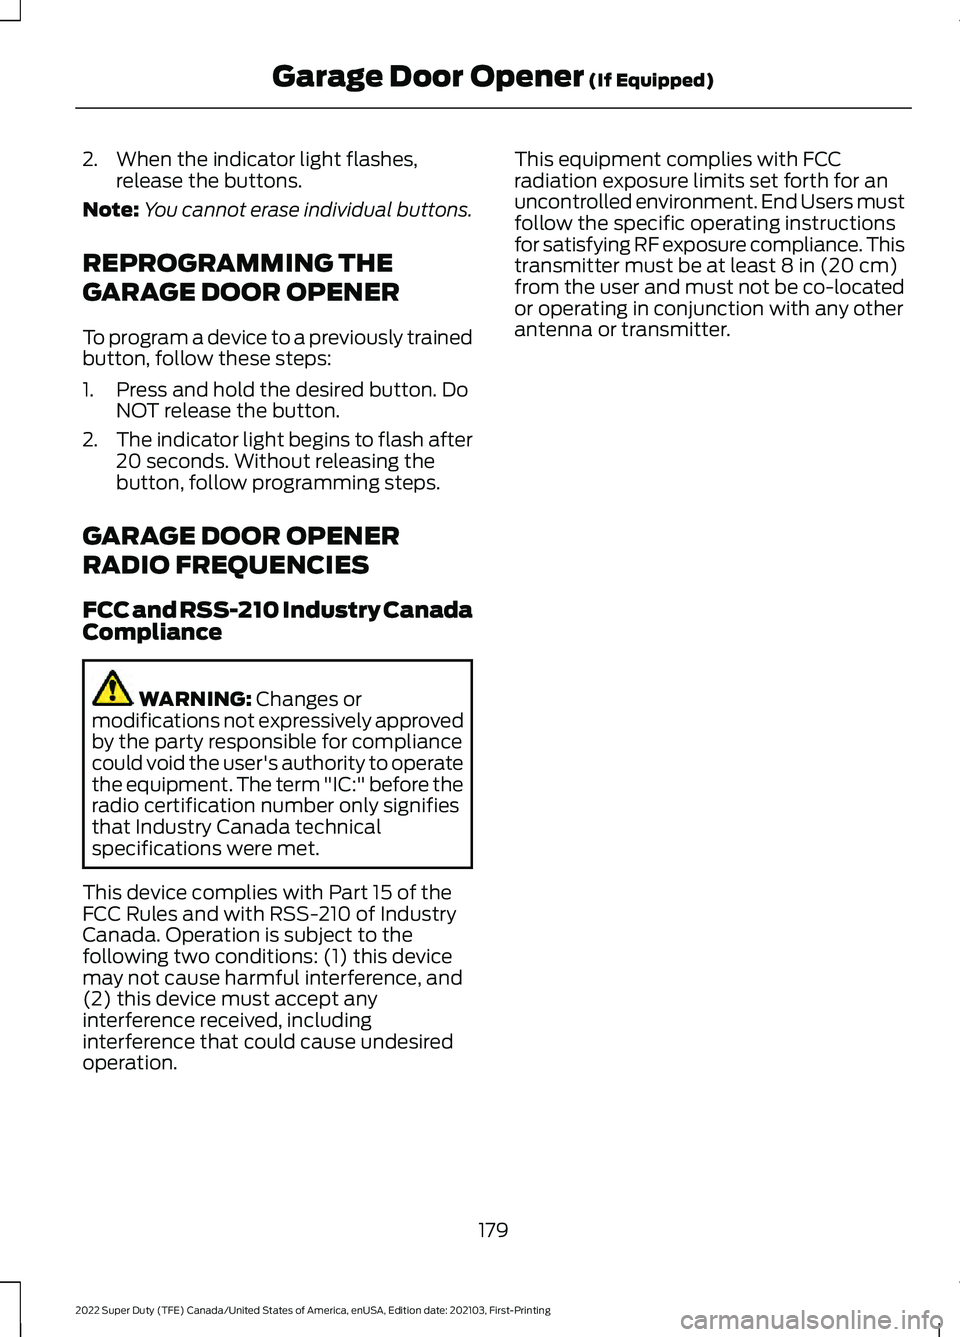
2. When the indicator light flashes,
release the buttons.
Note: You cannot erase individual buttons.
REPROGRAMMING THE
GARAGE DOOR OPENER
To program a device to a previously trained
button, follow these steps:
1. Press and hold the desired button. Do NOT release the button.
2. The indicator light begins to flash after
20 seconds. Without releasing the
button, follow programming steps.
GARAGE DOOR OPENER
RADIO FREQUENCIES
FCC and RSS-210 Industry Canada
Compliance WARNING: Changes or
modifications not expressively approved
by the party responsible for compliance
could void the user's authority to operate
the equipment. The term "IC:" before the
radio certification number only signifies
that Industry Canada technical
specifications were met.
This device complies with Part 15 of the
FCC Rules and with RSS-210 of Industry
Canada. Operation is subject to the
following two conditions: (1) this device
may not cause harmful interference, and
(2) this device must accept any
interference received, including
interference that could cause undesired
operation. This equipment complies with FCC
radiation exposure limits set forth for an
uncontrolled environment. End Users must
follow the specific operating instructions
for satisfying RF exposure compliance. This
transmitter must be at least
8 in (20 cm)
from the user and must not be co-located
or operating in conjunction with any other
antenna or transmitter.
179
2022 Super Duty (TFE) Canada/United States of America, enUSA, Edition date: 202103, First-Printing Garage Door Opener
(If Equipped)
Page 201 of 740
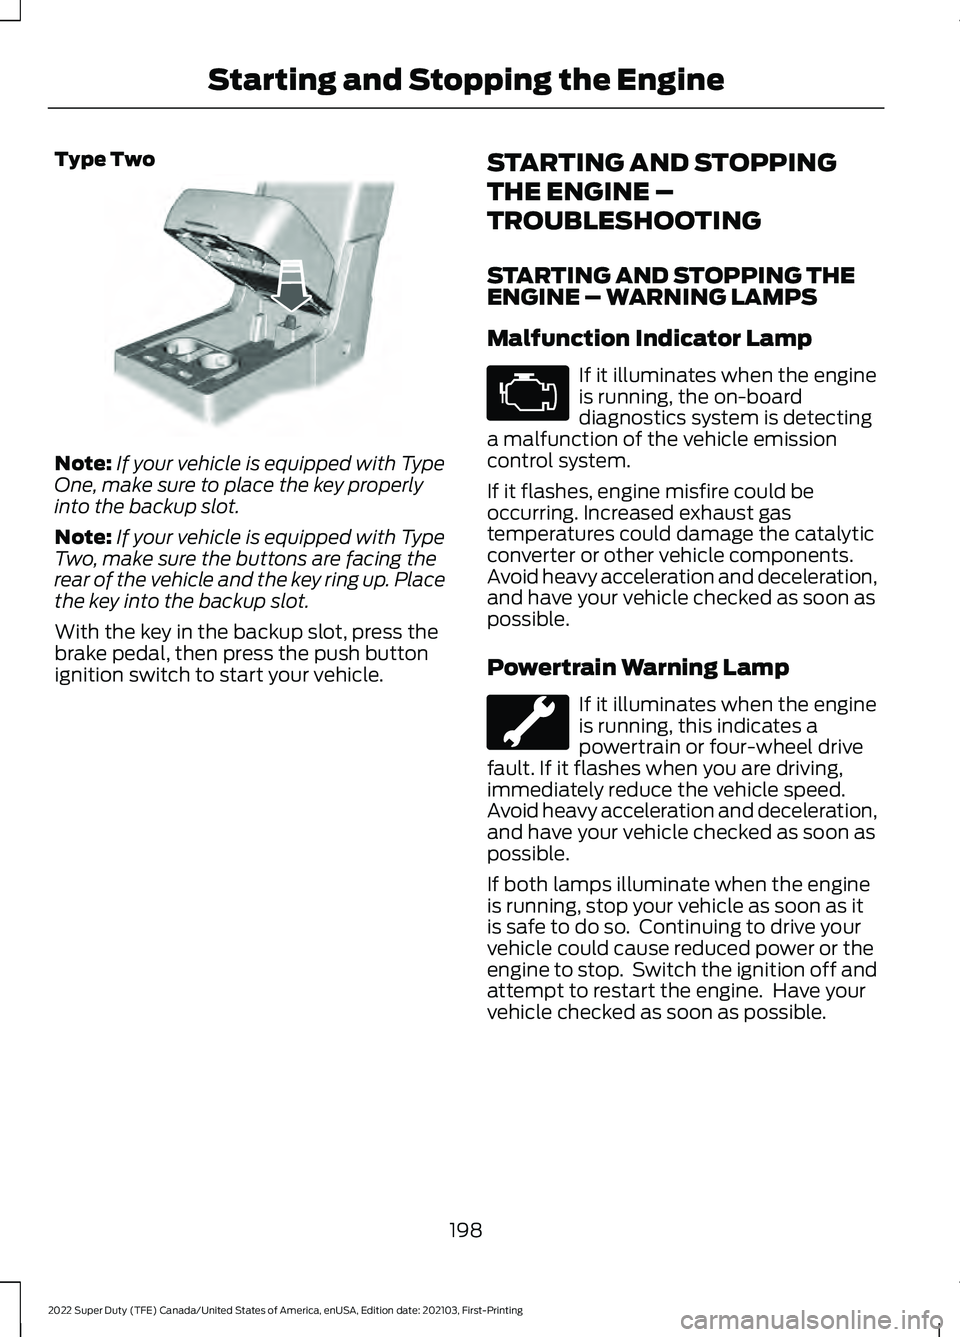
Type Two
Note:
If your vehicle is equipped with Type
One, make sure to place the key properly
into the backup slot.
Note: If your vehicle is equipped with Type
Two, make sure the buttons are facing the
rear of the vehicle and the key ring up. Place
the key into the backup slot.
With the key in the backup slot, press the
brake pedal, then press the push button
ignition switch to start your vehicle. STARTING AND STOPPING
THE ENGINE –
TROUBLESHOOTING
STARTING AND STOPPING THE
ENGINE – WARNING LAMPS
Malfunction Indicator Lamp If it illuminates when the engine
is running, the on-board
diagnostics system is detecting
a malfunction of the vehicle emission
control system.
If it flashes, engine misfire could be
occurring. Increased exhaust gas
temperatures could damage the catalytic
converter or other vehicle components.
Avoid heavy acceleration and deceleration,
and have your vehicle checked as soon as
possible.
Powertrain Warning Lamp If it illuminates when the engine
is running, this indicates a
powertrain or four-wheel drive
fault. If it flashes when you are driving,
immediately reduce the vehicle speed.
Avoid heavy acceleration and deceleration,
and have your vehicle checked as soon as
possible.
If both lamps illuminate when the engine
is running, stop your vehicle as soon as it
is safe to do so. Continuing to drive your
vehicle could cause reduced power or the
engine to stop. Switch the ignition off and
attempt to restart the engine. Have your
vehicle checked as soon as possible.
198
2022 Super Duty (TFE) Canada/United States of America, enUSA, Edition date: 202103, First-Printing Starting and Stopping the EngineE269950
Page 227 of 740
AUTOMATIC TRANSMISSION
PRECAUTIONS
WARNING: Apply the parking
brake, shift into park (P), switch the
ignition off and remove the key before
you leave your vehicle. Failure to follow
this instruction could result in personal
injury or death. WARNING:
Do not use tow/haul
when the road surface is slippery. Failure
to follow this instruction could result in
the loss of control of your vehicle. WARNING:
When your vehicle is
stationary, keep the brake pedal fully
pressed when shifting gears. Failure to
follow this instruction could result in
personal injury, death or property
damage. WARNING:
Do not apply the brake
pedal and accelerator pedal
simultaneously. Applying both pedals
simultaneously for more than a few
seconds will limit engine performance,
which may result in difficulty maintaining
speed in traffic and could lead to serious
injury.
AUTOMATIC TRANSMISSION
POSITIONS
PARK (P)
This position locks the driveline and
prevents the wheels from turning. Come
to a complete stop before putting your
vehicle into and out of park (P). REVERSE (R) WARNING:
Move the transmission
selector lever to reverse (R) only when
your vehicle is stationary and the engine
is at idle speed.
This position allows your vehicle to move
backward. Come to a complete stop
before shifting into and out of reverse (R).
NEUTRAL (N) WARNING:
In neutral (N) your
vehicle is free to roll.
This position allows your vehicle to roll
free. Hold the brake pedal down when in
this position.
Note: You can start your vehicle in this
position.
DRIVE (D)
Drive (D) is the normal driving position, and
allows automatic upshifts and downshifts
through all available gears.
MANUAL (M)
To select manual (M) mode, place the
gearshift in the manual (M) position.
This position allows you to change gears
up or down as preferred using the + or -
buttons on the shifter lever.
To return to the normal drive (D) position,
move the shifter into the drive (D) position.
SHIFTING YOUR VEHICLE INTO
GEAR
1. Fully press down on the brake pedal.
224
2022 Super Duty (TFE) Canada/United States of America, enUSA, Edition date: 202103, First-Printing Automatic Transmission
Page 228 of 740
2. Move the gearshift lever into the
desired gear.
3. When you finish driving, come to a complete stop.
4. Pull lever toward the driver and move the gearshift lever and securely latch
it in park (P).
MANUALLY SHIFTING GEARS
SHIFTING USING THE BUTTONS
ON THE SELECTOR LEVER
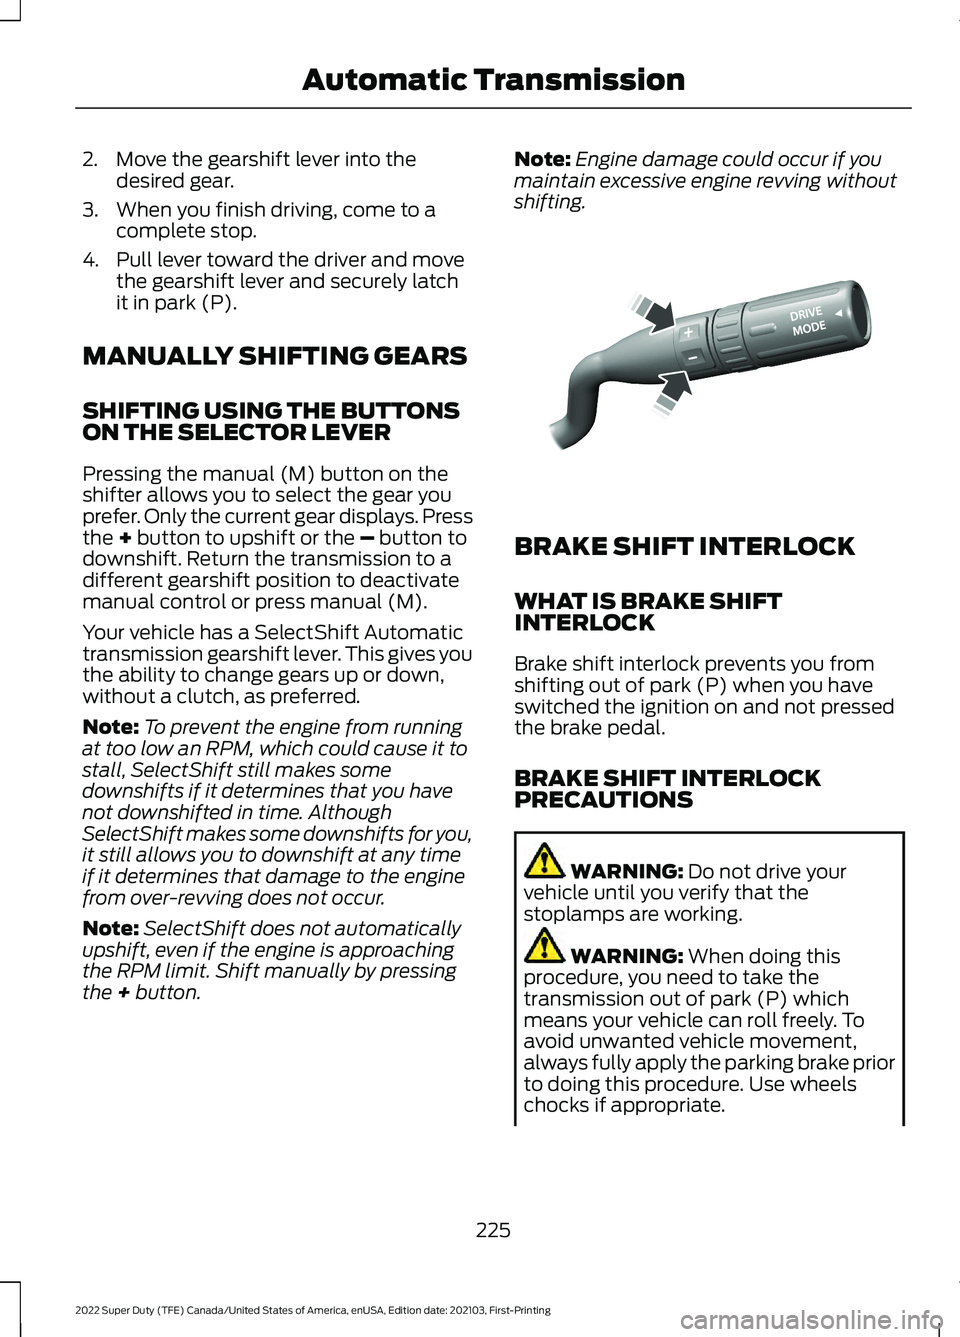
Pressing the manual (M) button on the
shifter allows you to select the gear you
prefer. Only the current gear displays. Press
the + button to upshift or the – button to
downshift. Return the transmission to a
different gearshift position to deactivate
manual control or press manual (M).
Your vehicle has a SelectShift Automatic
transmission gearshift lever. This gives you
the ability to change gears up or down,
without a clutch, as preferred.
Note: To prevent the engine from running
at too low an RPM, which could cause it to
stall, SelectShift still makes some
downshifts if it determines that you have
not downshifted in time. Although
SelectShift makes some downshifts for you,
it still allows you to downshift at any time
if it determines that damage to the engine
from over-revving does not occur.
Note: SelectShift does not automatically
upshift, even if the engine is approaching
the RPM limit. Shift manually by pressing
the
+ button. Note:
Engine damage could occur if you
maintain excessive engine revving without
shifting. BRAKE SHIFT INTERLOCK
WHAT IS BRAKE SHIFT
INTERLOCK
Brake shift interlock prevents you from
shifting out of park (P) when you have
switched the ignition on and not pressed
the brake pedal.
BRAKE SHIFT INTERLOCK
PRECAUTIONS
WARNING:
Do not drive your
vehicle until you verify that the
stoplamps are working. WARNING:
When doing this
procedure, you need to take the
transmission out of park (P) which
means your vehicle can roll freely. To
avoid unwanted vehicle movement,
always fully apply the parking brake prior
to doing this procedure. Use wheels
chocks if appropriate.
225
2022 Super Duty (TFE) Canada/United States of America, enUSA, Edition date: 202103, First-Printing Automatic TransmissionE312894
Page 255 of 740
WHAT IS TRAIL CONTROL
WARNING: The system does not
control speed in low traction conditions
or extremely steep slopes. The system
is designed to be an aid and does not
relieve you of your responsibility to drive
with due care and attention. Failure to
follow this instruction could result in
personal injury.
Trail control lets you focus on steering
during low-speed and off-road use by
controlling your vehicle's acceleration and
braking to maintain the speed that you set.
You may hear a noise from the anti-lock
brake system pump motor when you use
the system. This is normal.
SWITCHING TRAIL CONTROL
ON AND OFF Press the button.
The system switches off if you press the
button again or exceed 40 mph (64 km/h).
SETTING THE TRAIL CONTROL
SPEED
Note: The buttons are located on the
steering wheel. Drive to your preferred speed. Press button to increase the set
current speed.
Press button to decrease the set
current speed.
Note: The indicator changes color.
You can adjust the set speed in small or
large increments. Press the toggle button
upward or downward once to adjust the
set speed in small increments. Press and
hold the toggle button upward or
downward to adjust the set speed in large
increments.
You can also adjust the set speed by
braking.
Note: Pressing the brake pedal does not
switch off the system.
CANCELING THE SET SPEED Press the button.
TRAIL CONTROL INDICATORS 252
2022 Super Duty (TFE) Canada/United States of America, enUSA, Edition date: 202103, First-Printing Trail Control
(If Equipped)E332910 E265298 E272858
Page 257 of 740
WHAT IS HILL DESCENT
CONTROL
Hill descent control allows the driver to set
and maintain vehicle speed while
descending steep slopes in various surface
conditions.
HOW DOES HILL DESCENT
CONTROL WORK
Hill descent control can maintain vehicle
speeds on downhill slopes between
2
– 20 mph (3– 32 km/h). Above 20 mph
(32 km/h), the system remains on but the
descent speed cannot be set or
maintained.
Note: The system does not function below
2 mph (3 km/h)
.
The system requires a cool down interval
after a period of sustained use. Hill descent
control provides a warning in the message
center and a tone sounds when the system
is about to disengage for cooling. At this
time, manually apply the brakes as needed
to maintain descent speed.
Note: The amount of time that the system
can remain active before cooling varies with
conditions.
HILL DESCENT CONTROL
PRECAUTIONS WARNING:
The system does not
control speed in low traction conditions
or extremely steep slopes. The system
is designed to be an aid and does not
relieve you of your responsibility to drive
with due care and attention. Failure to
follow this instruction could result in
personal injury. WARNING:
Hill descent control
cannot control descent in all surface
conditions and circumstances, such as
ice or extremely steep grades. Hill
descent control is a driver assist system
and cannot substitute for good judgment
by the driver. Failure to do so may result
in loss of vehicle control, crash or serious
injury. WARNING:
The system does not
replace the parking brake. When you
leave your vehicle, always apply the
parking brake and shift the transmission
into park (P) for automatic transmission
or first gear for manual transmission.
SWITCHING HILL DESCENT
CONTROL ON AND OFF Press the button on the
instrument panel. A light
illuminates and a tone sounds
when the system is active.
SETTING THE HILL DESCENT
SPEED
To increase or decrease the descent speed,
press the accelerator or brake pedal, or use
the SET
+ and SET - buttons on the
steering wheel. Once you reach the
preferred speed remove your feet from the
pedals.
HILL DESCENT CONTROL
INDICATOR Illuminates when you switch hill
descent control on.
254
2022 Super Duty (TFE) Canada/United States of America, enUSA, Edition date: 202103, First-Printing Hill Descent Control
(If Equipped)E163171 E163171
Page 273 of 740
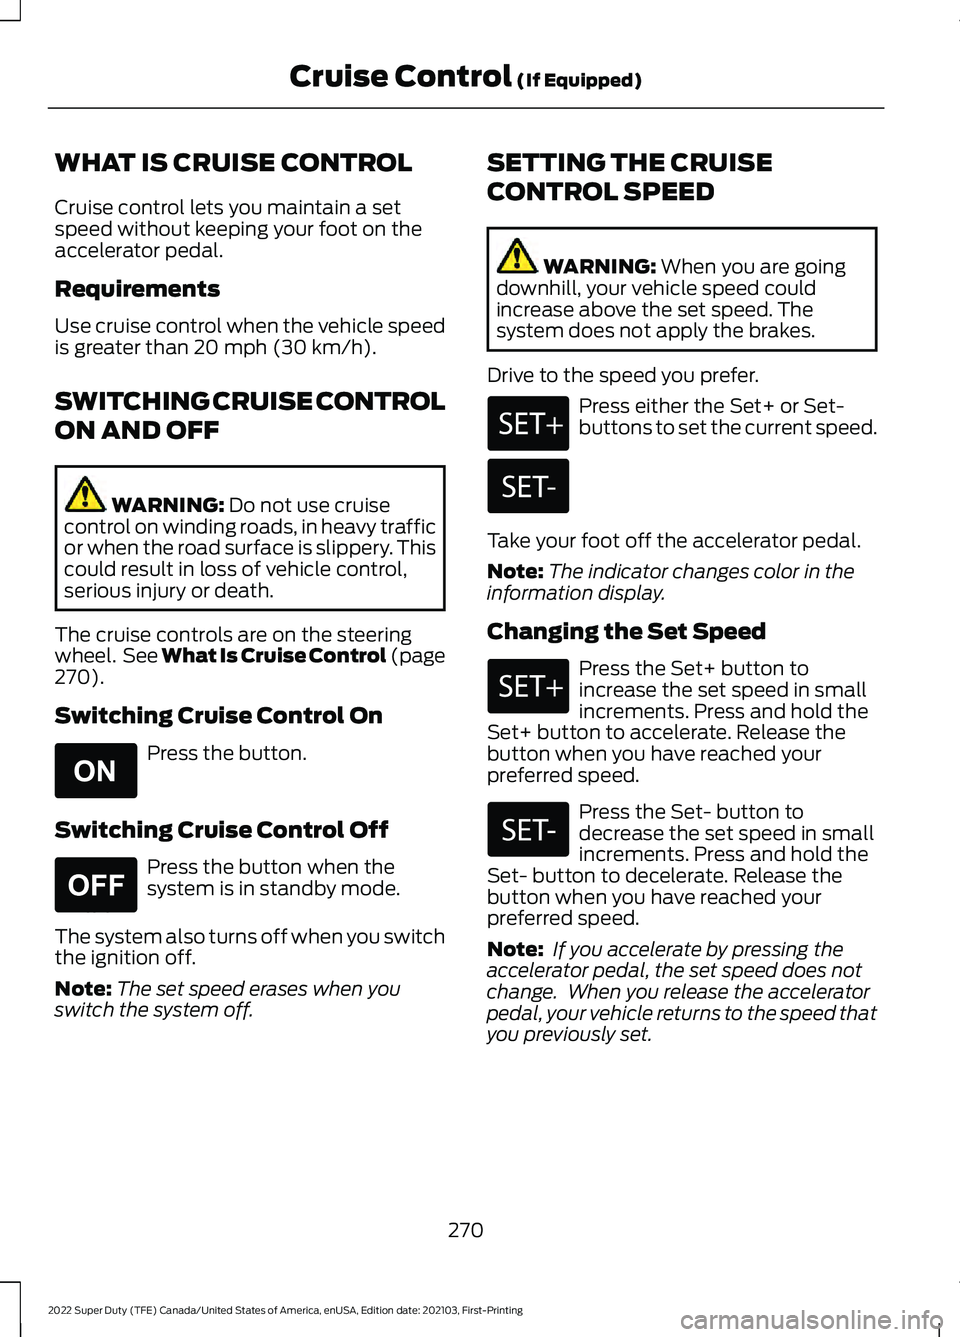
WHAT IS CRUISE CONTROL
Cruise control lets you maintain a set
speed without keeping your foot on the
accelerator pedal.
Requirements
Use cruise control when the vehicle speed
is greater than 20 mph (30 km/h).
SWITCHING CRUISE CONTROL
ON AND OFF WARNING:
Do not use cruise
control on winding roads, in heavy traffic
or when the road surface is slippery. This
could result in loss of vehicle control,
serious injury or death.
The cruise controls are on the steering
wheel. See What Is Cruise Control (page
270
).
Switching Cruise Control On Press the button.
Switching Cruise Control Off Press the button when the
system is in standby mode.
The system also turns off when you switch
the ignition off.
Note: The set speed erases when you
switch the system off. SETTING THE CRUISE
CONTROL SPEED WARNING:
When you are going
downhill, your vehicle speed could
increase above the set speed. The
system does not apply the brakes.
Drive to the speed you prefer. Press either the Set+ or Set-
buttons to set the current speed.
Take your foot off the accelerator pedal.
Note: The indicator changes color in the
information display.
Changing the Set Speed Press the Set+ button to
increase the set speed in small
increments. Press and hold the
Set+ button to accelerate. Release the
button when you have reached your
preferred speed. Press the Set- button to
decrease the set speed in small
increments. Press and hold the
Set- button to decelerate. Release the
button when you have reached your
preferred speed.
Note: If you accelerate by pressing the
accelerator pedal, the set speed does not
change. When you release the accelerator
pedal, your vehicle returns to the speed that
you previously set.
270
2022 Super Duty (TFE) Canada/United States of America, enUSA, Edition date: 202103, First-Printing Cruise Control
(If Equipped)E265296 E265297
Page 278 of 740
Optimal system performance requires a
clear view of the road by the windshield
camera.
Optimal performance may not occur if:
•
The camera is blocked.
• There is poor visibility or lighting
conditions.
• There are bad weather conditions.
SWITCHING ADAPTIVE
CRUISE CONTROL ON AND OFF
The cruise controls are on the steering
wheel.
Switching Adaptive Cruise Control
On Press and release the button.
The indicator, current gap setting
and set speed appear in the
instrument cluster display.
Switching Adaptive Cruise Control
Off Press and release the button
when the system is in standby
mode or switch the ignition off.
Note: When you switch the system off, the
set speed and gap setting clears.
ADAPTIVE CRUISE CONTROL
AUTOMATIC CANCELLATION
The system is not functional at vehicle
speeds below 12 mph (20 km/h). The
information display indicates low engine
speed, an audible alarm sounds and the
automatic braking releases if the vehicle
drops below this speed. The system may cancel if:
•
The tires lose traction.
• You apply the parking brake.
The system may deactivate or prevent
activating when requested if:
• The vehicle has a blocked sensor.
• The brake temperature is too high.
• There is a failure in the system or a
related system.
Note: If the engine speed drops too low, an
audible warning sounds and a message
appears in the information display.
Automatic braking releases.
SETTING THE ADAPTIVE
CRUISE CONTROL SPEED
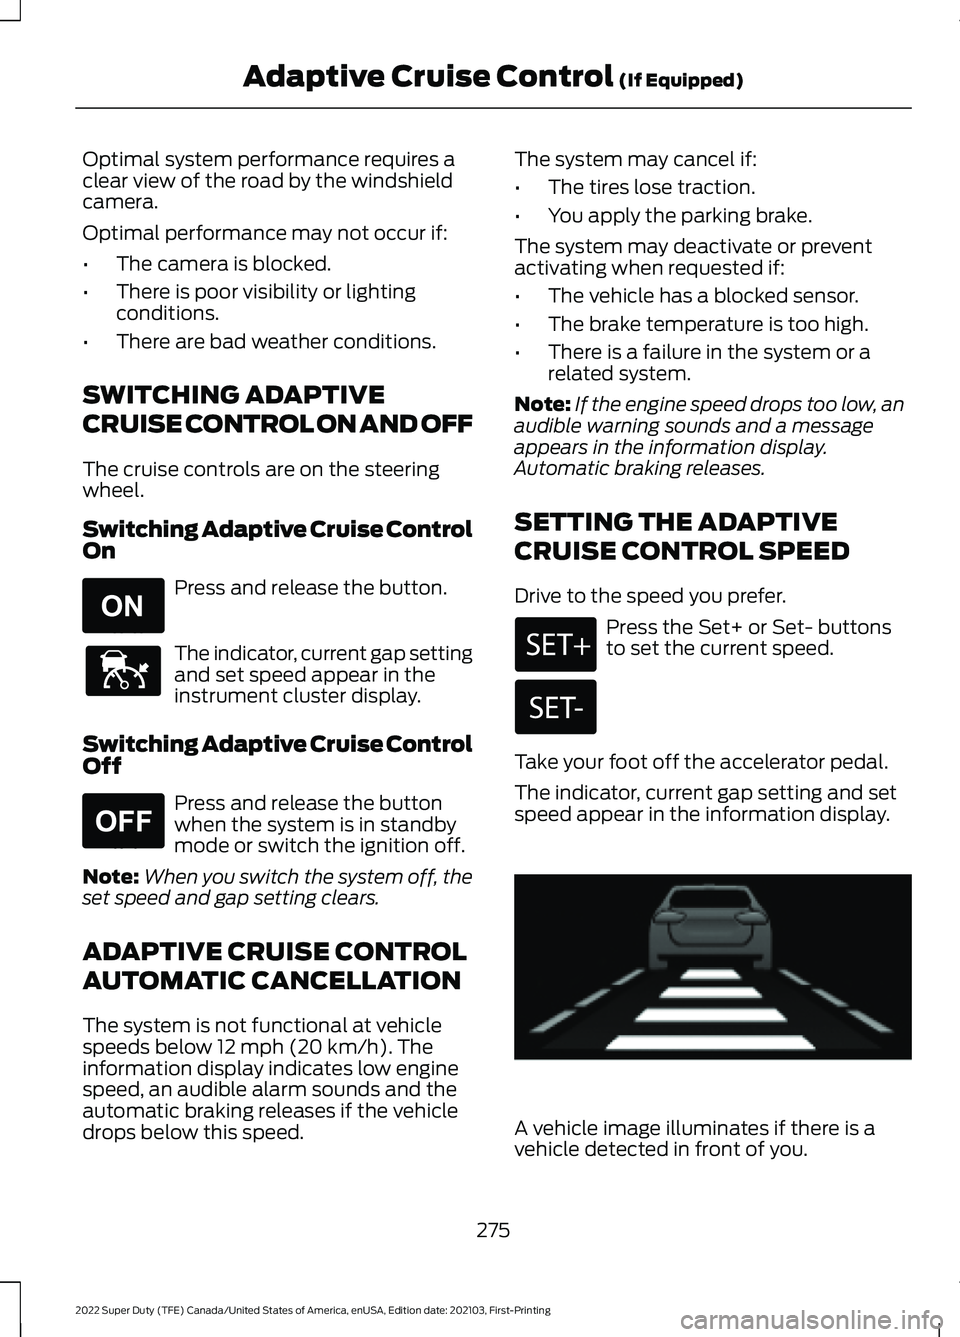
Drive to the speed you prefer. Press the Set+ or Set- buttons
to set the current speed.
Take your foot off the accelerator pedal.
The indicator, current gap setting and set
speed appear in the information display. A vehicle image illuminates if there is a
vehicle detected in front of you.
275
2022 Super Duty (TFE) Canada/United States of America, enUSA, Edition date: 202103, First-Printing Adaptive Cruise Control
(If Equipped)E265296 E144529 E265297 E233874