FORD F650 2013 12.G Repair Manual
Manufacturer: FORD, Model Year: 2013, Model line: F650, Model: FORD F650 2013 12.GPages: 378, PDF Size: 3.82 MB
Page 61 of 378
Bounce-Back (One-Touch Up or Down Windows Only)
The window will stop automatically while closing and reverse some
distance if there is an obstacle in the way.
Overriding the Bounce-Back Feature
WARNING:When you override the bounce-back feature the
window will not reverse if it detects an obstacle. Take care when
closing the windows to avoid personal injury or damage to your vehicle.
Pull up the window switch and hold within two seconds of the window
reaching the bounce-back position. The window will travel up with no
bounce-back protection. The window will stop if you release the switch
before the window is fully closed.
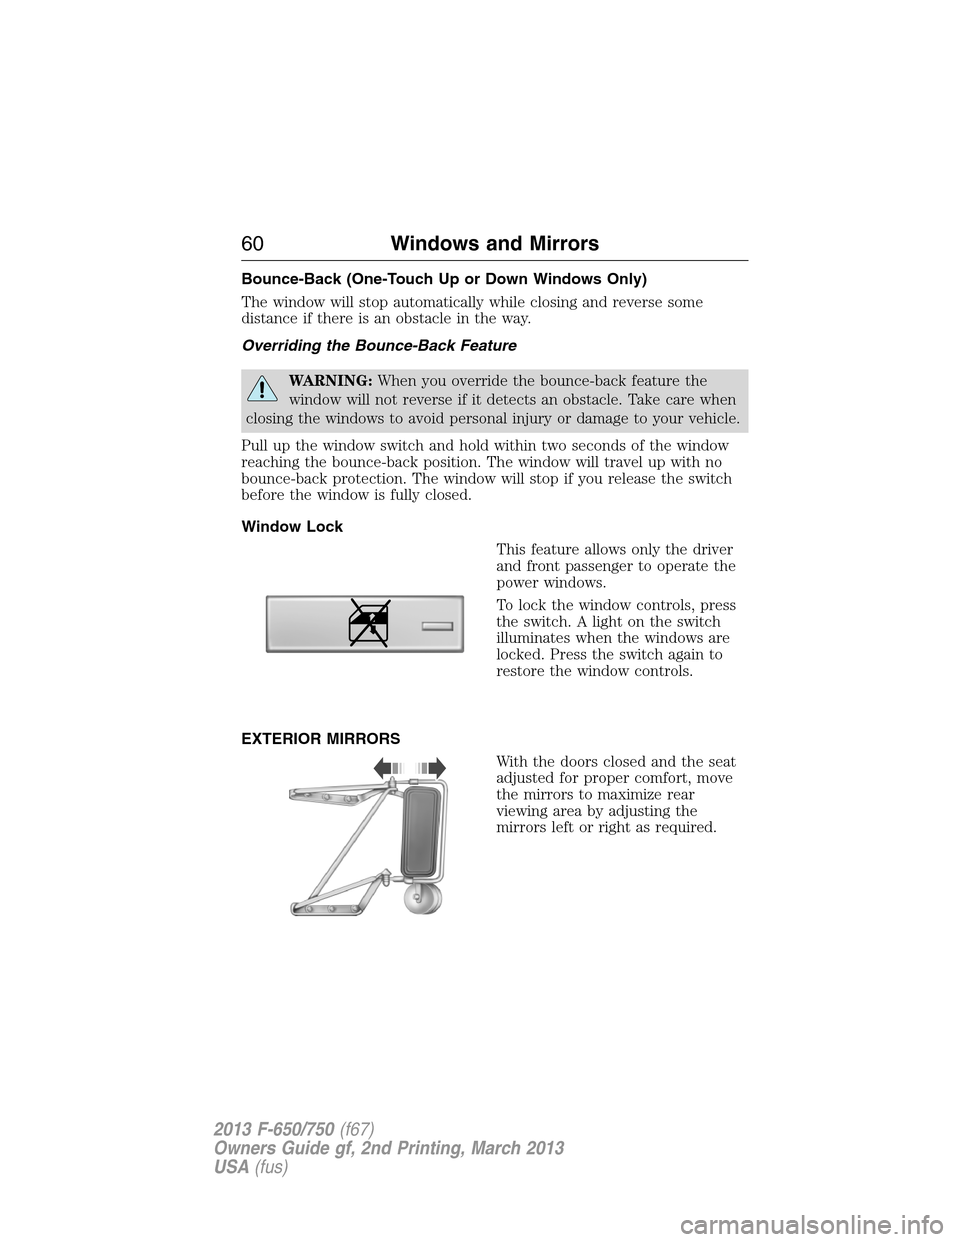
Window Lock
This feature allows only the driver
and front passenger to operate the
power windows.
To lock the window controls, press
the switch. A light on the switch
illuminates when the windows are
locked. Press the switch again to
restore the window controls.
EXTERIOR MIRRORS
With the doors closed and the seat
adjusted for proper comfort, move
the mirrors to maximize rear
viewing area by adjusting the
mirrors left or right as required.
60Windows and Mirrors
2013 F-650/750(f67)
Owners Guide gf, 2nd Printing, March 2013
USA(fus)
Page 62 of 378
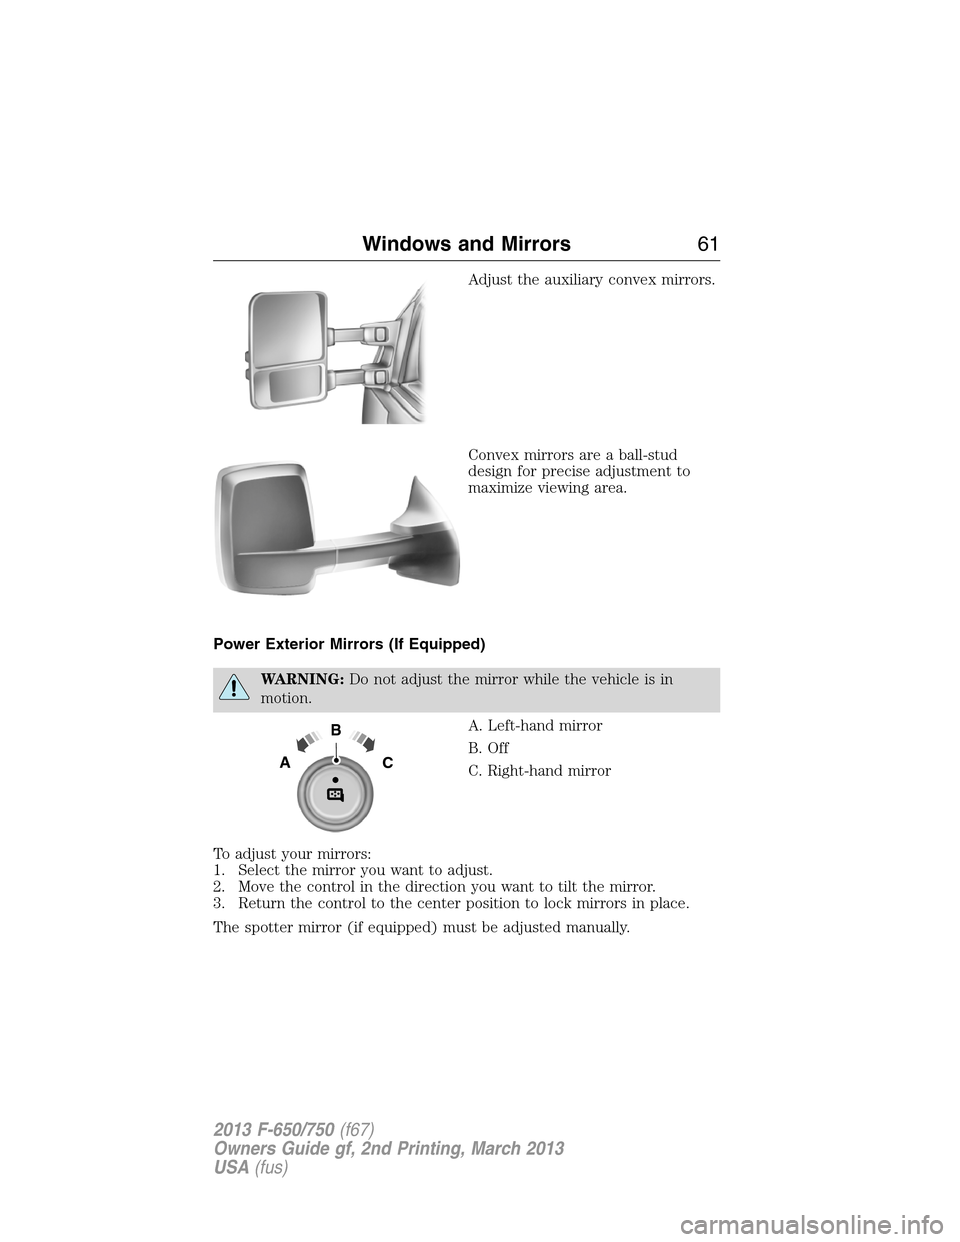
Adjust the auxiliary convex mirrors.
Convex mirrors are a ball-stud
design for precise adjustment to
maximize viewing area.
Power Exterior Mirrors (If Equipped)
WARNING:Do not adjust the mirror while the vehicle is in
motion.
A. Left-hand mirror
B. Off
C. Right-hand mirror
To adjust your mirrors:
1. Select the mirror you want to adjust.
2. Move the control in the direction you want to tilt the mirror.
3. Return the control to the center position to lock mirrors in place.
The spotter mirror (if equipped) must be adjusted manually.
B
AC
Windows and Mirrors61
2013 F-650/750(f67)
Owners Guide gf, 2nd Printing, March 2013
USA(fus)
Page 63 of 378
Fold-Away Exterior Mirrors
Push the mirror toward the door window glass. Make sure that you fully
engage the mirror in its support when returning it to its original position.
Power-Folding Mirrors (If Equipped)
Note:Activating the mirrors 10 or more times within one minute, or
repeated folding and unfolding of the mirrors while holding the control
down during full travel, may disable the system to protect motors from
overheating. Wait approximately three minutes with the vehicle running,
and up to 10 minutes with the vehicle off, for the system to reset and for
function to return to normal.
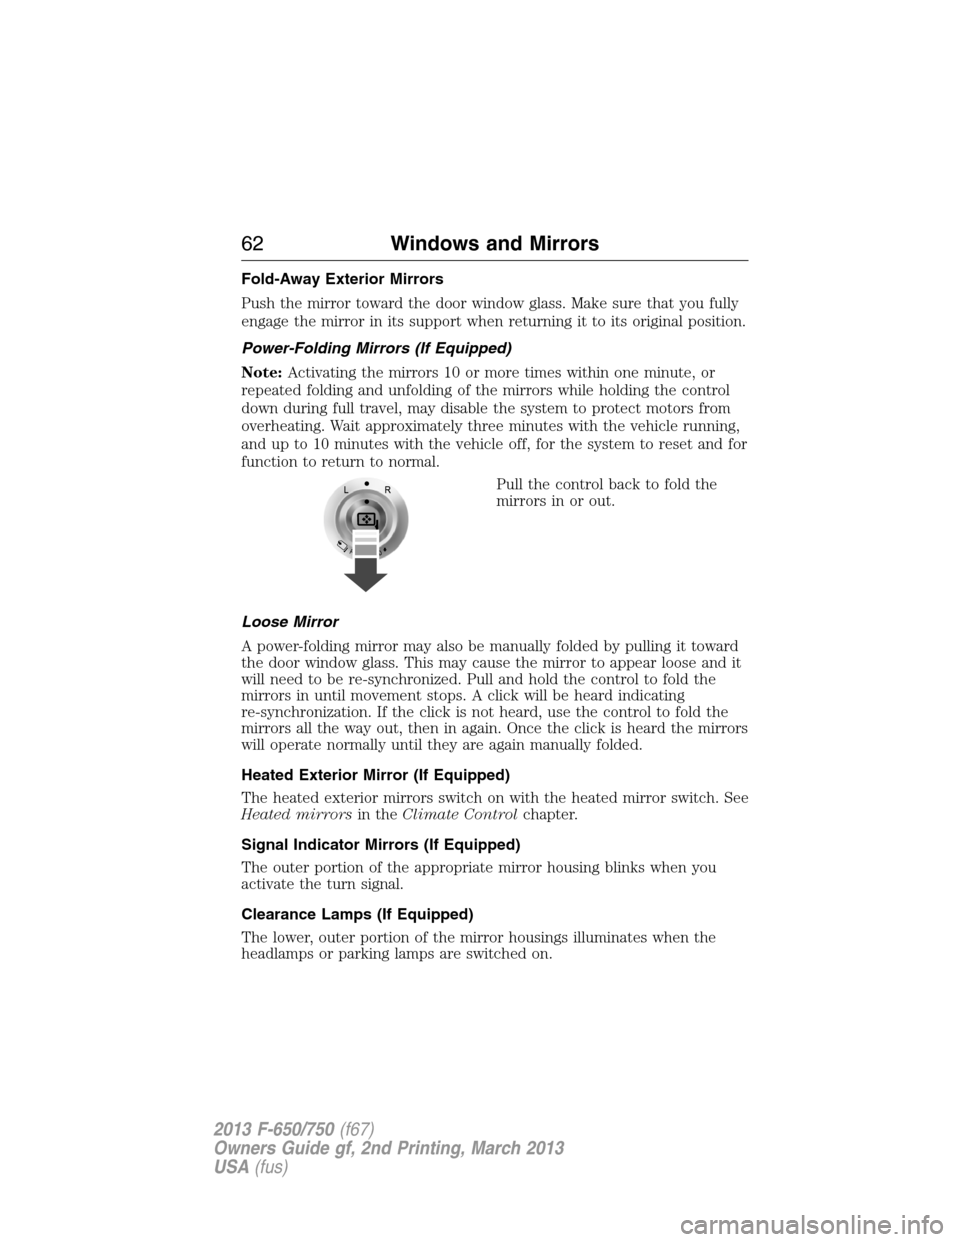
Pull the control back to fold the
mirrors in or out.
Loose Mirror
A power-folding mirror may also be manually folded by pulling it toward
the door window glass. This may cause the mirror to appear loose and it
will need to be re-synchronized. Pull and hold the control to fold the
mirrors in until movement stops. A click will be heard indicating
re-synchronization. If the click is not heard, use the control to fold the
mirrors all the way out, then in again. Once the click is heard the mirrors
will operate normally until they are again manually folded.
Heated Exterior Mirror (If Equipped)
The heated exterior mirrors switch on with the heated mirror switch. See
Heated mirrorsin theClimate Controlchapter.
Signal Indicator Mirrors (If Equipped)
The outer portion of the appropriate mirror housing blinks when you
activate the turn signal.
Clearance Lamps (If Equipped)
The lower, outer portion of the mirror housings illuminates when the
headlamps or parking lamps are switched on.
62Windows and Mirrors
2013 F-650/750(f67)
Owners Guide gf, 2nd Printing, March 2013
USA(fus)
Page 64 of 378
Telescoping Mirrors (If Equipped)
This feature allows the mirror to
extend approximately 3 inches
(75 millimeters). It is especially
useful when towing a trailer. The
mirrors can be manually pulled out
or pushed in to the desired position.
PowerScope® Power Telescoping Mirrors (If Equipped)
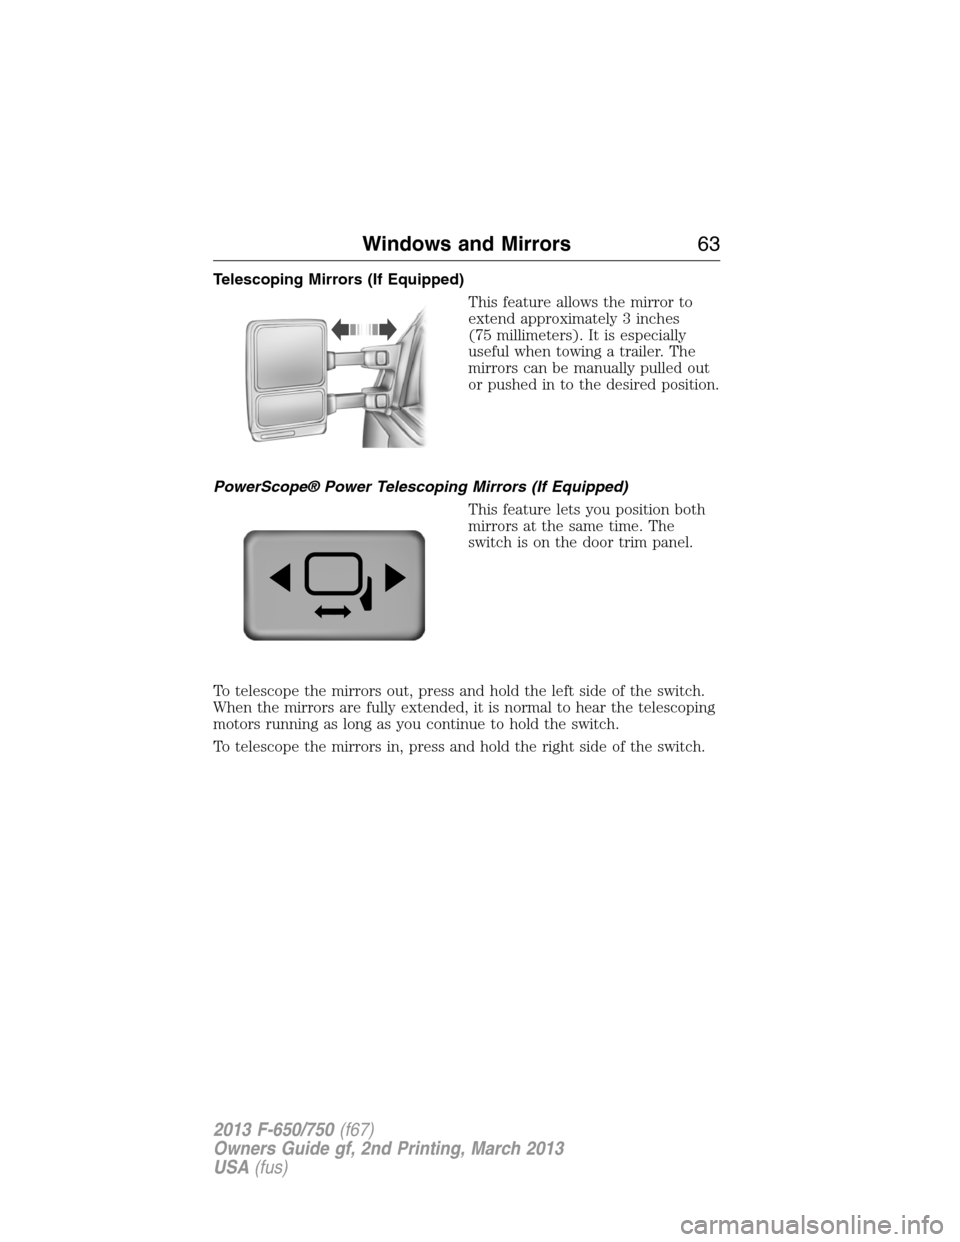
This feature lets you position both
mirrors at the same time. The
switch is on the door trim panel.
To telescope the mirrors out, press and hold the left side of the switch.
When the mirrors are fully extended, it is normal to hear the telescoping
motors running as long as you continue to hold the switch.
To telescope the mirrors in, press and hold the right side of the switch.
Windows and Mirrors63
2013 F-650/750(f67)
Owners Guide gf, 2nd Printing, March 2013
USA(fus)
Page 65 of 378
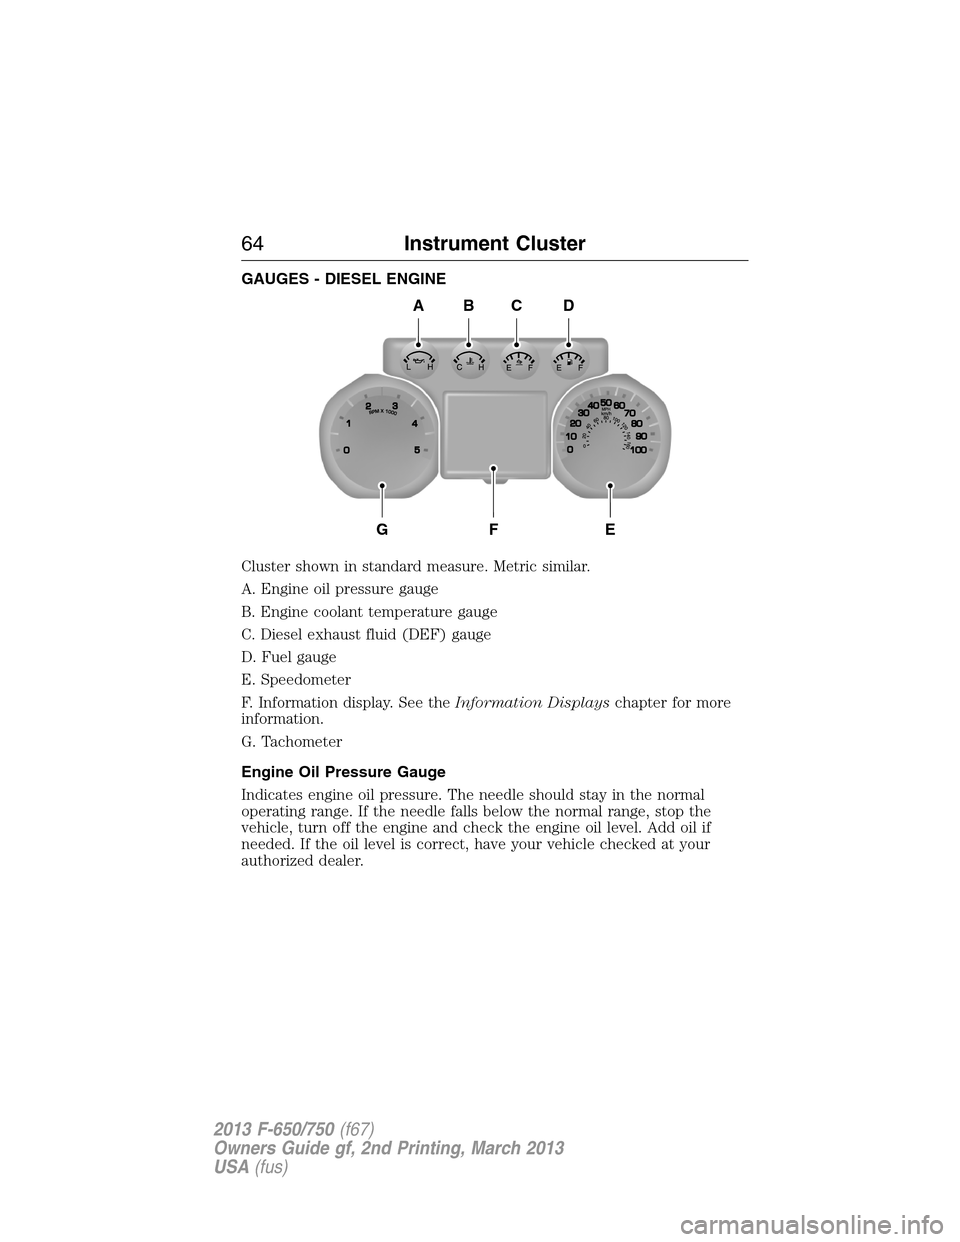
GAUGES - DIESEL ENGINE
Cluster shown in standard measure. Metric similar.
A. Engine oil pressure gauge
B. Engine coolant temperature gauge
C. Diesel exhaust fluid (DEF) gauge
D. Fuel gauge
E. Speedometer
F. Information display. See theInformation Displayschapter for more
information.
G. Tachometer
Engine Oil Pressure Gauge
Indicates engine oil pressure. The needle should stay in the normal
operating range. If the needle falls below the normal range, stop the
vehicle, turn off the engine and check the engine oil level. Add oil if
needed. If the oil level is correct, have your vehicle checked at your
authorized dealer.
A
GFE
BCD
64Instrument Cluster
2013 F-650/750(f67)
Owners Guide gf, 2nd Printing, March 2013
USA(fus)
Page 66 of 378
Engine Coolant Temperature Gauge
Indicates engine coolant temperature. At normal operating temperature,
the level indicator is in the normal range. If the engine coolant
temperature exceeds the normal range, stop the vehicle as soon as safely
possible, switch off the engine and let the engine cool.
WARNING:Never remove the coolant reservoir cap while the
engine is running or hot.
Diesel Exhaust Fluid (DEF) Gauge
Indicates fluid level in DEF tank.
Fuel Gauge
Indicates approximately how much fuel is left in the fuel tank (when the
ignition is on). The fuel gauge may vary slightly when the vehicle is in
motion or on a grade. The fuel icon and arrow indicates which side of
the vehicle the fuel filler door is located.
Information Display
Odometer:Located in the bottom of the information display. Registers
the accumulated distance your vehicle has travelled.
Trip Computer:SeeGeneral informationin theInformation Displays
chapter.
Vehicle Settings and Personalization:SeeGeneral informationin
theInformation Displayschapter.
Instrument Cluster65
2013 F-650/750(f67)
Owners Guide gf, 2nd Printing, March 2013
USA(fus)
Page 67 of 378
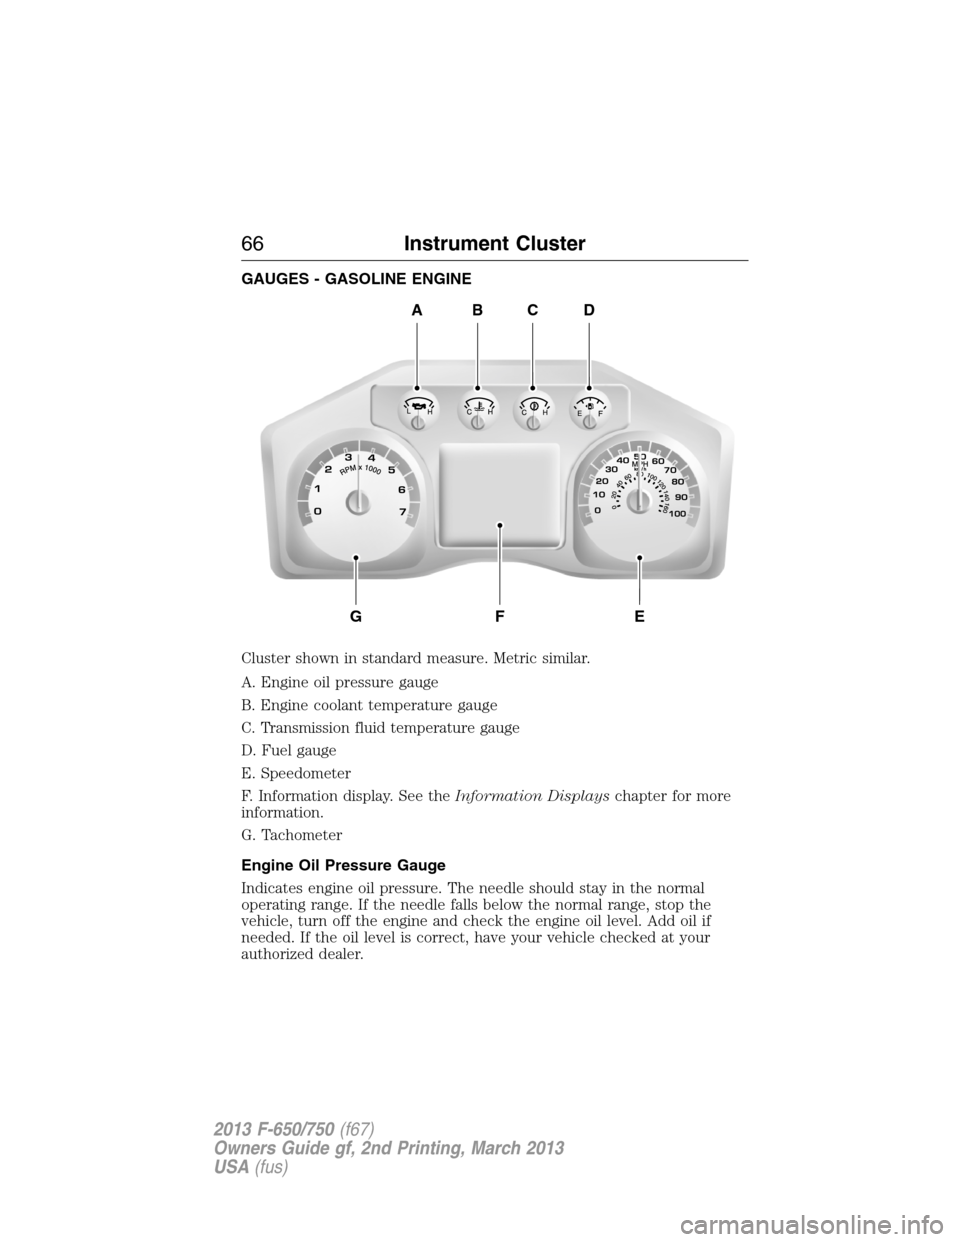
GAUGES - GASOLINE ENGINE
Cluster shown in standard measure. Metric similar.
A. Engine oil pressure gauge
B. Engine coolant temperature gauge
C. Transmission fluid temperature gauge
D. Fuel gauge
E. Speedometer
F. Information display. See theInformation Displayschapter for more
information.
G. Tachometer
Engine Oil Pressure Gauge
Indicates engine oil pressure. The needle should stay in the normal
operating range. If the needle falls below the normal range, stop the
vehicle, turn off the engine and check the engine oil level. Add oil if
needed. If the oil level is correct, have your vehicle checked at your
authorized dealer.
ABCD
GFE
66Instrument Cluster
2013 F-650/750(f67)
Owners Guide gf, 2nd Printing, March 2013
USA(fus)
Page 68 of 378
Engine Coolant Temperature Gauge
Indicates engine coolant temperature. At normal operating temperature,
the level indicator is in the normal range. If the engine coolant
temperature exceeds the normal range, stop the vehicle as soon as safely
possible, switch off the engine and let the engine cool.
WARNING:Never remove the coolant reservoir cap while the
engine is running or hot.
Transmission Fluid Temperature Gauge
Indicates transmission fluid temperature. At normal operating
temperature, the level indicator is in the normal range. If the
transmission fluid temperature exceeds the normal range, stop the
vehicle as soon as safely possible and verify the airflow is not restricted,
such as snow or debris blocking airflow through the grill. Also, higher
than normal operating temperature can be caused by special operation
conditions (i.e., snowplowing, towing or off-road use). Operating the
transmission for extended periods of time with the gauge in the higher
than normal area may cause internal transmission damage. Altering the
severity of the driving conditions is recommended to lower the
transmission temperature into the normal range. If the gauge continues
to show high temperatures, see your authorized dealer.
Fuel Gauge
Indicates approximately how much fuel is left in the fuel tank (when the
ignition is on). The fuel gauge may vary slightly when the vehicle is in
motion or on a grade. The fuel icon and arrow indicates which side of
the vehicle the fuel filler door is located.
Information Display
Odometer:Located in the bottom of the information display. Registers
the accumulated distance your vehicle has travelled.
Trip Computer:SeeGeneral informationin theInformation Displays
chapter.
Vehicle Settings and Personalization:SeeGeneral informationin
theInformation Displayschapter.
Instrument Cluster67
2013 F-650/750(f67)
Owners Guide gf, 2nd Printing, March 2013
USA(fus)
Page 69 of 378
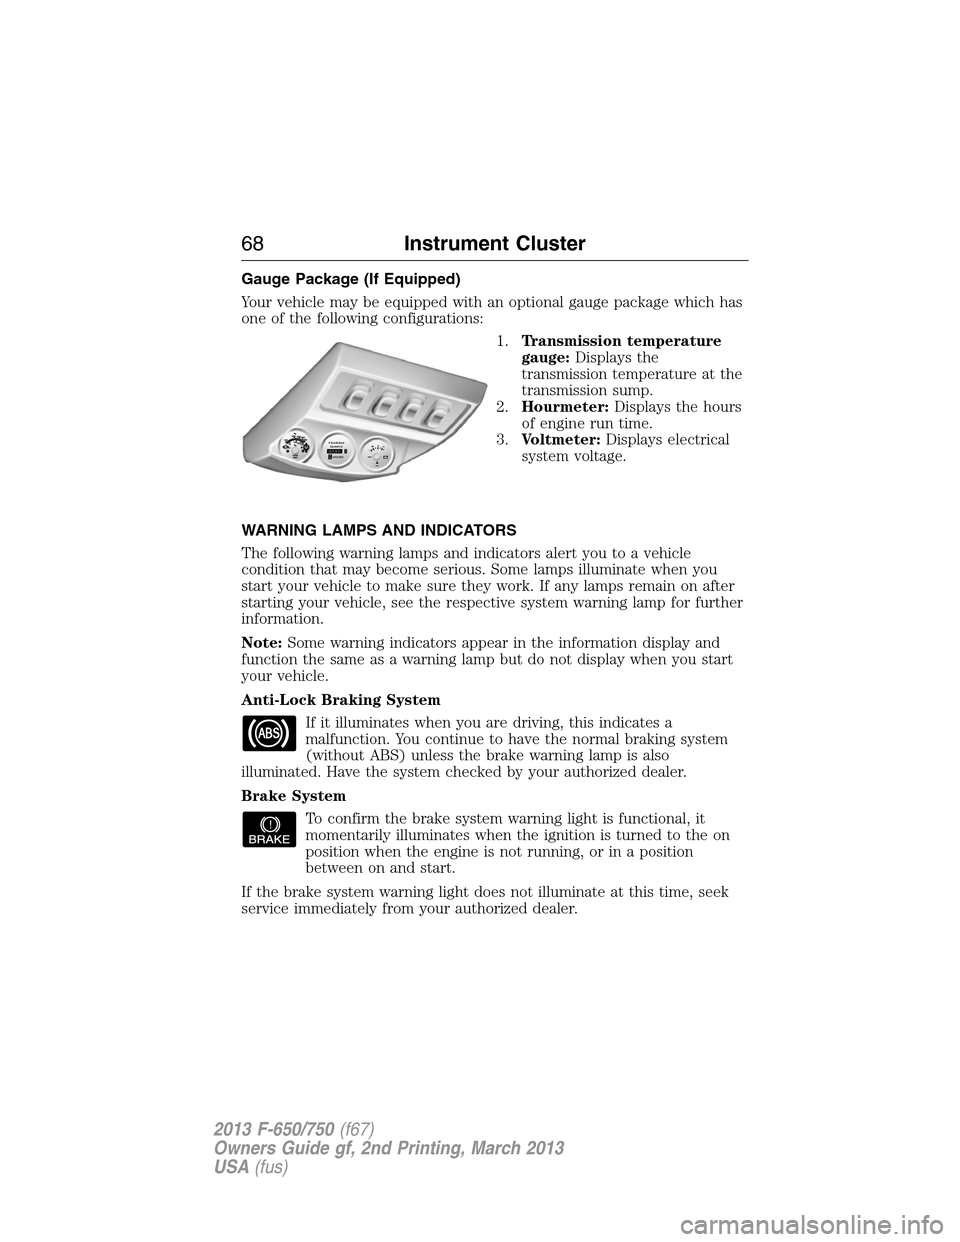
Gauge Package (If Equipped)
Your vehicle may be equipped with an optional gauge package which has
one of the following configurations:
1.Transmission temperature
gauge:Displays the
transmission temperature at the
transmission sump.
2.Hourmeter:Displays the hours
of engine run time.
3.Voltmeter:Displays electrical
system voltage.
WARNING LAMPS AND INDICATORS
The following warning lamps and indicators alert you to a vehicle
condition that may become serious. Some lamps illuminate when you
start your vehicle to make sure they work. If any lamps remain on after
starting your vehicle, see the respective system warning lamp for further
information.
Note:Some warning indicators appear in the information display and
function the same as a warning lamp but do not display when you start
your vehicle.
Anti-Lock Braking System
If it illuminates when you are driving, this indicates a
malfunction. You continue to have the normal braking system
(without ABS) unless the brake warning lamp is also
illuminated. Have the system checked by your authorized dealer.
Brake System
To confirm the brake system warning light is functional, it
momentarily illuminates when the ignition is turned to the on
position when the engine is not running, or in a position
between on and start.
If the brake system warning light does not illuminate at this time, seek
service immediately from your authorized dealer.
68Instrument Cluster
2013 F-650/750(f67)
Owners Guide gf, 2nd Printing, March 2013
USA(fus)
Page 70 of 378
WARNING:Driving a vehicle with the brake system warning
light on is dangerous. A significant decrease in braking
performance may occur. It takes you longer to stop the vehicle. Have
the vehicle checked by your authorized dealer. Driving extended
distances with the parking brake engaged can cause brake failure and
the risk of personal injury.
Charging System
It illuminates when the 12–volt battery is not charging properly.
Contact your authorized dealer as soon as possible. This
indicates a problem with the electrical system or a related
component.
Check Fuel Cap (gasoline engine only)
It illuminates when the fuel cap may not be properly installed.
Continued driving with this light on may cause the service
engine soon warning indicator to come on.
Check Suspension
It illuminates when the air suspension dump switch has been
activated.
Check Transmission (Allison automatic transmission only)
It illuminates while driving if a problem has been detected in
the transmission; shifting may be restricted. Depending on the
severity of the problem, the shifter’s digital read-out may turn
blank.
On MD 3000 series transmissions,operation may continue in order to
reach service assistance. The control unit may not respond to shift
selector requests, since operating limitations are being placed on the
transmission (i.e. upshifts and downshifts may be restricted). Direction
changes do not occur.
Cruise Control
It illuminates when you switch this feature on.
CK
SUSP
Instrument Cluster69
2013 F-650/750(f67)
Owners Guide gf, 2nd Printing, March 2013
USA(fus)