Navigation FORD KUGA 2010 1.G User Guide
[x] Cancel search | Manufacturer: FORD, Model Year: 2010, Model line: KUGA, Model: FORD KUGA 2010 1.GPages: 226, PDF Size: 8.07 MB
Page 183 of 226
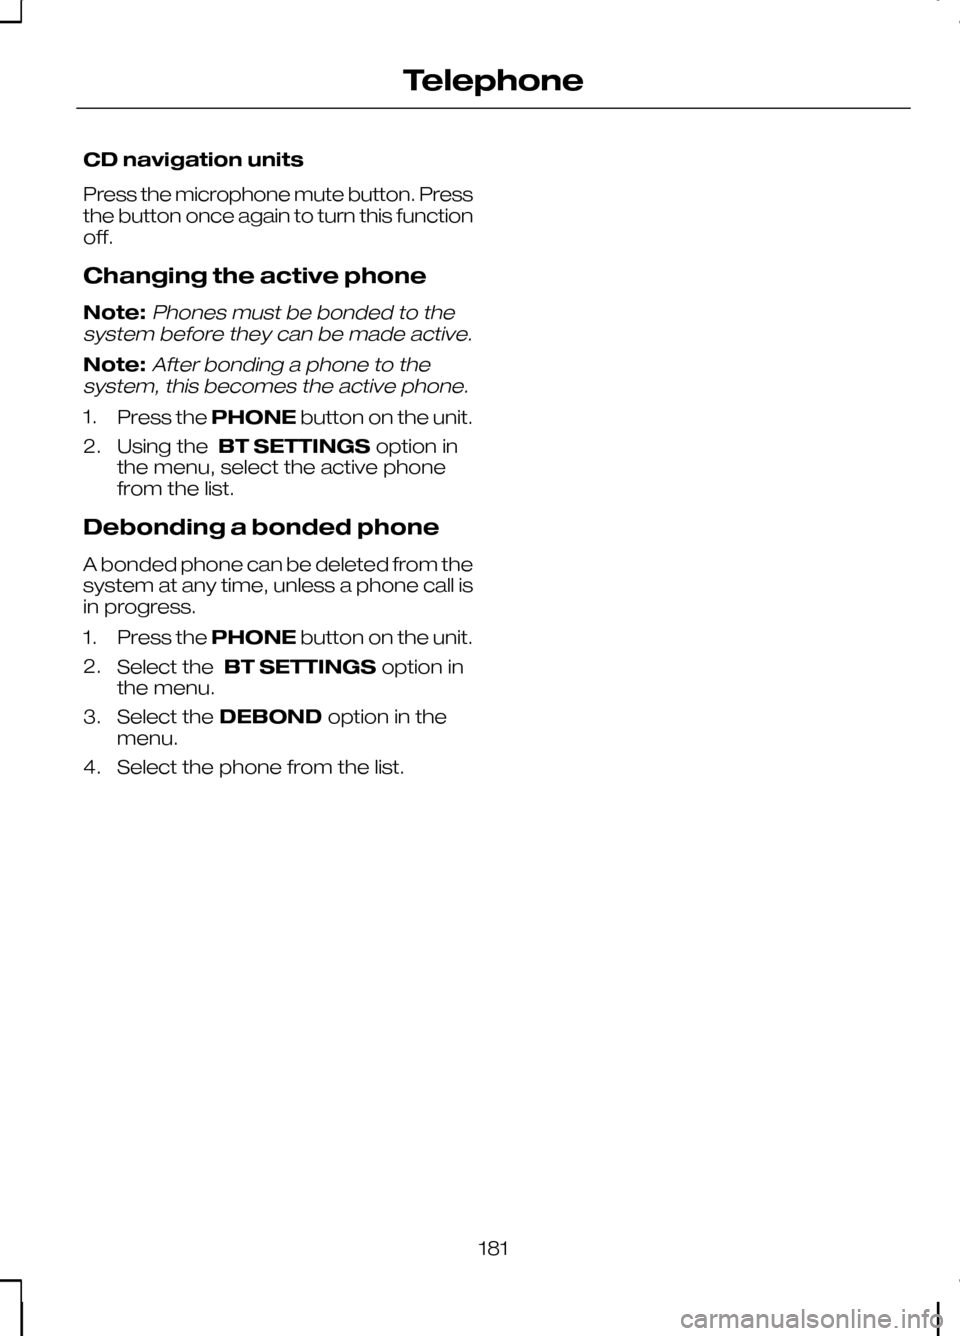
CD navigation units
Press the microphone mute button. Press
the button once again to turn this function
off.
Changing the active phone
Note:Phones must be bonded to the
system before they can be made active.
Note:After bonding a phone to the
system, this becomes the active phone.
1. Press the PHONEbutton on the unit.
2. Using the BT SETTINGS option in
the menu, select the active phone
from the list.
Debonding a bonded phone
A bonded phone can be deleted from the
system at any time, unless a phone call is
in progress.
1. Press the PHONEbutton on the unit.
2. Select the BT SETTINGS option in
the menu.
3. Select the DEBOND option in the
menu.
4. Select the phone from the list.
181
Telephone
Page 184 of 226
PRINCIPLE OF OPERATION
CAUTION
Using the system with the engine off
will drain the battery.
Voice recognition enables operation of
the system without the need to divert your
attention from the road ahead in order to
change settings, or receive feedback
from the system.
Whenever you issue one of the defined
commands with the system active, the
voice recognition system converts your
command into a control signal for the
system. Your inputs take the form of
dialogues or commands. You are guided
through these dialogues by
announcements or questions.
Please familiarise yourself with the
functions of the system before using voice
recognition.
Supported commands
The voice control system allows you to
control the following vehicle functions:
•
Bluetooth phone
• radio
• CD Player/CD Changer
• external device (USB)
• external device (iPod)
• automatic climate control
• navigation system (DVD units only -
refer to separate DVD navigation
handbook).
System response
As you work through a voice session the
system will prompt you with a beep tone
each time the system is ready to proceed. Do not try to give any commands until the
beep tone has been heard. The voice
control system will repeat each spoken
command back to you.
If you are not sure how to continue say
"HELP" for assistance or "CANCEL" if you
do not wish to continue.
The "HELP" function provides only a
subset of the available voice commands.
Detailed explanations of all possible voice
commands can be found on the following
pages.
Voice commands
All voice commands should be given using
a natural speaking voice, as if speaking to
a passenger or on the phone. Your voice
level should be dependant on the
surrounding noise level inside or outside
the vehicle but do not shout.
USING VOICE CONTROL
System operation
The order and content of the voice
controls are given in the following lists. The
tables show the sequence of user voice
commands and system responses for
each available function.
<>
indicates a number or stored name tag
to be inserted by the user.
Short cuts
There are a number of voice command
short cuts available, which allow you to
control some vehicle features without
having to follow the complete command
menu. These are:
• phone: "MOBILE NAME", "DIAL
NUMBER", "DIAL NAME", and
"REDIAL"
• CD player/CD changer: "DISC" and
"TRACK"
182
Voice control
Page 185 of 226
•
automatic climate control:
"TEMPERATURE", "AUTO MODE",
"DEFROSTING/DEMISTING ON" and
"DEFROSTING/DEMISTING OFF"
• radio: "TUNE NAME"
• external device (USB): "TRACK"
• external device (iPod): "TRACK"
• SD card: "TRACK".
Start communicating with the
system
Before you can start talking to the system
you first have to press the VOICEor
MODE button for each operation and
wait until the system answers with a beep.
See Voice control (page 40).
Press the button again to cancel the voice
session. Name tag
The name tag functionality can support
the phone, audio and navigation features
by using the "STORE NAME" function. You
can assign name tags to items such as
favourite radio stations and personal
phone contacts. See
Audio unit
commands (page 183). See Telephone
commands (page 192). See
Navigation system commands
(page 197).
• Store up to 20 name tags per function.
• The average recording time for each
name tag is approximately 2-3
seconds.
AUDIO UNIT COMMANDS
CD Player
You can control playback directly by voice
control.
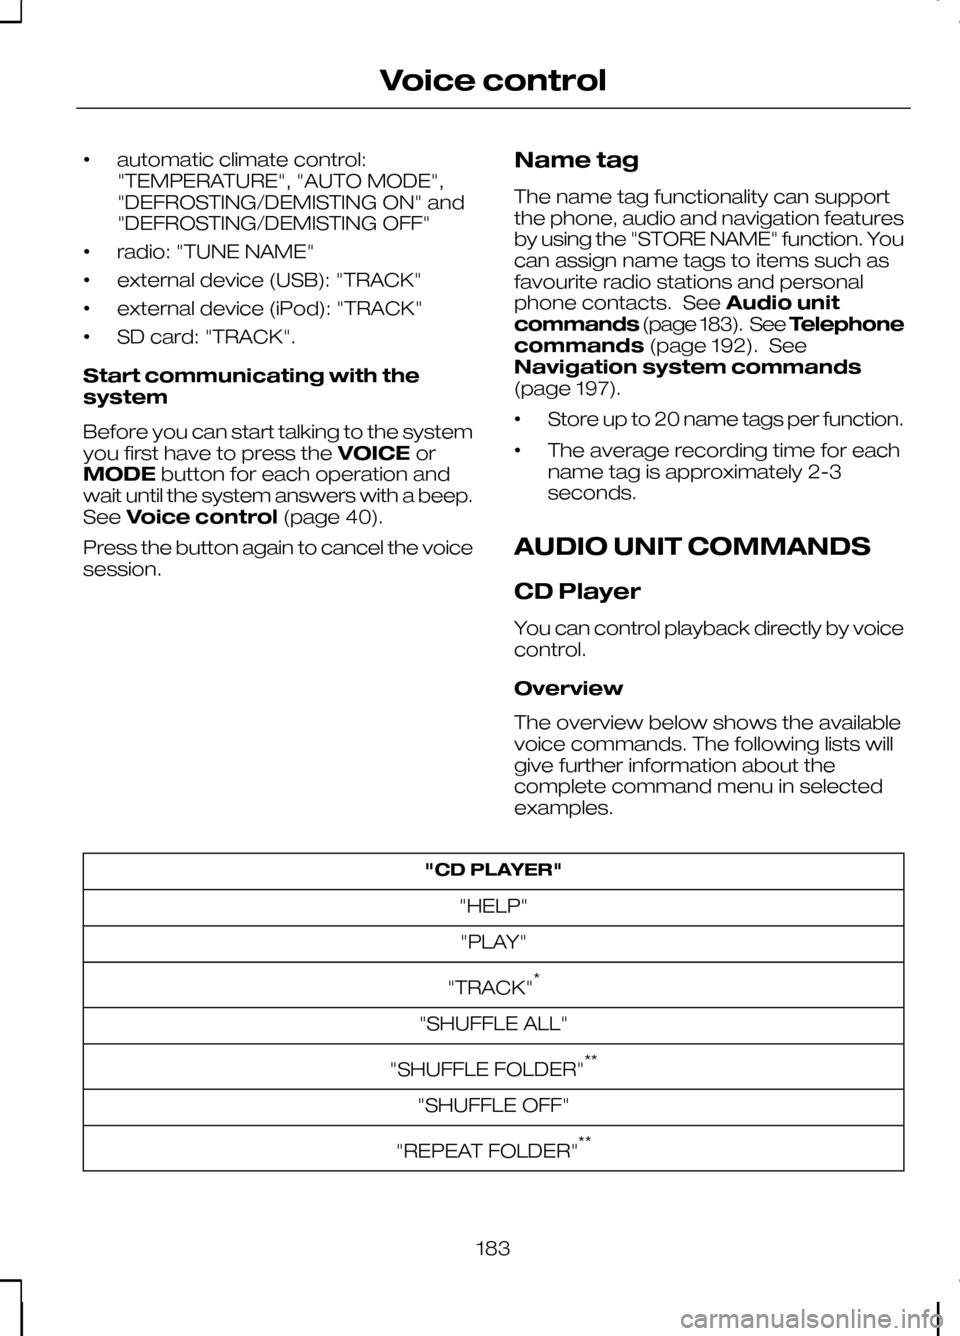
Overview
The overview below shows the available
voice commands. The following lists will
give further information about the
complete command menu in selected
examples. "CD PLAYER"
"HELP""PLAY"
"TRACK" *
"SHUFFLE ALL"
"SHUFFLE FOLDER" **
"SHUFFLE OFF"
"REPEAT FOLDER" **
183
Voice control
Page 199 of 226
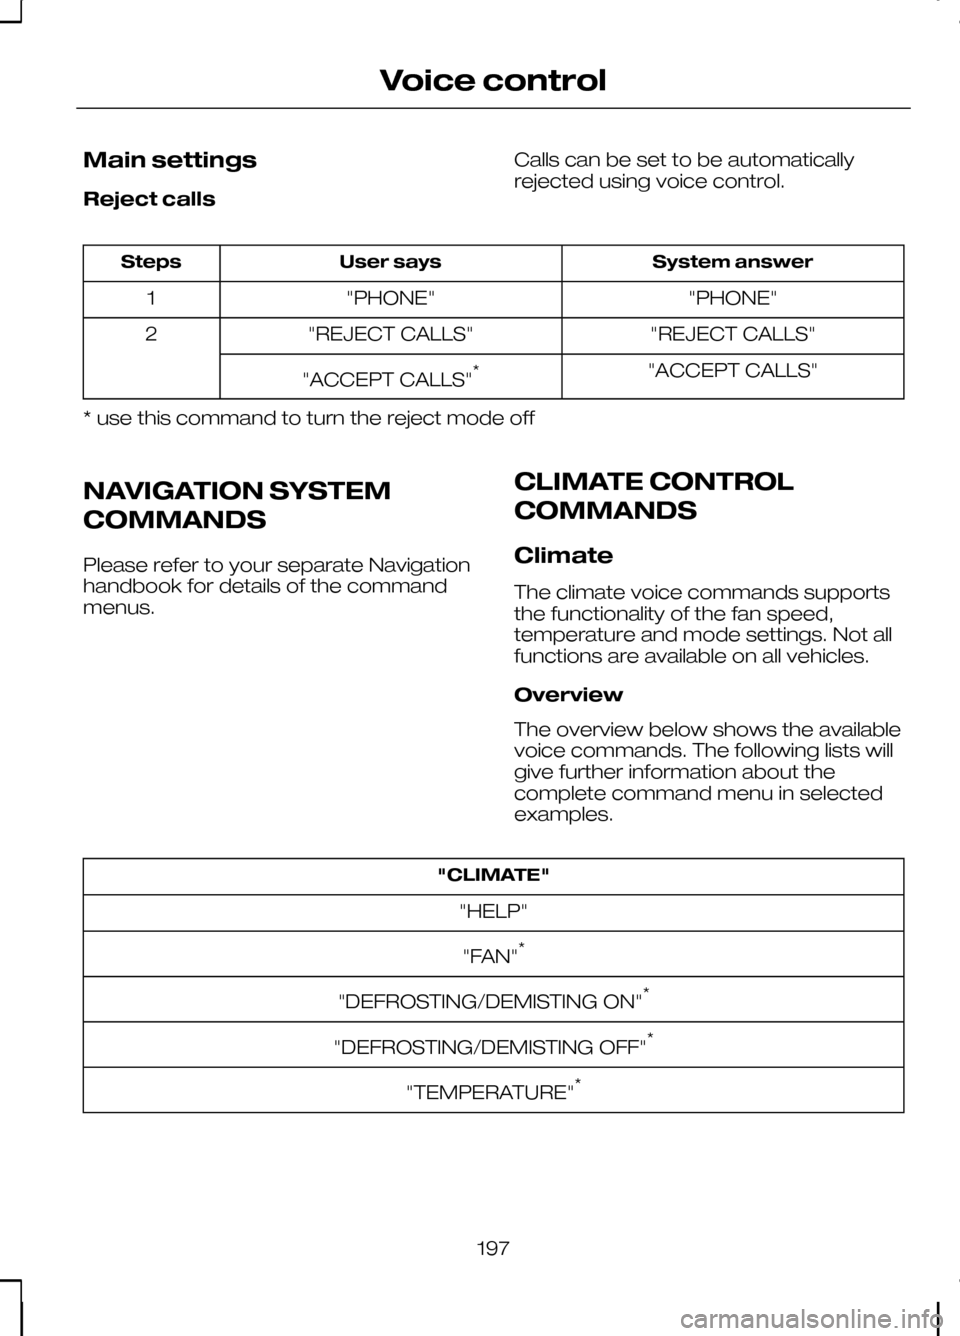
Main settings
Reject calls
Calls can be set to be automatically
rejected using voice control. System answer
User says
Steps
"PHONE"
"PHONE"
1
"REJECT CALLS"
"REJECT CALLS"
2
"ACCEPT CALLS"
"ACCEPT CALLS" *
* use this command to turn the reject mode off
NAVIGATION SYSTEM
COMMANDS
Please refer to your separate Navigation
handbook for details of the command
menus. CLIMATE CONTROL
COMMANDS
Climate
The climate voice commands supports
the functionality of the fan speed,
temperature and mode settings. Not all
functions are available on all vehicles.
Overview
The overview below shows the available
voice commands. The following lists will
give further information about the
complete command menu in selected
examples."CLIMATE"
"HELP"
"FAN" *
"DEFROSTING/DEMISTING ON" *
"DEFROSTING/DEMISTING OFF" *
"TEMPERATURE" *
197
Voice control
Page 204 of 226
Bonding the device
Note:Some audio and navigation units
have a separate Bluetooth audio menu. Use this to access setup and control.
To connect the device to the system
follow the same procedure as for
Bluetooth hands free phones. See
Bluetooth setup (page 176).
Operating the device
Select Bluetooth audio as the active
source.
Tracks can be accessed by skipping
forwards and backwards using the
steering wheel controls, or directly from
the audio unit controls.
USING A USB DEVICE
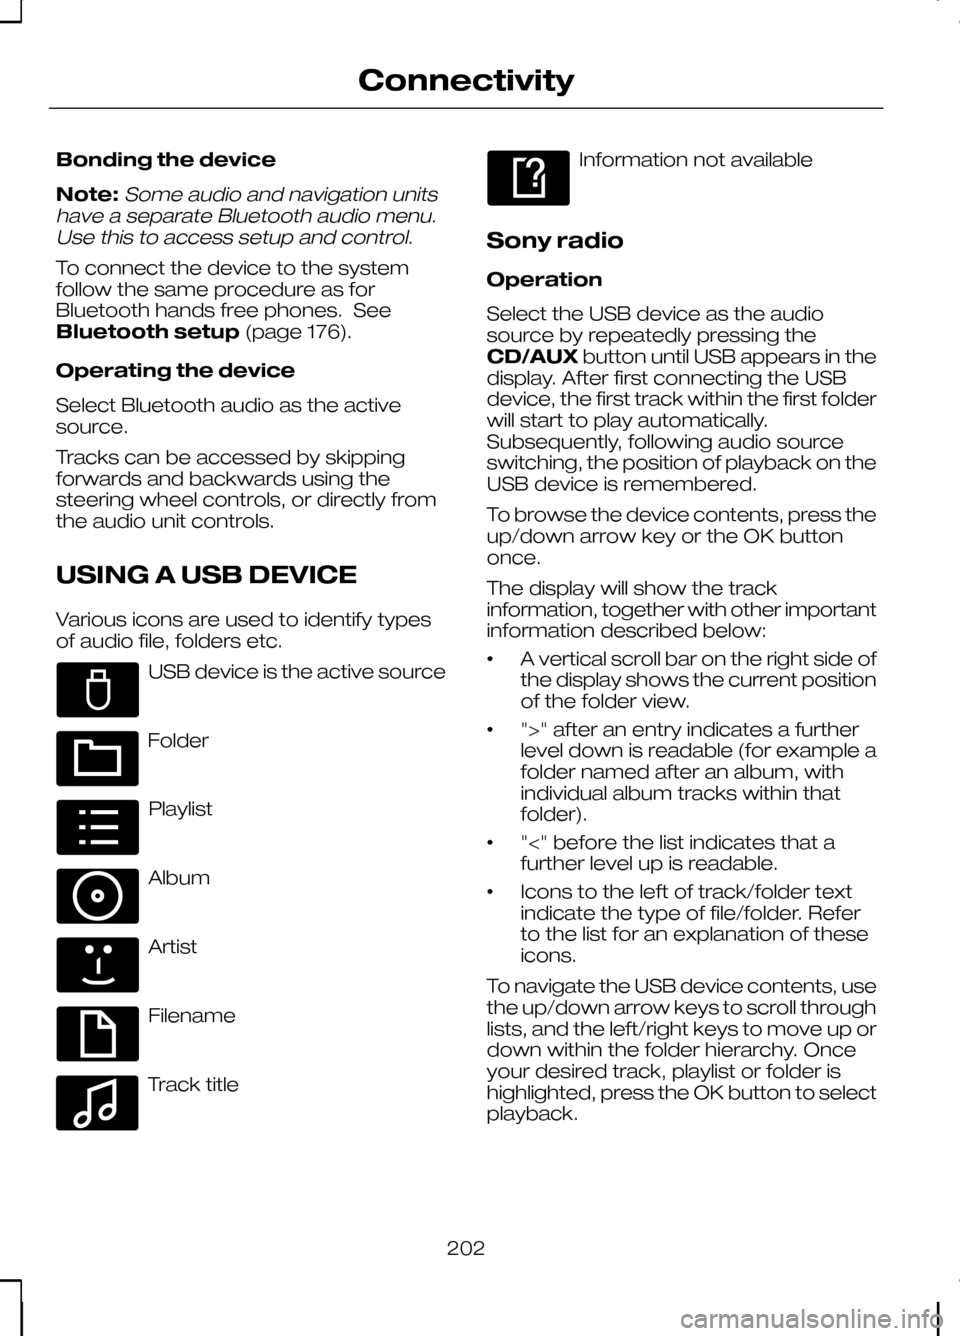
Various icons are used to identify types
of audio file, folders etc. USB device is the active source
Folder
Playlist
Album
Artist
Filename
Track title Information not available
Sony radio
Operation
Select the USB device as the audio
source by repeatedly pressing the
CD/AUX button until USB appears in the
display. After first connecting the USB
device, the first track within the first folder
will start to play automatically.
Subsequently, following audio source
switching, the position of playback on the
USB device is remembered.
To browse the device contents, press the
up/down arrow key or the OK button
once.
The display will show the track
information, together with other important
information described below:
• A vertical scroll bar on the right side of
the display shows the current position
of the folder view.
• ">" after an entry indicates a further
level down is readable (for example a
folder named after an album, with
individual album tracks within that
folder).
• "<" before the list indicates that a
further level up is readable.
• Icons to the left of track/folder text
indicate the type of file/folder. Refer
to the list for an explanation of these
icons.
To navigate the USB device contents, use
the up/down arrow keys to scroll through
lists, and the left/right keys to move up or
down within the folder hierarchy. Once
your desired track, playlist or folder is
highlighted, press the OK button to select
playback.
202
ConnectivityE100029 E100022 E100023 E100024 E100025 E100026 E100027 E100028
Page 205 of 226
Note:If you wish to jump to the top level
of the USB device contents, press and hold the left arrow key.
Audio control
Press the left and right arrow keys to skip
backwards and forwards through tracks.
Press and hold the left/right arrow keys
to enable fast rewind/fast forward through
track content.
Press the up/down arrow key or the OK
button to browse the device contents.
Press the MENU key to enter the USB
menu. It is possible to enable shuffle and
repeat functions here with respect to
folders and playlists.
Press the SCAN button to scan the whole
device, current folder or a playlist if it is in
operation.
Press the INFObutton to display the
following:
• filename
• title
• artist
• album
• track number and playing time.
Repeated button presses will scroll
through these displays.
CD Navigation units
Operation
Select the USB device as the audio
source by pressing the CD/AUXbutton
until DEVICES appears in the display.
Select DEVICES and then select USB from
the available device list. After first
connecting the USB device, the first track
within the first folder will start to play
automatically. Subsequently, following
audio source switching, the position of
playback on the USB device is
remembered. To browse the device contents, press the
SELECT
button once.
The display will show the track
information, together with other important
information described below:
• A vertical scroll bar on the right side of
the display shows the current position
of the folder view.
• ">" after an entry indicates a further
level down is readable (for example a
folder named after an album, with
individual album tracks within that
folder).
• "<" to the left hand side of the display
indicates that a further level up is
readable.
• Icons to the left of track/folder text
indicate the type of file/folder. Refer
to the list for an explanation of these
icons.
To navigate the USB device contents, use
the rotary scroll/select button to browse
through lists. Push the button to expand
the contents within the highlighted playlist
or folder, or to commence playback of a
particular track. Press ESCto go up one
level.
Audio control
Press the SEEKup and down keys to
skip backwards and forwards through
tracks.
Press and hold the SEEKkeys to enable
fast rewind/fast forward through track
content.
Rotate or press the SELECTbutton to
browse the device contents.
Press SHUFFLE or REPEAT buttons to
enable shuffle and repeat functions with
respect to folders and playlists. Different
options may appear depending upon
whether or not a playlist is in operation.
203
Connectivity
Page 206 of 226
Press the SCAN button to scan the
current playlist if it is in operation, or the
complete USB device or folder.
Press the
INFObutton to display the
following:
• filename
• title
• artist
• album
• track number and playing time.
DVD Navigation units
Operation
Select the USB device as the audio
source by pressing the CD/AUXbutton
until the USB button appears to the left of
the display. Select USB from the available
device list.
Note:Some devices may be shown but
not selectable, depending if the device is connected or not.
After first connecting the USB device, the
first track within the first folder will start to
play automatically. Subsequently, following
audio source switching, the position of
playback on the USB device is
remembered.
To browse the device contents, press the
scroll up or down arrow button.
The display will show the track
information, together with other important
information described below:
• A vertical scroll bar on the right side of
the display shows the current position
of the folder view.
• ">" after an entry indicates a further
level down is readable (for example a
folder named after an album, with
individual album tracks within that
folder). •
"<" to the left hand side of the display
indicates that a further level up is
readable.
• Icons to the left of track/folder text
indicate the type of file/folder. Refer
to the list for an explanation of these
icons.
To navigate the USB device contents, use
the scroll buttons to browse through lists.
Push the button to expand the contents
within the highlighted playlist or folder, or
to commence playback of a particular
track. Press the left arrow key to go up
one level.
Audio control
Press the SEEKup and down keys to
skip backwards and forwards through
tracks.
Press and hold the SEEKkeys to enable
fast rewind/fast forward through track
content.
Press the scroll bar arrow keys to browse
the device contents.
Press SHUFFLE or REPEAT buttons to
enable shuffle and repeat functions with
respect to folders and playlists.
Press the SCAN button to scan the
current playlist if it is in operation, or the
complete USB device or folder.
Press the INFObutton to display the
following:
• filename
• title
• artist
• album
• track number and playing time.
USING AN IPOD
Various icons are used to identify types
of audio file, folders etc.
204
Connectivity
Page 207 of 226
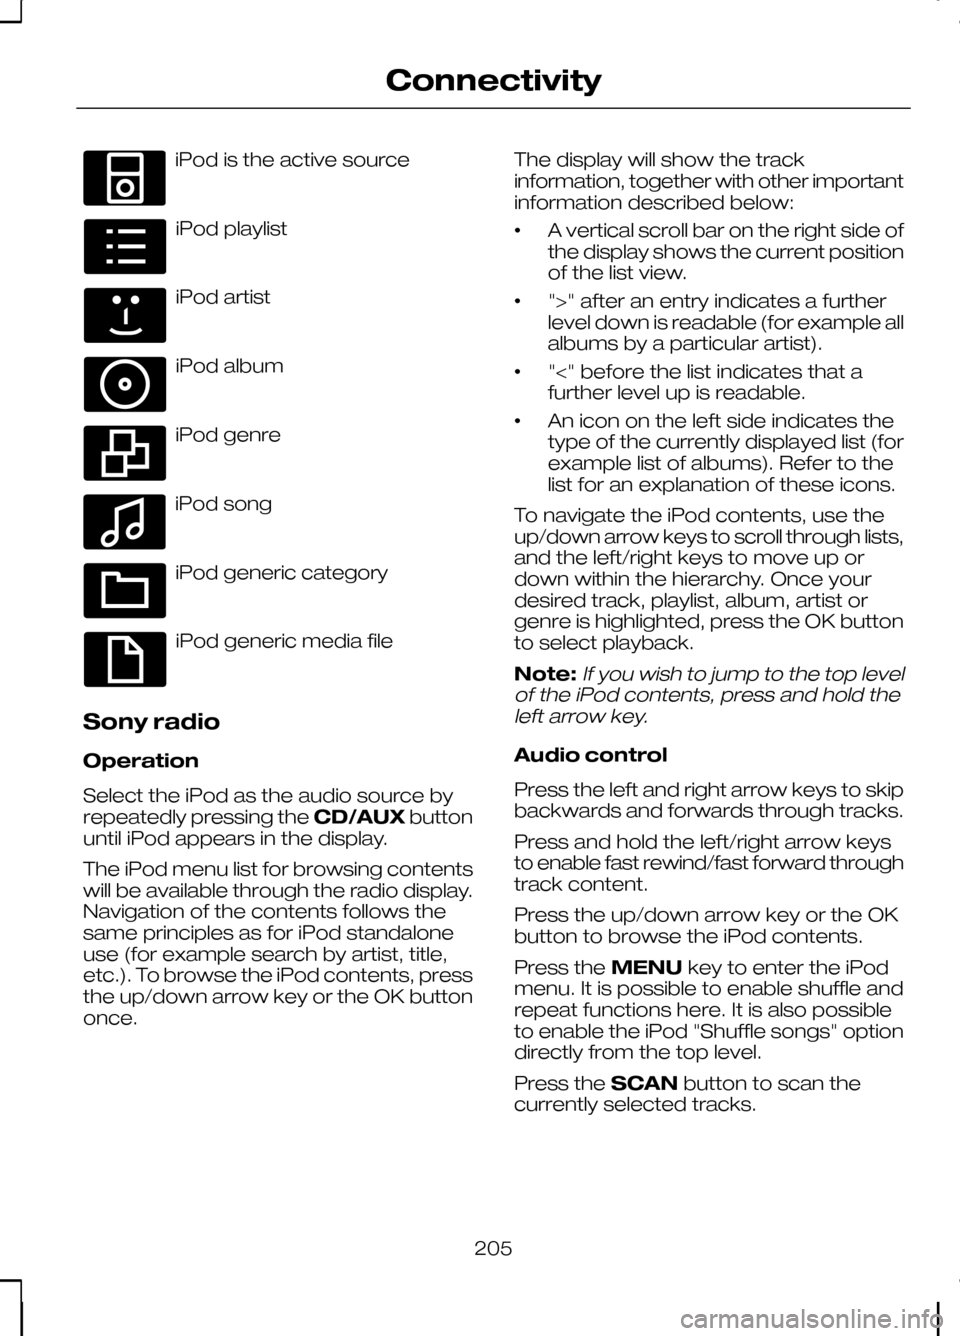
iPod is the active source
iPod playlist
iPod artist
iPod album
iPod genre
iPod song
iPod generic category
iPod generic media file
Sony radio
Operation
Select the iPod as the audio source by
repeatedly pressing the CD/AUXbutton
until iPod appears in the display.
The iPod menu list for browsing contents
will be available through the radio display.
Navigation of the contents follows the
same principles as for iPod standalone
use (for example search by artist, title,
etc.). To browse the iPod contents, press
the up/down arrow key or the OK button
once. The display will show the track
information, together with other important
information described below:
•
A vertical scroll bar on the right side of
the display shows the current position
of the list view.
• ">" after an entry indicates a further
level down is readable (for example all
albums by a particular artist).
• "<" before the list indicates that a
further level up is readable.
• An icon on the left side indicates the
type of the currently displayed list (for
example list of albums). Refer to the
list for an explanation of these icons.
To navigate the iPod contents, use the
up/down arrow keys to scroll through lists,
and the left/right keys to move up or
down within the hierarchy. Once your
desired track, playlist, album, artist or
genre is highlighted, press the OK button
to select playback.
Note:If you wish to jump to the top level
of the iPod contents, press and hold the left arrow key.
Audio control
Press the left and right arrow keys to skip
backwards and forwards through tracks.
Press and hold the left/right arrow keys
to enable fast rewind/fast forward through
track content.
Press the up/down arrow key or the OK
button to browse the iPod contents.
Press the MENUkey to enter the iPod
menu. It is possible to enable shuffle and
repeat functions here. It is also possible
to enable the iPod "Shuffle songs" option
directly from the top level.
Press the SCANbutton to scan the
currently selected tracks.
205
ConnectivityE100030 E100031 E100032 E100033 E100034 E100035 E100036 E100037
Page 208 of 226
Press the
INFObutton to display the
following:
• title
• artist
• track number and playing time.
Repeated button presses will scroll
through these displays.
CD Navigation units
Operation
Select the iPod as the audio source by
pressing the CD/AUXbutton until
DEVICES appears in the display. Select
DEVICES and then select iPod from the
available device list.
The iPod menu list for browsing contents
will be available through the display.
Navigation of the contents follows the
same principles as for iPod standalone
use (for example search by artist, title,
etc.). To browse the iPod contents, press
the SELECT button once.
The display will show the track
information, together with other important
information described below:
• A vertical scroll bar on the right side of
the display shows the current position
of the list view.
• ">" after an entry indicates a further
level down is readable (for example all
albums by a particular artist).
• "<" before the list indicates that a
further level up is readable.
• An icon on the left side indicates the
type of the currently displayed list (for
example list of albums). Refer to the
list for an explanation of these icons. To navigate the iPod contents, use the
rotary scroll/select button to browse
through lists. Push the button to expand
the contents within the highlighted playlist,
album, artist, genre or to commence
playback of a particular track. Press
ESC
to go up one level.
Audio control
Press the SEEKup and down keys to
skip backwards and forwards through
tracks.
Press and hold the SEEKkeys to enable
fast rewind/fast forward through track
content.
Rotate or press the SELECT button to
browse the iPod contents.
Press the MENU key to enter the iPod
menu. It is possible to enable shuffle and
repeat functions here. It is also possible
to enable the iPod "Shuffle songs" option
directly from the top level.
Press the SCAN button to scan the
currently selected tracks.
Press the INFObutton to display the
following:
• title
• artist
• track number and playing time.
DVD Navigation units
Operation
Select the iPod as the audio source by
pressing the CD/AUXbutton until the
iPod button appears to the left of the
display. Select iPod from the available
device list.
Note:Some devices may be shown but
not selectable, depending if the device is connected or not.
206
Connectivity
Page 209 of 226
The iPod menu list for browsing contents
will be available through the display.
Navigation of the contents follows the
same principles as for iPod standalone
use (for example search by artist, title,
etc.). To browse the iPod contents, press
the scroll up or down arrow button.
The display will show the track
information, together with other important
information described below:
•
A vertical scroll bar on the right side of
the display shows the current position
of the list view.
• ">" after an entry indicates a further
level down is readable (for example all
albums by a particular artist).
• "<" before the list indicates that a
further level up is readable.
• An icon on the left side indicates the
type of the currently displayed list (for
example list of albums). Refer to the
list for an explanation of these icons.
To navigate the iPod contents, use the
scroll buttons to browse through lists.
Push the button to expand the contents
within the highlighted playlist, album, artist,
genre or to commence playback of a
particular track. Press the left arrow key
to go up one level.
Audio control
Press the SEEKup and down keys to
skip backwards and forwards through
tracks.
Press and hold the SEEKkeys to enable
fast rewind/fast forward through track
content.
Press the scroll bar arrow keys to browse
the iPod contents.
Press the MENU key to enter the iPod
menu. It is possible to enable shuffle and
repeat functions here. It is also possible
to enable the iPod "Shuffle songs" option
directly from the top level. Press the SCAN button to scan the
currently selected tracks.
Press the
INFObutton to display the
following:
• title
• artist
• track number and playing time.
207
Connectivity