fuse GMC SIERRA 2005 Owner's Manual
[x] Cancel search | Manufacturer: GMC, Model Year: 2005, Model line: SIERRA, Model: GMC SIERRA 2005Pages: 574, PDF Size: 2.95 MB
Page 9 of 574
Front Seats
Manual Seats
{CAUTION:
You can lose control of the vehicle if you try to
adjust a manual driver’s seat while the vehicle
is moving. The sudden movement could startle
and confuse you, or make you push a pedal
when you do not want to. Adjust the driver’s
seat only when the vehicle is not moving.
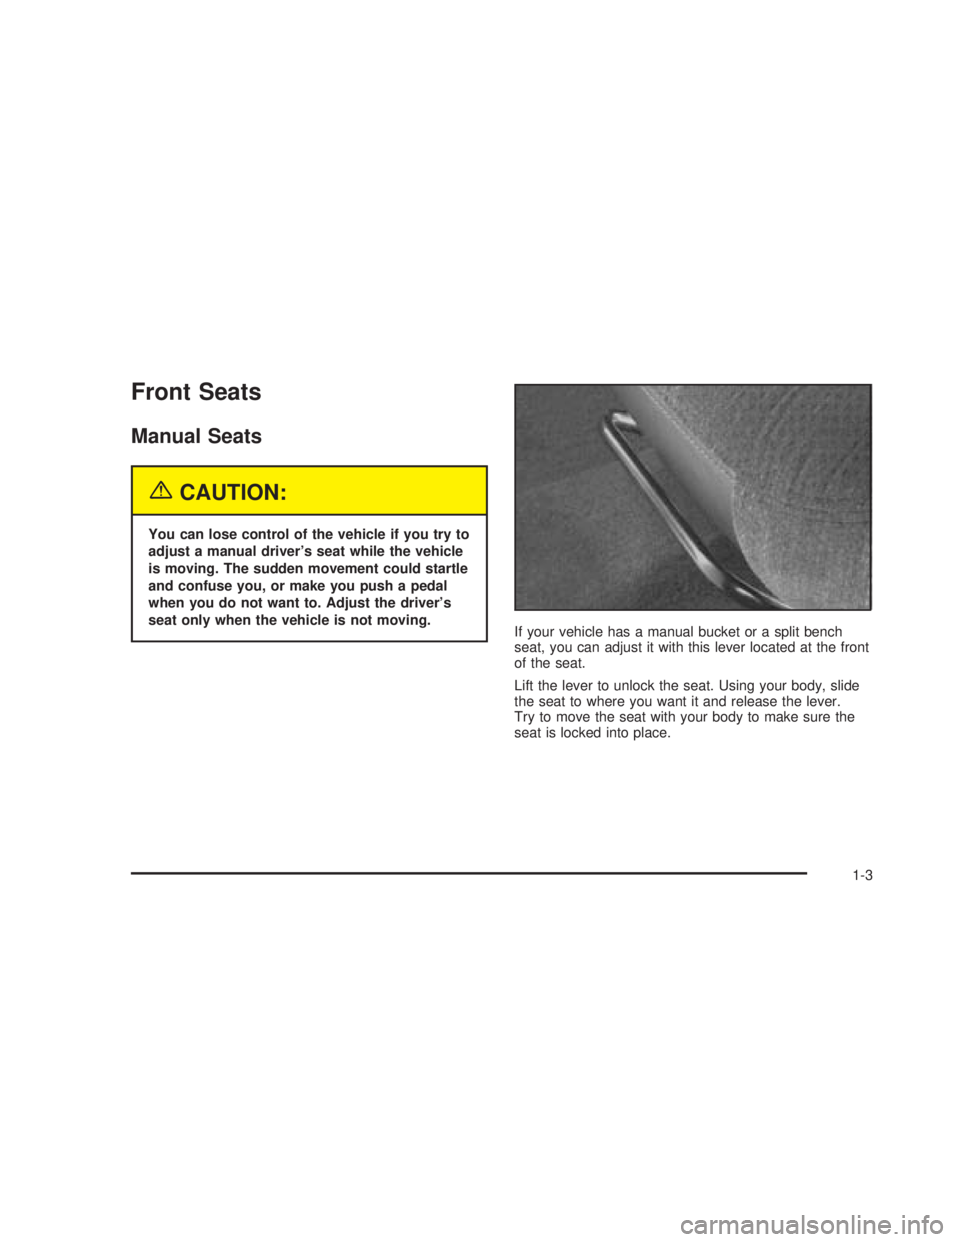
If your vehicle has a manual bucket or a split bench
seat, you can adjust it with this lever located at the front
of the seat.
Lift the lever to unlock the seat. Using your body, slide
the seat to where you want it and release the lever.
Try to move the seat with your body to make sure the
seat is locked into place.
1-3
Page 110 of 574
Remember, the theft-deterrent system won’t activate if
you lock the doors with a key or use the manual
door lock. It activates only if you use a power door lock
switch with the door open, or with the remote keyless
entry transmitter. You should also remember that
you can start your vehicle with the correct ignition key if
the alarm has been set off.
Here’s how to avoid setting off the alarm by accident:
If you don’t want to activate the theft-deterrent
system, the vehicle should be locked with the door
keyafterthe doors are closed.
Always unlock a door with a key, or use the remote
keyless entry transmitter. Unlocking a door any
other way will set off the alarm if the system
has been armed.
If you set off the alarm by accident, unlock any door with
the key. You can also turn off the alarm by pressing
UNLOCK on the remote keyless entry transmitter or by
placing the key in the ignition and turning it to START.
Testing the Alarm
The alarm can be tested by following these steps:
1. From inside the vehicle, lower the driver’s window
and open the driver’s door.
2. Activate the system by locking the doors with the
power door lock switch while the door is open, or
with the remote keyless entry transmitter.
3. Get out of the vehicle, close the door and wait for
the security light to go out.
4. Then reach in through the window, unlock the door
with the manual door lock and open the door. This
should set off the alarm.
If the alarm does not sound when it should but the
vehicle’s headlamps �ash, check to see if the horn
works. The horn fuse may be blown. To replace
the fuse, seeFuses and Circuit Breakers on page 5-122.
If the alarm does not sound or the vehicle’s headlamps
do not �ash, the vehicle should be serviced by an
authorized service center.
2-20
Page 111 of 574
Passlock®
Your vehicle is equipped with the
Passlock®theft-deterrent system.
Passlock
®is a passive theft-deterrent system.
Passlock®enables fuel if the ignition lock cylinder is
turned with a valid key. If a correct key is not used or the
ignition lock cylinder is tampered with, fuel is disabled.
If the engine stalls and the security light �ashes,
wait until the light stops �ashing before trying to restart
the engine. Remember to release the key from
START as soon as the engine starts.
If the engine is running and the security light comes on,
you will be able to restart the engine if you turn the
engine off. However, your Passlock
®system is
not working properly and must be serviced by your
dealer. Your vehicle is not protected by Passlock
®at this
time. You may also want to check the fuse. See
Fuses and Circuit Breakers on page 5-122. See your
dealer for service.
In an emergency, call the GM Roadside Assistance
Center. SeeRoadside Assistance Program on page 7-5.
Starting and Operating Your
Vehicle
New Vehicle Break-In
Notice:Your vehicle does not need an elaborate
break-in. But it will perform better in the long run if
you follow these guidelines:
Keep your speed at 55 mph (88 km/h) or less for
the �rst 500 miles (805 km).
Do not drive at any one speed — fast or
slow — for the �rst 500 miles (805 km). Do not
make full-throttle starts.
Avoid making hard stops for the �rst 200 miles
(322 km) or so. During this time your new
brake linings are not yet broken in. Hard stops
with new linings can mean premature wear
and earlier replacement. Follow this breaking-in
guideline every time you get new brake
linings.
Do not tow a trailer during break-in. SeeTowing
a Trailer on page 4-68for more information.
2-21
Page 116 of 574
Automatic Transmission Operation
If your vehicle is equipped with an automatic
transmission, it features an electronic shift position
indicator within the instrument panel cluster. This display
must be powered anytime the shift lever is capable of
being moved out of PARK (P). SeeFuses and
Circuit Breakers on page 5-122.
There are several different positions for your shift lever.
PARK (P):This position locks your rear wheels. It is
the best position to use when you start your engine
because your vehicle cannot move easily. If your vehicle
is equipped with the Allison Transmission
®, use
PARK (P) for stationary operation of the Power Takeoff
(PTO), if equipped. The Allison Transmission
®is
equipped with park pawl designed to hold the higher
weight of commercial medium duty trucks. Therefore, the
Allison Transmission
®uses larger parts than other
automatic transmission. These larger parts may
sometimes make a clunk noise when the selector lever
is moved from DRIVE (D) or REVERSE (R) to
PARK (P). This is normal and there is no damage
occurring during these shifts.
{CAUTION:
It is dangerous to get out of your vehicle if the
shift lever is not fully in PARK (P) with the
parking brake �rmly set. Your vehicle can roll.
Do not leave your vehicle when the engine is
running unless you have to. If you have left the
engine running, the vehicle can move
suddenly. You or others could be injured. To
be sure your vehicle will not move, even when
you are on fairly level ground, always set your
parking brake and move the shift lever to
PARK (P). SeeShifting Into Park (P) (Automatic
Transmission) on page 2-49. If you are pulling
a trailer, seeTowing a Trailer on page 4-68.
2-26
Page 171 of 574
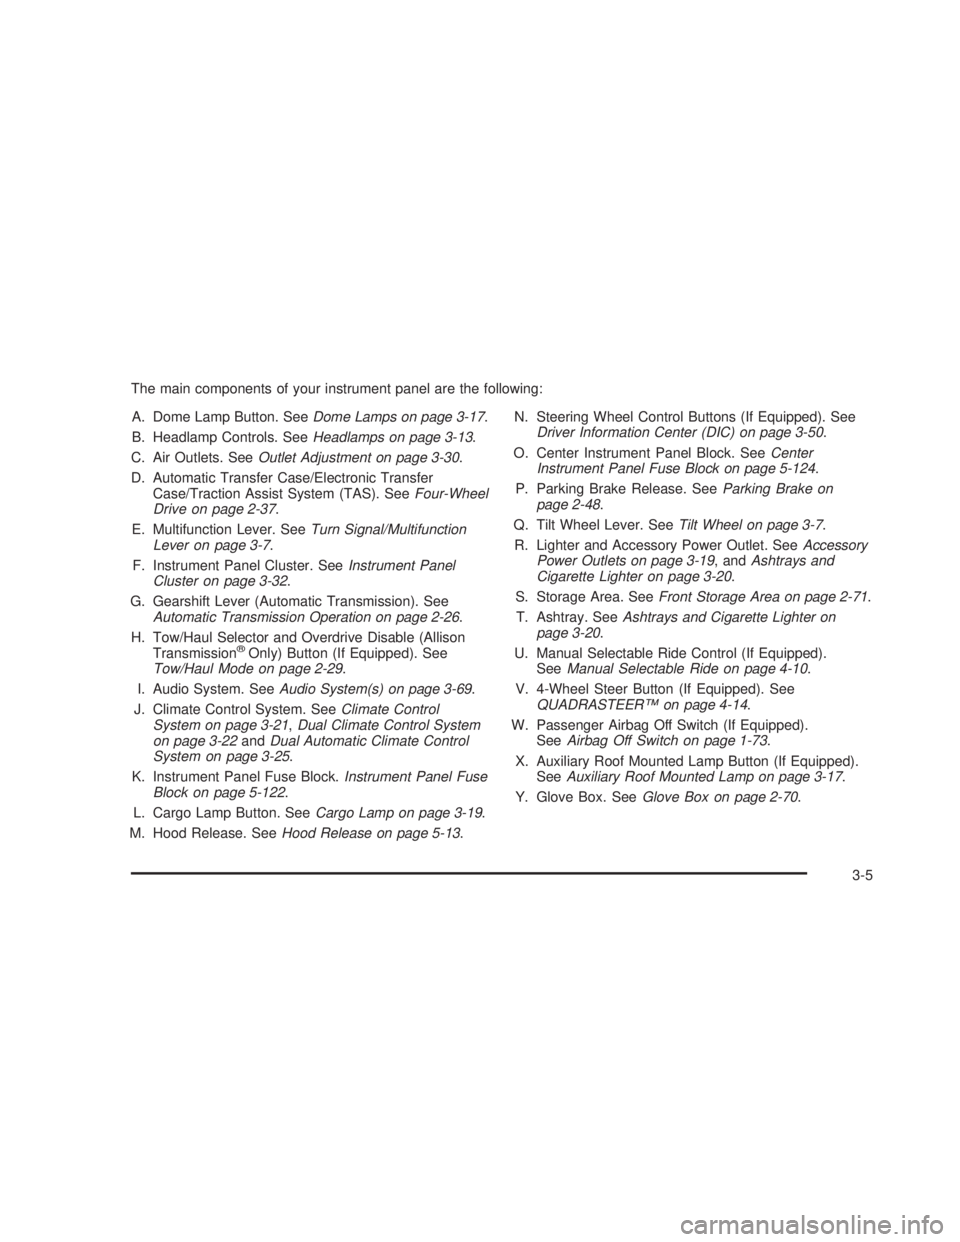
The main components of your instrument panel are the following:
A. Dome Lamp Button. SeeDome Lamps on page 3-17.
B. Headlamp Controls. SeeHeadlamps on page 3-13.
C. Air Outlets. SeeOutlet Adjustment on page 3-30.
D. Automatic Transfer Case/Electronic Transfer
Case/Traction Assist System (TAS). SeeFour-Wheel
Drive on page 2-37.
E. Multifunction Lever. SeeTurn Signal/Multifunction
Lever on page 3-7.
F. Instrument Panel Cluster. SeeInstrument Panel
Cluster on page 3-32.
G. Gearshift Lever (Automatic Transmission). See
Automatic Transmission Operation on page 2-26.
H. Tow/Haul Selector and Overdrive Disable (Allison
Transmission
®Only) Button (If Equipped). See
Tow/Haul Mode on page 2-29.
I. Audio System. SeeAudio System(s) on page 3-69.
J. Climate Control System. SeeClimate Control
System on page 3-21,Dual Climate Control System
on page 3-22andDual Automatic Climate Control
System on page 3-25.
K. Instrument Panel Fuse Block.Instrument Panel Fuse
Block on page 5-122.
L. Cargo Lamp Button. SeeCargo Lamp on page 3-19.
M. Hood Release. SeeHood Release on page 5-13.N. Steering Wheel Control Buttons (If Equipped). See
Driver Information Center (DIC) on page 3-50.
O. Center Instrument Panel Block. SeeCenter
Instrument Panel Fuse Block on page 5-124.
P. Parking Brake Release. SeeParking Brake on
page 2-48.
Q. Tilt Wheel Lever. SeeTilt Wheel on page 3-7.
R. Lighter and Accessory Power Outlet. SeeAccessory
Power Outlets on page 3-19, andAshtrays and
Cigarette Lighter on page 3-20.
S. Storage Area. SeeFront Storage Area on page 2-71.
T. Ashtray. SeeAshtrays and Cigarette Lighter on
page 3-20.
U. Manual Selectable Ride Control (If Equipped).
SeeManual Selectable Ride on page 4-10.
V. 4-Wheel Steer Button (If Equipped). See
QUADRASTEER™ on page 4-14.
W. Passenger Airbag Off Switch (If Equipped).
SeeAirbag Off Switch on page 1-73.
X. Auxiliary Roof Mounted Lamp Button (If Equipped).
SeeAuxiliary Roof Mounted Lamp on page 3-17.
Y. Glove Box. SeeGlove Box on page 2-70.
3-5
Page 174 of 574
LWindshield Washer. SeeWindshield Washer
on page 3-10.
ICruise Control. SeeCruise Control on
page 3-10.
For information on the headlamps, seeHeadlamps on
page 3-13.
Turn and Lane-Change Signals
The turn signal has two upward (for right) and
two downward (for left) positions. These positions allow
you to signal a turn or a lane change.
To signal a turn, move the lever all the way up or down.
When the turn is �nished, the lever will return
automatically.
To signal a lane change, just raise or lower the lever
until the arrow starts to �ash. Hold it there until you
complete your lane change. The lever will return by itself
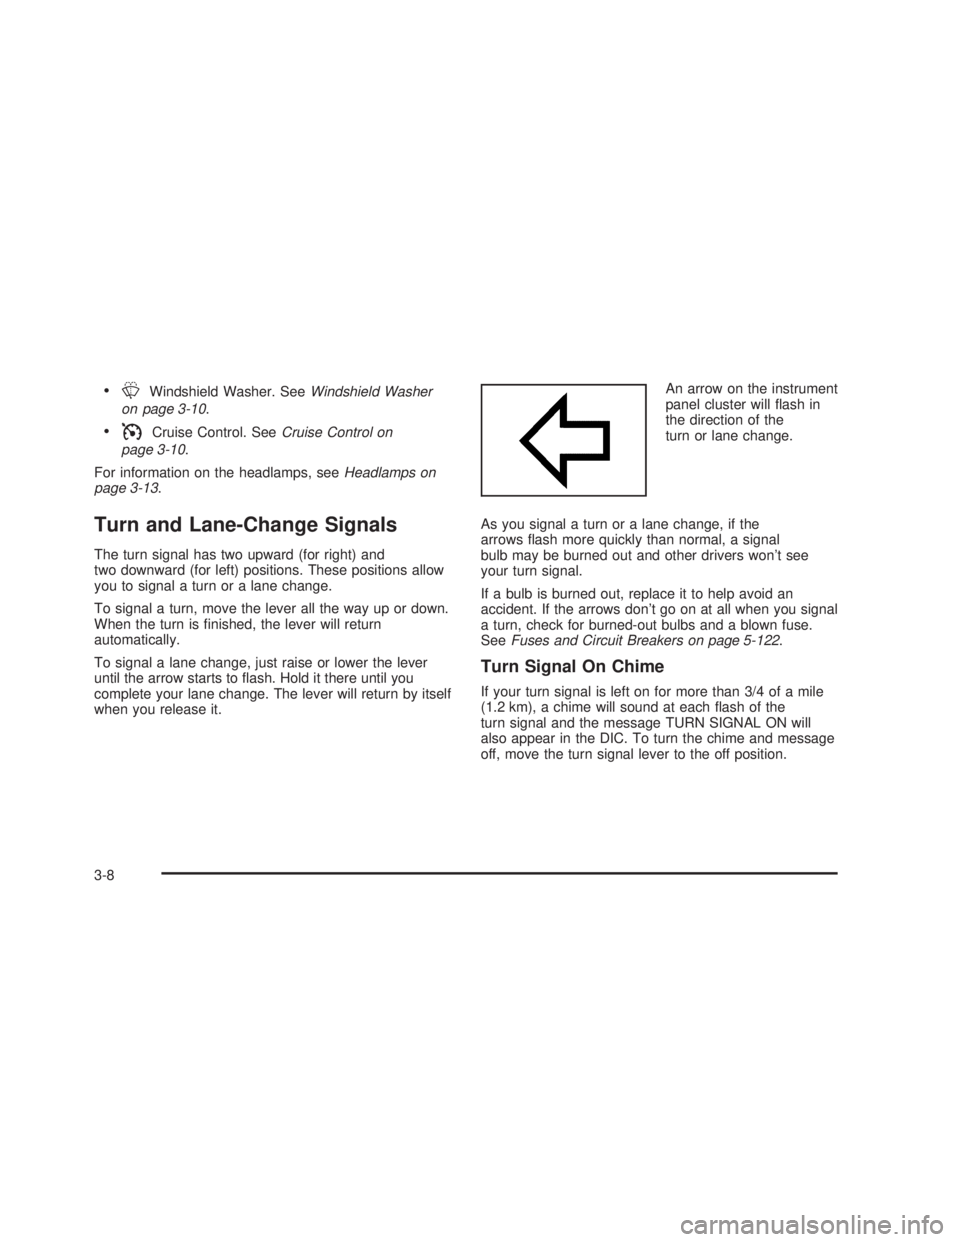
when you release it.An arrow on the instrument
panel cluster will �ash in
the direction of the
turn or lane change.
As you signal a turn or a lane change, if the
arrows �ash more quickly than normal, a signal
bulb may be burned out and other drivers won’t see
your turn signal.
If a bulb is burned out, replace it to help avoid an
accident. If the arrows don’t go on at all when you signal
a turn, check for burned-out bulbs and a blown fuse.
SeeFuses and Circuit Breakers on page 5-122.
Turn Signal On Chime
If your turn signal is left on for more than 3/4 of a mile
(1.2 km), a chime will sound at each �ash of the
turn signal and the message TURN SIGNAL ON will
also appear in the DIC. To turn the chime and message
off, move the turn signal lever to the off position.
3-8
Page 186 of 574
To use the outlet, lift the cover. When not using it,
always close the cover.
Certain power accessory plugs may not be compatible
to the accessory power outlet and could result in
blown vehicle or adapter fuses. If you experience a
problem, see your dealer for additional information on
the accessory power plugs.
Notice:Adding any electrical equipment to your
vehicle may damage it or keep other components
from working as they should. The repairs would not
be covered by your warranty. Check with your
dealer before adding electrical equipment.
When adding electrical equipment, be sure to follow the
proper installation instructions included with the
equipment.
Notice:Improper use of the power outlet can cause
damage not covered by your warranty. Do not
hang any type of accessory or accessory bracket
from the plug because the power outlets are
designed for accessory power plugs only.Ashtrays and Cigarette Lighter
Your vehicle may be equipped with a front ashtray
located near the center of the instrument panel. Pull on
the door to open it.
Notice:If you put papers or other �ammable items
in the ashtray, hot cigarettes or other smoking
materials could ignite them and possibly damage
your vehicle. Never put �ammable items in the
ashtray.
To remove the front ashtray, pull the ashtray toward you.
To replace the ashtray, place the ashtray on the slides at
the side of its location in the instrument panel. To use the
cigarette lighter, push it in all the way, and let go. When
it’s ready, it will pop back out by itself.
Notice:Holding a cigarette lighter in while it is
heating will not allow the lighter to back away from
the heating element when it is hot. Damage from
overheating may occur to the lighter or heating
element, or a fuse could be blown. Do not hold a
cigarette lighter in while it is heating. Do not
use anything other than the cigarette lighter in the
heating element.
3-20
Page 317 of 574
{CAUTION:
Cargo on the load �oor piled higher than
the seatbacks can be thrown forward
during a sudden stop. You or your
passengers could be injured. Keep cargo
below the top of the seatbacks.
Unsecured cargo on the load �oor can be
tossed about when driving over rough
terrain. You or your passengers can be
struck by �ying objects. Secure the cargo
properly.
Heavy loads on the roof raise the vehicle’s
center of gravity, making it more likely to
roll over. You can be seriously or fatally
injured if the vehicle rolls over. Put heavy
loads inside the cargo area, not on the
roof. Keep cargo in the cargo area as far
forward and low as possible.
You will �nd other important information in this manual.
SeeLoading Your Vehicle on page 4-50andTires
on page 5-72.
Environmental Concerns
Off-road driving can provide wholesome and satisfying
recreation. However, it also raises environmental
concerns. We recognize these concerns and urge every
off-roader to follow these basic rules for protecting
the environment:
Always use established trails, roads and areas that
have been specially set aside for public off-road
recreational driving; obey all posted regulations.
Avoid any driving practice that could damage the
environment — shrubs, �owers, trees, grasses — or
disturb wildlife (this includes wheel-spinning,
breaking down trees or unnecessary driving through
streams or over soft ground).
Always carry a litter bag — make sure all refuse is
removed from any campsite before leaving.
Take extreme care with open �res (where permitted),
camp stoves and lanterns.
Never park your vehicle over dry grass or other
combustible materials that could catch �re from the
heat of the vehicle’s exhaust system.
4-23
Page 386 of 574
Maintenance When Trailer Towing
Your vehicle will need service more often when you’re
pulling a trailer. SeeScheduled Maintenance on
page 6-4for more information. Things that are especially
important in trailer operation are automatic transmission
�uid (don’t over�ll), engine oil, axle lubricant, belt,
cooling system and brake system. Each of these is
covered in this manual, and the Index will help you �nd
them quickly. If you’re trailering, it’s a good idea to
review these sections before you start your trip.
Check periodically to see that all hitch nuts and bolts
are tight.
Trailer Wiring Harness
Your vehicle is equipped with one of the following wiring
harnesses for towing a trailer or hauling a slide-in
camper.
Basic Trailer Wiring
All regular, extended cab and crew cab pickups have an
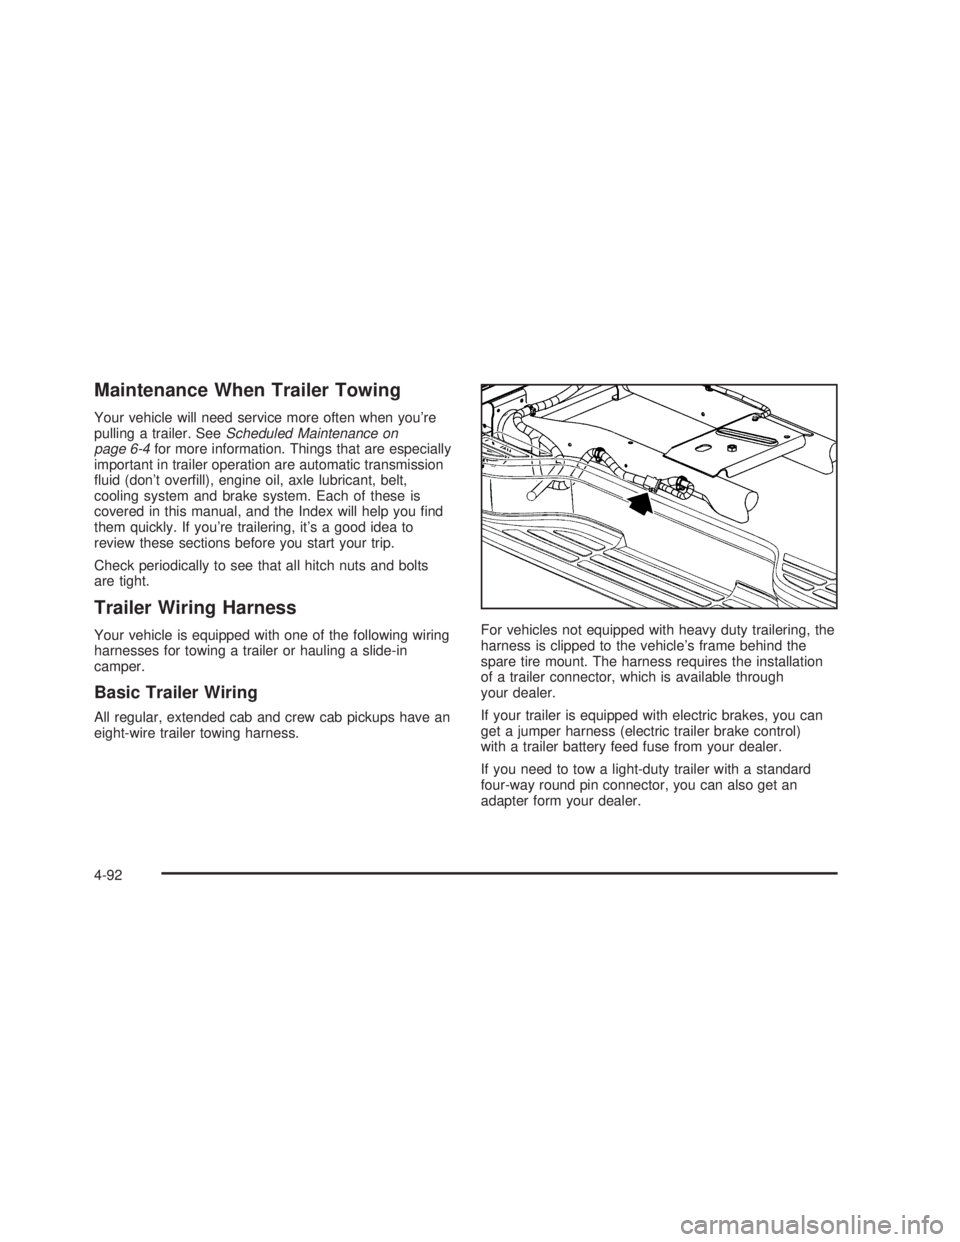
eight-wire trailer towing harness.For vehicles not equipped with heavy duty trailering, the
harness is clipped to the vehicle’s frame behind the
spare tire mount. The harness requires the installation
of a trailer connector, which is available through
your dealer.
If your trailer is equipped with electric brakes, you can
get a jumper harness (electric trailer brake control)
with a trailer battery feed fuse from your dealer.
If you need to tow a light-duty trailer with a standard
four-way round pin connector, you can also get an
adapter form your dealer.
4-92
Page 389 of 574
Electric Brake Control Jumper
{CAUTION:
Be sure to use only the correct trailer brake
harness, the one intended for use on your
vehicle. If you use some other trailer brake
harness, even if it seems to �t, your trailer
brakes may not work at all. You could have a
crash in which you or others could be injured.
Use only the trailer brake harness intended for
your vehicle. If it is no longer available to you,
be sure to get a proper replacement from
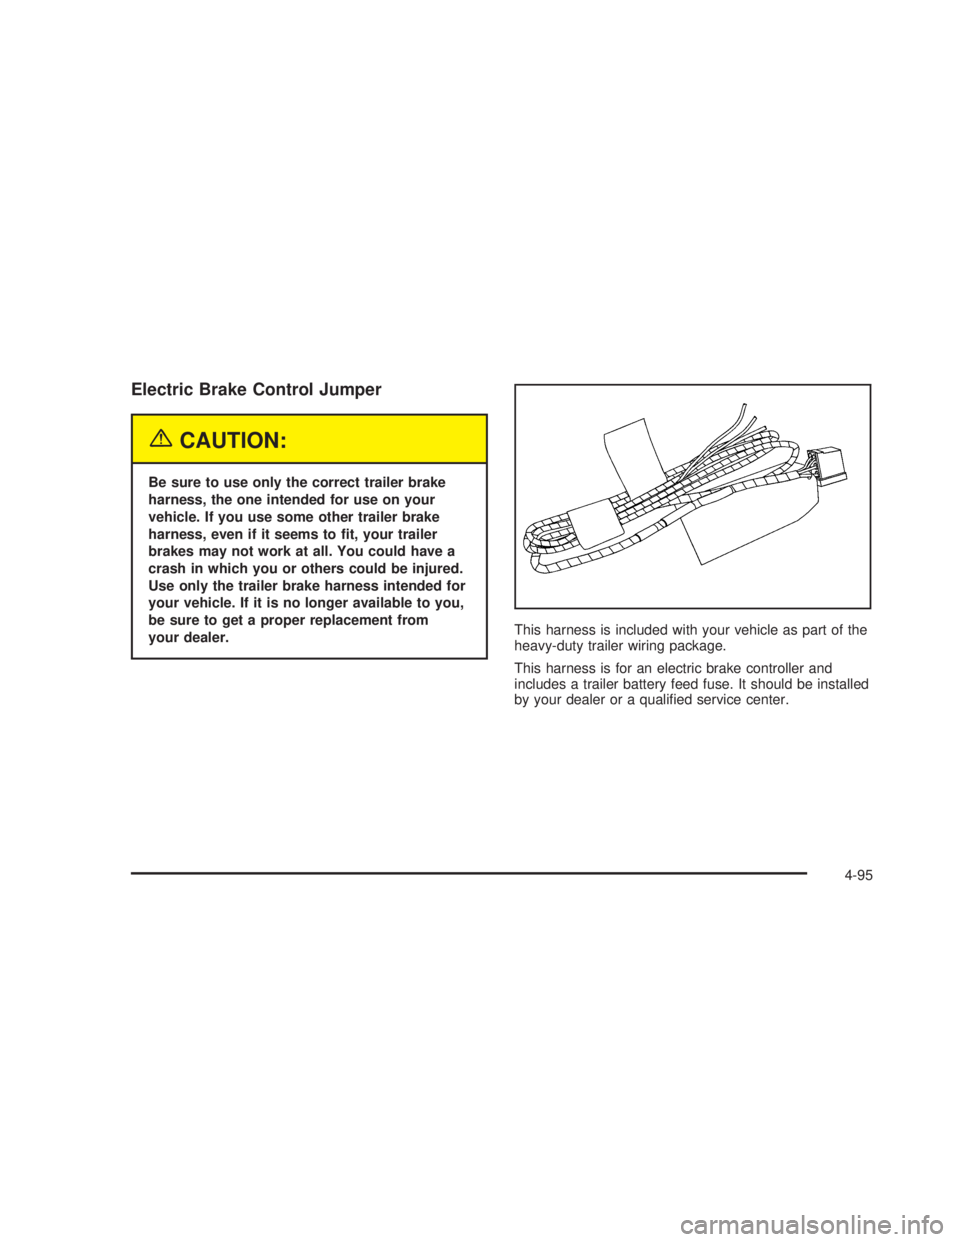
your dealer.This harness is included with your vehicle as part of the
heavy-duty trailer wiring package.
This harness is for an electric brake controller and
includes a trailer battery feed fuse. It should be installed
by your dealer or a quali�ed service center.
4-95