steering GMC TERRAIN 2012 Get To Know Guide
[x] Cancel search | Manufacturer: GMC, Model Year: 2012, Model line: TERRAIN, Model: GMC TERRAIN 2012Pages: 16, PDF Size: 1.85 MB
Page 1 of 16
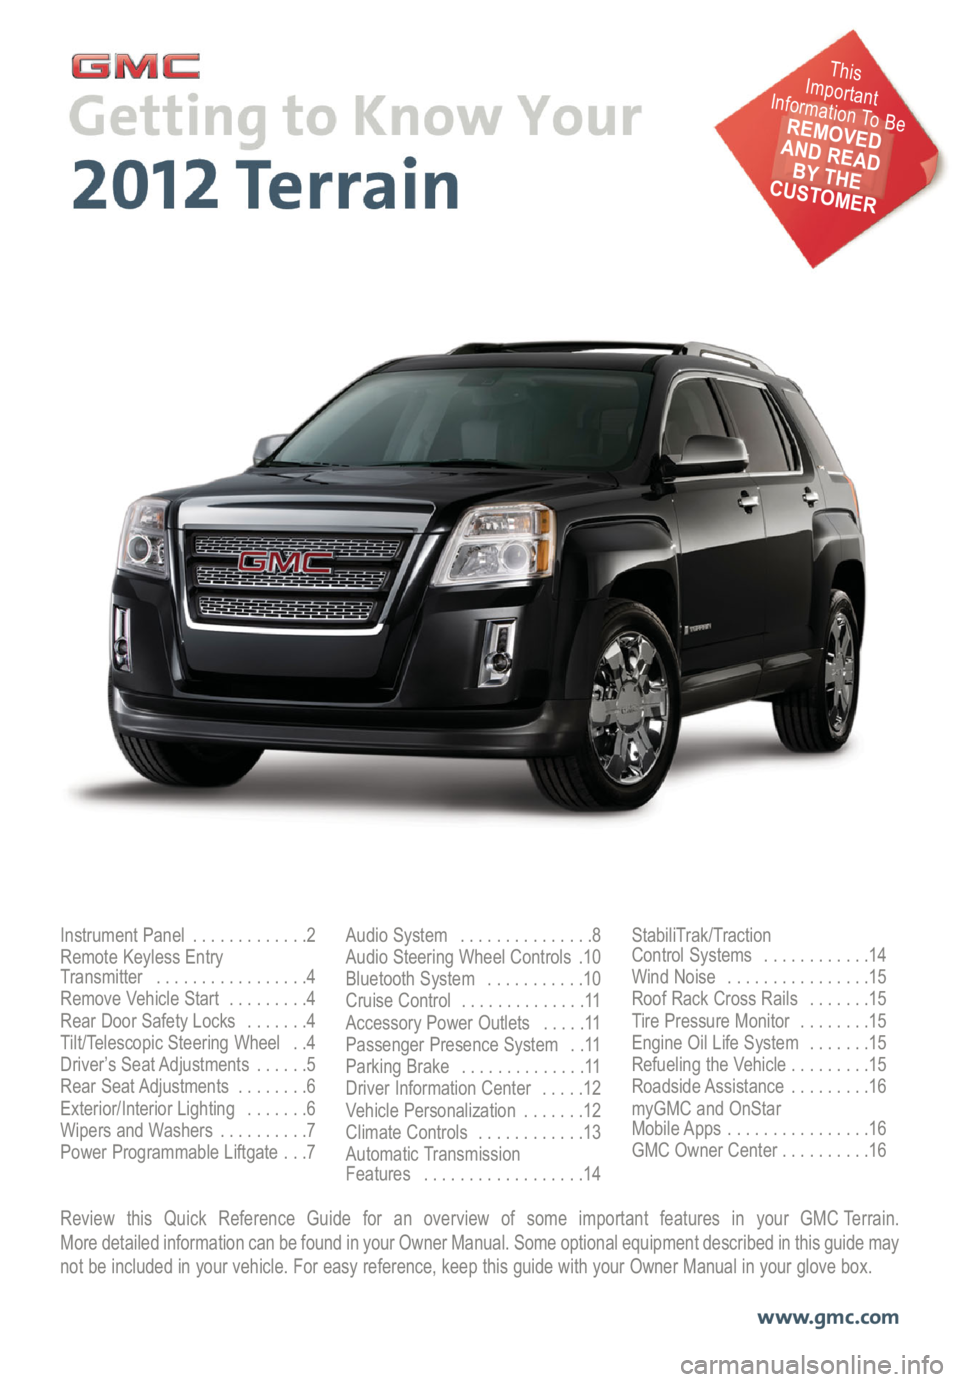
Review this Quick Reference Guide for an overview of some important features in your GMC Terrain.
More detailed information can be found in your Owner Manual. Some optional equipment described in this guide may
not be included in your vehicle. For easy reference, keep this guide with your Owner Manual in your glove box.
www.gmc.com
Instrument Panel . . . . . . . . . . . . .2
Remote Keyless Entry
Transmitter . . . . . . . . . . . . . . . . .4
Remove Vehicle Start . . . . . . . . .4
Rear Door Safety Locks . . . . . . .4
Tilt/Telescopic Steering Wheel . .4
Driver’s Seat Adjustments . . . . . .5
Rear Seat Adjustments . . . . . . . .6
Exterior/Interior Lighting . . . . . . .6
Wipers and Washers . . . . . . . . . .7
Power Programmable Liftgate . . .7Audio System . . . . . . . . . . . . . . .8
Audio Steering Wheel Controls .10
Bluetooth System . . . . . . . . . . .10
Cruise Control . . . . . . . . . . . . . .11
Accessory Power Outlets . . . . .11
Passenger Presence System . .11
Parking Brake . . . . . . . . . . . . . .11
Driver Information Center . . . . .12
Vehicle Personalization . . . . . . .12
Climate Controls . . . . . . . . . . . .13
Automatic Transmission
Features . . . . . . . . . . . . . . . . . .14StabiliTrak/Traction
Control Systems . . . . . . . . . . . .14
Wind Noise . . . . . . . . . . . . . . . .15
Roof Rack Cross Rails . . . . . . .15
Tire Pressure Monitor . . . . . . . .15
Engine Oil Life System . . . . . . .15
Refueling the Vehicle . . . . . . . . .15
Roadside Assistance . . . . . . . . .16
myGMC and OnStar
Mobile Apps . . . . . . . . . . . . . . . .16
GMC Owner Center . . . . . . . . . .16
This
Important
Information To Be
REMOVED
AND READ
BY THE
CUSTOMER
Page 2 of 16
2
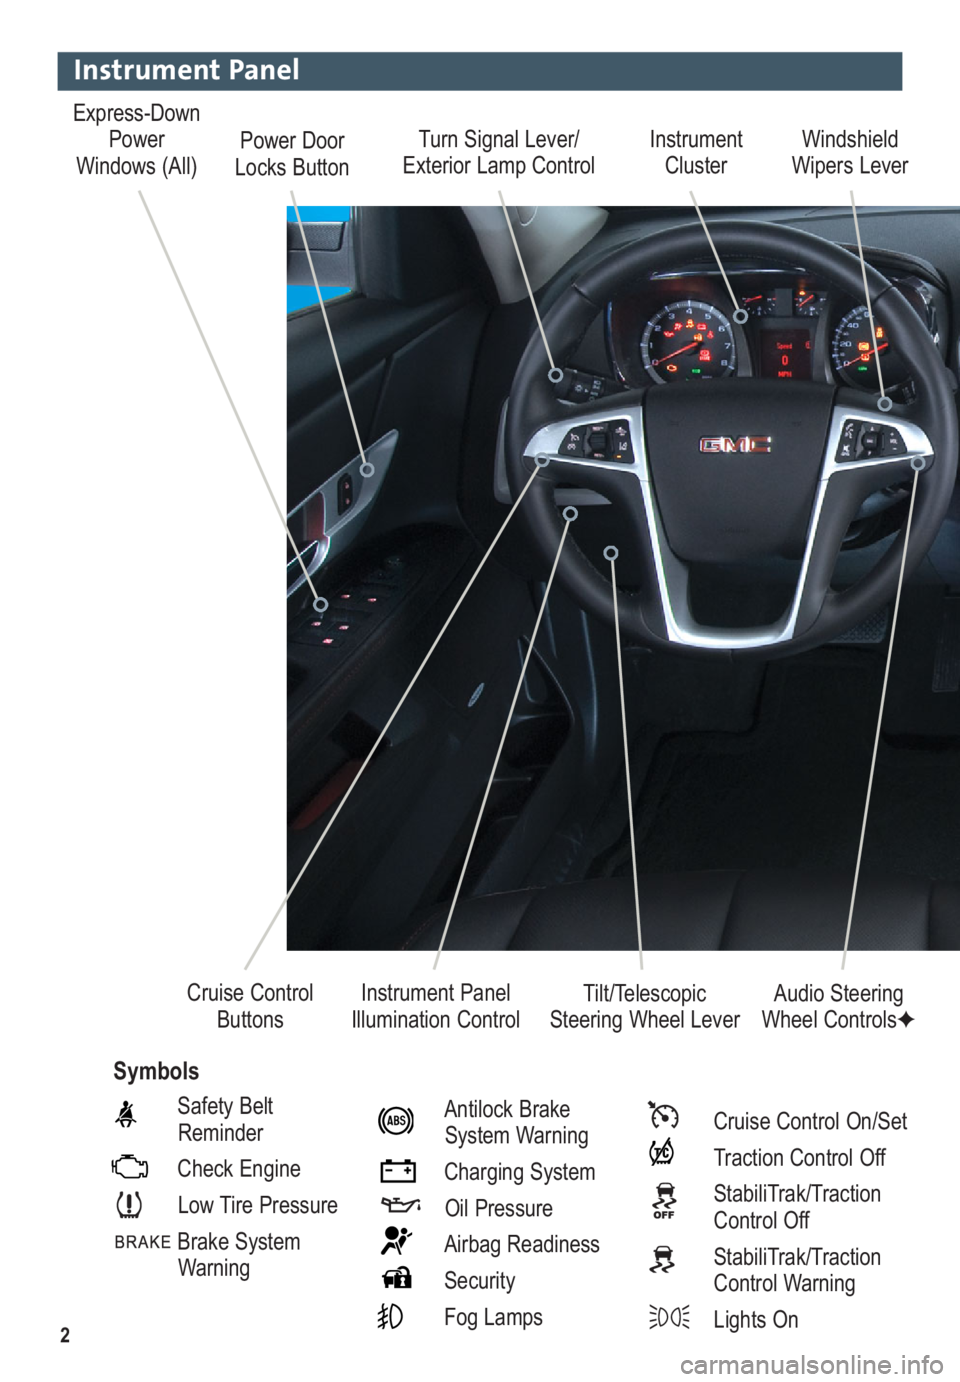
Turn Signal Lever/
Exterior Lamp ControlInstrument
Cluster
Tilt/Telescopic
Steering Wheel LeverWindshield
Wipers Lever
Instrument Panel
Illumination Control Cruise Control
Buttons
Instrument Panel
Safety Belt
Reminder
Check Engine
Low Tire Pressure
Brake System
WarningAntilock Brake
System Warning
Charging System
Oil Pressure
Airbag Readiness
Security
Fog LampsCruise Control On/Set
Traction Control Off
StabiliTrak/Traction
Control Off
StabiliTrak/Traction
Control Warning
Lights On
Audio Steering
Wheel Controls✦
Symbols
Express-Down
Power
Windows (All)Power Door
Locks Button
Page 4 of 16
4
Remote Keyless Entry Transmitter
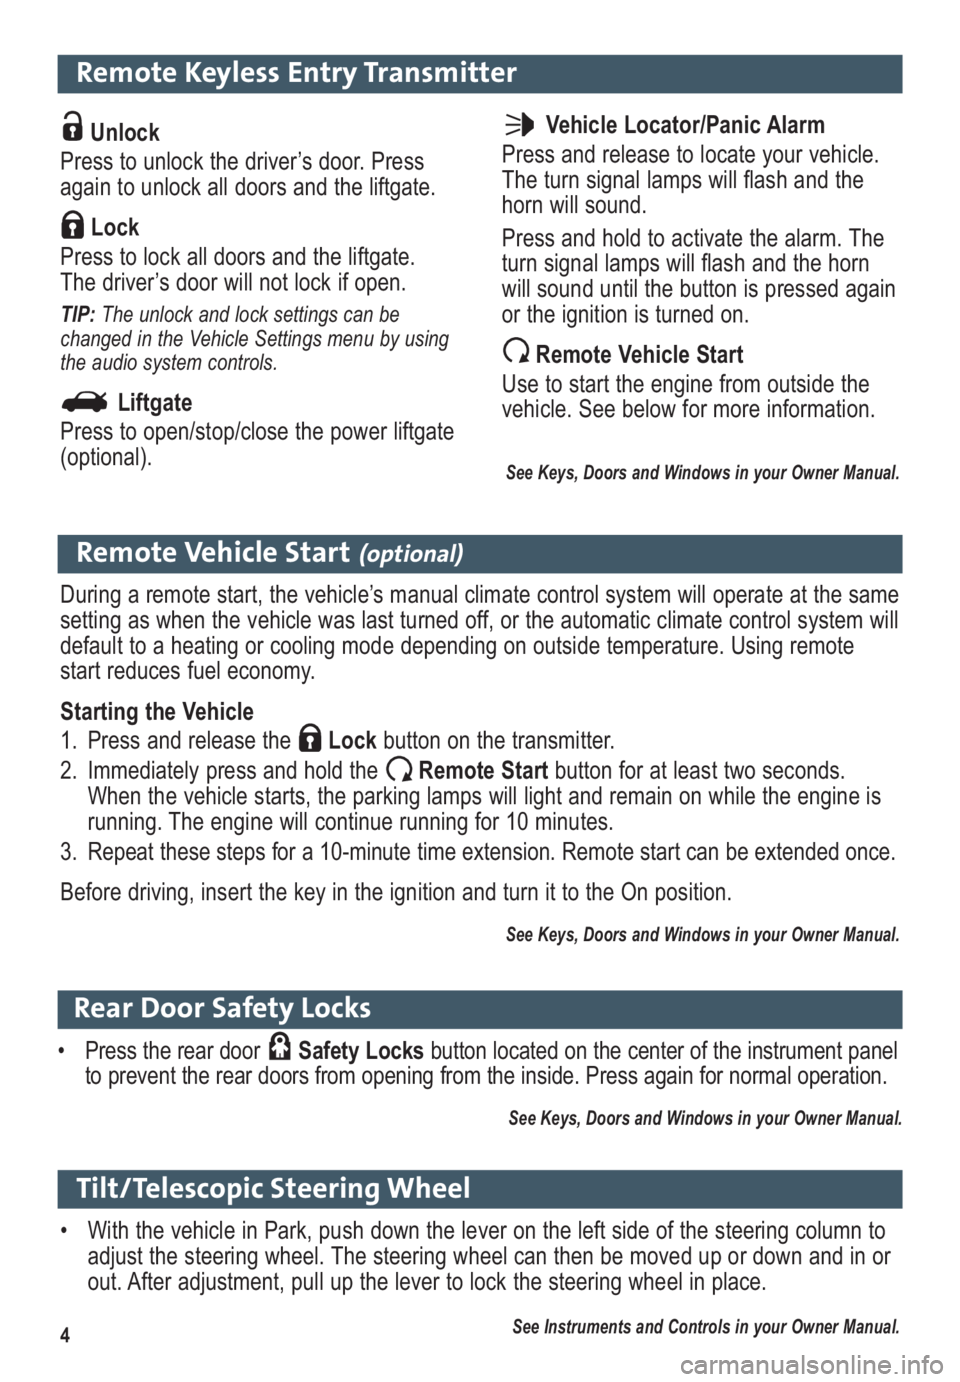
Unlock
Press to unlock the driver’s door. Press
again to unlock all doors and the liftgate.
Lock
Press to lock all doors and the liftgate.
The driver’s door will not lock if open.
TIP: The unlock and lock settings can be
changed in the Vehicle Settings menu by using
the audio system controls.
Liftgate
Press to open/stop/close the power liftgate
(optional).
Remote Vehicle Start(optional)
During a remote start, the vehicle’s manual climate control system will operate at the same
setting as when the vehicle was last turned off, or the automatic climate control system will
default to a heating or cooling mode depending on outside temperature. Using remote
start reduces fuel economy.
Starting the Vehicle
1. Press and release the Lockbutton on the transmitter.
2. Immediately press and hold the Remote Start button for at least two seconds.
When the vehicle starts, the parking lamps will light and remain on while the engine is
running. The engine will continue running for 10 minutes.
3. Repeat these steps for a 10-minute time extension. Remote start can be extended once.
Before driving, insert the key in the ignition and turn it to the On position.
See Keys, Doors and Windows in your Owner Manual.
Vehicle Locator/Panic Alarm
Press and release to locate your vehicle.
The turn signal lamps will flash and the
horn will sound.
Press and hold to activate the alarm. The
turn signal lamps will flash and the horn
will sound until the button is pressed again
or the ignition is turned on.
Remote Vehicle Start
Use to start the engine from outside the
vehicle. See below for more information.
See Keys, Doors and Windows in your Owner Manual.
Tilt/Telescopic Steering Wheel
• With the vehicle in Park, push down the lever on the left side of the steering column to
adjust the steering wheel. The steering wheel can then be moved up or down and in or
out. After adjustment, pull up the lever to lock the steering wheel in place.
See Instruments and Controls in your Owner Manual.
Rear Door Safety Locks
• Press the rear door Safety Locksbutton located on the center of the instrument panel
to prevent the rear doors from opening from the inside. Press again for normal operation.
See Keys, Doors and Windows in your Owner Manual.
Page 6 of 16
6
Exterior/Interior Lighting
Automatic Headlamp System
Rotate the outer band to operate the
exterior lamps. Headlamps
Manual operation of the headlamps.
Parking Lamps
Manual operation of the parking lamps.
AUTO Automatic Headlamp System
Activates the Daytime Running Lamps
(DRLs) in the daytime and the headlamps
and other exterior lamps at night or when
necessary.
Off/On
Fog Lamps
Rotate the inner band to turn the fog
lamps on or off.
TIP: Push the lever to turn on the high beam
headlamps; pull the lever to return to low beam
operation. Pull the lever to activate the flash-to-
pass feature.
Instrument Panel Lighting
The control knob is located on the left
side of the instrument panel next to the
steering column.Instrument Panel Brightness
Turn the knob to increase or decrease
the instrument panel lighting.
Dome Lamp
The dome lamps are controlled by a
three-position switch on the front overhead
console.Dome Lamp Override/Off
Door Open (Default position)
On
See Lighting in your Owner Manual.Note:The second-row dome lamps also can be
turned on/off using the buttons by the lamps.
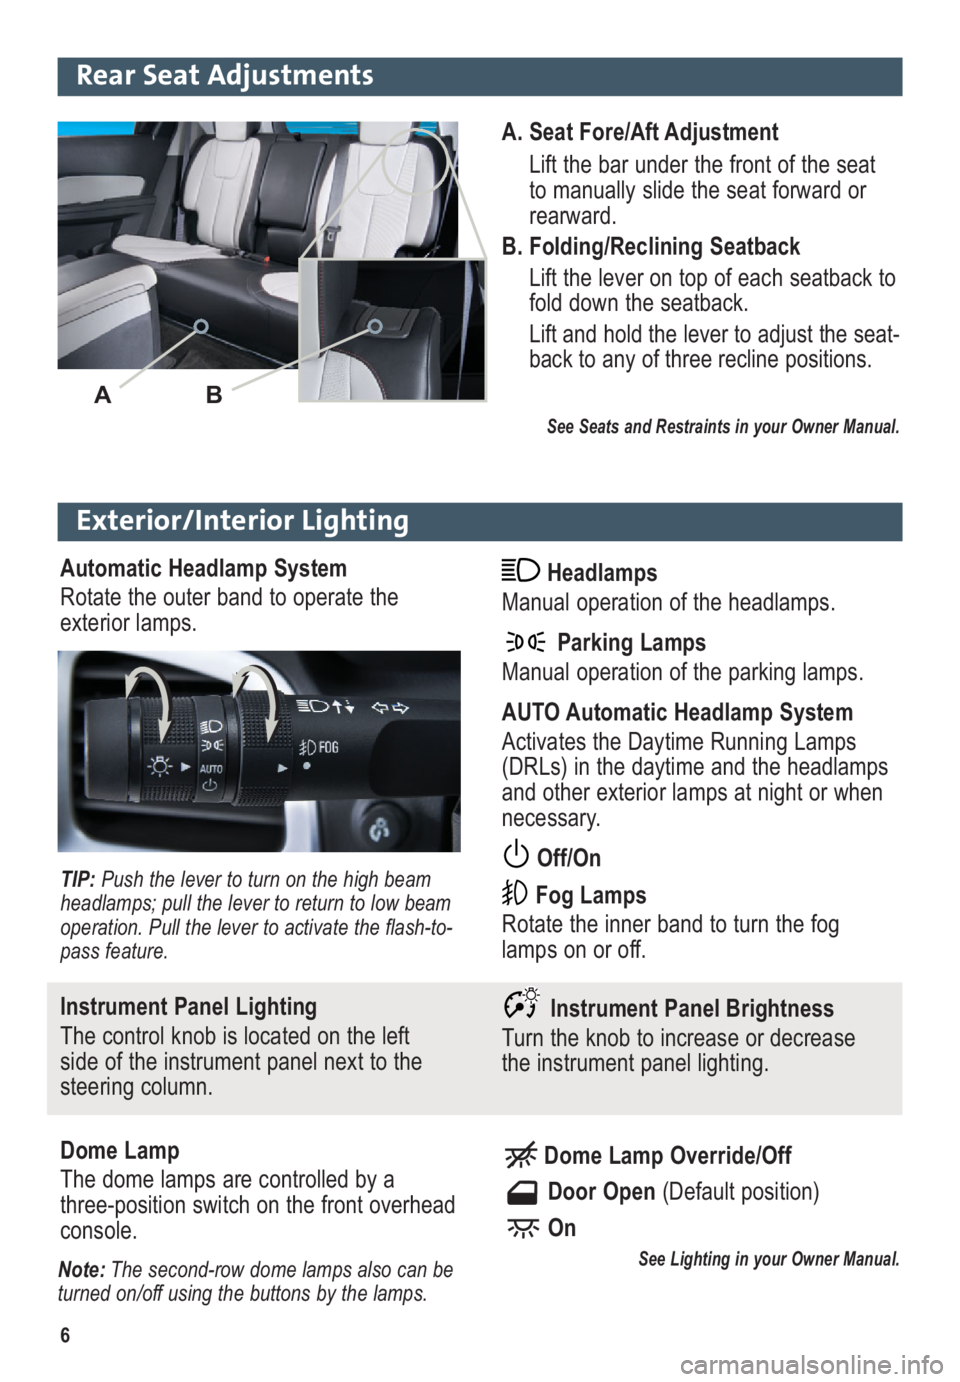
A. Seat Fore/Aft Adjustment
Lift the bar under the front of the seat
to manually slide the seat forward or
rearward.
B. Folding/Reclining Seatback
Lift the lever on top of each seatback to
fold down the seatback.
Lift and hold the lever to adjust the seat -
back to any of three recline positions.
See Seats and Restraints in your Owner Manual.
AB
Rear Seat Adjustments
Page 9 of 16
9
Audio System
Note:Avoid extended searching for specific items or configuring system settings while driving.
Setting the Time
1. Turn on the radio.
2. Press the CONFIGbutton.
3. Touch the Time and Date Settings screen button.
4. Touch the Set Time screen button.
5. Adjust the hour, minute and AM/PM settings as desired.
6. Press the BACKbutton to exit each menu.
Storing Favorite Stations
Radio stations from all bands (AM, FM or XM) can be stored in any order on up to six
pages of favorites.
1. Tune in the desired radio station.
2. Press the FAVbutton to display the page where the station is to be stored.
3. Press and hold one of the six numeric pushbuttons until a beep sounds.
4. Repeat the steps for each pushbutton on each page.
Portable Audio Devices
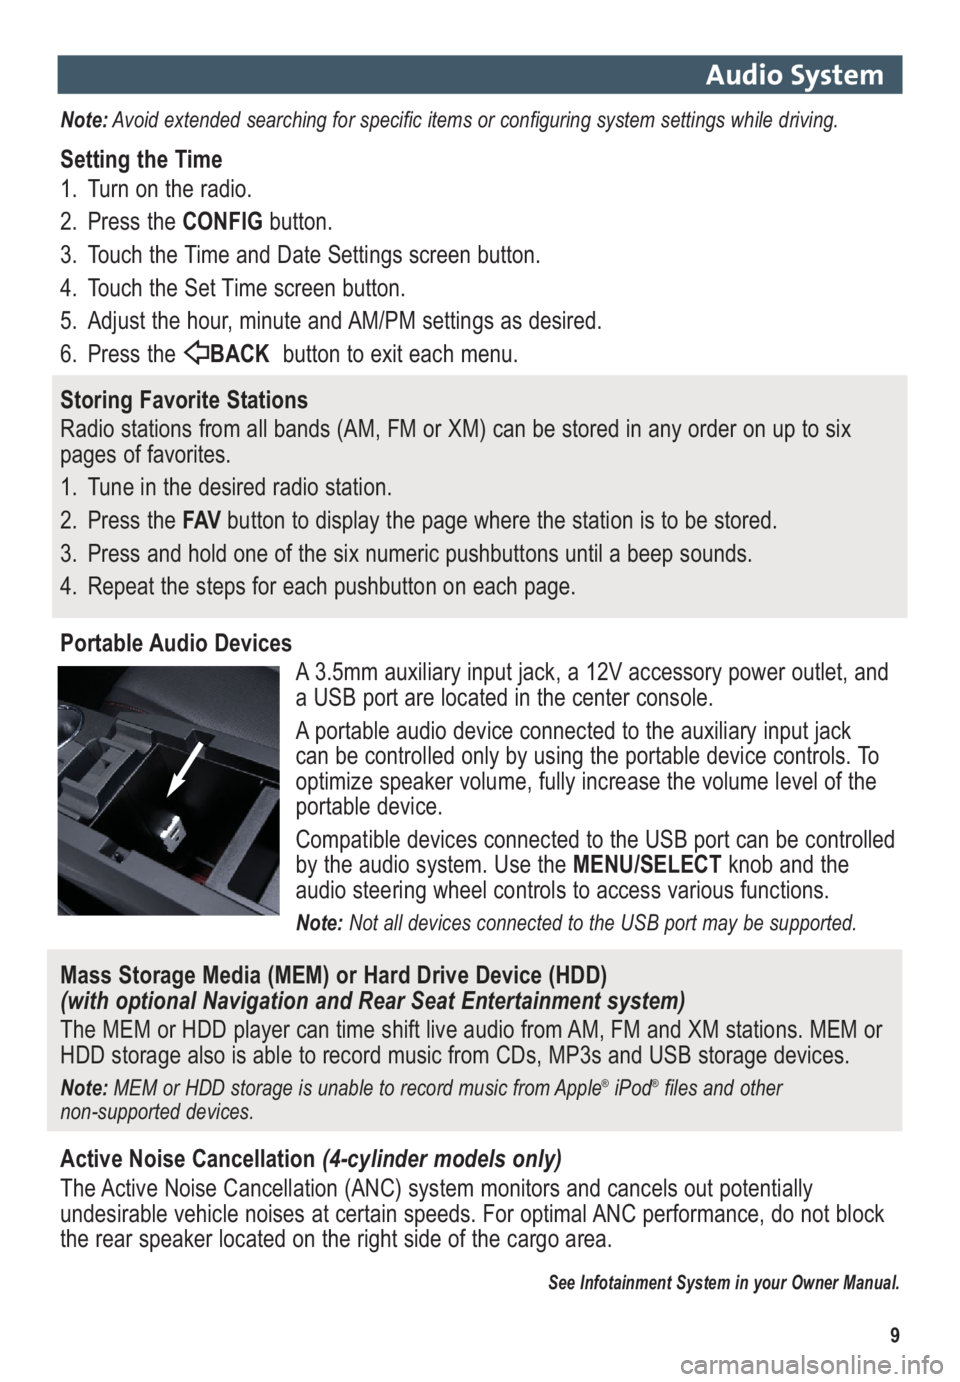
A 3.5mm auxiliary input jack, a 12V accessory power outlet, and
a USB port are located in the center console.
A portable audio device connected to the auxiliary input jack
can be controlled only by using the portable device controls. To
optimize speaker volume, fully increase the volume level of the
portable device.
Compatible devices connected to the USB port can be controlled
by the audio system. Use the MENU/SELECTknob and the
audio steering wheel controls to access various functions.
Note: Not all devices connected to the USB port may be supported.
Mass Storage Media (MEM) or Hard Drive Device (HDD)
(with optional Navigation and Rear Seat Entertainment system)
The MEM or HDD player can time shift live audio from AM, FM and XM stations. MEM or
HDD storage also is able to record music from CDs, MP3s and USB storage devices.
Note: MEM or HDD storage is unable to record music from Apple®iPod®files and other
non-supported devices.
Active Noise Cancellation(4-cylinder models only)
The Active Noise Cancellation (ANC) system monitors and cancels out potentially
undesirable vehicle noises at certain speeds. For optimal ANC performance, do not block
the rear speaker located on the right side of the cargo area.
See Infotainment System in your Owner Manual.
Page 10 of 16
10
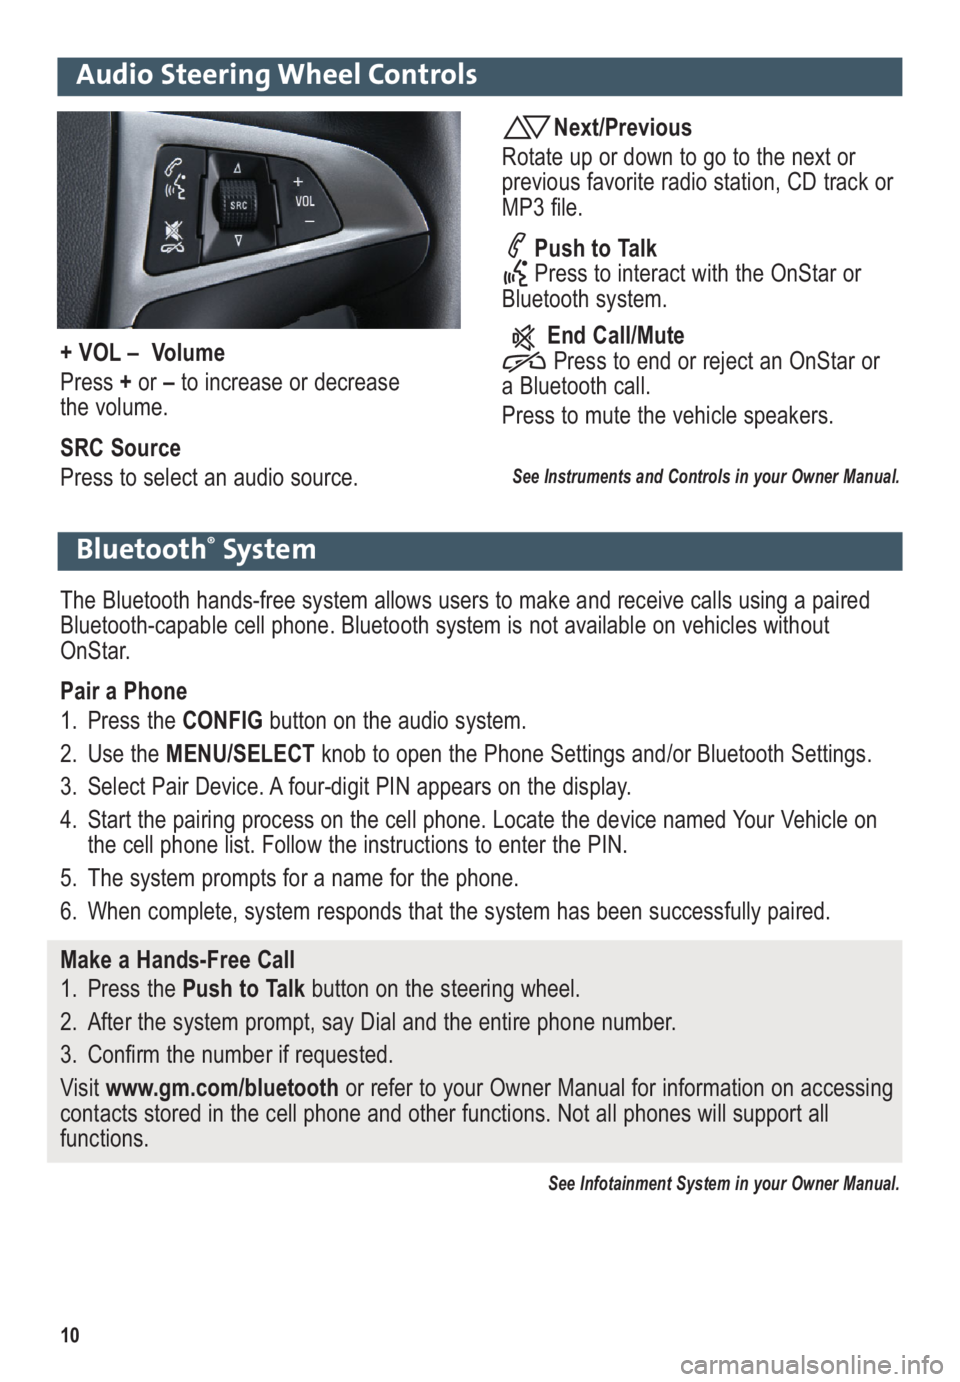
Audio Steering Wheel Controls
Next/Previous
Rotate up or down to go to the next or
previous favorite radio station, CD track or
MP3 file.
Push to Talk
Press to interact with the OnStar or
Bluetooth system.
End Call/Mute
Press to end or reject an OnStar or
a Bluetooth call.
Press to mute the vehicle speakers.
See Instruments and Controls in your Owner Manual.
+ VOL – Volume
Press +or –to increase or decrease
the volume.
SRC Source
Press to select an audio source.
Bluetooth®System
The Bluetooth hands-free system allows users to make and receive calls using a paired
Bluetooth-capable cell phone. Bluetooth system is not available on vehicles without
OnStar.
Pair a Phone
1. Press the CONFIG button on the audio system.
2. Use the MENU/SELECTknob to open the Phone Settings and/or Bluetooth Settings.
3. Select Pair Device. A four-digit PIN appears on the display.
4. Start the pairing process on the cell phone. Locate the device named Your Vehicle on
the cell phone list. Follow the instructions to enter the PIN.
5. The system prompts for a name for the phone.
6. When complete, system responds that the system has been successfully paired.
Make a Hands-Free Call
1. Press the Push to Talkbutton on the steering wheel.
2. After the system prompt, say Dial and the entire phone number.
3. Confirm the number if requested.
Visit www.gm.com/bluetoothor refer to your Owner Manual for information on accessing
contacts stored in the cell phone and other functions. Not all phones will support all
functions.
See Infotainment System in your Owner Manual.