fuse Hyundai Elantra 2006 Owner's Manual
[x] Cancel search | Manufacturer: HYUNDAI, Model Year: 2006, Model line: Elantra, Model: Hyundai Elantra 2006Pages: 277, PDF Size: 10.18 MB
Page 54 of 277
1FEATURES OF YOUR HYUNDAI
40
o The SRS can function only when
the ignition key is in the "ON" position. If the SRS SRI does not come on, or continuously re-mains on after flashing for about 6 seconds when the ignition key is turned to the "ON" position, orafter the engine is started, comes on while driving, the SRS is not working properly. If this occurs,have your vehicle immediately inspected by your Hyundai dealer.
o Before you replace a fuse or dis- connect a battery terminal, turnthe ignition key to the "LOCK"position or remove the ignition key. Never remove or replace the air bag related fuse(s) when theignition key is in the "ON" posi- tion. Failure to heed this warning will cause the SRS SRI to illumi-nate.
!CAUTION:
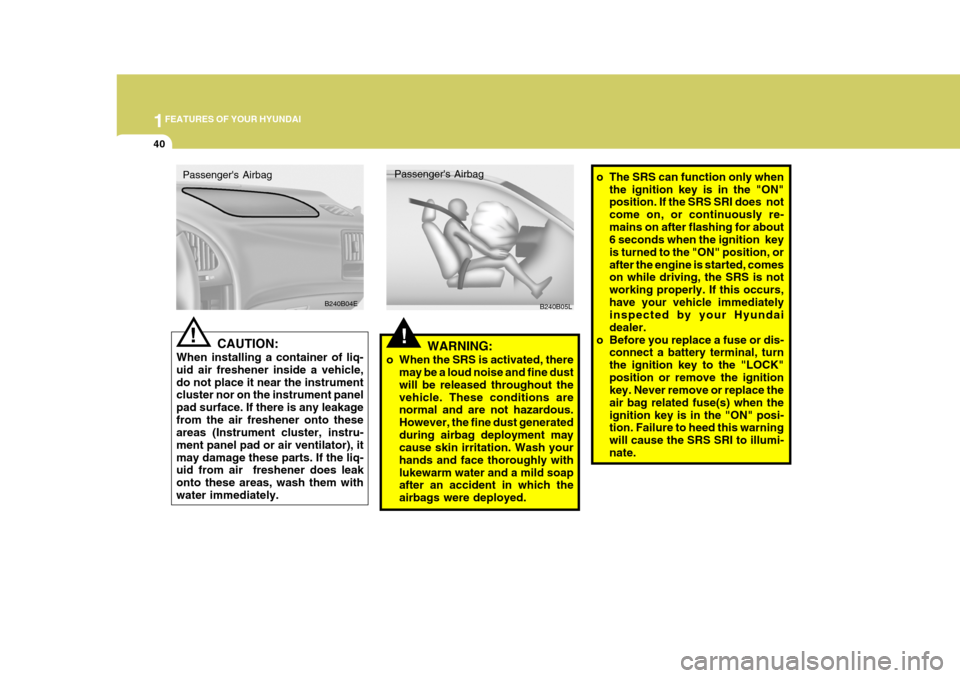
When installing a container of liq- uid air freshener inside a vehicle,do not place it near the instrument cluster nor on the instrument panel pad surface. If there is any leakagefrom the air freshener onto these areas (Instrument cluster, instru- ment panel pad or air ventilator), itmay damage these parts. If the liq- uid from air freshener does leak onto these areas, wash them withwater immediately.! WARNING:
o When the SRS is activated, there may be a loud noise and fine dust will be released throughout thevehicle. These conditions are normal and are not hazardous. However, the fine dust generatedduring airbag deployment may cause skin irritation. Wash your hands and face thoroughly withlukewarm water and a mild soap after an accident in which the airbags were deployed.
B240B04E
Passenger's Airbag
Passenger's Airbag
B240B05L
Page 72 of 277
1FEATURES OF YOUR HYUNDAI
58MULTI-FUNCTION LIGHT SWITCH
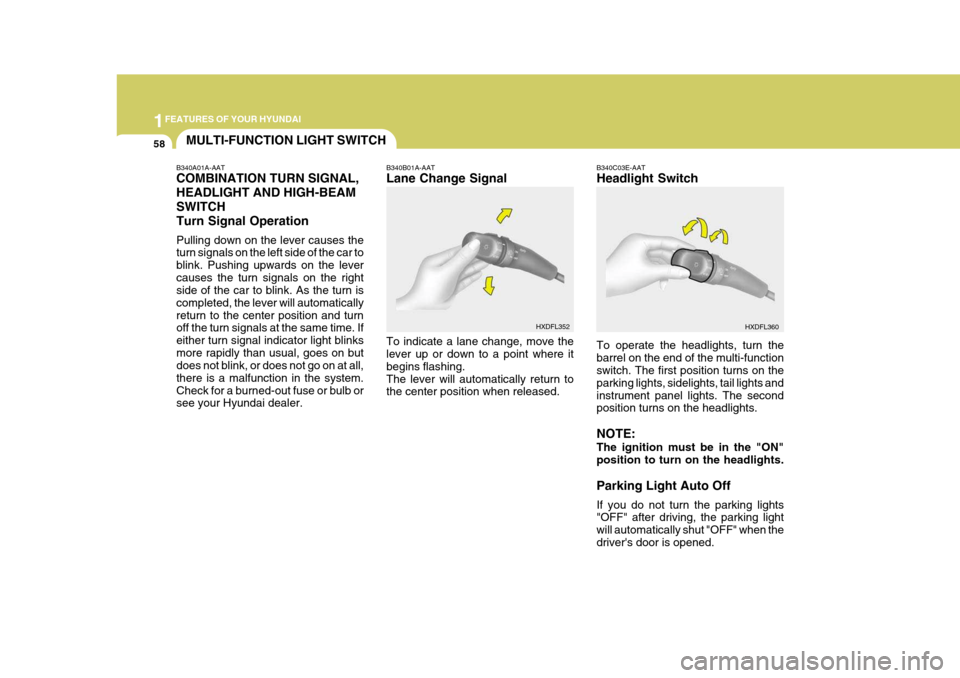
B340C03E-AAT Headlight Switch To operate the headlights, turn the barrel on the end of the multi-function switch. The first position turns on the parking lights, sidelights, tail lights andinstrument panel lights. The second position turns on the headlights. NOTE: The ignition must be in the "ON" position to turn on the headlights. Parking Light Auto Off If you do not turn the parking lights "OFF" after driving, the parking light will automatically shut "OFF" when thedriver's door is opened.
B340A01A-AAT COMBINATION TURN SIGNAL, HEADLIGHT AND HIGH-BEAMSWITCHTurn Signal Operation Pulling down on the lever causes the turn signals on the left side of the car to blink. Pushing upwards on the levercauses the turn signals on the right side of the car to blink. As the turn is completed, the lever will automaticallyreturn to the center position and turn off the turn signals at the same time. If either turn signal indicator light blinksmore rapidly than usual, goes on but does not blink, or does not go on at all, there is a malfunction in the system.Check for a burned-out fuse or bulb or see your Hyundai dealer.
B340B01A-AAT Lane Change Signal To indicate a lane change, move the lever up or down to a point where it begins flashing.The lever will automatically return to the center position when released.
HXDFL352
HXDFL360
Page 88 of 277
1FEATURES OF YOUR HYUNDAI
74
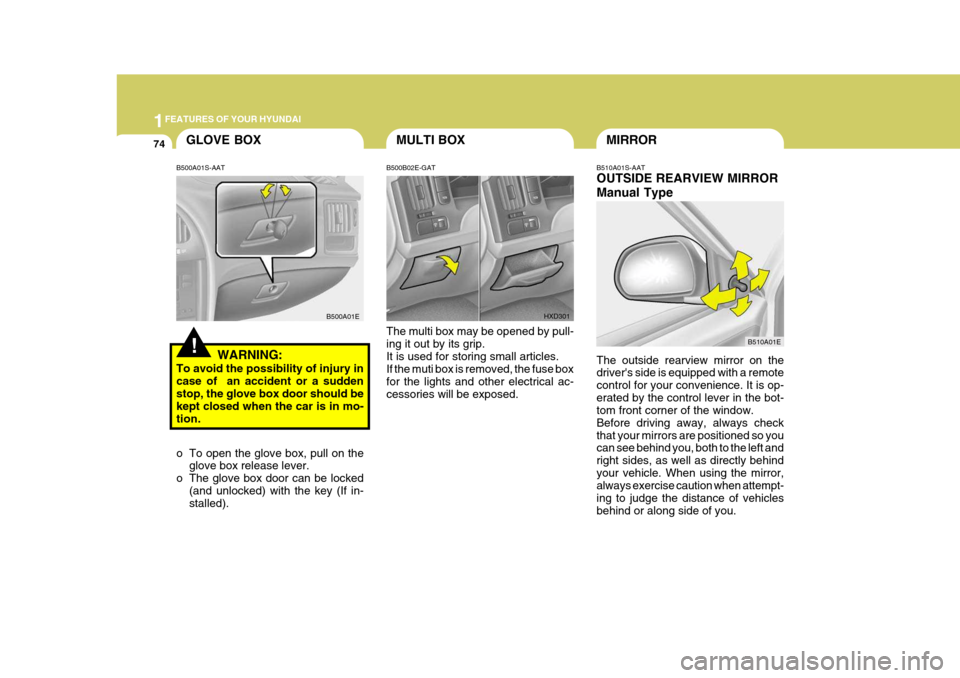
B510A01S-AAT OUTSIDE REARVIEW MIRROR Manual Type The outside rearview mirror on the driver's side is equipped with a remote control for your convenience. It is op-erated by the control lever in the bot- tom front corner of the window. Before driving away, always checkthat your mirrors are positioned so you can see behind you, both to the left and right sides, as well as directly behindyour vehicle. When using the mirror, always exercise caution when attempt- ing to judge the distance of vehiclesbehind or along side of you. B510A01E
MIRROR
!
GLOVE BOXMULTI BOX
B500A01S-AAT
WARNING:
To avoid the possibility of injury in case of an accident or a sudden stop, the glove box door should be kept closed when the car is in mo-tion.
o To open the glove box, pull on the glove box release lever.
o The glove box door can be locked (and unlocked) with the key (If in- stalled). B500B02E-GAT The multi box may be opened by pull- ing it out by its grip.It is used for storing small articles. If the muti box is removed, the fuse box for the lights and other electrical ac-cessories will be exposed.
B500A01E
HXD301
Page 132 of 277
1FEATURES OF YOUR HYUNDAI
118
B260D03O-AAT
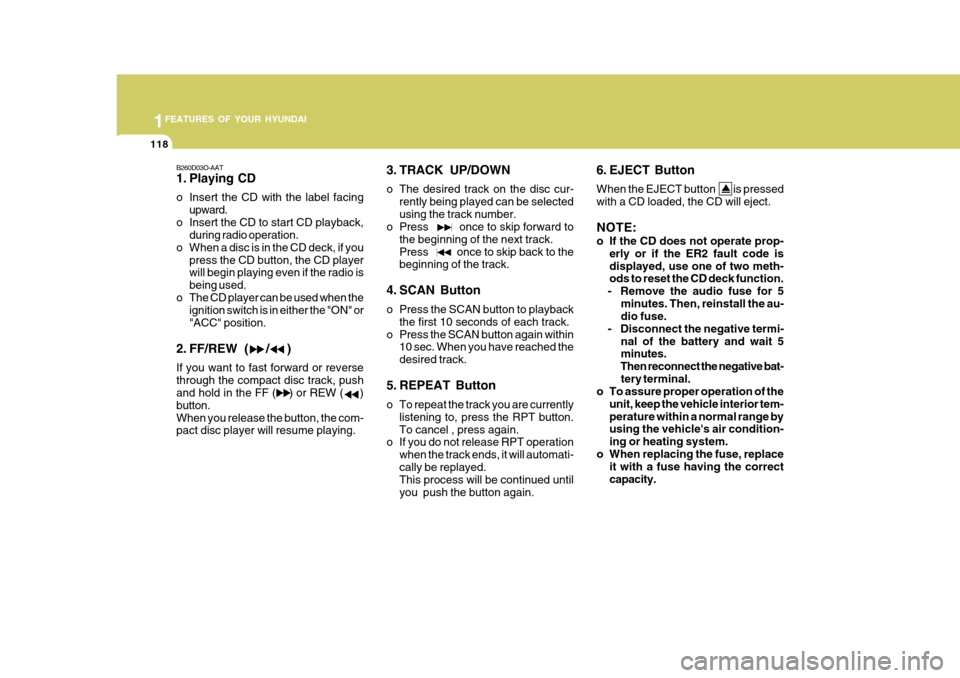
1. Playing CD
o Insert the CD with the label facingupward.
o Insert the CD to start CD playback, during radio operation.
o When a disc is in the CD deck, if you press the CD button, the CD player will begin playing even if the radio is being used.
o The CD player can be used when the ignition switch is in either the "ON" or"ACC" position.
2. FF/REW ( / ) If you want to fast forward or reverse through the compact disc track, push and hold in the FF ( ) or REW ( ) button.When you release the button, the com- pact disc player will resume playing. 3. TRACK UP/DOWN
o The desired track on the disc cur-
rently being played can be selected using the track number.
o Press once to skip forward to
the beginning of the next track.Press once to skip back to the beginning of the track.
4. SCAN Button
o Press the SCAN button to playback the first 10 seconds of each track.
o Press the SCAN button again within 10 sec. When you have reached the desired track.
5. REPEAT Button
o To repeat the track you are currently listening to, press the RPT button. To cancel , press again.
o If you do not release RPT operation
when the track ends, it will automati-cally be replayed. This process will be continued until you push the button again. 6. EJECT Button When the EJECT button is pressed with a CD loaded, the CD will eject. NOTE:
o If the CD does not operate prop-
erly or if the ER2 fault code is displayed, use one of two meth- ods to reset the CD deck function.
- Remove the audio fuse for 5
minutes. Then, reinstall the au-dio fuse.
- Disconnect the negative termi- nal of the battery and wait 5minutes.
Then reconnect the negative bat- tery terminal.
o To assure proper operation of the
unit, keep the vehicle interior tem- perature within a normal range by using the vehicle's air condition- ing or heating system.
o When replacing the fuse, replace it with a fuse having the correctcapacity.
Page 135 of 277
1
FEATURES OF YOUR HYUNDAI
121
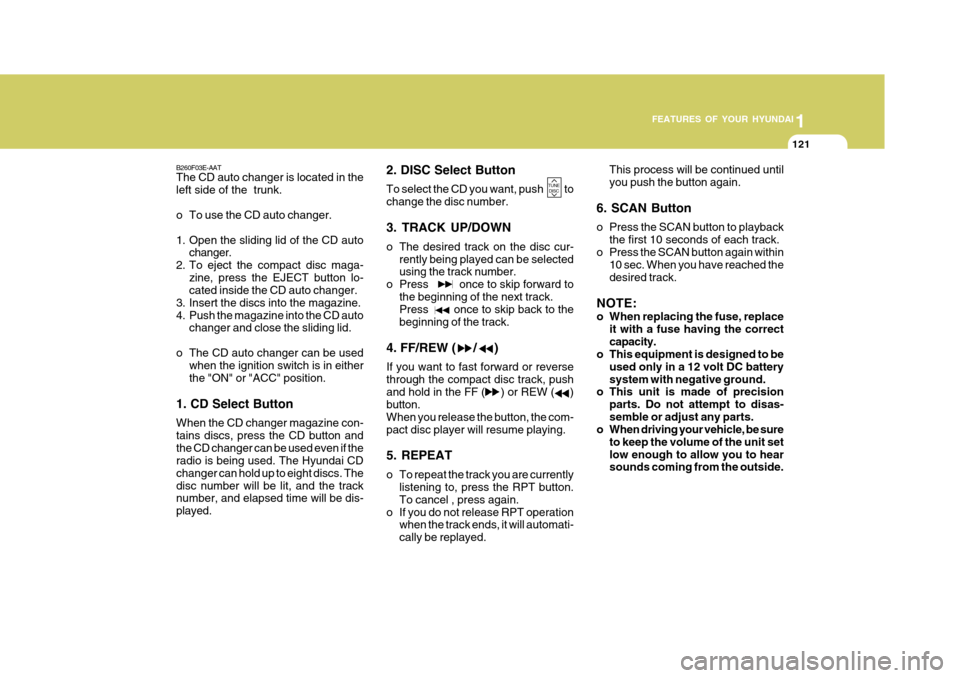
B260F03E-AAT The CD auto changer is located in the left side of the trunk.
o To use the CD auto changer.
1. Open the sliding lid of the CD auto changer.
2. To eject the compact disc maga-
zine, press the EJECT button lo- cated inside the CD auto changer.
3. Insert the discs into the magazine.
4. Push the magazine into the CD auto changer and close the sliding lid.
o The CD auto changer can be used when the ignition switch is in eitherthe "ON" or "ACC" position.
1. CD Select Button When the CD changer magazine con- tains discs, press the CD button andthe CD changer can be used even if the radio is being used. The Hyundai CD changer can hold up to eight discs. Thedisc number will be lit, and the track number, and elapsed time will be dis- played. 2. DISC Select Button To select the CD you want, push to change the disc number. 3. TRACK UP/DOWN
o The desired track on the disc cur-
rently being played can be selected using the track number.
o Press once to skip forward to
the beginning of the next track.Press once to skip back to the beginning of the track.
4. FF/REW ( / ) If you want to fast forward or reverse through the compact disc track, pushand hold in the FF ( ) or REW ( ) button. When you release the button, the com-pact disc player will resume playing. 5. REPEAT
o To repeat the track you are currently listening to, press the RPT button. To cancel , press again.
o If you do not release RPT operation when the track ends, it will automati-cally be replayed. This process will be continued untilyou push the button again.
6. SCAN Button
o Press the SCAN button to playback the first 10 seconds of each track.
o Press the SCAN button again within 10 sec. When you have reached the desired track.
NOTE:
o When replacing the fuse, replace it with a fuse having the correct capacity.
o This equipment is designed to be
used only in a 12 volt DC batterysystem with negative ground.
o This unit is made of precision
parts. Do not attempt to disas-semble or adjust any parts.
o When driving your vehicle, be sure
to keep the volume of the unit setlow enough to allow you to hear sounds coming from the outside.
TUNEDISC
Page 143 of 277
1
FEATURES OF YOUR HYUNDAI
129
H290F02O-GAT
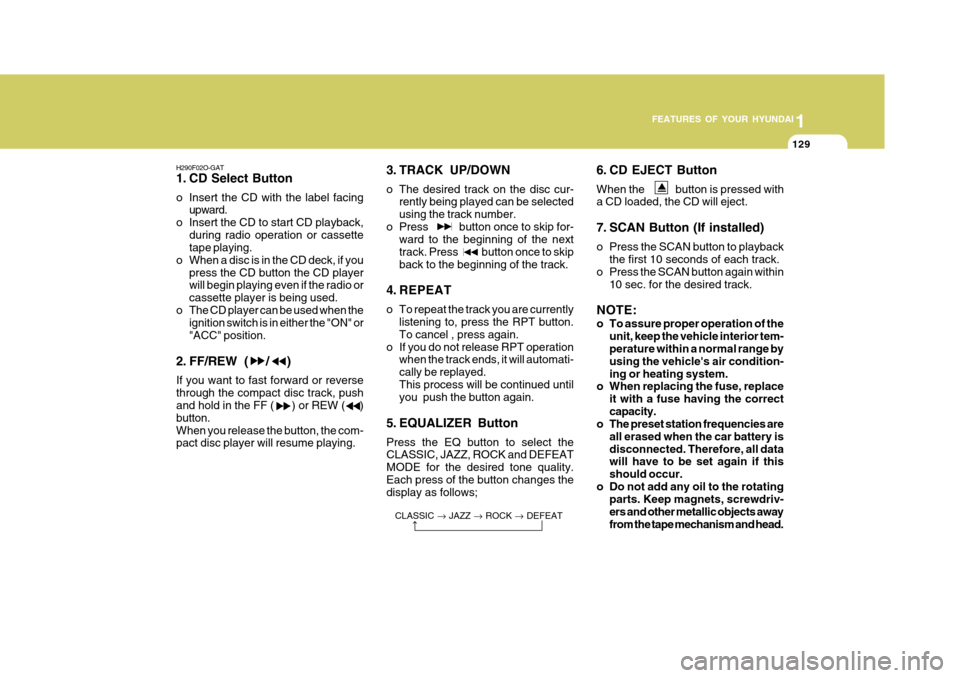
1. CD Select Button
o Insert the CD with the label facing upward.
o Insert the CD to start CD playback, during radio operation or cassette tape playing.
o When a disc is in the CD deck, if you
press the CD button the CD playerwill begin playing even if the radio or cassette player is being used.
o The CD player can be used when the ignition switch is in either the "ON" or"ACC" position.
2. FF/REW ( / ) If you want to fast forward or reverse through the compact disc track, push and hold in the FF ( ) or REW ( ) button.When you release the button, the com- pact disc player will resume playing. 3. TRACK UP/DOWN
o The desired track on the disc cur-
rently being played can be selected using the track number.
o Press button once to skip for- ward to the beginning of the nexttrack. Press button once to skipback to the beginning of the track.
4. REPEAT
o To repeat the track you are currently listening to, press the RPT button. To cancel , press again.
o If you do not release RPT operation when the track ends, it will automati- cally be replayed.This process will be continued until you push the button again.
5. EQUALIZER Button Press the EQ button to select the CLASSIC, JAZZ, ROCK and DEFEAT MODE for the desired tone quality.Each press of the button changes the display as follows; 6. CD EJECT Button When the button is pressed with a CD loaded, the CD will eject.
7. SCAN Button (If installed)
o Press the SCAN button to playback
the first 10 seconds of each track.
o Press the SCAN button again within
10 sec. for the desired track.
NOTE:
o To assure proper operation of the unit, keep the vehicle interior tem- perature within a normal range by using the vehicle's air condition-ing or heating system.
o When replacing the fuse, replace
it with a fuse having the correctcapacity.
o The preset station frequencies are
all erased when the car battery isdisconnected. Therefore, all data will have to be set again if this should occur.
o Do not add any oil to the rotating parts. Keep magnets, screwdriv-ers and other metallic objects awayfrom the tape mechanism and head.
CLASSIC
� JAZZ � ROCK � DEFEAT
Page 147 of 277
1
FEATURES OF YOUR HYUNDAI
133
NOTE:
o When replacing the fuse, replace it with a fuse having the correct capacity.
o This equipment is designed to be used only in a 12 volt DC batterysystem with negative ground.
o This unit is made of precision parts. Do not attempt to disas-semble or adjust any parts.
o When driving your vehicle, be sure to keep the volume of the unit setlow enough to allow you to hearsounds coming from the outside.
!CAUTION:
o Do not insert warped or poor qual- ity discs into the CD changer as damage to the unit may occur.
o Do not insert anything like coins
into the changer slot as damage tothe unit may occur.
o Do not place beverages close to the audio system. The playbackmechanism may be damaged if you spill them.
o Do not impact or strike the audio system, or the playback mecha-nism could be damaged.
o Driving on the off-roads or other vibrations may skip your compactdisc.Do not use the audio system on off-roads as the discs could be scratched and damaged.
o Do not grip or pull out the disc with your hand while the disc isbeing pulled into the unit by theself loading mechanism. These can cause poor disc scratching to occur or damage the compact discchanger. o Avoid using CD-Recordable or CD-
Rewritable as the changer couldnot be operated in recording way of the CD maker. When using the compact disc changer, profes-sionally recorded CDs are recom- mended.
!WARNING:
Never attempt to change CDs the already inserted in the CD changer magazine while the vehicle is mov- ing. This could result in loss of con-trol or an accident that may cause death, serious insury, or property damage.
Page 181 of 277
3 WHAT TO DO IN AN EMERGENCY
2
!
IF THE ENGINE WILL NOT START
D010A01A-AAT D010B02A-AAT
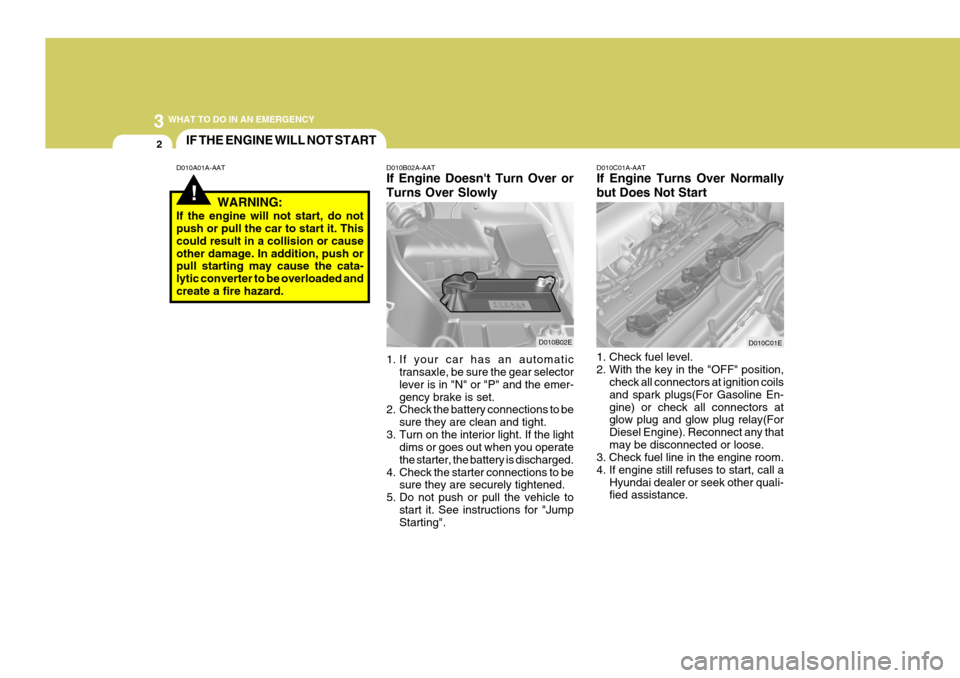
If Engine Doesn't Turn Over or Turns Over Slowly
1. If your car has an automatic transaxle, be sure the gear selector lever is in "N" or "P" and the emer-gency brake is set.
2. Check the battery connections to be
sure they are clean and tight.
3. Turn on the interior light. If the light dims or goes out when you operatethe starter, the battery is discharged.
4. Check the starter connections to be sure they are securely tightened.
5. Do not push or pull the vehicle to start it. See instructions for "Jump Starting". D010C01A-AAT If Engine Turns Over Normally but Does Not Start
D010B02E
WARNING:
If the engine will not start, do not push or pull the car to start it. This could result in a collision or causeother damage. In addition, push or pull starting may cause the cata- lytic converter to be overloaded andcreate a fire hazard.
1. Check fuel level.2. With the key in the "OFF" position,check all connectors at ignition coilsand spark plugs(For Gasoline En-gine) or check all connectors at glow plug and glow plug relay(For Diesel Engine). Reconnect any thatmay be disconnected or loose.
3. Check fuel line in the engine room.4. If engine still refuses to start, call a
Hyundai dealer or seek other quali- fied assistance. D010C01E
Page 210 of 277
Engine Compartment ................................................... 6-2
General Checks ........................................................... 6-7
Checking the Engine Oil .............................................. 6-8 Changing the Oil and Filter ......................................... 6-11
Checking and Changing the Engine Coolant ..............6-14
Spark Plugs ................................ ................................. 6-17
Changing the Air Cleaner Filte r ...................................6-19
Checking the Transaxle Oil (Manual) ......................... 6-21
Checking the Transaxle Fluid (Automatic) .................6-22
Checking the Brakes .................................................. 6-24
Checking the Clutch Fluid ........................................... 6-26
Air Conditioning Care .................................................. 6-27
Changing the Air Conditioner Filter
(For Evaporator and Blower Unit) ............................ 6-28
Checking Drive Belts ................................................. 6-30
Checking and Replacing Fuses ................................ 6-31
Checking The Battery ................................................ 6-32
Checking The Eclectric Cooling Fans ........................6-34
Power Steering Fluid Level ......................................... 6-34
Removal of Water From The Fuel F ilter..................... 6-35
Headlight Aiming Adjustment ...................................... 6-36
Replacement of Light Bulbs ........................................6-38
Bulb Wattage ............................................................... 6-45
Fuse Panel D escription ............................................... 6-46
DO-IT-YOURSELF MAINTENANCE
6
6
Page 240 of 277
6
DO-IT-YOURSELF MAINTENANCE
31CHECKING AND REPLACING FUSES
G200A01A-AAT
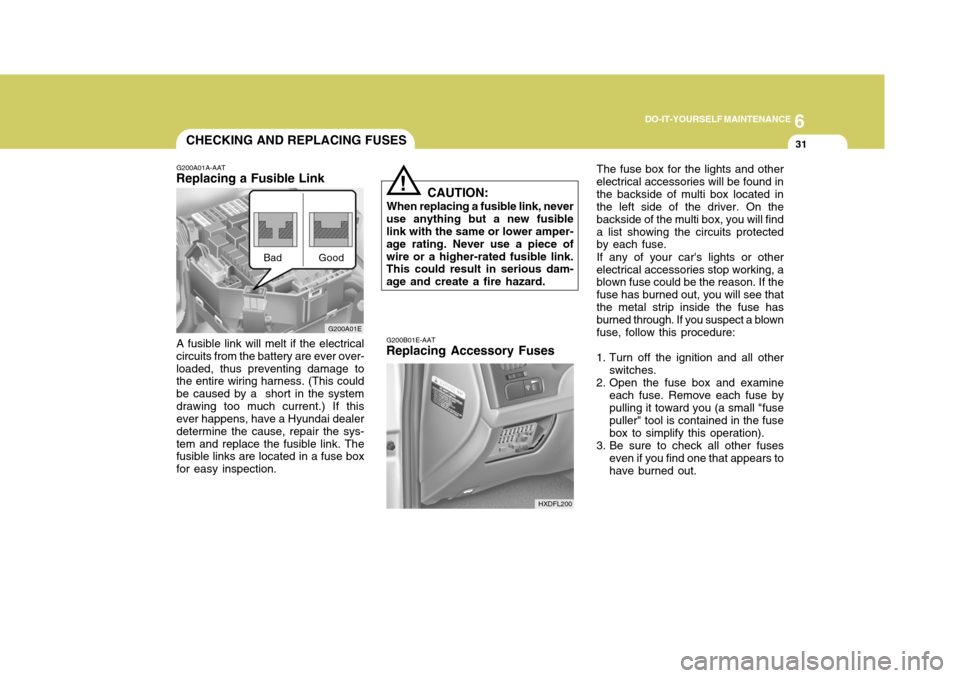
Replacing a Fusible Link
A fusible link will melt if the electrical circuits from the battery are ever over-loaded, thus preventing damage to the entire wiring harness. (This could be caused by a short in the systemdrawing too much current.) If this ever happens, have a Hyundai dealer determine the cause, repair the sys-tem and replace the fusible link. The fusible links are located in a fuse box for easy inspection. Good
Bad
G200B01E-AAT
Replacing Accessory Fuses
HXDFL200
CAUTION:
When replacing a fusible link, never
use anything but a new fusible link with the same or lower amper- age rating. Never use a piece ofwire or a higher-rated fusible link. This could result in serious dam- age and create a fire hazard.
! The fuse box for the lights and other electrical accessories will be found inthe backside of multi box located in the left side of the driver. On the backside of the multi box, you will finda list showing the circuits protected by each fuse. If any of your car's lights or other electrical accessories stop working, a blown fuse could be the reason. If the fuse has burned out, you will see thatthe metal strip inside the fuse has burned through. If you suspect a blown fuse, follow this procedure:
1. Turn off the ignition and all other switches.
2. Open the fuse box and examine each fuse. Remove each fuse by pulling it toward you (a small "fuse puller" tool is contained in the fusebox to simplify this operation).
3. Be sure to check all other fuses
even if you find one that appears tohave burned out.
G200A01E