climate settings JEEP CHEROKEE 2016 KL / 5.G User Guide
[x] Cancel search | Manufacturer: JEEP, Model Year: 2016, Model line: CHEROKEE, Model: JEEP CHEROKEE 2016 KL / 5.GPages: 236, PDF Size: 11.24 MB
Page 39 of 236

HEATED/VENTILATED SEATS
Front Heated Seats
If your vehicle is equipped with front heated seats, the control buttons are located
within the Uconnect system. You can gain access to the control buttons through the
climate screen or the controls screen.
• Press the heated seat button
once to turn the HI setting ON.
• Press the heated seat button
a second time to turn the LO setting ON.
• Press the heated seat button
a third time to turn the heating elements OFF.
If the HI-level setting is selected, the system will automatically switch to LO-level
after approximately 60 minutes of continuous operation. At that time, the display will
change from HI to LO, indicating the change. The LO-level setting will turn OFF
automatically after approximately 45 minutes.
NOTE:
The engine must be running for the heated seats to operate.
Vehicles Equipped With Remote Start
On models that are equipped with remote start, the heated seats can be programed
to come on during a remote start.
This feature can be programmed through the Uconnect system. Refer to “Uconnect
Settings” in “Understanding Your Instrument Panel” in the Owner’s Manual on the
DVD for further information.
WARNING!
• Persons who are unable to feel pain to the skin because of advanced age, chronic illness, diabetes, spinal cord injury, medication, alcohol use, exhaus-
tion or other physical condition must exercise care when using the seat heater.
It may cause burns even at low temperatures, especially if used for long periods
of time.
• Do not place anything on the seat or seatback that insulates against heat, such
as a blanket or cushion. This may cause the seat heater to overheat. Sitting in
a seat that has been overheated could cause serious burns due to the increased
surface temperature of the seat.
GETTING STARTED
37
Page 40 of 236

Front Ventilated Seats
If your vehicle is equipped with ventilated seats, the seat cushion and seat back will
have fans that draw the air from the passenger compartment and move air through
fine perforations in the seat cover to help keep the driver and front passenger cooler
in higher ambient temperatures. The fans operate at two speeds, HI and LO.
The front ventilated seats control buttons are located within the Uconnect system.
You can gain access to the control buttons through the climate screen or the controls
screen.
• Press the ventilated seat button
once to choose HI.
• Press the ventilated seat button
a second time to choose LO.
• Press the ventilated seat button
a third time to turn the ventilated seat OFF.
NOTE:
The engine must be running for the ventilated seats to operate.
Vehicles Equipped With Remote Start
On models that are equipped with remote start, the ventilated seats can be
programed to come on during a remote start.
This feature can be programmed through the Uconnect system. Refer to “Uconnect
Settings” in “Understanding Your Instrument Panel” in the Owner's Manual on the DVD.
HEATED STEERING WHEEL
If your vehicle is equipped with a heated steering wheel, it contains a heating
element that will keep your hands warm in cold weather. The heated steering wheel
has only one temperature setting. Once the heated steering wheel has been turned on
it can operate for up to 120 minutes before automatically shutting off. The heated
steering wheel can shut off early or may not turn on when the steering wheel is
already warm.
The heated steering wheel control button is located within the Uconnect system. You
can gain access to the control button through the climate screen or the controls
screen.
• Press the heated steering wheel button
once to turn the heating element ON.
• Press the heated steering wheel button
a second time to turn the heating
element OFF.
NOTE:
The engine must be running for the heated steering wheel to operate.
GETTING STARTED
38
Page 60 of 236

MAX A/C
• MAX A/C sets the control for maximum cooling performance.
• Press and release to toggle between MAX A/C and the prior settings. The button onthe touchscreen illuminates when MAX A/C is ON.
• In MAX A/C, the blower level and mode position can be adjusted to desired user settings. Pressing other settings will cause the MAX A/C operation to switch to the
prior settings and the MAX A/C indicator will turn off.
Air Recirculation
• Push the Recirculation button for maximum A/C operation.
• To turn off Recirculation for window defogging, push the Recirculation button asecond time.
• If the Recirculation button is pushed while in the AUTO mode, the indicator light shall illuminate. In cold weather, use of Recirculation mode may lead to excessive
window fogging. The recirculation feature may be unavailable (button greyed out)
if conditions exist that could create fogging on the inside of the windshield.
Heated Mirrors
The mirrors are heated to melt frost or ice. This feature is activated whenever you turn
on the rear window defroster.
Windshield Wiper De-icer — If Equipped
The windshield wiper de-icer is a heating element located at the base of the windshield.
The windshield wiper de-icer operates automatically once the following conditions
are met:
• Activation By Front Defrost
The wiper de-icer activates automatically during a cold weather manual start with full
defrost, theblower speed is greater than five, and when theambient temperature is
below 40° F (4.4° C).
• Activation By Rear Defrost
The wiper de-icer activates automatically when the Rear Defrost is operating and the
ambient temperature is below 40° F (4.4° C).
• Activation By Remote Start Operation
When the Remote Start is activated and the outside ambient temperature is less than
40° F (4.4° C) the windshield wiper de-icer is activated. Upon exiting Remote Start,
the climate control functions will resume their previous operation except, if the
de-icer is active, the de-icer timer and operation will continue.
OPERATING YOUR VEHICLE
58
Page 87 of 236

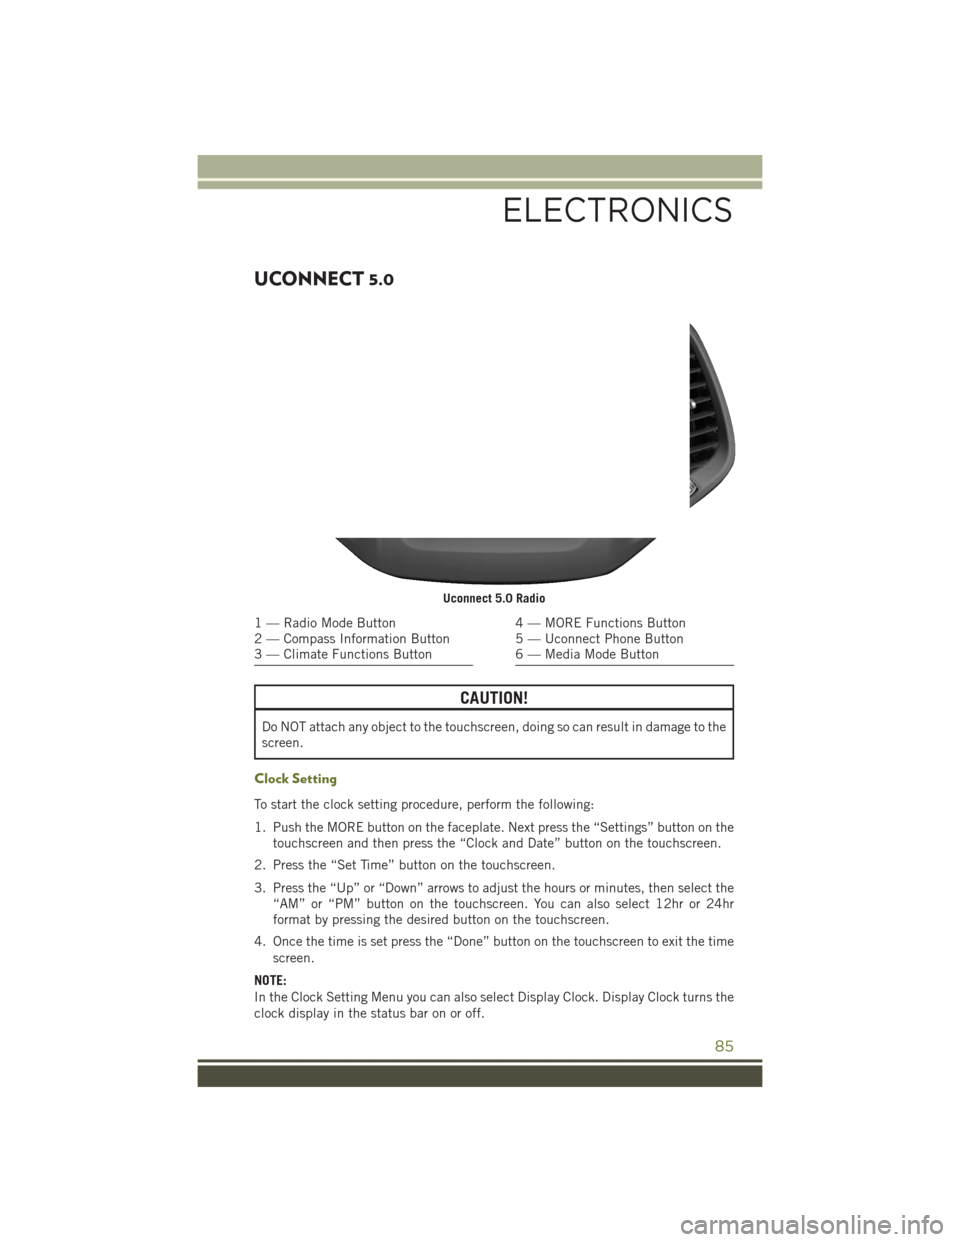
UCONNECT 5.0
CAUTION!
Do NOT attach any object to the touchscreen, doing so can result in damage to the
screen.
Clock Setting
To start the clock setting procedure, perform the following:
1. Push the MORE button on the faceplate. Next press the “Settings” button on thetouchscreen and then press the “Clock and Date” button on the touchscreen.
2. Press the “Set Time” button on the touchscreen.
3. Press the “Up” or “Down” arrows to adjust the hours or minutes, then select the “AM” or “PM” button on the touchscreen. You can also select 12hr or 24hr
format by pressing the desired button on the touchscreen.
4. Once the time is set press the “Done” button on the touchscreen to exit the time screen.
NOTE:
In the Clock Setting Menu you can also select Display Clock. Display Clock turns the
clock display in the status bar on or off.
Uconnect 5.0 Radio
1 — Radio Mode Button
2 — Compass Information Button
3 — Climate Functions Button4 — MORE Functions Button
5 — Uconnect Phone Button
6 — Media Mode Button
ELECTRONICS
85