lights JEEP CHEROKEE 2016 KL / 5.G User Guide
[x] Cancel search | Manufacturer: JEEP, Model Year: 2016, Model line: CHEROKEE, Model: JEEP CHEROKEE 2016 KL / 5.GPages: 236, PDF Size: 11.24 MB
Page 3 of 236
INTRODUCTION/WELCOME
WELCOME FROM FCA US LLC...... 3
CONTROLS AT A GLANCE
DRIVER COCKPIT.............. 6
INSTRUMENT CLUSTER .......... 8
GETTING STARTED
KEYFOB ................... 10
REMOTE START............... 12
VEHICLE SECURITY ALARM ....... 12
KEYLESS ENTER-N-GO .......... 13
SEAT BELT SYSTEMS ........... 16
SUPPLEMENTAL RESTRAINT
SYSTEM (SRS) — AIR BAGS ....... 17
CHILD RESTRAINTS ............ 25
HEAD RESTRAINTS ............. 30
FRONT SEATS ................ 32
REAR SEATS ................ 35
HEATED/VENTILATED SEATS ....... 37
HEATED STEERING WHEEL ........ 38
TILT/TELESCOPING STEERING
COLUMN ................... 39
OPERATING YOUR VEHICLE
ENGINE BREAK-IN
RECOMMENDATIONS ........... 40
TURN SIGNAL/HIGH BEAM LEVER . . . 40
HEADLIGHT SWITCH ............ 41
WIPER/WASHER LEVER .......... 42
ELECTRONIC SPEED CONTROL ..... 43
ADAPTIVE CRUISE CONTROL (ACC) . . . 45
FORWARD COLLISION WARNING
(FCW) WITH MITIGATION ......... 49
MANUAL CLIMATE CONTROLS
WITHOUT TOUCHSCREEN ........ 51
MANUAL CLIMATE CONTROLS
WITH TOUCHSCREEN ........... 52
AUTOMATIC TEMPERATURE
CONTROLS (ATC) .............. 55
STOP/START SYSTEM — IF EQUIPPED . . 59ELECTRIC PARK BRAKE (EPB) ...... 60
PARKSENSE ................. 62
LANESENSE ................. 64
PARKVIEW REAR BACK UP CAMERA... 64
POWER SUNROOF ............. 66
WIND BUFFETING ............. 69
ELECTRONICS
YOUR VEHICLE'S SOUND SYSTEM . . . 70
IDENTIFYING YOUR RADIO ........ 72
UCONNECT ACCESS ............ 73
UCONNECT 5.0 ............... 85
UCONNECT 8.4A/8.4AN .......... 97
UCONNECT 8.4A/8.4AN VOICE
RECOGNITION QUICK TIPS ....... 112
UCONNECT PHONE ........... 131
STEERING WHEEL AUDIO
CONTROLS ................. 142
ELECTRONIC VEHICLE INFORMATION
CENTER (EVIC) AND DRIVER
INFORMATION DISPLAY (DID) ..... 142
PROGRAMMABLE FEATURES ...... 143
UNIVERSAL GARAGE DOOR OPENER
(HomeLink) ................. 144
POWER INVERTER ............ 147
POWER OUTLET ............. 148
WIRELESS CHARGING PAD ....... 150
OFF-ROAD CAPABILITIES
FOUR-WHEEL DRIVE OPERATION . . . 153
SELEC-TERRAIN............. 156
UTILITY
CARGO AREA FEATURES ........ 157
TRAILER TOWING ............ 158
RECREATIONAL TOWING
(BEHIND MOTORHOME, ETC.) ..... 158
WHAT TO DO IN EMERGENCIES
ROADSIDE ASSISTANCE......... 163
INSTRUMENT CLUSTER WARNING
LIGHTS ................... 163
INSTRUMENT CLUSTER INDICATOR
LIGHTS ................... 170
IF YOUR ENGINE OVERHEATS ..... 173
TIRESERVICEKIT ............ 174
JACKING AND TIRE CHANGING .... 180
JUMP-STARTING PROCEDURES .... 186
FREEING A STUCK VEHICLE ...... 189
RECOVERY STRAP — IF EQUIPPED . . . 190SHIFT LEVER OVERRIDE........ 190
TOWING A DISABLED VEHICLE .... 191
ENHANCED ACCIDENT RESPONSE
SYSTEM (EARS) .............. 192
EVENT DATA RECORDER (EDR) .... 192
TABLE OF CONTENTS
Page 10 of 236
INSTRUMENT CLUSTER
1. Tachometer
2. Electronic Vehicle Information Center (EVIC) Or Driver Information Display (DID)
3. Speedometer
(See page 163 for Instrument Cluster Warning Lights information.)
CONTROLS AT A GLANCE
8
Page 11 of 236
4. Fuel Gauge
5. Fuel Filler Door Location
6. Temperature Gauge
(See page 170 for Instrument Cluster Indicator Lights information.)
CONTROLS AT A GLANCE
9
Page 15 of 236
NOTE:
• The Vehicle Security Alarm will not arm if you lock the doors with the manual doorlock plungers.
• Once armed, the Vehicle Security Alarm disables the unlock switch on the driver door trim panel and passenger door trim panel.
To Disarm The System:
Push the Key Fob UNLOCK button or cycle the ignition to the ON/RUN position.
The Vehicle Security Alarm is designed to protect your vehicle. However, you can create
conditions where the Vehicle Security Alarm will give you a false alarm. If one of the
previously described arming sequences has occurred, the Vehicle Security Alarm will
arm regardless of whether you are in the vehicle or not. If you remain in the vehicle and
open a door, the alarm will sound. If this occurs, disarm the Vehicle Security Alarm.
If the Vehicle Security Alarm is armed and the battery becomes disconnected, the Vehicle
Security Alarm will remain armed when the battery is reconnected. The exterior lights will
flash, and the horn will sound. If this occurs, disarm the Vehicle Security Alarm.
KEYLESS ENTER-N-GO
The Keyless Enter-N-Go system is an enhancement to the vehicle’s Remote Keyless
Entry (RKE) feature. This feature allows you to lock and unlock the vehicle's door(s)
and liftgate without having to push the Key Fob LOCK or UNLOCK buttons, as well as
starting and stopping the vehicle with the push of a button.
To Unlock From The Driver Or Passenger Side:
• With a valid Keyless Enter-N-Go Key Fob located outside the vehicle and within 5ft (1.5 m) of the driver or passenger side door handle, grab either front door handle
to unlock the door automatically.
Grab The Door Handle To Unlock
GETTING STARTED
13
Page 25 of 236
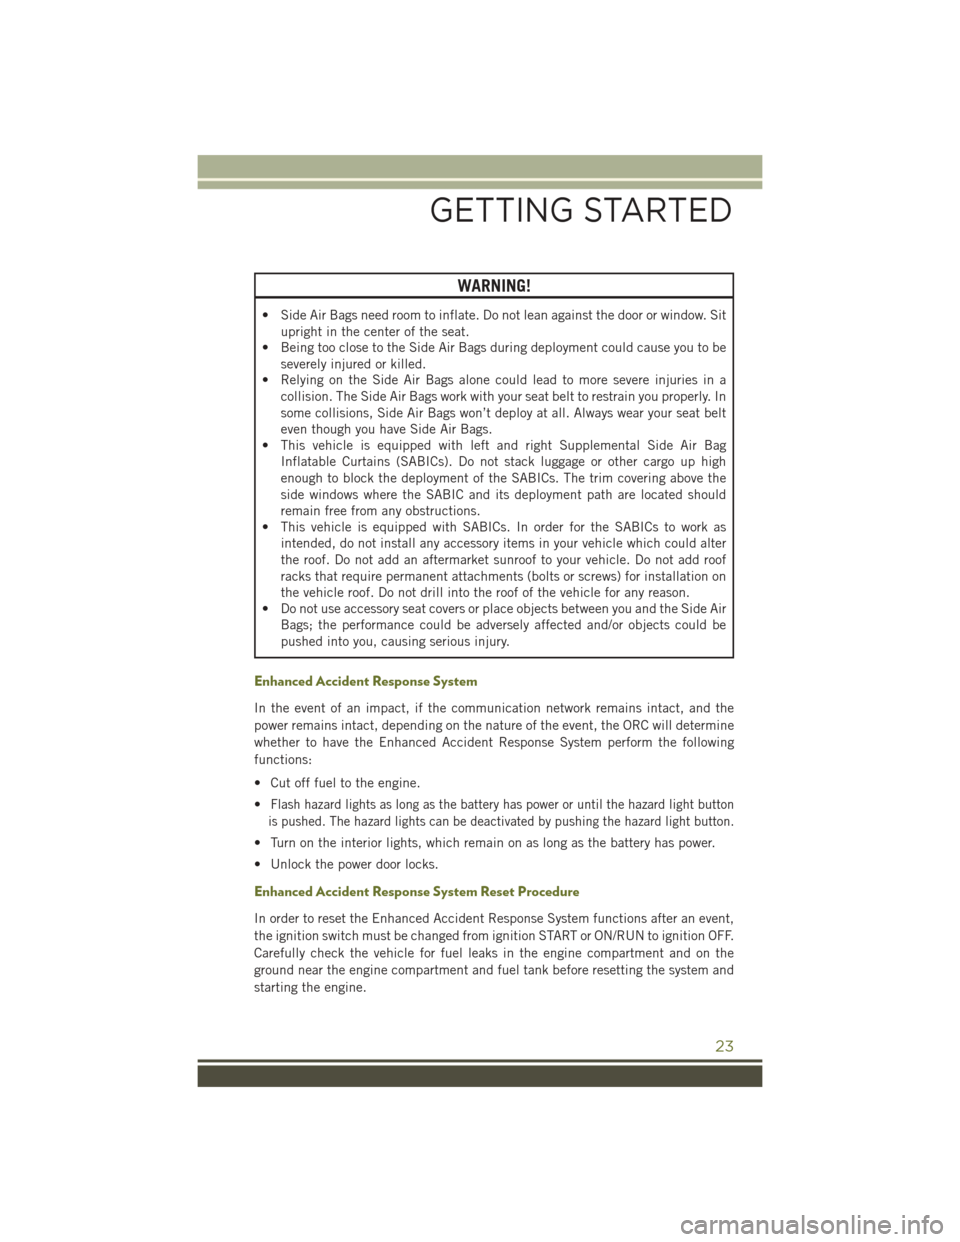
WARNING!
• Side Air Bags need room to inflate. Do not lean against the door or window. Situpright in the center of the seat.
• Being too close to the Side Air Bags during deployment could cause you to be
severely injured or killed.
• Relying on the Side Air Bags alone could lead to more severe injuries in a
collision. The Side Air Bags work with your seat belt to restrain you properly. In
some collisions, Side Air Bags won’t deploy at all. Always wear your seat belt
even though you have Side Air Bags.
• This vehicle is equipped with left and right Supplemental Side Air Bag
Inflatable Curtains (SABICs). Do not stack luggage or other cargo up high
enough to block the deployment of the SABICs. The trim covering above the
side windows where the SABIC and its deployment path are located should
remain free from any obstructions.
• This vehicle is equipped with SABICs. In order for the SABICs to work as
intended, do not install any accessory items in your vehicle which could alter
the roof. Do not add an aftermarket sunroof to your vehicle. Do not add roof
racks that require permanent attachments (bolts or screws) for installation on
the vehicle roof. Do not drill into the roof of the vehicle for any reason.
• Do not use accessory seat covers or place objects between you and the Side Air
Bags; the performance could be adversely affected and/or objects could be
pushed into you, causing serious injury.
Enhanced Accident Response System
In the event of an impact, if the communication network remains intact, and the
power remains intact, depending on the nature of the event, the ORC will determine
whether to have the Enhanced Accident Response System perform the following
functions:
• Cut off fuel to the engine.
•
Flash hazard lights as long as the battery has power or until the hazard light button
is pushed. The hazard lights can be deactivated by pushing the hazard light button.
• Turn on the interior lights, which remain on as long as the battery has power.
• Unlock the power door locks.
Enhanced Accident Response System Reset Procedure
In order to reset the Enhanced Accident Response System functions after an event,
the ignition switch must be changed from ignition START or ON/RUN to ignition OFF.
Carefully check the vehicle for fuel leaks in the engine compartment and on the
ground near the engine compartment and fuel tank before resetting the system and
starting the engine.
GETTING STARTED
23
Page 43 of 236
HEADLIGHT SWITCH
Automatic Headlights/Parking
Lights/Headlights
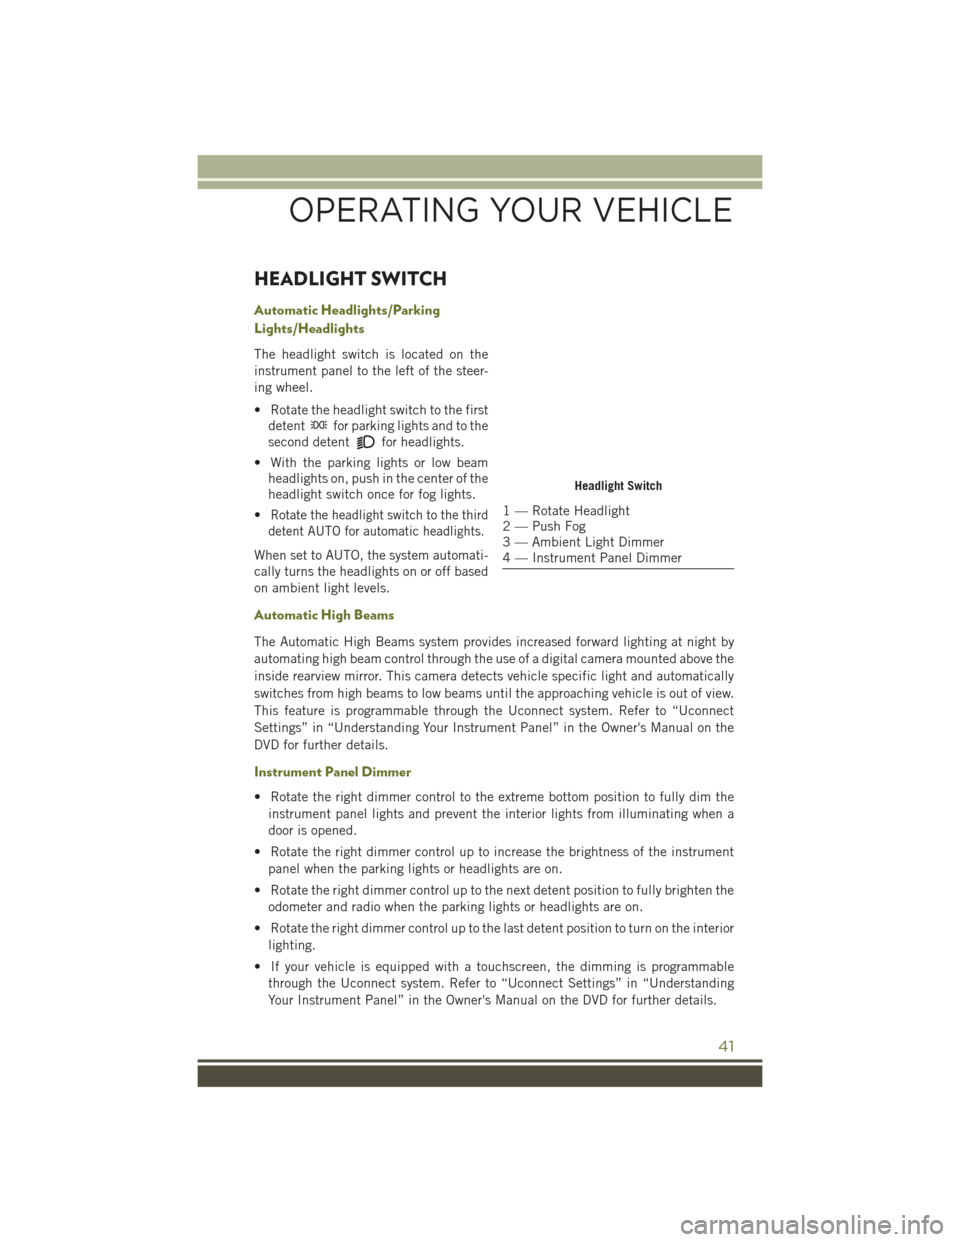
The headlight switch is located on the
instrument panel to the left of the steer-
ing wheel.
• Rotate the headlight switch to the firstdetent
for parking lights and to the
second detent
for headlights.
• With the parking lights or low beam headlights on, push in the center of the
headlight switch once for fog lights.
•
Rotate the headlight switch to the third
detent AUTO for automatic headlights.
When set to AUTO, the system automati-
cally turns the headlights on or off based
on ambient light levels.
Automatic High Beams
The Automatic High Beams system provides increased forward lighting at night by
automating high beam control through the use of a digital camera mounted above the
inside rearview mirror. This camera detects vehicle specific light and automatically
switches from high beams to low beams until the approaching vehicle is out of view.
This feature is programmable through the Uconnect system. Refer to “Uconnect
Settings” in “Understanding Your Instrument Panel” in the Owner's Manual on the
DVD for further details.
Instrument Panel Dimmer
• Rotate the right dimmer control to the extreme bottom position to fully dim the
instrument panel lights and prevent the interior lights from illuminating when a
door is opened.
• Rotate the right dimmer control up to increase the brightness of the instrument panel when the parking lights or headlights are on.
• Rotate the right dimmer control up to the next detent position to fully brighten the odometer and radio when the parking lights or headlights are on.
• Rotate the right dimmer control up to the last detent position to turn on the interior lighting.
• If your vehicle is equipped with a touchscreen, the dimming is programmable through the Uconnect system. Refer to “Uconnect Settings” in “Understanding
Your Instrument Panel” in the Owner's Manual on the DVD for further details.
Headlight Switch
1 — Rotate Headlight
2 — Push Fog
3 — Ambient Light Dimmer
4 — Instrument Panel Dimmer
OPERATING YOUR VEHICLE
41
Page 44 of 236
Ambient Light Dimmer
• Rotate the left dimmer control upward or downward to increase or decrease thebrightness of the ambient light located in the overhead console, door handle lights,
under I/P lights, door map pocket lights, and cubby bin lights.
• Rotate the left dimmer control to the extreme bottom position to turn off the ambient lights.
WIPER/WASHER LEVER
Front Wipers
Intermittent, Low And High Operation
• Rotate the end of the lever to one ofthe first four detent positions for inter-
mittent settings, the fifth detent for
low wiper operation and the sixth de-
tent for high wiper operation.
Washer Operation
• Pull the lever rearward toward you and hold for as long as spray is desired.
Mist
• Push the lever upward to the Mist position and release for a single wiping
cycle.
NOTE:
The mist feature does not activate the
washer pump; therefore, no washer fluid
will be sprayed on the windshield. The
wash function must be activated in order to spray the windshield with washer fluid.
Rain Sensing Wipers
This feature senses moisture on the vehicle's windshield and automatically activates
the wipers for the driver when the switch is in the intermittent position.
Rear Wiper
Rear Wiper Operation
• Rotate the center portion of the lever upward to the first detent for intermittent operation and to the second detent for continuous rear wiper operation.
Rear Washer Operation
• Push the lever forward and hold while spray is desired.
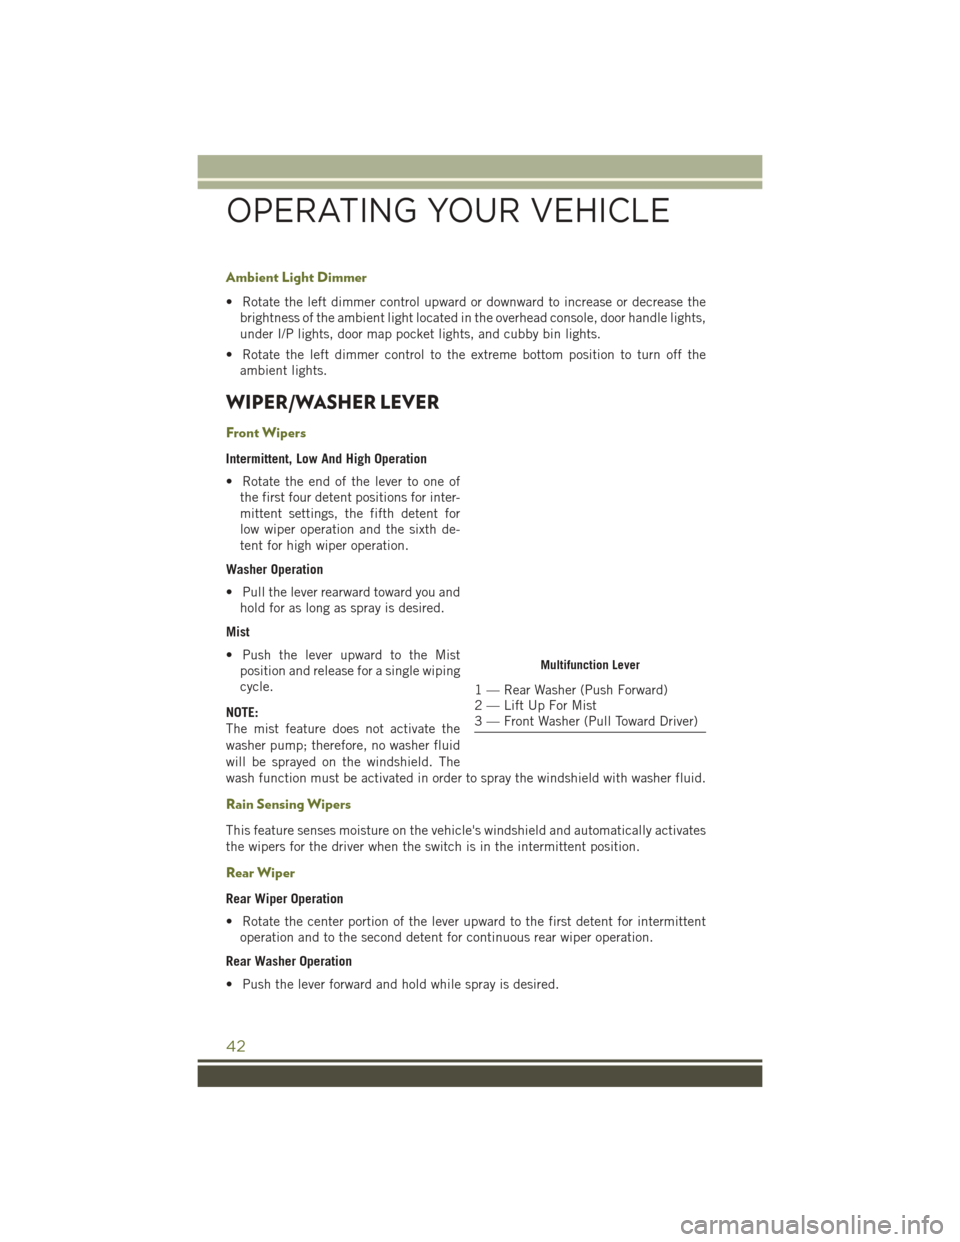
Multifunction Lever
1 — Rear Washer (Push Forward)
2 — Lift Up For Mist
3 — Front Washer (Pull Toward Driver)
OPERATING YOUR VEHICLE
42
Page 84 of 236
Uconnect Access Remote Features
If you own a compatible iPhone or Android powered device, the Uconnect Access App
allows you to remotely lock or unlock your doors, start your engine or activate your
horn and lights from virtually anywhere. Your vehicle must be equipped with remote
start and your vehicle must have an operable 1X (voice/data) or 3G (data) network
connection). Services can only be used where coverage is available; see coverage
map for details. You can download the App from Mopar Owner Connect or from the
App Store (iPhone) or Google Play store. Visit UconnectPhone.com to determine if
your device is compatible. For Uconnect Phone customer support and to determine
if your device is compatible.
U.S. residents - visit UconnectPhone.com or call 1-877-855-8400.
Remote Start (If Equipped)— This feature provides the ability to start the engine on
your vehicle, without the keys and from virtually any distance. You can send a request
to your vehicle in one of two ways:
1. Using the Uconnect Access App from a compatible device.
2. From the Mopar Owner Connect website.
• After 15 minutes if you have not entered your vehicle with the key, the enginewill shut off automatically.
•
You can also send a command to turn-off an engine that has been remote started.
• This remote function requires your vehicle to be equipped with a factory- installed Remote Start system. To utilize this feature after the Uconnect Access
App is downloaded, login with your user name and password.
NOTE:
Your four digit Uconnect Security PIN is required to confirm the request. • You can set-up notifications for your account to receive an email or text(SMS) message every time a command is sent. Login to Mopar Owner Connect
moparownerconnect.com and click on Edit Profile to manage Uconnect
Notifications.
Remote Door Lock/Unlock — This feature provides the ability to lock or unlock the door
on your vehicle, without the keys and from virtually any distance. You can send a
request to your vehicle in one of three ways:
1. Using the Uconnect Access App from a compatible device.
2. From the Mopar Owner Connect website.
3. By contacting the Uconnect Care on the phone.
ELECTRONICS
82
Page 85 of 236
To use this feature after the Uconnect Access App is downloaded, login using your user
name and password. You will need your four digit Uconnect Security PIN to confirm the
request. Press the “closed lock” icon on your Uconnect Access App to lock the doors,
and press the “open Lock” icon to unlock the driver’s door.
You can set-up notifications for your account to receive an email or text (SMS) message
every time a command is sent. Login to Mopar Owner Connect
moparownerconnect.com
and click on Edit Profile to manage Uconnect Notifications.
Remote Horn And Lights — It’s easy to locate a vehicle in a dark, crowded or noisy
parking area by activating the horn and lights. It may also help if you need to draw
attention to your vehicle for any reason. You can send a request to your vehicle in one
of three ways:
1. Using the Uconnect Access App from a compatible device.
2. From the Mopar Owner Connect website.
3. By contacting the Uconnect Care on the phone.
To use this feature after the Uconnect Access App is downloaded, login using your
user name and password. You will need your four digit Uconnect Security PIN to
confirm the request. You can set-up notifications for your account to receive an email
or text (SMS) message every time a command is sent. Login to Mopar Owner Connect
moparownerconnect.com and click on Edit Profile to manage Uconnect Notifica-
tions.
Voice Texting — Want to dictate a personal message? Register with Uconnect Access
to take advantage of a new, cloudbased Voice Texting service, an enhancement to
Voice Text Reply.
Voice Texting allows you to compose a new text or reply to an incoming text message.
Before you attempt to use the Voice Texting feature, check to ensure you have the
following:
1. A paired, Bluetooth enabled device with the Message Access Profile (MAP). Not all Bluetooth enabled devices support MAP, including all iPhones (Apple iOS).
Visit UconnectPhone.com for system and device compatibility information.
2. An active Uconnect Access trial or paid subscription.
3. Accept the “Allow MAP” profile request on your device. (Please refer to device manufacturer instructions for details).
ELECTRONICS
83
Page 126 of 236
Uconnect Access — If Equipped (8.4A/8.4AN)
WARNING!
ALWAYS obey traffic laws and pay attention to the road. Some Uconnect Access
services, including 9-1-1 and Assist, will NOT work without an operable 1X (voice/
data) or 3G (data) network connection.
NOTE:
Your vehicle may be transmitting data as authorized by the subscriber.
An included trial and/or subscription is required to take advantage of the Uconnect
Access services in the next section of this guide. To register with Uconnect Access,
press the “Apps” button on the 8.4-inch touchscreen to get started. Detailed
registration instructions can be found on the next page.
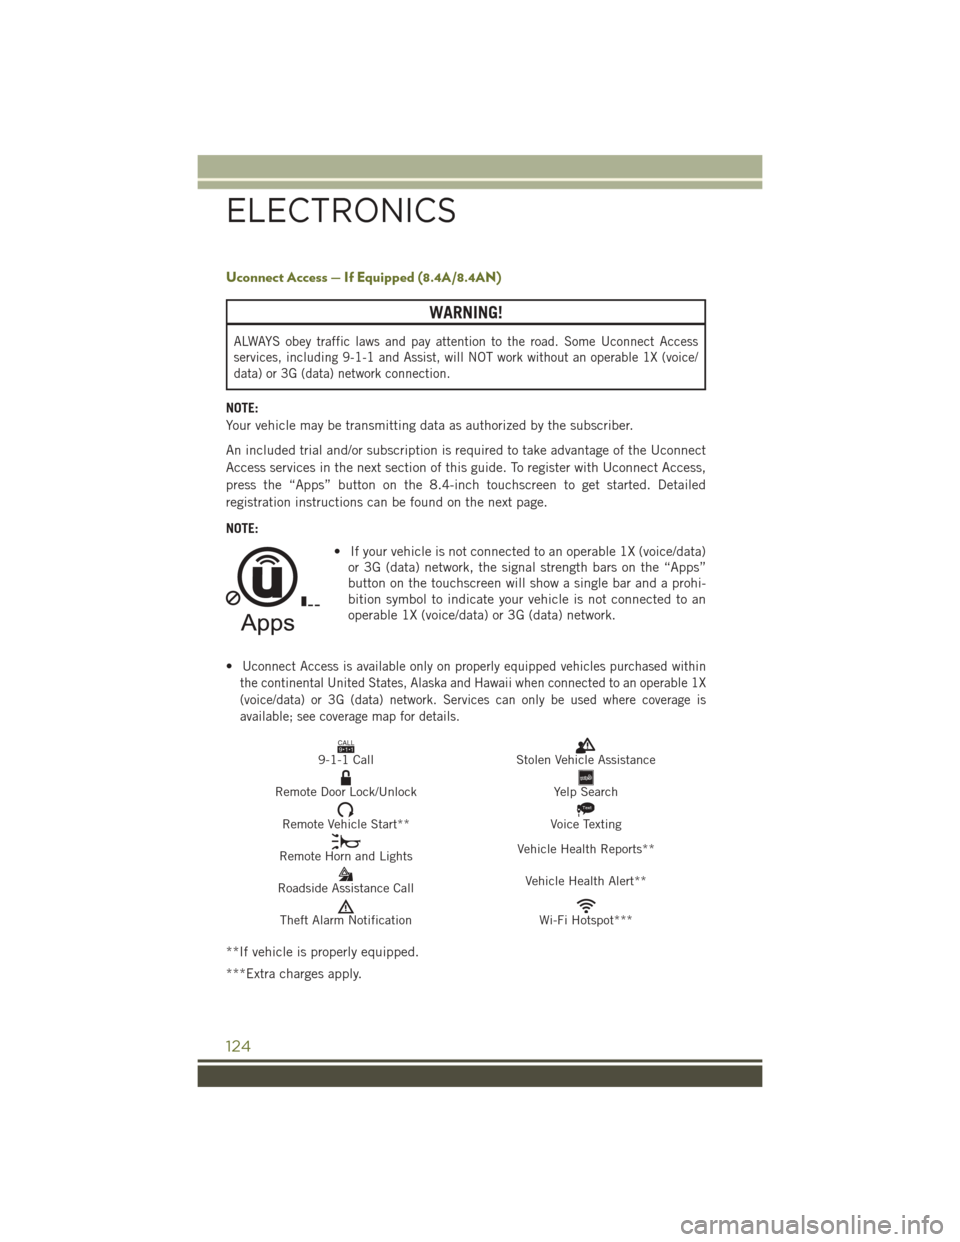
NOTE:• If your vehicle is not connected to an operable 1X (voice/data)or 3G (data) network, the signal strength bars on the “Apps”
button on the touchscreen will show a single bar and a prohi-
bition symbol to indicate your vehicle is not connected to an
operable 1X (voice/data) or 3G (data) network.
•
Uconnect Access is available only on properly equipped vehicles purchased within
the continental United States, Alaska and Hawaii when connected to an operable 1X
(voice/data) or 3G (data) network. Services can only be used where coverage is
available; see coverage map for details.
CALL9119-1-1 CallStolen Vehicle Assistance
Remote Door Lock/UnlockYelp Search
Remote Vehicle Start**
Text
Voice Texting
Remote Horn and Lights Vehicle Health Reports**
Roadside Assistance Call Vehicle Health Alert**
Theft Alarm NotificationWi-Fi Hotspot***
**If vehicle is properly equipped.
***Extra charges apply.
ELECTRONICS
124