change wheel JEEP CHEROKEE 2017 KL / 5.G Owner's Manual
[x] Cancel search | Manufacturer: JEEP, Model Year: 2017, Model line: CHEROKEE, Model: JEEP CHEROKEE 2017 KL / 5.GPages: 615, PDF Size: 5.72 MB
Page 363 of 615
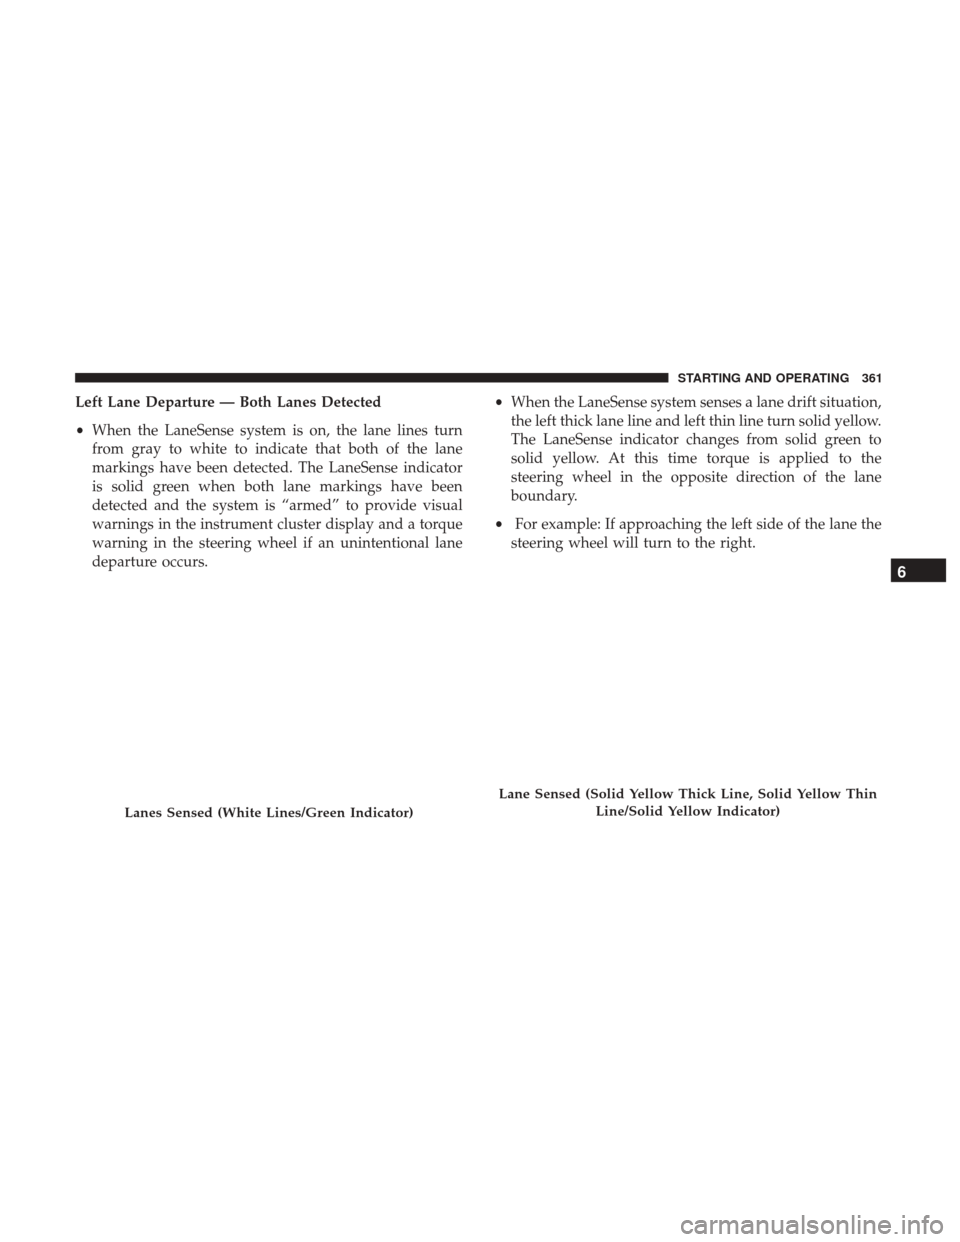
Left Lane Departure — Both Lanes Detected
•When the LaneSense system is on, the lane lines turn
from gray to white to indicate that both of the lane
markings have been detected. The LaneSense indicator
is solid green when both lane markings have been
detected and the system is “armed” to provide visual
warnings in the instrument cluster display and a torque
warning in the steering wheel if an unintentional lane
departure occurs. •
When the LaneSense system senses a lane drift situation,
the left thick lane line and left thin line turn solid yellow.
The LaneSense indicator changes from solid green to
solid yellow. At this time torque is applied to the
steering wheel in the opposite direction of the lane
boundary.
• For example: If approaching the left side of the lane the
steering wheel will turn to the right.
Lanes Sensed (White Lines/Green Indicator)
Lane Sensed (Solid Yellow Thick Line, Solid Yellow Thin
Line/Solid Yellow Indicator)
6
STARTING AND OPERATING 361
Page 364 of 615
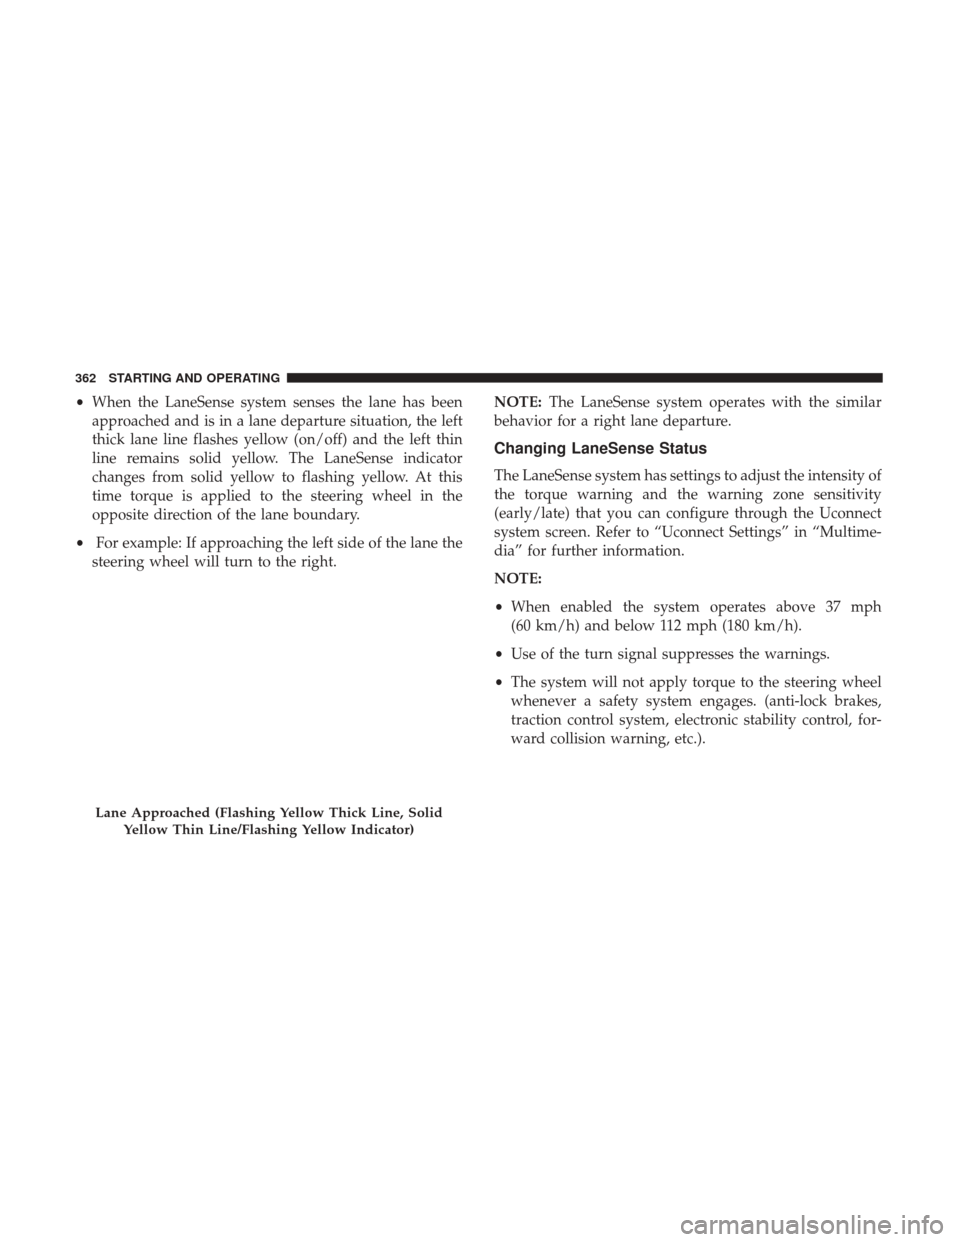
•When the LaneSense system senses the lane has been
approached and is in a lane departure situation, the left
thick lane line flashes yellow (on/off) and the left thin
line remains solid yellow. The LaneSense indicator
changes from solid yellow to flashing yellow. At this
time torque is applied to the steering wheel in the
opposite direction of the lane boundary.
• For example: If approaching the left side of the lane the
steering wheel will turn to the right. NOTE:
The LaneSense system operates with the similar
behavior for a right lane departure.
Changing LaneSense Status
The LaneSense system has settings to adjust the intensity of
the torque warning and the warning zone sensitivity
(early/late) that you can configure through the Uconnect
system screen. Refer to “Uconnect Settings” in “Multime-
dia” for further information.
NOTE:
• When enabled the system operates above 37 mph
(60 km/h) and below 112 mph (180 km/h).
• Use of the turn signal suppresses the warnings.
• The system will not apply torque to the steering wheel
whenever a safety system engages. (anti-lock brakes,
traction control system, electronic stability control, for-
ward collision warning, etc.).
Lane Approached (Flashing Yellow Thick Line, Solid
Yellow Thin Line/Flashing Yellow Indicator)
362 STARTING AND OPERATING
Page 416 of 615
JACKING AND TIRE CHANGING
WARNING!
•Do not attempt to change a tire on the side of the
vehicle close to moving traffic. Pull far enough off
the road to avoid the danger of being hit when
operating the jack or changing the wheel.
• Being under a jacked-up vehicle is dangerous. The
vehicle could slip off the jack and fall on you. You
could be crushed. Never put any part of your body
under a vehicle that is on a jack. If you need to get
under a raised vehicle, take it to a service center
where it can be raised on a lift.
• Never start or run the engine while the vehicle is on
a jack.
• The jack is designed to be used as a tool for changing
tires only. The jack should not be used to lift the
vehicle for service purposes. The vehicle should be
jacked on a firm level surface only. Avoid ice or
slippery areas.
Jack Location/Spare Tire Stowage
The jack, wheel chocks and spare tire are stowed under the
load floor behind the rear seat.
1. Open the liftgate.
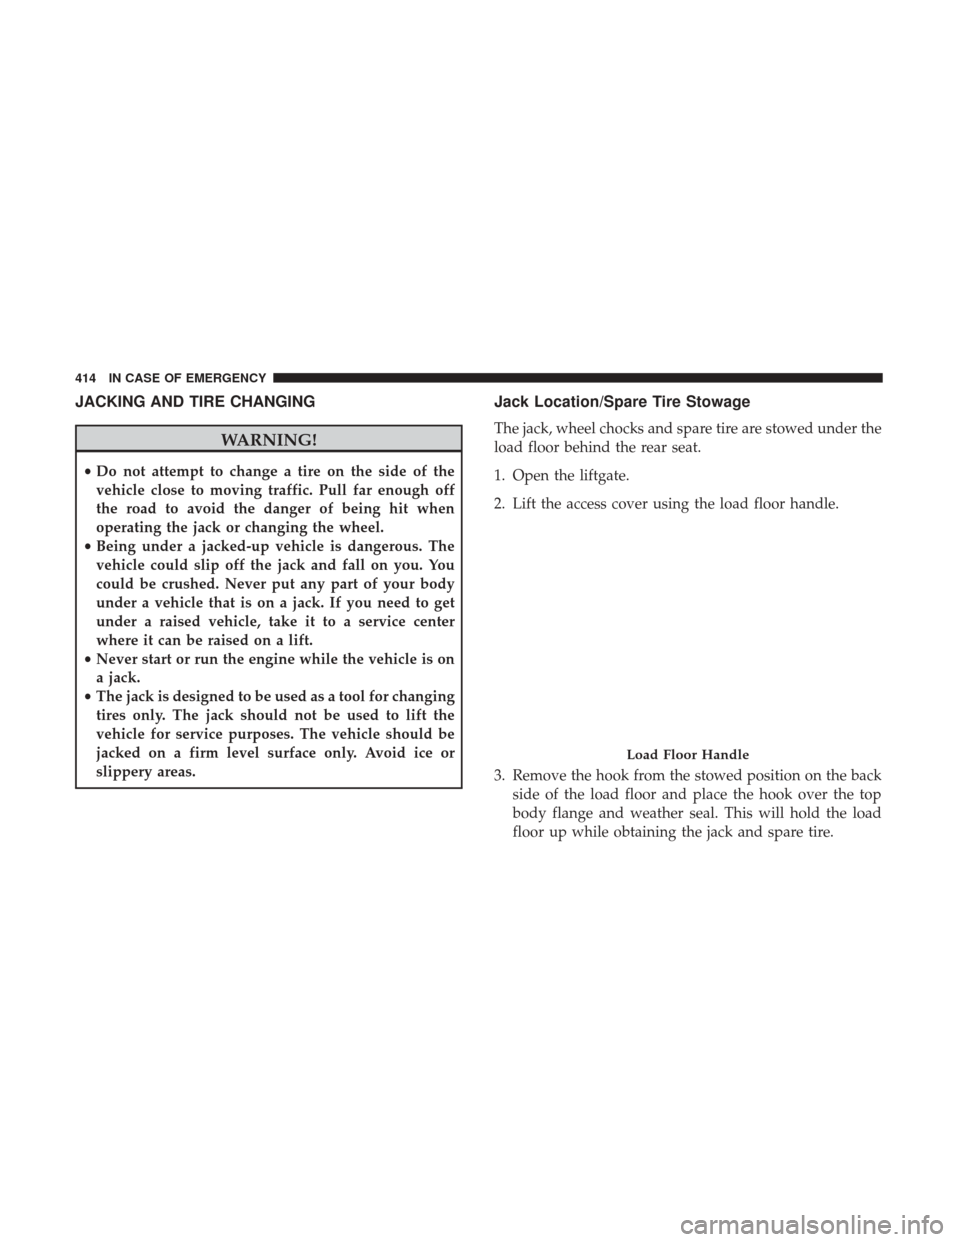
2. Lift the access cover using the load floor handle.
3. Remove the hook from the stowed position on the back side of the load floor and place the hook over the top
body flange and weather seal. This will hold the load
floor up while obtaining the jack and spare tire.
Load Floor Handle
414 IN CASE OF EMERGENCY
Page 418 of 615
WARNING!
A loose tire or jack thrown forward in a collision or
hard stop could endanger the occupants of the vehicle.
Always stow the jack parts and the spare tire in the
places provided. Have the deflated (flat) tire repaired
or replaced immediately.
Preparations For Jacking
1. Park the vehicle on a firm level surface as far from theedge of the roadway as possible. Avoid icy or slippery
areas.
WARNING!
Do not attempt to change a tire on the side of the
vehicle close to moving traffic, pull far enough off the
road to avoid being hit when operating the jack or
changing the wheel. 2. Turn on the Hazard Warning flasher.
3. Set the parking brake.
4. Place the gear selector into PARK.
5. Turn the ignition off to the LOCK position.
6. Chock both the front and rear of the wheel diagonally
opposite of the jacking position. For
example, if changing the right front
tire, chock the left rear wheel.
NOTE: Passengers should not remain in the vehicle when
the vehicle is being jacked.
416 IN CASE OF EMERGENCY
Page 419 of 615
Jacking Instructions
WARNING!
Carefully follow these tire changing warnings to help
prevent personal injury or damage to your vehicle:
•
Always park on a firm, level surface as far from the
edge of the roadway as possible before raising the
vehicle.
• Turn on the Hazard Warning flasher.
•
Chock the wheel diagonally opposite the wheel to be
raised.
•Set the parking brake firmly and set the transmission
in PARK.
•Never start or run the engine with the vehicle on a
jack.
•Do not let anyone sit in the vehicle when it is on a jack.
•Do not get under the vehicle when it is on a jack. If you
need to get under a raised vehicle, take it to a service
center where it can be raised on a lift.
•Only use the jack in the positions indicated and for
lifting this vehicle during a tire change.
•If working on or near a roadway, be extremely careful
of motor traffic.
(Continued)
WARNING! (Continued)
•To assure that spare tires, flat or inflated, are securely
stowed, spares must be stowed with the valve stem
facing the ground.
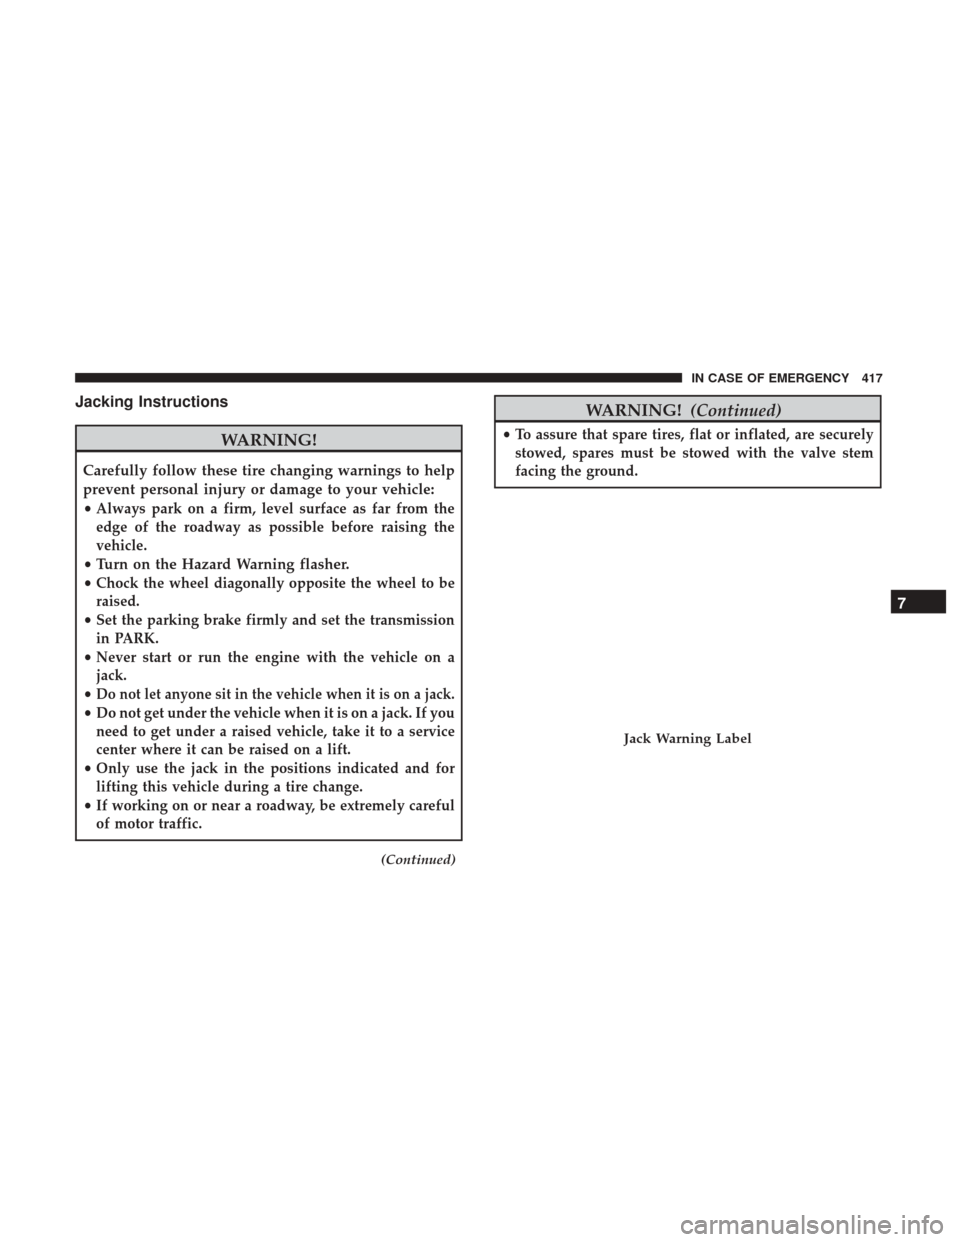
Jack Warning Label
7
IN CASE OF EMERGENCY 417
Page 428 of 615
WARNING!
•Do not attempt to seal a tire on the side of the vehicle
closest to traffic. Pull far enough off the road to avoid
the danger of being hit when using the Tire Service Kit.
• Do not use Tire Service Kit or drive the vehicle under
the following circumstances:
– If the puncture in the tire tread is approximately 1/4 inch (6 mm) or larger.
– If the tire has any sidewall damage.
– If the tire has any damage from driving with extremely low tire pressure.
– If the tire has any damage from driving on a flat tire.
– If the wheel has any damage.
– If you are unsure of the condition of the tire or the wheel.
• Keep Tire Service Kit away from open flames or heat
source.
(Continued)
WARNING! (Continued)
•A loose Tire Service Kit thrown forward in a collision
or hard stop could endanger the occupants of the
vehicle. Always stow the Tire Service Kit in the place
provided. Failure to follow these warnings can result
in injuries that are serious or fatal to you, your
passengers, and others around you.
• Take care not to allow the contents of Tire Service Kit
to come in contact with hair, eyes, or clothing. Tire
Service Kit sealant is harmful if inhaled, swallowed,
or absorbed through the skin. It causes skin, eye, and
respiratory irritation. Flush immediately with plenty
of water if there is any contact with eyes or skin.
Change clothing as soon as possible, if there is any
contact with clothing.
•
Tire Service Kit Sealant solution contains latex. In case
of an allergic reaction or rash, consult a physician
immediately. Keep Tire Service Kit out of reach of
children. If swallowed, rinse mouth immediately with
plenty of water and drink plenty of water. Do not
induce vomiting! Consult a physician immediately.
426 IN CASE OF EMERGENCY
Page 496 of 615
WARNING!
Tires and the spare tire should be replaced after six
years, regardless of the remaining tread. Failure to
follow this warning can result in sudden tire failure.
You could lose control and have a collision resulting in
serious injury or death.
Keep dismounted tires in a cool, dry place with as little
exposure to light as possible. Protect tires from contact with
oil, grease, and gasoline.
Replacement Tires
The tires on your new vehicle provide a balance of many
characteristics. They should be inspected regularly for
wear and correct cold tire inflation pressures. The manu-
facturer strongly recommends that you use tires equivalent
to the originals in size, quality and performance when
replacement is needed. Refer to the paragraph on “Tread
Wear Indicator”. Refer to the Tire and Loading Information
placard or the Vehicle Certification Label for the size
designation of your tire. The Load Index and Speed
Symbol for your tire will be found on the original equip-
ment tire sidewall. See the Tire Sizing Chart example found in the “Tire Safety Information” section of this manual for
more information relating to the Load Index and Speed
Symbol of a tire.
It is recommended to replace the two front tires or two rear
tires as a pair. Replacing just one tire can seriously affect
your vehicle’s handling. If you ever replace a wheel, make
sure that the wheel’s specifications match those of the
original wheels.
It is recommended you contact your authorized tire dealer
or original equipment dealer with any questions you may
have on tire specifications or capability. Failure to use
equivalent replacement tires may adversely affect the
safety, handling, and ride of your vehicle.
WARNING!
•
Do not use a tire, wheel size, load rating, or speed
rating other than that specified for your vehicle.
Some combinations of unapproved tires and wheels
may change suspension dimensions and perfor-
mance characteristics, resulting in changes to steer-
ing, handling, and braking of your vehicle. This can
cause unpredictable handling and stress to steering
(Continued)
494 SERVICING AND MAINTENANCE
Page 591 of 615
Do Not Disturb
With Do Not Disturb, you can disable notifications from
incoming calls and texts, allowing you to keep your eyes
on the road and hands on the wheel. For your convenience,
there is a counter display to keep track of your missed calls
and text messages while you were using Do Not Disturb.
Do Not Disturb can automatically reply with a text mes-
sage, a call or both, when declining an incoming call and
send it to voicemail.
Automatic reply messages can be:
•“I am driving right now, I will get back to you shortly.”
• Create a custom auto reply message up to 160 characters.
NOTE: Only the first 25 characters can been seen on the
touchscreen while typing a custom message.
While in Do Not Disturb, Conference Call can be selected
so you can still place a second call without being inter-
rupted by incoming calls. NOTE:
•
Reply with text message is not compatible with iPhones.
• Auto reply with text message is only available on
phones that supporting Bluetooth MAP.
General Information
This device complies with FCC rules Part 15 and Industry
Canada RSS-210. Operation is subject to the following two
conditions:
1. This device may not cause harmful interference.
2. This device must accept any interference that may be received including interference that may cause unde-
sired operation.
NOTE:
•
The transmitter has been tested and it complies with FCC
and IC rules. Changes or modifications not expressly
approved by the party responsible for compliance could
void the user ’s authority to operate the device.
• The term IC before the certification/registration number
only signifies that Industry Canada technical specifica-
tions were met.
10
MULTIMEDIA 589
Page 600 of 615
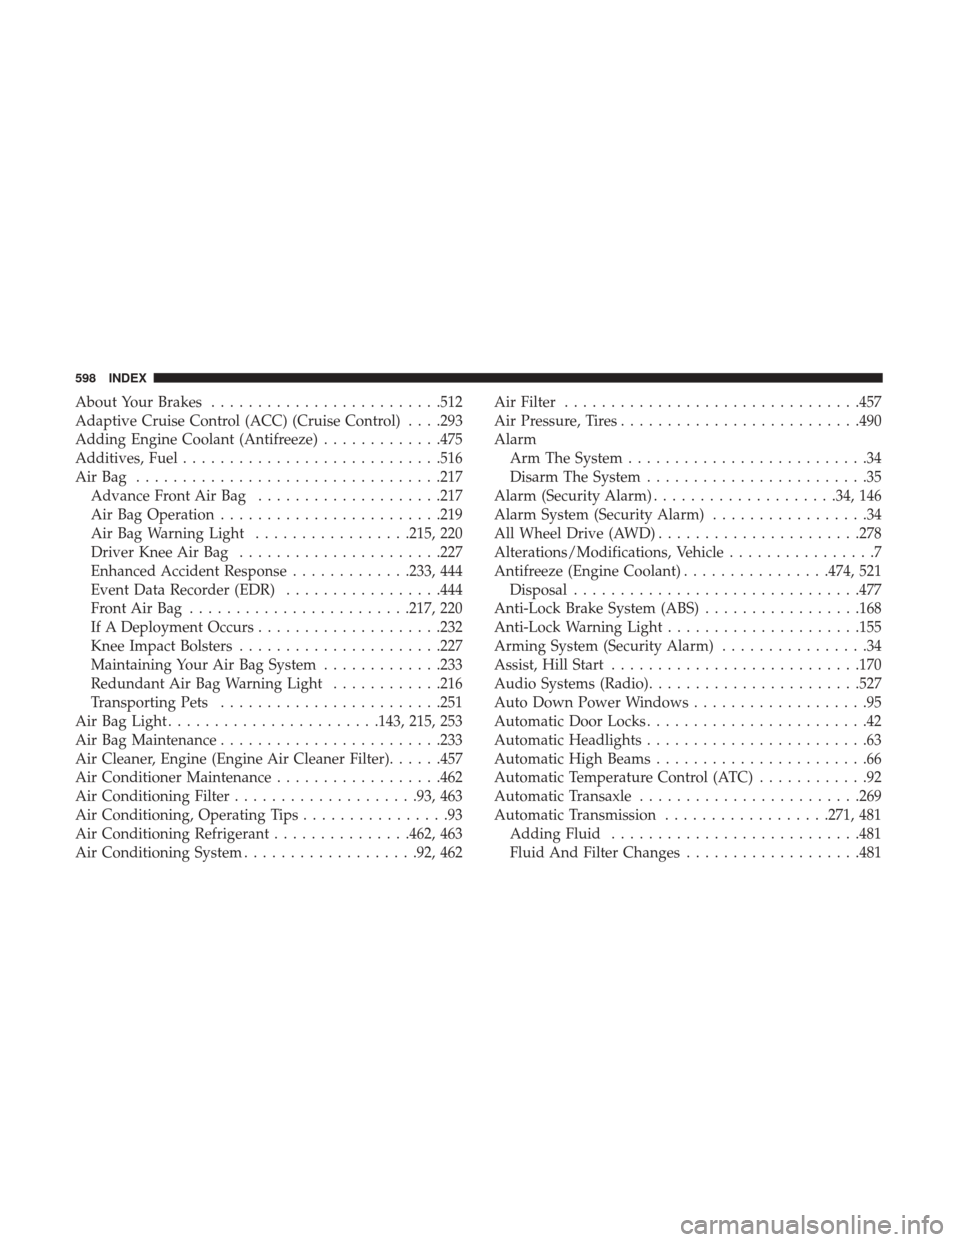
About Your Brakes........................ .512
Adaptive Cruise Control (ACC) (Cruise Control) . . . .293
Adding Engine Coolant (Antifreeze) .............475
Additives, Fuel ........................... .516
AirBag ................................ .217
Advance Front Air Bag ....................217
Air Bag Operation ....................... .219
Air Bag Warning Light .................215, 220
Driver Knee Air Bag ..................... .227
Enhanced Accident Response .............233, 444
Event Data Recorder (EDR) .................444
FrontAirBag ........................217, 220
If A Deployment Occurs ....................232
Knee Impact Bolsters ..................... .227
Maintaining Your Air Bag System .............233
Redundant Air Bag Warning Light ............216
Transporting Pets ....................... .251
Air Bag Light ...................... .143, 215, 253
Air Bag Maintenance ....................... .233
Air Cleaner, Engine (Engine Air Cleaner Filter) ......457
Air Conditioner Maintenance ..................462
Air Conditioning Filter ....................93, 463
Air Conditioning, Operating Tips ................93
Air Conditioning Refrigerant ...............462, 463
Air Conditioning System ...................92, 462 Air Filter
............................... .457
Air Pressure, Tires ......................... .490
Alarm Arm The System ..........................34
Disarm The System ........................35
Alarm (Security Alarm) ....................34, 146
Alarm System (Security Alarm) .................34
All Wheel Drive (AWD) ..................... .278
Alterations/Modifications, Vehicle ................7
Antifreeze (Engine Coolant) ................474, 521
Disposal .............................. .477
Anti-Lock Brake System (ABS) .................168
Anti-Lock Warning Light .....................155
Arming
System (Security Alarm) ................34
Assist, Hill Start .......................... .170
Audio Systems (Radio) ...................... .527
Auto Down Power Windows ...................95
Automatic Door Locks ........................42
Automatic Headlights ........................63
Automatic High Beams .......................66
Automatic Temperature Control (ATC) ............92
Automatic Transaxle ....................... .269
Automatic Transmission ..................271, 481
Adding Fluid .......................... .481
Fluid And Filter Changes ...................481
598 INDEX