light JEEP CHEROKEE 2017 KL / 5.G Owner's Manual
[x] Cancel search | Manufacturer: JEEP, Model Year: 2017, Model line: CHEROKEE, Model: JEEP CHEROKEE 2017 KL / 5.GPages: 615, PDF Size: 5.72 MB
Page 70 of 615
There are courtesy lights located above the front seats. The
courtesy lights can be turned on by pushing the lens. To
turn the lights off, push the lens a second time.
Instrument Panel Dimmer Control
The instrument panel dimmer control is part of the head-
light switch and is located on the driver ’s side of the
instrument panel.With the parking lights or headlights on, rotating the
instrument panel dimmer control upward will increase the
brightness of the instrument panel lights and lighted
cupholders — if equipped.
Front Map/Reading Light Switches
Instrument Panel Dimmer
68 GETTING TO KNOW YOUR VEHICLE
Page 71 of 615
Ambient Light Control — If Equipped
Rotate the ambient dimmer control upward or downward
to increase or decrease the brightness of the ambient light
located in the overhead console, door handle lights, under
I/P lights, door map pocket lights, and cubby bin lights.
Dome Light Position
Rotate the instrument panel dimmer control completely
upward to the second detent to turn on the interior lights.
The interior lights will remain on when the instrument
panel dimmer control is in this position.
Interior Light Defeat (Off)
Rotate the instrument panel dimmer control to the extreme
bottom off position. The interior lights will remain off
when the doors are open.
Parade Mode (Daytime Brightness Feature)
Rotate the instrument panel dimmer control upward to the
first detent. This feature brightens all text displays such as
the odometer, instrument cluster display, and radio when
the position lights or headlights are on.
Ambient Light/Door Handle Light Dimmer
3
GETTING TO KNOW YOUR VEHICLE 69
Page 80 of 615
IconDescription
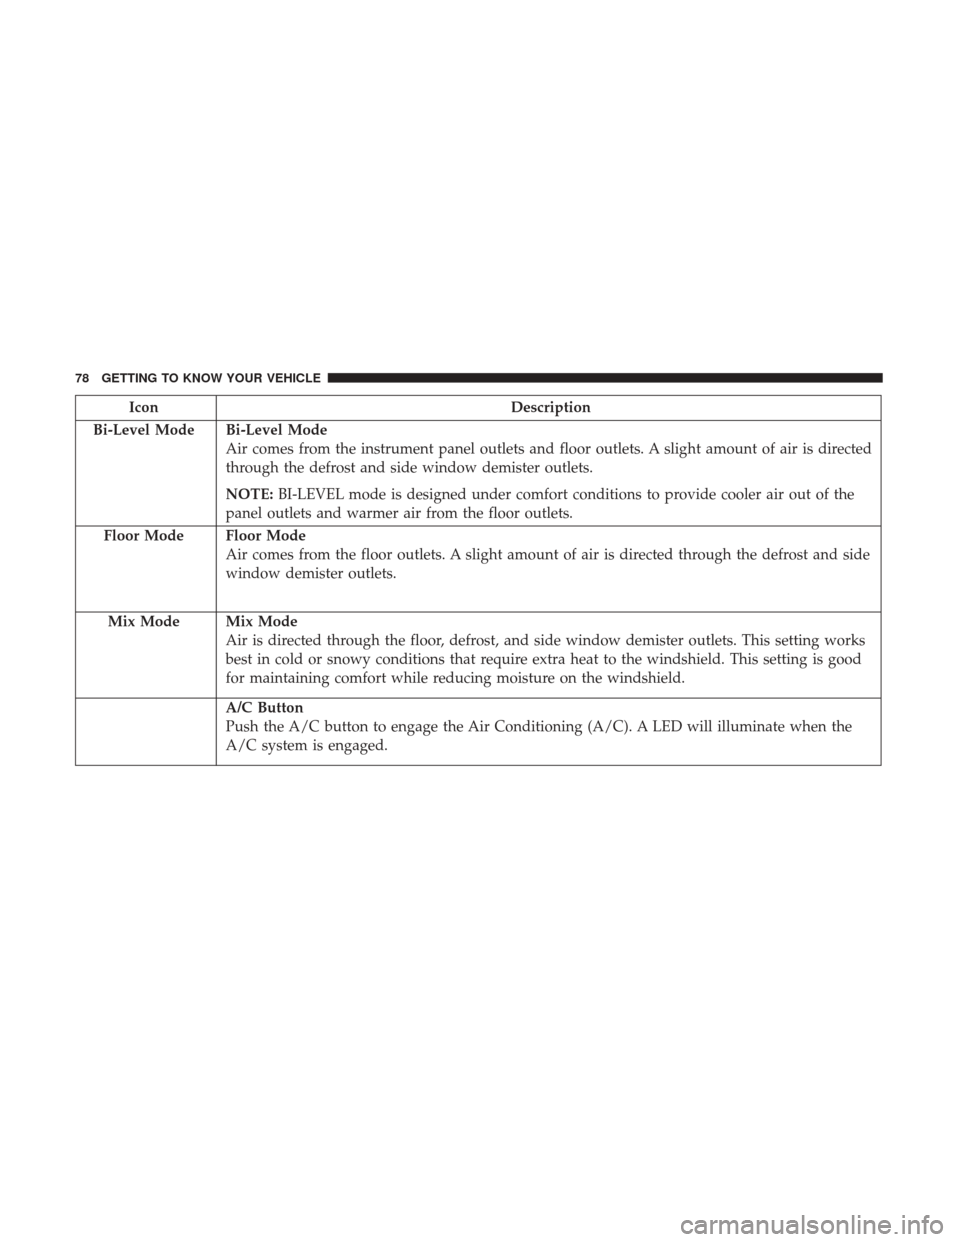
Bi-Level Mode
Bi-Level Mode
Air comes from the instrument panel outlets and floor outlets. A slight amount of air is directed
through the defrost and side window demister outlets.
NOTE: BI-LEVEL mode is designed under comfort conditions to provide cooler air out of the
panel outlets and warmer air from the floor outlets.
Floor Mode
Floor Mode
Air comes from the floor outlets. A slight amount of air is directed through the defrost and side
window demister outlets.
Mix Mode
Mix Mode
Air is directed through the floor, defrost, and side window demister outlets. This setting works
best in cold or snowy conditions that require extra heat to the windshield. This setting is good
for maintaining comfort while reducing moisture on the windshield.
A/C Button
Push the A/C button to engage the Air Conditioning (A/C). A LED will illuminate when the
A/C system is engaged.
78 GETTING TO KNOW YOUR VEHICLE
Page 91 of 615
IconDescription
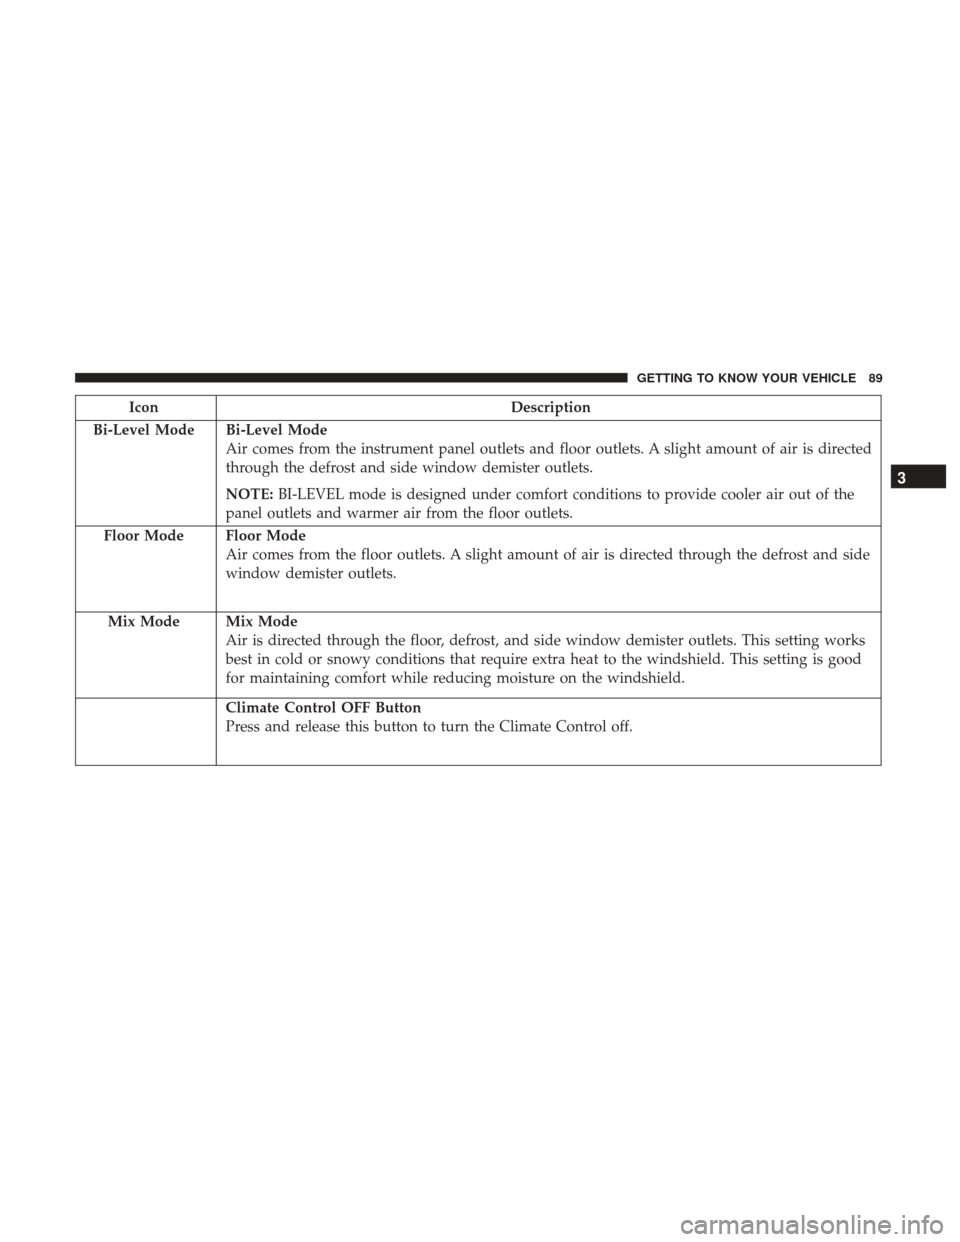
Bi-Level Mode
Bi-Level Mode
Air comes from the instrument panel outlets and floor outlets. A slight amount of air is directed
through the defrost and side window demister outlets.
NOTE: BI-LEVEL mode is designed under comfort conditions to provide cooler air out of the
panel outlets and warmer air from the floor outlets.
Floor Mode
Floor Mode
Air comes from the floor outlets. A slight amount of air is directed through the defrost and side
window demister outlets.
Mix Mode
Mix Mode
Air is directed through the floor, defrost, and side window demister outlets. This setting works
best in cold or snowy conditions that require extra heat to the windshield. This setting is good
for maintaining comfort while reducing moisture on the windshield.
Climate Control OFF Button
Press and release this button to turn the Climate Control off.
3
GETTING TO KNOW YOUR VEHICLE 89
Page 98 of 615
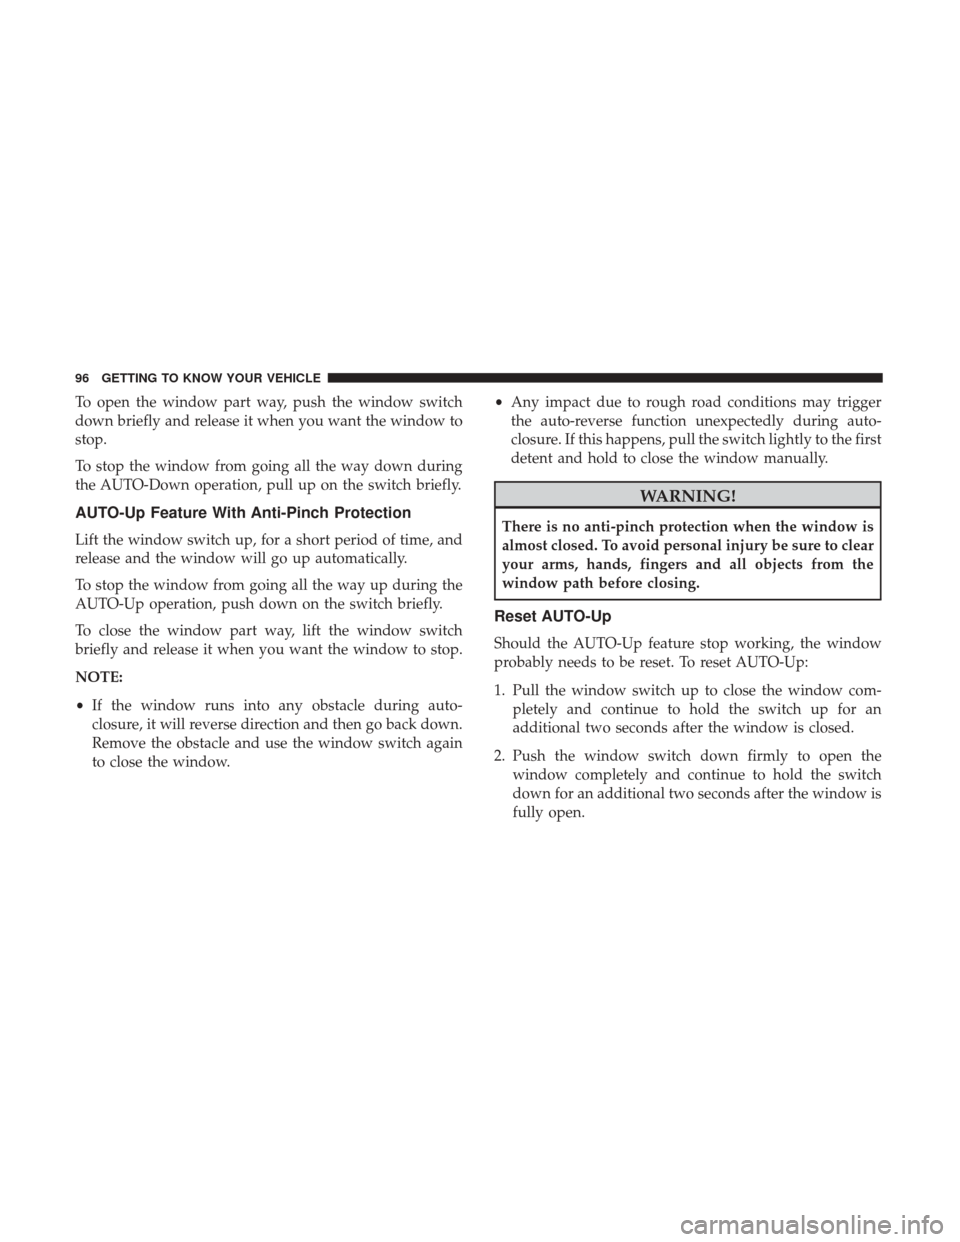
To open the window part way, push the window switch
down briefly and release it when you want the window to
stop.
To stop the window from going all the way down during
the AUTO-Down operation, pull up on the switch briefly.
AUTO-Up Feature With Anti-Pinch Protection
Lift the window switch up, for a short period of time, and
release and the window will go up automatically.
To stop the window from going all the way up during the
AUTO-Up operation, push down on the switch briefly.
To close the window part way, lift the window switch
briefly and release it when you want the window to stop.
NOTE:
•If the window runs into any obstacle during auto-
closure, it will reverse direction and then go back down.
Remove the obstacle and use the window switch again
to close the window. •
Any impact due to rough road conditions may trigger
the auto-reverse function unexpectedly during auto-
closure. If this happens, pull the switch lightly to the first
detent and hold to close the window manually.
WARNING!
There is no anti-pinch protection when the window is
almost closed. To avoid personal injury be sure to clear
your arms, hands, fingers and all objects from the
window path before closing.
Reset AUTO-Up
Should the AUTO-Up feature stop working, the window
probably needs to be reset. To reset AUTO-Up:
1. Pull the window switch up to close the window com- pletely and continue to hold the switch up for an
additional two seconds after the window is closed.
2. Push the window switch down firmly to open the window completely and continue to hold the switch
down for an additional two seconds after the window is
fully open.
96 GETTING TO KNOW YOUR VEHICLE
Page 99 of 615
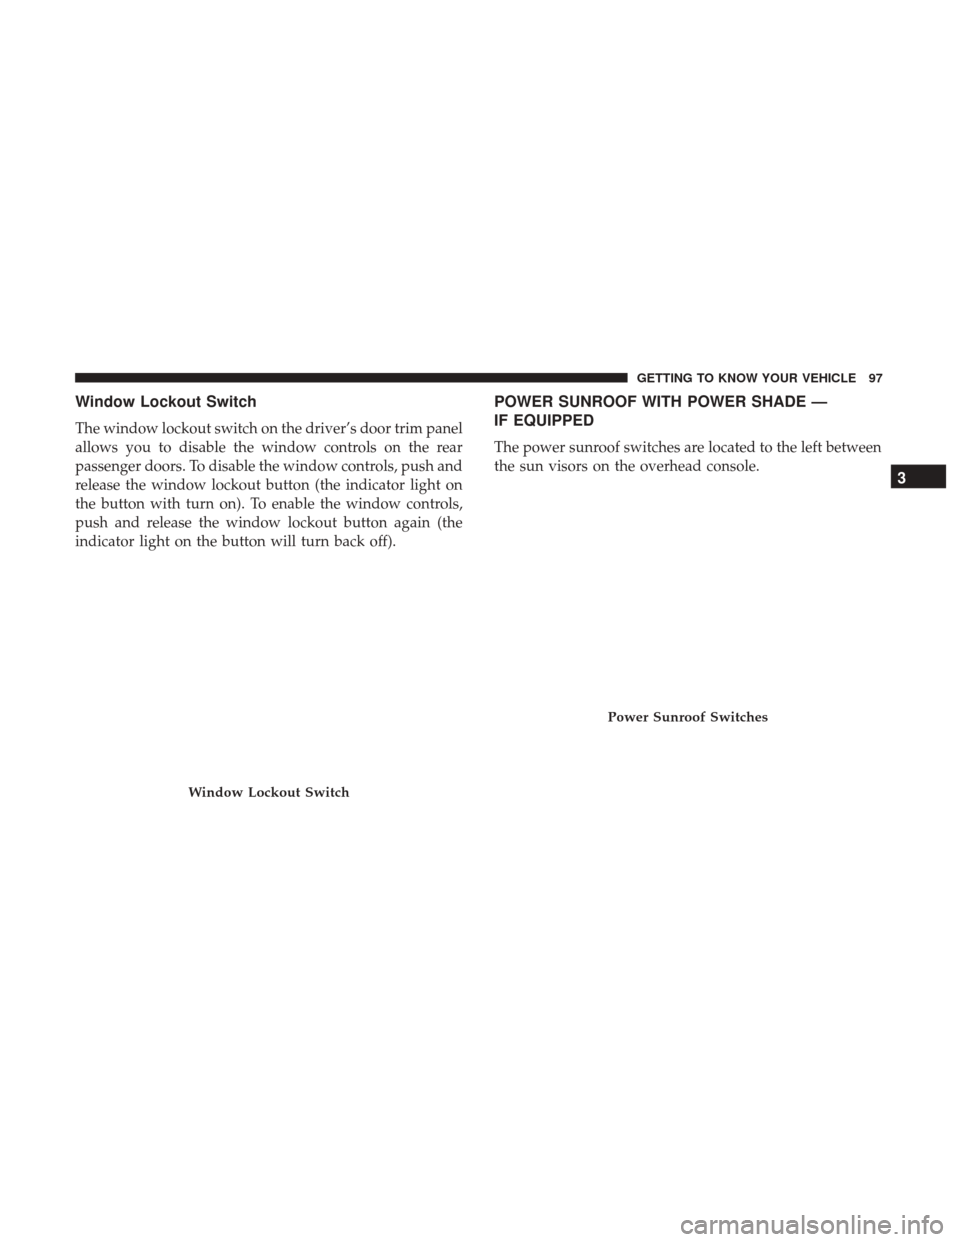
Window Lockout Switch
The window lockout switch on the driver’s door trim panel
allows you to disable the window controls on the rear
passenger doors. To disable the window controls, push and
release the window lockout button (the indicator light on
the button with turn on). To enable the window controls,
push and release the window lockout button again (the
indicator light on the button will turn back off).
POWER SUNROOF WITH POWER SHADE —
IF EQUIPPED
The power sunroof switches are located to the left between
the sun visors on the overhead console.
Window Lockout Switch
Power Sunroof Switches
3
GETTING TO KNOW YOUR VEHICLE 97
Page 104 of 615
HOOD
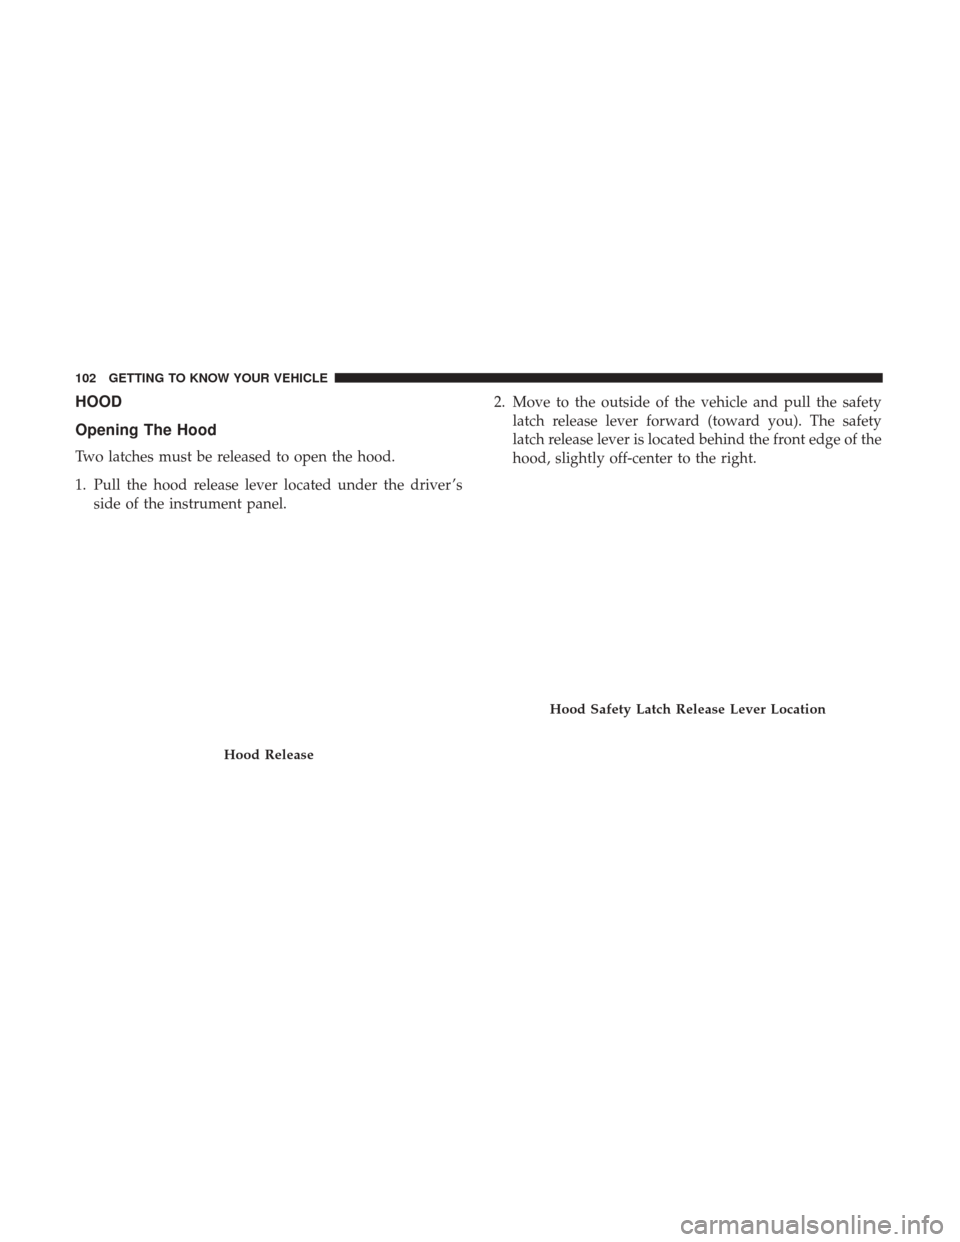
Opening The Hood
Two latches must be released to open the hood.
1. Pull the hood release lever located under the driver ’sside of the instrument panel. 2. Move to the outside of the vehicle and pull the safety
latch release lever forward (toward you). The safety
latch release lever is located behind the front edge of the
hood, slightly off-center to the right.
Hood Release
Hood Safety Latch Release Lever Location
102 GETTING TO KNOW YOUR VEHICLE
Page 108 of 615
WARNING!
During power operation, personal injury or cargo
damage may occur. Ensure the liftgate travel path is
clear. Make sure the liftgate is closed and latched
before driving away.
NOTE:
• The power liftgate buttons will not operate if the vehicle
is in gear or the vehicle speed is above 0 MPH (0 km/h).
•
The power liftgate will not operate in temperatures below
�22°F (�30°C) or temperatures above 150° F (65° C). Be
sure to remove any buildup of snow or ice from the
liftgate before pushing any of the power liftgate switches.
• If anything obstructs the power liftgate while it is
closing or opening, the liftgate will automatically re-
verse to the closed or open position, provided it meets
sufficient resistance.
• There are also pinch sensors attached to the side of the
liftgate. Light pressure anywhere along these strips will
cause the liftgate to return to the open position.
• If the liftgate is not fully open, push the liftgate button
on the key fob twice to operate the liftgate. •
If the electronic liftgate release is pushed while the
power liftgate is closing, the liftgate will reverse to the
full open position.
• If the electronic liftgate release is pushed while the
power liftgate is opening, the liftgate motor will disen-
gage to allow manual operation.
• If the power liftgate encounters multiple obstructions
within the same cycle, the system will automatically
stop and the liftgate must be opened or closed manually.
WARNING!
• Driving with the liftgate open can allow poisonous
exhaust gases into your vehicle. You and your pas-
sengers could be injured by these fumes. Keep the
liftgate closed when you are operating the vehicle.
• If you are required to drive with the liftgate open,
make sure that all windows are closed, and the
climate control blower switch is set at high speed. Do
not use the recirculation mode.
106 GETTING TO KNOW YOUR VEHICLE
Page 110 of 615
WARNING!(Continued)
•Place as much cargo as possible in front of the rear axle.
Too much weight or improperly placed weight over or
behind the rear axle can cause the vehicle to sway.
•Do not pile luggage or cargo higher than the top of the
seatback. This could impair visibility or become a
dangerous projectile in a sudden stop or accident.
Rear Storage Bins
The rear storage bins are located in the rear of the vehicle
on the sides of the load floor.
GARAGE DOOR OPENER — IF EQUIPPED
HomeLink replaces up to three hand-held transmitters that
operate devices such as garage door openers, motorized
gates, lighting or home security systems. The HomeLink
unit is powered by your vehicle’s 12 Volt battery.
The HomeLink buttons, located on the overhead console,
designate the three different HomeLink channels. The
HomeLink indicator is located above the center button.
NOTE: HomeLink is disabled when the Vehicle Security
Alarm is active.
Rear Storage Bins
HomeLink Buttons/Overhead Console
108 GETTING TO KNOW YOUR VEHICLE
Page 112 of 615
1. Place the ignition in the ON/RUN position.
2. Place the hand-held transmitter 1 to 3 inches (3 to 8 cm)away from the HomeLink button you wish to program
while keeping the HomeLink indicator light in view.
3.
Push and hold the HomeLink button you want to pro-
gram while you push and hold the hand-held transmitter
button.
4. Continue to hold both buttons and observe the indicator light. The HomeLink indicator will flash slowly and
then rapidly after HomeLink has received the frequency
signal from the hand-held transmitter. Release both
buttons after the indicator light changes from slow to
rapid.
5. At the garage door opener motor (in the garage), locate the “LEARN” or “TRAINING” button. This can usually
be found where the hanging antenna wire is attached to
the garage door opener/device motor. Firmly push and
release the “LEARN” or “TRAINING” button. On some
garage door openers/devices there may be a light that
blinks when the garage door opener/device is in the
LEARN/TRAIN mode. NOTE:
You have 30 seconds in which to initiate the next
step after the LEARN button has been pushed.
6. Return to the vehicle and push the programmed HomeLink button twice (holding the button for two
seconds each time). If the garage door opener/device
activates, programming is complete.
NOTE: If the garage door opener/device does not activate,
push the button a third time (for two seconds) to complete
the training.
To program the remaining two HomeLink buttons, repeat
each step for each remaining button. DO NOT erase the
channels.
Reprogramming A Single HomeLink Button (Rolling
Code)
To reprogram a channel that has been previously trained,
follow these steps:
1. Cycle the ignition to the ON/RUN position.
2. Push and hold the desired HomeLink button until the indicator light begins to flash after 20 seconds. Do not
release the button.
110 GETTING TO KNOW YOUR VEHICLE