wipers JEEP RENEGADE 2015 1.G User Guide
[x] Cancel search | Manufacturer: JEEP, Model Year: 2015, Model line: RENEGADE, Model: JEEP RENEGADE 2015 1.GPages: 220, PDF Size: 34.11 MB
Page 39 of 220
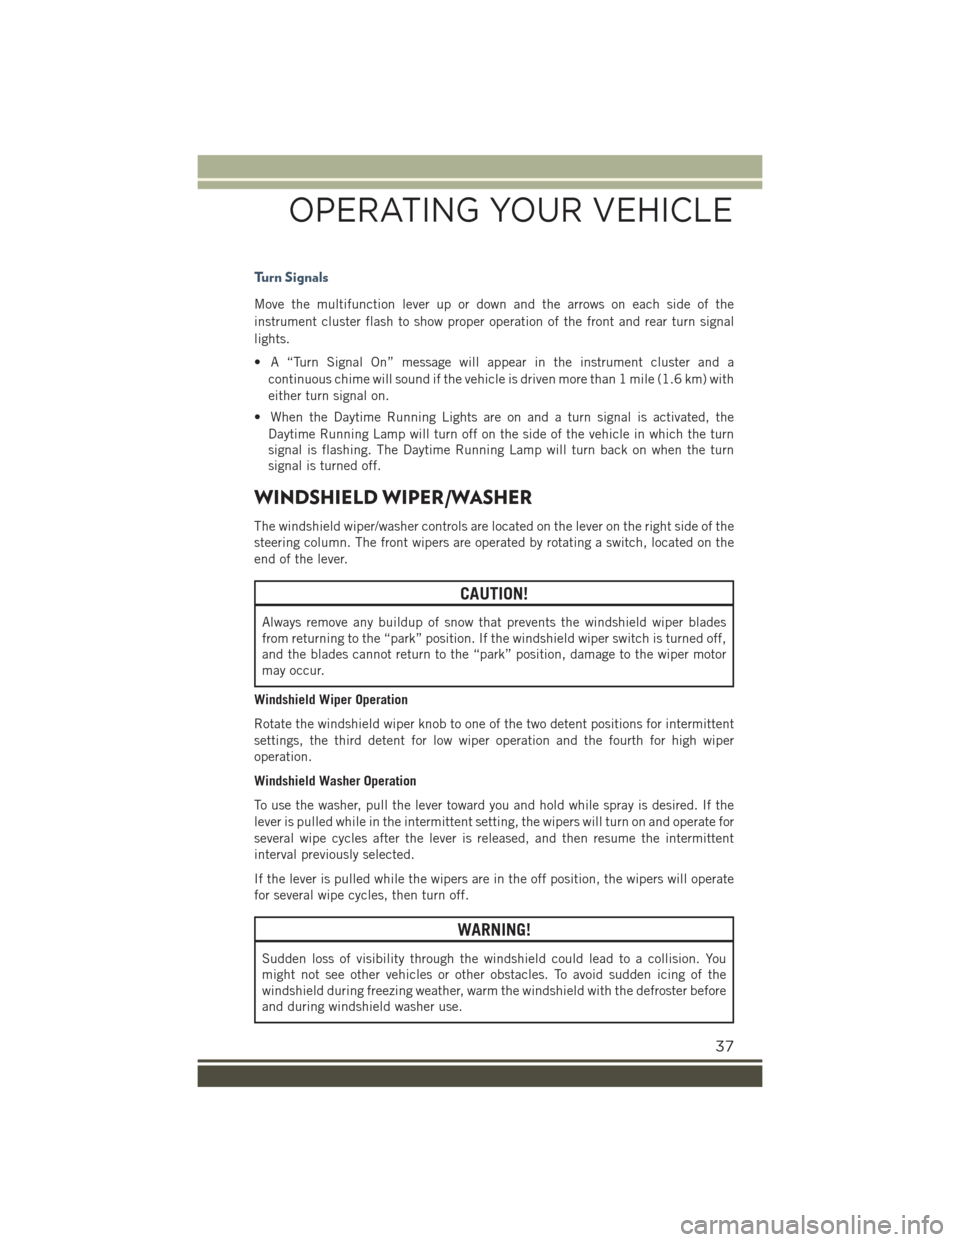
Turn Signals
Move the multifunction lever up or down and the arrows on each side of the
instrument cluster flash to show proper operation of the front and rear turn signal
lights.
• A “Turn Signal On” message will appear in the instrument cluster and a
continuous chime will sound if the vehicle is driven more than 1 mile (1.6 km) with
either turn signal on.
• When the Daytime Running Lights are on and a turn signal is activated, the
Daytime Running Lamp will turn off on the side of the vehicle in which the turn
signal is flashing. The Daytime Running Lamp will turn back on when the turn
signal is turned off.
WINDSHIELD WIPER/WASHER
The windshield wiper/washer controls are located on the lever on the right side of the
steering column. The front wipers are operated by rotating a switch, located on the
end of the lever.
CAUTION!
Always remove any buildup of snow that prevents the windshield wiper blades
from returning to the “park” position. If the windshield wiper switch is turned off,
and the blades cannot return to the “park” position, damage to the wiper motor
may occur.
Windshield Wiper Operation
Rotate the windshield wiper knob to one of the two detent positions for intermittent
settings, the third detent for low wiper operation and the fourth for high wiper
operation.
Windshield Washer Operation
To use the washer, pull the lever toward you and hold while spray is desired. If the
lever is pulled while in the intermittent setting, the wipers will turn on and operate for
several wipe cycles after the lever is released, and then resume the intermittent
interval previously selected.
If the lever is pulled while the wipers are in the off position, the wipers will operate
for several wipe cycles, then turn off.
WARNING!
Sudden loss of visibility through the windshield could lead to a collision. You
might not see other vehicles or other obstacles. To avoid sudden icing of the
windshield during freezing weather, warm the windshield with the defroster before
and during windshield washer use.
OPERATING YOUR VEHICLE
37
Page 40 of 220
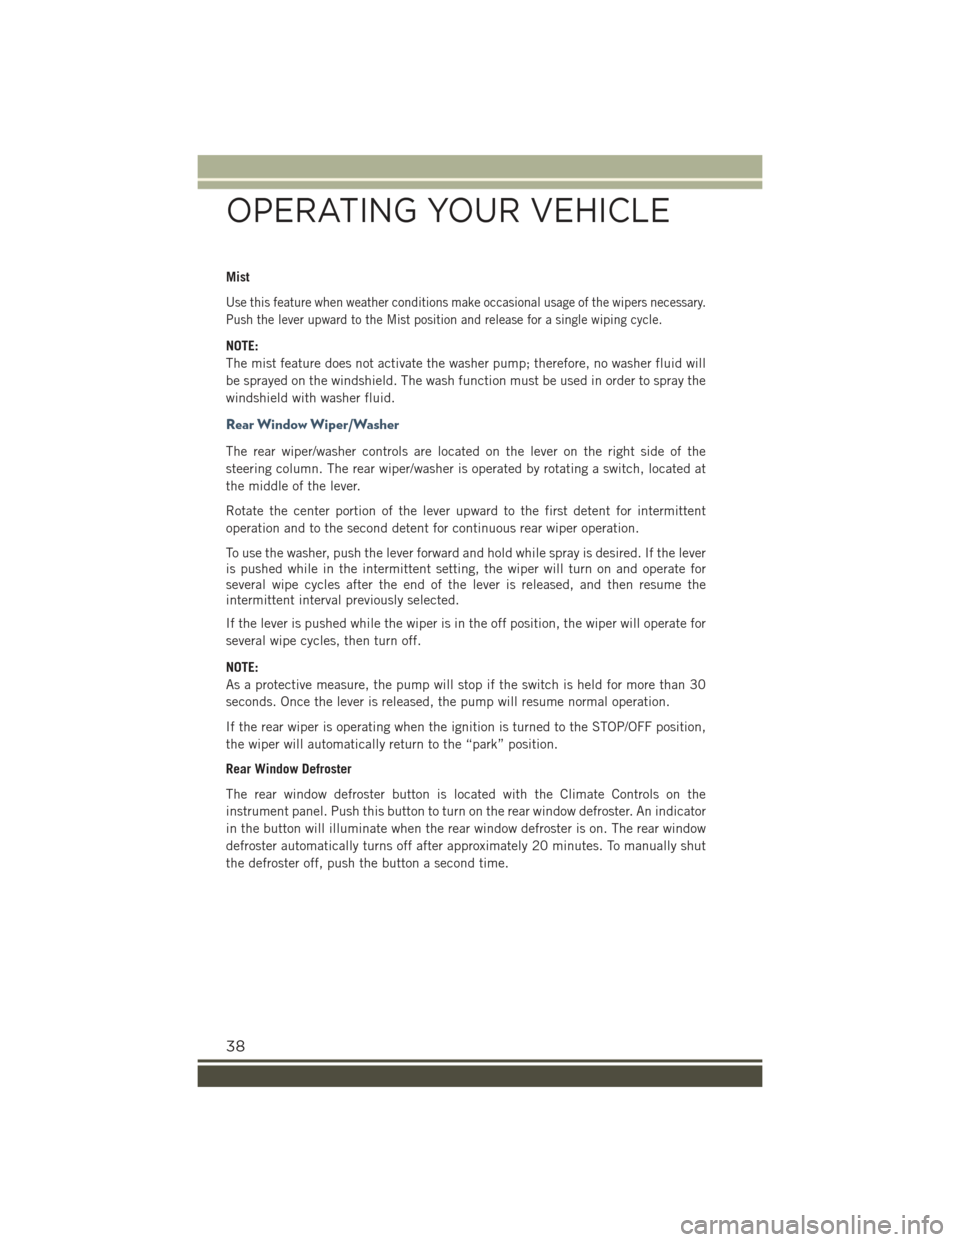
Mist
Use this feature when weather conditions make occasional usage of the wipers necessary.
Push the lever upward to the Mist position and release for a single wiping cycle.
NOTE:
The mist feature does not activate the washer pump; therefore, no washer fluid will
be sprayed on the windshield. The wash function must be used in order to spray the
windshield with washer fluid.
Rear Window Wiper/Washer
The rear wiper/washer controls are located on the lever on the right side of the
steering column. The rear wiper/washer is operated by rotating a switch, located at
the middle of the lever.
Rotate the center portion of the lever upward to the first detent for intermittent
operation and to the second detent for continuous rear wiper operation.
To use the washer, push the lever forward and hold while spray is desired. If the leveris pushed while in the intermittent setting, the wiper will turn on and operate forseveral wipe cycles after the end of the lever is released, and then resume theintermittent interval previously selected.
If the lever is pushed while the wiper is in the off position, the wiper will operate for
several wipe cycles, then turn off.
NOTE:
As a protective measure, the pump will stop if the switch is held for more than 30
seconds. Once the lever is released, the pump will resume normal operation.
If the rear wiper is operating when the ignition is turned to the STOP/OFF position,
the wiper will automatically return to the “park” position.
Rear Window Defroster
The rear window defroster button is located with the Climate Controls on the
instrument panel. Push this button to turn on the rear window defroster. An indicator
in the button will illuminate when the rear window defroster is on. The rear window
defroster automatically turns off after approximately 20 minutes. To manually shut
the defroster off, push the button a second time.
OPERATING YOUR VEHICLE
38
Page 146 of 220
Speed Belt Buzzer:
• This function is only viewable when the Seat Belt Reminder (SBR) system is
active.
Hill Start Assist:
• Activation/Deactivation of the Hill Start Assist system.
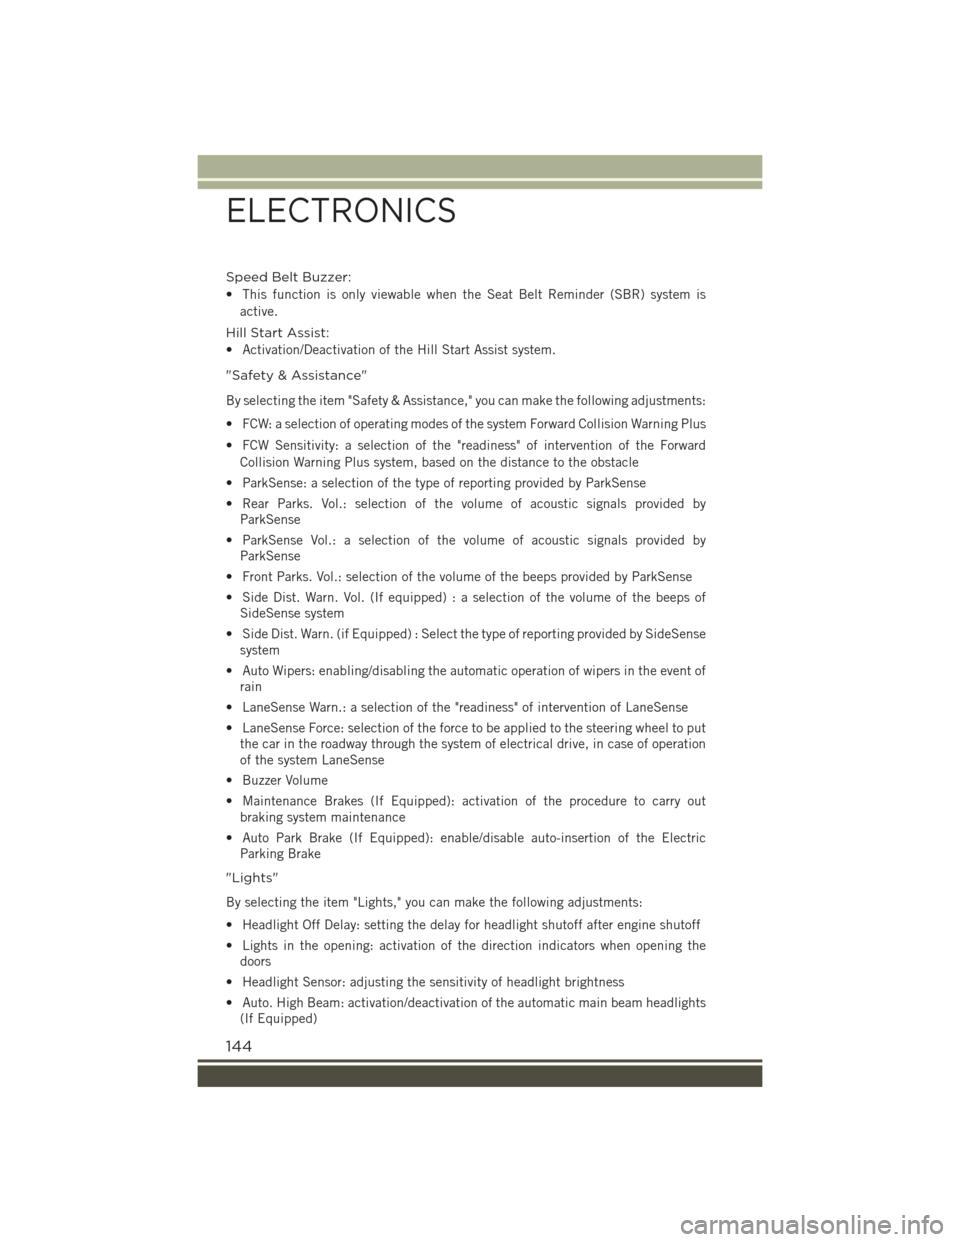
"Safety & Assistance"
By selecting the item "Safety & Assistance," you can make the following adjustments:
• FCW: a selection of operating modes of the system Forward Collision Warning Plus
• FCW Sensitivity: a selection of the "readiness" of intervention of the Forward
Collision Warning Plus system, based on the distance to the obstacle
• ParkSense: a selection of the type of reporting provided by ParkSense
• Rear Parks. Vol.: selection of the volume of acoustic signals provided by
ParkSense
• ParkSense Vol.: a selection of the volume of acoustic signals provided by
ParkSense
• Front Parks. Vol.: selection of the volume of the beeps provided by ParkSense
• Side Dist. Warn. Vol. (If equipped) : a selection of the volume of the beeps of
SideSense system
• Side Dist. Warn. (if Equipped) : Select the type of reporting provided by SideSense
system
• Auto Wipers: enabling/disabling the automatic operation of wipers in the event of
rain
• LaneSense Warn.: a selection of the "readiness" of intervention of LaneSense
• LaneSense Force: selection of the force to be applied to the steering wheel to put
the car in the roadway through the system of electrical drive, in case of operation
of the system LaneSense
• Buzzer Volume
• Maintenance Brakes (If Equipped): activation of the procedure to carry out
braking system maintenance
• Auto Park Brake (If Equipped): enable/disable auto-insertion of the Electric
Parking Brake
"Lights"
By selecting the item "Lights," you can make the following adjustments:
• Headlight Off Delay: setting the delay for headlight shutoff after engine shutoff
• Lights in the opening: activation of the direction indicators when opening the
doors
• Headlight Sensor: adjusting the sensitivity of headlight brightness
• Auto. High Beam: activation/deactivation of the automatic main beam headlights
(If Equipped)
ELECTRONICS
144
Page 181 of 220
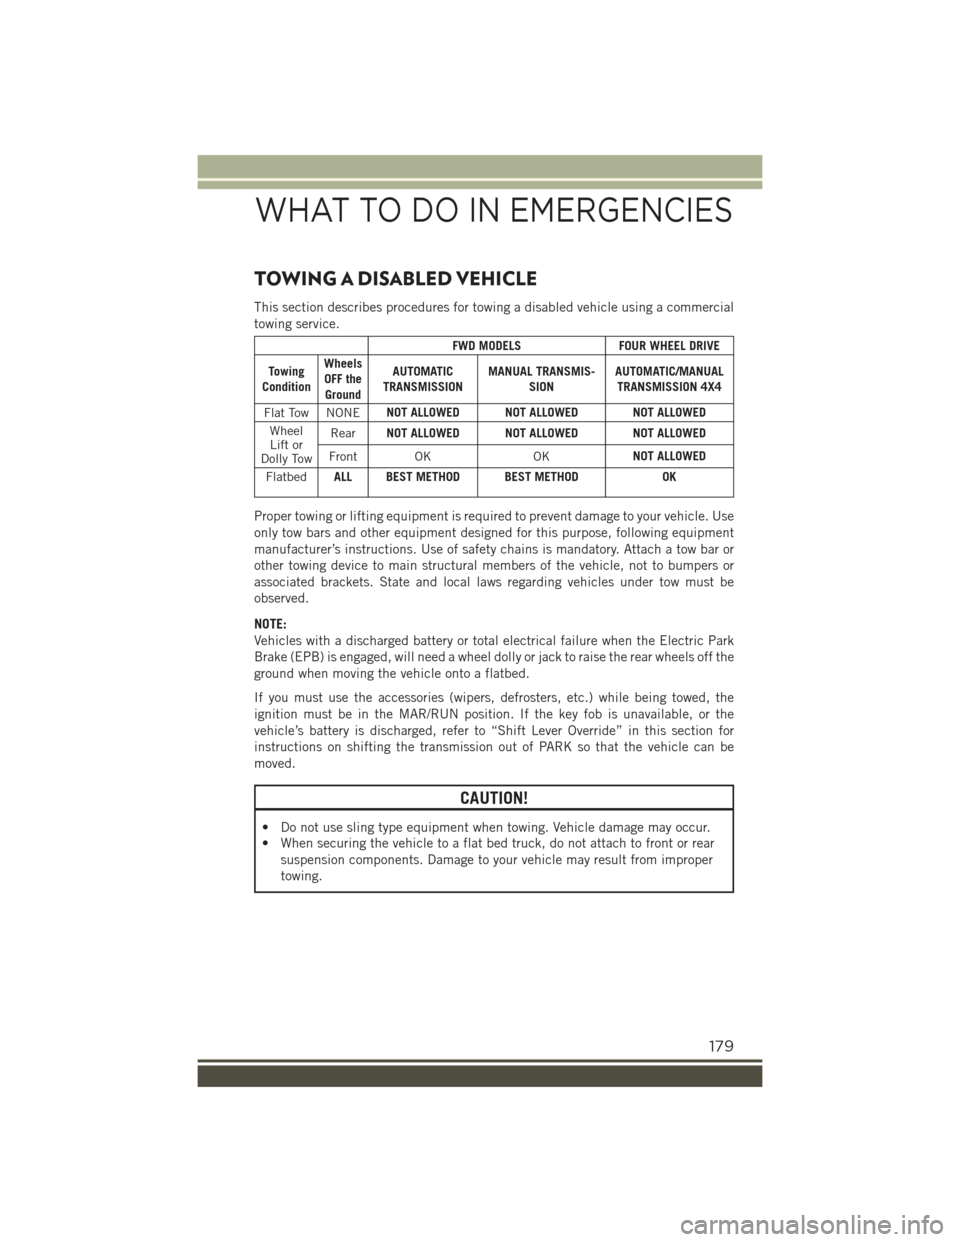
TOWING A DISABLED VEHICLE
This section describes procedures for towing a disabled vehicle using a commercial
towing service.
FWD MODELSFOUR WHEEL DRIVE
TowingCondition
WheelsOFF theGround
AUTOMATICTRANSMISSIONMANUAL TRANSMIS-SIONAUTOMATIC/MANUALTRANSMISSION 4X4
Flat Tow NONENOT ALLOWED NOT ALLOWED NOT ALLOWED
WheelLift orDolly Tow
RearNOT ALLOWED NOT ALLOWED NOT ALLOWED
Front OKOKNOT ALLOWED
FlatbedALL BEST METHOD BEST METHODOK
Proper towing or lifting equipment is required to prevent damage to your vehicle. Use
only tow bars and other equipment designed for this purpose, following equipment
manufacturer’s instructions. Use of safety chains is mandatory. Attach a tow bar or
other towing device to main structural members of the vehicle, not to bumpers or
associated brackets. State and local laws regarding vehicles under tow must be
observed.
NOTE:
Vehicles with a discharged battery or total electrical failure when the Electric Park
Brake (EPB) is engaged, will need a wheel dolly or jack to raise the rear wheels off the
ground when moving the vehicle onto a flatbed.
If you must use the accessories (wipers, defrosters, etc.) while being towed, the
ignition must be in the MAR/RUN position. If the key fob is unavailable, or the
vehicle’s battery is discharged, refer to “Shift Lever Override” in this section for
instructions on shifting the transmission out of PARK so that the vehicle can be
moved.
CAUTION!
• Do not use sling type equipment when towing. Vehicle damage may occur.
• When securing the vehicle to a flat bed truck, do not attach to front or rear
suspension components. Damage to your vehicle may result from improper
towing.
WHAT TO DO IN EMERGENCIES
179
Page 212 of 220
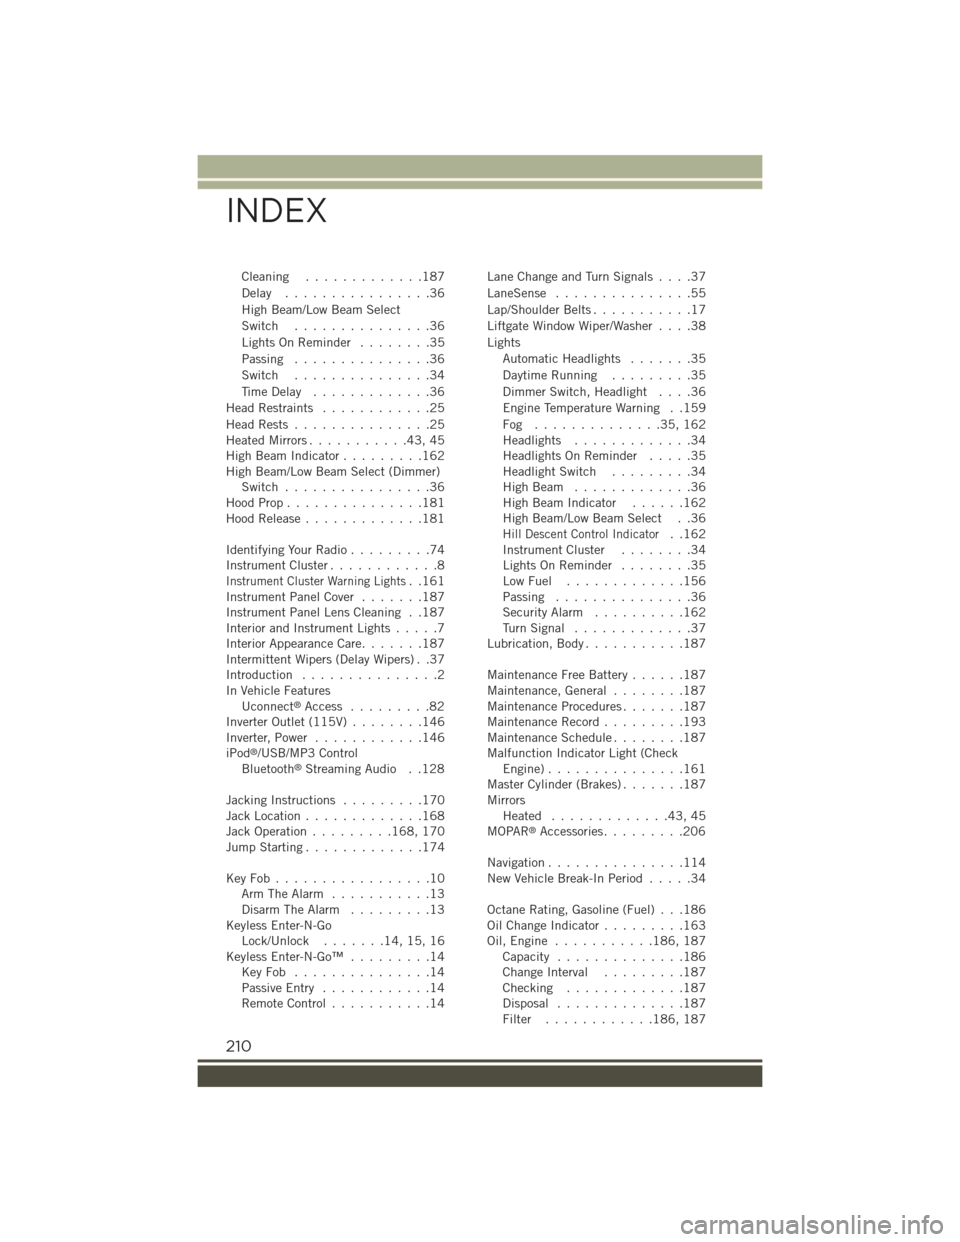
Cleaning.............187
Delay . . . . . . . . . . . . . . . .36
High Beam/Low Beam Select
Switch...............36
Lights On Reminder . . . . . . . .35
Passing...............36
Switch...............34
Time Delay.............36
Head Restraints............25
Head Rests . . . . . . . . . . . . . . .25Heated Mirrors...........43,45High Beam Indicator.........162High Beam/Low Beam Select (Dimmer)Switch................36Hood Prop . . . . . . . . . . . . . . .181Hood Release.............181
Identifying Your Radio.........74Instrument Cluster............8
Instrument Cluster Warning Lights..161Instrument Panel Cover.......187Instrument Panel Lens Cleaning . .187Interior and Instrument Lights.....7Interior Appearance Care.......187Intermittent Wipers (Delay Wipers) . .37Introduction...............2In Vehicle FeaturesUconnect®Access . . . . . . . . .82Inverter Outlet (115V)........146Inverter, Power............146iPod®/USB/MP3 ControlBluetooth®Streaming Audio . .128
Jacking Instructions.........170Jack Location.............168Jack Operation.........168, 170Jump Starting.............174
Key Fob . . . . . . . . . . . . . . . . .10Arm The Alarm...........13Disarm The Alarm.........13Keyless Enter-N-GoLock/Unlock . . . . . . .14, 15, 16Keyless Enter-N-Go™.........14Key Fob . . . . . . . . . . . . . . .14Passive Entry............14Remote Control...........14
Lane Change and Turn Signals . . . .37
LaneSense . . . . . . . . . . . . . . .55
Lap/Shoulder Belts...........17
Liftgate Window Wiper/Washer....38
Lights
Automatic Headlights.......35
Daytime Running.........35
Dimmer Switch, Headlight....36
Engine Temperature Warning . .159
Fog . . . . . . . . . . . . . .35, 162Headlights.............34Headlights On Reminder.....35Headlight Switch.........34High Beam . . . . . . . . . . . . .36High Beam Indicator......162High Beam/Low Beam Select . .36
Hill Descent Control Indicator..162Instrument Cluster........34Lights On Reminder........35Low Fuel . . . . . . . . . . . . .156Passing...............36Security Alarm..........162Tu r n S i g n a l . . . . . . . . . . . . . 3 7Lubrication, Body...........187
Maintenance Free Battery......187Maintenance, General........187Maintenance Procedures.......187Maintenance Record.........193Maintenance Schedule........187Malfunction Indicator Light (CheckEngine) . . . . . . . . . . . . . . .161Master Cylinder (Brakes).......187MirrorsHeated.............43,45MOPAR®Accessories.........206
Navigation...............114New Vehicle Break-In Period.....34
Octane Rating, Gasoline (Fuel) . . .186Oil Change Indicator.........163Oil, Engine . . . . . . . . . . .186, 187Capacity..............186Change Interval.........187Checking.............187Disposal..............187Filter............186, 187
INDEX
210
Page 214 of 220
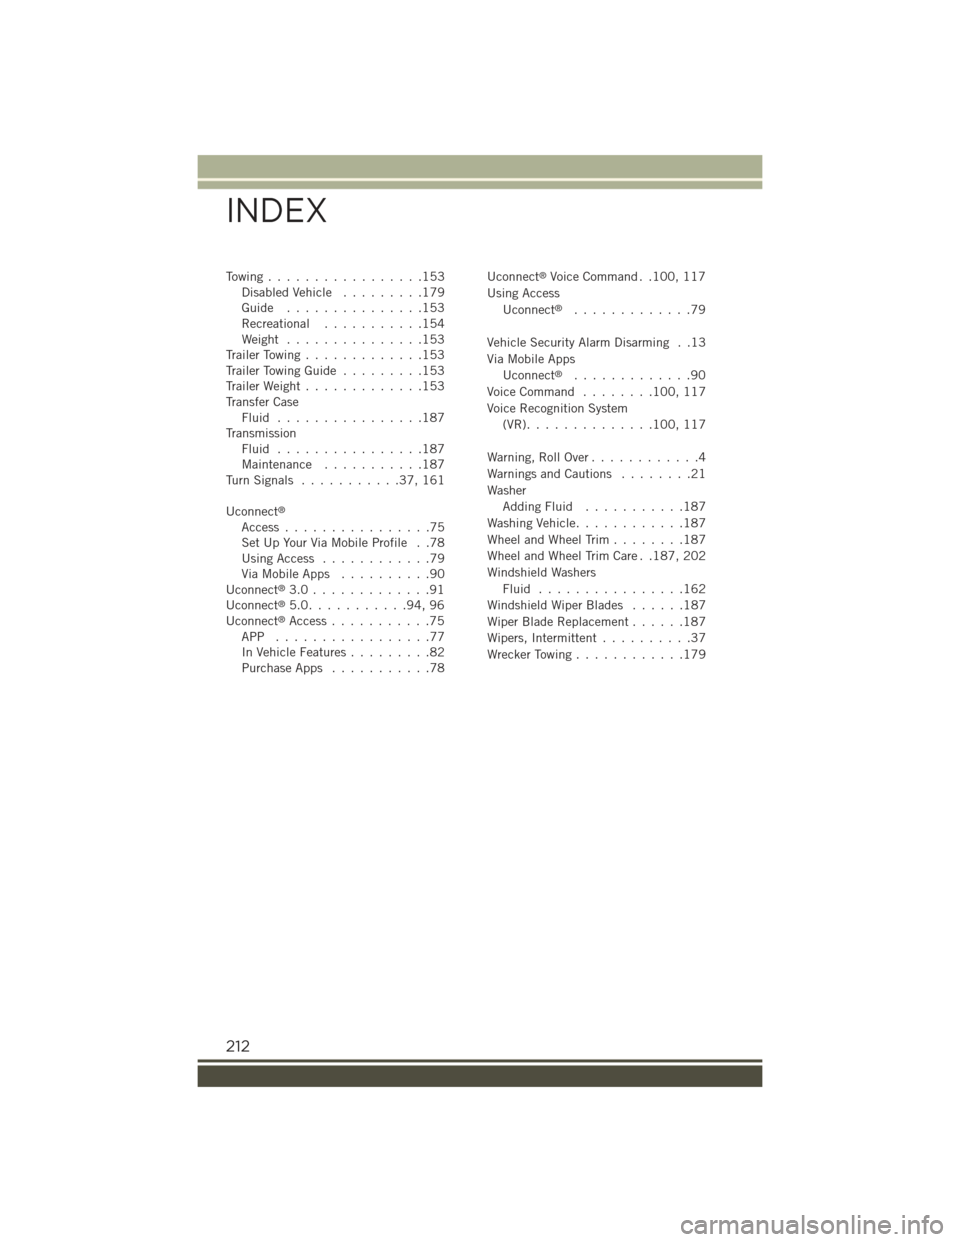
To w i n g . . . . . . . . . . . . . . . . . 1 5 3Disabled Vehicle.........179Guide . . . . . . . . . . . . . . .153Recreational...........154Weight...............153Trailer Towing.............153Trailer Towing Guide.........153Trailer Weight.............153Transfer CaseFluid . . . . . . . . . . . . . . . .187TransmissionFluid . . . . . . . . . . . . . . . .187Maintenance...........187Tu r n S i g n a l s . . . . . . . . . . . 3 7 , 1 6 1
Uconnect®
Access . . . . . . . . . . . . . . . .75Set Up Your Via Mobile Profile . .78Using Access............79Via Mobile Apps..........90Uconnect®3.0 . . . . . . . . . . . . .91Uconnect®5.0. . . . . . . . . . .94, 96Uconnect®Access . . . . . . . . . . .75APP . . . . . . . . . . . . . . . . .77In Vehicle Features.........82Purchase Apps...........78
Uconnect®Voice Command . .100, 117
Using Access
Uconnect®.............79
Vehicle Security Alarm Disarming . .13
Via Mobile Apps
Uconnect®.............90
Voice Command........100, 117
Voice Recognition System
(VR). . . . . . . . . . . . . .100, 117
Warning, Roll Over . . . . . . . . . . . .4
Warnings and Cautions........21
Washer
Adding Fluid . . . . . . . . . . .187
Washing Vehicle............187
Wheel and Wheel Trim . . . . . . . .187
Wheel and Wheel Trim Care . .187, 202
Windshield Washers
Fluid . . . . . . . . . . . . . . . .162
Windshield Wiper Blades . . . . . .187
Wiper Blade Replacement......187
Wipers, Intermittent..........37
Wrecker Towing............179
INDEX
212