display JEEP WAGONEER 2023 Owners Manual
[x] Cancel search | Manufacturer: JEEP, Model Year: 2023, Model line: WAGONEER, Model: JEEP WAGONEER 2023Pages: 396, PDF Size: 15.17 MB
Page 198 of 396
196
MULTIMEDIA
UCONNECT SYSTEMS
For detailed information about your Uconnect 5/5 NAV
With 10.1-inch Display or Uconnect 5 NAV With 12-inch
Display system, refer to your Uconnect Radio Instruction
Manual.
NOTE:Uconnect screen images are for illustration purposes only
and may not reflect exact software for your vehicle.
CYBERSECURITY
Depending on applicability, your vehicle may be able to
send or receive information from a wired or wireless
network. This information allows systems and features in
your vehicle to function properly.Your vehicle may be equipped with certain security
features to reduce the risk of unauthorized and unlawful
access to vehicle systems and wireless communications.
Vehicle software technology continues to evolve over time
and FCA US LLC, working with its suppliers, evaluates and
takes appropriate steps as needed. As always, if you
experience unusual behavior, contact an authorized
dealer immediately,
Úpage 378, or refer to your
Uconnect Radio Instruction Manual for additional contact
information.
The risk of unauthorized and unlawful access to your
vehicle systems may still exist, even if the most recent
version of vehicle software (such as Uconnect software) is
installed.
NOTE:To help further improve user experience, features,
stability, etc., and minimize the potential risk of a security
breach, vehicle owners should routinely check
www.driveuconnect.com (US Residents) or www.driveuco -
nnect.ca (Canadian Residents) to learn about available
Uconnect software updates.
WARNING!
ONLY insert trusted media devices/components into
your vehicle. Media of unknown origin could possibly
contain malicious software, and if installed in your
vehicle, it may increase the possibility for vehicle
systems to be breached.
As always, if you experience unusual vehicle
behavior, contact an authorized dealer immediately.
23_WS_OM_EN_USC_t.book Page 196
Page 199 of 396
MULTIMEDIA197
UCONNECT SETTINGS
The Uconnect system uses a combination of buttons on
the touchscreen and buttons on the faceplate located on
the center of the instrument panel. These buttons allow
you to access and change the customer programmable
features. Many features can vary by vehicle.
Buttons on the faceplate are located below and/or beside
the Uconnect system in the center of the instrument
panel. In addition, there is a SCROLL/ENTER control knob
located on the right side. Turn the control knob to scroll
through menus and change settings. Push the center of
the control knob one or more times to select or change a
setting.
Your Uconnect system may also have SCREEN OFF and
MUTE buttons on the faceplate.
Push the SCREEN OFF button on the faceplate to turn off
the Uconnect screen. Push the button again or tap the
screen to turn the screen on.
Press the Back Arrow button to exit out of a Menu or
certain option on the Uconnect system.
Push and hold the Power button on the radio’s faceplate
for a minimum of 15 seconds to reset the radio.
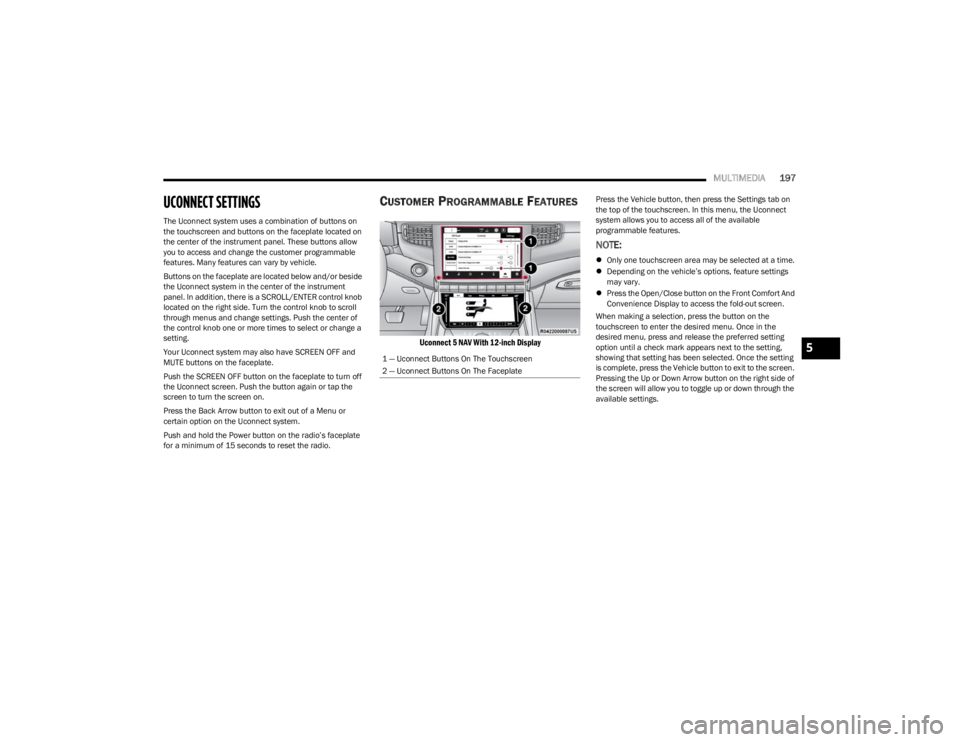
CUSTOMER PROGRAMMABLE FEATURES
Uconnect 5 NAV With 12-inch Display
Press the Vehicle button, then press the Settings tab on
the top of the touchscreen. In this menu, the Uconnect
system allows you to access all of the available
programmable features.
NOTE:
Only one touchscreen area may be selected at a time.
Depending on the vehicle’s options, feature settings
may vary.
Press the Open/Close button on the Front Comfort And
Convenience Display to access the fold-out screen.
When making a selection, press the button on the
touchscreen to enter the desired menu. Once in the
desired menu, press and release the preferred setting
option until a check mark appears next to the setting,
showing that setting has been selected. Once the setting
is complete, press the Vehicle button to exit to the screen.
Pressing the Up or Down Arrow button on the right side of
the screen will allow you to toggle up or down through the
available settings.
1 — Uconnect Buttons On The Touchscreen
2 — Uconnect Buttons On The Faceplate
5
23_WS_OM_EN_USC_t.book Page 197
Page 200 of 396
198MULTIMEDIA
Display
When the Display button is pressed on the touchscreen, the system will display the options related to the theme (if equipped), brightness, and color of the touchscreen. The available
settings are:
NOTE:Depending on the vehicle’s options, feature settings may vary.
Setting Name Description
Language This setting will change the language of the Uconnect system and Instrument Cluster
Display. The available languages are English, Italiano, Français, and Español.
Display Mode This setting will allow you to set the brightness manually or have the system set it
automatically. The “Auto” setting has the system automatically adjust the display
brightness. The “Manual” setting will allow the user to adjust the brightness of the
display.
Display Brightness With Headlights ON This setting will allow you to set the brightness when the headlights are on. To access this
setting, Display Mode must be set to Manual. The “+” setting will increase the brightness;
the “-” will decrease the brightness.
Display Brightness With Headlights OFF This setting will allow you to set the brightness when the headlights are off. To access this
setting, Display Mode must be set to Manual. The “+” setting will increase the brightness;
the “-” will decrease the brightness.
Set Theme This setting will allow you to change the display theme.
Theme Mode This setting will allow you to adjust the brightness of your theme. Setting options are
“Light”, “Dark” and “Auto”. Select to show themes in Light or Dark mode. “Auto” changes
the theme with the headlights.
Units This setting will allow you to change the units. The available options are “Speed”
(MPH or km/h), “Distance” (mi or km), “Current Consumption” (MPG [US], MPG [UK],
L/100 km, or km/L), “Pressure” (psi, kPa, or bar), and “Temperature” (°C or °F) units of
measurement independently.
Touchscreen Beep This setting will allow you to turn the touchscreen beep on or off.
23_WS_OM_EN_USC_t.book Page 198
Page 201 of 396
MULTIMEDIA199
Entertainment Screens
Show Main Category Bar Labels This setting will allow you to turn the bottom main category bar labels on or off.
Control Screen Timeout This setting allows you to set the Control Screen to turn off automatically after five
seconds or stay open until manually closed.
Navigation Next Turn Pop-ups Displayed In Cluster This setting will display Navigation prompts in the Instrument Cluster Display.
Phone Pop-ups Displayed In Cluster This setting will display smartphone notifications and messages in the Instrument Cluster
Display.
Message Pop-Ups Displayed with Button Press This setting will turn message notifications on or off.
Ready To Drive Pop-ups This setting will enable the Ready To Drive pop-ups in the Instrument Cluster Display.
Setting NameDescription
When the Entertainment Screens button is pressed on the touchscreen, the system displays the different options related to the vehicle’s Entertainment system.
NOTE:Depending on the vehicle’s options, feature settings may vary.
Setting NameDescription
Passenger Screen Permissions This setting will enable or disable Passenger Screen Permissions. The options within this
setting are “Navigation”, “Device Manager”, and “Uconnect Theater” all with “On” and
“Off” options.
Rear Seat Screen Permissions This setting will enable or disable your Rear Seat Screen Permissions. “On” and “Off”
options are found within “Navigation”.
5
23_WS_OM_EN_USC_t.book Page 199
Page 202 of 396
200MULTIMEDIA
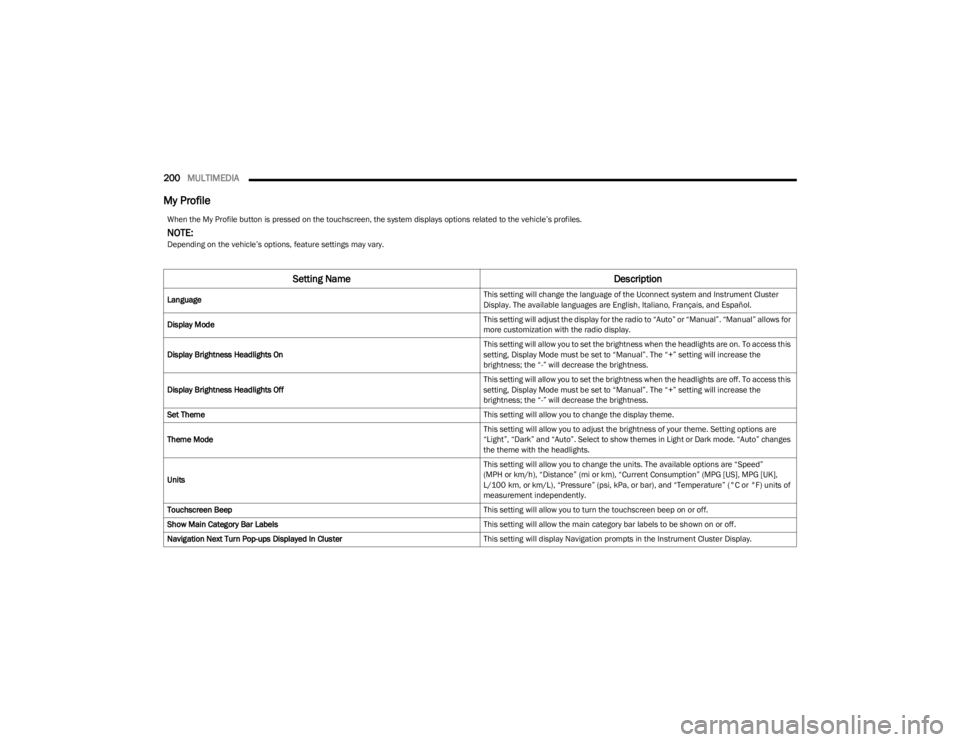
My Profile
When the My Profile button is pressed on the touchscreen, the system displays options related to the vehicle’s profiles.
NOTE:Depending on the vehicle’s options, feature settings may vary.
Setting Name Description
Language This setting will change the language of the Uconnect system and Instrument Cluster
Display. The available languages are English, Italiano, Français, and Español.
Display Mode This setting will adjust the display for the radio to “Auto” or “Manual”. “Manual” allows for
more customization with the radio display.
Display Brightness Headlights On This setting will allow you to set the brightness when the headlights are on. To access this
setting, Display Mode must be set to “Manual”. The “+” setting will increase the
brightness; the “-” will decrease the brightness.
Display Brightness Headlights Off This setting will allow you to set the brightness when the headlights are off. To access this
setting, Display Mode must be set to “Manual”. The “+” setting will increase the
brightness; the “-” will decrease the brightness.
Set Theme This setting will allow you to change the display theme.
Theme Mode This setting will allow you to adjust the brightness of your theme. Setting options are
“Light”, “Dark” and “Auto”. Select to show themes in Light or Dark mode. “Auto” changes
the theme with the headlights.
Units This setting will allow you to change the units. The available options are “Speed”
(MPH or km/h), “Distance” (mi or km), “Current Consumption” (MPG [US], MPG [UK],
L/100 km, or km/L), “Pressure” (psi, kPa, or bar), and “Temperature” (°C or °F) units of
measurement independently.
Touchscreen Beep This setting will allow you to turn the touchscreen beep on or off.
Show Main Category Bar Labels This setting will allow the main category bar labels to be shown on or off.
Navigation Next Turn Pop-ups Displayed In Cluster This setting will display Navigation prompts in the Instrument Cluster Display.
23_WS_OM_EN_USC_t.book Page 200
Page 203 of 396
MULTIMEDIA201
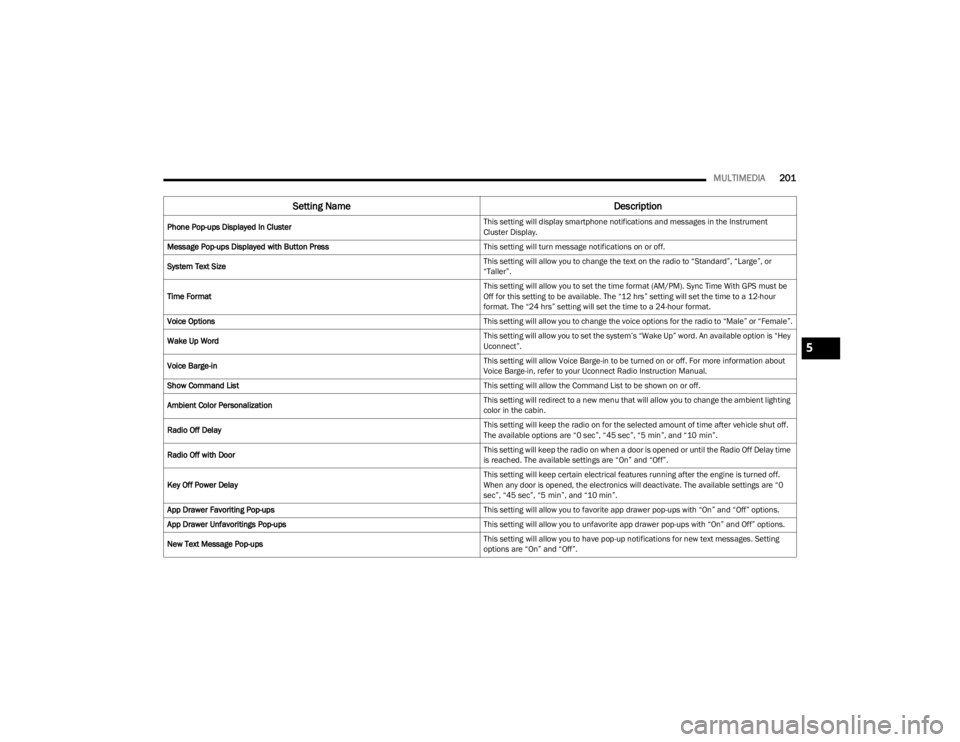
Phone Pop-ups Displayed In Cluster This setting will display smartphone notifications and messages in the Instrument
Cluster Display.
Message Pop-ups Displayed with Button Press This setting will turn message notifications on or off.
System Text Size This setting will allow you to change the text on the radio to “Standard”, “Large”, or
“Taller”.
Time Format This setting will allow you to set the time format (AM/PM). Sync Time With GPS must be
Off for this setting to be available. The “12 hrs” setting will set the time to a 12-hour
format. The “24 hrs” setting will set the time to a 24-hour format.
Voice Options This setting will allow you to change the voice options for the radio to “Male” or “Female”.
Wake Up Word This setting will allow you to set the system’s “Wake Up” word. An available option is “Hey
Uconnect”.
Voice Barge-in This setting will allow Voice Barge-in to be turned on or off. For more information about
Voice Barge-in, refer to your Uconnect Radio Instruction Manual.
Show Command List This setting will allow the Command List to be shown on or off.
Ambient Color Personalization This setting will redirect to a new menu that will allow you to change the ambient lighting
color in the cabin.
Radio Off Delay This setting will keep the radio on for the selected amount of time after vehicle shut off.
The available options are “0 sec”, “45 sec”, “5 min”, and “10 min”.
Radio Off with Door This setting will keep the radio on when a door is opened or until the Radio Off Delay time
is reached. The available settings are “On” and “Off”.
Key Off Power Delay This setting will keep certain electrical features running after the engine is turned off.
When any door is opened, the electronics will deactivate. The available settings are “0
sec”, “45 sec”, “5 min”, and “10 min”.
App Drawer Favoriting Pop-ups This setting will allow you to favorite app drawer pop-ups with “On” and “Off” options.
App Drawer Unfavoritings Pop-ups This setting will allow you to unfavorite app drawer pop-ups with “On” and Off” options.
New Text Message Pop-ups This setting will allow you to have pop-up notifications for new text messages. Setting
options are “On” and “Off”.
Setting Name
Description
5
23_WS_OM_EN_USC_t.book Page 201
Page 205 of 396
MULTIMEDIA203
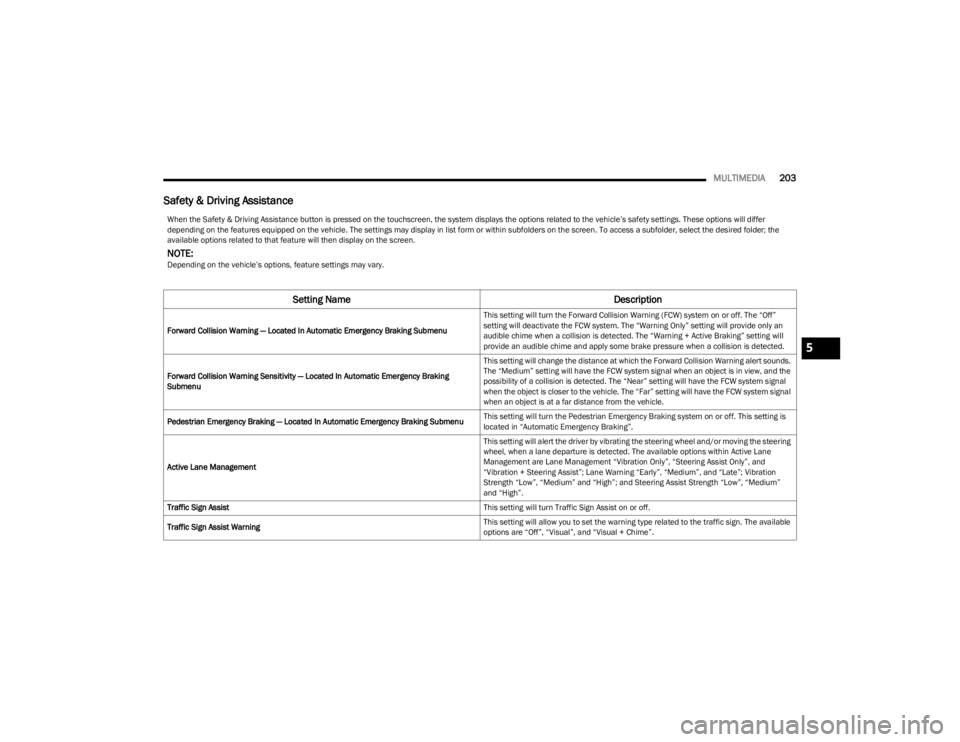
Safety & Driving Assistance
When the Safety & Driving Assistance button is pressed on the touchscreen, the system displays the options related to the vehicle’s safety settings. These options will differ
depending on the features equipped on the vehicle. The settings may display in list form or within subfolders on the screen. To access a subfolder, select the desired folder; the
available options related to that feature will then display on the screen.
NOTE:Depending on the vehicle’s options, feature settings may vary.
Setting Name Description
Forward Collision Warning — Located In Automatic Emergency Braking Submenu This setting will turn the Forward Collision Warning (FCW) system on or off. The “Off”
setting will deactivate the FCW system. The “Warning Only” setting will provide only an
audible chime when a collision is detected. The “Warning + Active Braking” setting will
provide an audible chime and apply some brake pressure when a collision is detected.
Forward Collision Warning Sensitivity — Located In Automatic Emergency Braking
Submenu This setting will change the distance at which the Forward Collision Warning alert sounds.
The “Medium” setting will have the FCW system signal when an object is in view, and the
possibility of a collision is detected. The “Near” setting will have the FCW system signal
when the object is closer to the vehicle. The “Far” setting will have the FCW system signal
when an object is at a far distance from the vehicle.
Pedestrian Emergency Braking — Located In Automatic Emergency Braking Submenu This setting will turn the Pedestrian Emergency Braking system on or off. This setting is
located in “Automatic Emergency Braking”.
Active Lane Management This setting will alert the driver by vibrating the steering wheel and/or moving the steering
wheel, when a lane departure is detected. The available options within Active Lane
Management are Lane Management “Vibration Only”, “Steering Assist Only”, and
“Vibration + Steering Assist”; Lane Warning “Early”, “Medium”, and “Late”; Vibration
Strength “Low”, “Medium” and “High”; and Steering Assist Strength “Low”, “Medium”
and “High”.
Traffic Sign Assist This setting will turn Traffic Sign Assist on or off.
Traffic Sign Assist Warning This setting will allow you to set the warning type related to the traffic sign. The available
options are “Off”, “Visual”, and “Visual + Chime”.
5
23_WS_OM_EN_USC_t.book Page 203
Page 206 of 396
204MULTIMEDIA
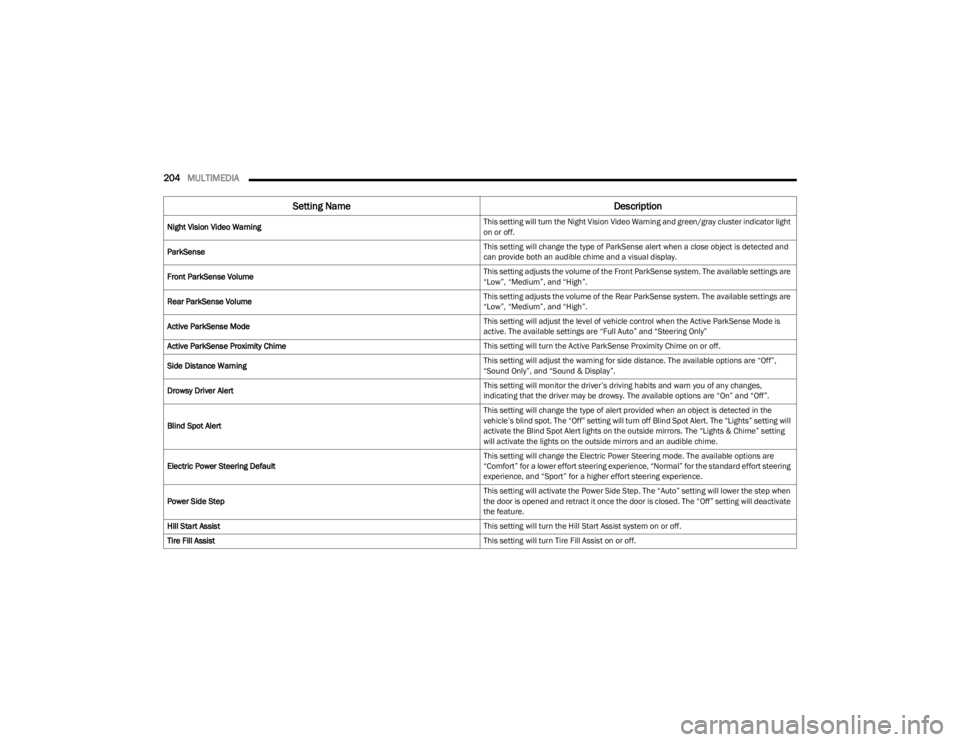
Night Vision Video Warning This setting will turn the Night Vision Video Warning and green/gray cluster indicator light
on or off.
ParkSense This setting will change the type of ParkSense alert when a close object is detected and
can provide both an audible chime and a visual display.
Front ParkSense Volume This setting adjusts the volume of the Front ParkSense system. The available settings are
“Low”, “Medium”, and “High”.
Rear ParkSense Volume This setting adjusts the volume of the Rear ParkSense system. The available settings are
“Low”, “Medium”, and “High”.
Active ParkSense Mode This setting will adjust the level of vehicle control when the Active ParkSense Mode is
active. The available settings are “Full Auto” and “Steering Only”
Active ParkSense Proximity Chime This setting will turn the Active ParkSense Proximity Chime on or off.
Side Distance Warning This setting will adjust the warning for side distance. The available options are “Off”,
“Sound Only”, and “Sound & Display”.
Drowsy Driver Alert This setting will monitor the driver’s driving habits and warn you of any changes,
indicating that the driver may be drowsy. The available options are “On” and “Off”.
Blind Spot Alert This setting will change the type of alert provided when an object is detected in the
vehicle’s blind spot. The “Off” setting will turn off Blind Spot Alert. The “Lights” setting will
activate the Blind Spot Alert lights on the outside mirrors. The “Lights & Chime” setting
will activate the lights on the outside mirrors and an audible chime.
Electric Power Steering Default This setting will change the Electric Power Steering mode. The available options are
“Comfort” for a lower effort steering experience, “Normal” for the standard effort steering
experience, and “Sport” for a higher effort steering experience.
Power Side Step This setting will activate the Power Side Step. The “Auto” setting will lower the step when
the door is opened and retract it once the door is closed. The “Off” setting will deactivate
the feature.
Hill Start Assist This setting will turn the Hill Start Assist system on or off.
Tire Fill Assist This setting will turn Tire Fill Assist on or off.
Setting NameDescription
23_WS_OM_EN_USC_t.book Page 204
Page 207 of 396
MULTIMEDIA205
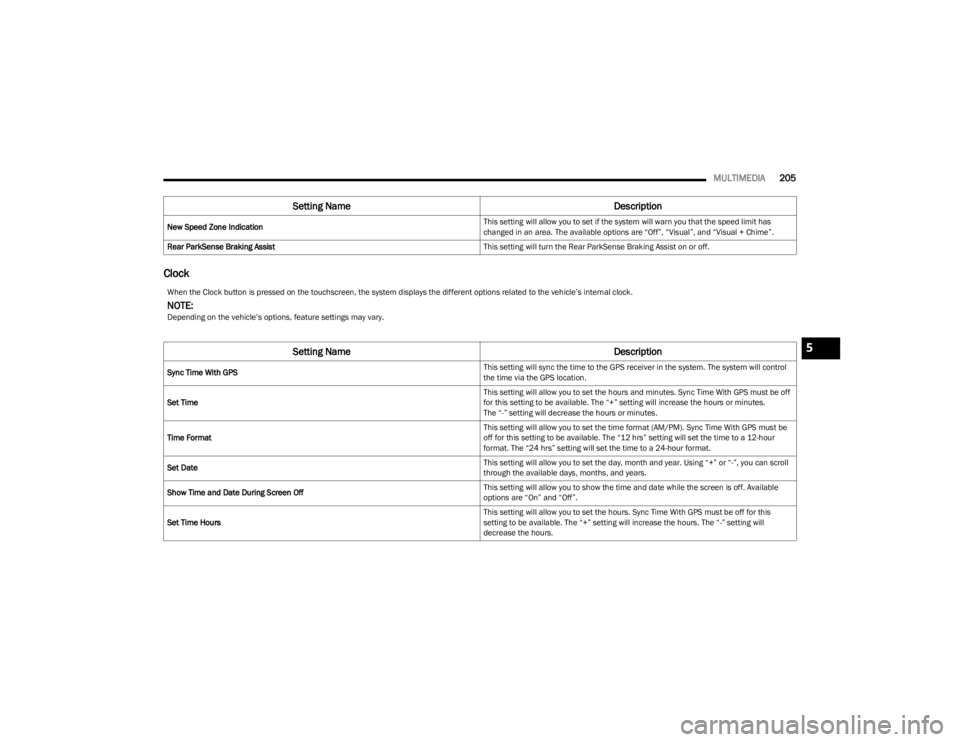
Clock
New Speed Zone Indication This setting will allow you to set if the system will warn you that the speed limit has
changed in an area. The available options are “Off”, “Visual”, and “Visual + Chime”.
Rear ParkSense Braking Assist This setting will turn the Rear ParkSense Braking Assist on or off.
Setting NameDescription
When the Clock button is pressed on the touchscreen, the system displays the different options related to the vehicle’s internal clock.
NOTE:Depending on the vehicle’s options, feature settings may vary.
Setting NameDescription
Sync Time With GPS This setting will sync the time to the GPS receiver in the system. The system will control
the time via the GPS location.
Set Time This setting will allow you to set the hours and minutes. Sync Time With GPS must be off
for this setting to be available. The “+” setting will increase the hours or minutes.
The “-” setting will decrease the hours or minutes.
Time Format This setting will allow you to set the time format (AM/PM). Sync Time With GPS must be
off for this setting to be available. The “12 hrs” setting will set the time to a 12-hour
format. The “24 hrs” setting will set the time to a 24-hour format.
Set Date This setting will allow you to set the day, month and year. Using “+” or “-”, you can scroll
through the available days, months, and years.
Show Time and Date During Screen Off This setting will allow you to show the time and date while the screen is off. Available
options are “On” and “Off”.
Set Time Hours This setting will allow you to set the hours. Sync Time With GPS must be off for this
setting to be available. The “+” setting will increase the hours. The “-” setting will
decrease the hours.
5
23_WS_OM_EN_USC_t.book Page 205
Page 208 of 396
206MULTIMEDIA
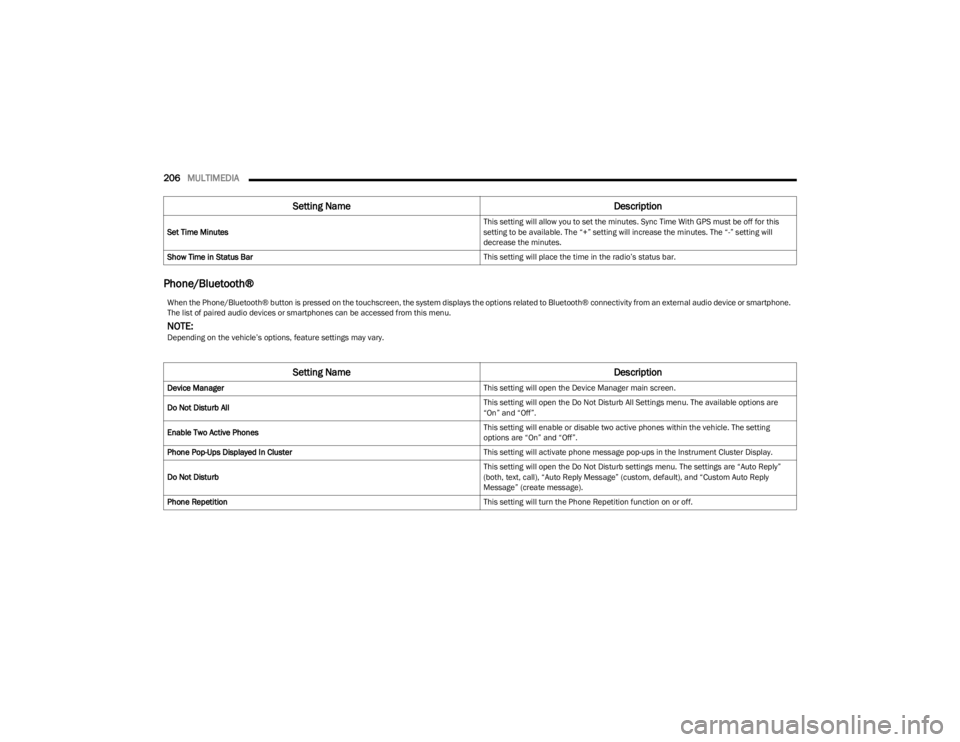
Phone/Bluetooth®
Set Time Minutes This setting will allow you to set the minutes. Sync Time With GPS must be off for this
setting to be available. The “+” setting will increase the minutes. The “-” setting will
decrease the minutes.
Show Time in Status Bar This setting will place the time in the radio’s status bar.
Setting NameDescription
When the Phone/Bluetooth® button is pressed on the touchscreen, the system displays the options related to Bluetooth® connectivity from an external audio device or smartphone.
The list of paired audio devices or smartphones can be accessed from this menu.
NOTE:Depending on the vehicle’s options, feature settings may vary.
Setting NameDescription
Device Manager This setting will open the Device Manager main screen.
Do Not Disturb All This setting will open the Do Not Disturb All Settings menu. The available options are
“On” and “Off”.
Enable Two Active Phones This setting will enable or disable two active phones within the vehicle. The setting
options are “On” and “Off”.
Phone Pop-Ups Displayed In Cluster This setting will activate phone message pop-ups in the Instrument Cluster Display.
Do Not Disturb This setting will open the Do Not Disturb settings menu. The settings are “Auto Reply”
(both, text, call), “Auto Reply Message” (custom, default), and “Custom Auto Reply
Message” (create message).
Phone Repetition This setting will turn the Phone Repetition function on or off.
23_WS_OM_EN_USC_t.book Page 206