turn signal JEEP WRANGLER 2015 JK / 3.G User Guide
[x] Cancel search | Manufacturer: JEEP, Model Year: 2015, Model line: WRANGLER, Model: JEEP WRANGLER 2015 JK / 3.GPages: 695, PDF Size: 20.64 MB
Page 171 of 695
Turn Signals
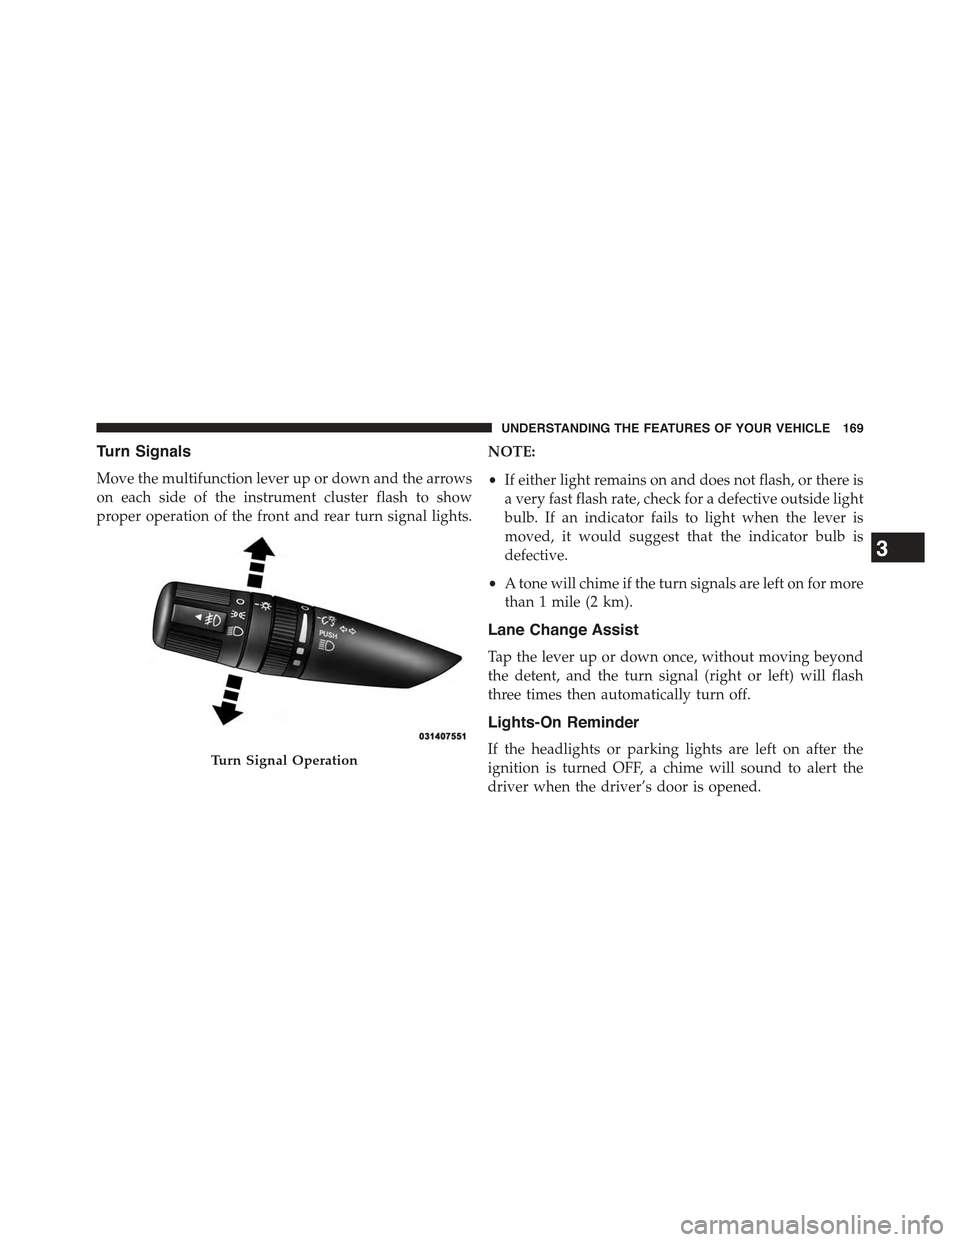
Move the multifunction lever up or down and the arrows
on each side of the instrument cluster flash to show
proper operation of the front and rear turn signal lights.
NOTE:
•If either light remains on and does not flash, or there is
a very fast flash rate, check for a defective outside light
bulb. If an indicator fails to light when the lever is
moved, it would suggest that the indicator bulb is
defective.
•A tone will chime if the turn signals are left on for more
than 1 mile (2 km).
Lane Change Assist
Tap the lever up or down once, without moving beyond
the detent, and the turn signal (right or left) will flash
three times then automatically turn off.
Lights-On Reminder
If the headlights or parking lights are left on after the
ignition is turned OFF, a chime will sound to alert the
driver when the driver’s door is opened.
Turn Signal Operation
3
UNDERSTANDING THE FEATURES OF YOUR VEHICLE 169
Page 172 of 695
High/Low Beam Switch
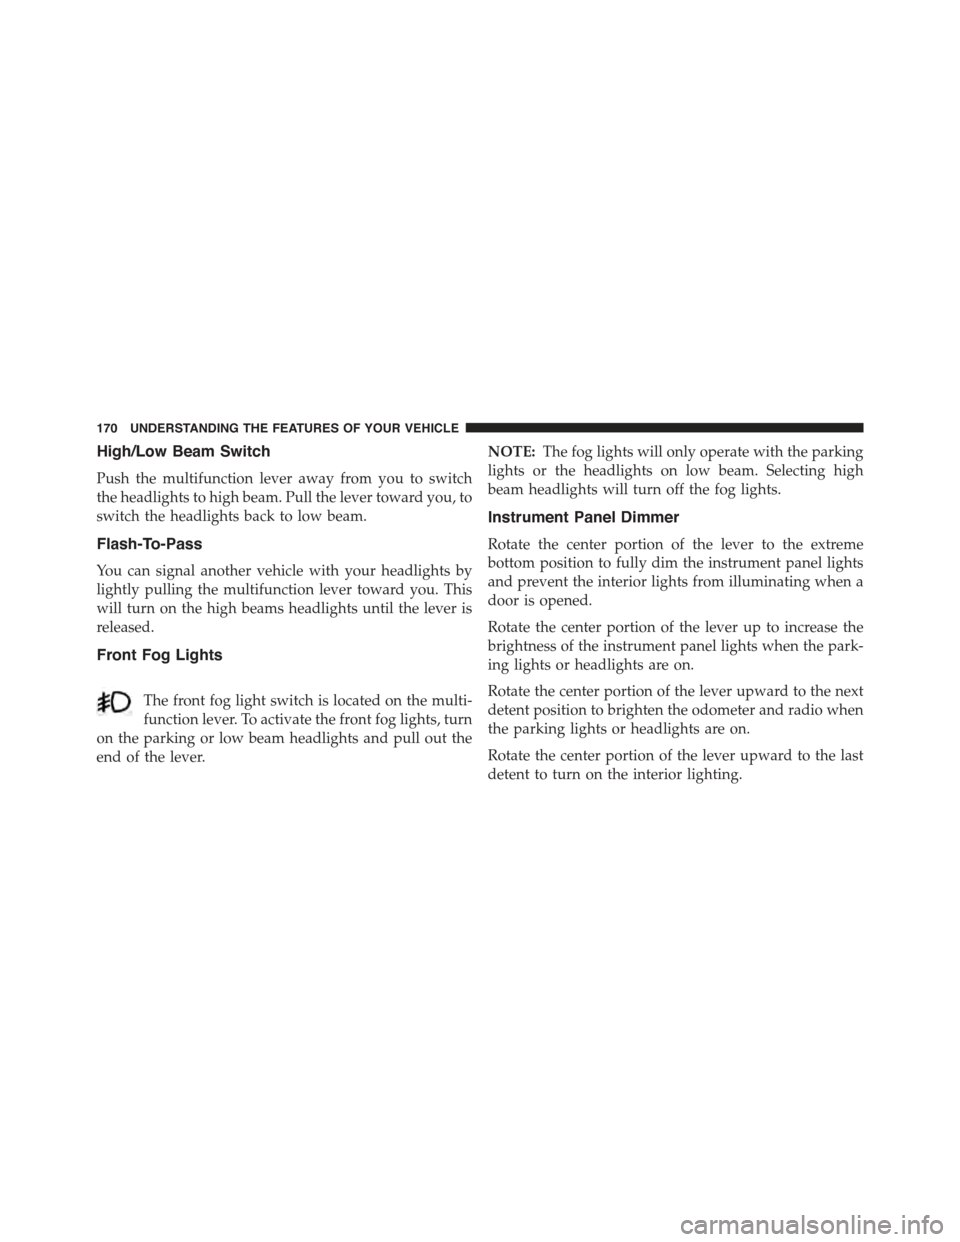
Push the multifunction lever away from you to switch
the headlights to high beam. Pull the lever toward you, to
switch the headlights back to low beam.
Flash-To-Pass
You can signal another vehicle with your headlights by
lightly pulling the multifunction lever toward you. This
will turn on the high beams headlights until the lever is
released.
Front Fog Lights
The front fog light switch is located on the multi-
function lever. To activate the front fog lights, turn
on the parking or low beam headlights and pull out the
end of the lever.
NOTE:The fog lights will only operate with the parking
lights or the headlights on low beam. Selecting high
beam headlights will turn off the fog lights.
Instrument Panel Dimmer
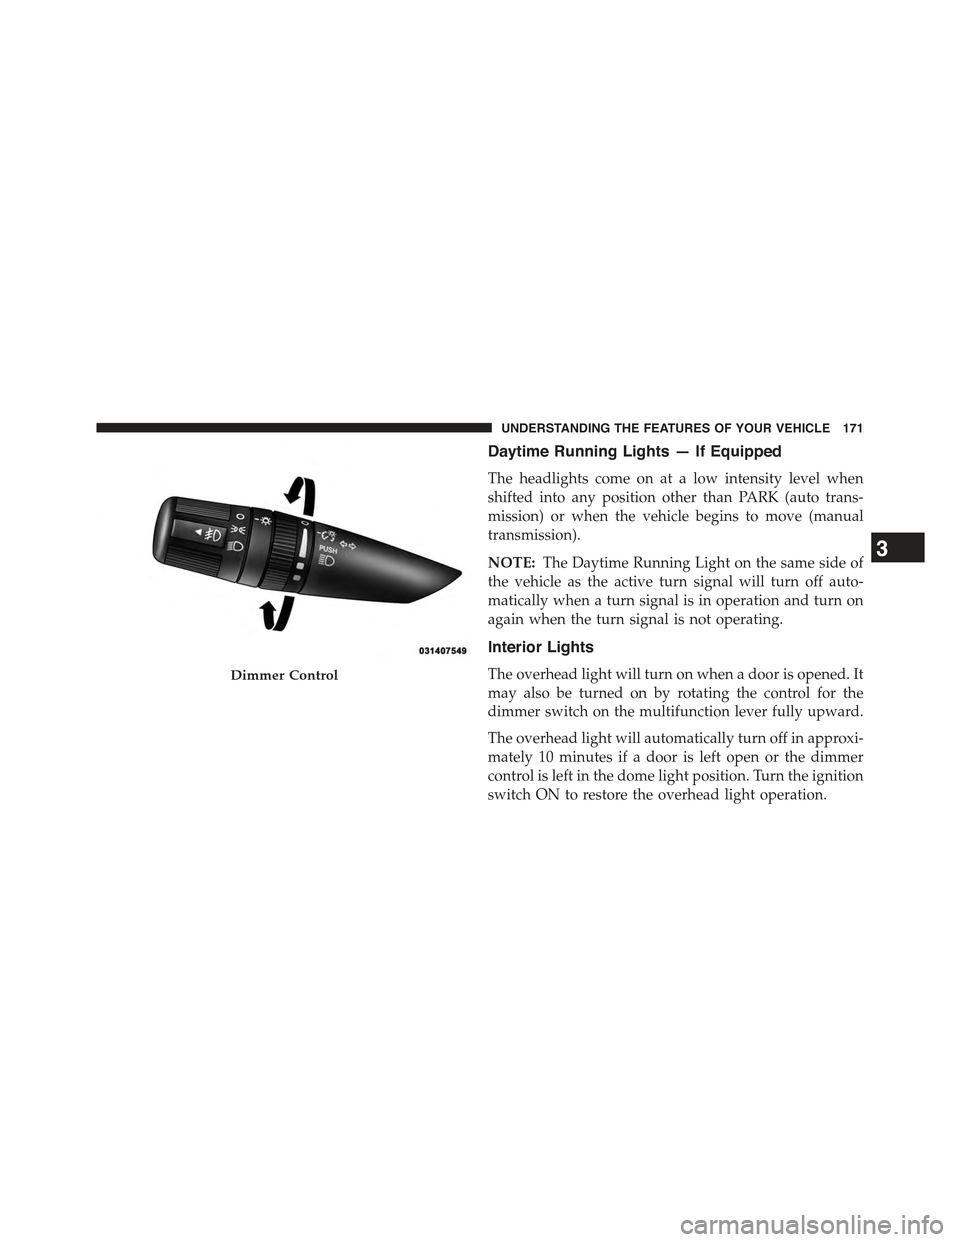
Rotate the center portion of the lever to the extreme
bottom position to fully dim the instrument panel lights
and prevent the interior lights from illuminating when a
door is opened.
Rotate the center portion of the lever up to increase the
brightness of the instrument panel lights when the park-
ing lights or headlights are on.
Rotate the center portion of the lever upward to the next
detent position to brighten the odometer and radio when
the parking lights or headlights are on.
Rotate the center portion of the lever upward to the last
detent to turn on the interior lighting.
170 UNDERSTANDING THE FEATURES OF YOUR VEHICLE
Page 173 of 695
Daytime Running Lights — If Equipped
The headlights come on at a low intensity level when
shifted into any position other than PARK (auto trans-
mission) or when the vehicle begins to move (manual
transmission).
NOTE:The Daytime Running Light on the same side of
the vehicle as the active turn signal will turn off auto-
matically when a turn signal is in operation and turn on
again when the turn signal is not operating.
Interior Lights
The overhead light will turn on when a door is opened. It
may also be turned on by rotating the control for the
dimmer switch on the multifunction lever fully upward.
The overhead light will automatically turn off in approxi-
mately 10 minutes if a door is left open or the dimmer
control is left in the dome light position. Turn the ignition
switch ON to restore the overhead light operation.
Dimmer Control
3
UNDERSTANDING THE FEATURES OF YOUR VEHICLE 171
Page 180 of 695
TILT STEERING COLUMN
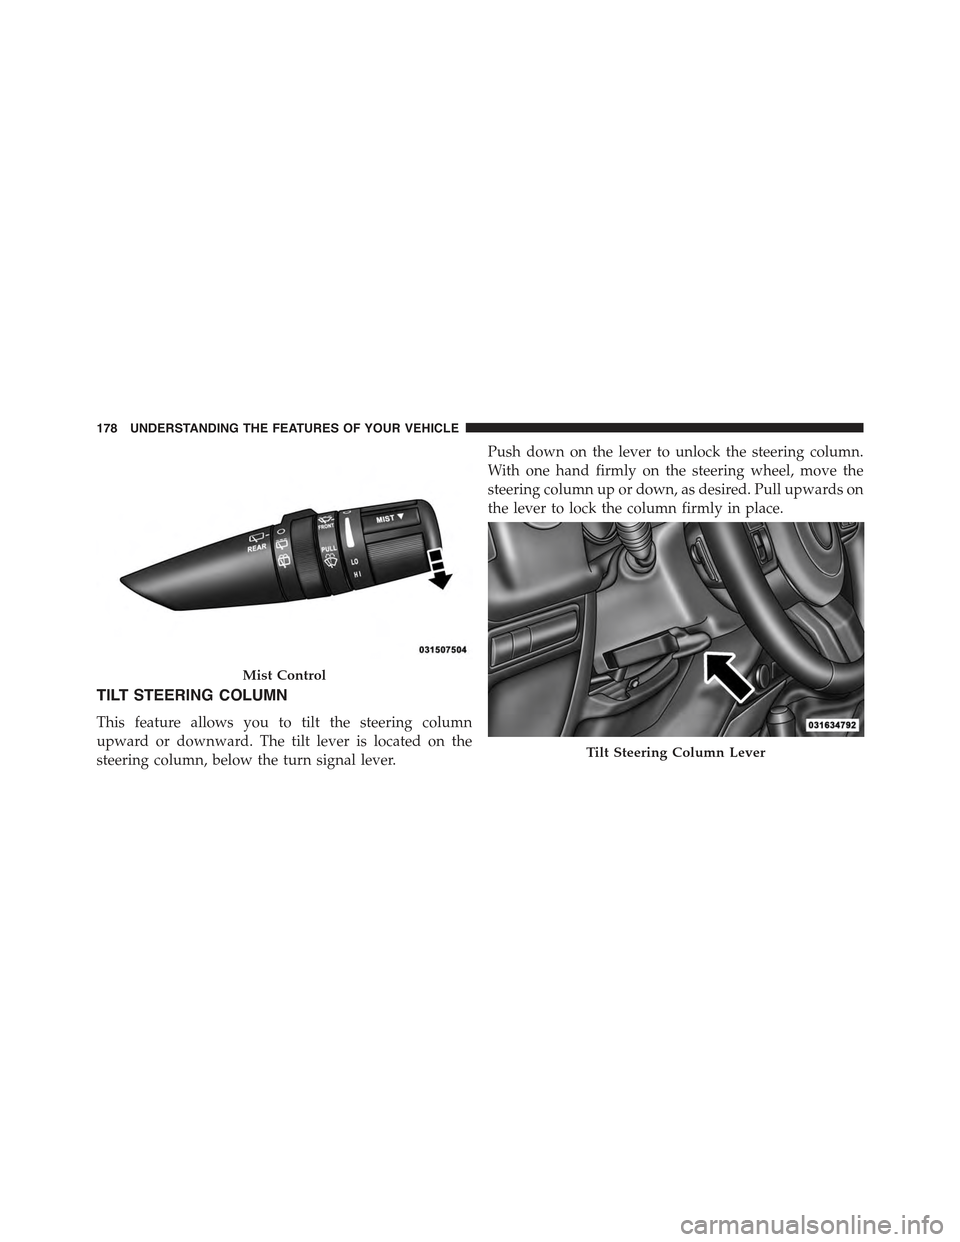
This feature allows you to tilt the steering column
upward or downward. The tilt lever is located on the
steering column, below the turn signal lever.
Push down on the lever to unlock the steering column.
With one hand firmly on the steering wheel, move the
steering column up or down, as desired. Pull upwards on
the lever to lock the column firmly in place.
Mist Control
Tilt Steering Column Lever
178 UNDERSTANDING THE FEATURES OF YOUR VEHICLE
Page 309 of 695
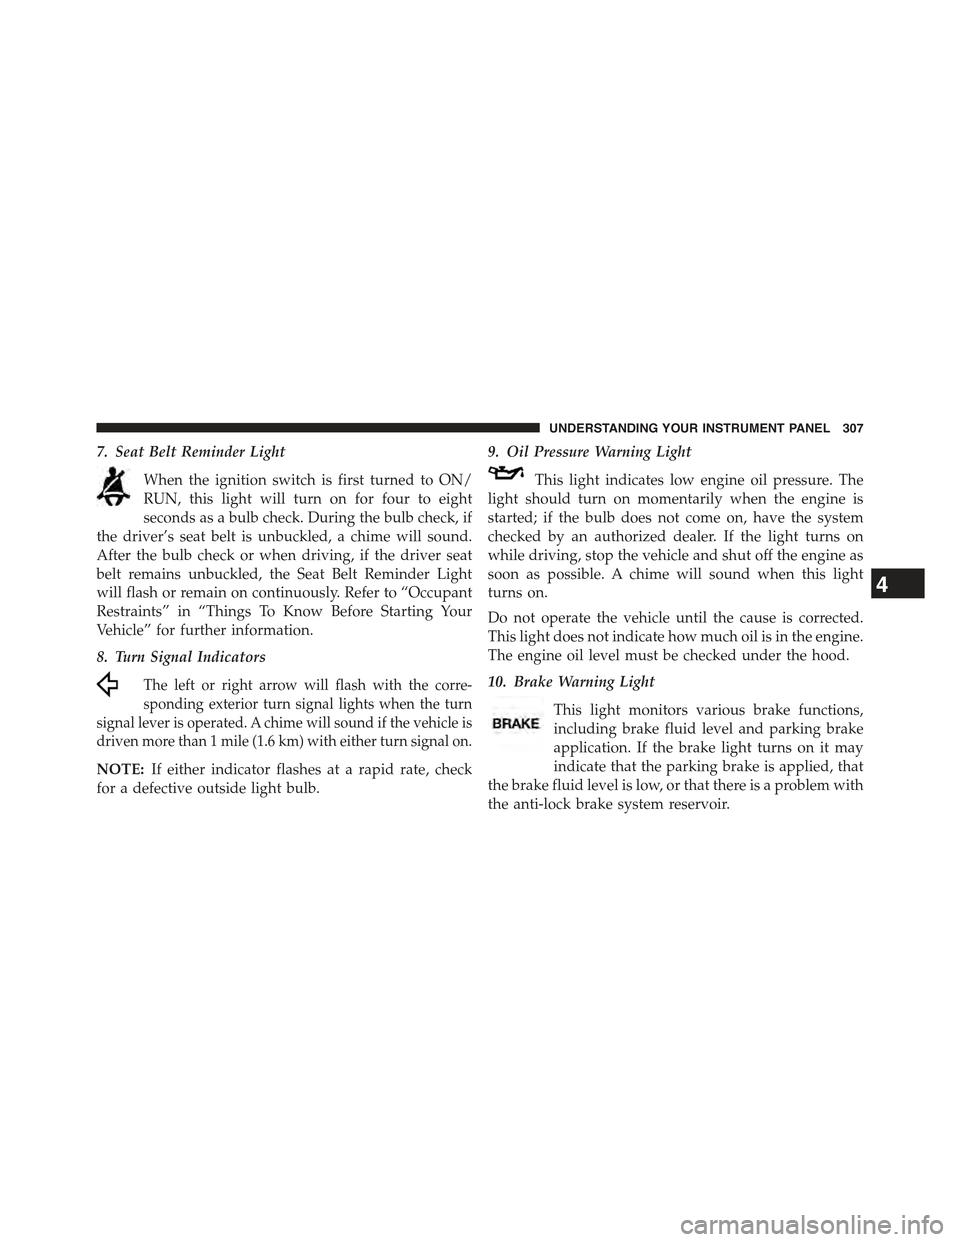
7. Seat Belt Reminder Light
When the ignition switch is first turned to ON/
RUN, this light will turn on for four to eight
seconds as a bulb check. During the bulb check, if
the driver’s seat belt is unbuckled, a chime will sound.
After the bulb check or when driving, if the driver seat
belt remains unbuckled, the Seat Belt Reminder Light
will flash or remain on continuously. Refer to “Occupant
Restraints” in “Things To Know Before Starting Your
Vehicle” for further information.
8. Turn Signal Indicators
The left or right arrow will flash with the corre-
sponding exterior turn signal lights when the turn
signal lever is operated. A chime will sound if the vehicle is
driven more than 1 mile (1.6 km) with either turn signal on.
NOTE:If either indicator flashes at a rapid rate, check
for a defective outside light bulb.
9. Oil Pressure Warning Light
This light indicates low engine oil pressure. The
light should turn on momentarily when the engine is
started; if the bulb does not come on, have the system
checked by an authorized dealer. If the light turns on
while driving, stop the vehicle and shut off the engine as
soon as possible. A chime will sound when this light
turns on.
Do not operate the vehicle until the cause is corrected.
This light does not indicate how much oil is in the engine.
The engine oil level must be checked under the hood.
10. Brake Warning Light
This light monitors various brake functions,
including brake fluid level and parking brake
application. If the brake light turns on it may
indicate that the parking brake is applied, that
the brake fluid level is low, or that there is a problem with
the anti-lock brake system reservoir.
4
UNDERSTANDING YOUR INSTRUMENT PANEL 307
Page 332 of 695
•SELECT Button
Push and release the SELECT button when
prompted by the EVIC to Reset Main Menu
features with a reset capability or to change
Personal Settings.
•DOWN Button
Push and release the DOWN button when
prompted by the EVIC to step through stored
system warning messages or Personal Settings
features.
Electronic Vehicle Information Center (EVIC)
Displays
When the appropriate conditions exist, the EVIC displays
the following messages:
•Low Tire Pressure
•Low Fuel
•Service TPM System (refer to#Tire Pressure Monitor-
ing System#in#Starting and Operating#)
•Premium TPM System Graphic Display
•Damaged Key
•Key in Ignition
•Turn Signal On (with a continuous warning chime)
•Left Front Turn Signal Lamp Out (with a single chime)
•Left Rear Turn Signal Lamp Out (with a single chime)
•Right Front Turn Signal Lamp Out (with a single
chime)
•Right Rear Turn Signal Lamp Out (with a single chime)
•Key Fob Battery Low (with a single chime)
•Personal Settings Not Avail. – Vehicle Not in Park —
automatic transmission
330 UNDERSTANDING YOUR INSTRUMENT PANEL
Page 341 of 695
RKE Unlock
WhenDriver Door 1st Pressis selected, only the driver’s
door will unlock on the first press of the Remote Keyless
Entry (RKE) transmitter UNLOCK button. When Driver
Door 1st Press is selected, you must press the RKE
transmitter UNLOCK button twice to unlock the passen-
ger’s doors. WhenAll Doors 1st Pressis selected, all of
the doors will unlock on the first press of the RKE
transmitter UNLOCK button. To make your selection,
press and release the SELECT button until “Driver Door
1st Press” or “All Doors 1st Press” appears.
Sound Horn With Lock
When on is selected, a short horn sound will occur when
the RKE transmitter LOCK button is pressed. This feature
may be selected with or without the Flash Lamp with
Lock feature. To make your selection, press and release
the SELECT button until “On” or “Off” appears.
Flash Lamp with Lock
When on is selected, the front and rear turn signals will
flash when the doors are locked or unlocked with the
RKE transmitter. This feature may be selected with or
without the Sound Horn with Lock feature selected. To
make your selection, press and release the SELECT
button until “On” or “Off” appears.
Headlamp Off Delay
When this feature is selected, the driver can choose to
have the headlights remain on for 0, 30, 60, or 90 seconds
when exiting the vehicle. To make your selection, press
and release the SELECT button until “0,” “30,” “60,” or
“90” appears.
4
UNDERSTANDING YOUR INSTRUMENT PANEL 339
Page 453 of 695
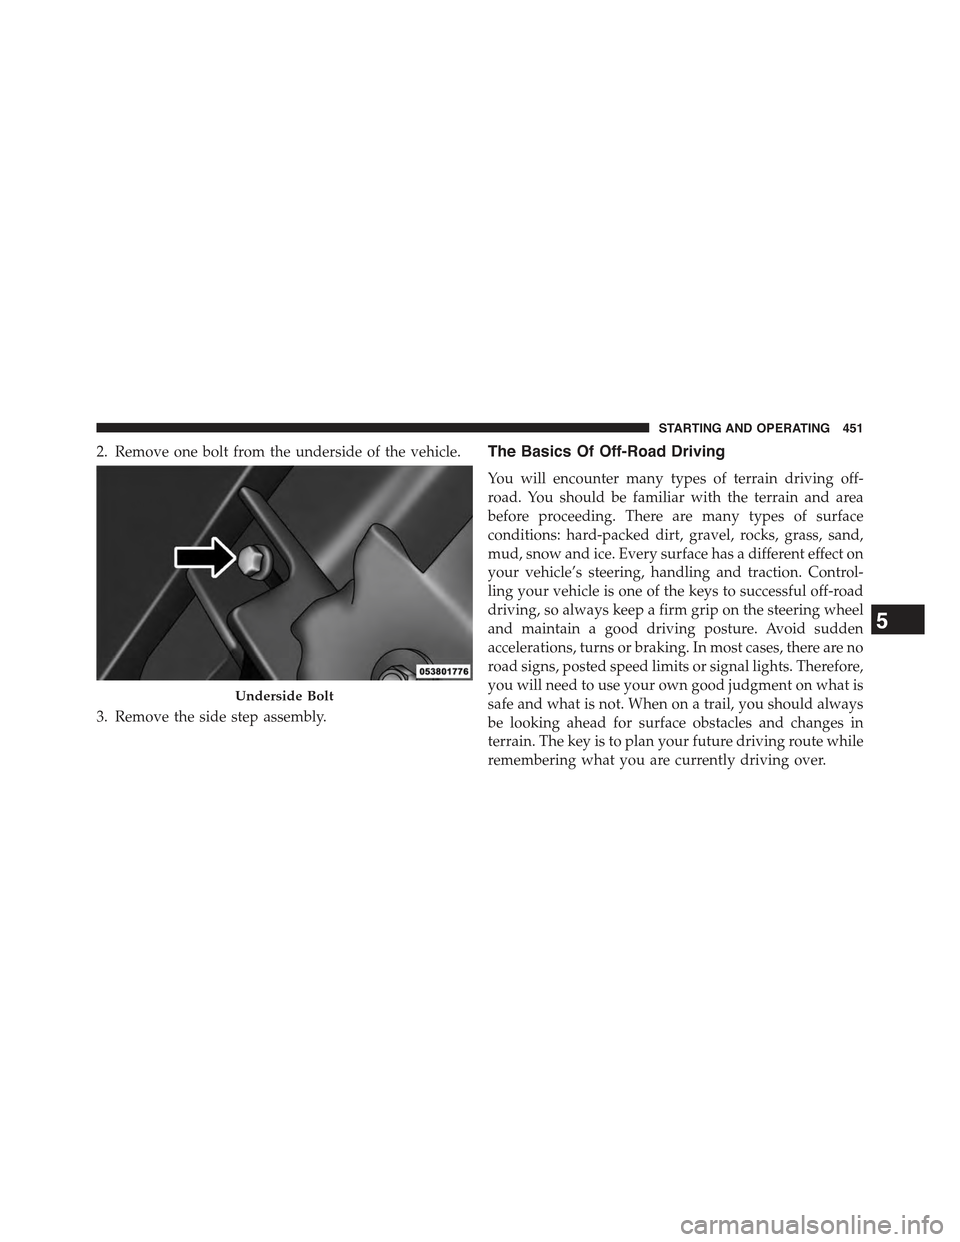
2. Remove one bolt from the underside of the vehicle.
3. Remove the side step assembly.
The Basics Of Off-Road Driving
You will encounter many types of terrain driving off-
road. You should be familiar with the terrain and area
before proceeding. There are many types of surface
conditions: hard-packed dirt, gravel, rocks, grass, sand,
mud, snow and ice. Every surface has a different effect on
your vehicle’s steering, handling and traction. Control-
ling your vehicle is one of the keys to successful off-road
driving, so always keep a firm grip on the steering wheel
and maintain a good driving posture. Avoid sudden
accelerations, turns or braking. In most cases, there are no
road signs, posted speed limits or signal lights. Therefore,
you will need to use your own good judgment on what is
safe and what is not. When on a trail, you should always
be looking ahead for surface obstacles and changes in
terrain. The key is to plan your future driving route while
remembering what you are currently driving over.
Underside Bolt
5
STARTING AND OPERATING 451
Page 520 of 695
The “Tire Pressure Monitoring Telltale Light” will flash
on and off for 75 seconds, and will remain on solid when
a system fault is detected. The system fault will also
sound a chime. If the ignition key is cycled, this sequence
will repeat, providing the system fault still exists. The
“Tire Pressure Monitoring Telltale Light” will turn off
when the fault condition no longer exists. A system fault
can occur by any of the following scenarios:
1. Jamming due to electronic devices or driving next to
facilities emitting the same Radio Frequencies as the
TPM sensors.
2. Installing some form of aftermarket window tinting
that affects radio wave signals.
3. Lots of snow or ice around the wheels or wheel
housings.
4. Using tire chains on the vehicle.
5. Using wheels/tires not equipped with TPM sensors.
Vehicles not equipped with EVIC will inform the driver
which tire(s) are low but not provide actual tire pressure.
The low tire ISO telltale will illuminate along with
“LoTIrE” message displayed in the ODO and then it will
scroll to which tire location is lower than the Placard
Value.
Tire location will be displayed as follows:
LF =LeftFront
rF =rightFront
Lr =Leftrear
rr =rightrear
518 STARTING AND OPERATING
Page 524 of 695
the pressure value(s) will stop “flashing,” and the Tire
Pressure Monitoring Telltale Light will extinguish once
the updated tire pressure(s) have been received.
NOTE:When filling warm tires, the tire pressure may
need to be increased up to an additional 4 psi (30 kPa)
above the recommended cold placard pressure in order
to turn the Tire Pressure Monitoring Telltale Light off.
The vehicle may need to be driven for up to 20 minutes
above 15 mph (24 km/h) to receive this information.
SERVICE TPM SYSTEM Warning
The “Tire Pressure Monitoring Telltale Light” will flash
on and off for 75 seconds, and remain on solid when a
system fault is detected. The system fault will also sound
a chime. The EVIC will display a “SERVICE TPM SYS-
TEM” message for a minimum of five seconds. This
message is then followed by a graphic display, with “- -“
in place of the pressure value(s), indicating which Tire
Pressure Monitoring Sensor(s) is not being received.
If the ignition switch is cycled, this sequence will repeat,
providing the system fault still exists. If the system fault
no longer exists, the “Tire Pressure Monitoring Telltale
Light” will no longer flash, the#SERVICE TPM SYSTEM#
message will not be present, and a pressure value will be
displayed instead of dashes. A system fault can occur by
any of the following:
1. Jamming due to electronic devices or driving next to
facilities emitting the same Radio Frequencies as the
TPM sensors.
2. Installing some form of aftermarket window tinting
that affects radio wave signals.
3. Lots of snow or ice around the wheels or wheel
housings.
4. Using tire chains on the vehicle.
5. Using wheels/tires not equipped with TPM sensors.
522 STARTING AND OPERATING