turn signal JEEP WRANGLER 2015 JK / 3.G Owner's Manual
[x] Cancel search | Manufacturer: JEEP, Model Year: 2015, Model line: WRANGLER, Model: JEEP WRANGLER 2015 JK / 3.GPages: 695, PDF Size: 20.64 MB
Page 552 of 695
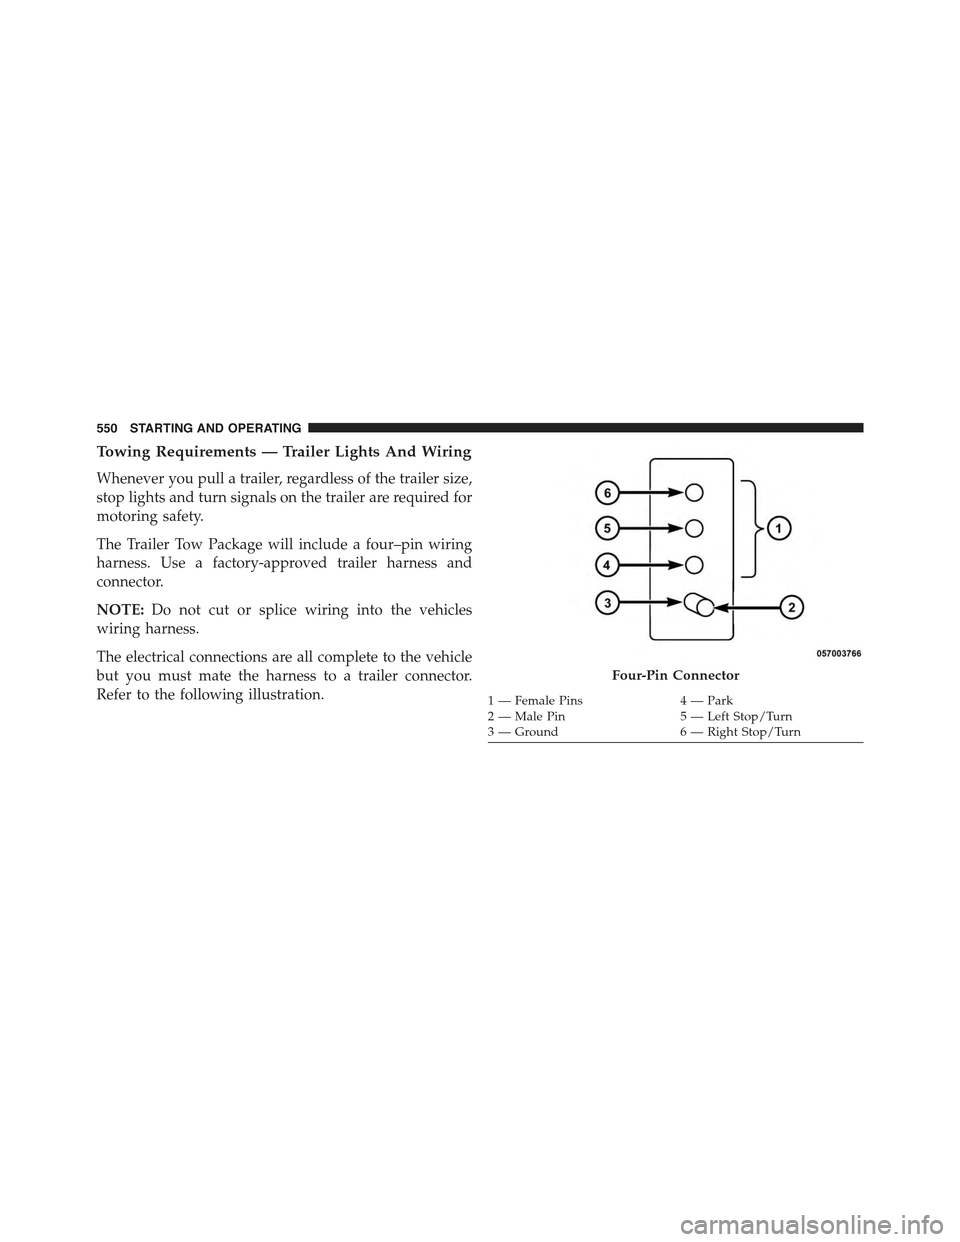
Towing Requirements — Trailer Lights And Wiring
Whenever you pull a trailer, regardless of the trailer size,
stop lights and turn signals on the trailer are required for
motoring safety.
The Trailer Tow Package will include a four–pin wiring
harness. Use a factory-approved trailer harness and
connector.
NOTE:Do not cut or splice wiring into the vehicles
wiring harness.
The electrical connections are all complete to the vehicle
but you must mate the harness to a trailer connector.
Refer to the following illustration.
Four-Pin Connector
1 — Female Pins4 — Park2 — Male Pin5 — Left Stop/Turn3—Ground6—RightStop/Turn
550 STARTING AND OPERATING
Page 562 of 695
HAZARD WARNING FLASHERS
The Hazard Warning flasher switch is located on the
instrument panel below the climate controls.
Press the switch to turn on the Hazard Warning
flasher. When the switch is activated, all direc-
tional turn signals will flash on and off to warn oncoming
traffic of an emergency. Press the switch a second time to
turn off the Hazard Warning flashers.
This is an emergency warning system and it should not
be used when the vehicle is in motion. Use it when your
vehicle is disabled and it is creating a safety hazard for
other motorists.
When you must leave the vehicle to seek assistance, the
Hazard Warning flashers will continue to operate even
though the ignition is placed in the OFF position.
NOTE:With extended use the Hazard Warning flashers
may wear down your battery.
IF YOUR ENGINE OVERHEATS
In any of the following situations, you can reduce the
potential for overheating by taking the appropriate ac-
tion.
•On the highways — slow down.
•In city traffic — while stopped, shift transmission into
NEUTRAL, but do not increase engine idle speed.
CAUTION!
Driving with a hot cooling system could damage
your vehicle. If the temperature gauge reads HOT
(H), pull over and stop the vehicle. Idle the vehicle
with the air conditioner turned off until the pointer
drops back into the normal range. If the pointer
remains on HOT (H), and you hear continuous
chimes, turn the engine off immediately, and call for
service.
560 WHAT TO DO IN EMERGENCIES
Page 584 of 695
▫Automatic Transmission — If Equipped.....619
▫Clutch Hydraulic System (Manual Transmission)
— If Equipped.......................623
▫Manual Transmission — If Equipped.......623
▫Transfer Case........................624
▫Front/Rear Axle Fluid..................625
▫Appearance Care And Protection From
Corrosion...........................625
!FUSES..............................633
▫Totally Integrated Power Module..........634
!VEHICLE STORAGE....................640
!REPLACEMENT BULBS.................641
!BULB REPLACEMENT..................642
▫Headlamp..........................642
▫Front Park/Turn Signal.................643
▫Front Side Marker.....................643
▫Front Fog Lamp......................644
▫Rear Tail, Stop, Turn Signal, And Backup
Lamp.............................644
▫Center High-Mounted Stop Lamp (CHMSL) . . .645
!FLUID CAPACITIES....................646
!FLUIDS, LUBRICANTS AND GENUINE
PA R T S . . . . . . . . . . . . . . . . . . . . . . . . . . . . ..647
▫Engine.............................647
▫Chassis............................649
582 MAINTAINING YOUR VEHICLE
Page 643 of 695
REPLACEMENT BULBS
Interior Bulbs
Bulb Number
Automatic Transmission Indicator Lamp658
Heater Control Lamps (2)194
Rocker Switch Indicator Lamp (Rear Window Defog-
ger, and Rear Wash/Wipe)
**
Soundbar Dome Lamp912
** Bulbs only available from authorized dealer.
Exterior Bulbs
Bulb Number
Headlamps (2)H13
Front Park/Turn Signal Lamps (2)3157NA
Front Side Marker Lamps (2)168
Fog LampsPSX24W
7
MAINTAINING YOUR VEHICLE 641
Page 644 of 695
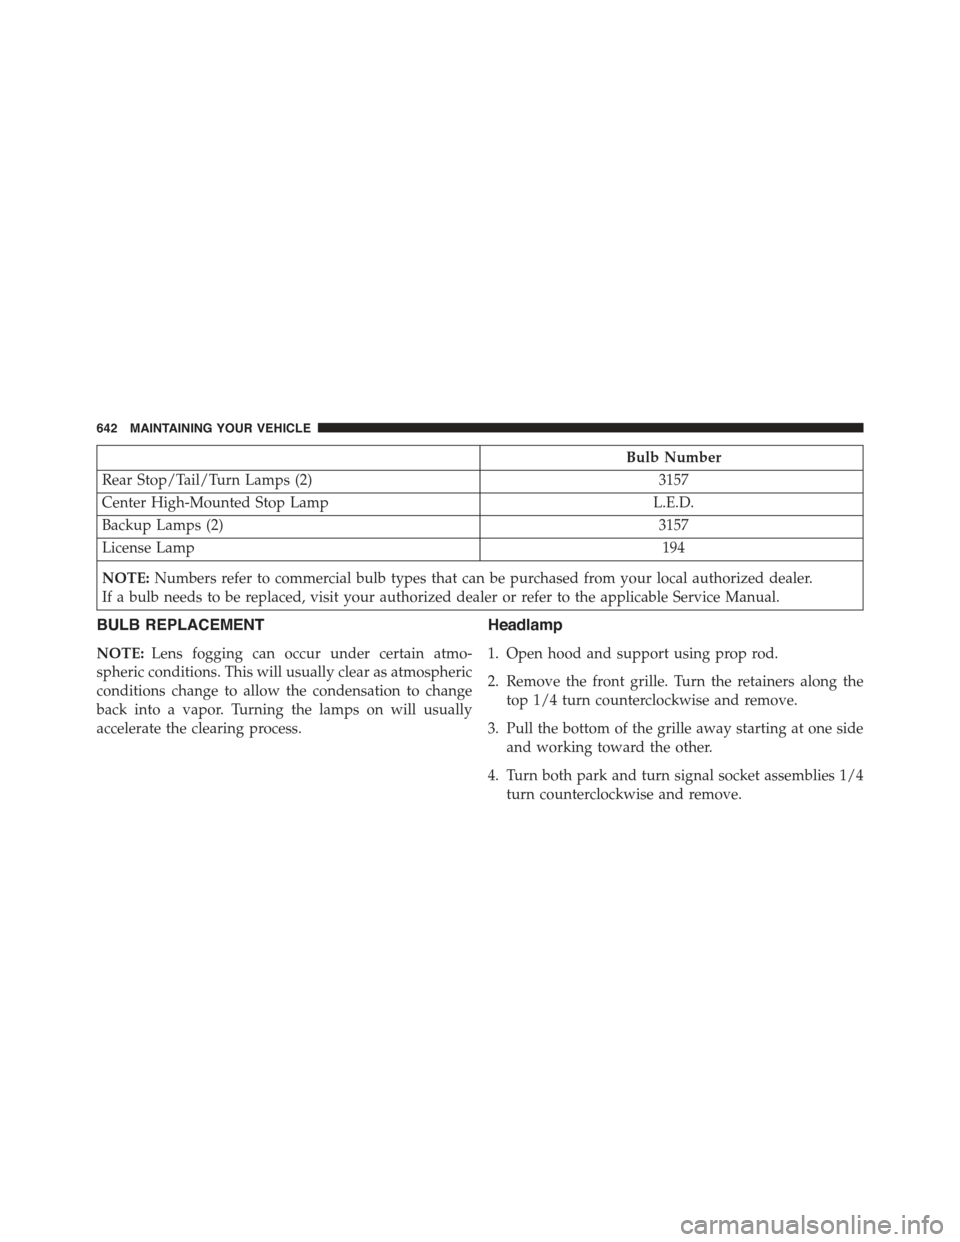
Bulb Number
Rear Stop/Tail/Turn Lamps (2)3157
Center High-Mounted Stop LampL.E.D.
Backup Lamps (2)3157
License Lamp194
NOTE:Numbers refer to commercial bulb types that can be purchased from your local authorized dealer.
If a bulb needs to be replaced, visit your authorized dealer or refer to the applicable Service Manual.
BULB REPLACEMENT
NOTE:Lens fogging can occur under certain atmo-
spheric conditions. This will usually clear as atmospheric
conditions change to allow the condensation to change
back into a vapor. Turning the lamps on will usually
accelerate the clearing process.
Headlamp
1. Open hood and support using prop rod.
2. Remove the front grille. Turn the retainers along the
top 1/4 turn counterclockwise and remove.
3. Pull the bottom of the grille away starting at one side
and working toward the other.
4. Turn both park and turn signal socket assemblies 1/4
turn counterclockwise and remove.
642 MAINTAINING YOUR VEHICLE
Page 645 of 695
5. Remove the four screws holding the metal retaining
ring.
6. Remove the lamp from the collar.
7. Grasp the bulb and turn 1/4 turn counterclockwise.
8. Pull the bulb from the housing.
9. Push connector locking tab to the unlock position.
10. Remove connector from bulb.
11. Push connector onto new bulb base, and push the
connector locking tab to the lock position.
CAUTION!
Do not touch the new bulb with your fingers. Oil
contamination will severely shorten bulb life. If the
bulb comes in contact with any oily surface, clean the
bulb with rubbing alcohol.
12. Reinstall bulb housing. Rotate the bulb 1/4 turn
clockwise.
Front Park/Turn Signal
1. Remove the front grille. Turn the retainers along the
top 1/4 turn counterclockwise and remove.
2. Pull the bottom of the grille away starting at one side
and working toward the other.
3. Turn the socket assembly 1/4 turn counterclockwise
and remove from housing. Pull the bulb straight from
the socket to replace.
Front Side Marker
1. Reach under the front fender flare and locate the front
side marker socket.
2. Turn the socket assembly counterclockwise 1/3 turn
and remove it from the housing. Pull the bulb straight
from the socket to replace.
7
MAINTAINING YOUR VEHICLE 643
Page 646 of 695
Front Fog Lamp
1. Reach under the vehicle to access the back of the front
fog lamp.
2. Disconnect the wire harness connector from the front
fog lamp connector receptacle.
3. Firmly grasp the bulb by the two latch features and
squeeze them together to unlock the bulb from the
back of the front fog lamp housing.
4. Pull the bulb straight out from the keyed opening in
the housing and then connect the replacement bulb.
CAUTION!
Do not touch the new bulb with your fingers. Oil
contamination will severely shorten bulb life. If the
bulb comes in contact with any oily surface, clean the
bulb with rubbing alcohol.
Rear Tail, Stop, Turn Signal, And Backup Lamp
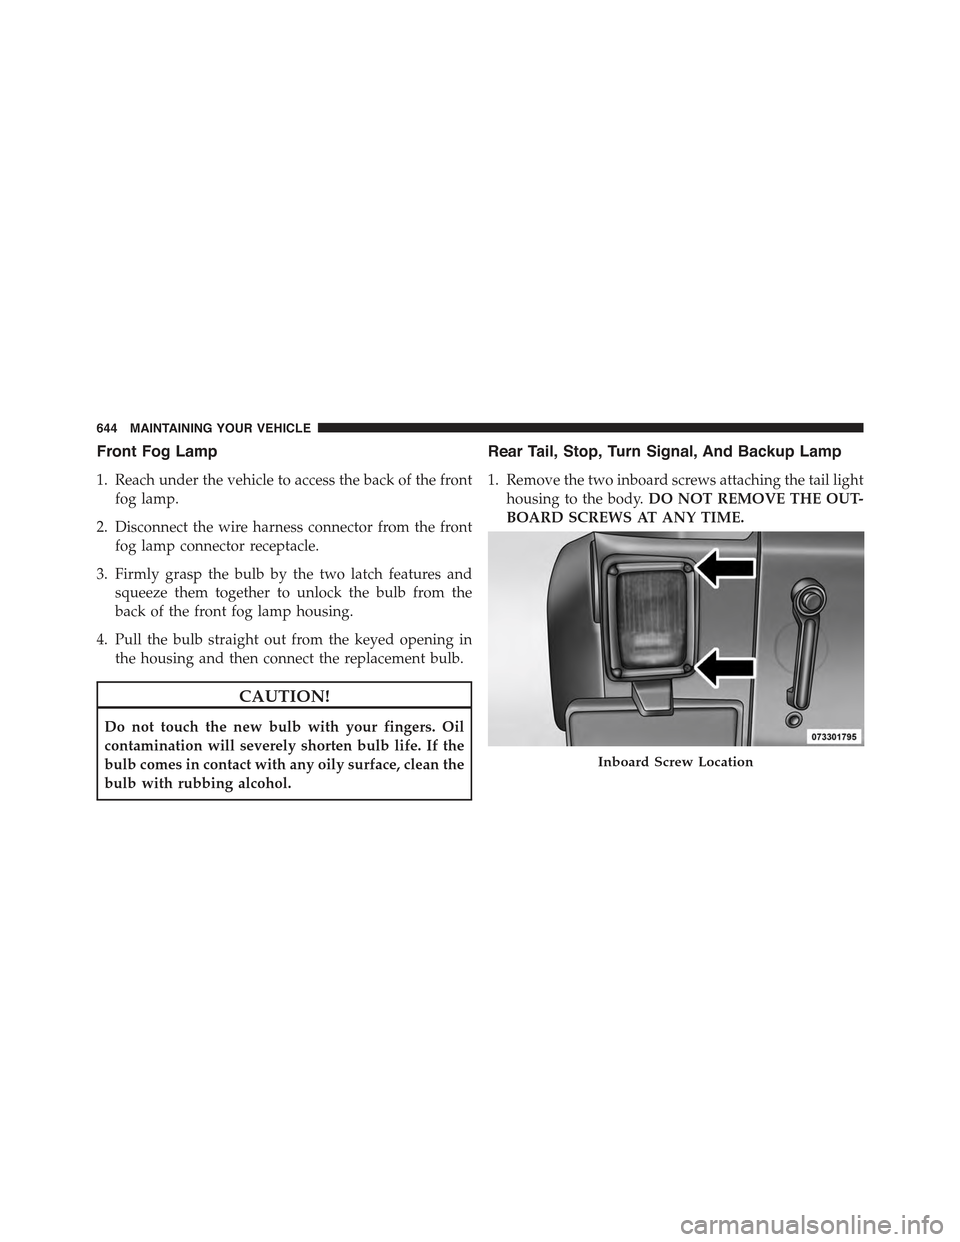
1. Remove the two inboard screws attaching the tail light
housing to the body.DO NOT REMOVE THE OUT-
BOARD SCREWS AT ANY TIME.
Inboard Screw Location
644 MAINTAINING YOUR VEHICLE
Page 680 of 695
Flashers
Hazard Warning........................560
Turn Signal...........................103
Flash-To-Pass............................170
Flooded Engine Starting....................422
Fluid, Brake.............................649
Fluid Capacities..........................646
Fluid Leaks.............................103
Fluid Level Checks........................625
Engine Oil............................588
Manual Transmission....................623
Power Steering.........................465
Fluids, Lubricants and Genuine Parts...........647
Fog Lights..............................170
Fog Light Service.........................644
Fold and Tumble Rear Seat..................161
Folding Rear Seat.........................163
Folding Windshield........................291
Four-Way Hazard Flasher...................560
Four Wheel Drive.........................441
Four Wheel Drive Operation.................441
Freeing A Stuck Vehicle.....................574
Front Axle (Differential).....................625
Fuel...................................525
Adding..............................530
Additives.............................528
Clean Air.............................526
Ethanol..............................526
Filler Cap (Gas Cap).....................530
Gasoline..............................525
Gauge...............................306
Materials Added........................528
Methanol.............................526
Octane Rating..........................525
Requirements..........................525
Specifications..........................647
Tank Capacity..........................646
Fueling................................530
678 INDEX
Page 683 of 695
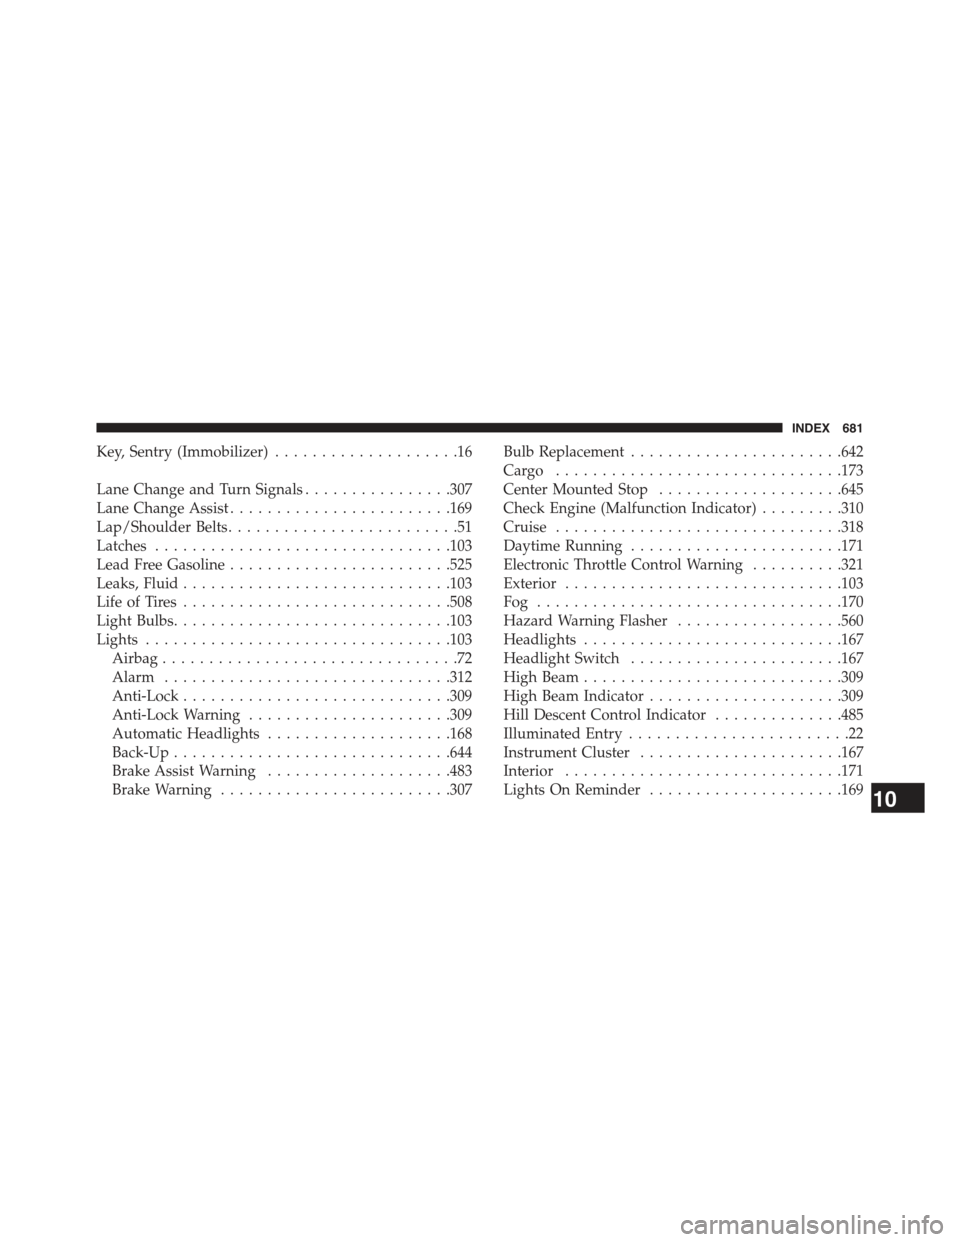
Key, Sentry (Immobilizer)....................16
Lane Change and Turn Signals................307
Lane Change Assist........................169
Lap/Shoulder Belts.........................51
Latches................................103
Lead Free Gasoline........................525
Leaks, Fluid.............................103
Life of Tires.............................508
Light Bulbs..............................103
Lights.................................103
Airbag................................72
Alarm...............................312
Anti-Lock.............................309
Anti-Lock Warning......................309
Automatic Headlights....................168
Back-Up..............................644
Brake Assist Warning....................483
Brake Warning.........................307
Bulb Replacement.......................642
Cargo . . . . . . . . . . . . . . . . . . . . . . . . . . . . . ..173
Center Mounted Stop....................645
Check Engine (Malfunction Indicator).........310
Cruise...............................318
Daytime Running.......................171
Electronic Throttle Control Warning..........321
Exterior..............................103
Fog . . . . . . . . . . . . . . . . . . . . . . . . . . . . . . . ..170
Hazard Warning Flasher..................560
Headlights............................167
Headlight Switch.......................167
High Beam............................309
High Beam Indicator.....................309
Hill Descent Control Indicator..............485
Illuminated Entry........................22
Instrument Cluster......................167
Interior..............................171
LightsOn Reminder.....................16910
INDEX 681
Page 684 of 695
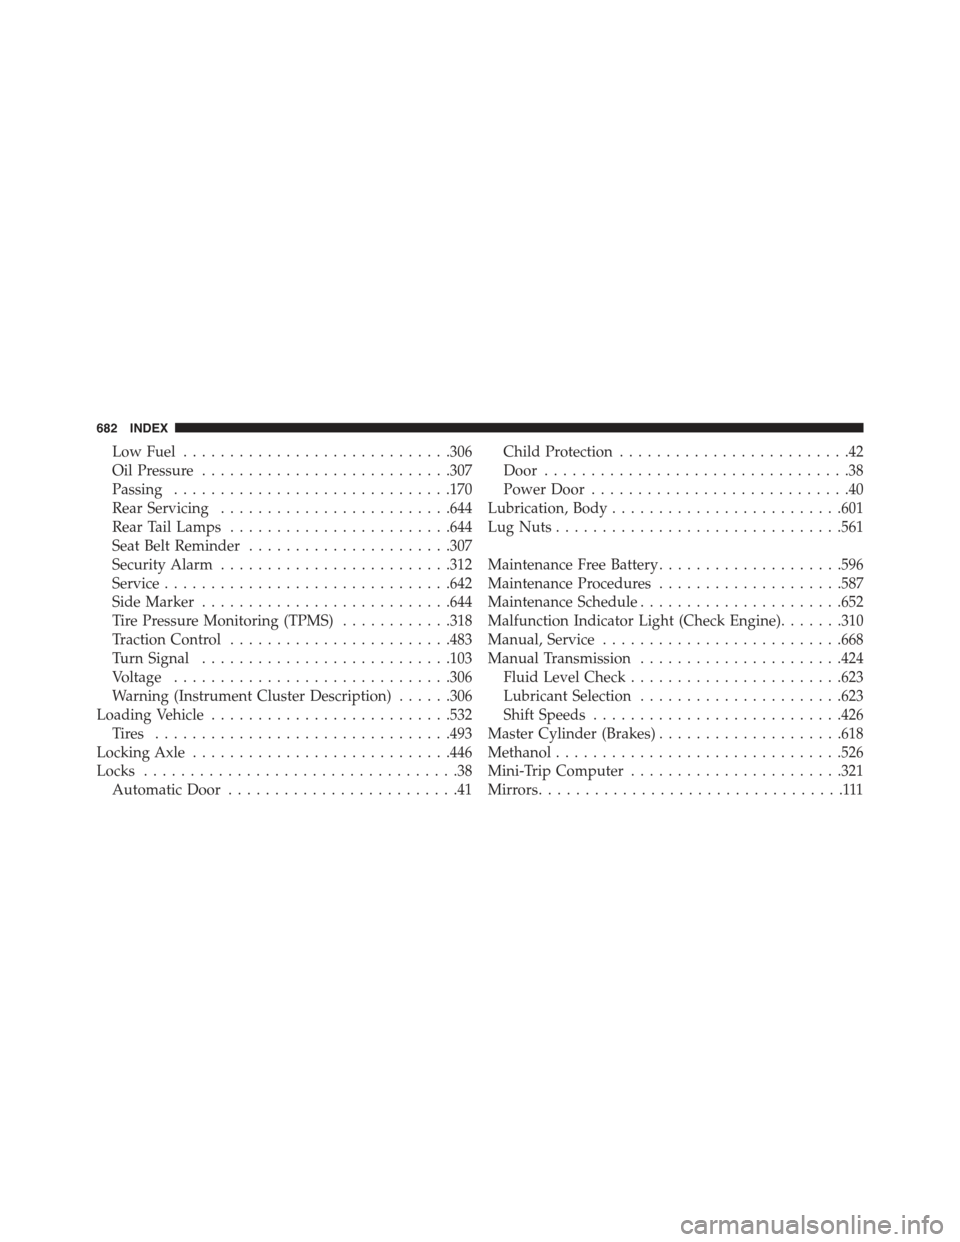
Low Fuel.............................306
Oil Pressure...........................307
Passing..............................170
Rear Servicing.........................644
Rear Tail Lamps........................644
Seat Belt Reminder......................307
Security Alarm.........................312
Service...............................642
Side Marker...........................644
Tire Pressure Monitoring (TPMS)............318
Traction Control........................483
Turn Signal...........................103
Voltage..............................306
Warning (Instrument Cluster Description)......306
Loading Vehicle..........................532
Ti re s . . . . . . . . . . . . . . . . . . . . . . . . . . . . . . ..493
Locking Axle............................446
Locks..................................38
Automatic Door.........................41
Child Protection.........................42
Door.................................38
Power Door............................40
Lubrication, Body.........................601
Lug Nuts...............................561
Maintenance Free Battery....................596
Maintenance Procedures....................587
Maintenance Schedule......................652
Malfunction Indicator Light (Check Engine).......310
Manual, Service..........................668
Manual Transmission......................424
Fluid Level Check.......................623
Lubricant Selection......................623
Shift Speeds...........................426
Master Cylinder (Brakes)....................618
Methanol...............................526
Mini-Trip Computer.......................321
Mirrors.................................111
682 INDEX