JEEP WRANGLER 2017 JK / 3.G Repair Manual
Manufacturer: JEEP, Model Year: 2017, Model line: WRANGLER, Model: JEEP WRANGLER 2017 JK / 3.GPages: 527, PDF Size: 5.34 MB
Page 61 of 527
If the lever is pulled while in the off position, the wipers
will operate for two or three wipe cycles. Then, the wipers
will turn off.
WARNING!
Sudden loss of visibility through the windshield could
lead to a collision. You might not see other vehicles or
other obstacles. To avoid sudden icing of the wind-
shield during freezing weather, warm the windshield
with the defroster before and during windshield
washer use.
Mist Feature
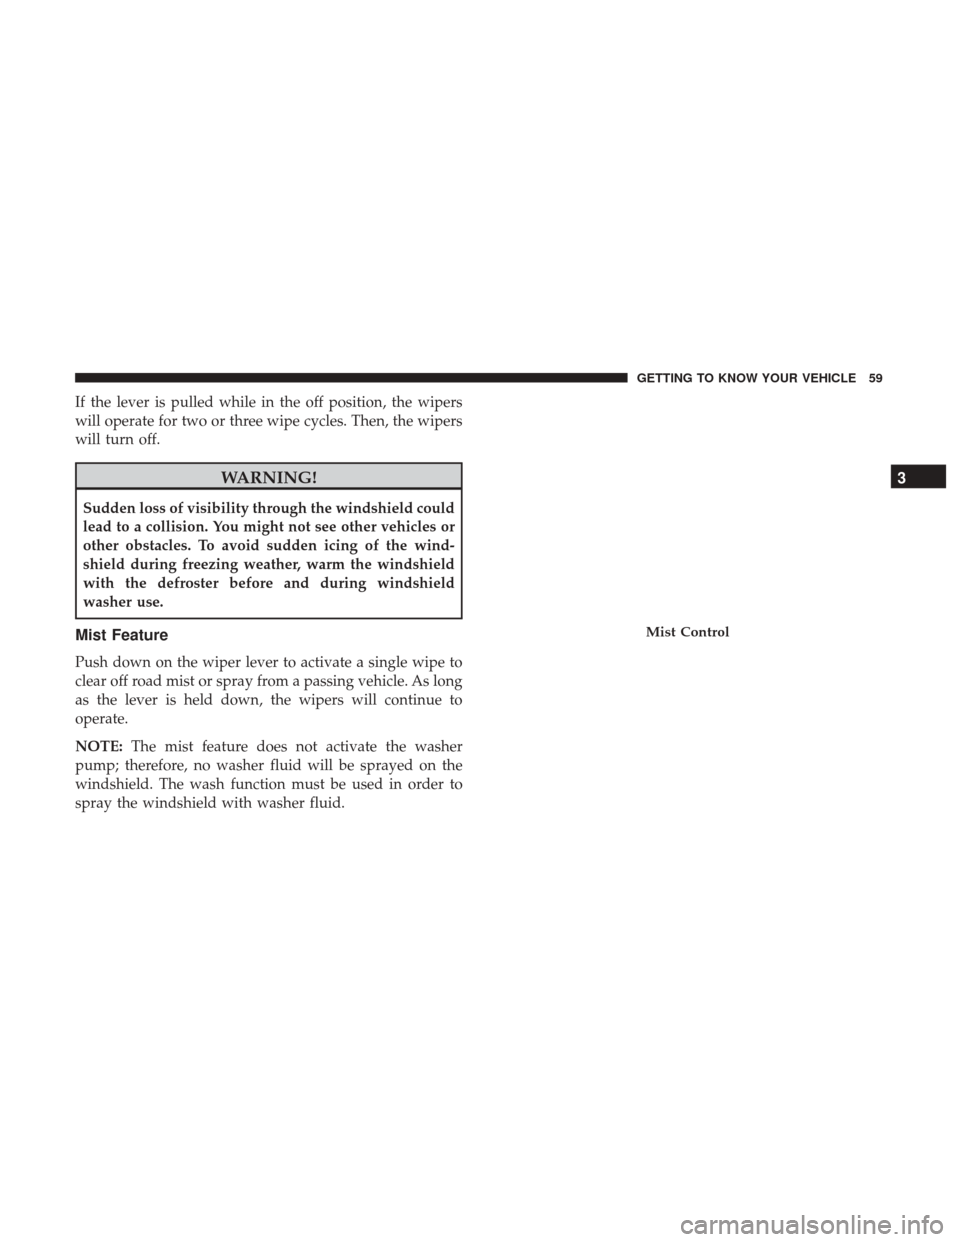
Push down on the wiper lever to activate a single wipe to
clear off road mist or spray from a passing vehicle. As long
as the lever is held down, the wipers will continue to
operate.
NOTE:The mist feature does not activate the washer
pump; therefore, no washer fluid will be sprayed on the
windshield. The wash function must be used in order to
spray the windshield with washer fluid.
Mist Control
3
GETTING TO KNOW YOUR VEHICLE 59
Page 62 of 527
Rear Window Wiper/Washer — If Equipped
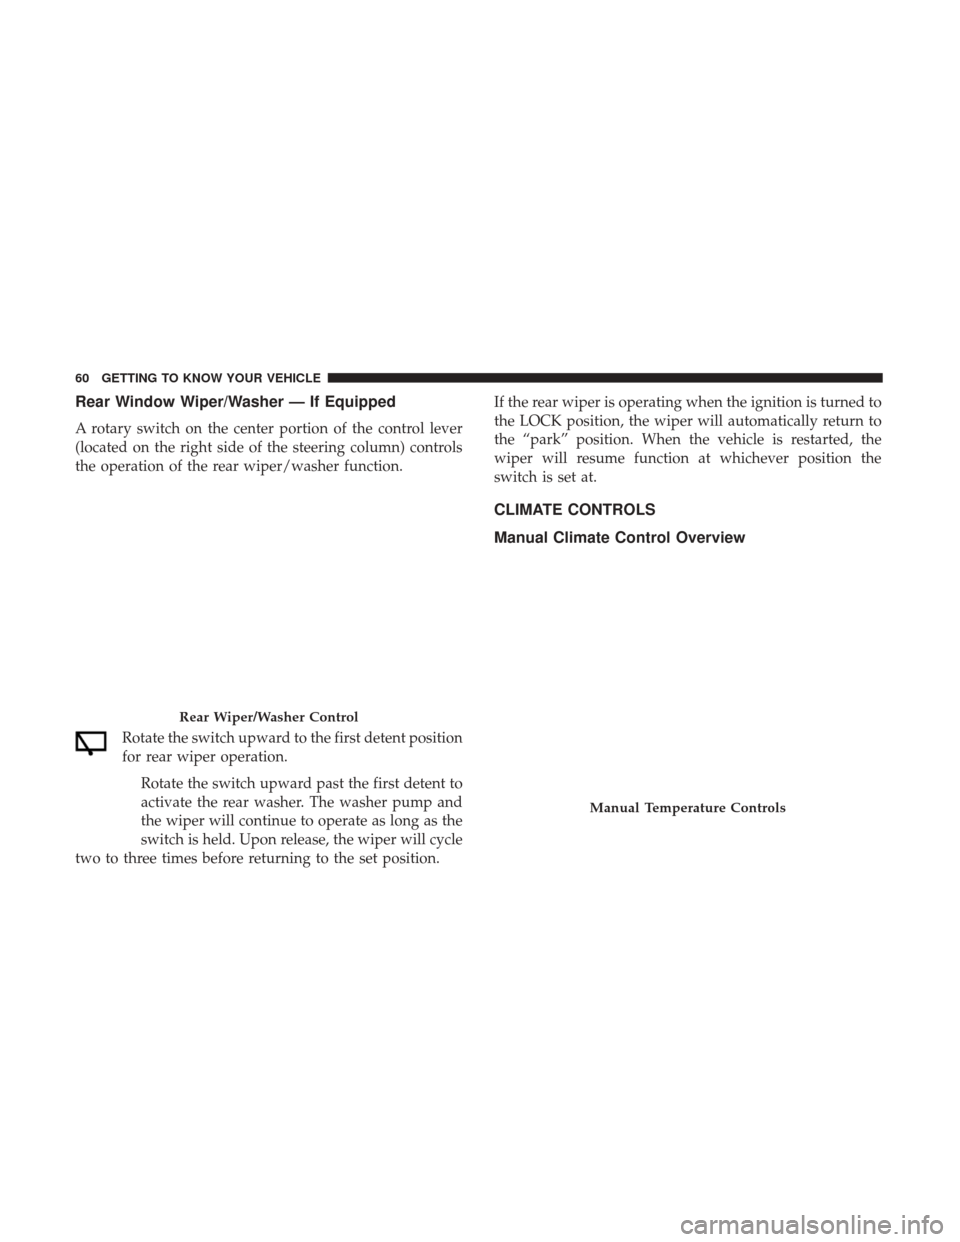
A rotary switch on the center portion of the control lever
(located on the right side of the steering column) controls
the operation of the rear wiper/washer function.Rotate the switch upward to the first detent position
for rear wiper operation.Rotate the switch upward past the first detent to
activate the rear washer. The washer pump and
the wiper will continue to operate as long as the
switch is held. Upon release, the wiper will cycle
two to three times before returning to the set position. If the rear wiper is operating when the ignition is turned to
the LOCK position, the wiper will automatically return to
the “park” position. When the vehicle is restarted, the
wiper will resume function at whichever position the
switch is set at.
CLIMATE CONTROLS
Manual Climate Control Overview
Rear Wiper/Washer Control
Manual Temperature Controls
60 GETTING TO KNOW YOUR VEHICLE
Page 63 of 527
Manual Climate Control Descriptions
IconDescription
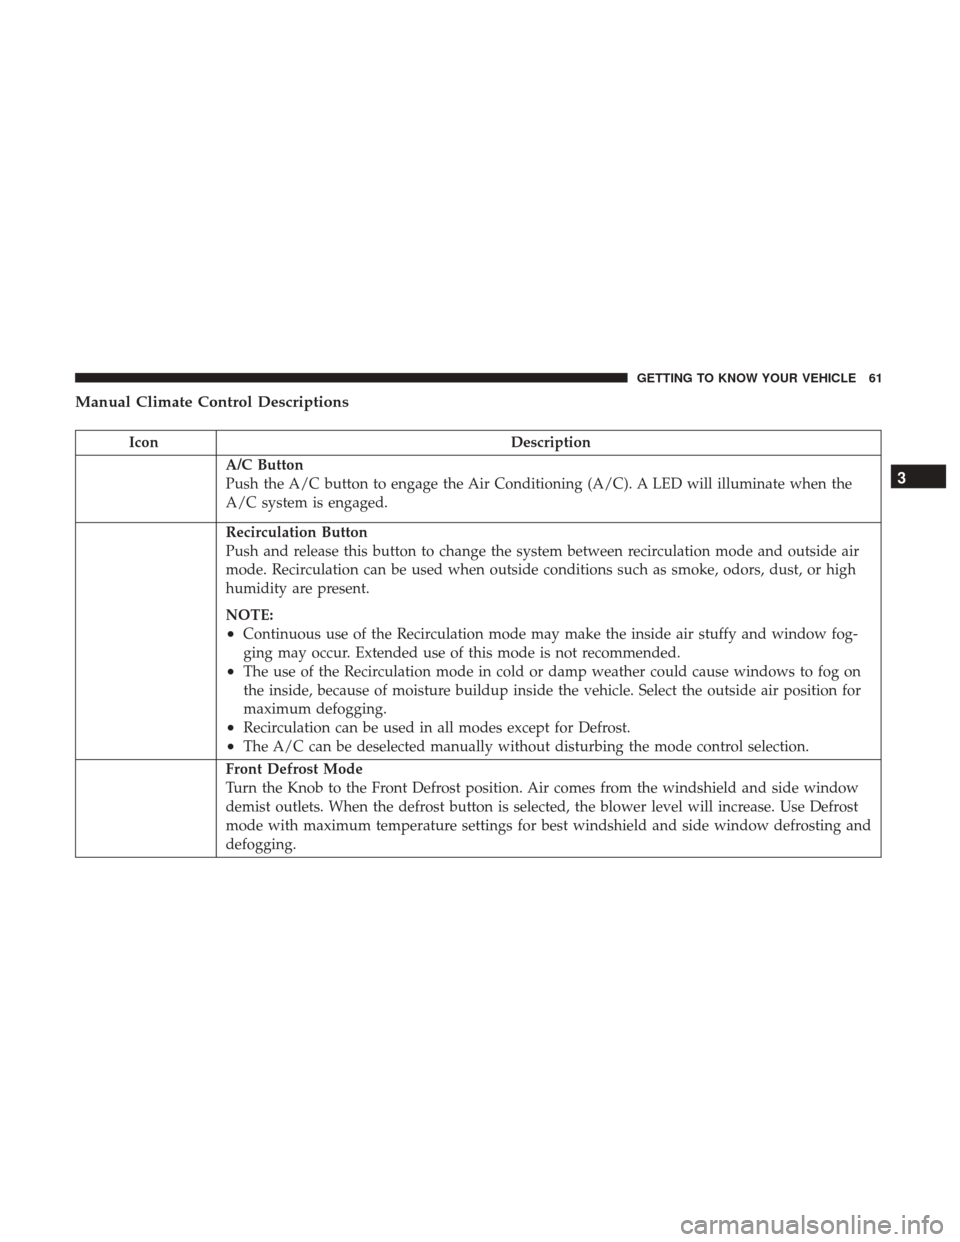
A/C Button
Push the A/C button to engage the Air Conditioning (A/C). A LED will illuminate when the
A/C system is engaged.
Recirculation Button
Push and release this button to change the system between recirculation mode and outside air
mode. Recirculation can be used when outside conditions such as smoke, odors, dust, or high
humidity are present.
NOTE:
•Continuous use of the Recirculation mode may make the inside air stuffy and window fog-
ging may occur. Extended use of this mode is not recommended.
•The use of the Recirculation mode in cold or damp weather could cause windows to fog on
the inside, because of moisture buildup inside the vehicle. Select the outside air position for
maximum defogging.
•Recirculation can be used in all modes except for Defrost.
•The A/C can be deselected manually without disturbing the mode control selection.
Front Defrost Mode
Turn the Knob to the Front Defrost position. Air comes from the windshield and side window
demist outlets. When the defrost button is selected, the blower level will increase. Use Defrost
mode with maximum temperature settings for best windshield and side window defrosting and
defogging.
3
GETTING TO KNOW YOUR VEHICLE 61
Page 64 of 527
IconDescription
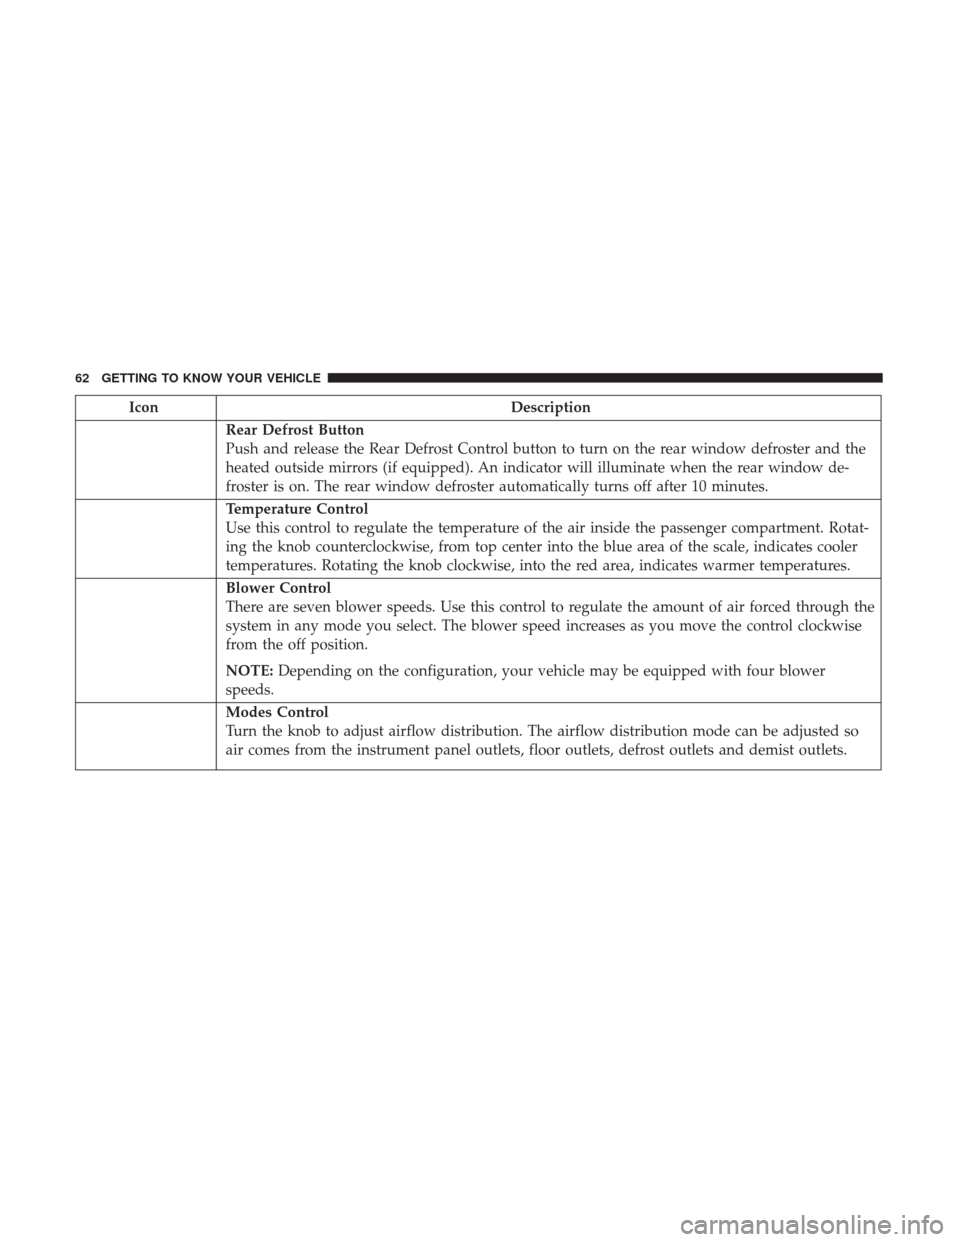
Rear Defrost Button
Push and release the Rear Defrost Control button to turn on the rear window defroster and the
heated outside mirrors (if equipped). An indicator will illuminate when the rear window de-
froster is on. The rear window defroster automatically turns off after 10 minutes.
Temperature Control
Use this control to regulate the temperature of the air inside the passenger compartment. Rotat-
ing the knob counterclockwise, from top center into the blue area of the scale, indicates cooler
temperatures. Rotating the knob clockwise, into the red area, indicates warmer temperatures.
Blower Control
There are seven blower speeds. Use this control to regulate the amount of air forced through the
system in any mode you select. The blower speed increases as you move the control clockwise
from the off position.
NOTE:Depending on the configuration, your vehicle may be equipped with four blower
speeds.
Modes Control
Turn the knob to adjust airflow distribution. The airflow distribution mode can be adjusted so
air comes from the instrument panel outlets, floor outlets, defrost outlets and demist outlets.
62 GETTING TO KNOW YOUR VEHICLE
Page 65 of 527
IconDescription
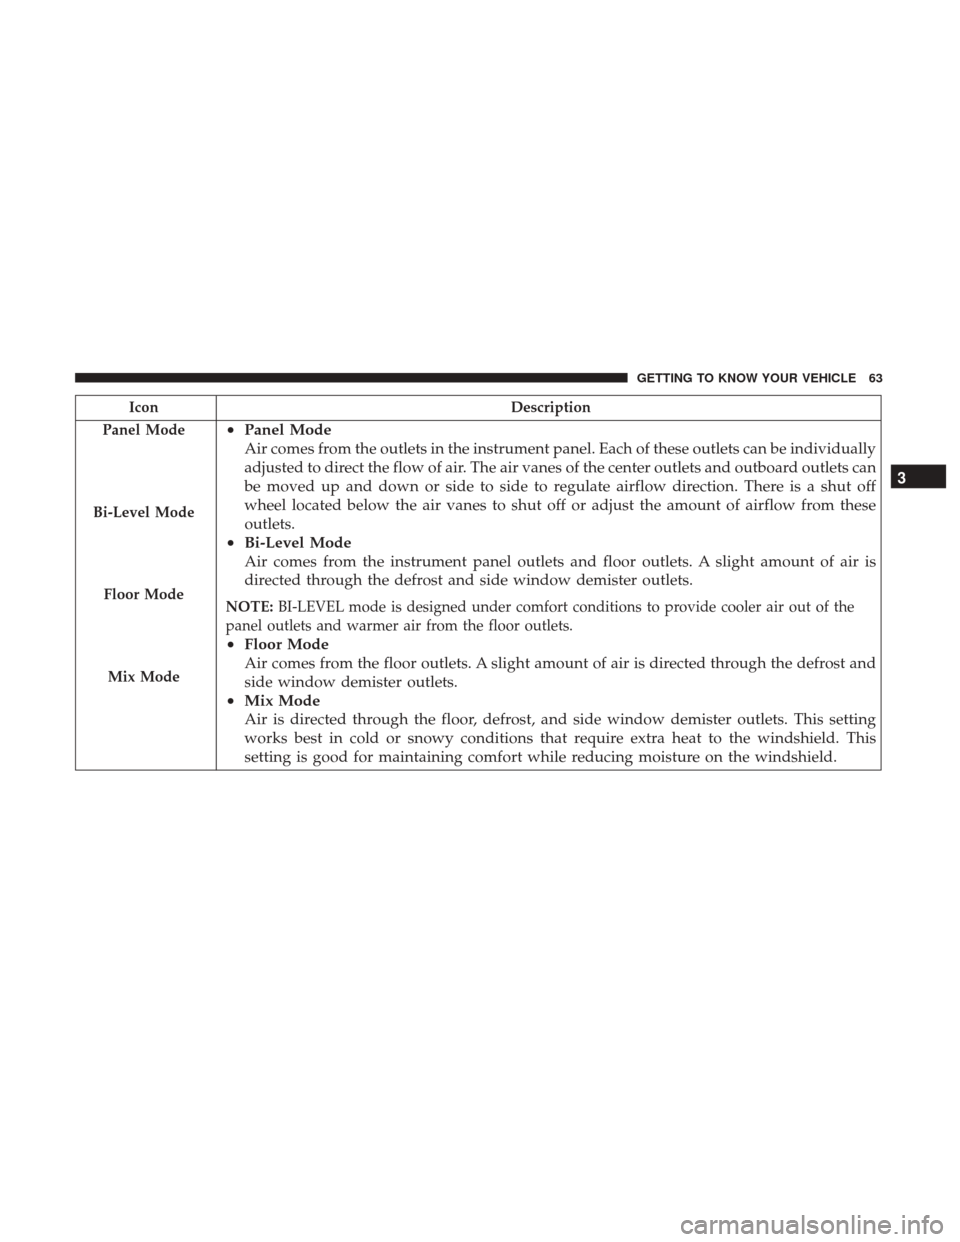
Panel Mode
Bi-Level Mode
Floor Mode
Mix Mode
• Panel Mode
Air comes from the outlets in the instrument panel. Each of these outlets can be individually
adjusted to direct the flow of air. The air vanes of the center outlets and outboard outlets can
be moved up and down or side to side to regulate airflow direction. There is a shut off
wheel located below the air vanes to shut off or adjust the amount of airflow from these
outlets.
• Bi-Level Mode
Air comes from the instrument panel outlets and floor outlets. A slight amount of air is
directed through the defrost and side window demister outlets.
NOTE: BI-LEVEL mode is designed under comfort conditions to provide cooler air out of the
panel outlets and warmer air from the floor outlets.
• Floor Mode
Air comes from the floor outlets. A slight amount of air is directed through the defrost and
side window demister outlets.
• Mix Mode
Air is directed through the floor, defrost, and side window demister outlets. This setting
works best in cold or snowy conditions that require extra heat to the windshield. This
setting is good for maintaining comfort while reducing moisture on the windshield. 3
GETTING TO KNOW YOUR VEHICLE 63
Page 66 of 527
CAUTION!
Failure to follow these cautions can cause damage to
the heating elements:
•Use care when washing the inside of the rear win-
dow. Do not use abrasive window cleaners on the
interior surface of the window. Use a soft cloth and a
mild washing solution, wiping parallel to the heat-
ing elements. Labels can be peeled off after soaking
with warm water.
• Do not use scrapers, sharp instruments, or abrasive
window cleaners on the interior surface of the win-
dow.
• Keep all objects a safe distance from the window.
Automatic Climate Control Overview
Automatic Temperature Controls
64 GETTING TO KNOW YOUR VEHICLE
Page 67 of 527
Automatic Climate Control Descriptions
IconDescription
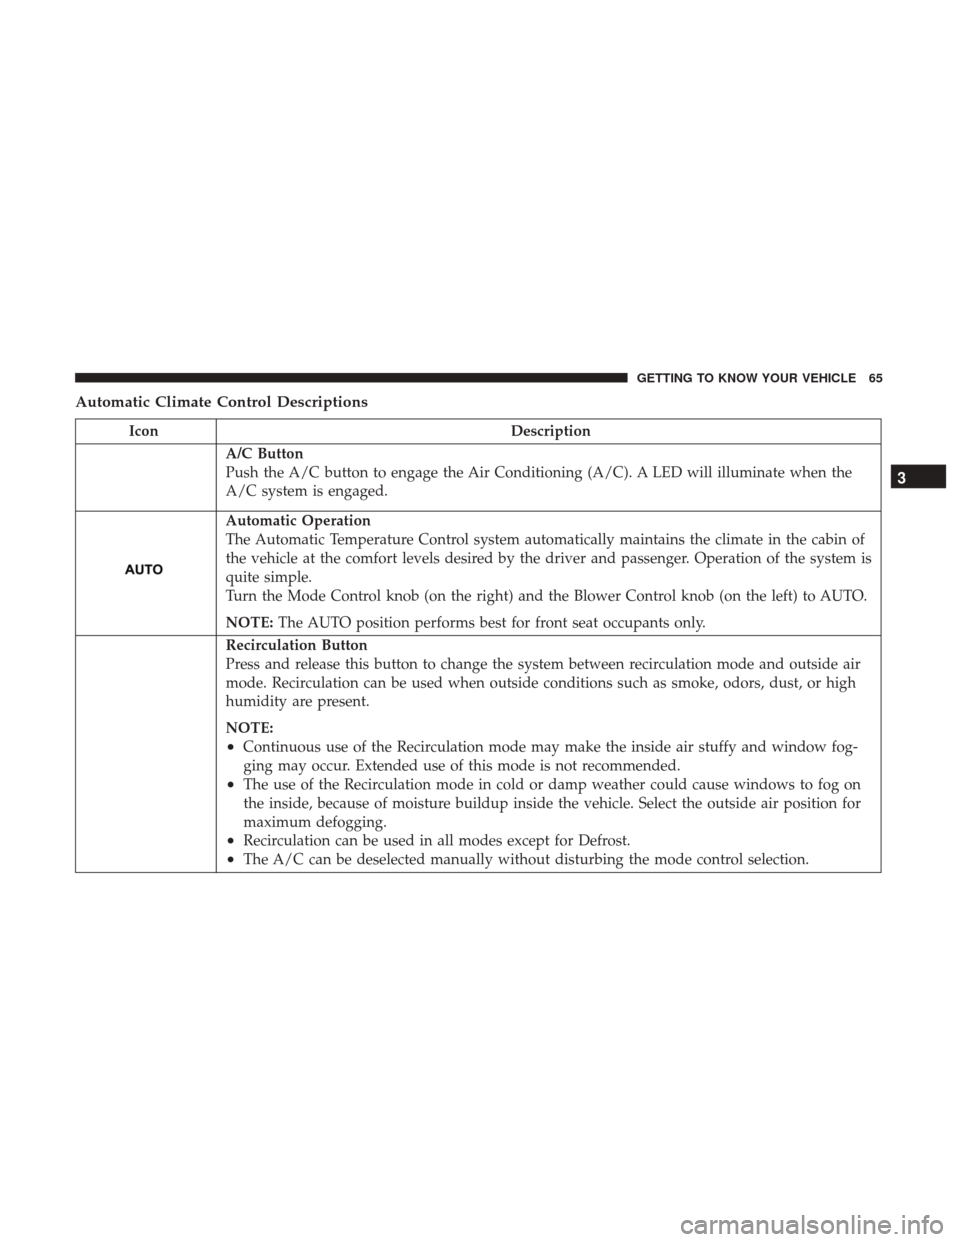
A/C Button
Push the A/C button to engage the Air Conditioning (A/C). A LED will illuminate when the
A/C system is engaged.
Automatic Operation
The Automatic Temperature Control system automatically maintains the climate in the cabin of
the vehicle at the comfort levels desired by the driver and passenger. Operation of the system is
quite simple.
Turn the Mode Control knob (on the right) and the Blower Control knob (on the left) to AUTO.
NOTE:The AUTO position performs best for front seat occupants only.
Recirculation Button
Press and release this button to change the system between recirculation mode and outside air
mode. Recirculation can be used when outside conditions such as smoke, odors, dust, or high
humidity are present.
NOTE:
•Continuous use of the Recirculation mode may make the inside air stuffy and window fog-
ging may occur. Extended use of this mode is not recommended.
•The use of the Recirculation mode in cold or damp weather could cause windows to fog on
the inside, because of moisture buildup inside the vehicle. Select the outside air position for
maximum defogging.
•Recirculation can be used in all modes except for Defrost.
•The A/C can be deselected manually without disturbing the mode control selection.
3
GETTING TO KNOW YOUR VEHICLE 65
Page 68 of 527
IconDescription
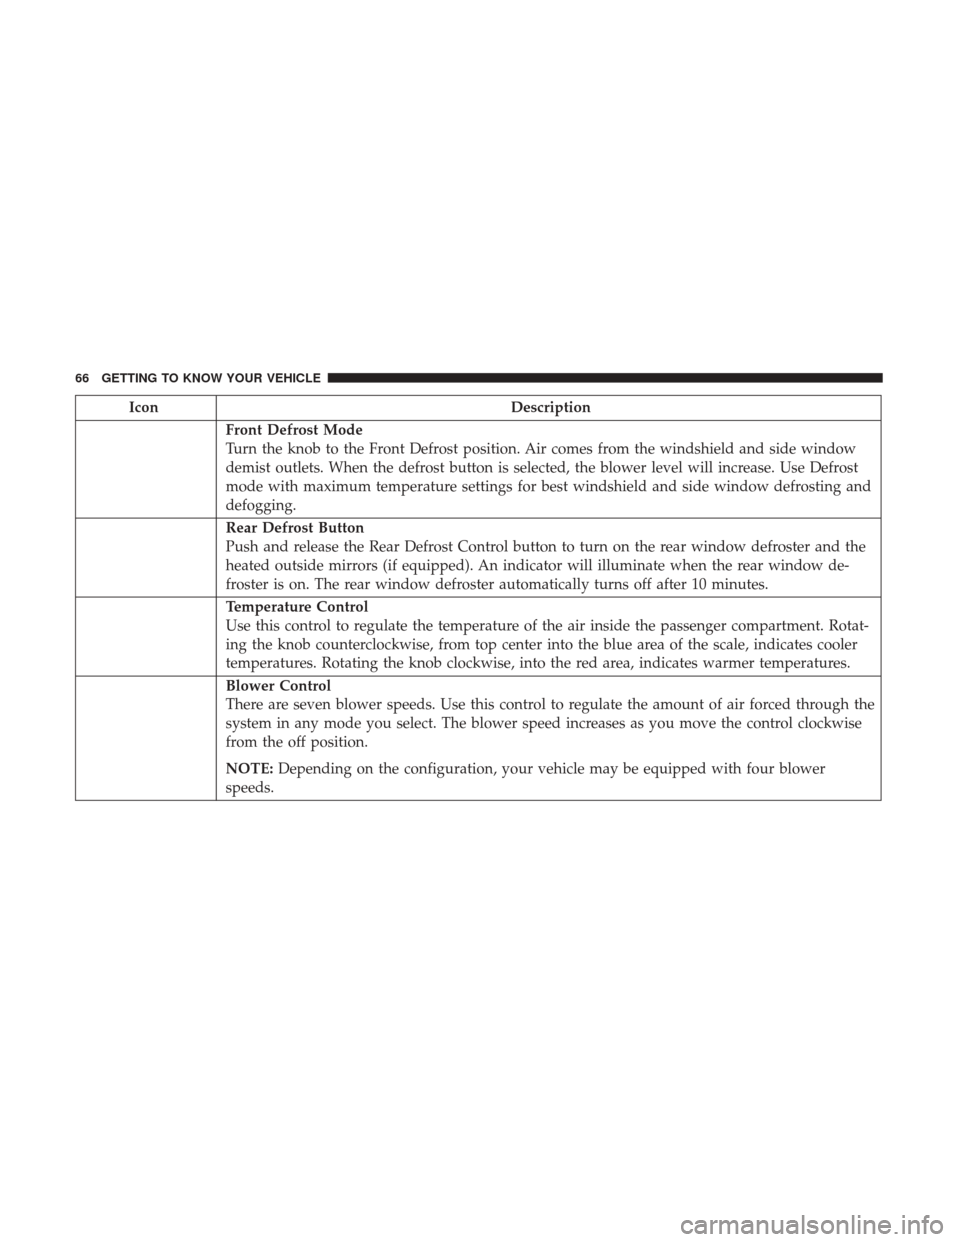
Front Defrost Mode
Turn the knob to the Front Defrost position. Air comes from the windshield and side window
demist outlets. When the defrost button is selected, the blower level will increase. Use Defrost
mode with maximum temperature settings for best windshield and side window defrosting and
defogging.
Rear Defrost Button
Push and release the Rear Defrost Control button to turn on the rear window defroster and the
heated outside mirrors (if equipped). An indicator will illuminate when the rear window de-
froster is on. The rear window defroster automatically turns off after 10 minutes.
Temperature Control
Use this control to regulate the temperature of the air inside the passenger compartment. Rotat-
ing the knob counterclockwise, from top center into the blue area of the scale, indicates cooler
temperatures. Rotating the knob clockwise, into the red area, indicates warmer temperatures.
Blower Control
There are seven blower speeds. Use this control to regulate the amount of air forced through the
system in any mode you select. The blower speed increases as you move the control clockwise
from the off position.
NOTE:Depending on the configuration, your vehicle may be equipped with four blower
speeds.
66 GETTING TO KNOW YOUR VEHICLE
Page 69 of 527
IconDescription
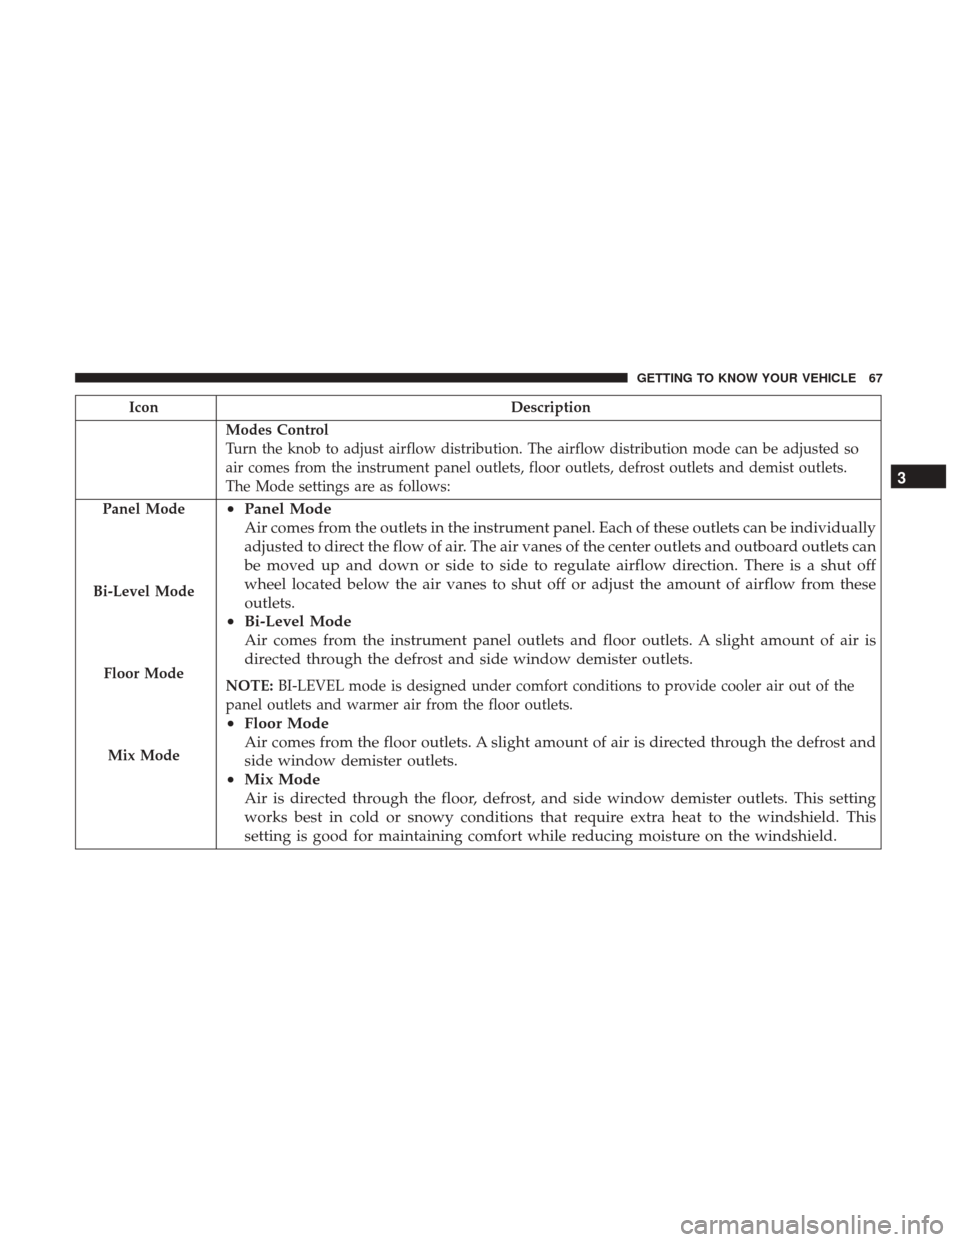
Modes Control
Turn the knob to adjust airflow distribution. The airflow distribution mode can be adjusted so
air comes from the instrument panel outlets, floor outlets, defrost outlets and demist outlets.
The Mode settings are as follows:
Panel Mode
Bi-Level Mode
Floor Mode
Mix Mode
• Panel Mode
Air comes from the outlets in the instrument panel. Each of these outlets can be individually
adjusted to direct the flow of air. The air vanes of the center outlets and outboard outlets can
be moved up and down or side to side to regulate airflow direction. There is a shut off
wheel located below the air vanes to shut off or adjust the amount of airflow from these
outlets.
• Bi-Level Mode
Air comes from the instrument panel outlets and floor outlets. A slight amount of air is
directed through the defrost and side window demister outlets.
NOTE: BI-LEVEL mode is designed under comfort conditions to provide cooler air out of the
panel outlets and warmer air from the floor outlets.
• Floor Mode
Air comes from the floor outlets. A slight amount of air is directed through the defrost and
side window demister outlets.
• Mix Mode
Air is directed through the floor, defrost, and side window demister outlets. This setting
works best in cold or snowy conditions that require extra heat to the windshield. This
setting is good for maintaining comfort while reducing moisture on the windshield. 3
GETTING TO KNOW YOUR VEHICLE 67
Page 70 of 527
CAUTION!
Failure to follow these cautions can cause damage to
the heating elements:
•Use care when washing the inside of the rear win-
dow. Do not use abrasive window cleaners on the
interior surface of the window. Use a soft cloth and a
mild washing solution, wiping parallel to the heat-
ing elements. Labels can be peeled off after soaking
with warm water.
• Do not use scrapers, sharp instruments, or abrasive
window cleaners on the interior surface of the win-
dow.
• Keep all objects a safe distance from the window.
Manual Operation Override
This system offers a full complement of manual override
features. The AUTO symbol in the front ATC display will
be turned off when the system is being used in the manual
mode.
NOTE: The system will not automatically sense the pres-
ence of fog, mist or ice on the windshield. Defrost mode
must be manually selected to clear the windshield and side
glass.
Operating Tips
NOTE: Refer to the chart at the end of this section for
suggested control settings for various weather conditions.
Summer Operation
The engine cooling system must be protected with a
high-quality antifreeze coolant to provide proper corrosion
protection and to protect against engine overheating. OAT
coolant (conforming to MS.90032) is recommended.
Winter Operation
To ensure the best possible heater and defroster perfor-
mance, make sure the engine cooling system is functioning
properly and the proper amount, type, and concentration
of coolant is used. Use of the air Recirculation mode during
Winter months is not recommended, because it may cause
window fogging.
Vacation/Storage
Before you store your vehicle, or keep it out of service (i.e.,
vacation) for two weeks or more, run the air conditioning
system at idle for about five minutes, in fresh air with the
blower setting on high. This will ensure adequate system
lubrication to minimize the possibility of compressor dam-
age when the system is started again.
68 GETTING TO KNOW YOUR VEHICLE