key KIA Rio 2008 2.G Owner's Guide
[x] Cancel search | Manufacturer: KIA, Model Year: 2008, Model line: Rio, Model: KIA Rio 2008 2.GPages: 219, PDF Size: 5.17 MB
Page 87 of 219
Knowing your vehicle
78 3
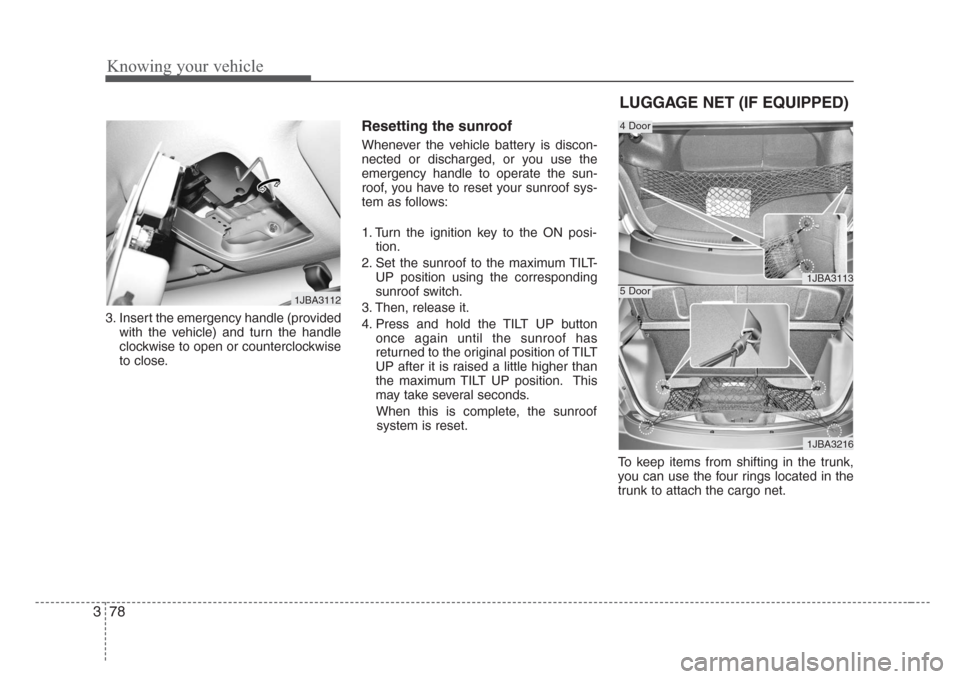
3. Insert the emergency handle (provided
with the vehicle) and turn the handle
clockwise to open or counterclockwise
to close.
Resetting the sunroof
Whenever the vehicle battery is discon-
nected or discharged, or you use the
emergency handle to operate the sun-
roof, you have to reset your sunroof sys-
tem as follows:
1. Turn the ignition key to the ON posi-
tion.
2. Set the sunroof to the maximum TILT-
UP position using the corresponding
sunroof switch.
3. Then, release it.
4. Press and hold the TILT UP button
once again until the sunroof has
returned to the original position of TILT
UP after it is raised a little higher than
the maximum TILT UP position. This
may take several seconds.
When this is complete, the sunroof
system is reset.
To keep items from shifting in the trunk,
you can use the four rings located in the
trunk to attach the cargo net.
1JBA3112
1JBA3113
1JBA3216
4 Door
5 Door
LUGGAGE NET (IF EQUIPPED)
Page 93 of 219
Knowing your vehicle
84 3
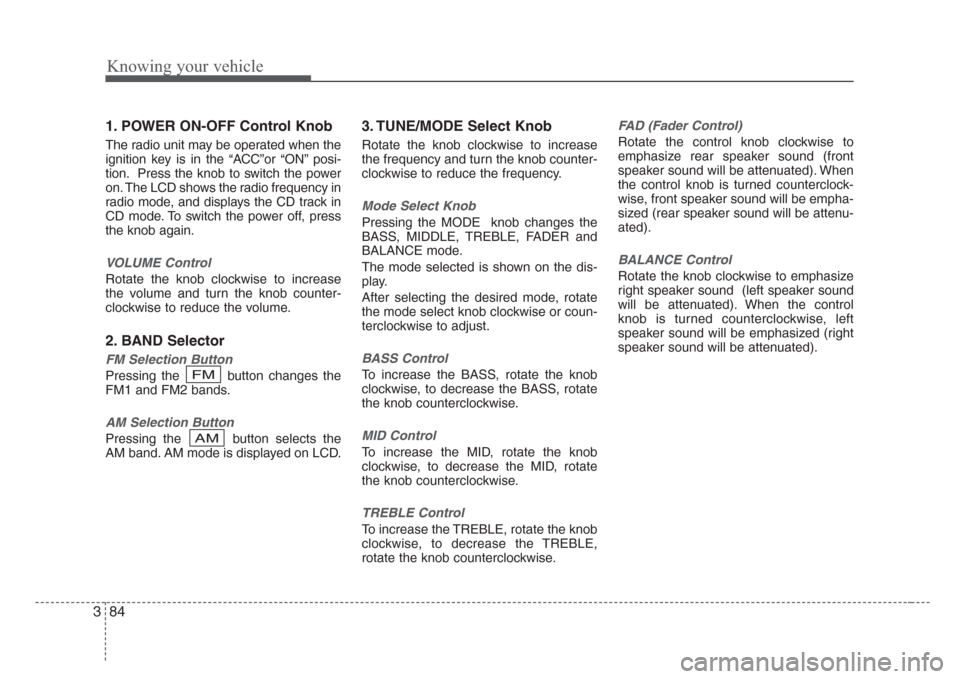
1. POWER ON-OFF Control Knob
The radio unit may be operated when the
ignition key is in the “ACC”or “ON” posi-
tion. Press the knob to switch the power
on. The LCD shows the radio frequency in
radio mode, and displays the CD track in
CD mode. To switch the power off, press
the knob again.
VOLUME Control
Rotate the knob clockwise to increase
the volume and turn the knob counter-
clockwise to reduce the volume.
2. BAND Selector
FM Selection Button
Pressing the button changes the
FM1 and FM2 bands.
AM Selection Button
Pressing the button selects the
AM band. AM mode is displayed on LCD.
3. TUNE/MODE Select Knob
Rotate the knob clockwise to increase
the frequency and turn the knob counter-
clockwise to reduce the frequency.
Mode Select Knob
Pressing the MODE knob changes the
BASS, MIDDLE, TREBLE, FADER and
BALANCE mode.
The mode selected is shown on the dis-
play.
After selecting the desired mode, rotate
the mode select knob clockwise or coun-
terclockwise to adjust.
BASS Control
To increase the BASS, rotate the knob
clockwise, to decrease the BASS, rotate
the knob counterclockwise.
MID Control
To increase the MID, rotate the knob
clockwise, to decrease the MID, rotate
the knob counterclockwise.
TREBLE Control
To increase the TREBLE, rotate the knob
clockwise, to decrease the TREBLE,
rotate the knob counterclockwise.
FAD (Fader Control)
Rotate the control knob clockwise to
emphasize rear speaker sound (front
speaker sound will be attenuated). When
the control knob is turned counterclock-
wise, front speaker sound will be empha-
sized (rear speaker sound will be attenu-
ated).
BALANCE Control
Rotate the knob clockwise to emphasize
right speaker sound (left speaker sound
will be attenuated). When the control
knob is turned counterclockwise, left
speaker sound will be emphasized (right
speaker sound will be attenuated).
AM
FM
Page 100 of 219
391
Knowing your vehicle
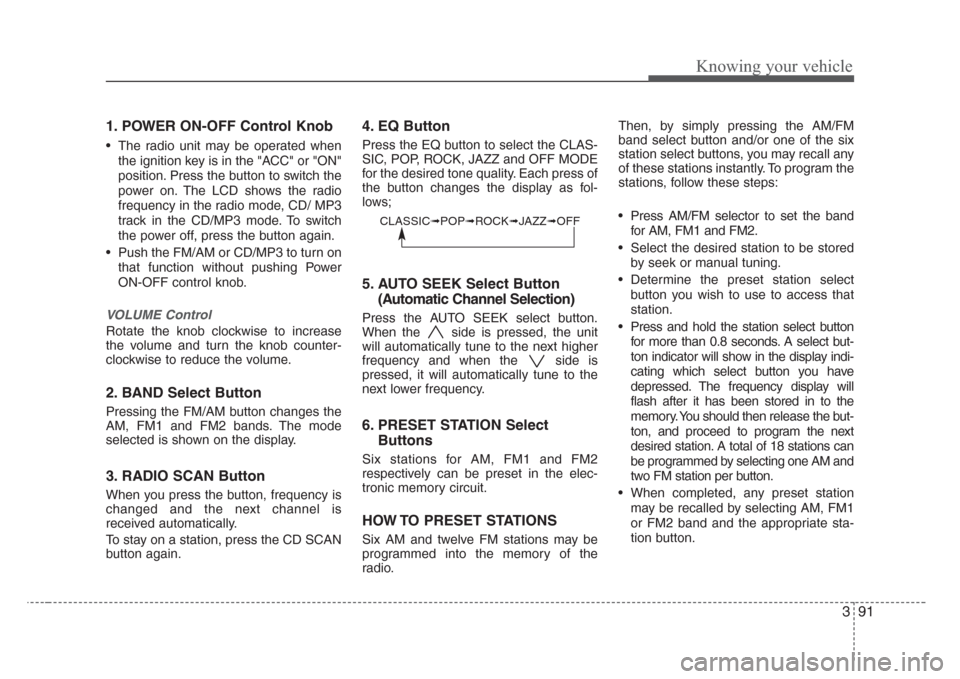
1. POWER ON-OFF Control Knob
• The radio unit may be operated when
the ignition key is in the "ACC" or "ON"
position. Press the button to switch the
power on. The LCD shows the radio
frequency in the radio mode, CD/ MP3
track in the CD/MP3 mode. To switch
the power off, press the button again.
• Push the FM/AM or CD/MP3 to turn on
that function without pushing Power
ON-OFF control knob.
VOLUME Control
Rotate the knob clockwise to increase
the volume and turn the knob counter-
clockwise to reduce the volume.
2. BAND Select Button
Pressing the FM/AM button changes the
AM, FM1 and FM2 bands. The mode
selected is shown on the display.
3. RADIO SCAN Button
When you press the button, frequency is
changed and the next channel is
received automatically.
To stay on a station, press the CD SCAN
button again.
4. EQ Button
Press the EQ button to select the CLAS-
SIC, POP, ROCK, JAZZ and OFF MODE
for the desired tone quality. Each press of
the button changes the display as fol-
lows;
5. AUTO SEEK Select Button
(Automatic Channel Selection)
Press the AUTO SEEK select button.
When the side is pressed, the unit
will automatically tune to the next higher
frequency and when the side is
pressed, it will automatically tune to the
next lower frequency.
6. PRESET STATION Select
Buttons
Six stations for AM, FM1 and FM2
respectively can be preset in the elec-
tronic memory circuit.
HOW TO PRESET STATIONS
Six AM and twelve FM stations may be
programmed into the memory of the
radio.Then, by simply pressing the AM/FM
band select button and/or one of the six
station select buttons, you may recall any
of these stations instantly. To program the
stations, follow these steps:
• Press AM/FM selector to set the band
for AM, FM1 and FM2.
• Select the desired station to be stored
by seek or manual tuning.
• Determine the preset station select
button you wish to use to access that
station.
• Press and hold the station select button
for more than 0.8 seconds. A select but-
ton indicator will show in the display indi-
cating which select button you have
depressed. The frequency display will
flash after it has been stored in to the
memory. You should then release the but-
ton, and proceed to program the next
desired station. A total of 18 stations can
be programmed by selecting one AM and
two FM station per button.
• When completed, any preset station
may be recalled by selecting AM, FM1
or FM2 band and the appropriate sta-
tion button.
CLASSIC➟POP➟ROCK➟JAZZ➟OFF
Page 108 of 219
Driving your vehicle
2 4
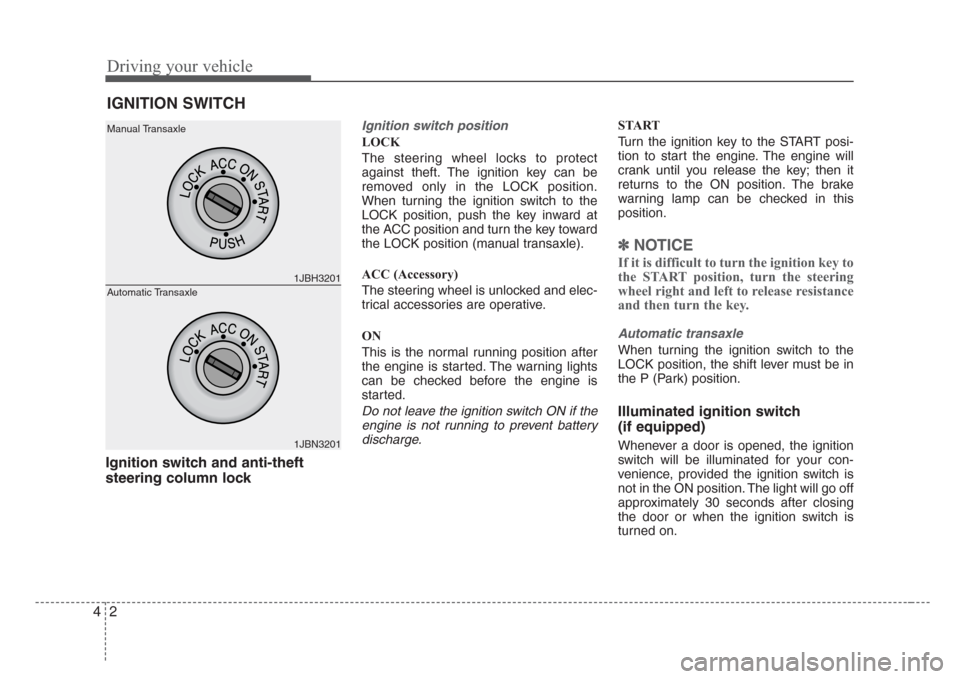
Ignition switch and anti-theft
steering column lock
Ignition switch position
LOCK
The steering wheel locks to protect
against theft. The ignition key can be
removed only in the LOCK position.
When turning the ignition switch to the
LOCK position, push the key inward at
the ACC position and turn the key toward
the LOCK position (manual transaxle).
ACC (Accessory)
The steering wheel is unlocked and elec-
trical accessories are operative.
ON
This is the normal running position after
the engine is started. The warning lights
can be checked before the engine is
started.
Do not leave the ignition switch ON if the
engine is not running to prevent battery
discharge.
START
Turn the ignition key to the START posi-
tion to start the engine. The engine will
crank until you release the key; then it
returns to the ON position. The brake
warning lamp can be checked in this
position.
✽
NOTICE
If it is difficult to turn the ignition key to
the START position, turn the steering
wheel right and left to release resistance
and then turn the key.
Automatic transaxle
When turning the ignition switch to the
LOCK position, the shift lever must be in
the P (Park) position.
Illuminated ignition switch
(if equipped)
Whenever a door is opened, the ignition
switch will be illuminated for your con-
venience, provided the ignition switch is
not in the ON position. The light will go off
approximately 30 seconds after closing
the door or when the ignition switch is
turned on.
IGNITION SWITCH
1JBH3201
1JBN3201 Manual Transaxle
Automatic Transaxle
Page 109 of 219
43
Driving your vehicle
1. Make sure the parking brake is
applied.
2.Manual Transaxle- Depress the
clutch pedal fully and shift the
transaxle into Neutral. Keep the clutch
pedal depressed while turning the
ignition switch to the start position.
The starter will not operate if the
clutch pedal is not fully depressed.
Automatic Transaxle- Place the
transaxle shift lever in P (Park).
Depress the brake pedal fully.
You can also start the engine when
the shift lever is in the N (Neutral)
position.
3. Turn the ignition switch to START and
hold it there until the engine starts (a
maximum of 10 seconds), then
release the key.
4. In extremely cold weather (below
-18°C / 0°F) or after the vehicle has
not been operated for several days, let
the engine warm up without depress-
ing the accelerator.
Whether the engine is cold or warm, it
should be started without depressing
the accelerator.
✽
NOTICE
Do not engage the starter for more than
10 seconds. If the engine stalls or fails to
start, wait 5 to 10 seconds before re-
engaging the starter. Excessive or
improper use of the starter may damage
it.
The starter will not operate if:
•Manual Transaxle- the clutch pedal is
not fully depressed.
•Automatic Transaxle- the shift lever
is NOT in the P (Park) or N (Neutral)
position.
WARNING - Ignition key
• Never turn the ignition switch to
LOCK or ACC while the vehicle is
moving. This would result in loss
of directional control and braking
function, which could cause an
accident or collision.
• Before leaving the driver’s seat,
always make sure the shift lever
is engaged in 1
stgear for manual
transaxle or P (Park) for automat-
ic transaxle. Then,set the parking
brake fully and shut the engine
off. Unexpected and sudden vehi-
cle movement may occur if these
precautions are not taken.
• Never reach for the ignition
switch, or any other controls
through the steering wheel while
the vehicle is in motion. The pres-
ence of your hand or arm in this
area could cause a loss of vehicle
control, an accident and serious
bodily injury or death.
• Do not place any movable objects
around the driver’s seat as they
may move while driving, interfere
with the driver and lead to an
accident.
CAUTION - Stall
If the engine stalls while you are in
motion, do not attempt to move the
shift lever to the P (Park) position. If
traffic and road conditions permit,
you may put the shift lever in the N
(Neutral) position while the vehicle
is still moving and turn the ignition
switch to the START position in an
attempt to restart the engine.
STARTING THE ENGINE
CAUTION
Always wear appropriate shoes when
operating your vehicle. Unsuitable
shoes (high heels,ski boots,etc.) may
interfere with your ability to use the
brake and accelerator pedal, and the
clutch (if equipped).
Page 113 of 219
47
Driving your vehicle
(Continued)
• Do not shift from N (Neutral) or P
(Park) into D (Drive), or R (Reverse)
when the engine is above idle speed.
Transaxle ranges
P (Park)
This position locks the transaxle and pre-
vents the front wheels from rotating.
Always come to a complete stop before
shifting into this position.
✽
NOTICE
The transaxle may be damaged if you
shift into P (Park) while the vehicle is in
motion.
R (Reverse)
Use this position to drive the vehicle
backward.
✽
NOTICE
Always come to a complete stop before
shifting into or out of R (Reverse); you
may damage the transaxle if you shift
into R while the vehicle is in motion.
N (Neutral)
With the gearshift in the N position, the
wheels and transaxle are not locked. The
vehicle will roll freely even on the slight-
est incline unless the parking brake or
service brakes are applied.
D (Drive)
This is the normal forward driving posi-
tion. The transaxle will automatically shift
through a 4-gear sequence, providing the
best fuel economy and power.
For extra power when passing another
vehicle or climbing grades, depress the
accelerator fully, at which time the
transaxle will automatically downshift to
the next lower gear.
✽
NOTICE
Always come to a complete stop before
shifting into D (Drive).
(Continued)
• Before leaving the driver’s seat,
always make sure the shift lever
is in the P (Park) position. Set the
parking brake fully,shut the
engine off and take the key with
you. Unexpected and sudden
vehicle movement can occur if
you do not follow these precau-
tions in the order specified.
• Never leave a child unattended in
a vehicle.
WARNING
• Shifting into P (Park) while the
vehicle is in motion will cause the
drive wheels to lock which will
cause you to lose control of the
vehicle.
• Do not use the P (Park) position in
place of the parking brake.
Always make sure the shift lever
is latched in the P (Park) position
so that it cannot be moved unless
the lock release button is pushed
in, AND set the parking brake fully.
(Continued)
Page 115 of 219
49
Driving your vehicle
Shift lock system
For your safety, the Automatic Transaxle
has a shift lock system which prevents
shifting the transaxle out of P (Park)
unless the brake pedal is depressed.
To shift the transaxle out of P (Park):
1. Depress and hold the brake pedal.
2. Start the engine or turn the ignition to
the ON position.
3. Depress the lock release button and
move the shift lever.
If the brake pedal is repeatedly
depressed and released with the shift
lever in the P (Park) position, a chattering
sound near the shift lever may be heard.
This is a normal condition.
Ignition key interlock system
The ignition key cannot be removed
unless the shift lever is in the P (Park)
position. If the ignition switch is in any
other position, the key cannot be
removed.
BRAKE SYSTEM
Power brakes
Your vehicle has power-assisted brakes
that adjust automatically through normal
usage.
In the event that the power-assisted
brakes lose power because of a stalled
engine or some other reason, you can
still stop your vehicle by applying greater
force to the brake pedal than you nor-
mally would. The stopping distance, how-
ever, will be longer.
When the engine is not running, the
reserve brake power is partially depleted
each time the brake pedal is applied. Do
not pump the brake pedal when the
power assist has been interrupted.
Pump the brake pedal only when neces-
sary to maintain steering control on slip-
pery surfaces.
In the event of brake failure
If service brakes fail to operate while the
vehicle is in motion, you can make an
emergency stop with the parking brake.
The stopping distance, however, will be
much greater than normal.
WARNING- Parking brake
Pulling the parking brake while the
vehicle is moving at normal speeds
can cause a sudden loss of control
of the vehicle. If you must use the
parking brake to stop the vehicle,
use great caution in applying the
brake.
WARNING - Brakes
• Do not drive with your foot rest-
ing on the brake pedal. This will
create abnormal high brake tem-
peratures, excessive brake lining
and pad wear, and increased
stopping distances.
• When descending a long or steep
hill,shift to a lower gear and
avoid continuous application of
the brakes. Continuous brake
application will cause the brakes
to overheat and could result in a
temporary loss of braking per-
formance.
(Continued)
Page 125 of 219
419
Driving your vehicle
Warning lights / audible indicators
Checking operation
All warning lights are checked by turning
the ignition switch ON (do not start the
engine). Any light that does not illuminate
should be checked by an authorized Kia
dealer.
After starting the engine, check to make
sure that all warning lights are off. If any
are still on, this indicates a situation that
needs attention. When releasing the
parking brake, the brake system warning
light should go off. The fuel warning light
will stay on if the fuel level is low.
Anti-lock brake system
(ABS) warning light (if
equipped)
This light illuminates if the key is turned
to ON and goes off in approximately 3
seconds if the system is operating nor-
mally.
If the light stays on, you may have a
problem with your ABS. Contact an
authorized Kia dealer as soon as possi-
ble.
Electronic brake force
distribution (EBD) sys-
tem warning
(if equipped)
If ABS and BRAKE warning lights illumi-
nate at the same time while driving, your
vehicle has a problem with ABS and EBD
system.
In this case, your ABS and regular brake
system may not work normally. Have the
vehicle checked by an authorized Kia
dealer as soon as possible.
Engine oil pressure
warning
This warning light indicates the engine oil
pressure is low.
If the warning light illuminates while driv-
ing:
1. Drive safely to the side of the road and
stop.
2. With the engine off, check the engine
oil level. If the level is low, add oil as
required.
If the warning light remains on after
adding oil or if oil is not available, call an
authorized Kia dealer.
✽
NOTICE
If the engine is not stopped immediately,
severe damage could result.
WARNINGS AND INDICATORS
ABS
ABS
WARNING-Brake indica-
tors
If the both ABS and Brake warning
lights are ON and stay ON, your
vehicle’s brake system will not work
normally. You may experience an
unexpected and dangerous situa-
tion during sudden braking. In this
case, avoid high speed driving and
abrupt braking. Have your vehicle
checked by authorized Kia dealer
as soon as possible.
Page 126 of 219
Driving your vehicle
20 4
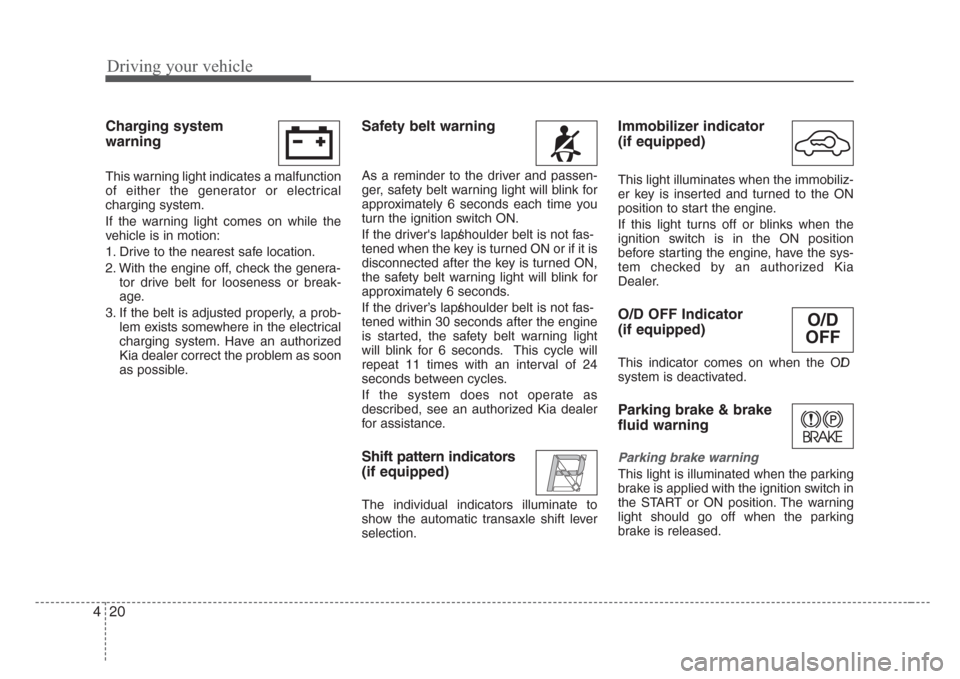
Charging system
warning
This warning light indicates a malfunction
of either the generator or electrical
charging system.
If the warning light comes on while the
vehicle is in motion:
1. Drive to the nearest safe location.
2. With the engine off, check the genera-
tor drive belt for looseness or break-
age.
3. If the belt is adjusted properly, a prob-
lem exists somewhere in the electrical
charging system. Have an authorized
Kia dealer correct the problem as soon
as possible.
Safety belt warning
As a reminder to the driver and passen-
ger, safety belt warning light will blink for
approximately 6 seconds each time you
turn the ignition switch ON.
If the driver's lap/shoulder belt is not fas-
tened when the key is turned ON or if it is
disconnected after the key is turned ON,
the safety belt warning light will blink for
approximately 6 seconds.
If the driver’s lap/shoulder belt is not fas-
tened within 30 seconds after the engine
is started, the safety belt warning light
will blink for 6 seconds. This cycle will
repeat 11 times with an interval of 24
seconds between cycles.
If the system does not operate as
described, see an authorized Kia dealer
for assistance.
Shift pattern indicators
(if equipped)
The individual indicators illuminate to
show the automatic transaxle shift lever
selection.
Immobilizer indicator
(if equipped)
This light illuminates when the immobiliz-
er key is inserted and turned to the ON
position to start the engine.
If this light turns off or blinks when the
ignition switch is in the ON position
before starting the engine, have the sys-
tem checked by an authorized Kia
Dealer.
O/D OFF Indicator
(if equipped)
This indicator comes on when the O/D
system is deactivated.
Parking brake & brake
fluid warning
Parking brake warning
This light is illuminated when the parking
brake is applied with the ignition switch in
the START or ON position. The warning
light should go off when the parking
brake is released.
O/D
OFF
Page 128 of 219
Driving your vehicle
22 4
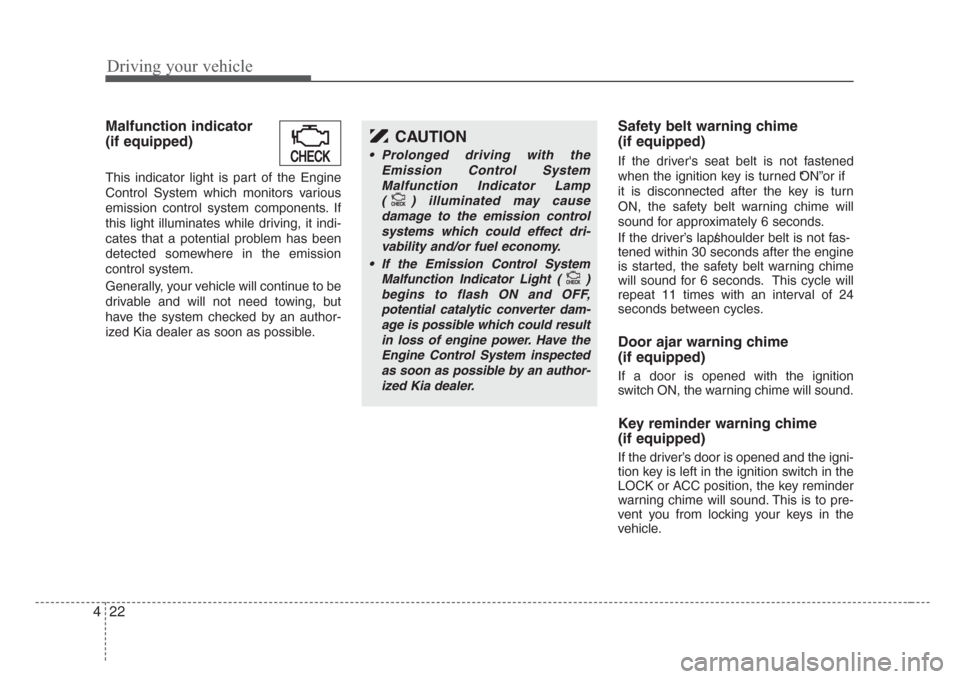
Malfunction indicator
(if equipped)
This indicator light is part of the Engine
Control System which monitors various
emission control system components. If
this light illuminates while driving, it indi-
cates that a potential problem has been
detected somewhere in the emission
control system.
Generally, your vehicle will continue to be
drivable and will not need towing, but
have the system checked by an author-
ized Kia dealer as soon as possible.
Safety belt warning chime
(if equipped)
If the driver's seat belt is not fastened
when the ignition key is turned “ON”or if
it is disconnected after the key is turn
ON, the safety belt warning chime will
sound for approximately 6 seconds.
If the driver’s lap/shoulder belt is not fas-
tened within 30 seconds after the engine
is started, the safety belt warning chime
will sound for 6 seconds. This cycle will
repeat 11 times with an interval of 24
seconds between cycles.
Door ajar warning chime
(if equipped)
If a door is opened with the ignition
switch ON, the warning chime will sound.
Key reminder warning chime
(if equipped)
If the driver’s door is opened and the igni-
tion key is left in the ignition switch in the
LOCK or ACC position, the key reminder
warning chime will sound. This is to pre-
vent you from locking your keys in the
vehicle.
CHECK
CAUTION
• Prolonged driving with the
Emission Control System
Malfunction Indicator Lamp
( ) illuminated may cause
damage to the emission control
systems which could effect dri-
vability and/or fuel economy.
•
If the EmissionControl System
Malfunction Indicator Light ( )
begins to flash ON and OFF,
potential catalytic converter dam-
age is possible which could result
in loss of engine power. Have the
Engine Control System inspected
as soon as possible by an author-
ized Kia dealer.
CHECKCHECK
CHECKCHECK