window MERCEDES-BENZ S-Class 2014 W222 Comand Manual
[x] Cancel search | Manufacturer: MERCEDES-BENZ, Model Year: 2014, Model line: S-Class, Model: MERCEDES-BENZ S-Class 2014 W222Pages: 278, PDF Size: 6.65 MB
Page 174 of 278
Menu functions
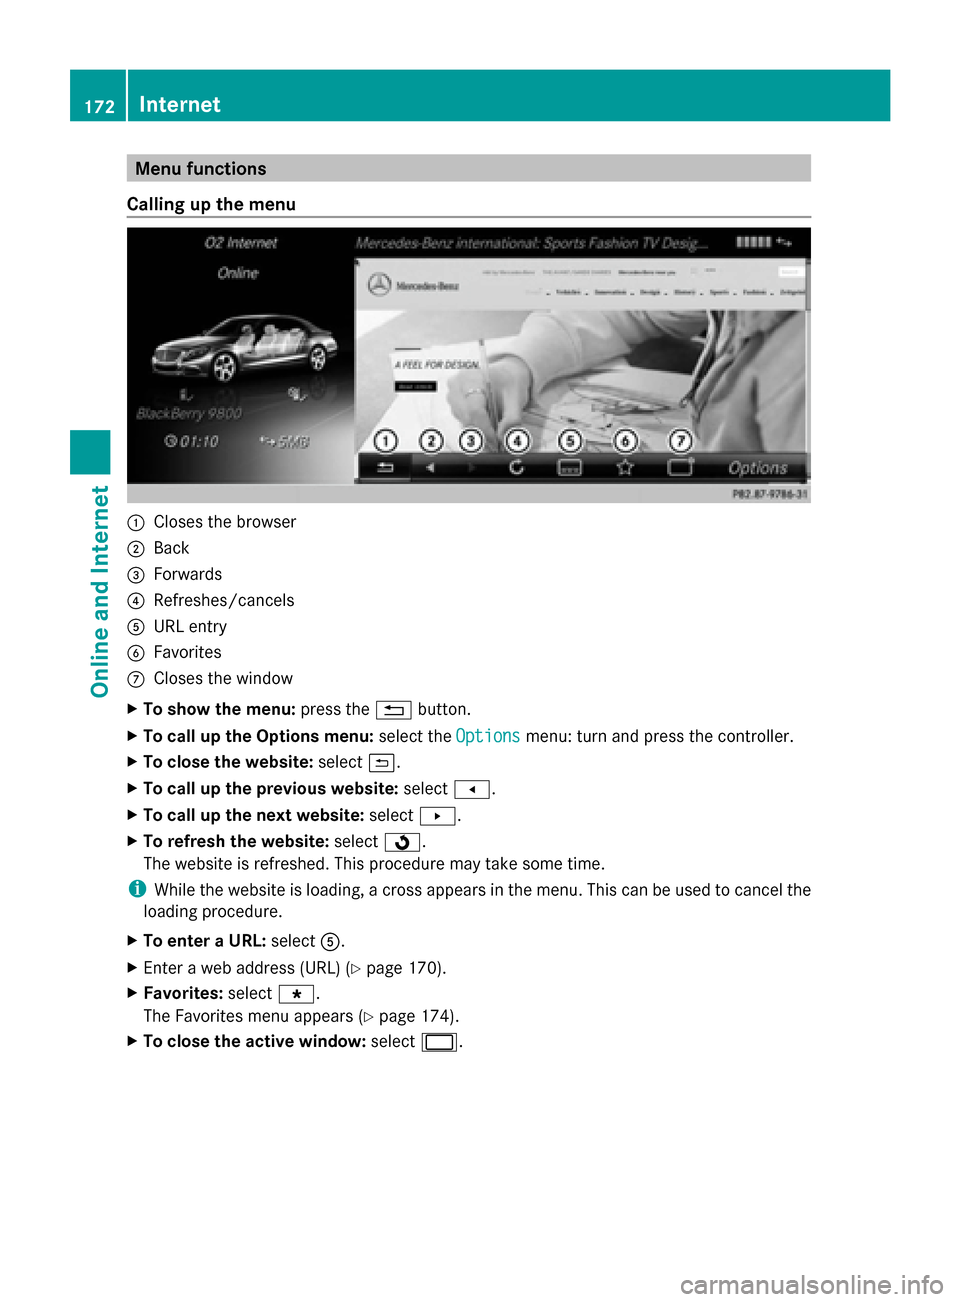
Calling up the menu 0043
Closes the browser
0044 Back
0087 Forwards
0085 Refreshes/cancels
0083 URL entry
0084 Favorites
006B Closes the window
X To show the menu: press the0038button.
X To call up the Options menu: select theOptions
Options menu: turn and press the controller.
X To close the website: select0039.
X To call up the previous website: select007F.
X To call up the next website: select0080.
X To refresh the website: select0080.
The website is refreshed. This procedure may take some time.
i While the website is loading, a cross appears in the menu. This can be used to cancel the
loading procedure.
X To enter a URL: select0083.
X Enter a web address (URL) (Y page 170).
X Favorites: select007D.
The Favorites menu appears (Y page 174).
X To close the active window: select0056. 172
InternetOnline and Internet
Page 175 of 278
Options menu
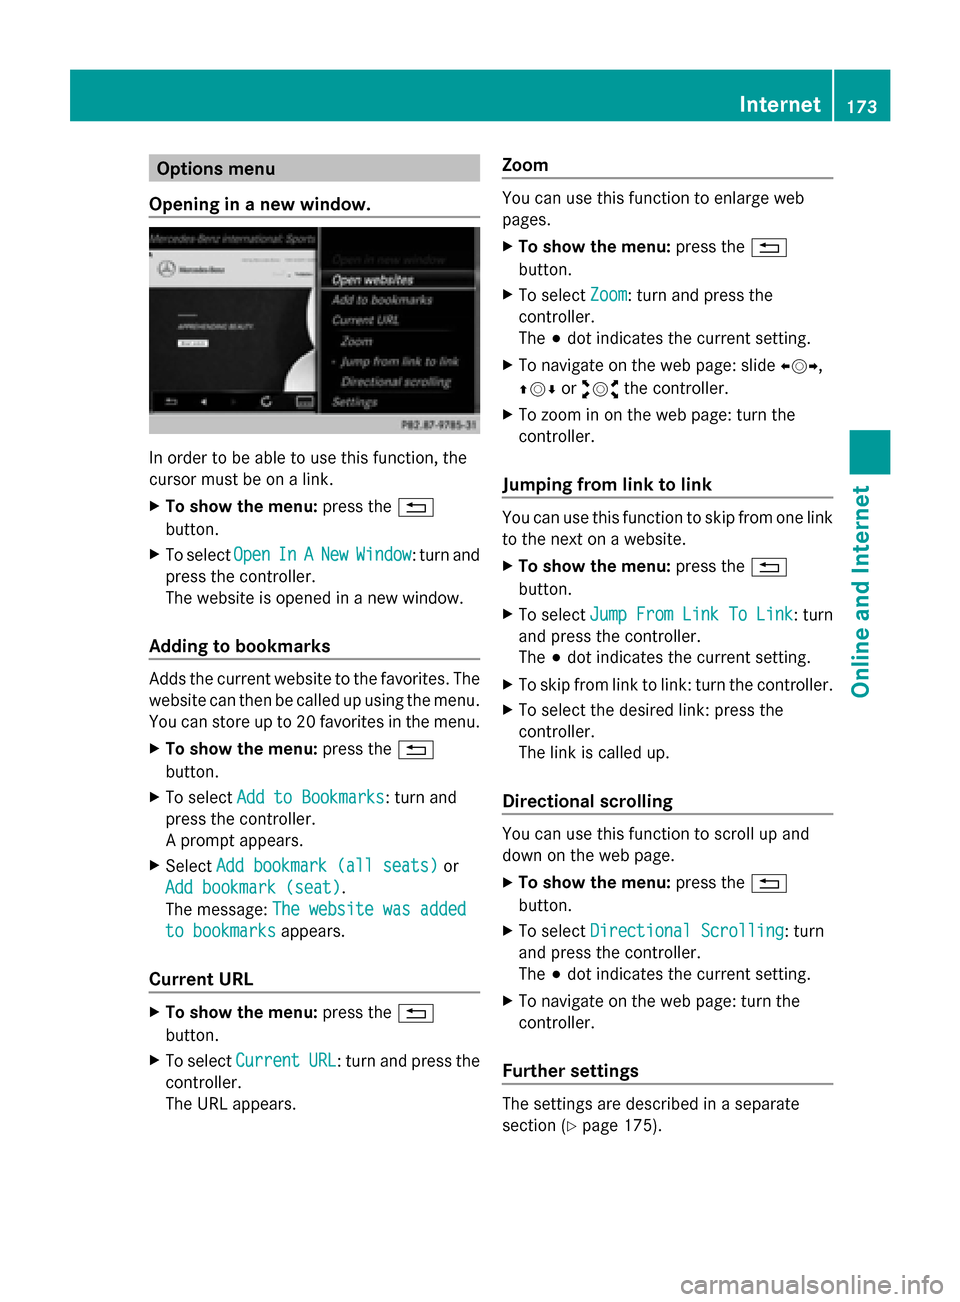
Opening in a new window. In order to be able to use this function, the
cursor must be on a link.
X To show the menu: press the0038
button.
X To select Open
Open In InA
ANew
New Window
Window : turn and
press the controller.
The website is opened in a new window.
Adding to bookmarks Adds the current website to the favorites. The
website can then be called up using the menu.
You can store up to 20 favorites in the menu.
X To show the menu: press the0038
button.
X To select Add to Bookmarks
Add to Bookmarks: turn and
press the controller.
A prompt appears.
X Select Add bookmark (all seats)
Add bookmark (all seats) or
Add bookmark (seat) Add bookmark (seat).
The message: The website was added The website was added
to bookmarks
to bookmarks appears.
Current URL X
To show the menu: press the0038
button.
X To select Current
Current URL
URL: turn and press the
controller.
The URL appears. Zoom You can use this function to enlarge web
pages.
X
To show the menu: press the0038
button.
X To select Zoom Zoom: turn and press the
controller.
The 003Bdot indicates the current setting.
X To navigate on the web page: slide 009500520096,
009700520064 or009100520078 the controller.
X To zoom in on the web page: turn the
controller.
Jumping from link to link You can use this function to skip from one link
to the next on a website.
X
To show the menu: press the0038
button.
X To select Jump From Link To Link Jump From Link To Link : turn
and press the controller.
The 003Bdot indicates the current setting.
X To skip from link to link: turn the controller.
X To select the desired link: press the
controller.
The link is called up.
Directional scrolling You can use this function to scroll up and
down on the web page.
X
To show the menu: press the0038
button.
X To select Directional Scrolling Directional Scrolling: turn
and press the controller.
The 003Bdot indicates the current setting.
X To navigate on the web page: turn the
controller.
Further settings The settings are described in a separate
section (Y
page 175). Internet
173Online and Internet Z
Page 176 of 278
Favorites
Introduction Favorites are frequently visited websites.
You have the following options for creating
favorites:
R in the Favorites menu (Y page 174)
R via the Add to Bookmarks
Add to Bookmarks menu
(Y page 173)
Before creating a favorite in the menu, you
must first terminate any active connections
(Y page 160).
You can select and edit favorites that you
have created.
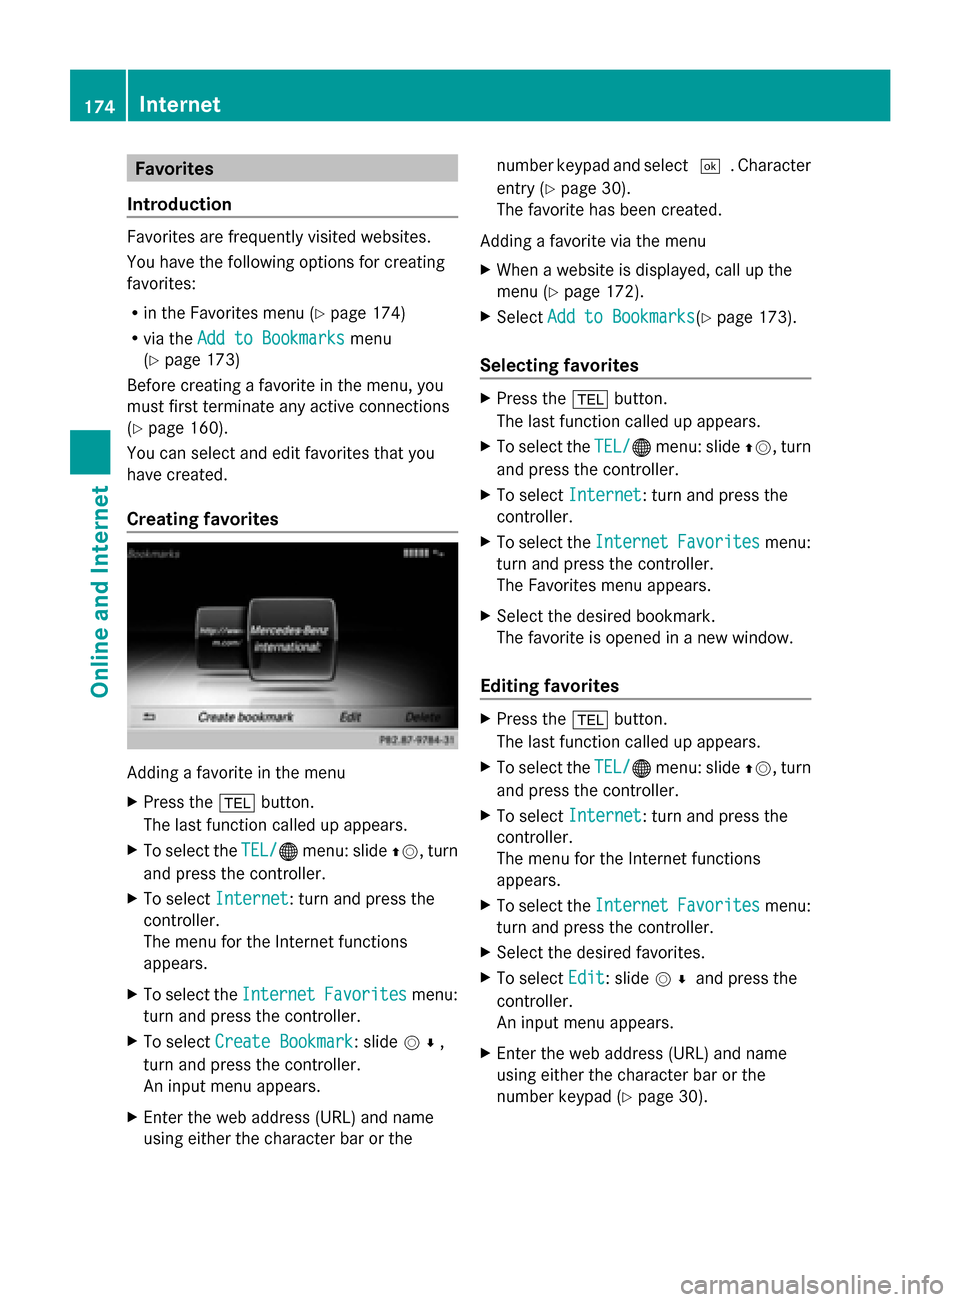
Creating favorites Adding a favorite in the menu
X
Press the 002Bbutton.
The last function called up appears.
X To select the TEL/
TEL/00A7 menu: slide 00970052, turn
and press the controller.
X To select Internet Internet: turn and press the
controller.
The menu for the Internet functions
appears.
X To select the Internet
Internet Favorites Favorites menu:
turn and press the controller.
X To select Create Bookmark
Create Bookmark: slide 005200C5,
turn and press the controller.
An input menu appears.
X Enter the web address (URL) and name
using either the character bar or the number keypad and select
0054. Character
entry (Y page 30).
The favorite has been created.
Adding a favorite via the menu
X When a website is displayed, call up the
menu (Y page 172).
X Select Add to Bookmarks Add to Bookmarks (Ypage 173).
Selecting favorites X
Press the 002Bbutton.
The last function called up appears.
X To select the TEL/
TEL/00A7menu: slide 00970052, turn
and press the controller.
X To select Internet
Internet: turn and press the
controller.
X To select the Internet
InternetFavorites
Favorites menu:
turn and press the controller.
The Favorites menu appears.
X Select the desired bookmark.
The favorite is opened in a new window.
Editing favorites X
Press the 002Bbutton.
The last function called up appears.
X To select the TEL/ TEL/00A7menu: slide 00970052, turn
and press the controller.
X To select Internet Internet: turn and press the
controller.
The menu for the Internet functions
appears.
X To select the Internet InternetFavorites
Favorites menu:
turn and press the controller.
X Select the desired favorites.
X To select Edit
Edit: slide 005200C5and press the
controller.
An input menu appears.
X Enter the web address (URL) and name
using either the character bar or the
number keypad (Y page 30).174
InternetOnline and Internet
Page 177 of 278
Deleting favorites
X
Press the 002Bbutton.
The last function called up appears.
X To select the TEL/
TEL/00A7 menu: slide 00970052, turn
and press the controller.
X To select Internet
Internet: turn and press the
controller.
X To select the Internet
Internet Favorites
Favorites menu:
turn and press the controller.
X Select the desired favorites.
X To select Delete
Delete : slide005200C5and press the
controller.
A prompt appears.
X Select Yes YesorNo
No.
If you select Yes
Yes, the favorite is deleted.
If you select No
No, the process will be
canceled. Settings
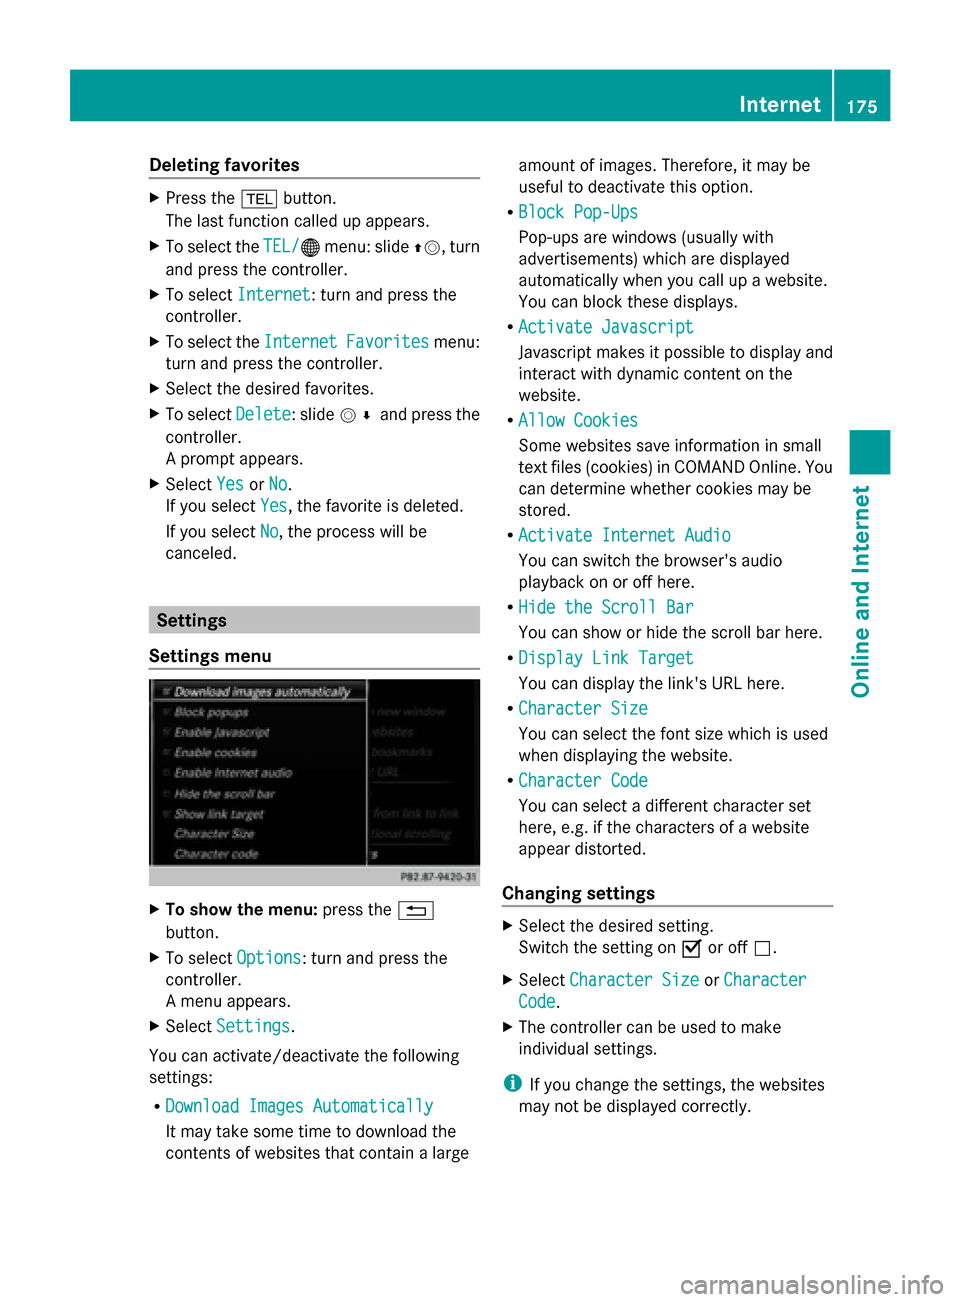
Settings menu X
To show the menu: press the0038
button.
X To select Options
Options: turn and press the
controller.
A menu appears.
X Select Settings
Settings.
You can activate/deactivate the following
settings:
R Download Images Automatically
Download Images Automatically
It may take some time to download the
contents of websites that contain a large amount of images. Therefore, it may be
useful to deactivate this option.
R Block Pop-Ups Block Pop-Ups
Pop-ups are windows (usually with
advertisements) which are displayed
automatically when you call up a website.
You can block these displays.
R Activate Javascript
Activate Javascript
Javascript makes it possible to display and
interact with dynamic content on the
website.
R Allow Cookies Allow Cookies
Some websites save information in small
text files (cookies) in COMAND Online. You
can determine whether cookies may be
stored.
R Activate Internet Audio
Activate Internet Audio
You can switch the browser's audio
playback on or off here.
R Hide the Scroll Bar Hide the Scroll Bar
You can show or hide the scroll bar here.
R Display Link Target Display Link Target
You can display the link's URL here.
R Character Size Character Size
You can select the font size which is used
when displaying the website.
R Character Code Character Code
You can select a different character set
here, e.g. if the characters of a website
appear distorted.
Changing settings X
Select the desired setting.
Switch the setting on 0073or off 0053.
X Select Character Size Character Size orCharacter
Character
Code
Code.
X The controller can be used to make
individual settings.
i If you change the settings, the websites
may not be displayed correctly. Internet
175Online and Internet Z
Page 187 of 278
X
To call up the category list: select
Category
Category in the menu bar: slide 00520064and
press the controller.
The category list appears.
X To select a category: turn the controller
and press to confirm.
The category selected is shown in the
display. You hear the station last selected
for this category.
The 0036dot indicates the current setting.
The All Channels
All Channels category is at the top
of the category list. This category enables
you to browse all available channels. Selecting a channel
Channel search X
When the display/section window is
selected, slide 009500520096the controller.
COMAND searches in both directions
(ascending and descending) and stops at
the next channel found in the selected
category.
Entering channel numbers directly X
To select Options Optionsin the menu bar: slide
00520064 and press the controller.
The satellite radio menu appears.
X To select Enter Channel
Enter Channel: turn and press
the controller.
An input menu appears.
X For the channel number, press the
corresponding number keys on the control
panel one after the other.
COMAND sets the selected channel.
i You can only select currently permitted
digits. Selecting a channel via the satellite
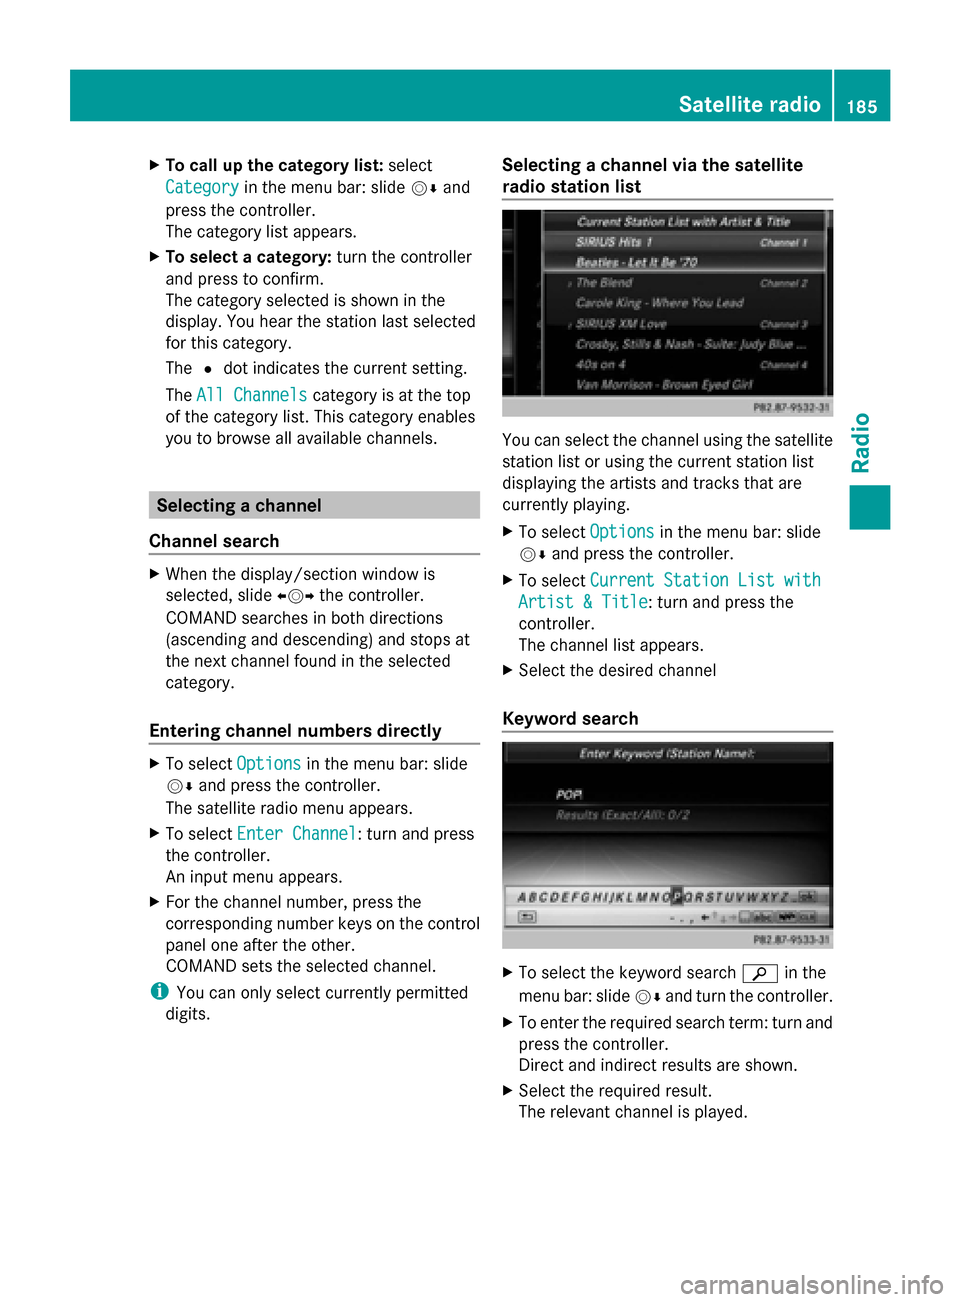
radio station list You can select the channel using the satellite
station list or using the current station list
displaying the artists and tracks that are
currently playing.
X
To select Options Optionsin the menu bar: slide
00520064 and press the controller.
X To select Current Station List with Current Station List with
Artist & Title Artist & Title: turn and press the
controller.
The channel list appears.
X Select the desired channel
Keyword search X
To select the keyword search 00D3in the
menu bar: slide 00520064and turn the controller.
X To enter the required search term: turn and
press the controller.
Direct and indirect results are shown.
X Select the required result.
The relevant channel is played. Satellite radio
185Radio
Page 188 of 278
Memory functions
Storing channels i
There are 99 presets available.
X Quick store: press the number key, e.g.
0082, until you hear a tone. The channel is
saved to the second position in the radio
channel presets.
X To store a channel using the edit
function: selectOptions
Options in the menu bar:
slide 00520064and press the controller.
X To select Edit/Organize Edit/Organize: turn and press
the controller.
The list of saved channels appears.
X To select the preset: turn the controller and
press for about 2 seconds.
A tone confirms that the currently selected
channel has been saved to the radio station
presets.
The newly saved station overwrites the
existing preset. Music and sport alerts
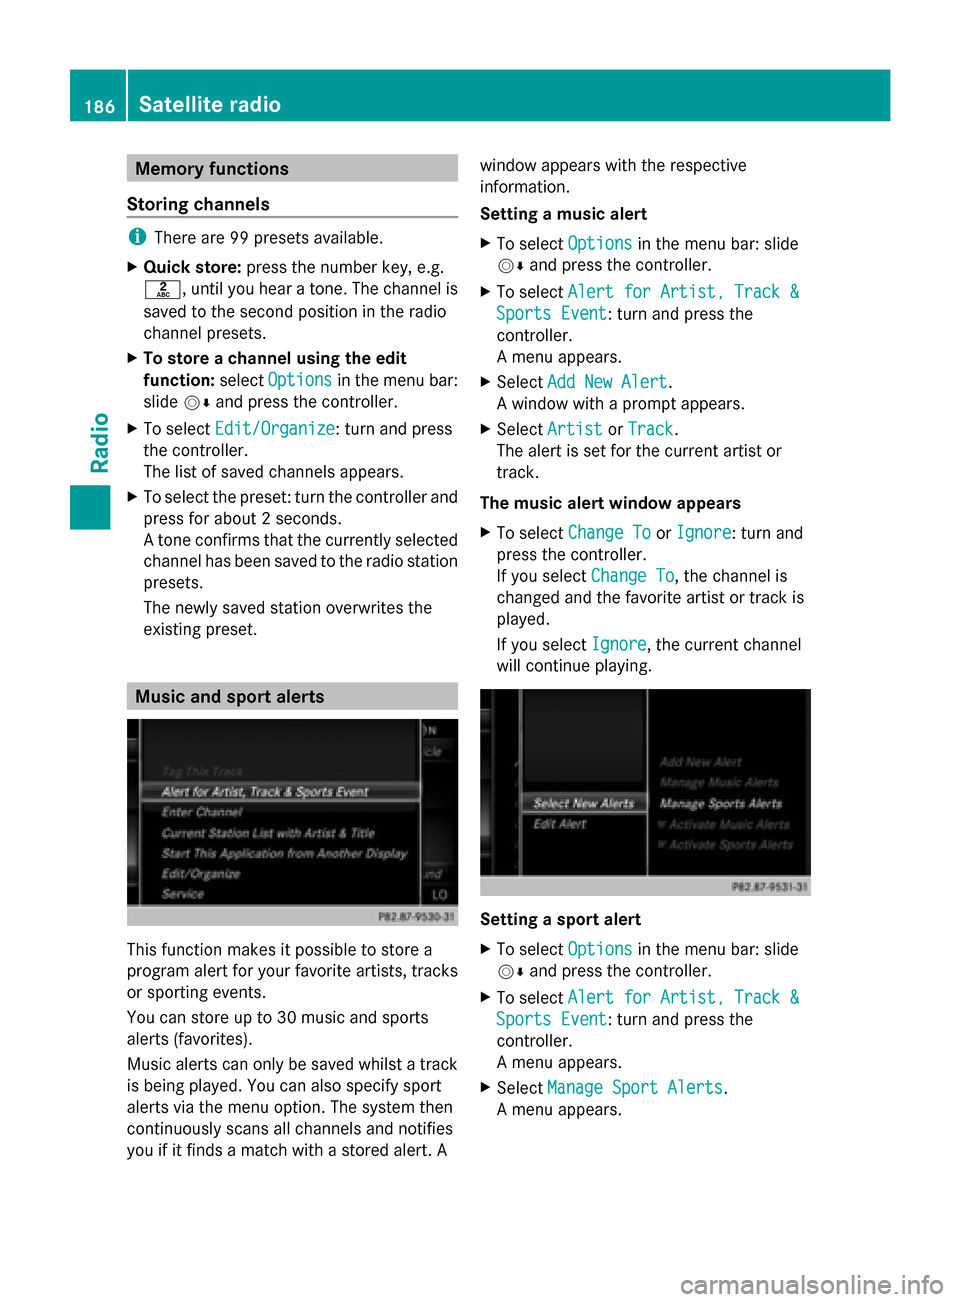
This function makes it possible to store a
program alert for your favorite artists, tracks
or sporting events.
You can store up to 30 music and sports
alerts (favorites).
Music alerts can only be saved whilst a track
is being played. You can also specify sport
alerts via the menu option. The system then
continuously scans all channels and notifies
you if it finds a match with a stored alert. A window appears with the respective
information.
Setting a music alert
X
To select Options
Options in the menu bar: slide
00520064 and press the controller.
X To select Alert for Artist, Track & Alert for Artist, Track &
Sports Event
Sports Event: turn and press the
controller.
A menu appears.
X Select Add New Alert Add New Alert.
A window with a prompt appears.
X Select Artist
Artist orTrack
Track.
The alert is set for the current artist or
track.
The music alert window appears
X To select Change To Change To orIgnore
Ignore: turn and
press the controller.
If you select Change To
Change To, the channel is
changed and the favorite artist or track is
played.
If you select Ignore
Ignore, the current channel
will continue playing. Setting a sport alert
X
To select Options Optionsin the menu bar: slide
00520064 and press the controller.
X To select Alert for Artist, Track &
Alert for Artist, Track &
Sports Event
Sports Event: turn and press the
controller.
A menu appears.
X Select Manage Sport Alerts Manage Sport Alerts.
A menu appears. 186
Satellite radioRadio
Page 198 of 278
no comparable tracks on the data carrier,
you will see a message to this effect.
X Select the required track. Play mode
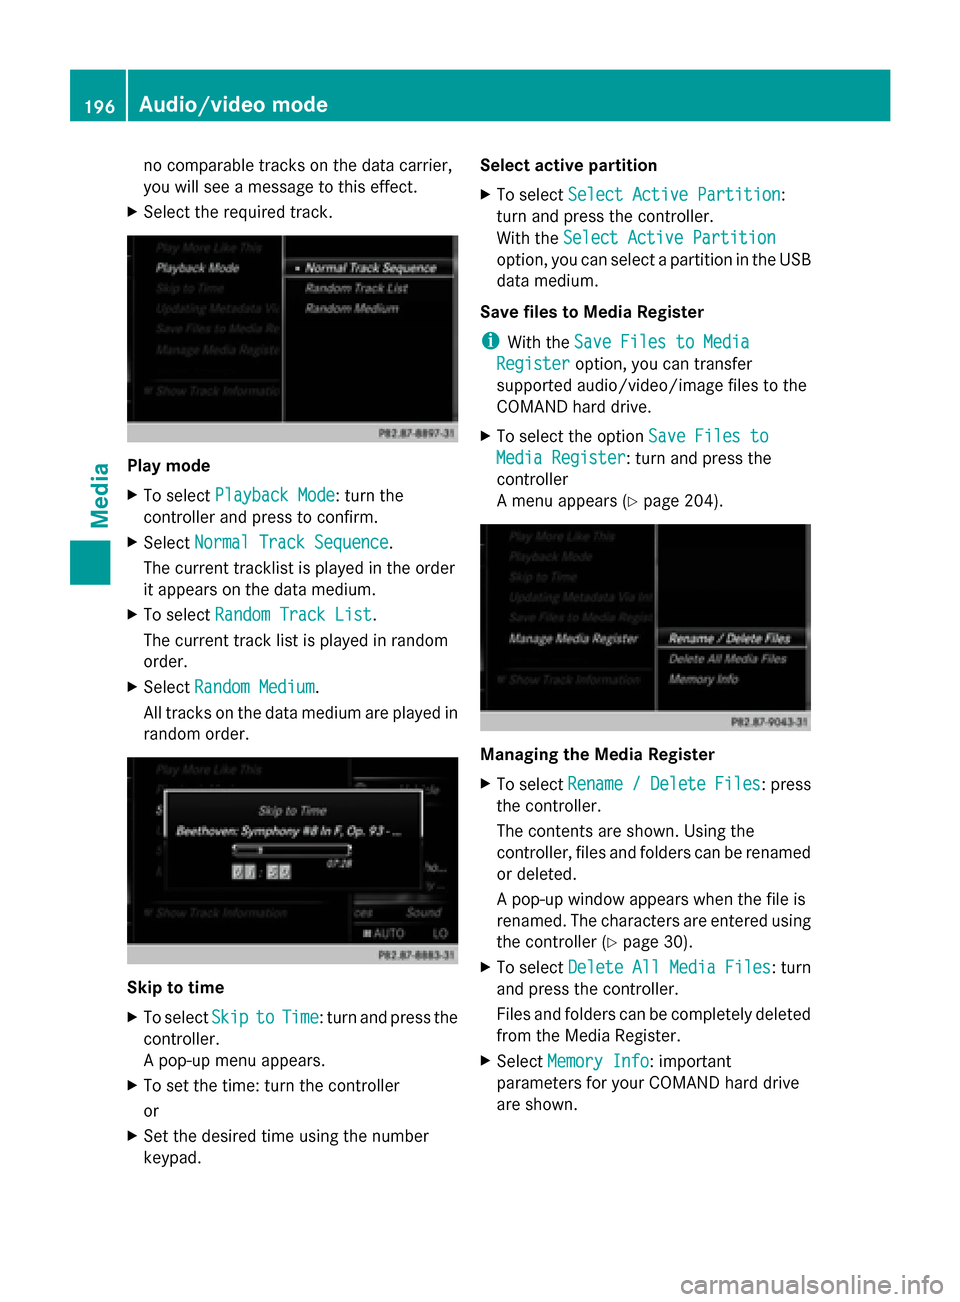
X
To select Playback Mode Playback Mode: turn the
controller and press to confirm.
X Select Normal Track Sequence
Normal Track Sequence.
The current tracklist is played in the order
it appears on the data medium.
X To select Random Track List
Random Track List.
The current track list is played in random
order.
X Select Random Medium
Random Medium .
All tracks on the data medium are played in
random order. Skip to time
X
To select Skip Skipto
toTime
Time : turn and press the
controller.
A pop-up menu appears.
X To set the time: turn the controller
or
X Set the desired time using the number
keypad. Select active partition
X
To select Select Active Partition
Select Active Partition :
turn and press the controller.
With the Select Active Partition Select Active Partition
option, you can select a partition in the USB
data medium.
Save files to Media Register
i With the Save Files to Media Save Files to Media
Register
Register option, you can transfer
supported audio/video/image files to the
COMAND hard drive.
X To select the option Save Files to Save Files to
Media Register
Media Register: turn and press the
controller
A menu appears (Y page 204). Managing the Media Register
X
To select Rename Rename/
/Delete
Delete Files
Files: press
the controller.
The contents are shown. Using the
controller, files and folders can be renamed
or deleted.
A pop-up window appears when the file is
renamed. The characters are entered using
the controller ( Ypage 30).
X To select Delete All Media Files Delete All Media Files : turn
and press the controller.
Files and folders can be completely deleted
from the Media Register.
X Select Memory Info Memory Info: important
parameters for your COMAND hard drive
are shown. 196
Audio/video modeMedia
Page 216 of 278
Selecting playback options
X
To select Options Options: turn and press the
controller.
X Select Play back music
Play back music.
A 0036 dot indicates the current setting.
X Select the desired option.
If you select Random RandomTrack
Track List
List, you will
see a corresponding message in the
display/selection window. Increasing the volume using COMAND
X To select Options Options: slide 005200C5and press
the controller.
X To select Volume
Volume: turn and press the
controller.
A menu appears. The 0036dot indicates the
current setting.
X Select Standard
Standard orBoost
Boost.
Information on sound settings
(Y page 230).
Further information: "Audio AUX mode"
(Y page 218). 214
Bluetooth ®
audio modeMedia
Page 244 of 278
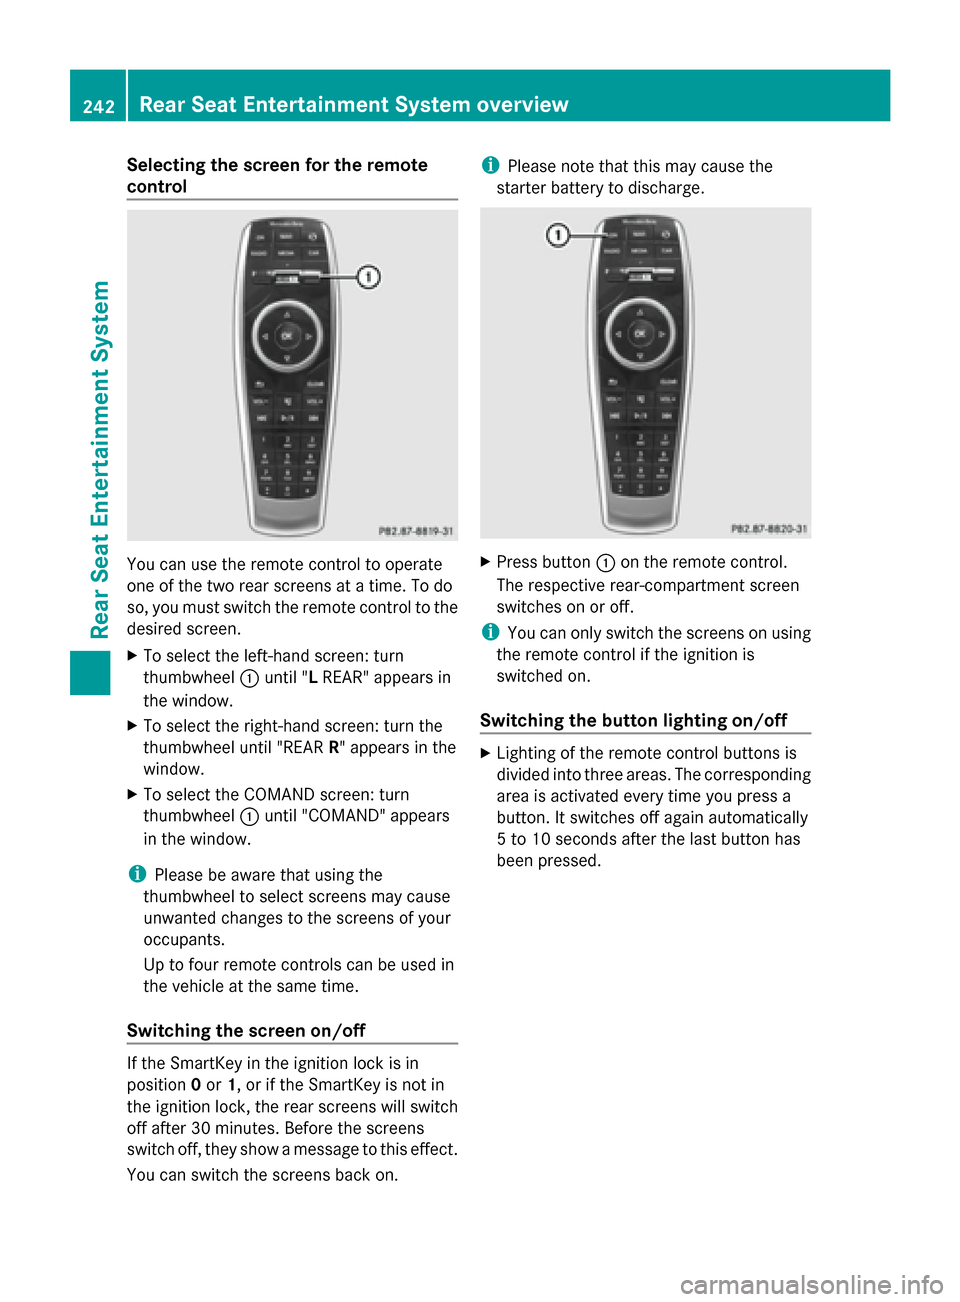
Selecting the screen for the remote
control
You can use the remote control to operate
one of the two rear screens at a time. To do
so, you must switch the remote control to the
desired screen.
X To select the left-hand screen: turn
thumbwheel 0043until "L REAR" appears in
the window.
X To select the right-hand screen: turn the
thumbwheel until "REAR R" appears in the
window.
X To select the COMAND screen: turn
thumbwheel 0043until "COMAND" appears
in the window.
i Please be aware that using the
thumbwheel to select screens may cause
unwanted changes to the screens of your
occupants.
Up to four remote controls can be used in
the vehicle at the same time.
Switching the screen on/off If the SmartKey in the ignition lock is in
position 0or 1, or if the SmartKey is not in
the ignition lock, the rear screens will switch
off after 30 minutes. Before the screens
switch off, they show a message to this effect.
You can switch the screens back on. i
Please note that this may cause the
starter battery to discharge. X
Press button 0043on the remote control.
The respective rear-compartment screen
switches on or off.
i You can only switch the screens on using
the remote control if the ignition is
switched on.
Switching the button lighting on/off X
Lighting of the remote control buttons is
divided into three areas. The corresponding
area is activated every time you press a
button. It switches off again automatically
5 to 10 seconds after the last button has
been pressed. 242
Rear Seat Entertainment System overviewRear Seat Entertainment System
Page 257 of 278
X
Select Search
Search using the 006400590065
buttons on the remote control and press
the 008Bbutton to confirm.
X Select Current Track List
Current Track List using the
00630064 buttons and press the 008Bbutton
to confirm.
The track list appears. The 0036dot indicates
the current track.
X Select the track using the 00630064
buttons and press the 008Bbutton to confirm.
Making a selection by entering the track
number directly This function is only available in Media mode.
X Press button 007Eon the remote control.
The track entry display appears.
Example: track 2
X Press number button 2.
Example: track 12
X Press the corresponding number keys in
rapid succession.
X Wait for approximately three seconds after
making the entry.
You will hear the track which has been
entered. The corresponding basic menu
then reappears.
i It is not possible to enter numbers that
exceed the number of tracks on the CD or
in the currently active folder. Fast forwarding/rewinding
X With the display/selection window active,
press the 0059or0065 button on the
remote control repeatedly until you reach
the desired position.
or
X Press and hold the 0048or0049 button
until the desired position is reached. Selecting a folder
This function is only available in MP3 mode.
X Select Search Search using the 006400590065
buttons on the remote control and press
the 008Bbutton to confirm.
X Select Folder Folder using the 006400590065
buttons and press the 008Bbutton to confirm.
The folder content appears.
X To switch to the next folder up: press the
0059 button on the remote control.
The display shows the next folder up.
X Select the folder with the 00630064
buttons and press the 008Bbutton to confirm.
You will see the tracks in the folder.
X Select the track using the 00630064
buttons and press the 008Bbutton to confirm.
The track is played and the corresponding
folder is now the active folder. Pause/Playback
X To pause playback: press the0065/
00CF button on the remote control.
The 00CF display changes to 00D0.
X To continue playback: press the0065/
00CF button.
The 00D0 display changes to 00CF. Playback options
X Select Options Options using the 006400590065
buttons and press the 008Bbutton to confirm.
X The options list appears. The 0036dot
indicates the option currently selected.
X Select Normal
Normal Track
TrackSequence
Sequence ,Random
Random
Tracks
Tracks orRandom Folder
Random Folder using the
00630064 buttons and press the 008Bbutton
to confirm.
The option is switched on. For all options
except Normal Track Sequence Normal Track Sequence, you will Audio/video mode
255Rear Seat Entertainment System Z