ECU MERCEDES-BENZ S-Class 2014 W222 Comand Manual
[x] Cancel search | Manufacturer: MERCEDES-BENZ, Model Year: 2014, Model line: S-Class, Model: MERCEDES-BENZ S-Class 2014 W222Pages: 278, PDF Size: 6.65 MB
Page 45 of 278
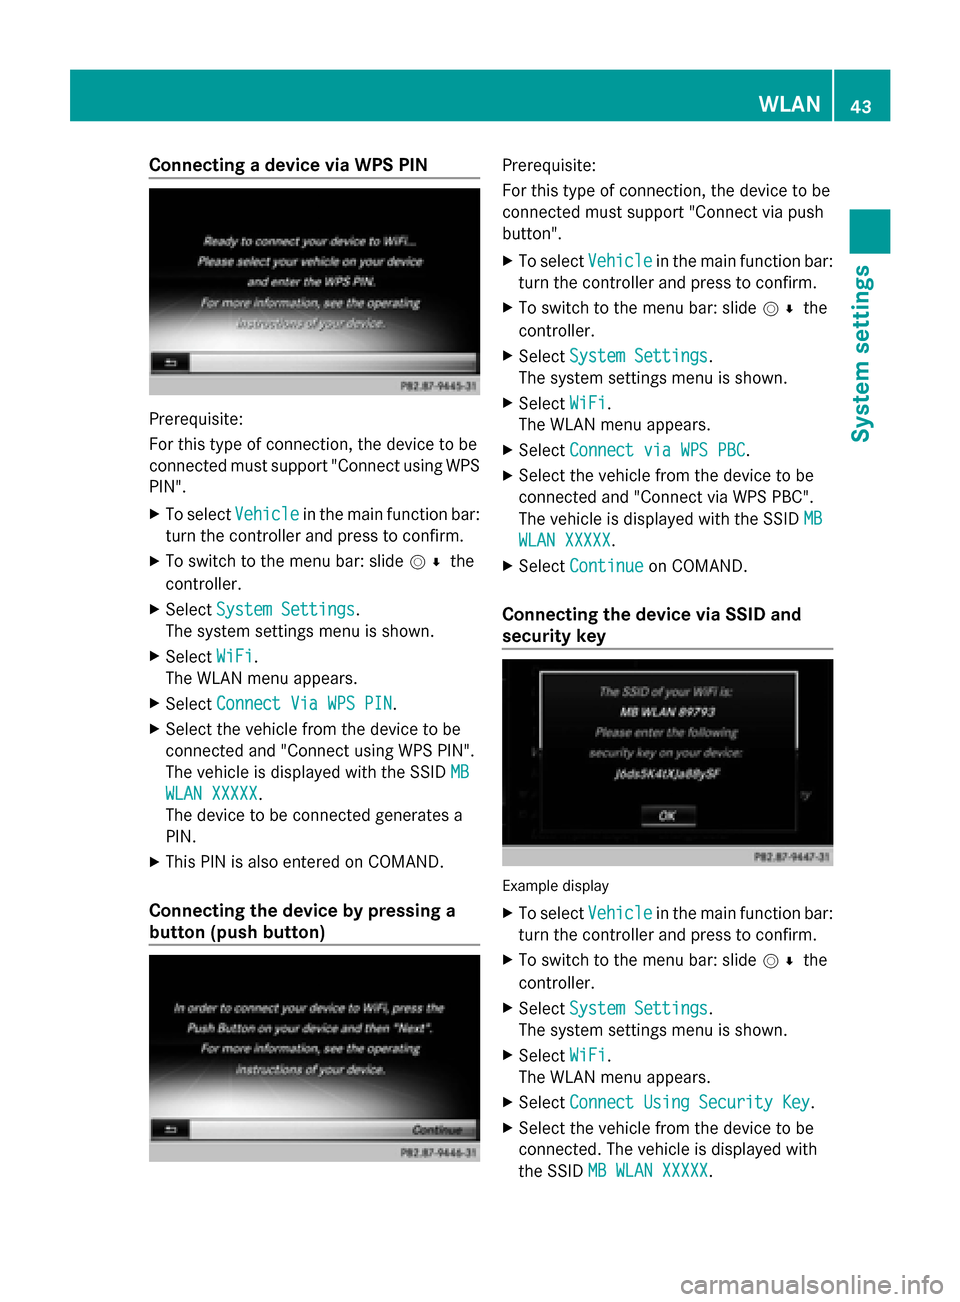
Connecting a device via WPS PIN
Prerequisite:
For this type of connection, the device to be
connected must support "Connect using WPS
PIN".
X To select Vehicle
Vehicle in the main function bar:
turn the controller and press to confirm.
X To switch to the menu bar: slide 005200C5the
controller.
X Select System Settings
System Settings.
The system settings menu is shown.
X Select WiFi WiFi.
The WLAN menu appears.
X Select Connect Via WPS PIN
Connect Via WPS PIN .
X Select the vehicle from the device to be
connected and "Connect using WPS PIN".
The vehicle is displayed with the SSID MB
MB
WLAN XXXXX
WLAN XXXXX.
The device to be connected generates a
PIN.
X This PIN is also entered on COMAND.
Connecting the device by pressing a
button (push button) Prerequisite:
For this type of connection, the device to be
connected must support "Connect via push
button".
X
To select Vehicle Vehiclein the main function bar:
turn the controller and press to confirm.
X To switch to the menu bar: slide 005200C5the
controller.
X Select System Settings
System Settings.
The system settings menu is shown.
X Select WiFi
WiFi.
The WLAN menu appears.
X Select Connect via WPS PBC
Connect via WPS PBC .
X Select the vehicle from the device to be
connected and "Connect via WPS PBC".
The vehicle is displayed with the SSID MB MB
WLAN XXXXX
WLAN XXXXX.
X Select Continue
Continue on COMAND.
Connecting the device via SSID and
security key Example display
X
To select Vehicle Vehiclein the main function bar:
turn the controller and press to confirm.
X To switch to the menu bar: slide 005200C5the
controller.
X Select System Settings
System Settings.
The system settings menu is shown.
X Select WiFi
WiFi.
The WLAN menu appears.
X Select Connect Using Security Key
Connect Using Security Key .
X Select the vehicle from the device to be
connected. The vehicle is displayed with
the SSID MB WLAN XXXXX MB WLAN XXXXX. WLAN
43System settings
Page 46 of 278
X
Enter the security key that appears on the
COMAND display for the device to be
connected.
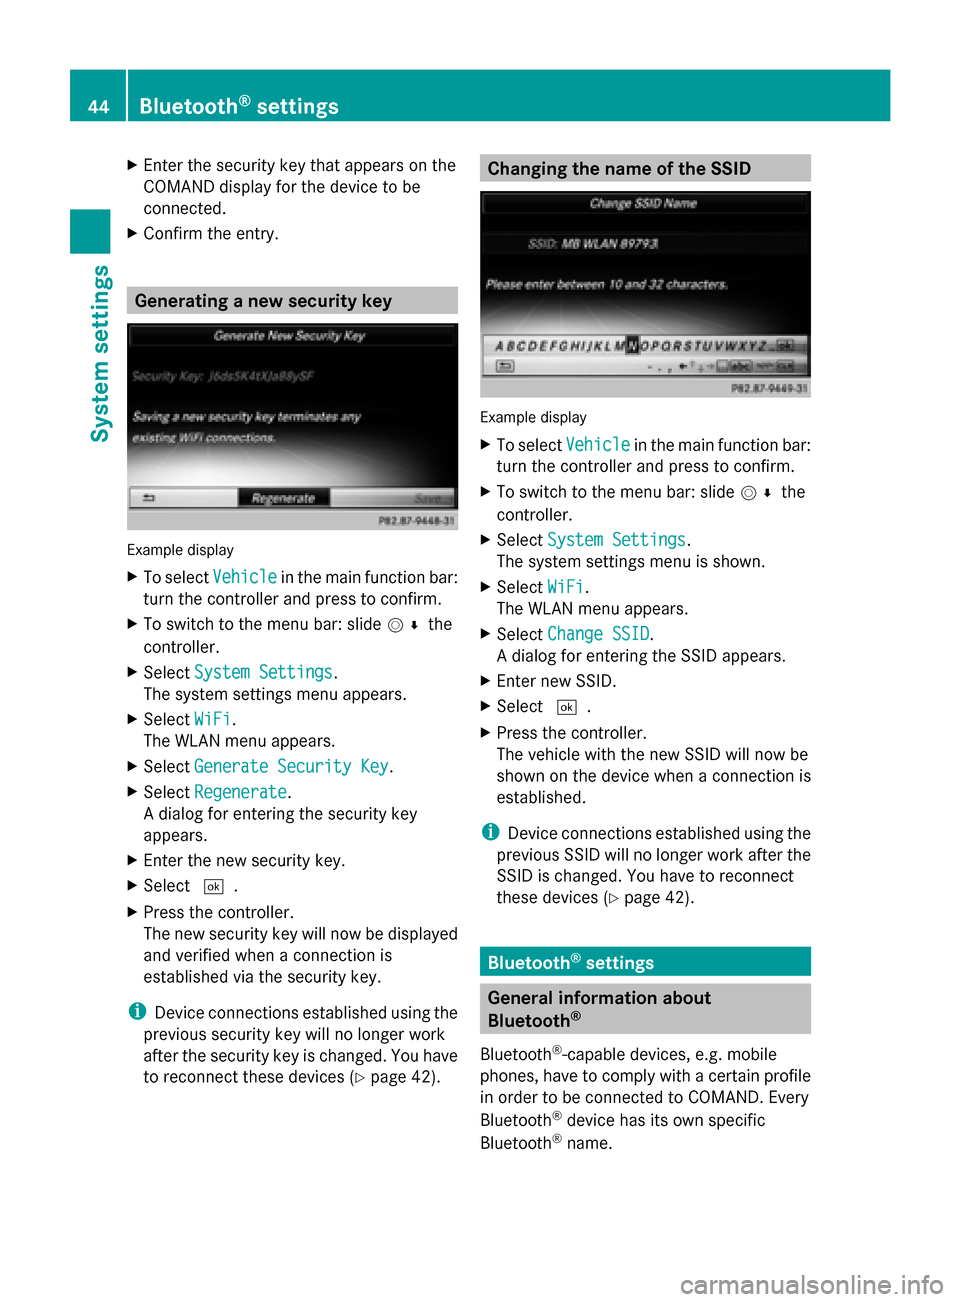
X Confirm the entry. Generating a new security key
Example display
X
To select Vehicle Vehiclein the main function bar:
turn the controller and press to confirm.
X To switch to the menu bar: slide 005200C5the
controller.
X Select System Settings
System Settings.
The system settings menu appears.
X Select WiFi
WiFi.
The WLAN menu appears.
X Select Generate Security Key
Generate Security Key .
X Select Regenerate
Regenerate.
A dialog for entering the security key
appears.
X Enter the new security key.
X Select 0054.
X Press the controller.
The new security key will now be displayed
and verified when a connection is
established via the security key.
i Device connections established using the
previous security key will no longer work
after the security key is changed. You have
to reconnect these devices ( Ypage 42). Changing the name of the SSID
Example display
X
To select Vehicle Vehiclein the main function bar:
turn the controller and press to confirm.
X To switch to the menu bar: slide 005200C5the
controller.
X Select System Settings
System Settings.
The system settings menu is shown.
X Select WiFi
WiFi.
The WLAN menu appears.
X Select Change SSID
Change SSID.
A dialog for entering the SSID appears.
X Enter new SSID.
X Select 0054.
X Press the controller.
The vehicle with the new SSID will now be
shown on the device when a connection is
established.
i Device connections established using the
previous SSID will no longer work after the
SSID is changed. You have to reconnect
these devices (Y page 42). Bluetooth
®
settings General information about
Bluetooth
®
Bluetooth ®
-capable devices, e.g. mobile
phones, have to comply with a certain profile
in order to be connected to COMAND. Every
Bluetooth ®
device has its own specific
Bluetooth ®
name. 44
Bluetooth ®
settingsSystem settings
Page 122 of 278
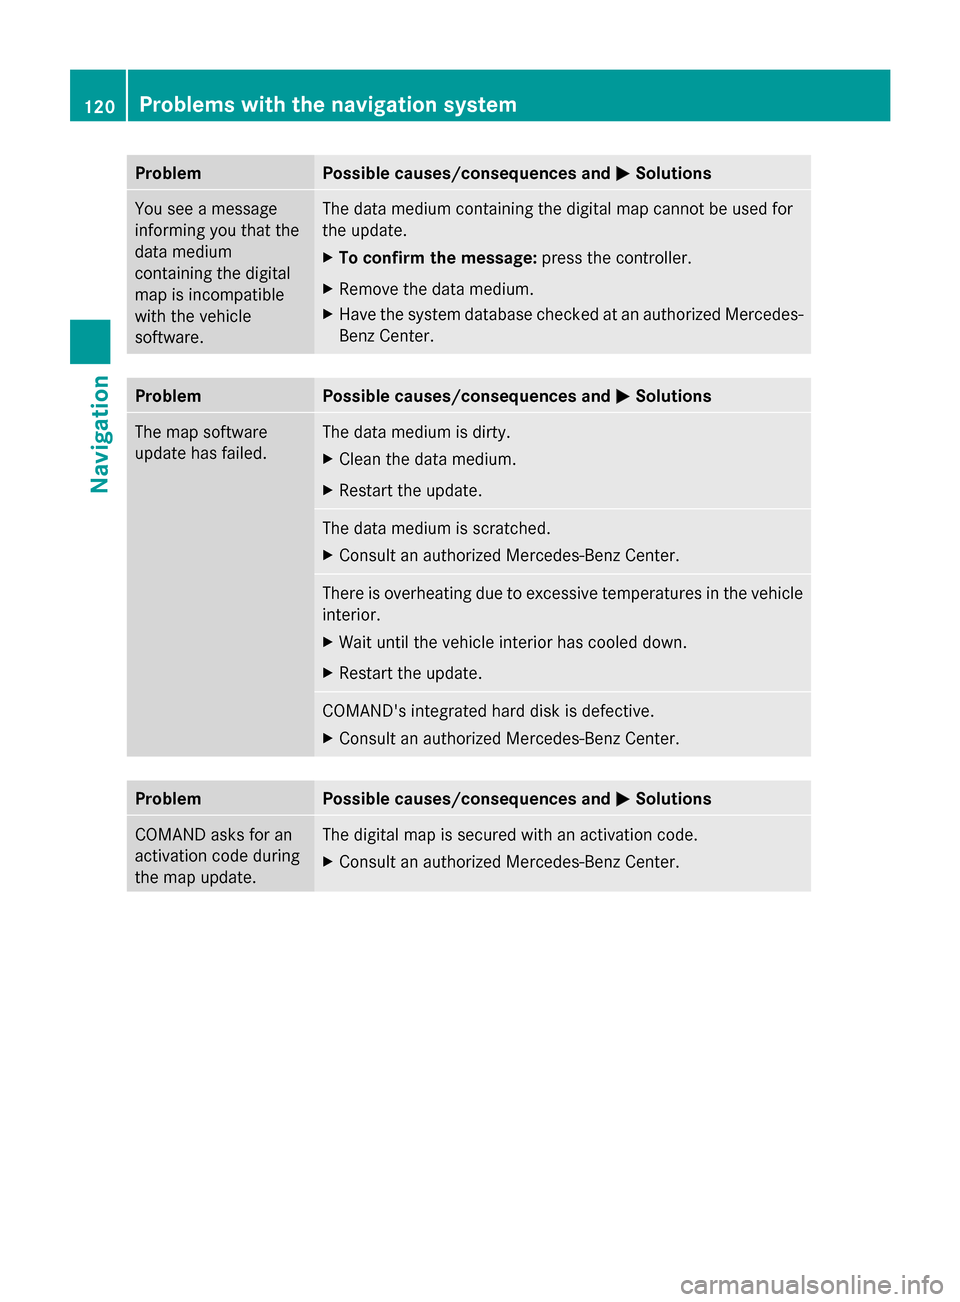
Problem Possible causes/consequences and
0050
0050Solutions You see a message
informing you that the
data medium
containing the digital
map is incompatible
with the vehicle
software. The data medium containing the digital map cannot be used for
the update.
X
To confirm the message: press the controller.
X Remove the data medium.
X Have the system database checked at an authorized Mercedes-
Benz Center. Problem Possible causes/consequences and
0050 0050Solutions The map software
update has failed. The data medium is dirty.
X
Clean the data medium.
X Restart the update. The data medium is scratched.
X
Consult an authorized Mercedes-Benz Center. There is overheating due to excessive temperatures in the vehicle
interior.
X
Wait until the vehicle interior has cooled down.
X Restart the update. COMAND's integrated hard disk is defective.
X
Consult an authorized Mercedes-Benz Center. Problem Possible causes/consequences and
0050 0050Solutions COMAND asks for an
activation code during
the map update. The digital map is secured with an activation code.
X
Consult an authorized Mercedes-Benz Center. 120
Problems with the navigation systemNavigation
Page 127 of 278
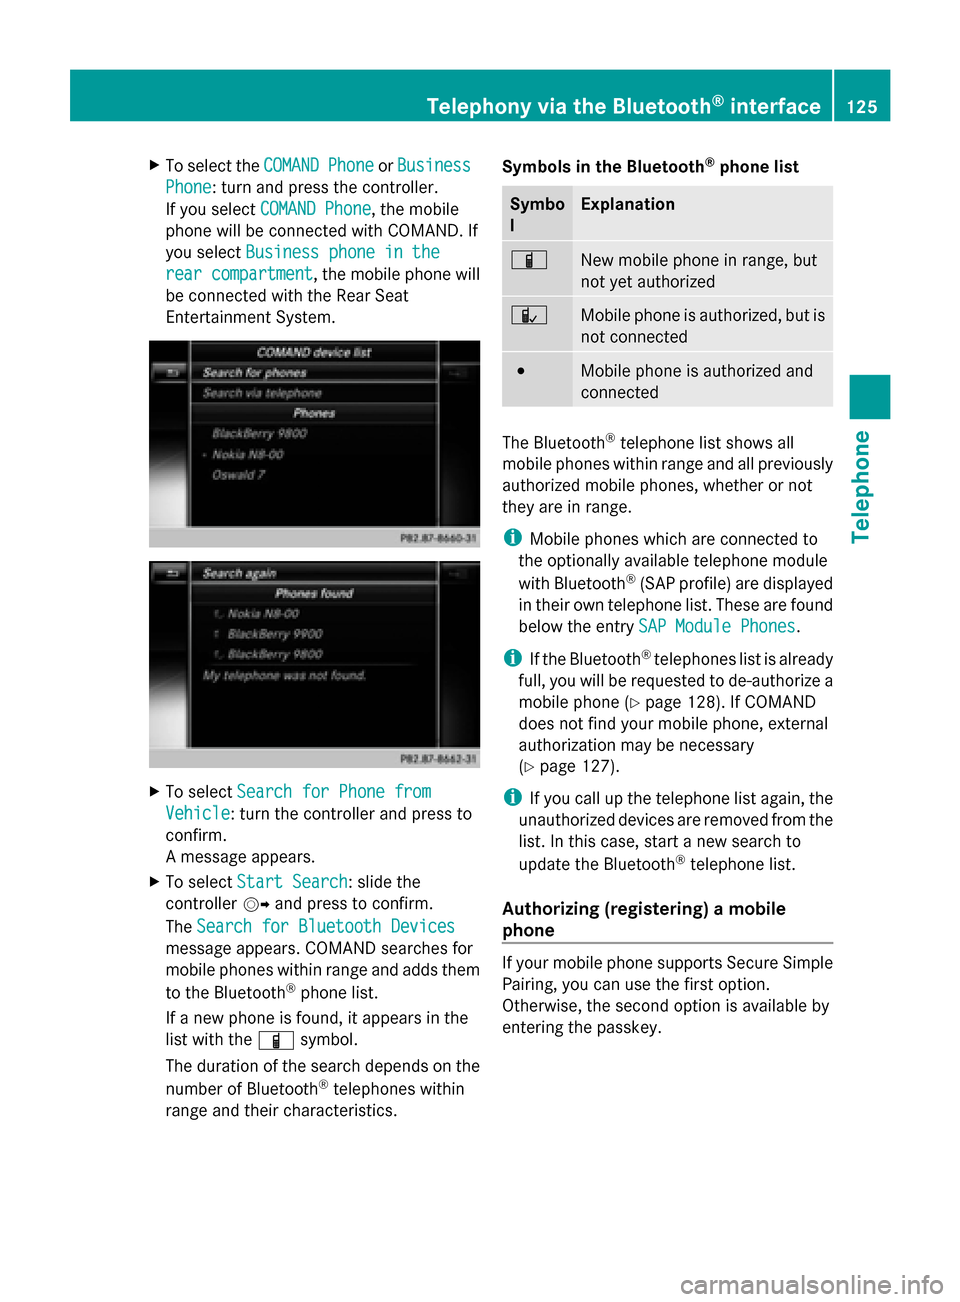
X
To select the COMAND
COMANDPhone
PhoneorBusiness
Business
Phone
Phone: turn and press the controller.
If you select COMAND Phone
COMAND Phone, the mobile
phone will be connected with COMAND. If
you select Business phone in the
Business phone in the
rear compartment
rear compartment , the mobile phone will
be connected with the Rear Seat
Entertainment System. X
To select Search for Phone from Search for Phone from
Vehicle
Vehicle: turn the controller and press to
confirm.
A message appears.
X To select Start Search
Start Search: slide the
controller 00520096and press to confirm.
The Search for Bluetooth Devices Search for Bluetooth Devices
message appears. COMAND searches for
mobile phones within range and adds them
to the Bluetooth ®
phone list.
If a new phone is found, it appears in the
list with the 00D3symbol.
The duration of the search depends on the
number of Bluetooth ®
telephones within
range and their characteristics. Symbols in the Bluetooth
®
phone list Symbo
l Explanation
00D3
New mobile phone in range, but
not yet authorized
00DC
Mobile phone is authorized, but is
not connected
0036
Mobile phone is authorized and
connected
The Bluetooth
®
telephone list shows all
mobile phones within range and all previously
authorized mobile phones, whether or not
they are in range.
i Mobile phones which are connected to
the optionally available telephone module
with Bluetooth ®
(SAP profile) are displayed
in their own telephone list. These are found
below the entry SAP Module Phones SAP Module Phones.
i If the Bluetooth ®
telephones list is already
full, you will be requested to de-authorize a
mobile phone ( Ypage 128). If COMAND
does not find your mobile phone, external
authorization may be necessary
(Y page 127).
i If you call up the telephone list again, the
unauthorized devices are removed from the
list. In this case, start a new search to
update the Bluetooth ®
telephone list.
Authorizing (registering) a mobile
phone If your mobile phone supports Secure Simple
Pairing, you can use the first option.
Otherwise, the second option is available by
entering the passkey.Telephony via the Bluetooth
®
interface 125Telephone Z
Page 128 of 278
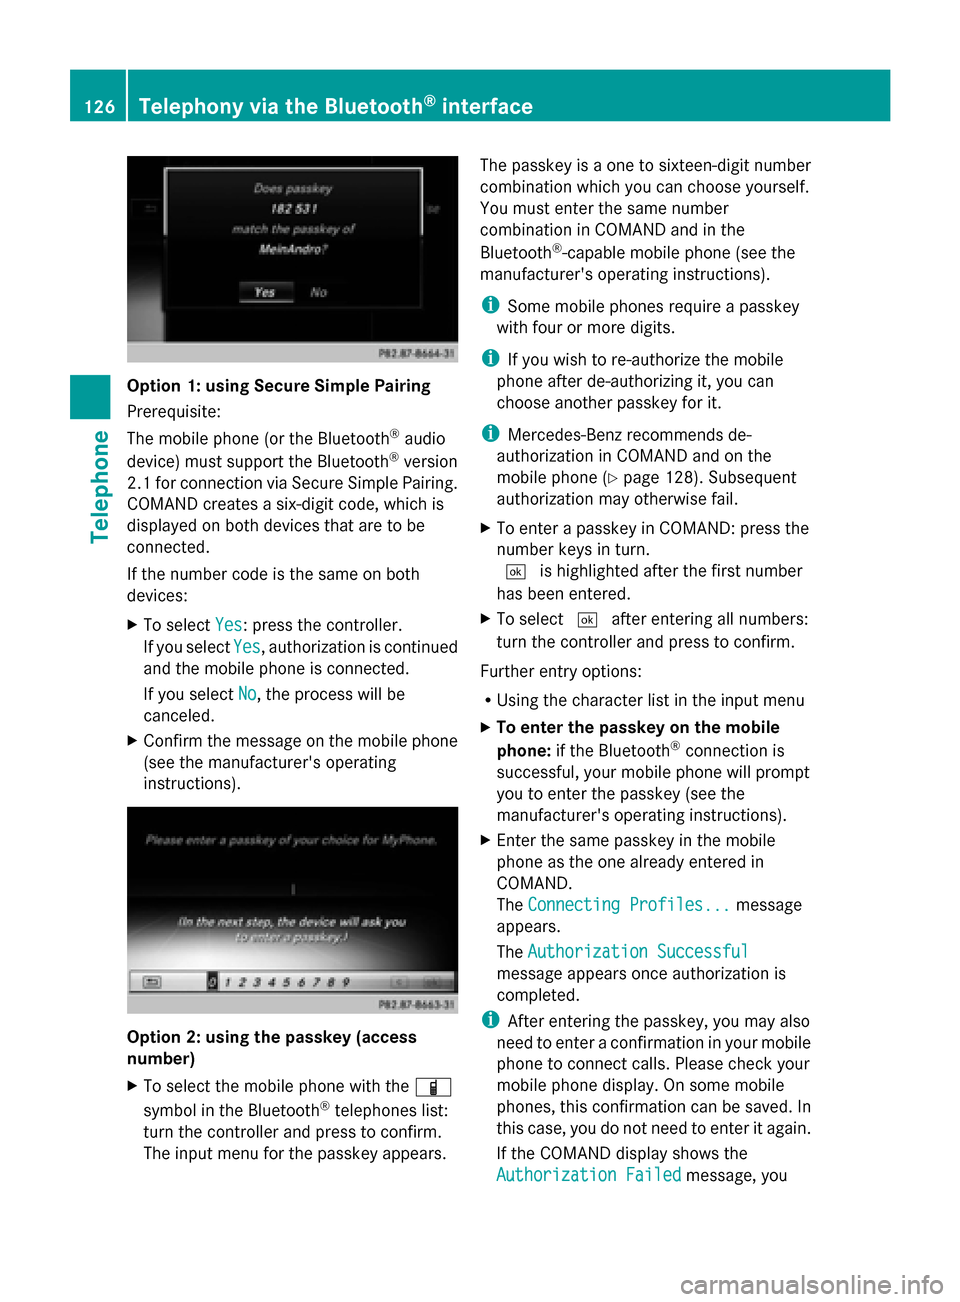
Option 1: using Secure Simple Pairing
Prerequisite:
The mobile phone (or the Bluetooth
®
audio
device) must support the Bluetooth ®
version
2.1 for connection via Secure Simple Pairing.
COMAND creates a six-digit code, which is
displayed on both devices that are to be
connected.
If the number code is the same on both
devices:
X To select Yes Yes: press the controller.
If you select Yes
Yes, authorization is continued
and the mobile phone is connected.
If you select No
No, the process will be
canceled.
X Confirm the message on the mobile phone
(see the manufacturer's operating
instructions). Option 2: using the passkey (access
number)
X
To select the mobile phone with the 00D3
symbol in the Bluetooth ®
telephones list:
turn the controller and press to confirm.
The input menu for the passkey appears. The passkey is a one to sixteen-digit number
combination which you can choose yourself.
You must enter the same number
combination in COMAND and in the
Bluetooth
®
-capable mobile phone (see the
manufacturer's operating instructions).
i Some mobile phones require a passkey
with four or more digits.
i If you wish to re-authorize the mobile
phone after de-authorizing it, you can
choose another passkey for it.
i Mercedes-Benz recommends de-
authorization in COMAND and on the
mobile phone ( Ypage 128). Subsequent
authorization may otherwise fail.
X To enter a passkey in COMAND: press the
number keys in turn.
0054 is highlighted after the first number
has been entered.
X To select 0054after entering all numbers:
turn the controller and press to confirm.
Further entry options:
R Using the character list in the input menu
X To enter the passkey on the mobile
phone: if the Bluetooth ®
connection is
successful, your mobile phone will prompt
you to enter the passkey (see the
manufacturer's operating instructions).
X Enter the same passkey in the mobile
phone as the one already entered in
COMAND.
The Connecting Profiles...
Connecting Profiles... message
appears.
The Authorization Successful Authorization Successful
message appears once authorization is
completed.
i After entering the passkey, you may also
need to enter a confirmation in your mobile
phone to connect calls. Please check your
mobile phone display. On some mobile
phones, this confirmation can be saved. In
this case, you do not need to enter it again.
If the COMAND display shows the
Authorization Failed
Authorization Failed message, you126
Telephony via the Bluetooth ®
interfaceTelephone
Page 129 of 278
may have exceeded the prescribed time
period. Repeat the procedure.
The mobile phone is connected to COMAND
(authorized). You can now make phone calls
using the COMAND hands-free system.
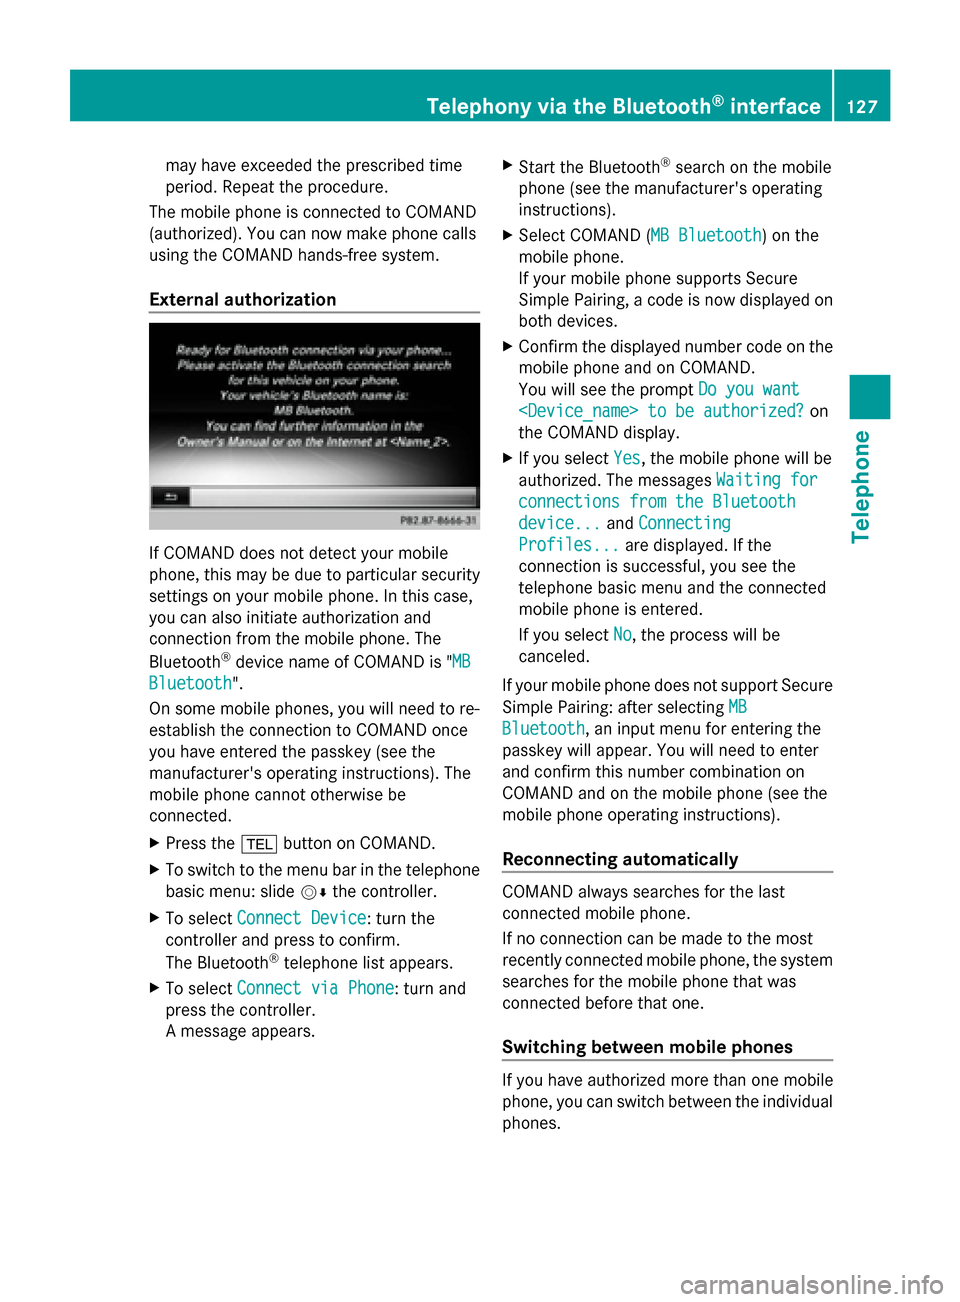
External authorization If COMAND does not detect your mobile
phone, this may be due to particular security
settings on your mobile phone. In this case,
you can also initiate authorization and
connection from the mobile phone. The
Bluetooth ®
device name of COMAND is " MB MB
Bluetooth
Bluetooth".
On some mobile phones, you will need to re-
establish the connection to COMAND once
you have entered the passkey (see the
manufacturer's operating instructions). The
mobile phone cannot otherwise be
connected.
X Press the 002Bbutton on COMAND.
X To switch to the menu bar in the telephone
basic menu: slide 00520064the controller.
X To select Connect Device
Connect Device: turn the
controller and press to confirm.
The Bluetooth ®
telephone list appears.
X To select Connect via Phone
Connect via Phone: turn and
press the controller.
A message appears. X
Start the Bluetooth ®
search on the mobile
phone (see the manufacturer's operating
instructions).
X Select COMAND ( MB Bluetooth MB Bluetooth) on the
mobile phone.
If your mobile phone supports Secure
Simple Pairing, a code is now displayed on
both devices.
X Confirm the displayed number code on the
mobile phone and on COMAND.
You will see the prompt Do you want Do you want
the COMAND display.
X If you select Yes
Yes, the mobile phone will be
authorized. The messages Waiting for
Waiting for
connections from the Bluetooth
connections from the Bluetooth
device... device... andConnecting
Connecting
Profiles...
Profiles... are displayed. If the
connection is successful, you see the
telephone basic menu and the connected
mobile phone is entered.
If you select No No, the process will be
canceled.
If your mobile phone does not support Secure
Simple Pairing: after selecting MB MB
Bluetooth
Bluetooth, an input menu for entering the
passkey will appear. You will need to enter
and confirm this number combination on
COMAND and on the mobile phone (see the
mobile phone operating instructions).
Reconnecting automatically COMAND always searches for the last
connected mobile phone.
If no connection can be made to the most
recently connected mobile phone, the system
searches for the mobile phone that was
connected before that one.
Switching between mobile phones
If you have authorized more than one mobile
phone, you can switch between the individual
phones.Telephony via the Bluetooth
®
interface 127Telephone Z
Page 197 of 278
Inserting and ejecting an SD memory
card
General information COMAND supports SD memory cards
(Secure Digital) and SDHC memory cards
(Secure DigitalHighCapacity).
i If you are no longer using the SD memory
card, you should remove it. High
temperatures can damage the card.
Inserting an SD memory card X
Insert the memory card into the slot on the
control panel until the SD memory card
engages into place. The side with the
contacts must face downwards.
The music is played while the files are
loaded in the background. If there are no
supported audio/video files, you will see a
message to this effect.
Ejecting an SD memory card X
Press the memory card.
The memory card is ejected.
X Remove the memory card. Connecting USB devices
There are two USB ports located in the
stowage compartment in the center console.
X Connect the USB device to the USB port.
The music is played while the files are
loaded in the background. If there are no
supported audio/video files, you will see a
message to this effect.
i MP3 players must support Media Transfer
Protocol (MTP). Activating media mode
Switching on automatically When an external media source is connected,
the media mode is automatically switched on
by COMAND and the basic display is shown.
If the CD/DVD is started using another
application (e.g. navigation), the display will
not change.
X Insert the CDs/DVDs (Y page 192)
or
X Insert a SD memory card: (Y page 195)
or
X Connect a USB device: (Y page 195)
COMAND loads the medium inserted and
starts to play it automatically.
Further options for switching on:
R Using the number keypad: (Y page 191)
R Using the main function bar: (Y page 190)
R Using the device list: (Y page 191)
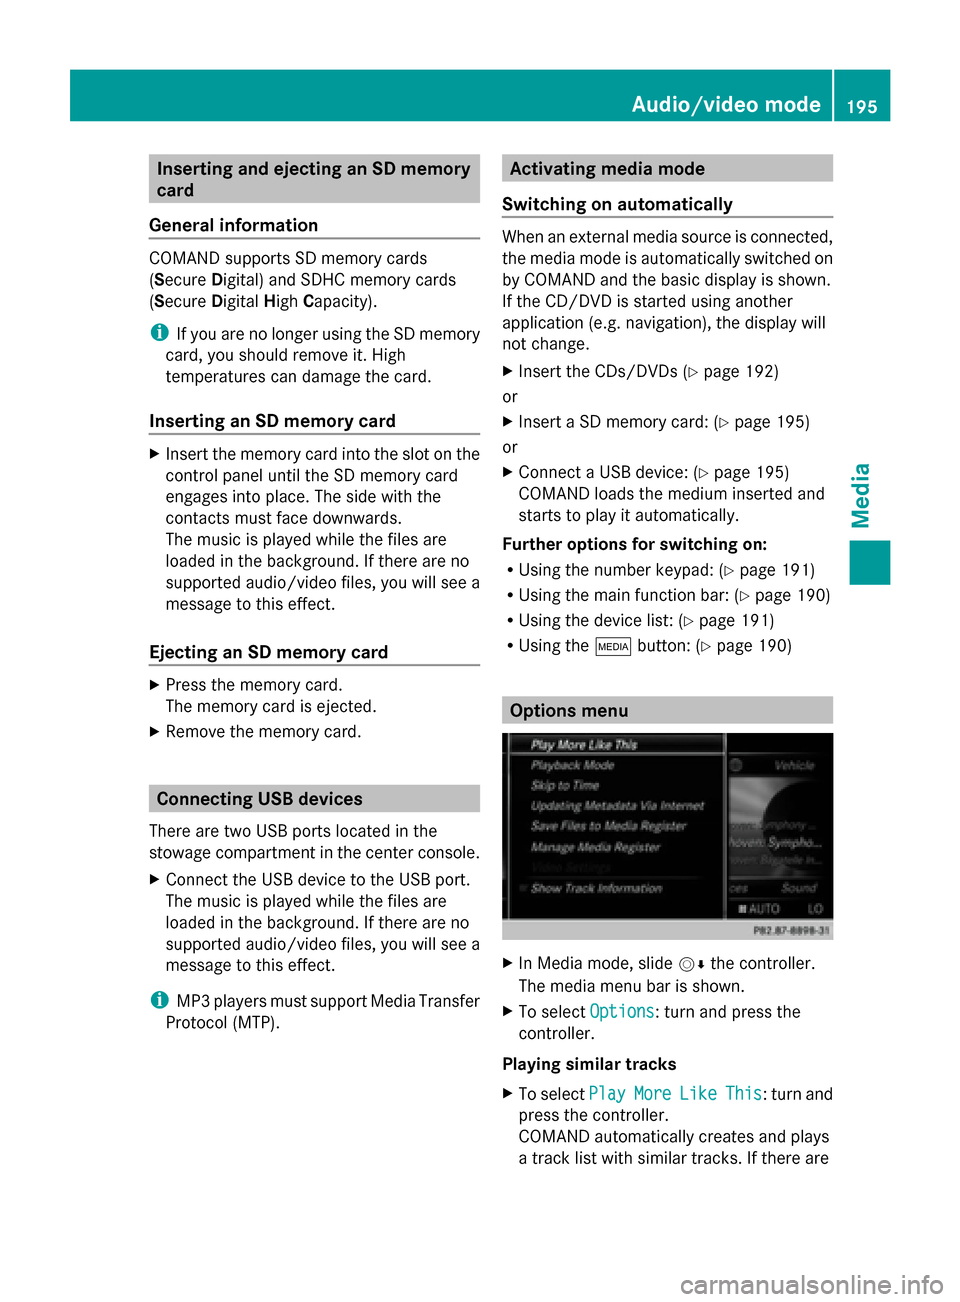
R Using the 00FDbutton: (Y page 190) Options menu
X
In Media mode, slide 00520064the controller.
The media menu bar is shown.
X To select Options Options: turn and press the
controller.
Playing similar tracks
X To select Play PlayMore
MoreLike
Like This
This: turn and
press the controller.
COMAND automatically creates and plays
a track list with similar tracks. If there are Audio/video mode
195Media Z
Page 205 of 278
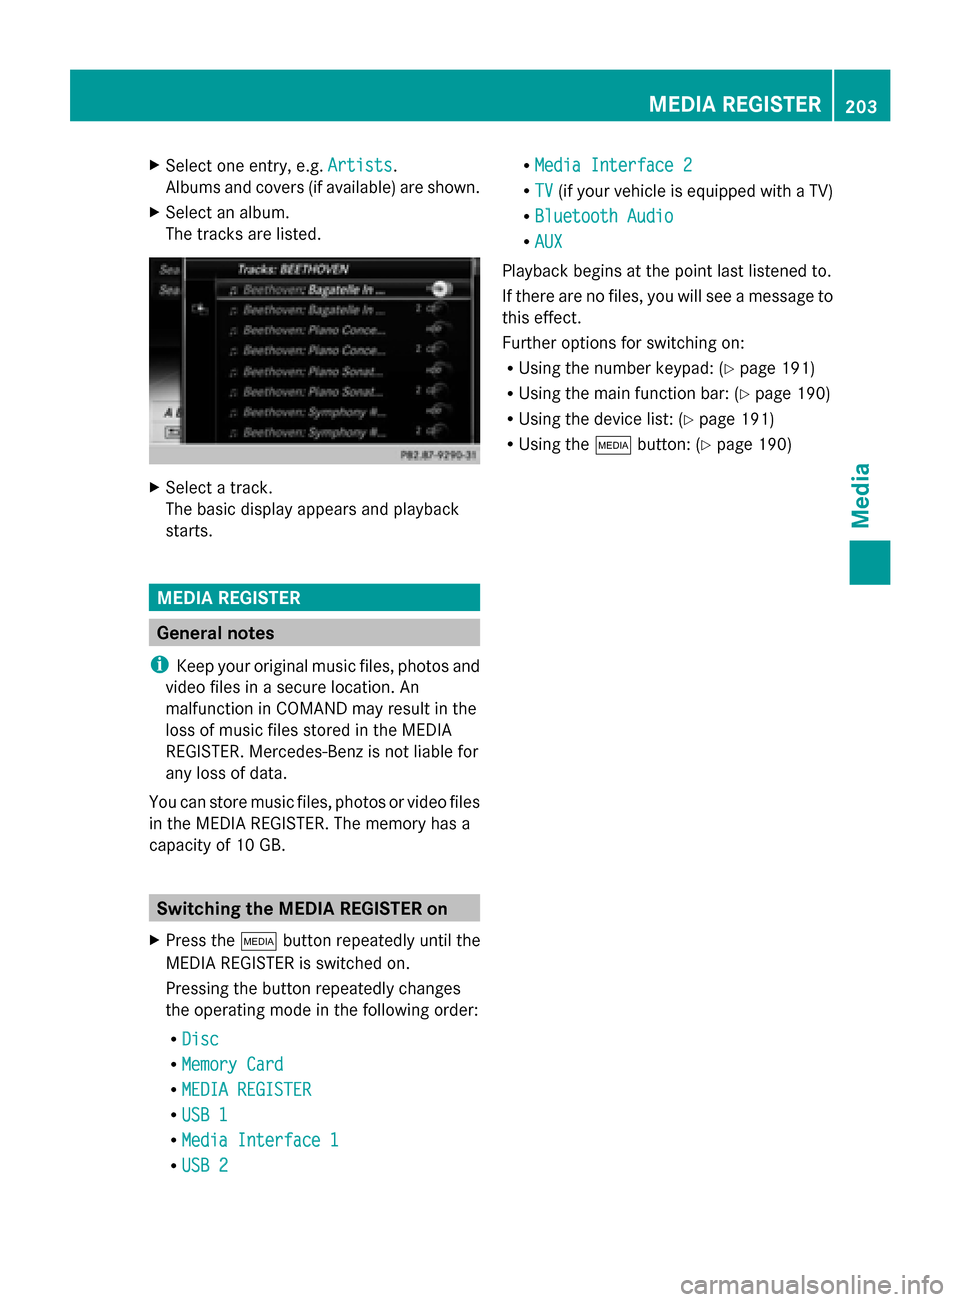
X
Select one entry, e.g. Artists
Artists.
Albums and covers (if available) are shown.
X Select an album.
The tracks are listed. X
Select a track.
The basic display appears and playback
starts. MEDIA REGISTER
General notes
i Keep your original music files, photos and
video files in a secure location. An
malfunction in COMAND may result in the
loss of music files stored in the MEDIA
REGISTER. Mercedes-Benz is not liable for
any loss of data.
You can store music files, photos or video files
in the MEDIA REGISTER. The memory has a
capacity of 10 GB. Switching the MEDIA REGISTER on
X Press the 00FDbutton repeatedly until the
MEDIA REGISTER is switched on.
Pressing the button repeatedly changes
the operating mode in the following order:
R Disc
Disc
R Memory Card Memory Card
R MEDIA REGISTER
MEDIA REGISTER
R USB 1
USB 1
R Media Interface 1
Media Interface 1
R USB 2
USB 2 R
Media Interface 2
Media Interface 2
R TV
TV (if your vehicle is equipped with a TV)
R Bluetooth Audio
Bluetooth Audio
R AUX
AUX
Playback begins at the point last listened to.
If there are no files, you will see a message to
this effect.
Further options for switching on:
R Using the number keypad: (Y page 191)
R Using the main function bar: (Y page 190)
R Using the device list: (Y page 191)
R Using the 00FDbutton: (Y page 190) MEDIA REGISTER
203Media Z
Page 212 of 278
Option 1: entering the passkey
X
You can find information on this in the
"Authorizing (registering) a mobile phone"
section (Y page 125).
After successful authorization, the
Bluetooth ®
audio device is connected and
starts playing.
Option 2: Secure Simple Pairing
i The Bluetooth ®
audio device must
support Bluetooth ®
version 2.1 for
connection via Secure Simple Pairing.
COMAND creates a six-digit code, which is
displayed on both devices that are to be
connected
For some Bluetooth ®
audio devices, the
pairing must be confirmed within 10
seconds.
X If the number code displayed on
COMAND and on the Bluetooth ®
audio
device is the same, select Yes Yes: press the
controller.
If you select Yes
Yes, authorization continues
and the Bluetooth ®
audio device is
connected. Playback starts.
If you select No
No, authorization will be
canceled. External authorization
If COMAND does not find your Bluetooth ®
audio device, this may be due to particular
security settings on your Bluetooth ®
audio
device. In this case, check whether your
Bluetooth ®
audio device can locate
COMAND.
The Bluetooth ®
device name of COMAND is
MB Bluetooth
MB Bluetooth.
X
Switch on Bluetooth ®
audio mode
(Y page 212).
X To select Options Options: slide 005200C5and press
the controller. X
To select Bluetooth Audio Devices Bluetooth Audio Devices:
press the controller.
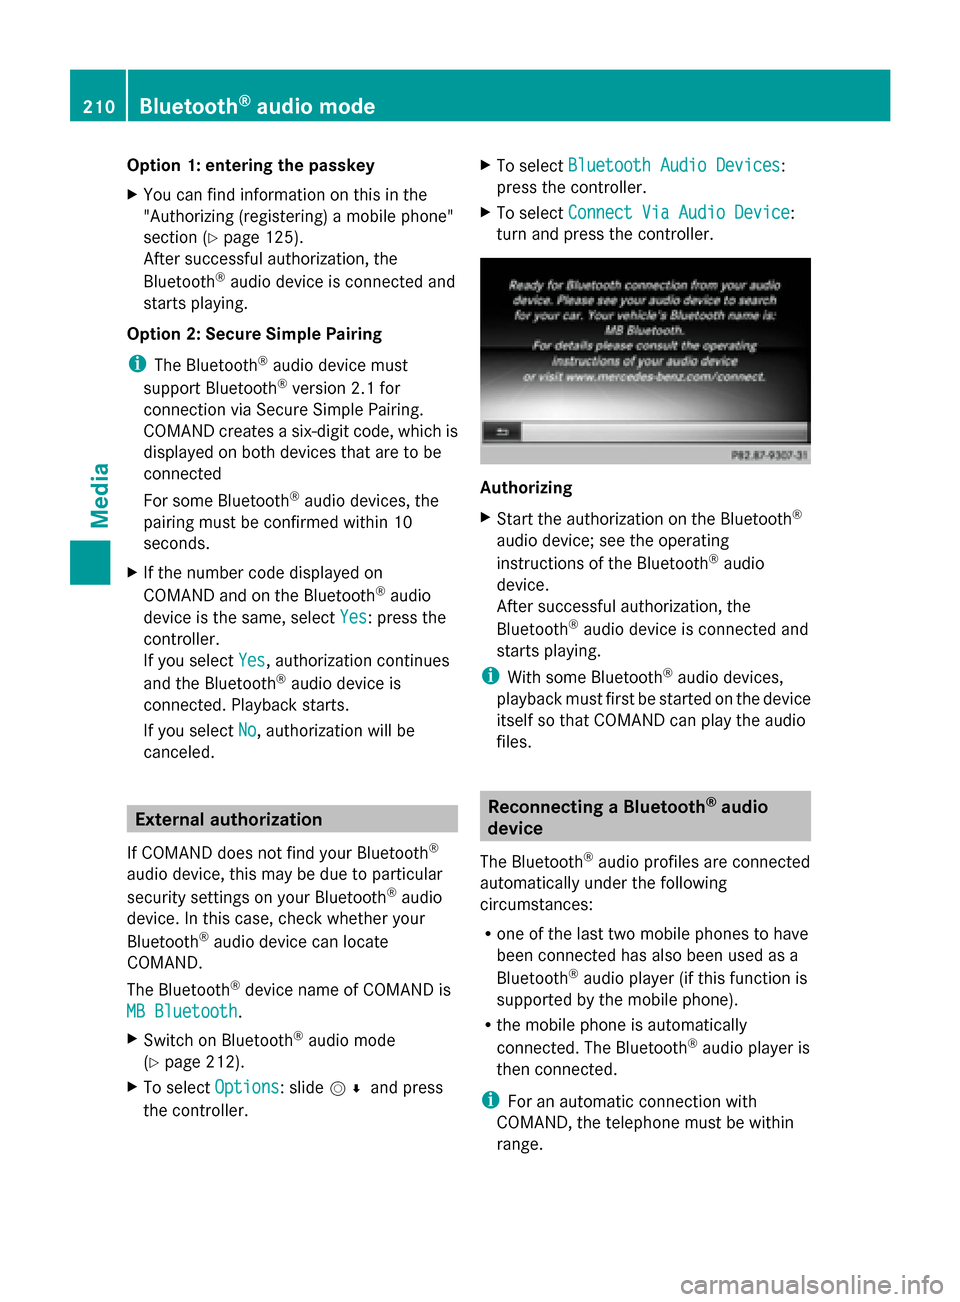
X To select Connect Via Audio Device Connect Via Audio Device:
turn and press the controller. Authorizing
X
Start the authorization on the Bluetooth ®
audio device; see the operating
instructions of the Bluetooth ®
audio
device.
After successful authorization, the
Bluetooth ®
audio device is connected and
starts playing.
i With some Bluetooth ®
audio devices,
playback must first be started on the device
itself so that COMAND can play the audio
files. Reconnecting a Bluetooth
®
audio
device
The Bluetooth ®
audio profiles are connected
automatically under the following
circumstances:
R one of the last two mobile phones to have
been connected has also been used as a
Bluetooth ®
audio player (if this function is
supported by the mobile phone).
R the mobile phone is automatically
connected. The Bluetooth ®
audio player is
then connected.
i For an automatic connection with
COMAND, the telephone must be within
range. 210
Bluetooth ®
audio modeMedia
Page 242 of 278
Your COMAND equipment
These operating instructions describe all
standard and optional equipment available
for your COMAND system at the time of
purchase. Country-specific differences are
possible. Please note that your
COMAND system may not be equipped with
all the features described. This also applies to
safety-relevant systems and functions.
Therefore, the equipment on your COMAND
system may differ from that in the
descriptions and illustrations. Should you
have any questions concerning equipment
and operation, please consult an authorized
Mercedes-Benz Center. Rear Seat Entertainment System
overview Important safety notes
G
WARNING
The CD/DVD drive is a class 1 laser product.
If you open the CD/DVD drive housing, you
could be exposed to invisible laser radiation.
This laser radiation could damage your retina.
There is a risk of injury.
Never open the housing. Always have
maintenance and repair work carried out at a
qualified specialist workshop. G
WARNING
If objects such as headphones/headsets or
external audio/video sources are not secured
in the passenger compartment, they can be
flung around and hit vehicle occupants. There
is a risk of injury, for example in the event of
sudden braking or a sudden change in
direction.
Always stow these items or similar objects
carefully so that they cannot be flung around,
for example in a lockable vehicle stowage
compartment. Components
The Rear Seat Entertainment System
includes:
R two screens for the rear behind the front-
seat head restraints
R two remote controls for the rear
compartment
R a CD/DVD drive in the rear compartment
R AUX jacks
R two USB ports
R two sets of cordless headphones General notes
R You can only adjust the volume for the
headphones supplied, directly on the
headphones.
R If media from different sources are used,
they can be used separately from each of
the operating positions. Example: a film
from the DVD drive is played on the rear
right-hand operating position. This means
that another film from the same DVD
cannot be played separately on the rear
left-hand operating position. However, on
the rear left-hand operating position, it is
possible to use the radio, TV, memory card,
MUSIC REGISTER, media interface, USB,
online and Internet functions or AUX.
R If you use the same medium on both sides,
you can both carry out the respective
settings. The "last one wins" principle
applies here, i.e. the last setting activated
is favored.
R The Internet can be used separately at all
operating positions.
R The Internet can only be used if it is set up
and connected via a telephone
(Y page 158). 240
Rea
r Seat Entertainment System overviewRear Seat Entertainment System