change time Mercury Villager 1999 Owner's Manuals
[x] Cancel search | Manufacturer: MERCURY, Model Year: 1999, Model line: Villager, Model: Mercury Villager 1999Pages: 264, PDF Size: 2.19 MB
Page 2 of 264
ICONS
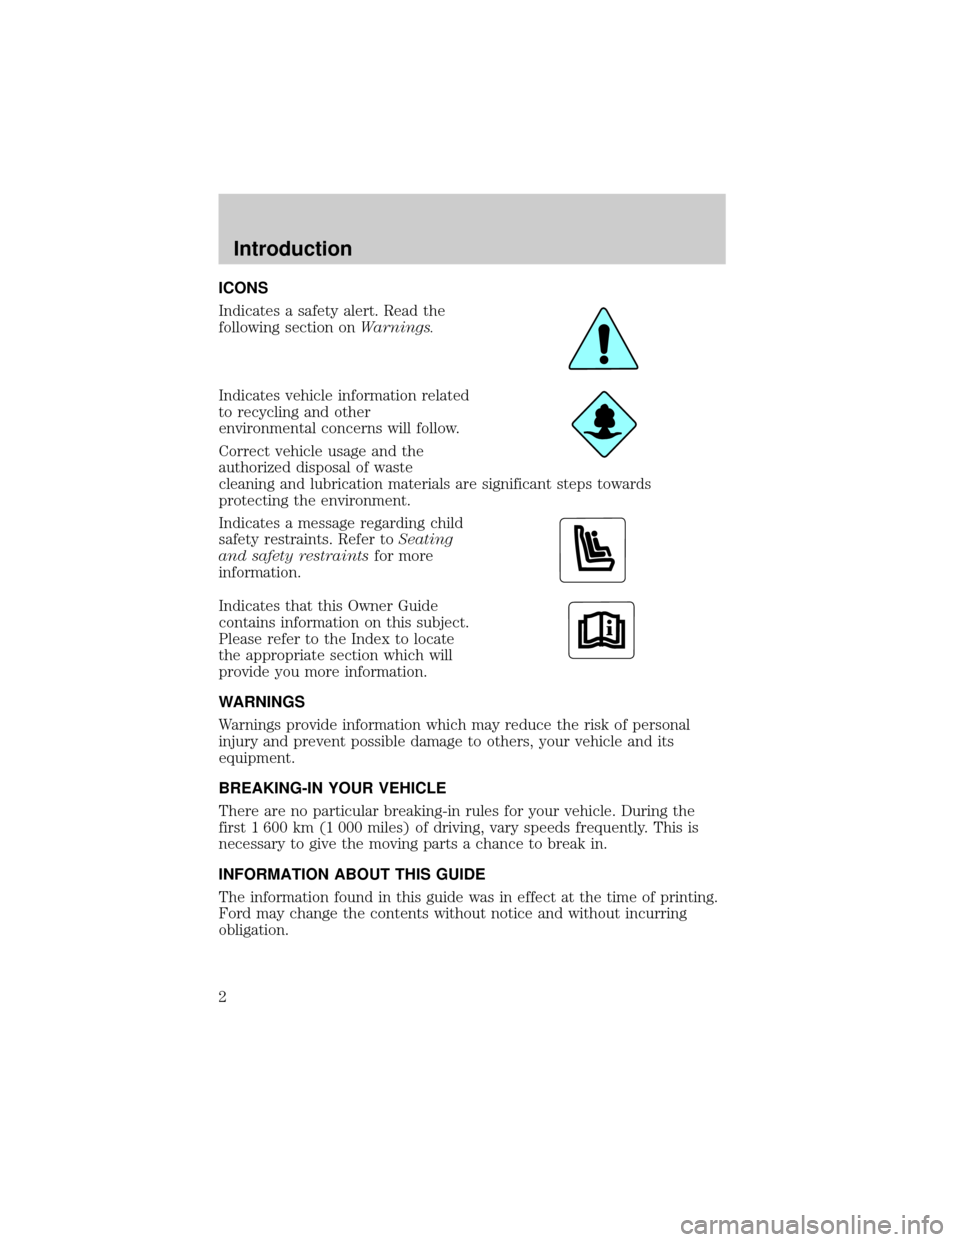
Indicates a safety alert. Read the
following section onWarnings.
Indicates vehicle information related
to recycling and other
environmental concerns will follow.
Correct vehicle usage and the
authorized disposal of waste
cleaning and lubrication materials are significant steps towards
protecting the environment.
Indicates a message regarding child
safety restraints. Refer toSeating
and safety restraintsfor more
information.
Indicates that this Owner Guide
contains information on this subject.
Please refer to the Index to locate
the appropriate section which will
provide you more information.
WARNINGS
Warnings provide information which may reduce the risk of personal
injury and prevent possible damage to others, your vehicle and its
equipment.
BREAKING-IN YOUR VEHICLE
There are no particular breaking-in rules for your vehicle. During the
first 1 600 km (1 000 miles) of driving, vary speeds frequently. This is
necessary to give the moving parts a chance to break in.
INFORMATION ABOUT THIS GUIDE
The information found in this guide was in effect at the time of printing.
Ford may change the contents without notice and without incurring
obligation.
Introduction
2
Page 48 of 264
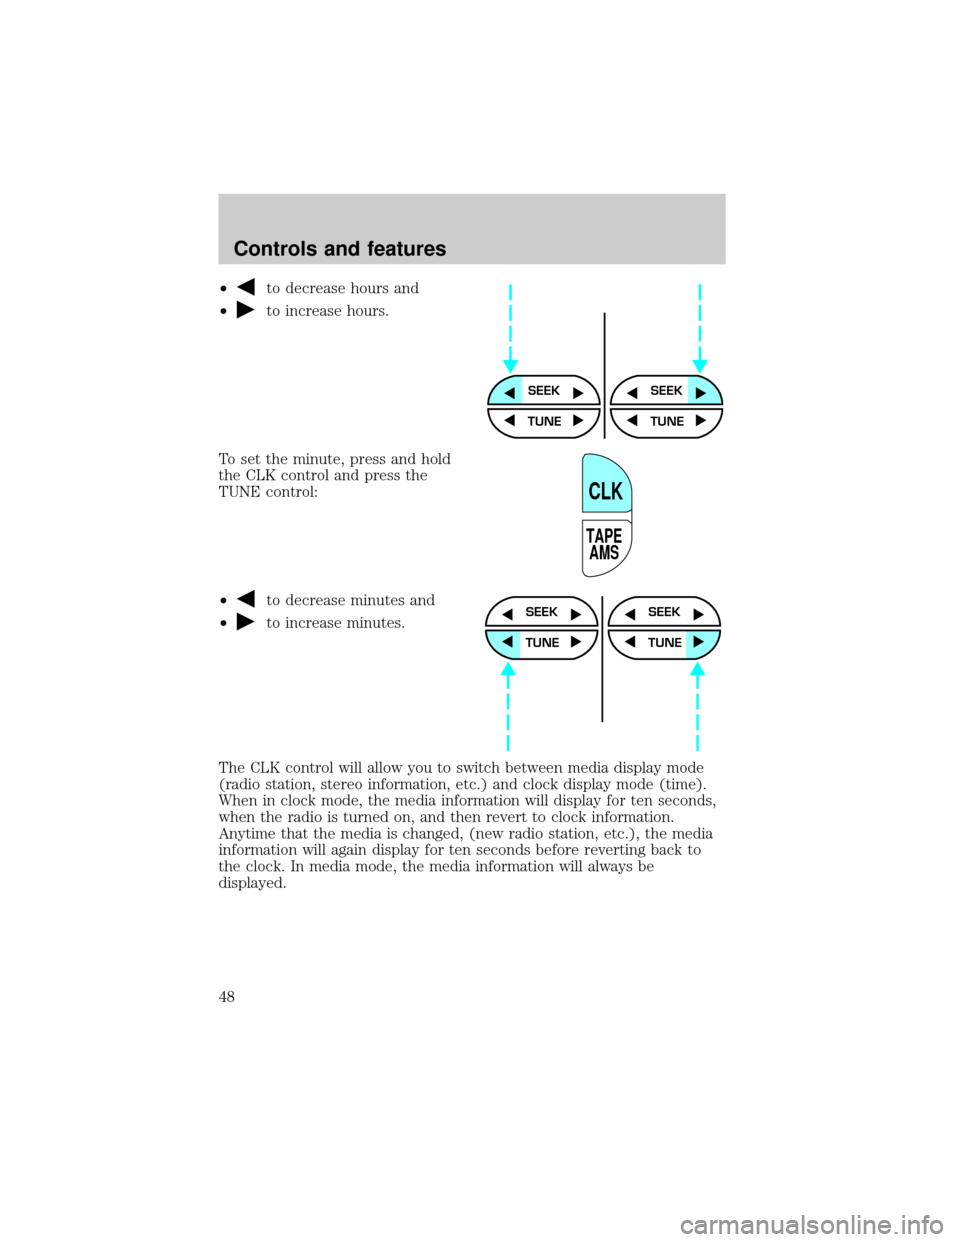
²to decrease hours and
²
to increase hours.
To set the minute, press and hold
the CLK control and press the
TUNE control:
²
to decrease minutes and
²
to increase minutes.
The CLK control will allow you to switch between media display mode
(radio station, stereo information, etc.) and clock display mode (time).
When in clock mode, the media information will display for ten seconds,
when the radio is turned on, and then revert to clock information.
Anytime that the media is changed, (new radio station, etc.), the media
information will again display for ten seconds before reverting back to
the clock. In media mode, the media information will always be
displayed.
SEEKSEEK
TUNE TUNE
TAPE
AMS
CLK
SEEK
TUNE
SEEK
TUNE
Controls and features
48
Page 49 of 264
Rear seat controls (if equipped)
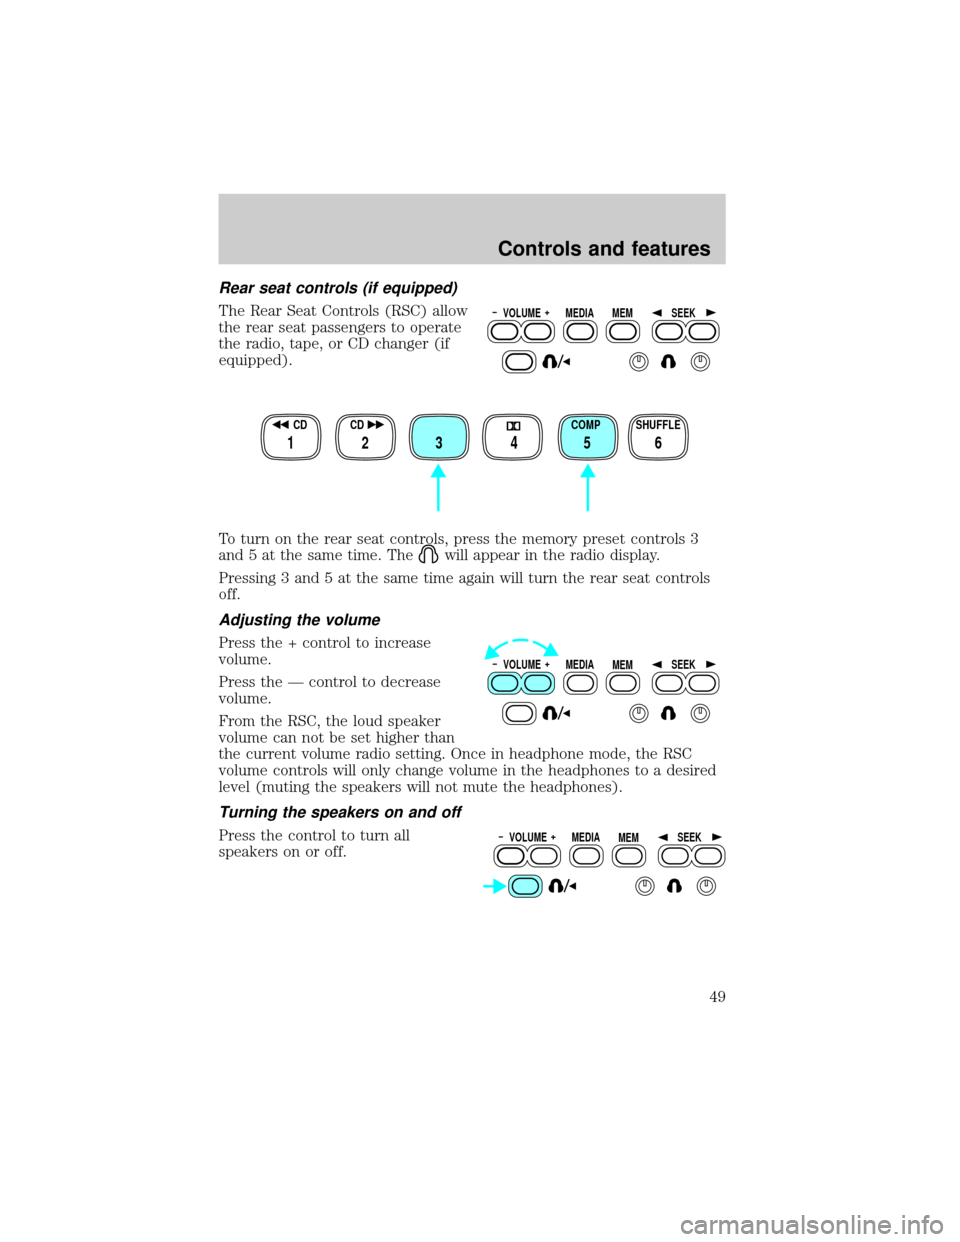
The Rear Seat Controls (RSC) allow
the rear seat passengers to operate
the radio, tape, or CD changer (if
equipped).
To turn on the rear seat controls, press the memory preset controls 3
and 5 at the same time. The
will appear in the radio display.
Pressing 3 and 5 at the same time again will turn the rear seat controls
off.
Adjusting the volume
Press the + control to increase
volume.
Press the Ð control to decrease
volume.
From the RSC, the loud speaker
volume can not be set higher than
the current volume radio setting. Once in headphone mode, the RSC
volume controls will only change volume in the headphones to a desired
level (muting the speakers will not mute the headphones).
Turning the speakers on and off
Press the control to turn all
speakers on or off.
VOLUME MEDIA
MEMSEEK
SHUFFLE COMP CD CD
3 2 1456
VOLUME MEDIA
MEMSEEK
VOLUME MEDIA
MEMSEEK
Controls and features
49
Page 60 of 264
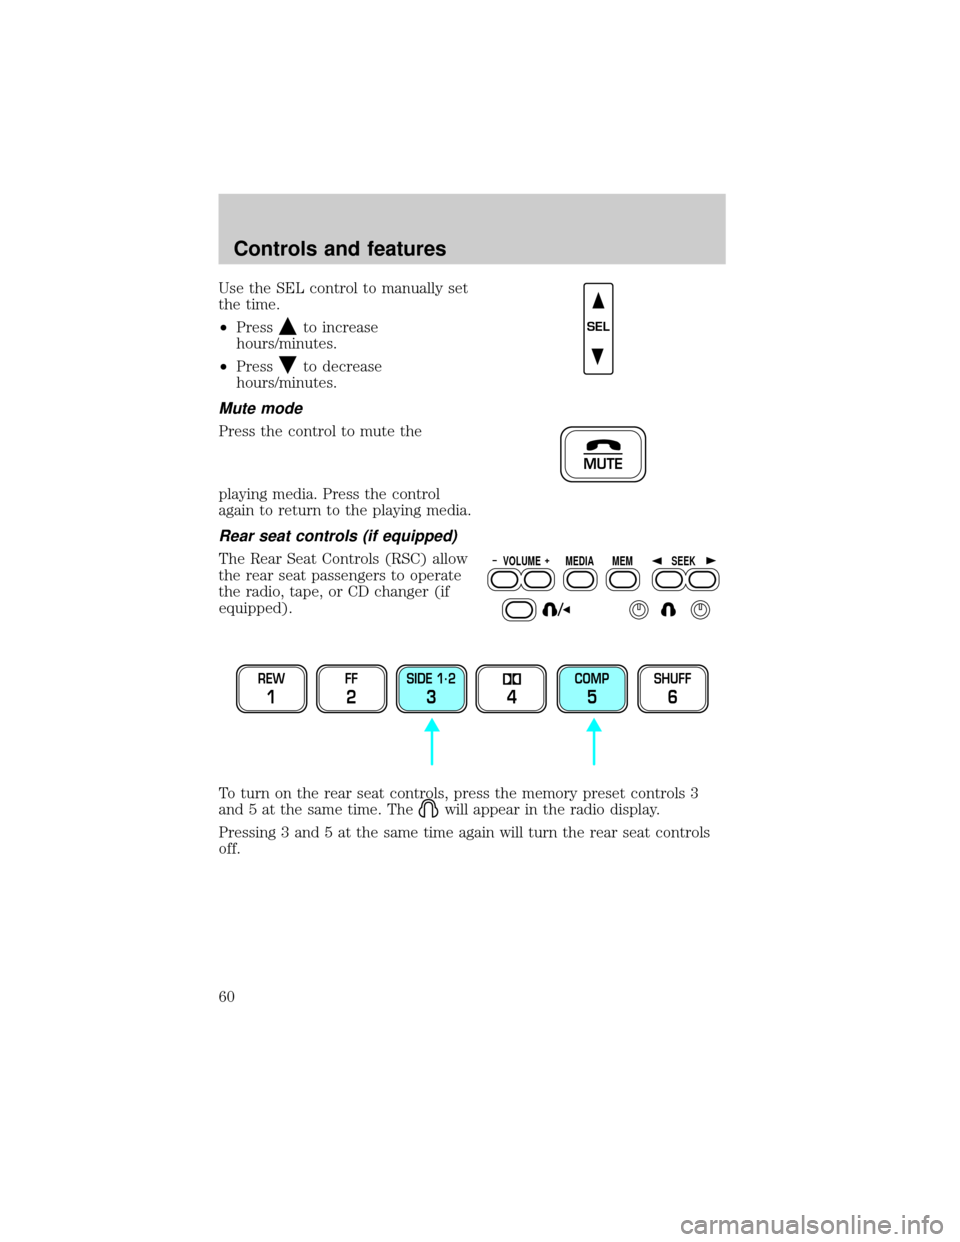
Use the SEL control to manually set
the time.
²Press
to increase
hours/minutes.
²Press
to decrease
hours/minutes.
Mute mode
Press the control to mute the
playing media. Press the control
again to return to the playing media.
Rear seat controls (if equipped)
The Rear Seat Controls (RSC) allow
the rear seat passengers to operate
the radio, tape, or CD changer (if
equipped).
To turn on the rear seat controls, press the memory preset controls 3
and 5 at the same time. The
will appear in the radio display.
Pressing 3 and 5 at the same time again will turn the rear seat controls
off.
SEL
MUTE
VOLUME MEDIA
MEMSEEK
REW
1
FF
2
SIDE 1.
2
34
COMP
5
SHUFF
6
Controls and features
60
Page 74 of 264
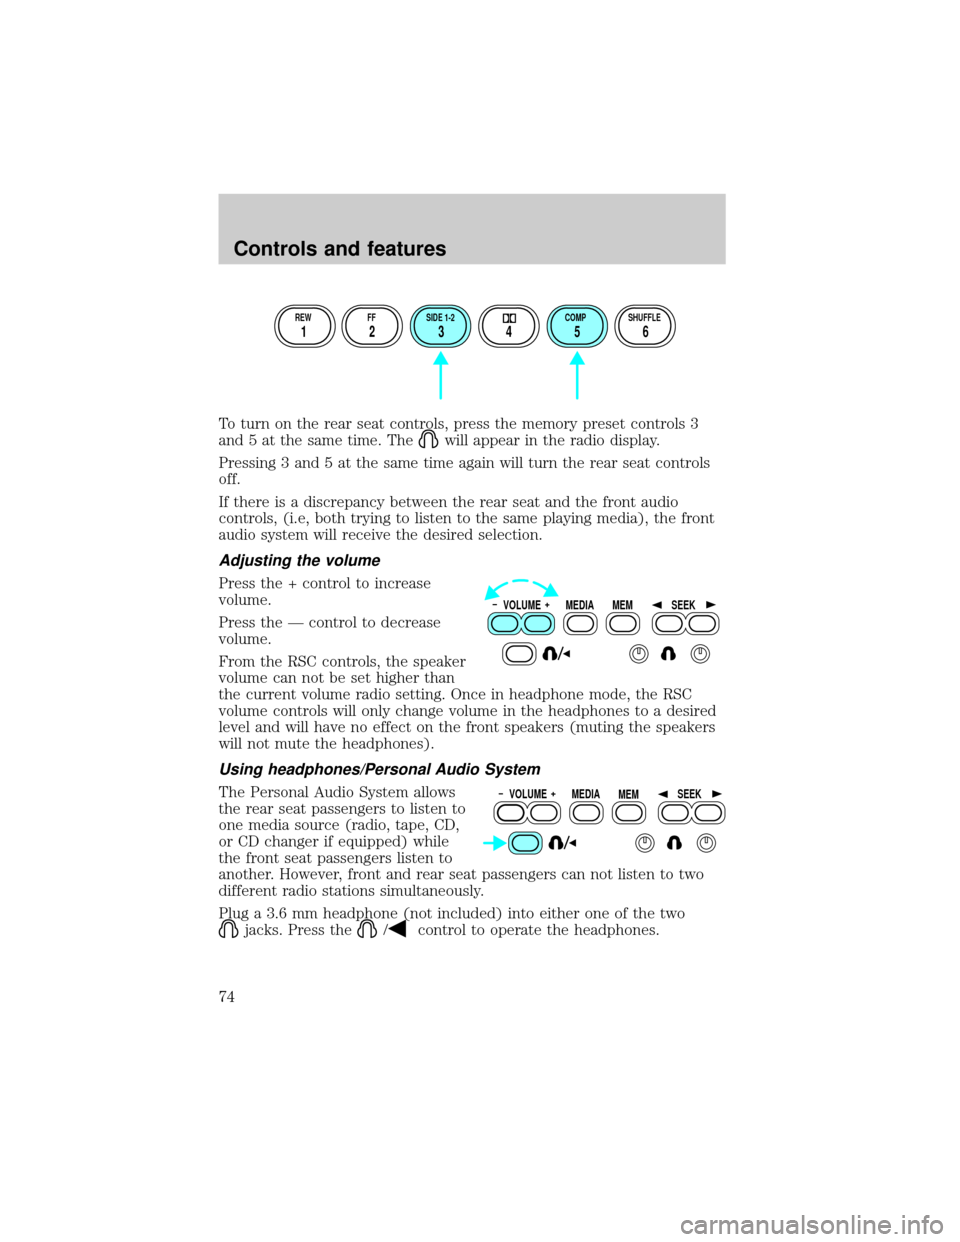
To turn on the rear seat controls, press the memory preset controls 3
and 5 at the same time. The
will appear in the radio display.
Pressing 3 and 5 at the same time again will turn the rear seat controls
off.
If there is a discrepancy between the rear seat and the front audio
controls, (i.e, both trying to listen to the same playing media), the front
audio system will receive the desired selection.
Adjusting the volume
Press the + control to increase
volume.
Press the Ð control to decrease
volume.
From the RSC controls, the speaker
volume can not be set higher than
the current volume radio setting. Once in headphone mode, the RSC
volume controls will only change volume in the headphones to a desired
level and will have no effect on the front speakers (muting the speakers
will not mute the headphones).
Using headphones/Personal Audio System
The Personal Audio System allows
the rear seat passengers to listen to
one media source (radio, tape, CD,
or CD changer if equipped) while
the front seat passengers listen to
another. However, front and rear seat passengers can not listen to two
different radio stations simultaneously.
Plug a 3.6 mm headphone (not included) into either one of the two
jacks. Press the/control to operate the headphones.
REW FF SIDE 1-2 COMP SHUFFLE
12 3456
VOLUME MEDIA
MEMSEEK
VOLUME MEDIA
MEMSEEK
Controls and features
74
Page 78 of 264
The CD magazine may be inserted or ejected with the radio power on or off.
ONLY use the magazine type supplied with the CD changer, other types
will damage the unit.
Keep the CD changer door closed. Coins and foreign objects will damage
the CD player and void your audio system warranty.
Do not insert any promotional (odd shaped or sized) discs into
the CD changer as that jamming may occur.
Troubleshooting the CD changer (if equipped)
The laser beam used in the compact disc player is harmful to the
eyes. Do not attempt to disassemble the case.
If sound skips:
²You may be traveling on a rough road, playing badly scratched discs or
the disc may be dirty. Skipping will not scratch the discs or damage
the player.
If your changer does not work, it may be that:
²A disc is already loaded where you want to insert a disc.
²The disc is inserted with the label surface downward.
²The disc is dusty or defective.
²The player's internal temperature is above 60ÉC (140ÉF). Allow the
player to cool down before operating.
²A disc with format and dimensions not within industry standards is
inserted.
Cleaning compact discs
Inspect all discs for contamination before playing. If necessary, clean
discs only with an approved CD cleaner and wipe from the center out to
the edge. Do not use circular motion.
CD and CD changer care
²Handle discs by their edges only. Never touch the playing surface.
²Do not expose discs to direct sunlight or heat sources for extended
periods of time.
²Do not insert more than one disc into each slot of the CD changer
magazine.
Controls and features
78
Page 196 of 264
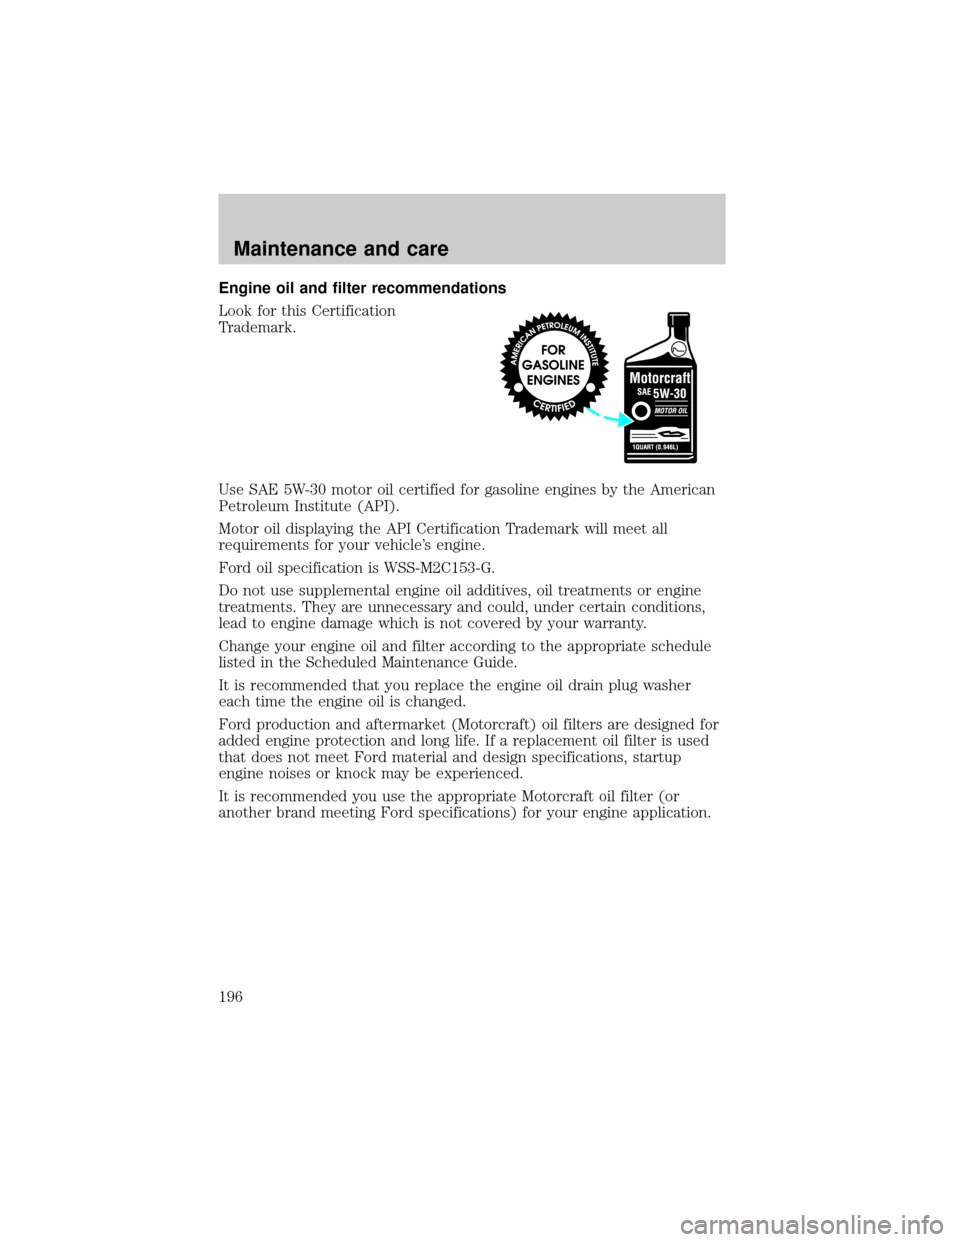
Engine oil and filter recommendations
Look for this Certification
Trademark.
Use SAE 5W-30 motor oil certified for gasoline engines by the American
Petroleum Institute (API).
Motor oil displaying the API Certification Trademark will meet all
requirements for your vehicle's engine.
Ford oil specification is WSS-M2C153-G.
Do not use supplemental engine oil additives, oil treatments or engine
treatments. They are unnecessary and could, under certain conditions,
lead to engine damage which is not covered by your warranty.
Change your engine oil and filter according to the appropriate schedule
listed in the Scheduled Maintenance Guide.
It is recommended that you replace the engine oil drain plug washer
each time the engine oil is changed.
Ford production and aftermarket (Motorcraft) oil filters are designed for
added engine protection and long life. If a replacement oil filter is used
that does not meet Ford material and design specifications, startup
engine noises or knock may be experienced.
It is recommended you use the appropriate Motorcraft oil filter (or
another brand meeting Ford specifications) for your engine application.
Maintenance and care
196
Page 202 of 264
²NEVER increase the coolant concentration above 60%.
²Increased engine coolant concentrations above 60% will
decrease the freeze protection characteristics of the engine
coolant and may cause engine damage.
Vehicles driven year-round in non-extreme climates should use a 50/50
mixture of engine coolant and distilled water for optimum freeze
protection.
CHECKING AND ADDING POWER STEERING FLUID
Check the power steering fluid. Refer to the Scheduled Maintenance
Guide for the service interval schedules. If adding fluid is necessary, use
only MERCONtAT F.
1. Start the engine and let it run
until it reaches normal operating
temperature (the engine coolant
temperature gauge indicator will be
near the center of the normal area
between H and C).
2. While the engine idles, turn the
steering wheel left and right several
times.
3. Turn the engine off.
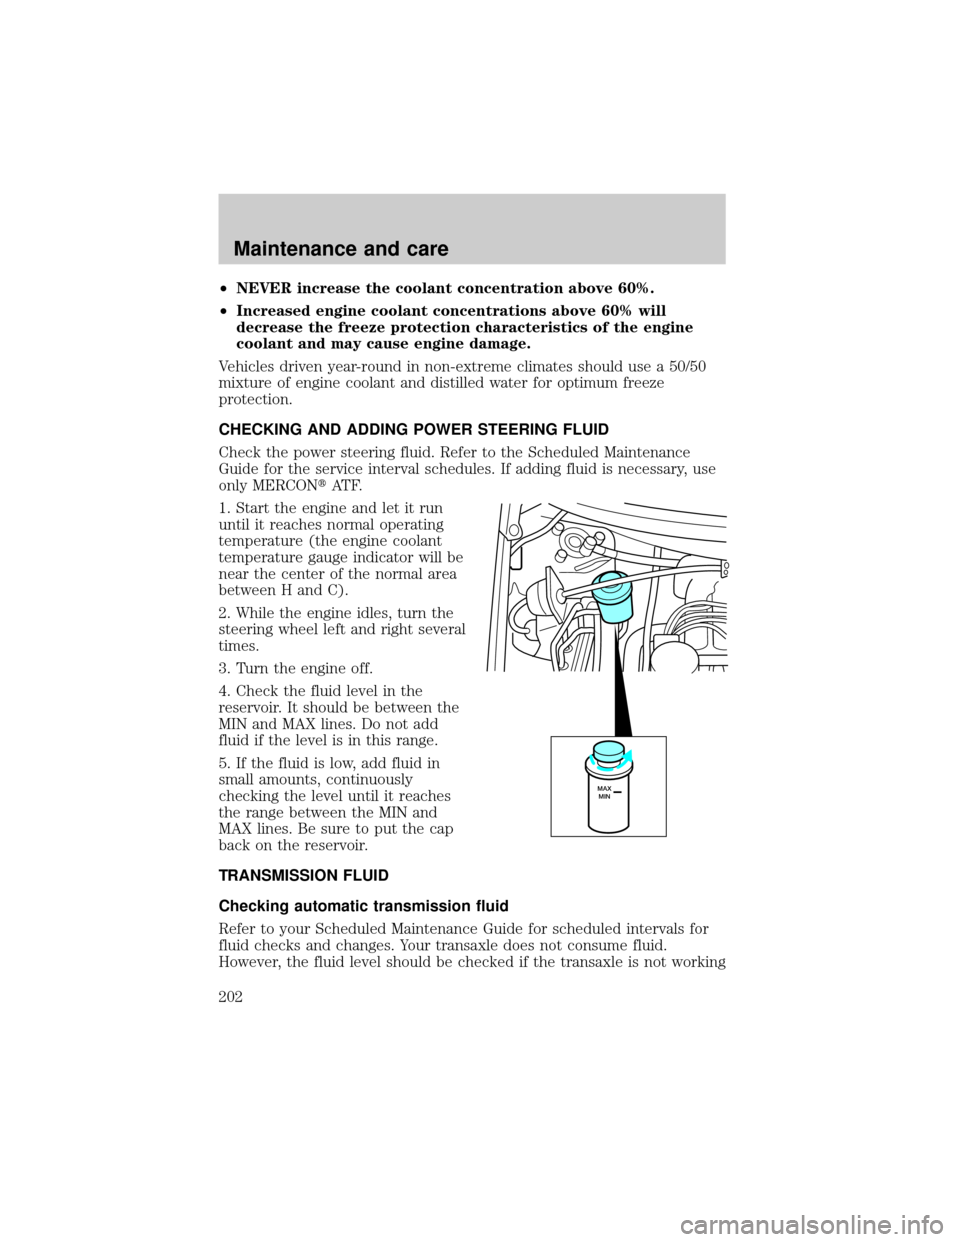
4. Check the fluid level in the
reservoir. It should be between the
MIN and MAX lines. Do not add
fluid if the level is in this range.
5. If the fluid is low, add fluid in
small amounts, continuously
checking the level until it reaches
the range between the MIN and
MAX lines. Be sure to put the cap
back on the reservoir.
TRANSMISSION FLUID
Checking automatic transmission fluid
Refer to your Scheduled Maintenance Guide for scheduled intervals for
fluid checks and changes. Your transaxle does not consume fluid.
However, the fluid level should be checked if the transaxle is not working
MAX
MIN
Maintenance and care
202
Page 221 of 264

For consistent results when filling the fuel tank:
²Use the same filling rate setting (low Ð medium Ð high) each time
the tank is filled.
²Allow three automatic click-offs when filling.
²Always use fuel with the recommended octane rating.
²Use a known quality gasoline, preferably a national brand.
²Use the same side of the same pump and have the vehicle facing the
same direction each time you fill up.
²Have the vehicle loading and distribution the same every time.
Your results will be most accurate if your filling method is consistent.
Calculating fuel economy
1. Fill the fuel tank completely and record the initial odometer reading
(in kilometers or miles).
2. Each time you fill the tank, record the amount of fuel added (in liters
or gallons).
3. After at least three to five tank fill-ups, fill the fuel tank and record
the current odometer reading.
4. Subtract your initial odometer reading from the current odometer
reading.
5. Follow one of the simple calculations in order to determine fuel
economy:
Multiply liters used by 100, then divide by total kilometers
traveled.
Divide total miles traveled by total gallons used.
Keep a record for at least one month and record the type of driving (city
or highway). This will provide an accurate estimate of the vehicle's fuel
economy under current driving conditions. Additionally, keeping records
during summer and winter will show how temperature impacts fuel
economy. In general, lower temperatures give lower fuel economy.
Driving style Ð good driving and fuel economy habits
Give consideration to the lists that follow and you may be able to change
a number of variables and improve your fuel economy.
Maintenance and care
221
Page 242 of 264

Ford Extended Service Plan
You can get more protection for your new car or light truck by
purchasing Ford Extended Service Plan (Ford ESP) coverage. Ford ESP
is an optional service contract which is backed by Ford Motor Company
or Ford Motor Service Company (in the U.S.) and Ford of Canada (in
Canada). It provides the following:
²Protection against repair costs after your New Vehicle Limited
Warranty period expires
²Other benefits during the warranty period (such as reimbursement for
rentals and towing.)
You may purchase Ford ESP from any participating Ford or
Lincoln/Mercury or Ford of Canada dealer. There are several plans
available in various time, distance and deductible combinations which
can be tailored to fit your own driving needs. Ford ESP also offers
reimbursement benefits for towing and rental coverage. (In Hawaii, rules
vary. See your dealer for details.)
When you buy Ford ESP, you receive Peace-of-Mind protection
throughout the United States and Canada, provided by a network of
more than 5,200 participating Ford, Lincoln/Mercury and Ford of Canada
dealers.
If you did not take advantage of the Ford Extended Service Plan at the
time of purchasing your vehicle, you may still be eligible. Please contact
your dealer for further information. Since this information is subject to
change, please ask your dealer for complete details about Ford Extended
Service Plan coverage options.
Also, please be aware that some dealers offer service contracts that are
not backed by Ford Motor Company or Ford of Canada. On the surface,
many independent plans appear to be like Ford's. The problem is that
they can often require the use of non-factory approved parts and have
much more complex and restrictive claims coverage terms than Ford.
At Ford Motor Company and Ford of Canada, we are dedicated to
providing Ford, Lincoln and Mercury vehicle owners with programs that
will enhance your ownership experience and protect you from
unexpected repair bills. Genuine Ford ESP is the only Extended Service
Plan that enables us to provide that service.
Customer assistance
242