reset MINI COOPER 2012 User Guide
[x] Cancel search | Manufacturer: MINI, Model Year: 2012, Model line: COOPER, Model: MINI COOPER 2012Pages: 207, PDF Size: 3.18 MB
Page 70 of 207

Technology for driving comfort and safetyCONTROLS
69
Tire Pressure Monitor
TPM
The concept
Measuring the inflation pressure in the four
mounted tires. The system notifies you if there is
a significant loss of pressure in one or more tires.
Functional requirement
The system must have been reset while the
inflation pressure was correct; otherwise,
reliable signaling of a fl at tire is not ensured.
Always use wheels with TPM electronics to
ensure that the system will operate properly.
Reset the system again after each correction of
the tire inflation pressure and after every tire or
wheel change.
System limitations
Sudden, serious tire damage caused by
external influences ca nnot be indicated in
advance. <
The system does not operate correctly if it has
not been reset. For example, a flat tire may be
indicated despite correct tire inflation pressures.
The system is inactive and cannot indicate a flat
tire:
> If a wheel without TPM electronics, e.g. a
compact spare wheel, is mounted.
> Interference with TPM by other systems or
devices with the same transmission fre-
quency.
Resetting the system
Reset the system again after each correction of
the tire inflation pressure and after every tire or
wheel change.
Using the button in the turn signal lever
1. Start the engine, but do not start driving.
2. Press the button in the turn signal indicator
as often as necessary until "SET/INFO" is
displayed.
3. Press and hold the butt on until the display
changes.
4. Press the button repeatedly until the symbol
for Tire Pressure Monitor and "ACTIVE" are
displayed.
The Tire Pressure Monitor can be reset by
selecting "RESET".
5. Press and hold the button until "RESETTING"
is displayed.
6. Start driving.
After driving a few minu tes, the set inflation
Online Edition for Part no. 01 40 2 914 744 - \251 07/12 BMW AG
Page 71 of 207
CONTROLSTechnology for driving comfort and safety
70
pressures in the tires are accepted as the
target values to be monitored. The system
reset is completed during your drive, and
can be interrupted at any time. When driving
resumes, the reset is continued automati-
cally. The indicator lamp goes out after the
system reset is completed.
Message for low tire inflation pressure
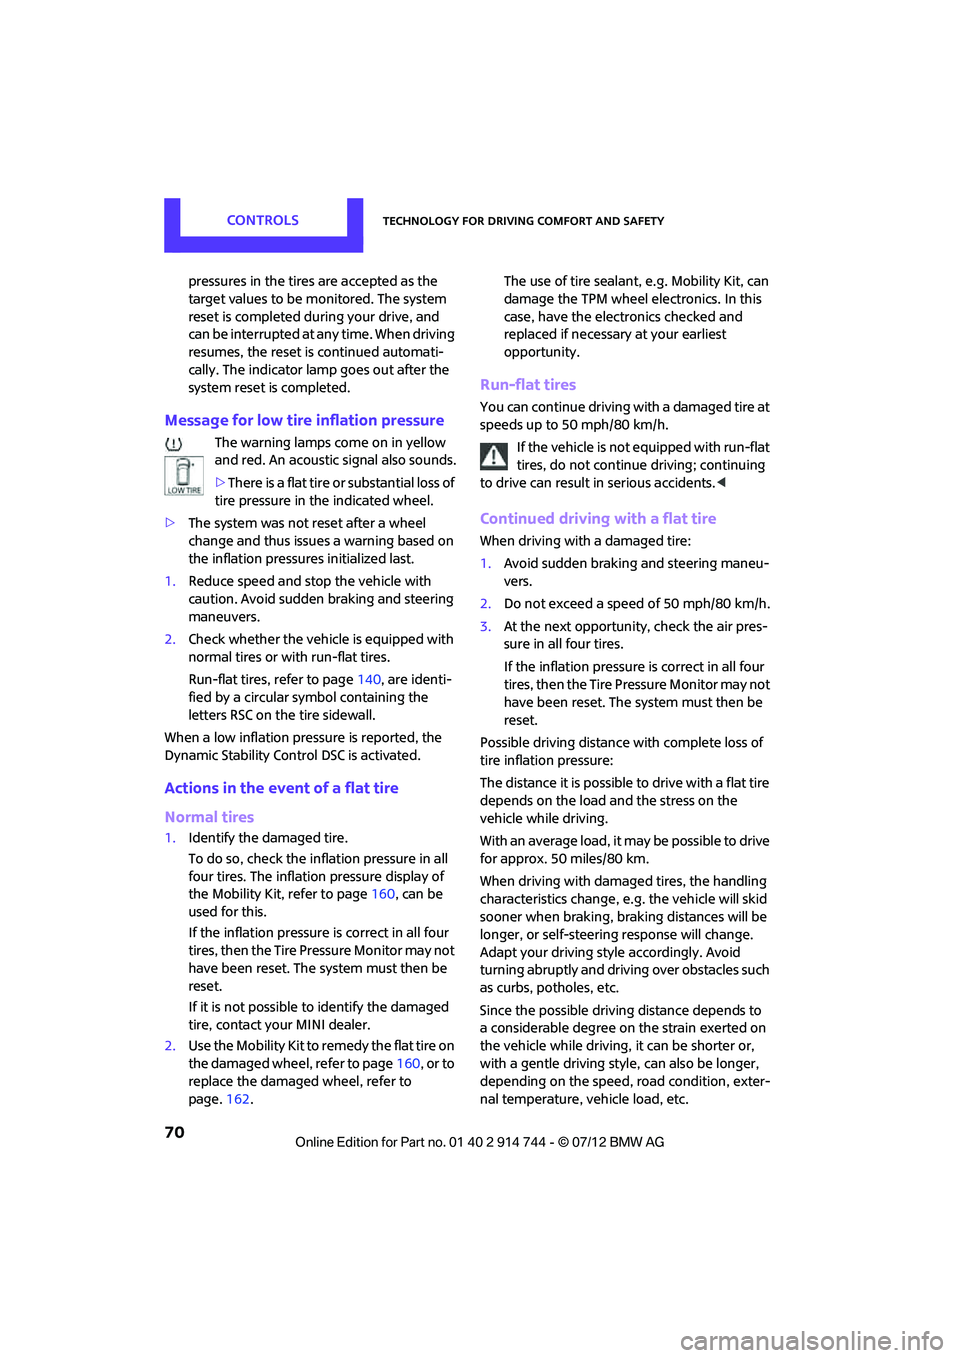
The warning lamps come on in yellow
and red. An acoustic signal also sounds.
>There is a flat tire or substantial loss of
tire pressure in the indicated wheel.
> The system was not reset after a wheel
change and thus issues a warning based on
the inflation pressures initialized last.
1. Reduce speed and stop the vehicle with
caution. Avoid sudden braking and steering
maneuvers.
2. Check whether the vehicle is equipped with
normal tires or with run-flat tires.
Run-flat tires, refer to page 140, are identi-
fied by a circular symbol containing the
letters RSC on the tire sidewall.
When a low inflation pressure is reported, the
Dynamic Stability Control DSC is activated.
Actions in the event of a flat tire
Normal tires
1. Identify the damaged tire.
To do so, check the infl ation pressure in all
four tires. The inflatio n pressure display of
the Mobility Kit, refer to page 160, can be
used for this.
If the inflation pressure is correct in all four
tires, then the Tire Pressure Monitor may not
have been reset. The system must then be
reset.
If it is not possible to identify the damaged
tire, contact your MINI dealer.
2. Use the Mobility Kit to remedy the flat tire on
the damaged wheel, refer to page 160, or to
replace the damaged wheel, refer to
page. 162. The use of tire sealant,
e.g. Mobility Kit, can
damage the TPM wheel electronics. In this
case, have the electronics checked and
replaced if necessary at your earliest
opportunity.
Run-flat tires
You can continue driving with a damaged tire at
speeds up to 50 mph/80 km/h.
If the vehicle is not equipped with run-flat
tires, do not continue driving; continuing
to drive can result in serious accidents.<
Continued driving with a flat tire
When driving with a damaged tire:
1.Avoid sudden braking and steering maneu-
vers.
2. Do not exceed a speed of 50 mph/80 km/h.
3. At the next opportunity, check the air pres-
sure in all four tires.
If the inflation pressure is correct in all four
tires, then the Tire Pressure Monitor may not
have been reset. The system must then be
reset.
Possible driving distance with complete loss of
tire inflation pressure:
The distance it is possible to drive with a flat tire
depends on the load and the stress on the
vehicle while driving.
With an average load, it may be possible to drive
for approx. 50 miles/80 km.
When driving with damaged tires, the handling
characteristics change, e. g. the vehicle will skid
sooner when braking, braking distances will be
longer, or self-steerin g response will change.
Adapt your driving style accordingly. Avoid
turning abruptly and driv ing over obstacles such
as curbs, potholes, etc.
Since the possible driving distance depends to
a considerable degree on the strain exerted on
the vehicle while driving, it can be shorter or,
with a gentle driving styl e, can also be longer,
depending on the speed, road condition, exter-
nal temperature, vehicle load, etc.
Online Edition for Part no. 01 40 2 914 744 - \251 07/12 BMW AG
Page 72 of 207

Technology for driving comfort and safetyCONTROLS
71
Drive cautiously and do not exceed a
speed of 50 mph/80 km/h.
A loss of tire inflation pressure results in a
change in the handling characteristics, e.g.
reduced lane stability du ring braking, a longer
braking distance and altered self-steering
properties. <
Vibrations or loud noises while driving can
indicate complete failure of the tire.
Reduce your speed and bring the vehicle to a
stop; otherwise, pieces of tire may come off,
which could result in an accident. Do not con-
tinue driving and contact your MINI dealer. <
Malfunction
The small warning lamp flashes in
yellow and then lights up continuously;
the larger warning lamp lights up in
yellow.
No punctures can be detected.
Display in the following situations:
> Wheel without TPM electronics is mounted:
If need be, have it checked by your MINI
dealer.
> Malfunction:
Have the system checked.
> TPM was unable to complete the resetting
procedure; reset the system again.
The small warning lamp flashes in
yellow and then lights up continuously;
the larger warning lamp lights up in
yellow. No punctures can be detected.
Display in the following situation:
> Malfunction because of other equipment or
devices, same radio frequency:
After leaving the interference area, the
system is again active automatically.
Declaration according to NHTSA/
FMVSS 138 Tire Pressure Monitoring
Systems
Each tire, including the spare, should be
checked monthly when cold and inflated to the
inflation pressure recommended by the vehicle manufacturer on the vehicle placard or tire infla-
tion pressure label. If your vehicle has tires of a
different size than the
size indicated on the
vehicle placard or tire in flation pressure label,
you should determine the proper tire inflation
pressure for those tires. As an added safety fea-
ture, your vehicle has been equipped with a tire
pressure monitoring syst em TPMS that illumi-
nates a low tire pressure telltale when one or
more of your tires are significantly underin-
flated. Accordingly, when the low tire pressure
telltale illuminates, you should stop and check
your tires as soon as po ssible, and inflate them
to the proper pressure. Driving on a significantly
underinflated tire causes the tire to overheat
and can lead to tire failure. Underinflation also
reduces fuel efficiency and tire tread life, and
may affect the vehicle's handling and stopping
ability. Please note that the TPMS is not a substi-
tute for proper tire maintenance, and it is the
driver's responsibility to maintain correct tire
pressure, even if underi nflation has not reached
the level at which the TPMS low tire pressure tell-
tale illuminates.
The TPMS malfunction indicator is combined
with the low tire pressure telltale. When the sys-
tem detects a malfunction, the telltale will flash
for approximately one minute and then remain
continuously lit. This sequence will continue
upon subsequent vehicle startups as long as the
malfunction exists. When the malfunction indi-
cator is illuminated, the system may not be able
to detect or signal low tire pressure as intended.
TPMS malfunctions may occur for a variety of
reasons, including the in stallation of replace-
ment or alternate tires or wheels on the vehicle
that prevent the TPMS from functioning prop-
erly. Always check the TP MS malfunction telltale
after replacing one or mo re tires or wheels on
your vehicle to ensure that the replacement or
alternate tires and wheels allow the TPMS to
continue to function properly.
Online Edition for Part no. 01 40 2 914 744 - \251 07/12 BMW AG
Page 106 of 207

Radio MINI Boost CDENTERTAINMENT
105
Connecting an external device, refer to
page111.
To adjust the volume of an external audio device
to the radio:
1. Press the MODEbutton.
2. Press the button.
3. Press the button.
4. Select the desired volume and press the
knob on the right.
Setting tone controls
You can select between the following settings:
>Bass: bass adjustment.
> Treble: treble adjustment.
> Balance: volume distribution left/right.
> Fader: volume distri bution front/back.
The tone settings are set for all audio sources at
once.
Setting the bass, treble and balance
1. Press the button.
2. Select the desired tone setting and press the
knob on the right.
3. Select the desired volume and press the
knob on the right.
Resetting tone settings
The tone settings are reset to the middle values.
1.Press the button.
2. Press the button.
Time
Setting the time, date and time format
You can set the time, date and time format, refer
to page61.
Radio
Your radio is designed for the reception of FM
and AM signals.
Listening to the radio
1.Switch on the radio, refer to page 104.
2. If necessary, press the MODEbutton.
3. Press the button.
4. Press the corresponding button as
often as necessary until the desired wave-
length band is selected.
> AM: AM and AMA
> FM: FM1/FM2 and FMA
Selecting a station
The setting is stored for the remote control in
use.
Next station
Press the … button.
The next available st ation is selected.
Selecting stations by changing the
frequency
1. Press the button.
2. Press the button each time to enter a
desired frequency.
Online Edition for Part no. 01 40 2 914 744 - \251 07/12 BMW AG
Page 107 of 207

ENTERTAINMENTRadio MINI Boost CD
106
Or, by using the knob on the right:
1.Press the button.
2. Turn the knob on the right until the desired
frequency is reached.
Automatically updating strongest
stations
Press the correspon ding button until
"Autostore" is displayed.
Several seconds may go by until the stations are
stored and one of the stations can be heard.
If you do not wish to use the Autostore
feature, you can store six stations of your
choice in the FMA or AMA memory levels.<
Playing and selecting stations, scan
You can listen to all the receivable stations for
approx. 10 seconds.
Press the button.
Interrupting the scan an d selecting a station:
Press the button.
When a traffic information station is selected,
only traffic information broadcasts will be
played.
Storing and recalling stations
Memory presets
Your radio can store 30 stations:
> FM1, FM2: six stations each of your choice
> AM: six stations each of your choice
> FMA/AMA: the six stro ngest stations auto-
matically
Storing a station
1.
Press the corresponding button as
often as necessary until the desired fre-
quency range is selected.
2. Select station. 3.
… Press and hold the
desired button until th e station can again be
heard after a short interruption.
The memory level and the selected button
are shown on the display, e.g.:
Recalling stored stations
1. Press the corresponding button as
often as necessary until the desired wave-
length band is selected.
2.
… Press the desired
button.
Using the knob on the right:
Turn the knob on the right as long as necessary
until the desired stat ion has been reached.
RDS – Radio Data System
The Radio Data System transmits additional
information in the FM frequency range. RDS sta-
tions have the following features:
>When there are good reception conditions,
then the station names are displayed.
> Additional information can be shown on the
display, e.g., text me ssages from the station.
> Over RDS, some stations transmit the type of
the received program, PTY. At the option of
the station, this can be shown briefly on the
display, e.g., message s, NEWS. Using PTY,
warnings regarding ca tastrophies can also
be displayed, e.g., "ALARM".
Switching RDS on/off
1. Press the button.
2. Press the button.
The name of the current station is displayed if
this station broadcasts RDS information.
Online Edition for Part no. 01 40 2 914 744 - \251 07/12 BMW AG
Page 119 of 207
COMMUNICATIONSTelephone
118
10Switching displays 122
> "PHONE": telephone
> "COMP": computer
> "CONFIG": adjusting
> "MINI": MINI contact
11 Radio on/off, volume
>Press: switchin g radio on/off
> Turn: adjusting volume 121
12 Ejecting CD
Pairing/unpairing mobile
phone
Overview
The pairing data of four mobile phones can be
stored simultaneously in the vehicle. When the
engine is running or the ignition is switched on,
each paired mobile phone is automatically
detected as soon as it is present in the passenger
compartment.
Requirements
>Suitable mobile ph one, refer to page116.
> Mobile phone operational.
> Bluetooth activated in vehicle, refer to
page 118, and in the mobile phone.
> Bluetooth presets in the mobile phone are
required, e.g. connection not confirmed or
visible, refer to Owner's Manual for the
mobile phone.
> A number with at least 4 and at most
16 digits has been established as the
Bluetooth passkey. Only required once for
pairing. >
Ignition switched on.
Activating/deactivating Bluetooth link
Bluetooth is not permitted everywhere. Comply
with all safety guidelines and regulations.
To deactivate the Bluetooth connection:
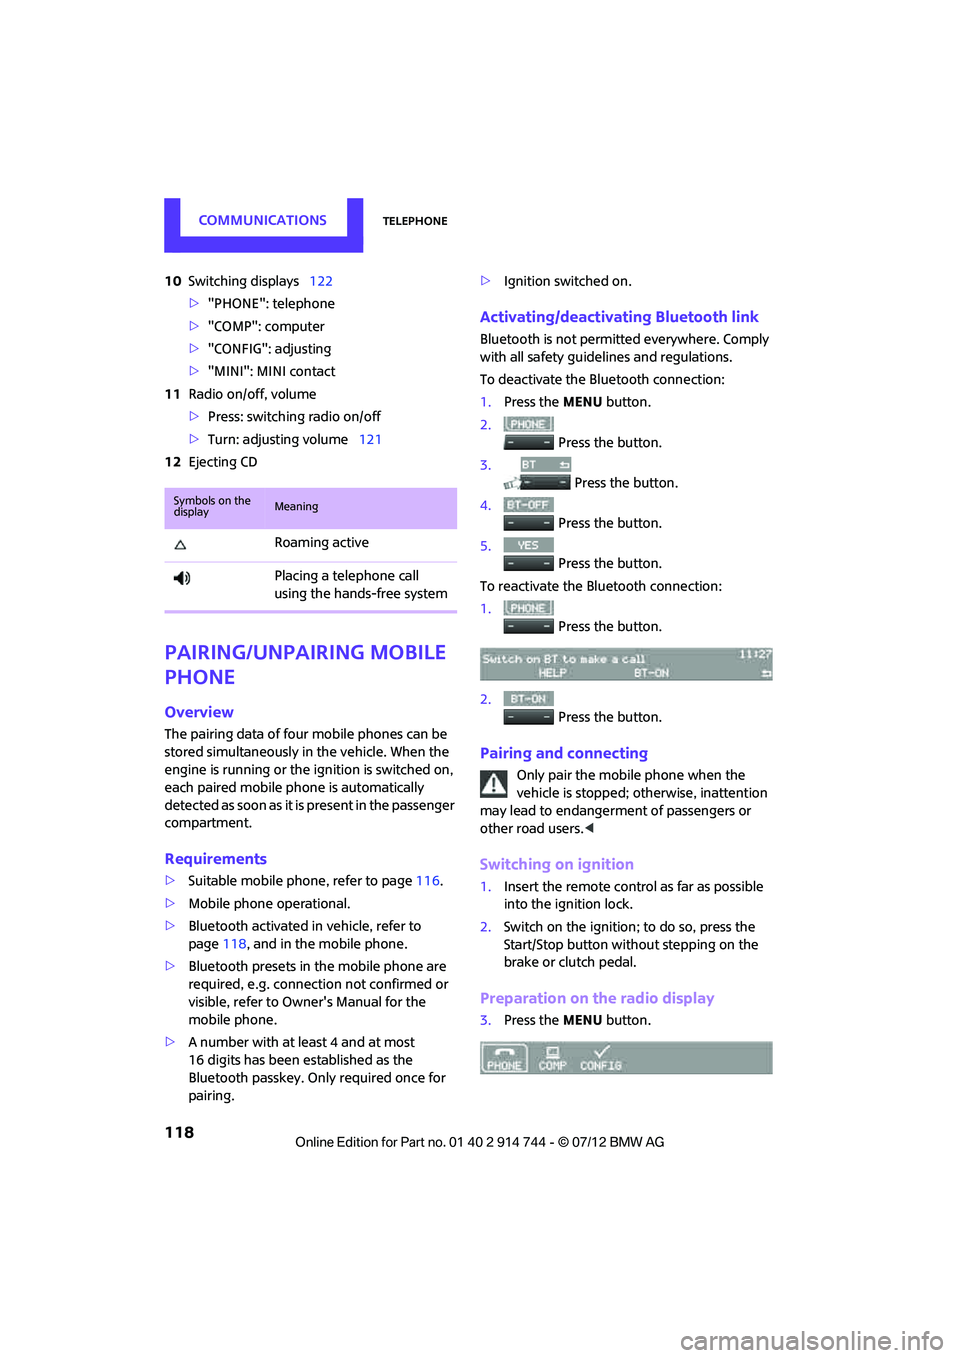
1.Press the MENU button.
2. Press the button.
3. Press the button.
4. Press the button.
5. Press the button.
To reactivate the Bluetooth connection:
1. Press the button.
2. Press the button.
Pairing and connecting
Only pair the mobile phone when the
vehicle is stopped; otherwise, inattention
may lead to endangerment of passengers or
other road users. <
Switching on ignition
1.Insert the remote control as far as possible
into the ignition lock.
2. Switch on the ignition; to do so, press the
Start/Stop button without stepping on the
brake or clutch pedal.
Preparation on the radio display
3.Press the MENU button.
Symbols on the
displayMeaning
Roaming active
Placing a telephone call
using the hands-free system
Online Edition for Part no. 01 40 2 914 744 - \251 07/12 BMW AG
Page 132 of 207
Wheels and tiresMOBILITY
131
Wheels and tires
Vehicle equipment
In this chapter, all production, country, and
optional equipment that is offered in the model
range is described. Equipment is also described
that is not available because of, for example,
selected options or count ry version. This also
applies to safety related functions and systems.
Tire inflation pressures
Information for your safety
It is not merely the tires' service life, but also
driving comfort and, to a great extent, driving
safety that depend on the condition of the tires
and the maintenance of the specified tire pres-
sure.
Checking pressure
Check the tire inflatio n pressure regularly
and correct it, if nece ssary: at least twice a
month and before starting long trips. If you fail
to observe this precaution you may be driving
on tires with incorrect tire pressures, a condition
that can not only compromise your vehicle's
driving stability, but also lead to tire damage and
the risk of an accident. Do not drive with
deflated, i.e. flat tires, except when using run-
flat tires. A flat tire will seriously impair your
vehicle's handling and braking response.
Attempts to drive on a flat tire can lead to loss of
control over the vehicle. <
Check the tire inflation pressures only on cold
tires. This means after a maximum of 1.25 miles/
2 km driving or when the vehicle has been
parked for at least 2 hours. When tires are warm,
the tire inflation pressure is higher. After adjusting the tire inflation pressure,
reinitialize the Flat Tire Monitor, page 67,
or reset the Tire Pressure Monitor, page 69.<
MINI: checking the tire inflation
pressure of the compact tire
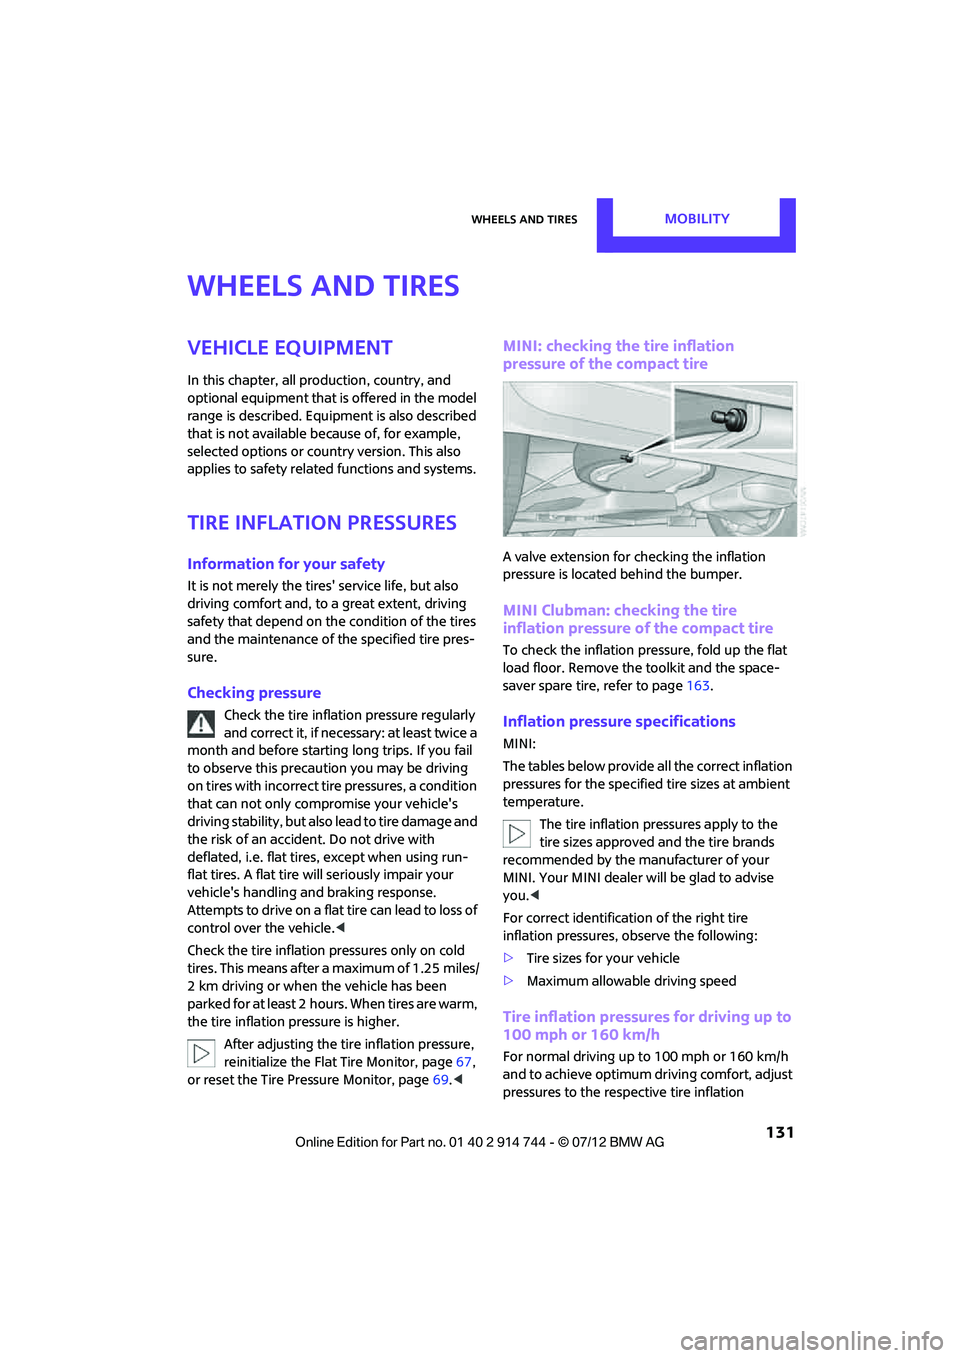
A valve extension for checking the inflation
pressure is located behind the bumper.
MINI Clubman: checking the tire
inflation pressure of the compact tire
To check the inflation pressure, fold up the flat
load floor. Remove the toolkit and the space-
saver spare tire, refer to page 163.
Inflation pressure specifications
MINI:
The tables below provide all the correct inflation
pressures for the specified tire sizes at ambient
temperature.
The tire inflation pressures apply to the
tire sizes approved and the tire brands
recommended by the manufacturer of your
MINI. Your MINI dealer will be glad to advise
you. <
For correct identification of the right tire
inflation pressures, observe the following:
> Tire sizes for your vehicle
> Maximum allowable driving speed
Tire inflation pressures for driving up to
100 mph or 160 km/h
For normal driving up to 100 mph or 160 km/h
and to achieve optimum dr iving comfort, adjust
pressures to the respective tire inflation
Online Edition for Part no. 01 40 2 914 744 - \251 07/12 BMW AG
Page 181 of 207
MOBILITYIndicator and warning lamps
180
Vehicles with Tire Pressure Monitor
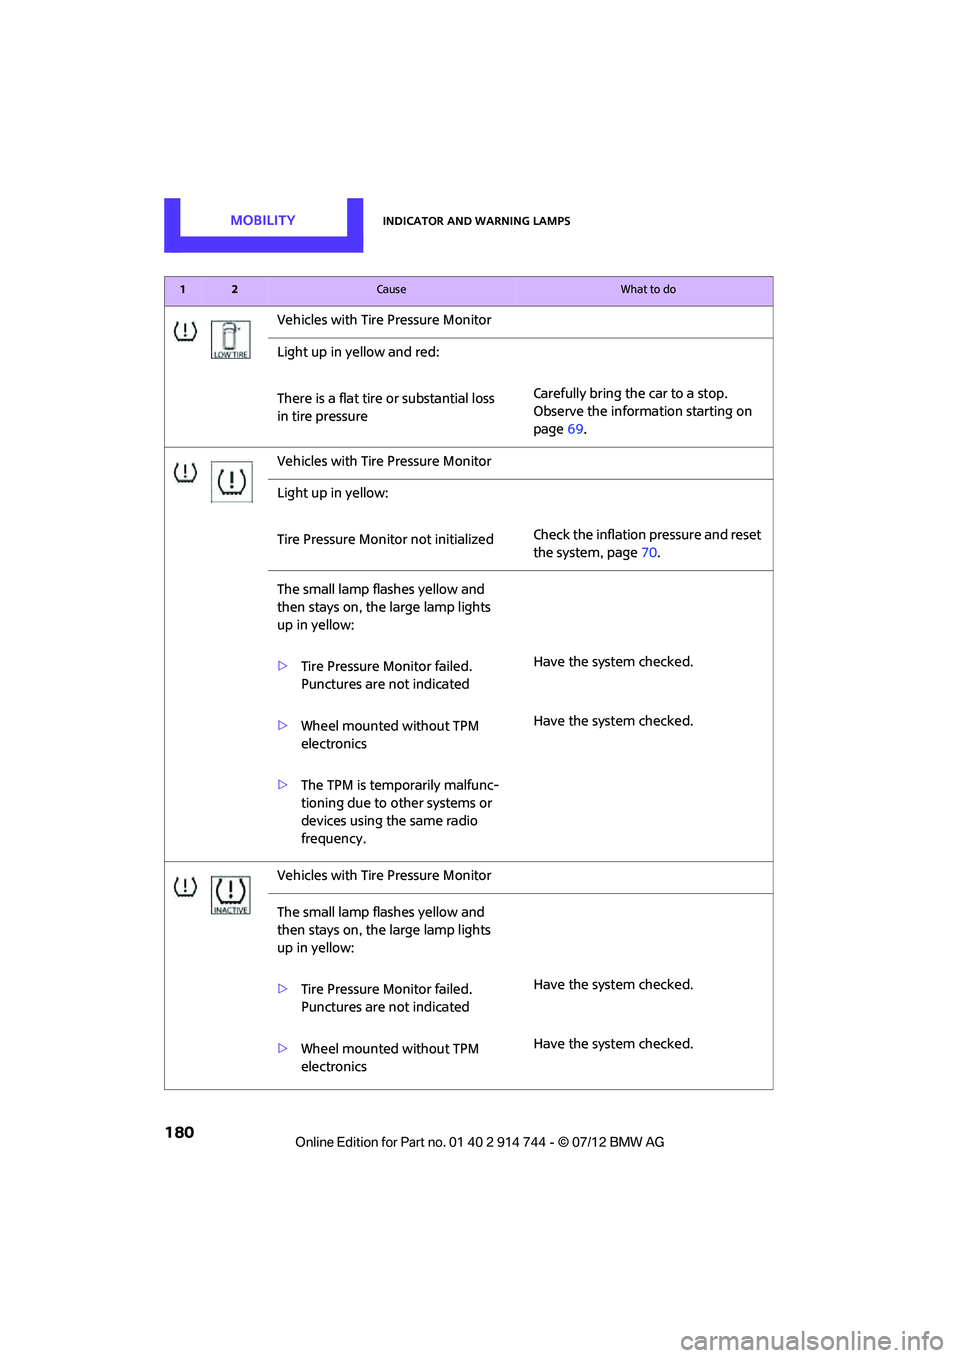
Light up in yellow and red:
There is a flat tire or substantial loss
in tire pressure Carefully bring the car to a stop.
Observe the information starting on
page
69.
Vehicles with Tire Pressure Monitor
Light up in yellow:
Tire Pressure Monitor not initialized Check the inflation pressure and reset
the system, page
70.
The small lamp flashes yellow and
then stays on, the large lamp lights
up in yellow:
> Tire Pressure Monitor failed.
Punctures are not indicated Have the system checked.
> Wheel mounted without TPM
electronics Have the system checked.
> The TPM is temporarily malfunc-
tioning due to other systems or
devices using the same radio
frequency.
Vehicles with Tire Pressure Monitor
The small lamp flashes yellow and
then stays on, the large lamp lights
up in yellow:
> Tire Pressure Monitor failed.
Punctures are not indicated Have the system checked.
> Wheel mounted without TPM
electronics Have the system checked.
12Cause What to do
Online Edition for Part no. 01 40 2 914 744 - \251 07/12 BMW AG
Page 202 of 207
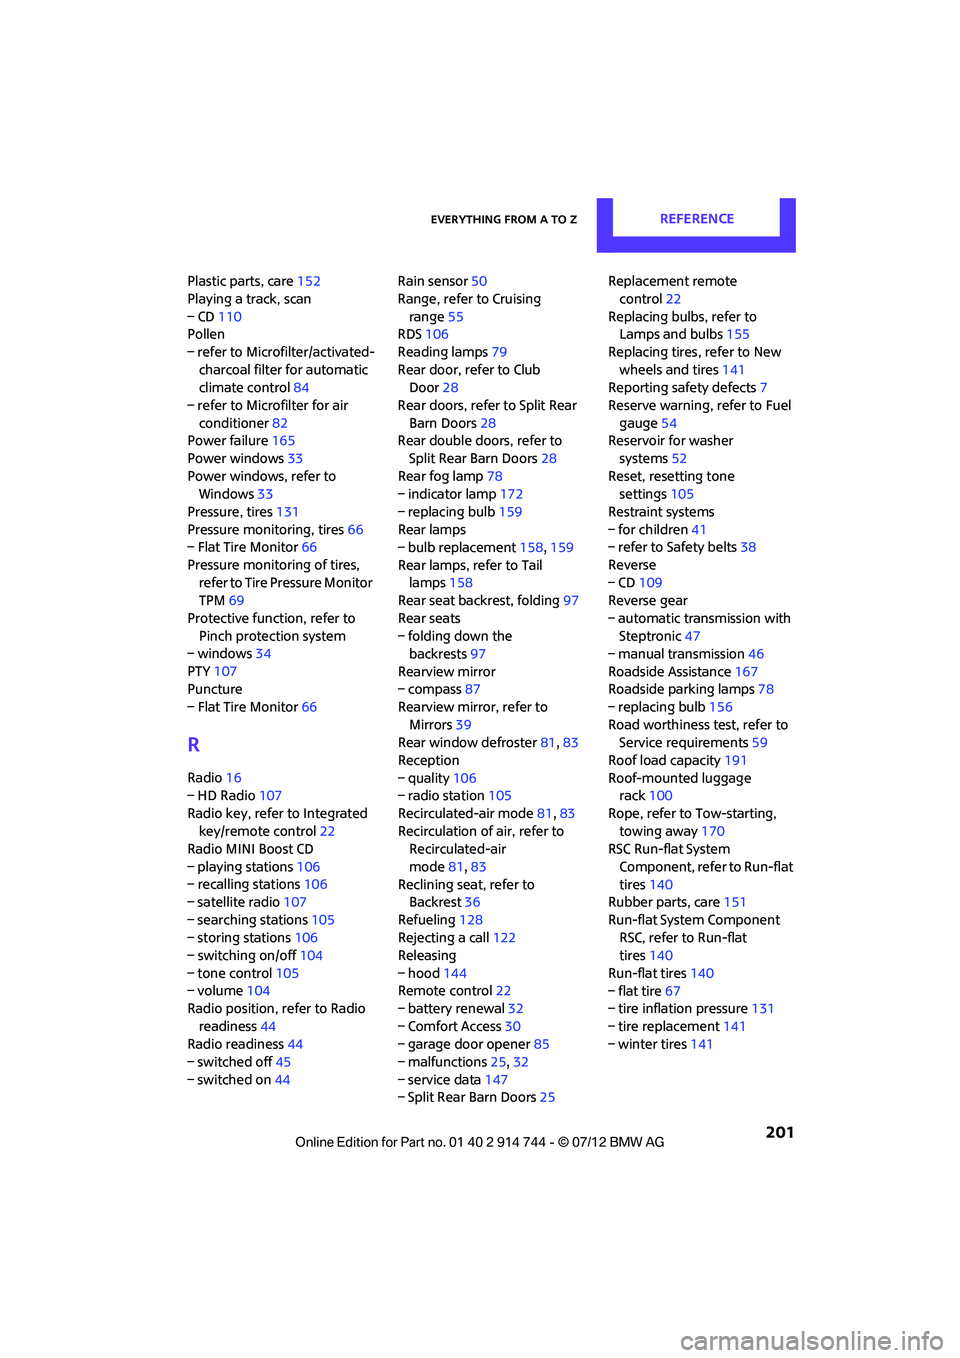
Everything from A to ZREFERENCE
201
Plastic parts, care152
Playing a track, scan
– CD 110
Pollen
– refer to Microfilter/activated- charcoal filter for automatic
climate control 84
– refer to Microfilter for air conditioner 82
Power failure 165
Power windows 33
Power windows, refer to Windows 33
Pressure, tires 131
Pressure monitoring, tires 66
– Flat Tire Monitor 66
Pressure monitoring of tires, refer to Tire Pressure Monitor
TPM 69
Protective function, refer to Pinch protection system
– windows 34
PTY 107
Puncture
– Flat Tire Monitor 66
R
Radio16
– HD Radio 107
Radio key, refer to Integrated key/remote control 22
Radio MINI Boost CD
– playing stations 106
– recalling stations 106
– satellite radio 107
– searching stations 105
– storing stations 106
– switching on/off 104
– tone control 105
– volume 104
Radio position, refer to Radio
readiness 44
Radio readiness 44
– switched off 45
– switched on 44 Rain sensor
50
Range, refer to Cruising range 55
RDS 106
Reading lamps 79
Rear door, refer to Club Door 28
Rear doors, refer to Split Rear Barn Doors 28
Rear double doors, refer to
Split Rear Barn Doors 28
Rear fog lamp 78
– indicator lamp 172
– replacing bulb 159
Rear lamps
– bulb replacement 158,159
Rear lamps, refer to Tail lamps 158
Rear seat backrest, folding 97
Rear seats
– folding down the backrests 97
Rearview mirror
– compass 87
Rearview mirror, refer to
Mirrors 39
Rear window defroster 81,83
Reception
– quality 106
– radio station 105
Recirculated-air mode 81,83
Recirculation of air, refer to Recirculated-air
mode 81,83
Reclining seat, refer to Backrest 36
Refueling 128
Rejecting a call 122
Rele
asing
– hood 144
Remote control 22
– battery renewal 32
– Comfort Access 30
– garage door opener 85
– malfunctions 25,32
– service data 147
– Split Rear Barn Doors 25Replacement remote
control 22
Replacing bulbs, refer to Lamps and bulbs 155
Replacing tires, refer to New wheels and tires 141
Reporting safety defects 7
Reserve warning, refer to Fuel gauge 54
Reservoir for washer
systems 52
Reset, resetting tone settings 105
Restraint systems
– for children 41
– refer to Safety belts 38
Reverse
– CD 109
Reverse gear
– automatic transmission with Steptronic 47
– manual transmission 46
Roadside Assistance 167
Roadside parking lamps 78
– replacing bulb 156
Road worthiness test, refer to
Service requirements 59
Roof load capacity 191
Roof-mounted luggage rack 100
Rope, refer to Tow-starting, towing away 170
RSC Run-flat System
Component, refer to Run-flat
tires 140
Rubber parts, care 151
Run-flat System Component RSC, refer to Run-flat
tires 140
Run-flat tires 140
– flat tire 67
– tire inflation pressure 131
– tire replacement 141
– winter tires 141
Online Edition for Part no. 01 40 2 914 744 - \251 07/12 BMW AG
Page 204 of 207

Everything from A to ZREFERENCE
203
Starting assistance, refer to Jump-starting 168
Starting the CD player 109
Starting the engine 45
– Start/Stop button 44
Start-off assistance, refer to
– DSC 64
– Hill Assist 66
Stations, refer to Radio MINI Boost CD 106
Status of this Owner's Manual at time of printing 4
Steering wheel 40
– adjustment 40
– buttons on steering wheel 11
– lock 44
– shift paddles 48
Steptronic, refer to Automatic transmission with
Steptronic 46
Storage area
– cargo area 96
Storage compartment, front passenger side 90
Storage compartments 90
Storage space
– storage compartments 90
Storing the vehicle 152
Storing tires 142
Stowage, refer to Storage
compartments 90
Summer tires, re fer to Wheels
and tires 131
Switches, refer to Cockpit 10
Switching off
– engine 45
Switching off the engine 45
– Start/Stop button 44
Switching on
– CD player 104,109
– radio MINI Boost CD 104
Switching the cooling function
on and off 84
Symbols 4T
Tachometer 54
Tailgate 28
– Comfort Access 31
Tailgate, refer to Split Rear Barn Doors 25
Tail lamp, refer to Tail lamps 158
– replacing bulb 158
Tail lamps 158
Tank volume, refer to Capacities 192
Technical data 186
Technical modifications 4
Telephone 116
– hands-free system 124
– installation location, refer to Center armrest 89
Temperature display
– setting the units 58
Temperature of coolant, refer
to Coolant temperature 146
Temperature setting
– air conditioner 81
– automatic climate control 83
Tempomat, refer to Cruise control 52
Tensioning straps, refer to Securing cargo 99
Third brake lamp, refer to Center brake lamp 160
Three-point safety belt 38
Tightening the lug bolts
– keys 153,154
– torque 165
Tightening torque, refer to Tightening lug bolts 165
Time
– setting 105
Tire change set
– space-saver spare tire 153Tire failure
– Flat Tire Monitor
67
– indicator/warning lamp 67
– MINI Mobility Kit 160
– run-flat tires 68
– space-saver spare tire 162
– Tire Pressure Monitor 69
Tire inflation pressure 131
– loss 67
– space-saver spare tire 131
Tire pressure monitoring, refer to Flat Tire Monitor 66
Tire Pressure Monitor TPM 69
– limitations of system 69
– resetting system 69
– warning lamp 70
Tire Quality Grading 138
Tires
– age 140
– breaking in 94
– changi
ng, refe r to Changing
wheels 162
– condition 139
– damage 139,140
– inflation pressure 131
– inflation pressure loss 70
– minimum tread depth 139
– new tires 141
– pressure monitoring, refer to Flat Tire Monitor 66
– pressure monitoring, refer to Tire Pressure Monitor
TPM 69
– puncture 67
– size 138
– wear indicators, refer to
Minimum tread depth 140
– winter tires 141
– with emergency operation
properties 140
Tires with emergency operation properties, refer to
Run-flat tires 140
Online Edition for Part no. 01 40 2 914 744 - \251 07/12 BMW AG