radio MINI Hardtop 2 Door 2015 Owner's Guide
[x] Cancel search | Manufacturer: MINI, Model Year: 2015, Model line: Hardtop 2 Door, Model: MINI Hardtop 2 Door 2015Pages: 251, PDF Size: 11.4 MB
Page 113 of 251

▷Maximum distance to row of parked vehi‐
cles: 5 ft/1.5 m.
Suitable parking space
▷Gaps behind an object that has a min.
length of 5 ft/1.5 m.▷Gap between two objects with a minimum
length of approx. 5 ft/1.5 m.▷Min. length of gap between two objects:
your vehicle's length plus approx.
3.3 ft/1.0 m.▷Minimum depth: approx. 5 ft/1.5 m.
Regarding the parking procedure
▷Doors and tailgate closed.▷Parking brake released.▷When parking in parking spaces on the
driver's side, the corresponding turn signal
must be set.
At a glance
Button in the vehicle
Parking assistant
Ultrasound sensors
The ultrasound sensors for measuring parking
spaces are located on the wheel housing.
To ensure full functionality:
▷Keep the sensors clean and free of ice.▷When using high-pressure washers, do not
spray the sensors for long periods and
maintain a distance of at least 12 in/30 cm.▷Do not put stickers over sensors.
Switching on/off
Switching on with the button Press button.
The LED lights up.
The current status of the parking space search
is indicated on the radio.
Parking assistant is activated automatically.
Switching on with reverse gear
Shift into reverse.
As soon as a suitable parking space is recog‐ nized by the system, the following query is dis‐
played on the radio display: "Start vehicle
parking?"
"OK": activate parking assistant.
"Cancel": cancel parking assistant.
Switch off The system can be deactivated as follows:
Seite 109Driving comfortCONTROLS109
Online Edition for Part no. 01 40 2 961 140 - II/15
Page 114 of 251

▷Press button.▷Switch off the ignition.
Indicator of the radio display
System status
▷Symbols, see arrows, on the
side of the vehicle illustrated.
Parking assistant is activated
and search for parking space
active.▷Suitable parking spaces are displayed next
to the vehicle symbol at the edge of the
road as on the display.▷The parking procedure is ac‐
tive. Steering control has
been taken over by system.▷Parking space search is always active
whenever the vehicle is moving forward
slow and straight, even if the system is de‐
activated.
Parking using the parking assistant
Check the traffic situation as well
Louds noises outside and inside the vehi‐
cle can drown out the parking assistant's and
PDC's signals.
Check the traffic situation around the vehicle
with your own eyes; otherwise, there is a dan‐
ger of an accident. ◀
1.Switch on the parking assistant and activate
it if needed.
The status of the parking space search is in‐
dicated on the display.2.Follow the instructions on the display.
The best possible parking position will
come after gear change on the stationary
vehicle - wait for the automatic steering
wheel move.The end of the parking procedure is indi‐
cated on the display.3.Adjust the parking position yourself if
needed.
Interrupting manually
The parking assistant can be interrupted at any
time:
▷Press button.
Interrupting automatically
The system is interrupted automatically in the
following situations:
▷If the driver grasps the steering wheel or if
he takes over steering.▷If a gear is selected that does not match the
instruction on the display.▷If the vehicle speed exceeds approx.
6 mph/10 km/h.▷Possible on snow-covered or slippery road
surfaces.▷If a maximum number of parking attempts
or the time taken for parking is exceeded.▷If the Park Distance Control PDC displays
clearances that are too small.▷When switching into other functions of the
radio.
A Check Control message is displayed.
Resume
An interrupted parking procedure can be con‐
tinued if needed.
To do this, follow the instructions on the dis‐
play.
System limits
No parking assistance The parking assistant does not offer assistance
in the following situations:
▷In tight curves.Seite 110CONTROLSDriving comfort110
Online Edition for Part no. 01 40 2 961 140 - II/15
Page 147 of 251

The Coasting driving condition is enabled under
certain conditions.
Under certain conditions the engine is auto‐
matically decoupled from the transmission in
selector lever position D. The vehicle continues
traveling with the engine idling to reduce fuel
consumption. Selector lever position D remains
engaged. An indicator provides information
about the distance traveled in Coasting mode.
In addition, context-sensitive instructions are
displayed to assist with an optimized fuel con‐
sumption driving style.
The achieved extended range is displayed in
the instrument cluster.
At a glance The system includes the following MINIMAL
functions and displays:▷GREEN bonus range, refer to page 143.▷GREEN tips driving instruction, refer to
page 144.▷GREEN climate control, refer to page 143.▷Coasting driving condition, refer to
page 144.
Activating GREEN mode
Turn Driving Dynamics Control to
the right until GREEN mode is
displayed in the instrument clus‐
ter.
Configuring GREEN mode
Via radio
1. "Settings"2.Select between "Driving mode" or "GREEN
Mode"
Configure the program.
GREEN tip
"GREEN speed warning":
Displays a reminder when the set GREEN mode
speed is exceeded.
GREEN climate control
"GREEN climate control" :
Climate control is set to be fuel-efficient.
By making a slight change to the set tempera‐
ture, or adjusting the rate of heating or cooling
of the car's interior fuel consumption can be
economized.
The outputs of the seat heater and the exterior
Additionally heat output to seats and exterior
mirror is reduced.
Exterior mirror heat is available when outside
temperatures are very low.
Coasting
Fuel-efficiency can be optimized by disengag‐
ing the engine and Coasting, refer to page 144,
with the engine idling.
This function is only available in GREEN mode.
Display in the instrument cluster
GREEN bonus range An adjusted driving style helps
you extend your driving range.
This may be displayed as the bo‐
nus range in the instrument clus‐
ter.
The bonus range is shown in the range display.
The bonus range is automatically reset every
time the vehicle is refueled.▷Green display: efficient driving style.▷Gray display: adjust driving style, e. g. by
backing off the accelerator pedal.Seite 143Saving fuelDRIVING TIPS143
Online Edition for Part no. 01 40 2 961 140 - II/15
Page 149 of 251
The function is available in a certain speed
range.
A proactively driving style helps the driver to
use the function as often as possible and sup‐
ports the fuel-conserving effect of coasting.
Safety mode
The function is not available under one of the
following conditions.▷DSC OFF or TRACTION activated.▷Driving in the dynamic limit range and on
steep uphill or downhill grades.▷Battery charge status temporarily too low
or vehicle electrical system drawing exces‐
sive current.▷Cruise control activated.
Functional requirements
In GREEN mode, this function is available in a
speed range from approximately 30 mph, ap‐
prox. 50 km/h to 100 mph, approx. 160 km/h,
if the following conditions are met:
▷Accelerator pedal and brake pedal are not
operated.▷The selector lever is in selector lever posi‐
tion D.▷Engine and transmission are at operating
temperature.
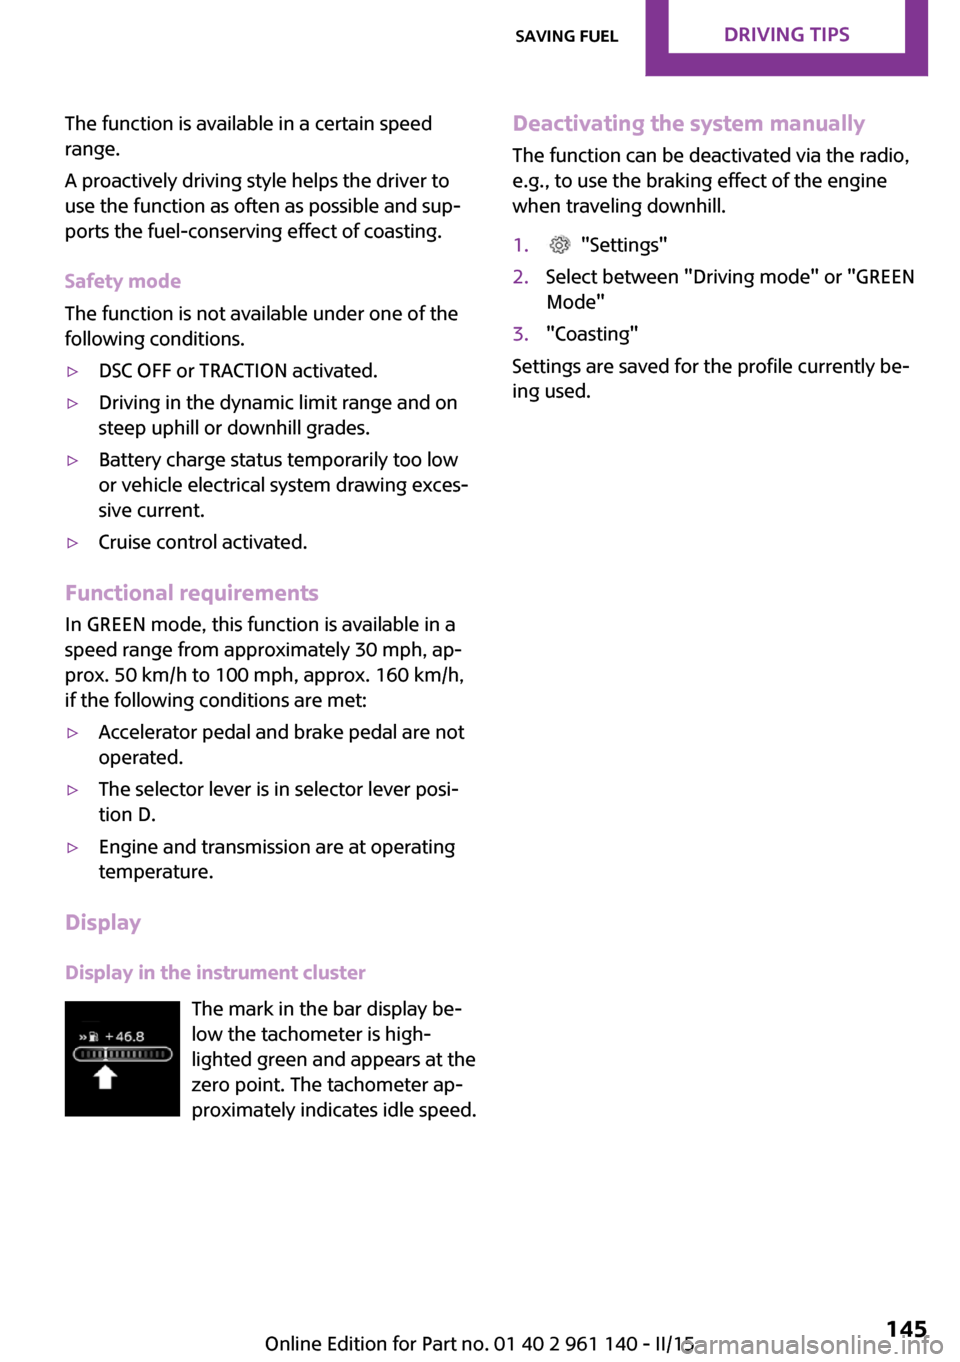
Display
Display in the instrument cluster The mark in the bar display be‐
low the tachometer is high‐
lighted green and appears at the
zero point. The tachometer ap‐
proximately indicates idle speed.
Deactivating the system manually
The function can be deactivated via the radio,
e.g., to use the braking effect of the engine
when traveling downhill.1. "Settings"2.Select between "Driving mode" or "GREEN
Mode"3."Coasting"
Settings are saved for the profile currently be‐
ing used.
Seite 145Saving fuelDRIVING TIPS145
Online Edition for Part no. 01 40 2 961 140 - II/15
Page 152 of 251

ToneVehicle features and op‐
tions
This chapter describes all standard, country-
specific and optional features offered with the
series. It also describes features that are not
necessarily available in your car, e. g., due to
the selected options or country versions. This
also applies to safety-related functions and sys‐
tems. The respectively applicable country provi‐
sions must be observed when using the respec‐
tive features and systems.
General information Settings are stored for the profile, refer to
page 23, currently in use.
Treble, bass, balance,
and fader
General information▷"Treble": treble adjustment.▷"Bass": depth adjustment.▷"Balance": left/right volume distribution.▷"Fader": front/rear volume distribution.
Adjusting treble, bass, balance, and
fader
1. "Settings", "Radio" or
"Media"2."Tone"3.Select the desired tone settings.4.Set the desired value.Volume
General information▷"Speed volume": speed-dependent volume
control.▷"PDC": volume of the PDC signal compared
to the entertainment sound output.▷"Gong": volume of the signal, such as the
safety belt reminder, compared to the en‐
tertainment sound output.▷"Microphone": volume of the microphone
during a phone call.▷"Loudspeak.": volume of the loudspeakers
during a phone call.
The following volumes are only stored for the
respective paired telephone:
"Microphone", "Loudspeak.".
Adjusting
1. "Settings", "Radio" or
"Media"2."Tone"3."Volume settings"4.Select the desired volume setting.5.Set the desired value.
Resetting the tone set‐
tings
1. "Settings", "Radio" or
"Media"2."Tone"3."Reset"Seite 148ENTERTAINMENTTone148
Online Edition for Part no. 01 40 2 961 140 - II/15
Page 153 of 251
RadioVehicle features and op‐
tions
This chapter describes all standard, country-
specific and optional features offered with the
series. It also describes features that are not
necessarily available in your car, e. g., due to
the selected options or country versions. This
also applies to safety-related functions and sys‐
tems. The respectively applicable country provi‐
sions must be observed when using the respec‐
tive features and systems.
General information Settings are stored for the profile, refer to
page 23, currently in use.
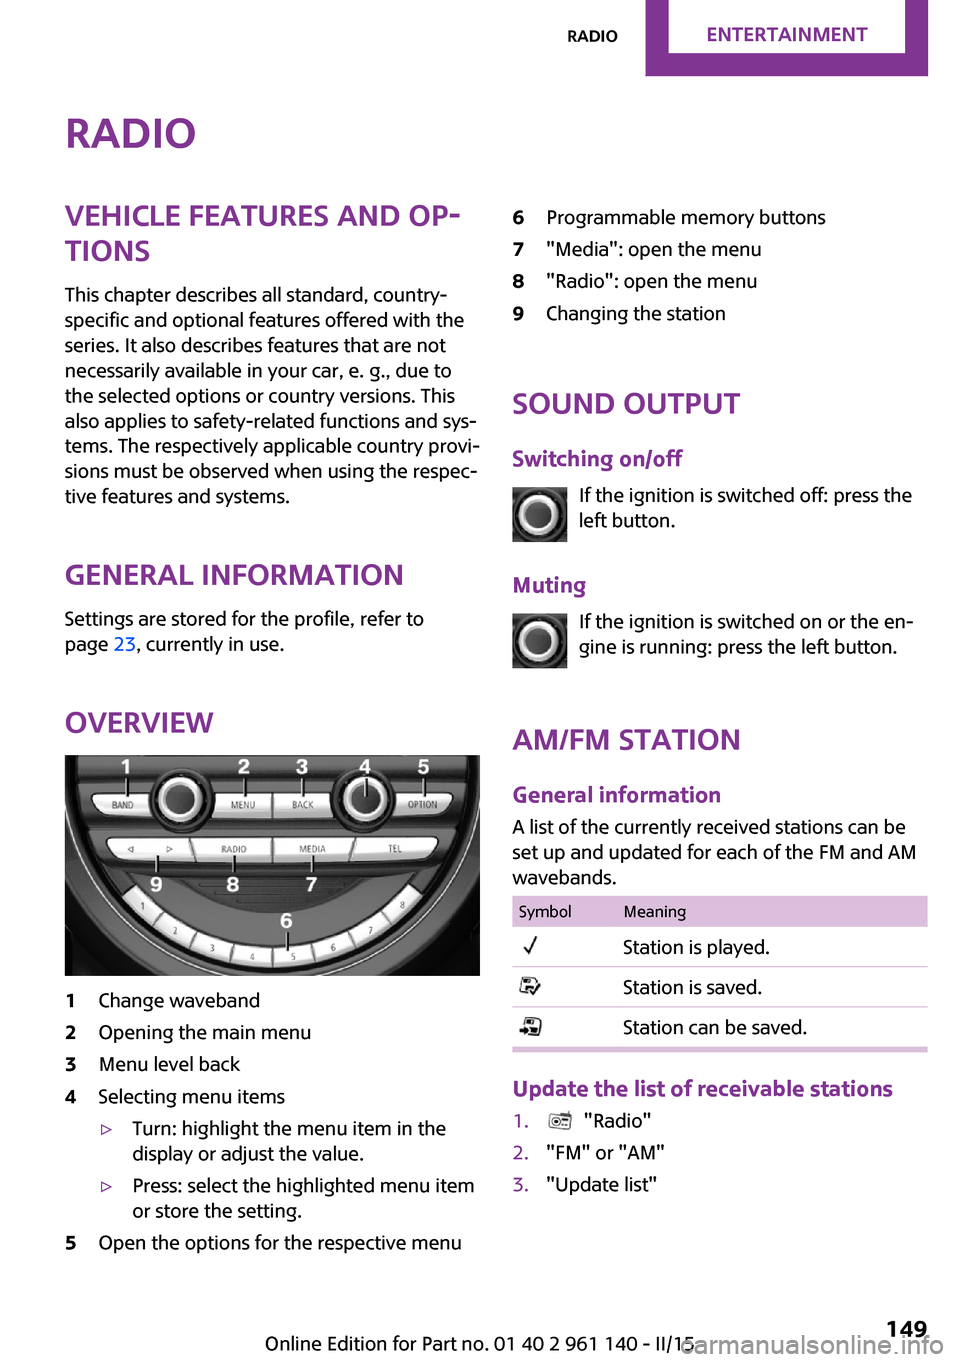
Overview1Change waveband2Opening the main menu3Menu level back4Selecting menu items▷Turn: highlight the menu item in the
display or adjust the value.▷Press: select the highlighted menu item
or store the setting.5Open the options for the respective menu6Programmable memory buttons7"Media": open the menu8"Radio": open the menu9Changing the station
Sound output
Switching on/off If the ignition is switched off: press the
left button.
Muting If the ignition is switched on or the en‐
gine is running: press the left button.
AM/FM station General information
A list of the currently received stations can be
set up and updated for each of the FM and AM
wavebands.
SymbolMeaningStation is played.Station is saved.Station can be saved.
Update the list of receivable stations
1. "Radio"2."FM" or "AM"3."Update list"Seite 149RadioENTERTAINMENT149
Online Edition for Part no. 01 40 2 961 140 - II/15
Page 154 of 251
Selecting a station1. "Radio"2."FM" or "AM"3.Select a station.
Selecting a station manually
1. "Radio"2."FM" or "AM"3."Manual search ( )"4.Turn the right-hand knob until the desired
frequency is displayed.
Changing the station
About the radio:
Press button.
Via the buttons on the steering wheel: Press button.
The next station with reception or stored sta‐
tion is played. If traffic bulletins are activated,
the next traffic information station is played.
About the radio:
Press and hold this button.
Via the buttons on the steering wheel: Press and hold this button.
The waveband is traversed. After the button is
released, the next station with reception is
played.
Storing a station
1. "Radio"2."FM" or "AM"3.Select a station.4.Press the right button.5.Select the memory location.
The stations can also be stored on the Favorites
buttons, refer to page 152.
Renaming a station When storing a station with RDS signal, the RDS
information transferred during storing is ac‐
cepted as the station name. This name can be
changed.
1.Select the station that is to be renamed.2. Press button.3."Rename to:"
If necessary, wait until the desired name
appears.4.Press the right-hand knob to store this
name.
Displaying additional information
If a radio station broadcasts radio text or radio
text plus, this information can be displayed,
e.g., the track or the performer of the music.
Availability, content and sequence are set by
the radio station.
1. "Radio"2."FM" or "AM"3. Press button.4."Station info"
RDS Radio Data System
The concept
RDS broadcasts additional information, such as
the station name, in the FM wave band.
When playing a station with multiple frequen‐
cies, the system automatically switches to the
frequency with the best reception, if needed.
Seite 150ENTERTAINMENTRadio150
Online Edition for Part no. 01 40 2 961 140 - II/15
Page 155 of 251
Switching on/offIt is recommended to switch on RDS1. "Radio"2."FM"3. Press button.4."RDS"
HD Radio™ reception
Many stations broadcast both analog and digi‐
tal signals.
License conditions
HD Radio technology manufactured under li‐
cense from iBiquity Digital Corporation. U. S.
and Foreign Patents. HD Radio™ and the HD,
HD Radio, and “Arc” logos are proprietary
trademarks of iBiquity Digital Corp.
Activating/deactivating digital radio
reception
1. "Radio"2."FM" or "AM"3. Press button.4."HD Radio reception"
This symbol is displayed in the status line
when the audio signal is digital.
When setting a station with a digital signal, it
may take a few seconds before the station
plays in digital quality.
Information about HD Radio stations whose
station name ends with ...HD or with ...HD1:
In areas in which the station is not continuously
received in digital mode, the playback switches
between analog and digital reception. In this
case, switch off digital radio reception.
Information about HD Radio multicast stations
whose station name ends
with ...HD2, ...HD3, ...:
In areas in which the station is not continuously
received in digital mode, there may be inter‐
ruptions of the audible signal lasting several
seconds. This depends on the reception.
Displaying additional information
Some stations broadcast additional information
on the current track, such as the name of the
artist.1.Select the desired station.2. Press button.3."Station info"
Stored stations
General information
It is possible to store up to 40 stations.
SymbolMeaning1 ... 40Memory location.FMStations out of the FM waveband.AMStations out of the AM waveband.SATSatellite radio station.
Calling up a station
1. "Radio"2."Presets"3.Select the desired memory location.
Storing a station The station currently selected is stored.
1. "Radio"2."Presets"3."Store station ( )"4.Memory location to be selected.
The stations can also be stored on the Favorites
buttons, refer to page 152.
Seite 151RadioENTERTAINMENT151
Online Edition for Part no. 01 40 2 961 140 - II/15
Page 156 of 251
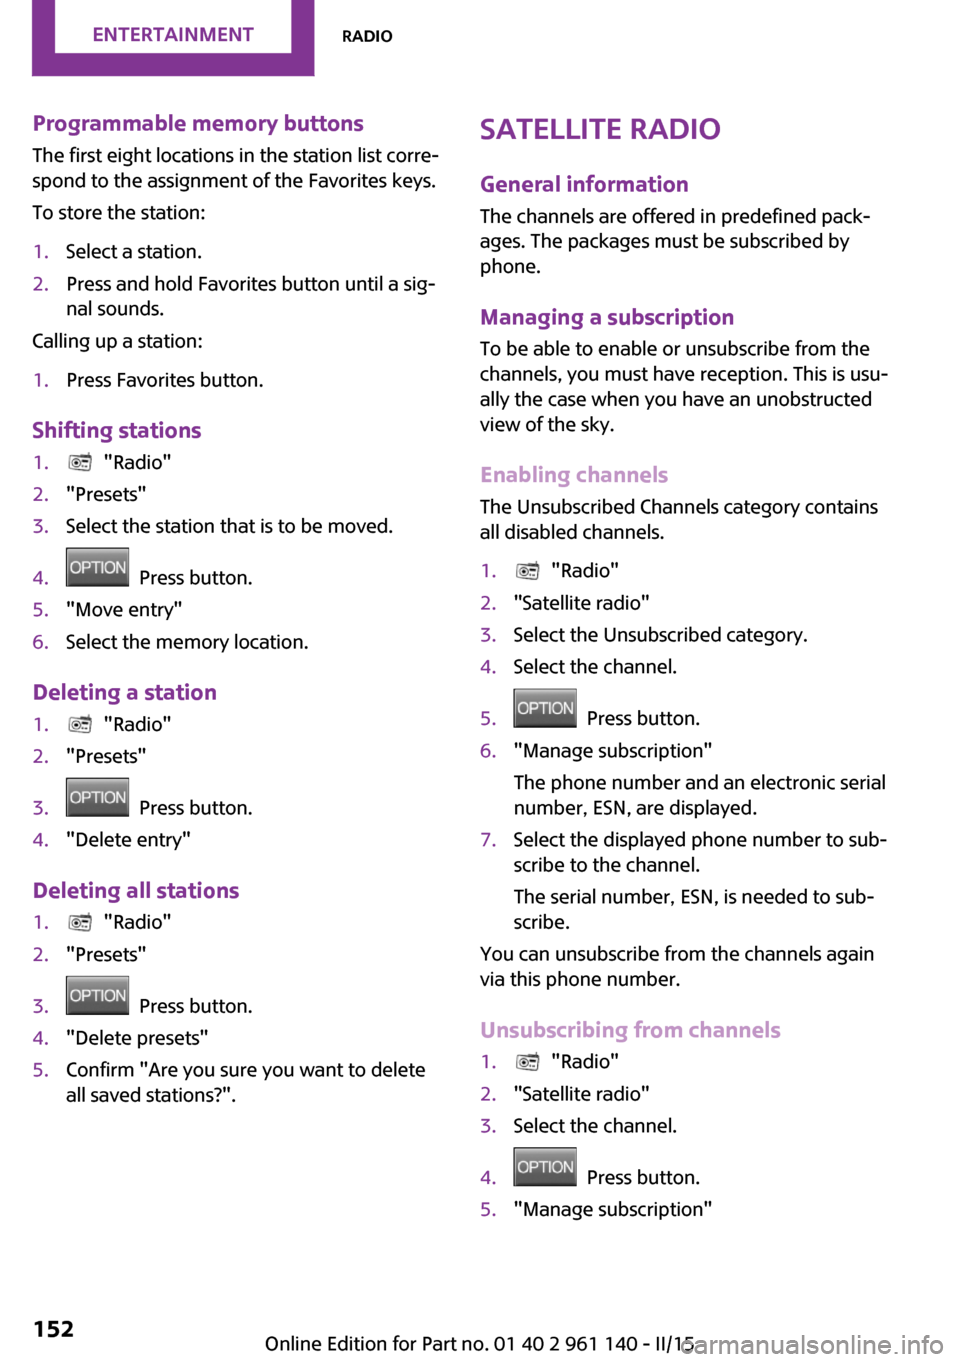
Programmable memory buttons
The first eight locations in the station list corre‐
spond to the assignment of the Favorites keys.
To store the station:1.Select a station.2.Press and hold Favorites button until a sig‐
nal sounds.
Calling up a station:
1.Press Favorites button.
Shifting stations
1. "Radio"2."Presets"3.Select the station that is to be moved.4. Press button.5."Move entry"6.Select the memory location.
Deleting a station
1. "Radio"2."Presets"3. Press button.4."Delete entry"
Deleting all stations
1. "Radio"2."Presets"3. Press button.4."Delete presets"5.Confirm "Are you sure you want to delete
all saved stations?".Satellite radio
General information
The channels are offered in predefined pack‐
ages. The packages must be subscribed by
phone.
Managing a subscription
To be able to enable or unsubscribe from the
channels, you must have reception. This is usu‐
ally the case when you have an unobstructed
view of the sky.
Enabling channels
The Unsubscribed Channels category contains
all disabled channels.1. "Radio"2."Satellite radio"3.Select the Unsubscribed category.4.Select the channel.5. Press button.6."Manage subscription"
The phone number and an electronic serial
number, ESN, are displayed.7.Select the displayed phone number to sub‐
scribe to the channel.
The serial number, ESN, is needed to sub‐
scribe.
You can unsubscribe from the channels again
via this phone number.
Unsubscribing from channels
1. "Radio"2."Satellite radio"3.Select the channel.4. Press button.5."Manage subscription"Seite 152ENTERTAINMENTRadio152
Online Edition for Part no. 01 40 2 961 140 - II/15
Page 157 of 251
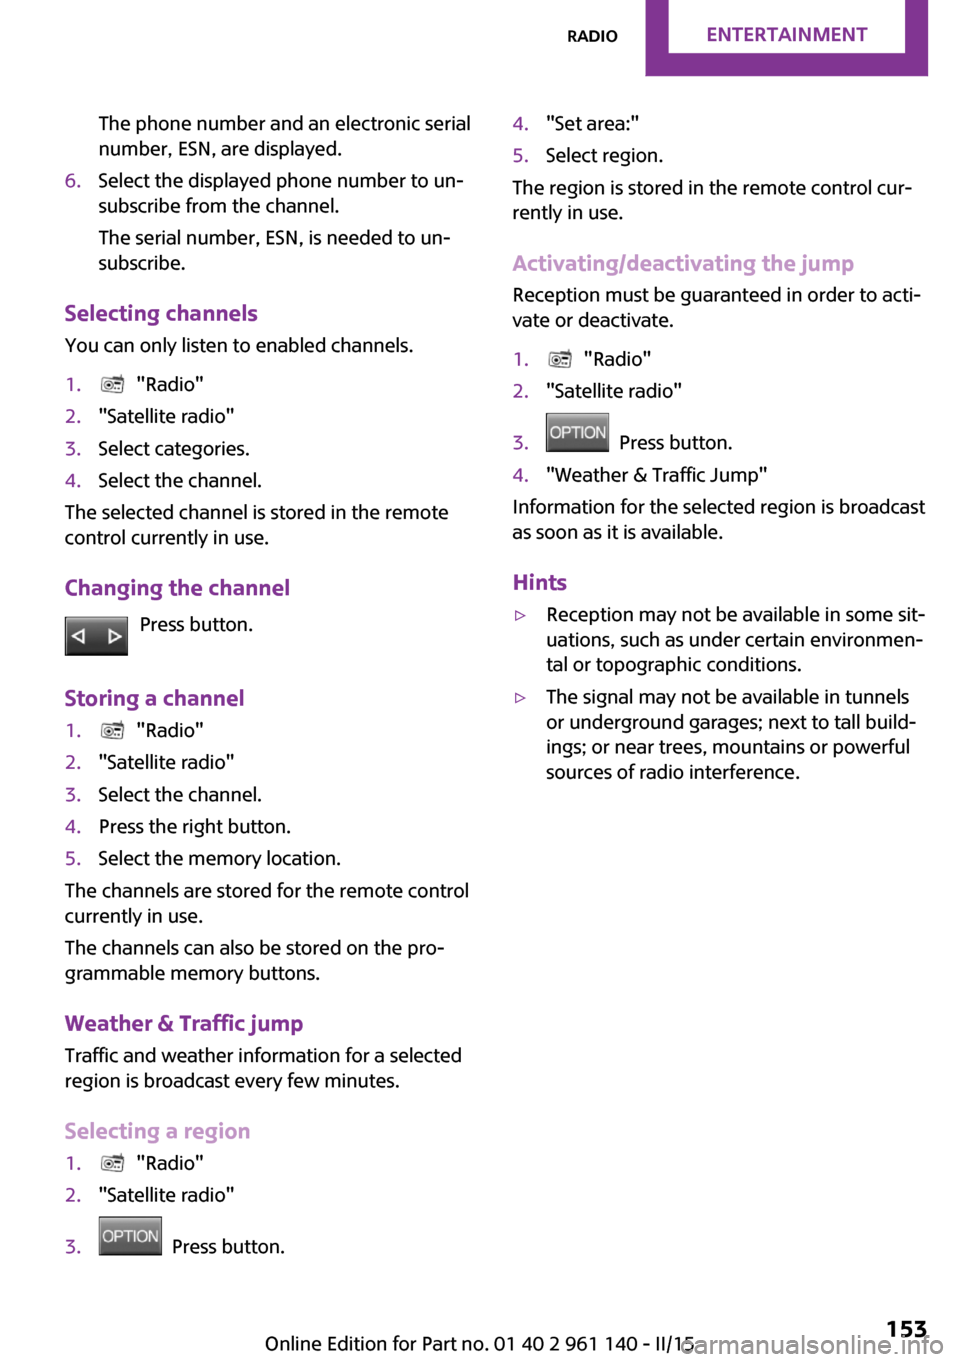
The phone number and an electronic serial
number, ESN, are displayed.6.Select the displayed phone number to un‐
subscribe from the channel.
The serial number, ESN, is needed to un‐
subscribe.
Selecting channels
You can only listen to enabled channels.
1. "Radio"2."Satellite radio"3.Select categories.4.Select the channel.
The selected channel is stored in the remote
control currently in use.
Changing the channel Press button.
Storing a channel
1. "Radio"2."Satellite radio"3.Select the channel.4.Press the right button.5.Select the memory location.
The channels are stored for the remote control
currently in use.
The channels can also be stored on the pro‐
grammable memory buttons.
Weather & Traffic jump Traffic and weather information for a selected
region is broadcast every few minutes.
Selecting a region
1. "Radio"2."Satellite radio"3. Press button.4."Set area:"5.Select region.
The region is stored in the remote control cur‐
rently in use.
Activating/deactivating the jump
Reception must be guaranteed in order to acti‐
vate or deactivate.
1. "Radio"2."Satellite radio"3. Press button.4."Weather & Traffic Jump"
Information for the selected region is broadcast
as soon as it is available.
Hints
▷Reception may not be available in some sit‐
uations, such as under certain environmen‐
tal or topographic conditions.▷The signal may not be available in tunnels
or underground garages; next to tall build‐
ings; or near trees, mountains or powerful
sources of radio interference.Seite 153RadioENTERTAINMENT153
Online Edition for Part no. 01 40 2 961 140 - II/15