lamp MITSUBISHI ASX 2015 (in English) Manual PDF
[x] Cancel search | Manufacturer: MITSUBISHI, Model Year: 2015, Model line: ASX, Model: MITSUBISHI ASX 2015Pages: 452, PDF Size: 20.1 MB
Page 166 of 452
NOTElThe rear window wiper will automatically
perform several continuous operations if thegearshift lever or the selector lever is put in
the “R” position while the windscreen wip-
ers or the rear window wiper is operating. (automatic operation mode).
After the automatic operation, the rear win-
dow wiper will stop operating if the knob is in the “OFF” position. If the knob is in the “INT” position, the rear window wiper will
return to the intermittent operation.
It is possible to set the rear window wiper to perform the automatic operation only if thegearshift lever or the selector lever is put in
the “R” position while the rear window wip-
er is operating with the knob in the “INT” position.
For further information, we recommend you to consult a MITSUBISHI MOTORS Au-
thorized Service Point.
l If the knob is in the “OFF” position, turn the
knob to the “INT” position twice quickly to operate the rear window wiper continuously.
(continuous operation mode)
Turn the knob to the “OFF” position to stop the rear window wiper continuous operation.
l The interval for intermittent operation can be
adjusted.
For further information, we recommend you
to consult a MITSUBISHI MOTORS Au-
thorized Service Point.Headlamp washer switch*
E00510101469
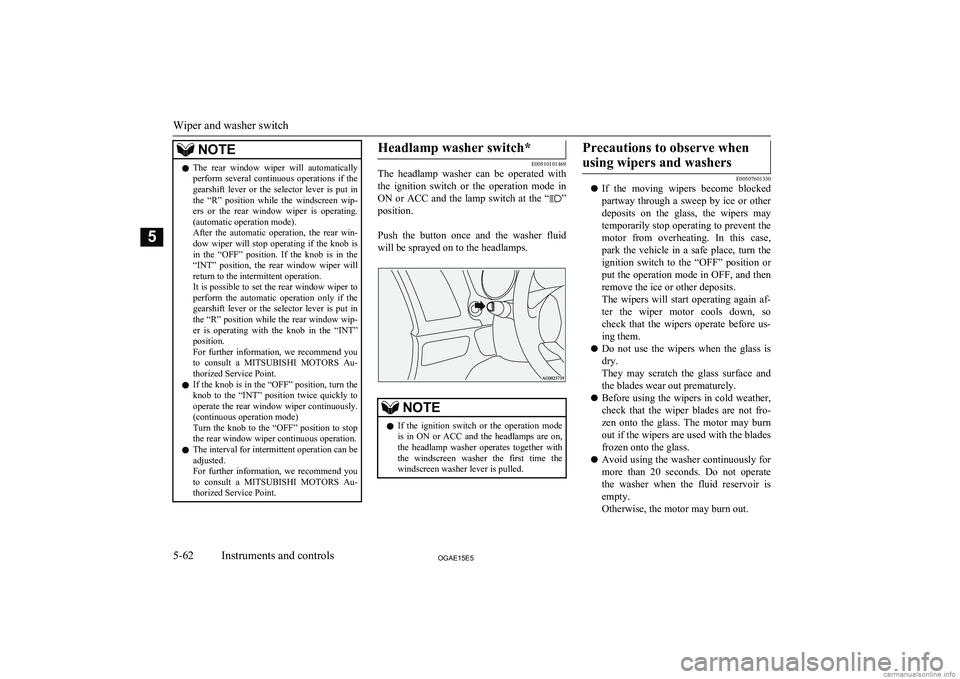
The headlamp washer can be operated with
the ignition switch or the operation mode in ON or ACC and the lamp switch at the “
”
position.
Push the button once and the washer fluid will be sprayed on to the headlamps.
NOTEl If the ignition switch or the operation mode
is in ON or ACC and the headlamps are on,the headlamp washer operates together with the windscreen washer the first time thewindscreen washer lever is pulled.Precautions to observe when
using wipers and washers
E00507601330
l If the moving wipers become blocked
partway through a sweep by ice or other deposits on the glass, the wipers maytemporarily stop operating to prevent the
motor from overheating. In this case,
park the vehicle in a safe place, turn the ignition switch to the “OFF” position or
put the operation mode in OFF, and then
remove the ice or other deposits.
The wipers will start operating again af- ter the wiper motor cools down, so
check that the wipers operate before us-
ing them.
l Do not use the wipers when the glass is
dry.
They may scratch the glass surface and the blades wear out prematurely.
l Before using the wipers in cold weather,
check that the wiper blades are not fro-zen onto the glass. The motor may burn
out if the wipers are used with the blades
frozen onto the glass.
l Avoid using the washer continuously for
more than 20 seconds. Do not operate the washer when the fluid reservoir isempty.
Otherwise, the motor may burn out.Wiper and washer switch
5-62OGAE15E5Instruments and controls5
Page 167 of 452
lPeriodically check the level of washer
fluid in the reservoir and refill if re-quired.
During cold weather, add a recommen-
ded washer solution that will not freeze
in the washer reservoir. Failure to do so could result in loss of washer functionand frost damage to the system compo-
nents.Rear window demister
switch E00507901186
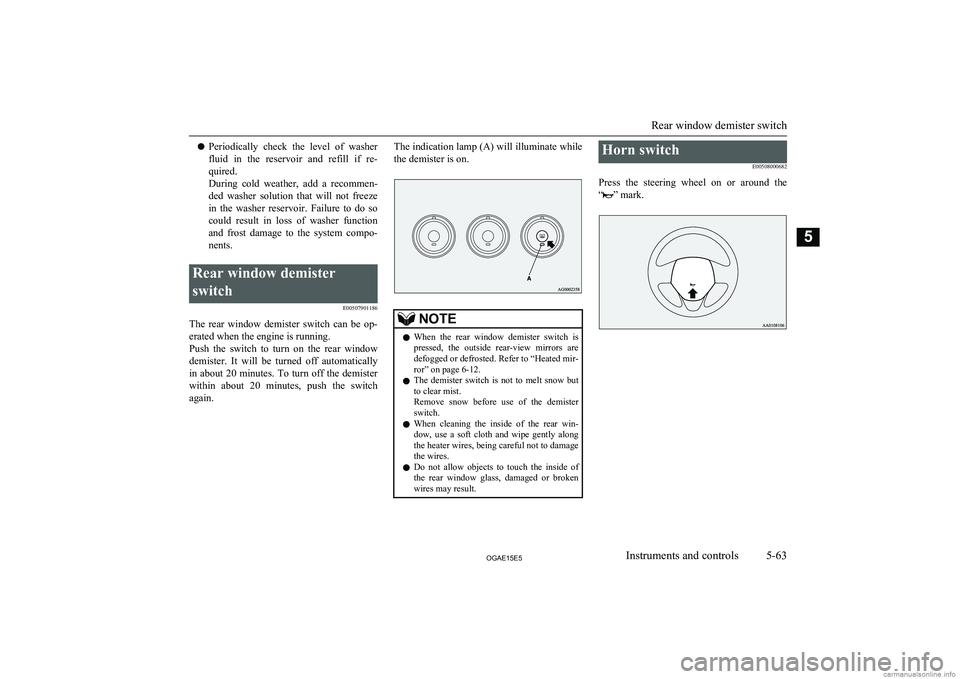
The rear window demister switch can be op-erated when the engine is running.
Push the switch to turn on the rear window
demister. It will be turned off automatically
in about 20 minutes. To turn off the demister
within about 20 minutes, push the switch again.
The indication lamp (A) will illuminate while
the demister is on.NOTEl When the rear window demister switch is
pressed, the outside rear-view mirrors are
defogged or defrosted. Refer to “Heated mir-
ror” on page 6-12.
l The demister switch is not to melt snow but
to clear mist.
Remove snow before use of the demister
switch.
l When cleaning the inside of the rear win-
dow, use a soft cloth and wipe gently along
the heater wires, being careful not to damage the wires.
l Do not allow objects to touch the inside of
the rear window glass, damaged or broken wires may result.Horn switch
E00508000682
Press the steering wheel on or around the
“
” mark.
Rear window demister switch
5-63OGAE15E5Instruments and controls5
Page 175 of 452
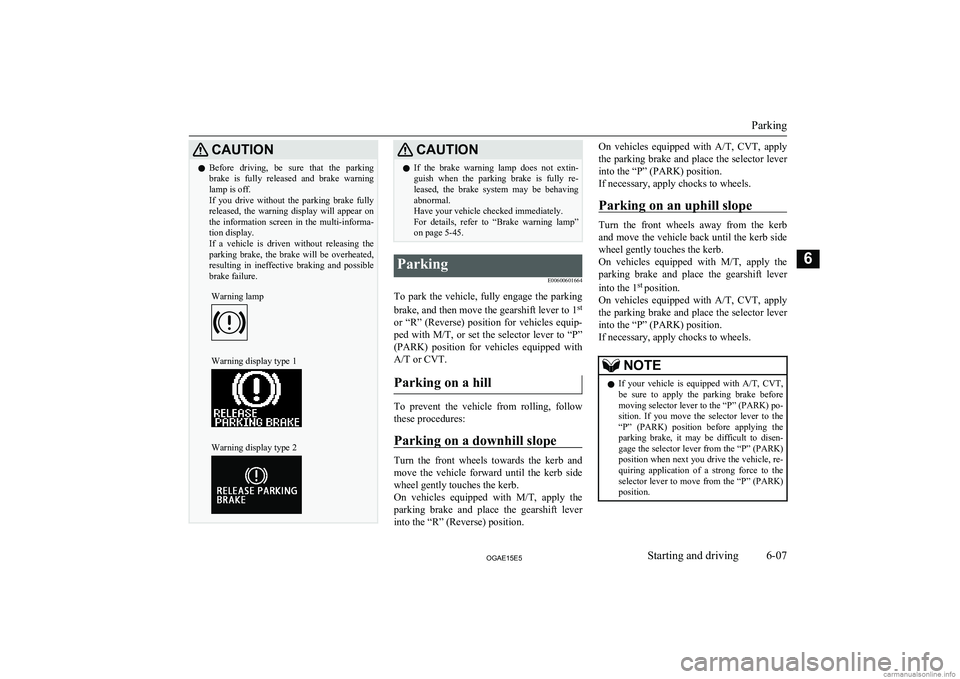
CAUTIONlBefore driving, be sure that the parking
brake is fully released and brake warning lamp is off.
If you drive without the parking brake fully
released, the warning display will appear on the information screen in the multi-informa-tion display.
If a vehicle is driven without releasing the
parking brake, the brake will be overheated, resulting in ineffective braking and possible
brake failure.Warning lampWarning display type 1Warning display type 2CAUTIONl If the brake warning lamp does not extin-
guish when the parking brake is fully re- leased, the brake system may be behavingabnormal.
Have your vehicle checked immediately.
For details, refer to “Brake warning lamp” on page 5-45.Parking
E00600601664
To park the vehicle, fully engage the parkingbrake, and then move the gearshift lever to 1 st
or “R” (Reverse) position for vehicles equip-
ped with M/T, or set the selector lever to “P”
(PARK) position for vehicles equipped with
A/T or CVT.
Parking on a hill
To prevent the vehicle from rolling, followthese procedures:
Parking on a downhill slope
Turn the front wheels towards the kerb and
move the vehicle forward until the kerb side wheel gently touches the kerb.
On vehicles equipped with M/T, apply the
parking brake and place the gearshift lever
into the “R” (Reverse) position.
On vehicles equipped with A/T, CVT, apply
the parking brake and place the selector lever
into the “P” (PARK) position.
If necessary, apply chocks to wheels.
Parking on an uphill slope
Turn the front wheels away from the kerb and move the vehicle back until the kerb side
wheel gently touches the kerb.
On vehicles equipped with M/T, apply the
parking brake and place the gearshift lever
into the 1 st
position.
On vehicles equipped with A/T, CVT, apply
the parking brake and place the selector lever
into the “P” (PARK) position.
If necessary, apply chocks to wheels.
NOTEl If your vehicle is equipped with
A/T, CVT,
be sure to apply the parking brake before
moving selector lever to the “P” (PARK) po- sition. If you move the selector lever to the
“P” (PARK) position before applying the parking brake, it may be difficult to disen-
gage the selector lever from the “P” (PARK) position when next you drive the vehicle, re-
quiring application of a strong force to the selector lever to move from the “P” (PARK)
position.
Parking
6-07OGAE15E5Starting and driving6
Page 177 of 452
WARNINGlDo not attempt to adjust the rear-view
mirror while driving. This can be danger-
ous.
Always adjust the mirror before driving.
Adjust the rear-view mirror to maximize the
view through the rear window.
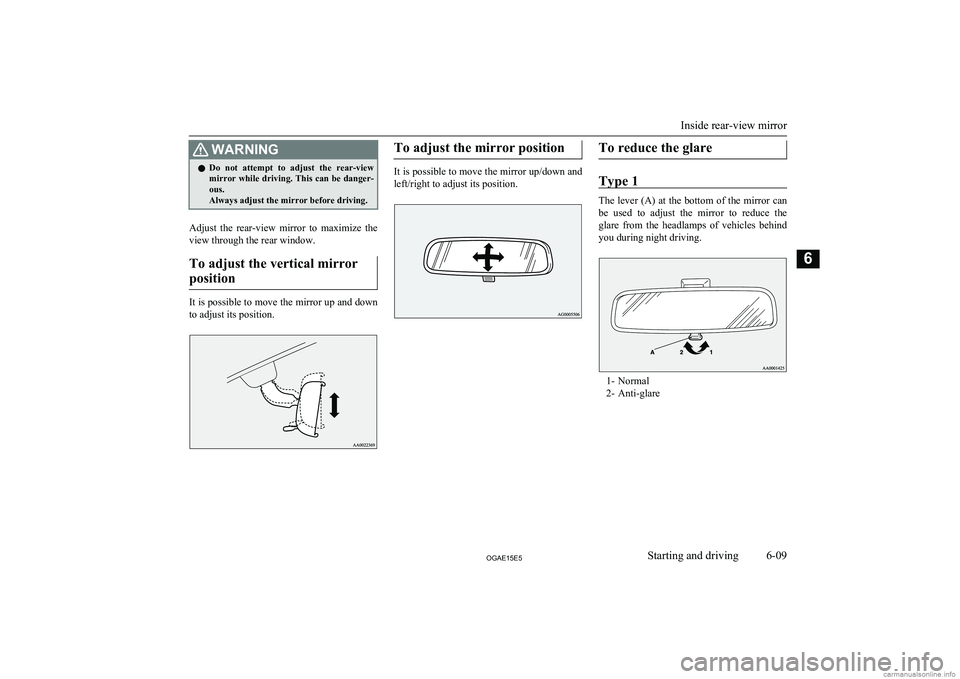
To adjust the vertical mirror position
It is possible to move the mirror up and down
to adjust its position.
To adjust the mirror position
It is possible to move the mirror up/down and
left/right to adjust its position.
To reduce the glare
Type 1
The lever (A) at the bottom of the mirror can
be used to adjust the mirror to reduce the
glare from the headlamps of vehicles behind you during night driving.
1- Normal
2- Anti-glare
Inside rear-view mirror
6-09OGAE15E5Starting and driving6
Page 178 of 452
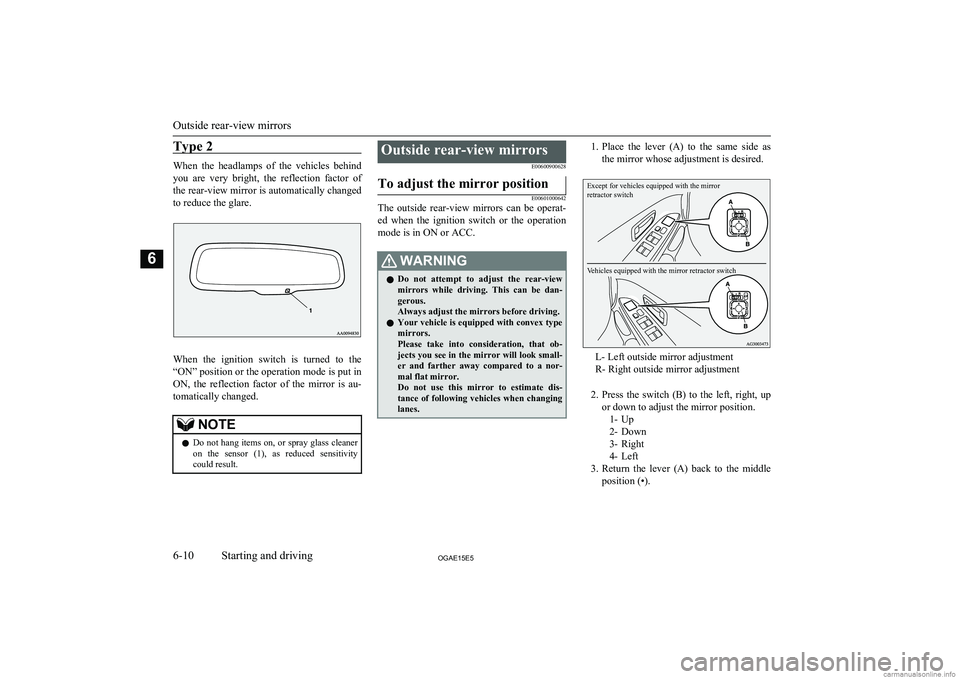
Type 2
When the headlamps of the vehicles behind
you are very bright, the reflection factor of the rear-view mirror is automatically changed
to reduce the glare.
When the ignition switch is turned to the
“ON” position or the operation mode is put in
ON, the reflection factor of the mirror is au- tomatically changed.
NOTEl Do not hang items on, or spray glass cleaner
on the sensor (1), as reduced sensitivitycould result.Outside rear-view mirrors
E00600900628To adjust the mirror position
E00601000642
The outside rear-view mirrors can be operat-
ed when the ignition switch or the operation
mode is in ON or ACC.
WARNINGl Do not attempt to adjust the rear-view
mirrors while driving. This can be dan- gerous.
Always adjust the mirrors before driving.
l Your vehicle is equipped with convex type
mirrors.
Please take into consideration, that ob-
jects you see in the mirror will look small- er and farther away compared to a nor-mal flat mirror.
Do not use this mirror to estimate dis- tance of following vehicles when changing
lanes.1. Place the lever (A) to the same side as
the mirror whose adjustment is desired.Except for vehicles equipped with the mirror
retractor switchVehicles equipped with the mirror retractor switch
L- Left outside mirror adjustment
R- Right outside mirror adjustment
2. Press the switch (B) to the left, right, up
or down to adjust the mirror position. 1- Up
2- Down
3- Right
4- Left
3. Return the lever (A) back to the middle
position (•).
Outside rear-view mirrors
6-10OGAE15E5Starting and driving6
Page 180 of 452
The mirrors automatically retract or extendwhen the doors are locked or unlocked using the remote control switches of the keyless en-
try system.
Refer to “Keyless entry system” on page 3-04.
[Vehicles equipped with keyless operation
system]
The mirrors automatically retract or extend when the doors are locked or unlocked using the remote control switches or the keyless op-eration function of the keyless operation sys-
tem.
Refer to “Keyless operation system: To oper- ate using the keyless operation function, Key-
less entry system” on pages 3-11 and 3-22.NOTEl Functions can be modified as stated below.
Consult a MITSUBISHI MOTORS Author-
ized Service Point.
• Automatically extend when the following
operation is performed.
[Except vehicles equipped with keyless operation system]
Turn the ignition switch to the “ON” or
“ACC” position.
[Vehicles equipped with keyless operation
system]
Put the operation mode in ON or ACC.NOTE• Automatically retract when the driver’s
door is opened after turning the ignition switch to the “LOCK” position or putting the operation mode in OFF.
• Automatically extend when the vehicle
speed reaches 30 km/h (19 mph).
• Deactivate the automatic extension func-
tion.Heated mirror
E00601200497
To demist or defrost the outside rear-view
mirrors, press the rear window demister
switch.
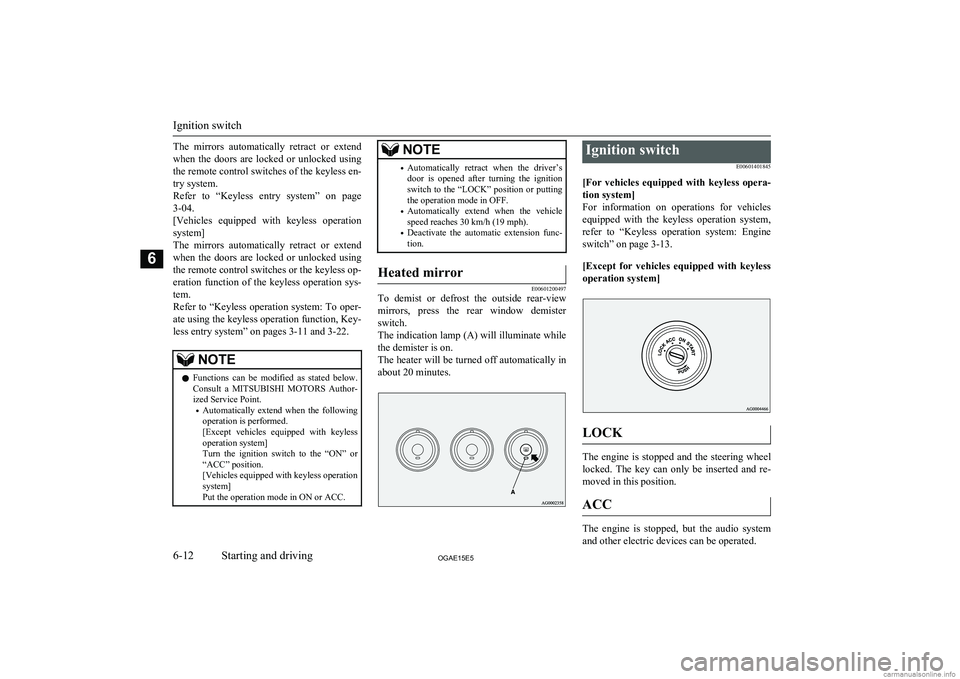
The indication lamp (A) will illuminate while the demister is on.
The heater will be turned off automatically in
about 20 minutes.
Ignition switch
E00601401845
[For vehicles equipped with keyless opera- tion system]
For information on operations for vehicles equipped with the keyless operation system,
refer to “Keyless operation system: Engine
switch” on page 3-13.
[Except for vehicles equipped with keyless operation system]
LOCK
The engine is stopped and the steering wheel
locked. The key can only be inserted and re- moved in this position.
ACC
The engine is stopped, but the audio system
and other electric devices can be operated.
Ignition switch
6-12OGAE15E5Starting and driving6
Page 183 of 452
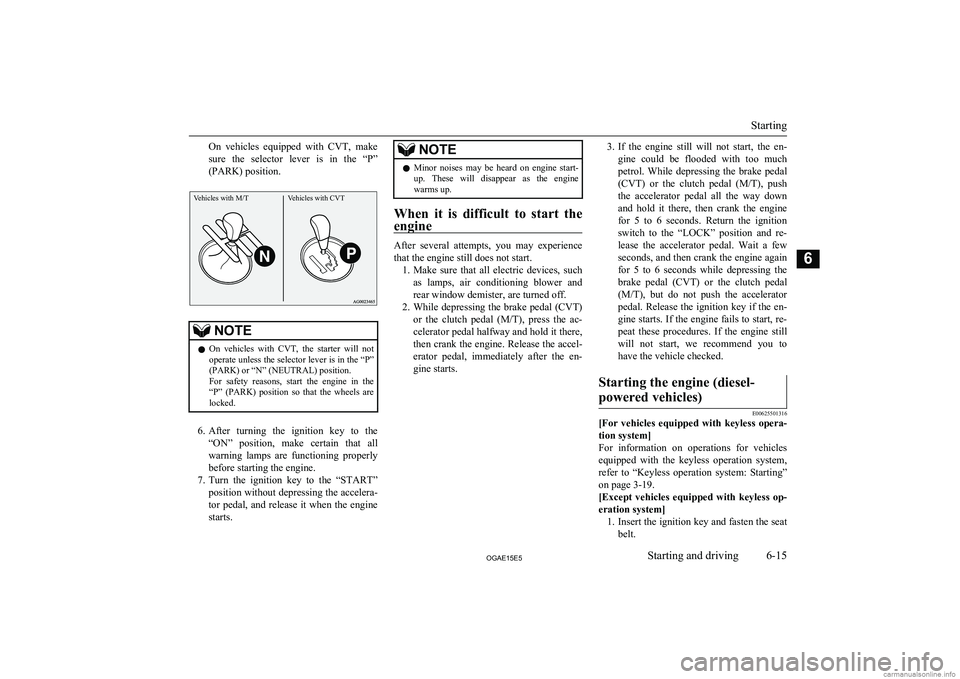
On vehicles equipped with CVT, make
sure the selector lever is in the “P”
(PARK) position.Vehicles with M/TVehicles with CVT
NOTEl On vehicles with CVT, the starter will not
operate unless the selector lever is in the “P”
(PARK) or “N” (NEUTRAL) position. For safety reasons, start the engine in the
“P” (PARK) position so that the wheels are locked.
6. After turning the ignition key to the
“ON” position, make certain that all
warning lamps are functioning properly before starting the engine.
7. Turn the ignition key to the “START”
position without depressing the accelera-
tor pedal, and release it when the engine starts.
NOTEl Minor noises may be heard on engine start-
up. These will disappear as the engine
warms up.
When it is difficult to start the
engine
After several attempts, you may experience that the engine still does not start. 1. Make sure that all electric devices, such
as lamps, air conditioning blower and
rear window demister, are turned off.
2. While depressing the brake pedal ( CVT)
or the clutch pedal ( M/T), press the ac-
celerator pedal halfway and hold it there,
then crank the engine. Release the accel- erator pedal, immediately after the en-
gine starts.
3. If the engine still will not start, the en-
gine could be flooded with too much
petrol. While depressing the brake pedal (CVT ) or the clutch pedal ( M/T), push
the accelerator pedal all the way down
and hold it there, then crank the engine for 5 to 6 seconds. Return the ignition
switch to the “LOCK” position and re- lease the accelerator pedal. Wait a fewseconds, and then crank the engine again
for 5 to 6 seconds while depressing the
brake pedal ( CVT) or the clutch pedal
(M/T ), but do not push the accelerator
pedal. Release the ignition key if the en-
gine starts. If the engine fails to start, re- peat these procedures. If the engine still will not start, we recommend you to
have the vehicle checked.Starting the engine (diesel-
powered vehicles)
E00625501316
[For vehicles equipped with keyless opera- tion system]
For information on operations for vehicles equipped with the keyless operation system,
refer to “Keyless operation system: Starting”
on page 3-19.
[Except vehicles equipped with keyless op- eration system] 1. Insert the ignition key and fasten the seat
belt.
Starting
6-15OGAE15E5Starting and driving6
Page 184 of 452
2. Make sure the parking brake is applied.
3. Press and hold the brake pedal down
firmly with your right foot.
4. Fully depress the clutch pedal (M/T).
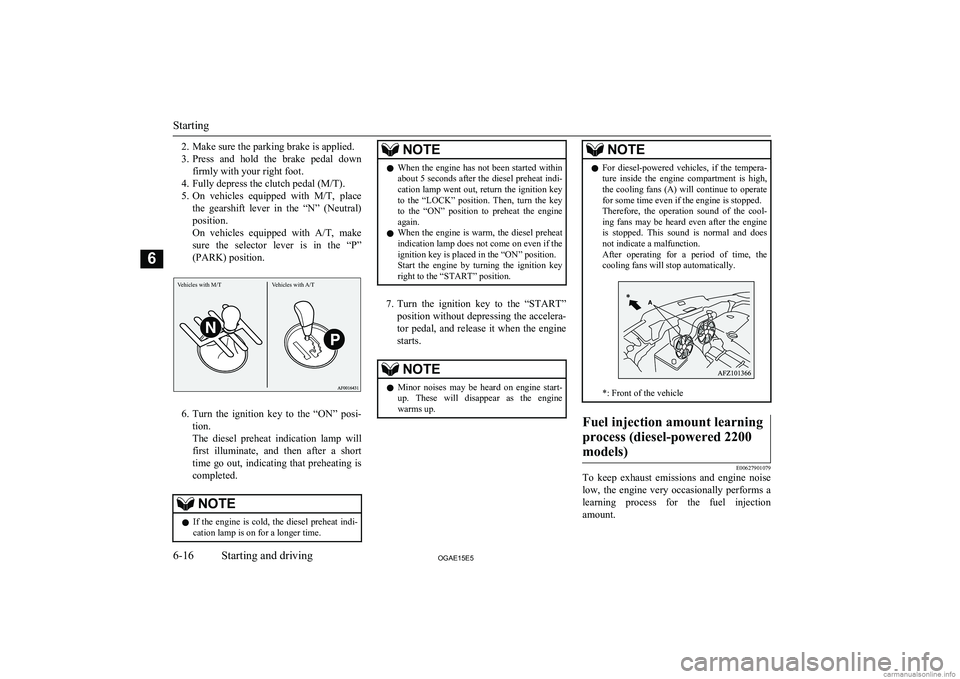
5. On vehicles equipped with M/T, place
the gearshift lever in the “N” (Neutral) position.
On vehicles equipped with A/T, make
sure the selector lever is in the “P”
(PARK) position.
6. Turn the ignition key to the “ON” posi-
tion.
The diesel preheat indication lamp will first illuminate, and then after a short
time go out, indicating that preheating is completed.
NOTEl If the engine is cold, the diesel preheat indi-
cation lamp is on for a longer time.NOTEl When the engine has not been started within
about 5 seconds after the diesel preheat indi- cation lamp went out, return the ignition key
to the “LOCK” position. Then, turn the key
to the “ON” position to preheat the engine again.
l When the engine is warm, the diesel preheat
indication lamp does not come on even if the
ignition key is placed in the “ON” position.
Start the engine by turning the ignition key
right to the “START” position.
7. Turn the ignition key to the “START”
position without depressing the accelera- tor pedal, and release it when the engine
starts.
NOTEl Minor noises may be heard on engine start-
up. These will disappear as the engine
warms up.NOTEl For diesel-powered vehicles, if the tempera-
ture inside the engine compartment is high,
the cooling fans (A) will continue to operate for some time even if the engine is stopped.
Therefore, the operation sound of the cool-
ing fans may be heard even after the engine is stopped. This sound is normal and does
not indicate a malfunction.
After operating for a period of time, the cooling fans will stop automatically.
*: Front of the vehicle
Fuel injection amount learning
process (diesel-powered 2200 models)
E00627901079
To keep exhaust emissions and engine noise low, the engine very occasionally performs a
learning process for the fuel injection
amount.
Starting
6-16OGAE15E5Starting and driving6Vehicles with M/T Vehicles with A/T
Page 186 of 452
lWith the bar graph of engine coolant
temperature display stabilized in roughly
the middle of the scale, drive for about 20 minutes at a speed of at least 40 km/h
(25 mph).
[Diesel-powered 1600 models] l As soon as traffic conditions allow, re-
generate the filter by driving at a speed
of over 60 km/h (37 mph) until the warning display goes out.
If the DPF warning display subsequently stays on, contact a MITSUBISHI MOTORS
Authorized Service Point.CAUTIONl You do not have to continuously drive ex-
actly as indicated above. Always strive todrive safely in accordance with road condi-
tions.If the DPF warning display and
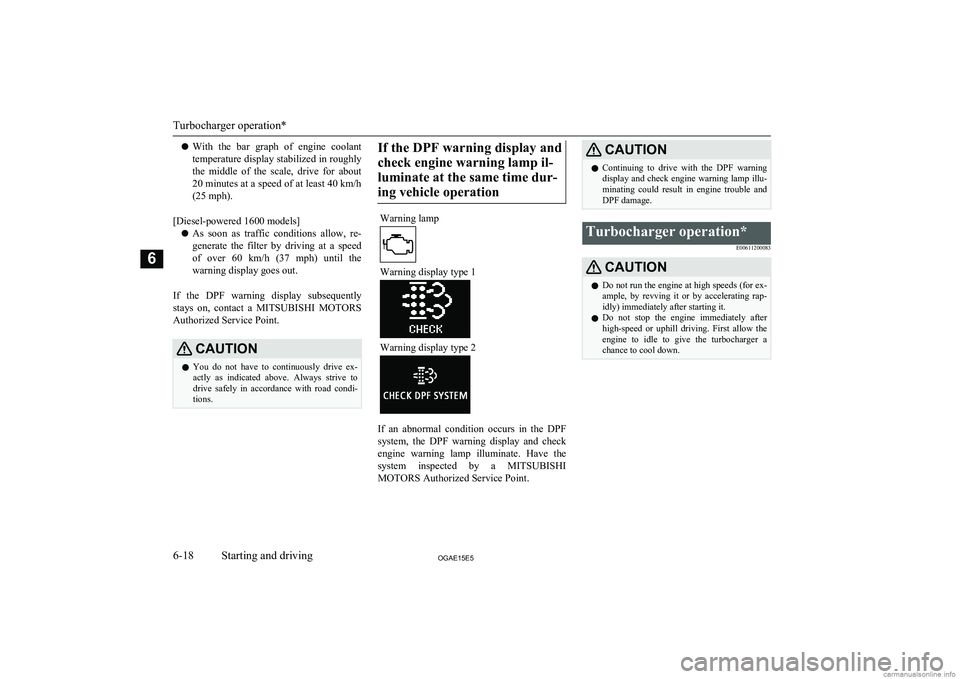
check engine warning lamp il-luminate at the same time dur-ing vehicle operationWarning lamp
Warning display type 1
Warning display type 2
If an abnormal condition occurs in the DPF system, the DPF warning display and check
engine warning lamp illuminate. Have the
system inspected by a MITSUBISHI
MOTORS Authorized Service Point.
CAUTIONl Continuing to drive with the DPF warning
display and check engine warning lamp illu- minating could result in engine trouble and
DPF damage.Turbocharger operation*
E00611200083CAUTIONlDo not run the engine at high speeds (for ex-
ample, by revving it or by accelerating rap-
idly) immediately after starting it.
l Do not stop the engine immediately after
high-speed or uphill driving. First allow the
engine to idle to give the turbocharger a
chance to cool down.
Turbocharger operation*
6-18OGAE15E5Starting and driving6
Page 188 of 452
NOTElWhen the engine is automatically stopped,
changes will occur in the driving operations.
Pay close attention to the following.
• The brake booster becomes inoperative
and the pedal effort will increase. If the
vehicle is moving, press down the brake pedal harder than usual.
• The electric power steering system (EPS)
becomes inoperative and it will become
harder to turn the steering wheel.CAUTIONl Observe the following precautions when the
engine is stopped automatically. Otherwise,
an unexpected accident might occur when the engine restarts automatically.
• Do not depress the accelerator pedal to
race the engine while the vehicle is stop-
ped (regardless of whether the engine is running or stopped).
Otherwise, an unexpected accident might
occur when the engine restarts automati- cally.
• When the engine is automatically stopped,
do not attempt to exit the vehicle.
Because the engine restarts automatically when the driver’s seat belt is unfastened
or the driver’s door is opened, an unex- pected accident might occur when the ve-
hicle starts moving.CAUTION• Do not move the gearshift lever to a posi-
tion other than the “N” (Neutral) position.
If the gearshift lever is moved to a posi-
tion other than the “N” (Neutral) position,
the “
” display/indicator blinks and the
buzzer sounds.
If the gearshift lever is returned to the “N”
(Neutral) position, the display/indicator
stops blinking and the buzzer stops sound- ing. The engine will not restart if the gear-
shift lever is in a position other than the “N” (Neutral) position.
NOTEl In the following cases, the Auto Stop & Go
(AS&G) system will not operate and the en- gine will not stop automatically even if thevehicle is stopped.
• Driver’s seat belt is not fastened.
• Driver’s door is open.
• Bonnet is open.
• After the engine restarts automatically,
the vehicle speed has not exceeded ap-
proximately 5 km/h (3 mph).
• Brake booster vacuum pressure is low be-
cause the brake pedal is depressed repeat- edly or depressed harder than usual.
• After the ignition switch is turned from
the “ON” position to the “START” posi- tion, approximately 30 seconds or more
have not elapsed.NOTE• After the engine restarts automatically
and the vehicle stops again within 10 sec- onds.
• After presing the engine switch to start
the engine from the operation mode is in ON, approximately 30 seconds or morehave not elapsed.
• Engine coolant temperature is low.
• Ambient temperature is lower than ap-
proximately 3 °C.
• Air conditioning is operating and passen-
ger compartment has not sufficiently cooled.
• Mode selection dial is set to the demister
position.
Refer to “Demisting of the windscreen
and door windows: For quick demisting”
on page 7-09.
• When the air conditioning is operated in
AUTO mode where the temperature con-
trol dial is set to the max. hot or the max. cool position (for vehicles with automatic
air conditioning).
• Electric power consumption is high, such
as when the rear window demister or oth- er electrical components are operating or
the blower speed is set to a high setting.
• Battery voltage or battery performance is
low.
• Check engine warning lamp is illuminated
or the “
” display/indicator is blinking.
Auto Stop & Go (AS&G) system*
6-20OGAE15E5Starting and driving6